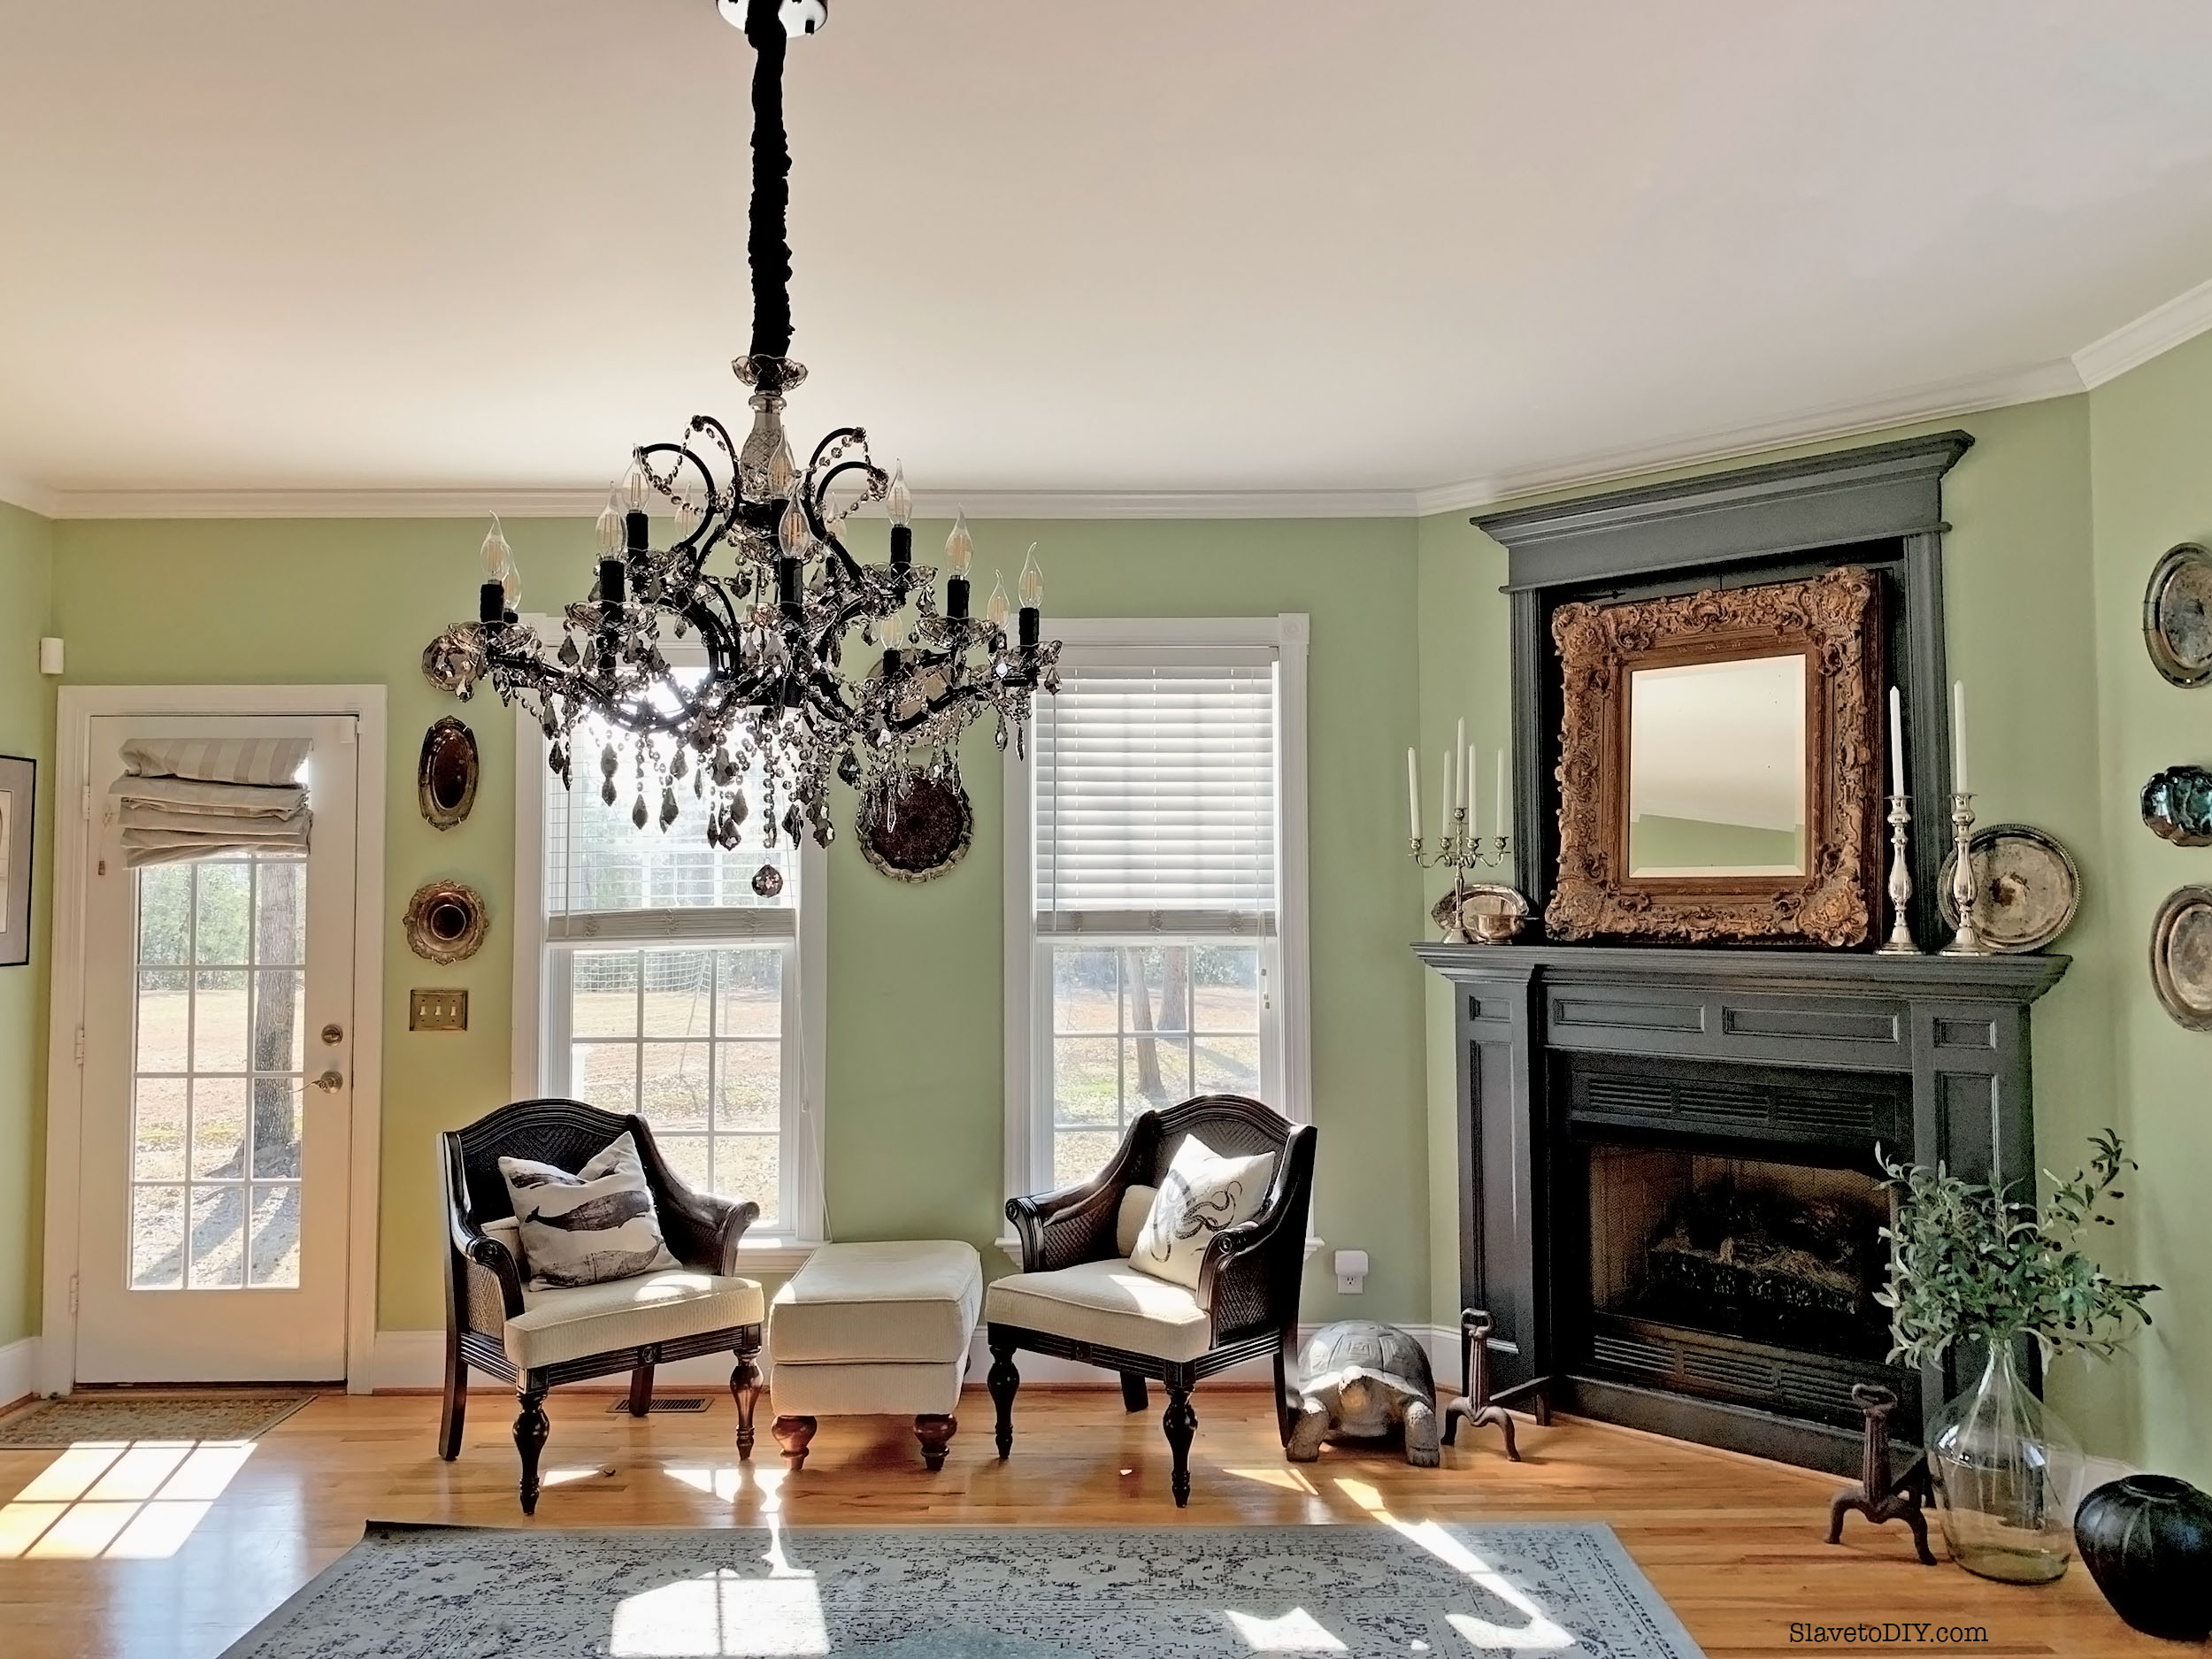
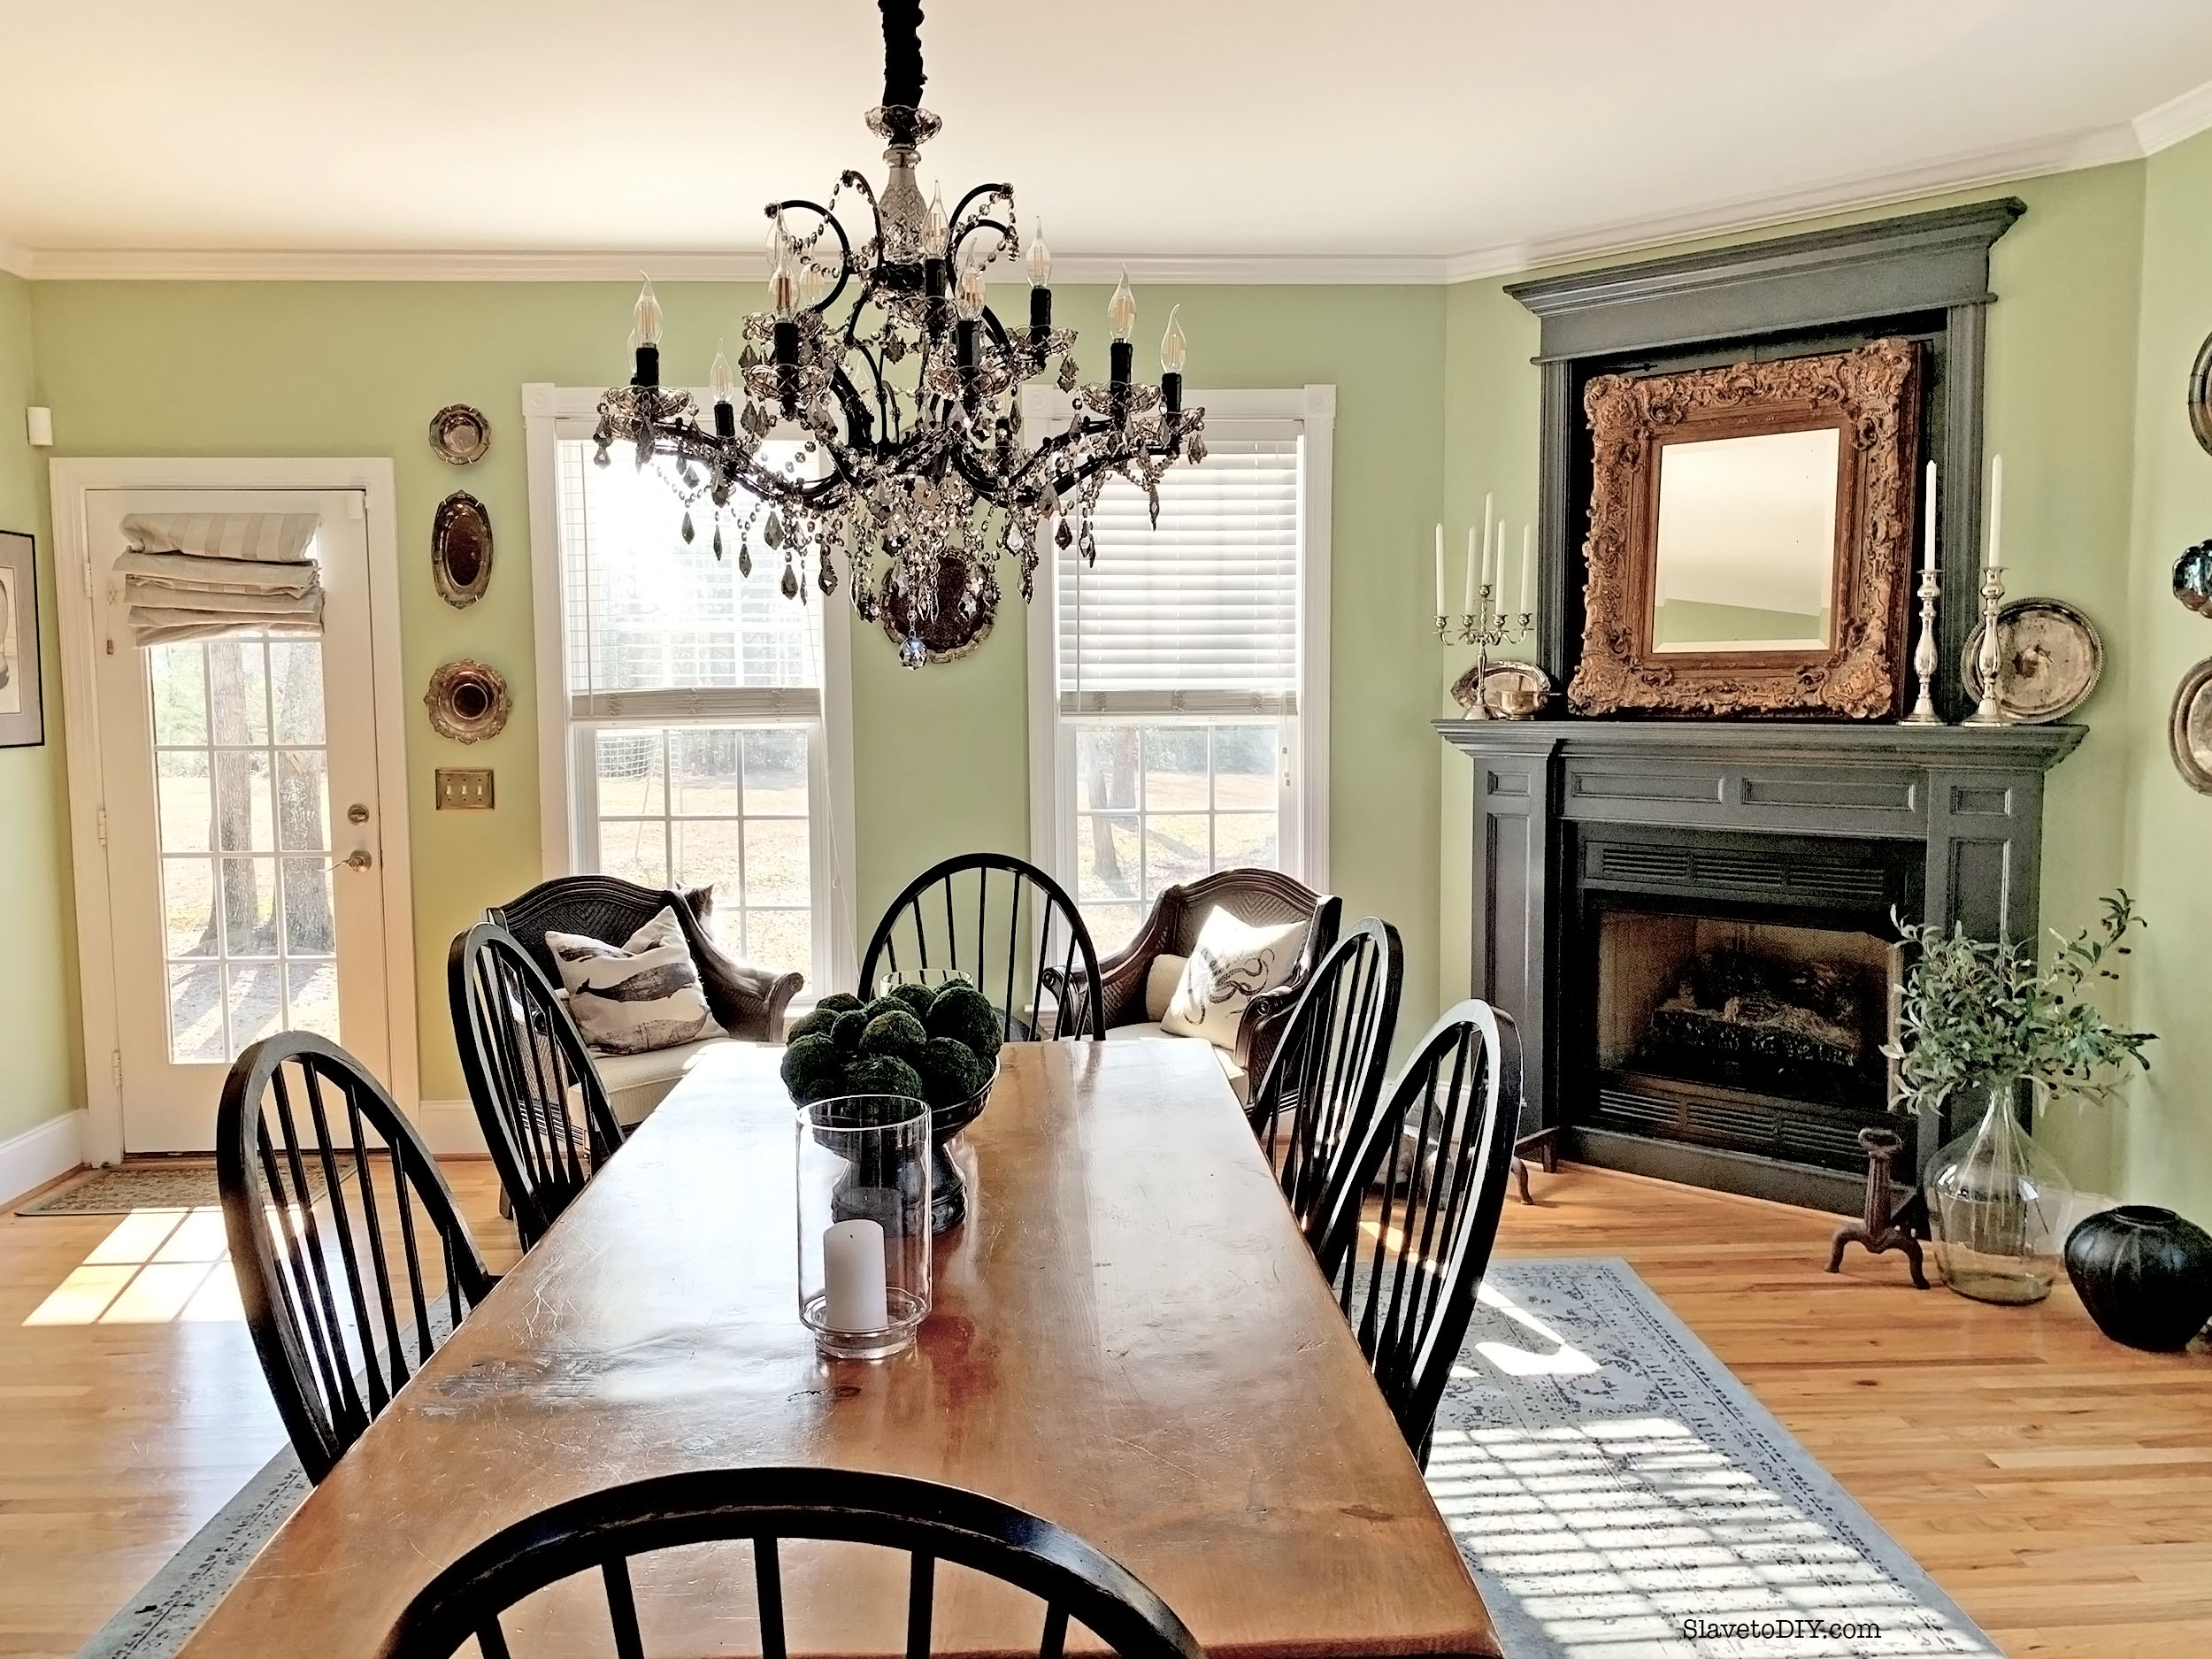
What I remember most about my first condo was how much I hated the kitchen. Actually, hate might not be a strong enough word. It was dark and depressing, with a weird window and aged-orange vertical shades, all illuminated by a florescent fixture with brown burn marks on the plexiglass cover. The condo itself had space and was the right price, but the kitchen was awful. It was tragic. However, my total budget for transforming the space was right around ZERO dollars. Even the grocery budget was tight, at the time, so much that I sometimes worried about being able to buy diapers for my one year old. So, how the kitchen looked wasn’t a priority, regardless of how depressing it was to cook in it.
*This post may contain affiliate links. Please see full disclosure at the end of the post.
I’m betting many of you can relate. Stuck with dated, 80s arched doors or a too-dark 70s finish, or even worse, the orangish-tannish builder grade oak cabinets of the late 80s and 90s… the scalloped arches over the kitchen sink, the brown and orange vinyl flooring. All of this made MUCH worse by the endless taunting from Pinterest and Instagram: the gorgeous, highly edited kitchen photos of IG starlets showing off the latest dishes and gadgets they’re creating and using in their maddeningly perfect kitchens.
I understand. I’ve BEEN THERE. But, I’m going to tell you a secret: You CAN transform a kitchen you hate on a tiny budget. I’ve done it, multiple times.
Now, I’m not going to tell you that I’m still in that place, because I’m not. That was twenty years ago and I’ve been Blessed financially since then, so I’m working on planning my FOREVER kitchen in a MUCH larger home and loving every second (keep the FAITH, you’ll get there!). However, I want to share my secrets with you… I want to share how you can make your kitchen a place you like to cook, even take pictures of, especially if you’ve got a little bit of cash for supplies and energy to do the heavy lifting, I’ll tell you how to make BIG impact transformations for just a little bit of money.
So, here’s the big impact list: add molding, cabinet color, hardware, counter kits, counter stools & kitchen furniture, light fixtures, repurposed furniture island, and, yes, backsplashes.
Add Molding:
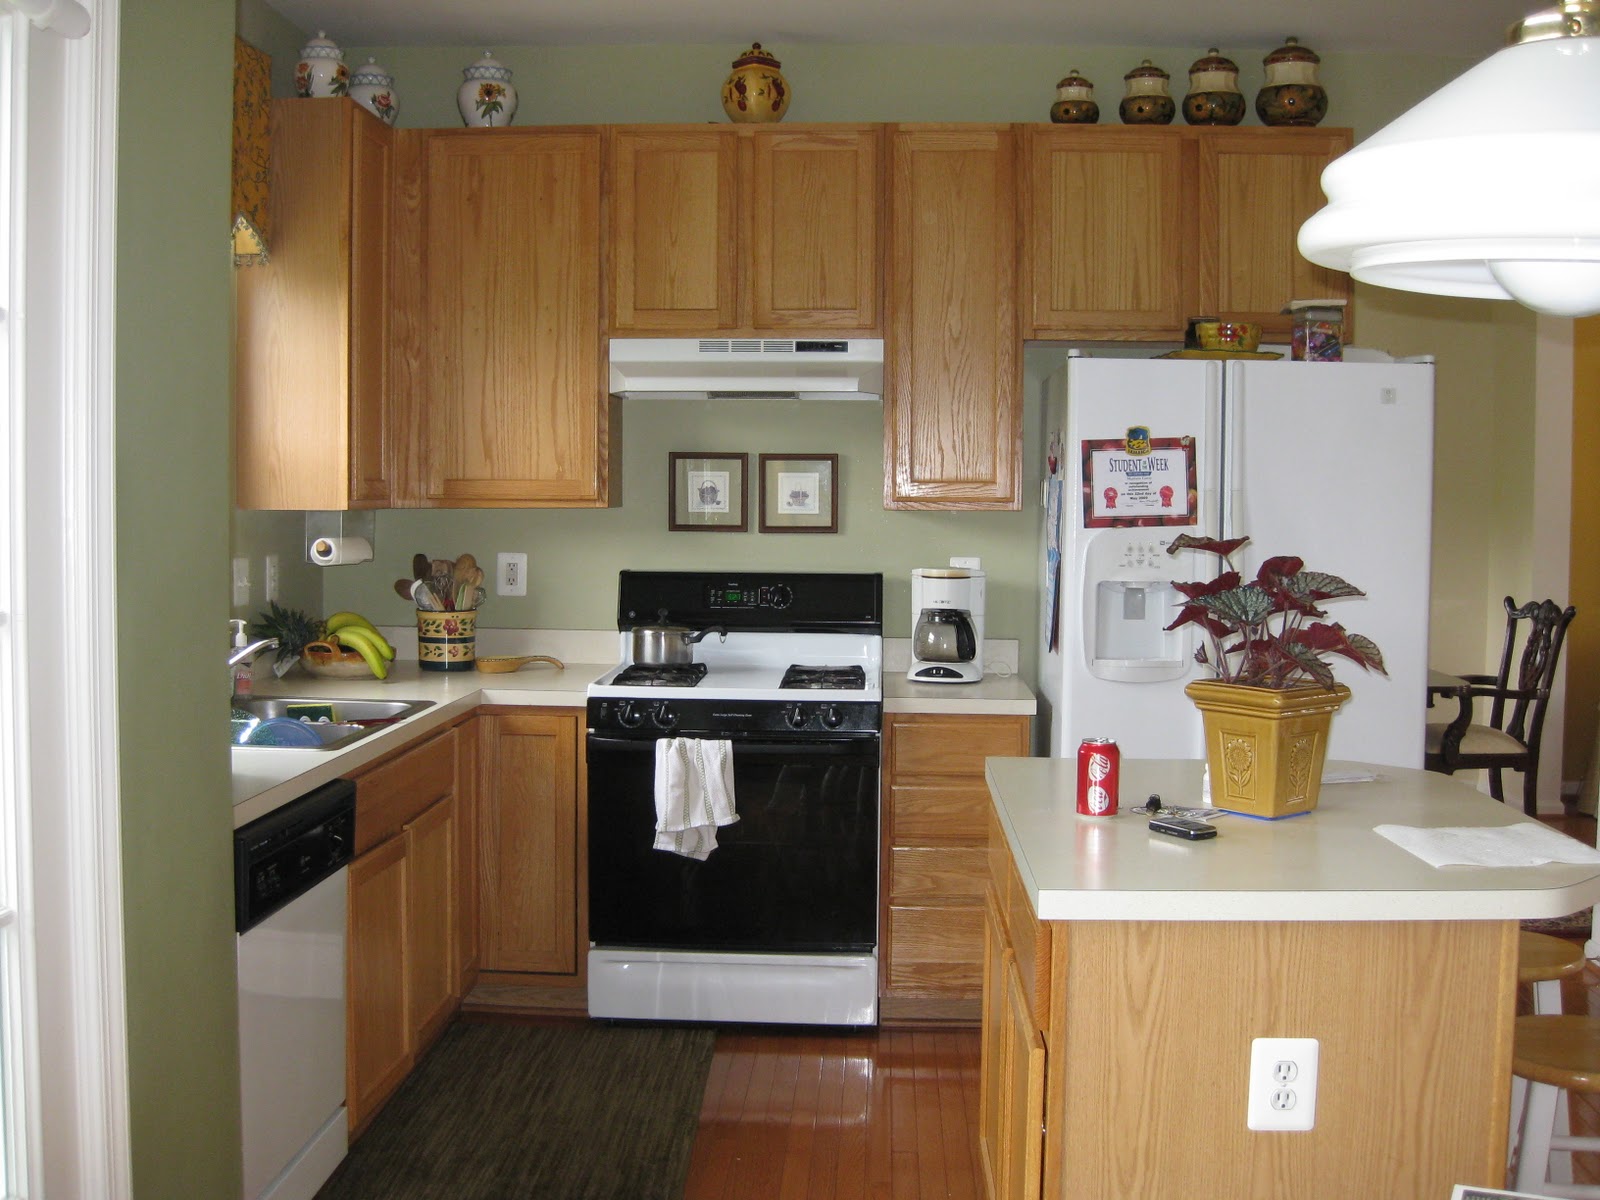
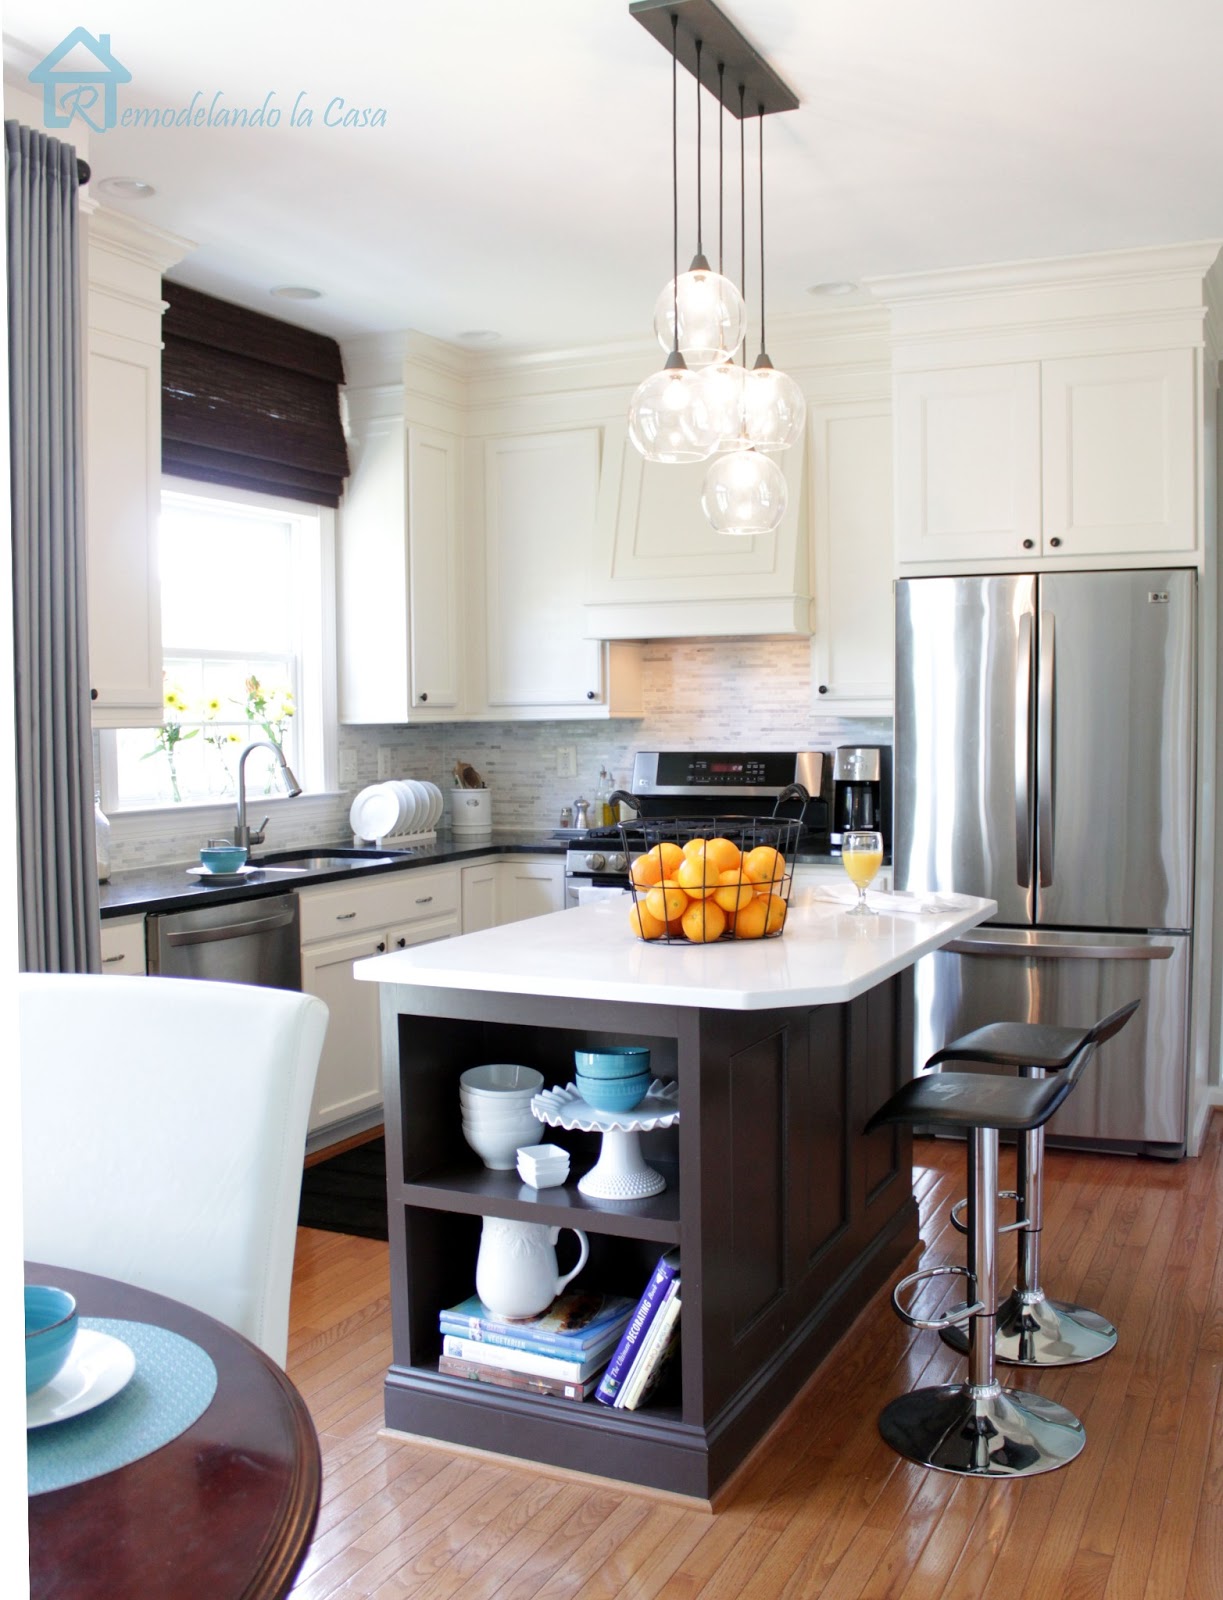
You may not realize when you look at those horrid 70s, 80s, and 90s kitchens what in particular makes them so hideous, but I can tell you for sure that one main thing is the soffits! Some of them are for no reason at all other than to close the space in above the cabinets, and others house vents, etc. However, this is fixable! You can add molding over soffits or close in spaces above cabinets to completely update cabinets and bring them into this century! There are some really neat molding stackups I’ve seen done and it can totally change the look of a kitchen for not very much money!
Check out this incredible makeover from Remodelandolacasa.com. A combination of paint and some smaller build projects, including adding molding to the ceiling, created a dramatic transformation in this great kitchen before and after:
Cabinet Color:
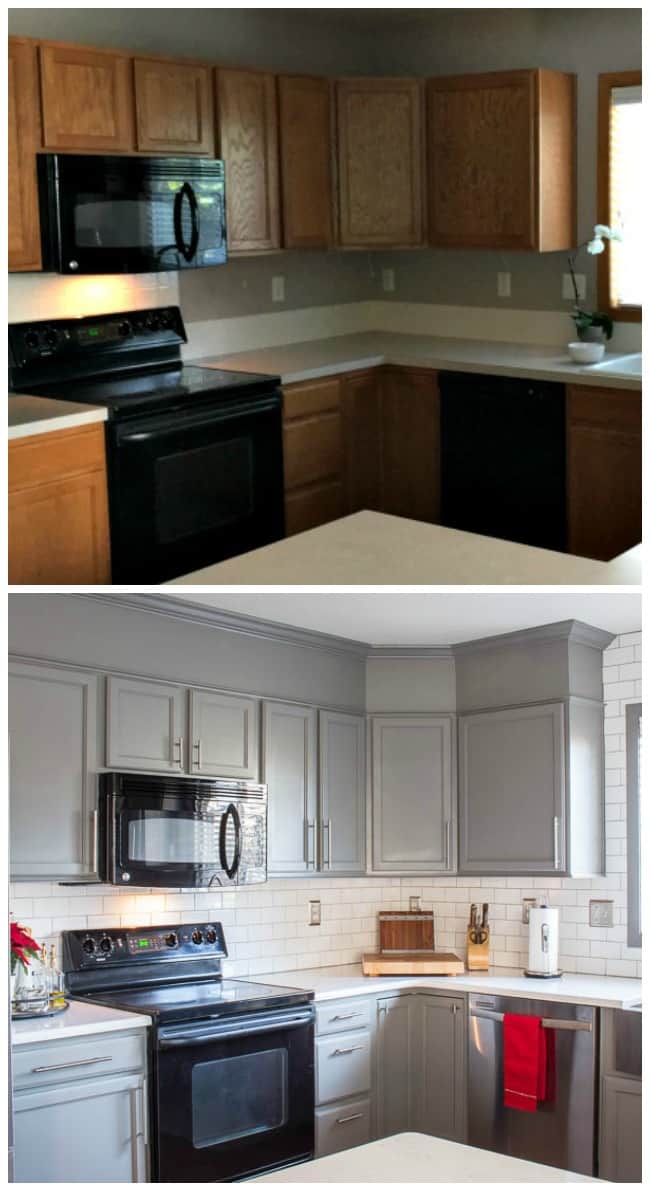
Cabinet Painting is ALL the rage these days, and with good reason. A new color can totally transform the space. On the positive side, if you have a 70s or 80s kitchen, chances are the cabinets are solid wood and will hold up really well to sanding and painting.
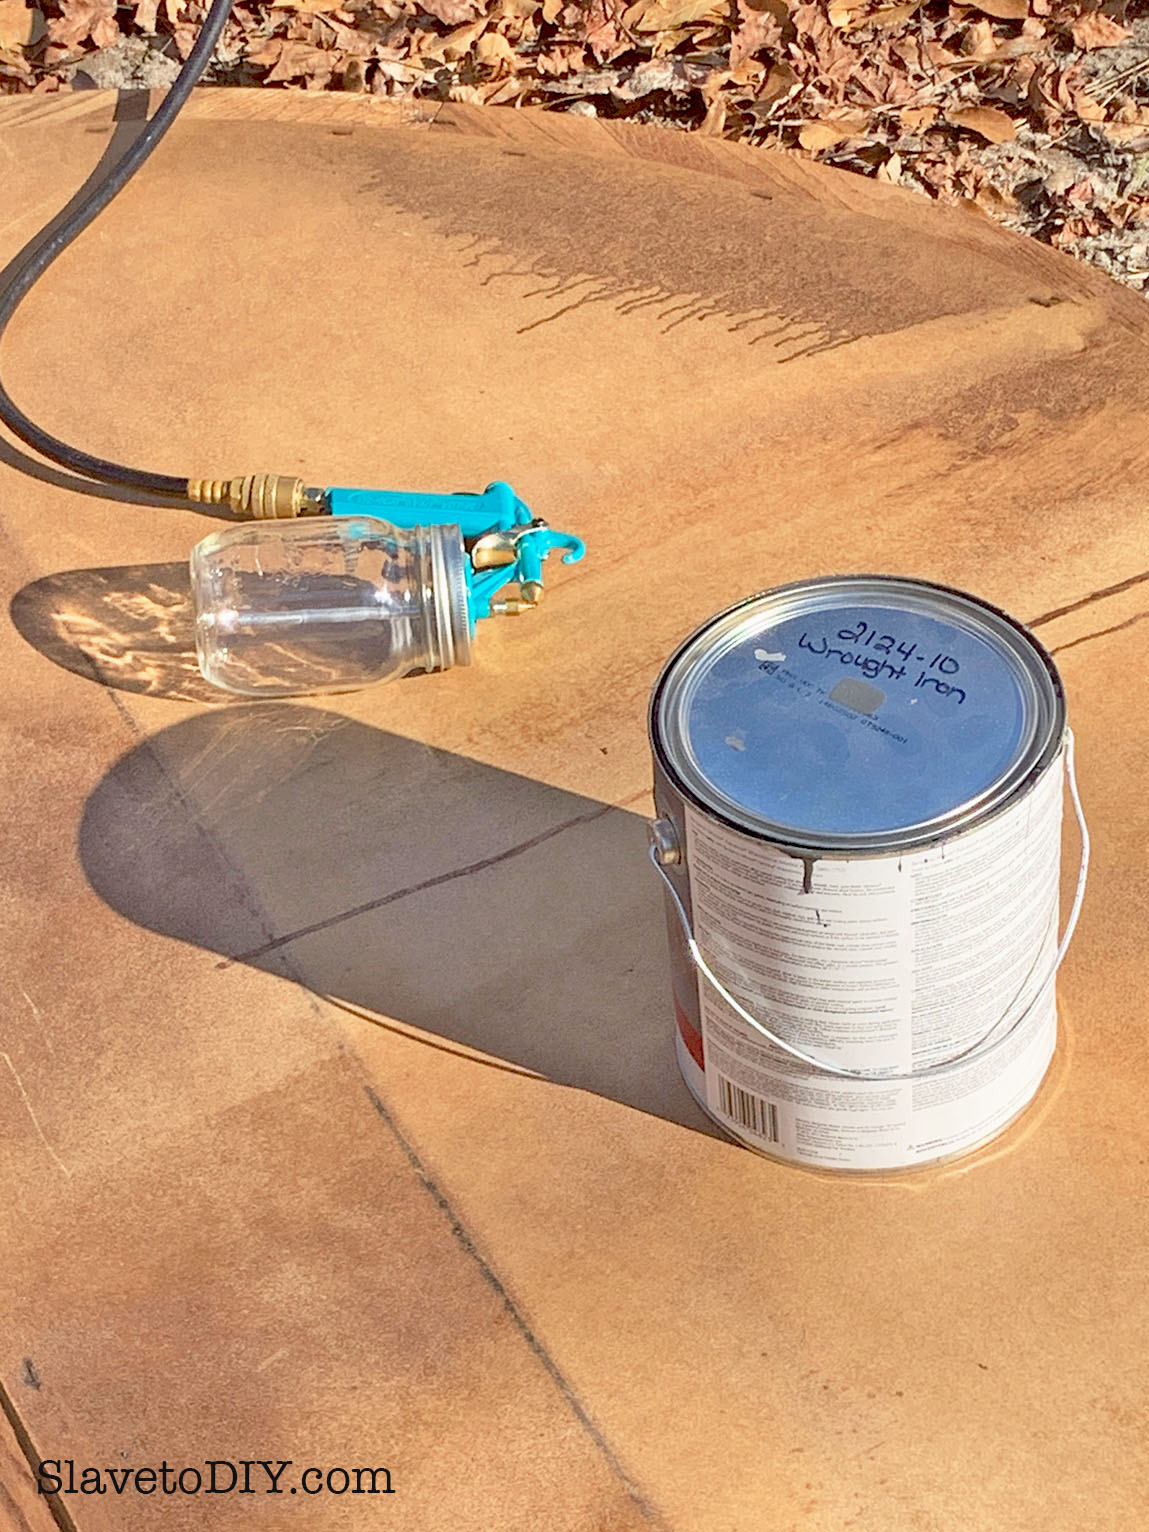
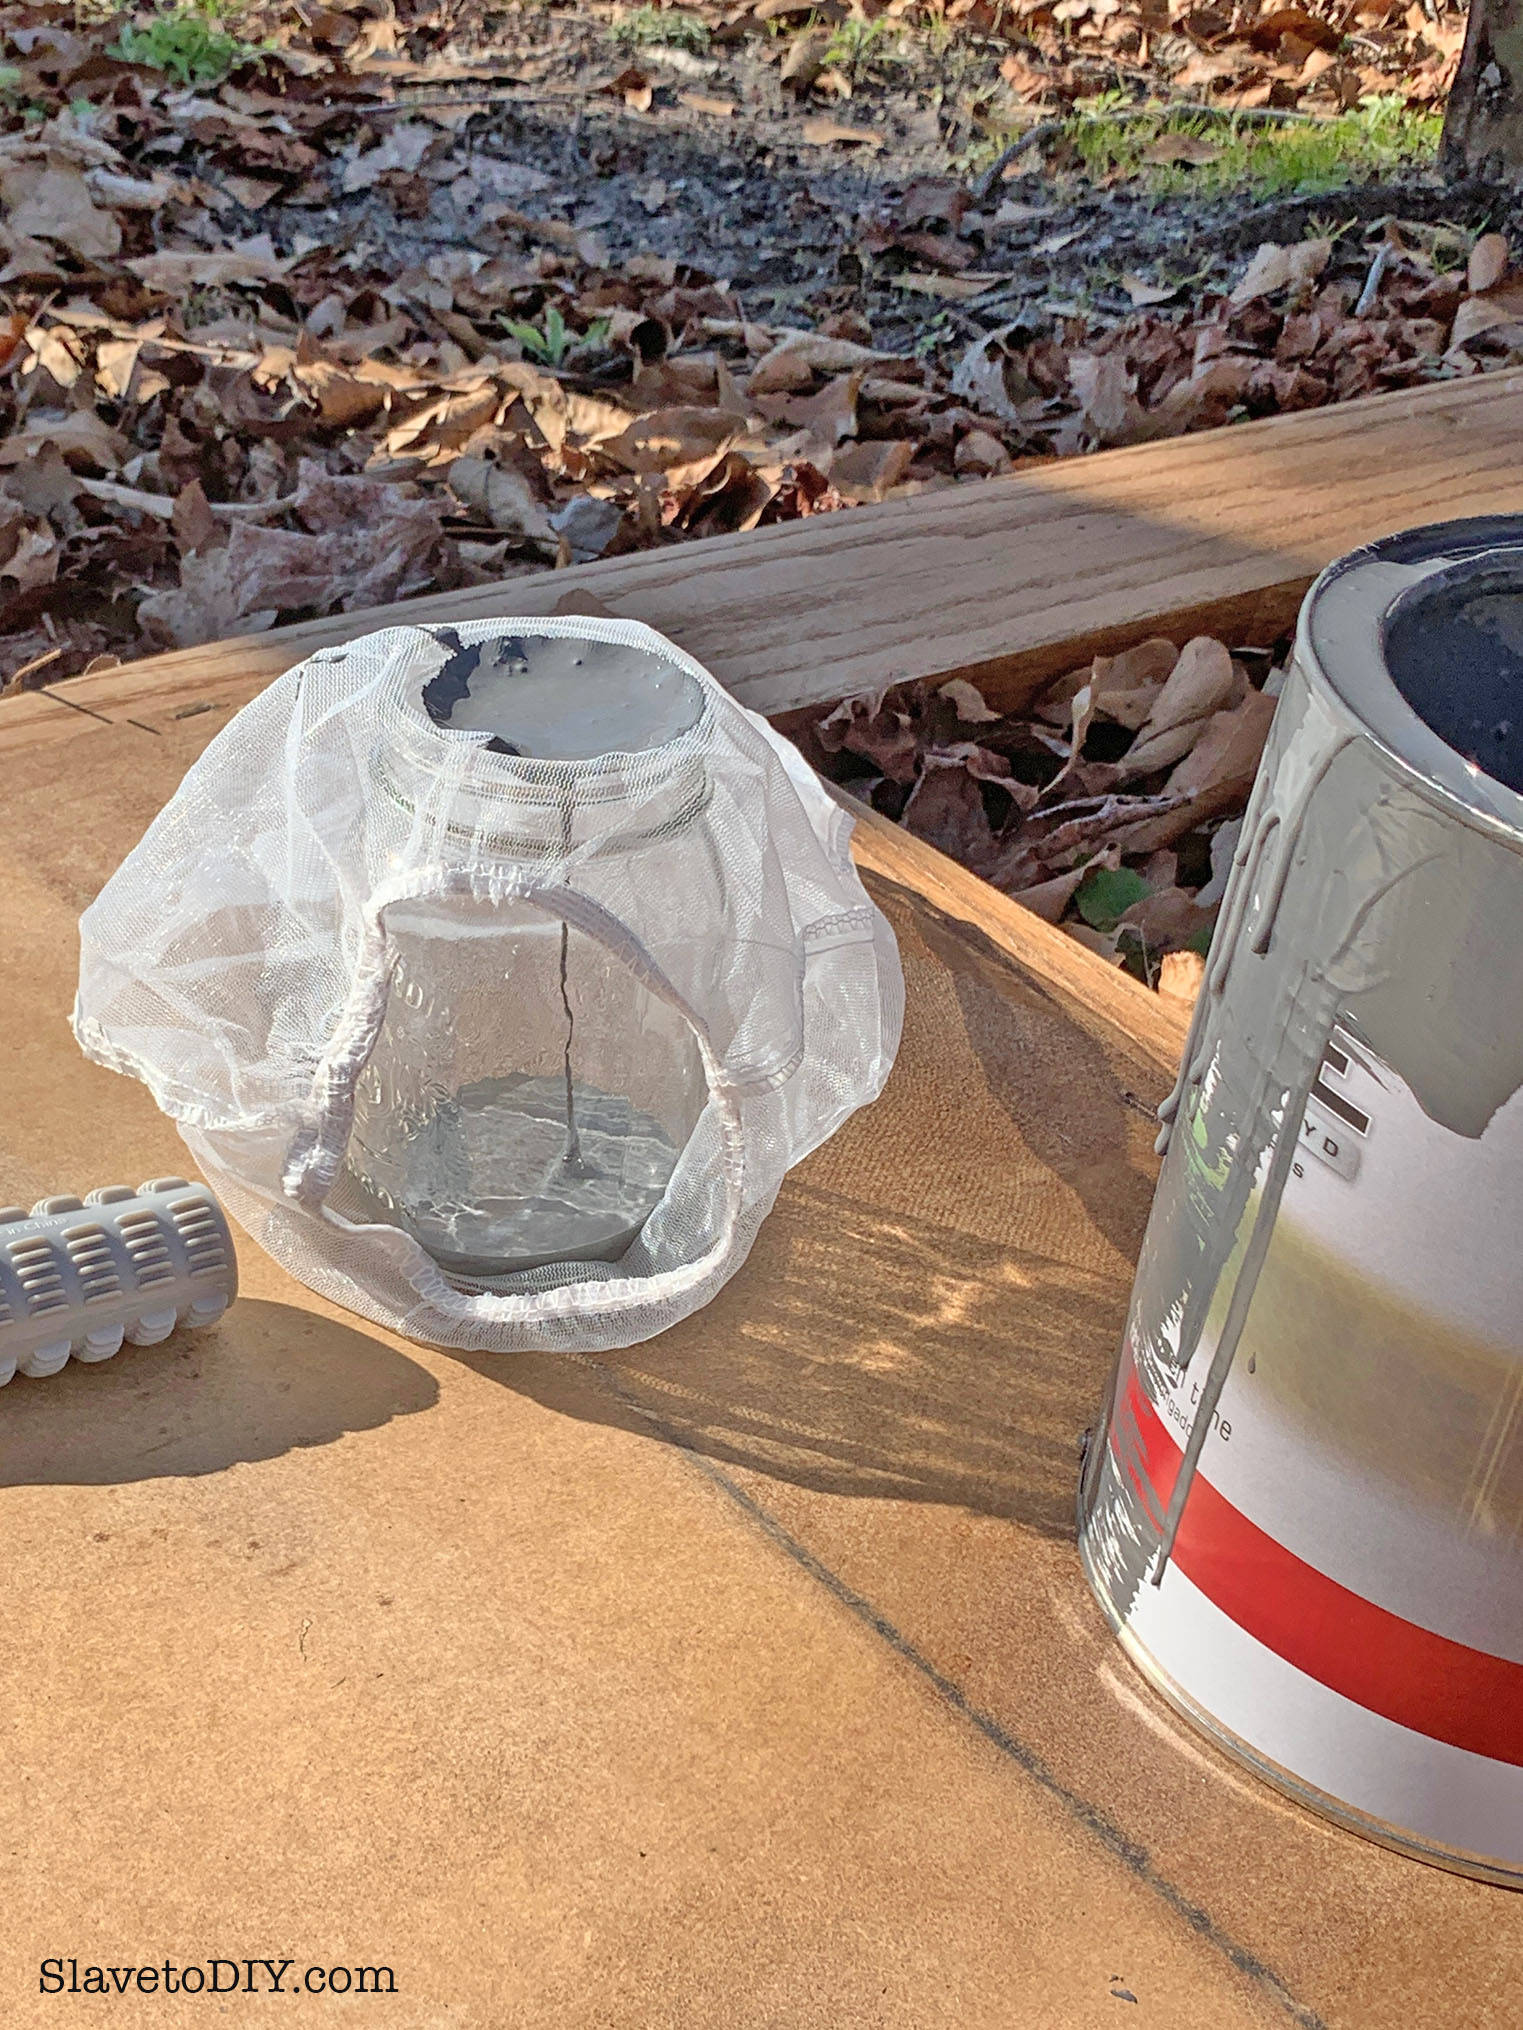
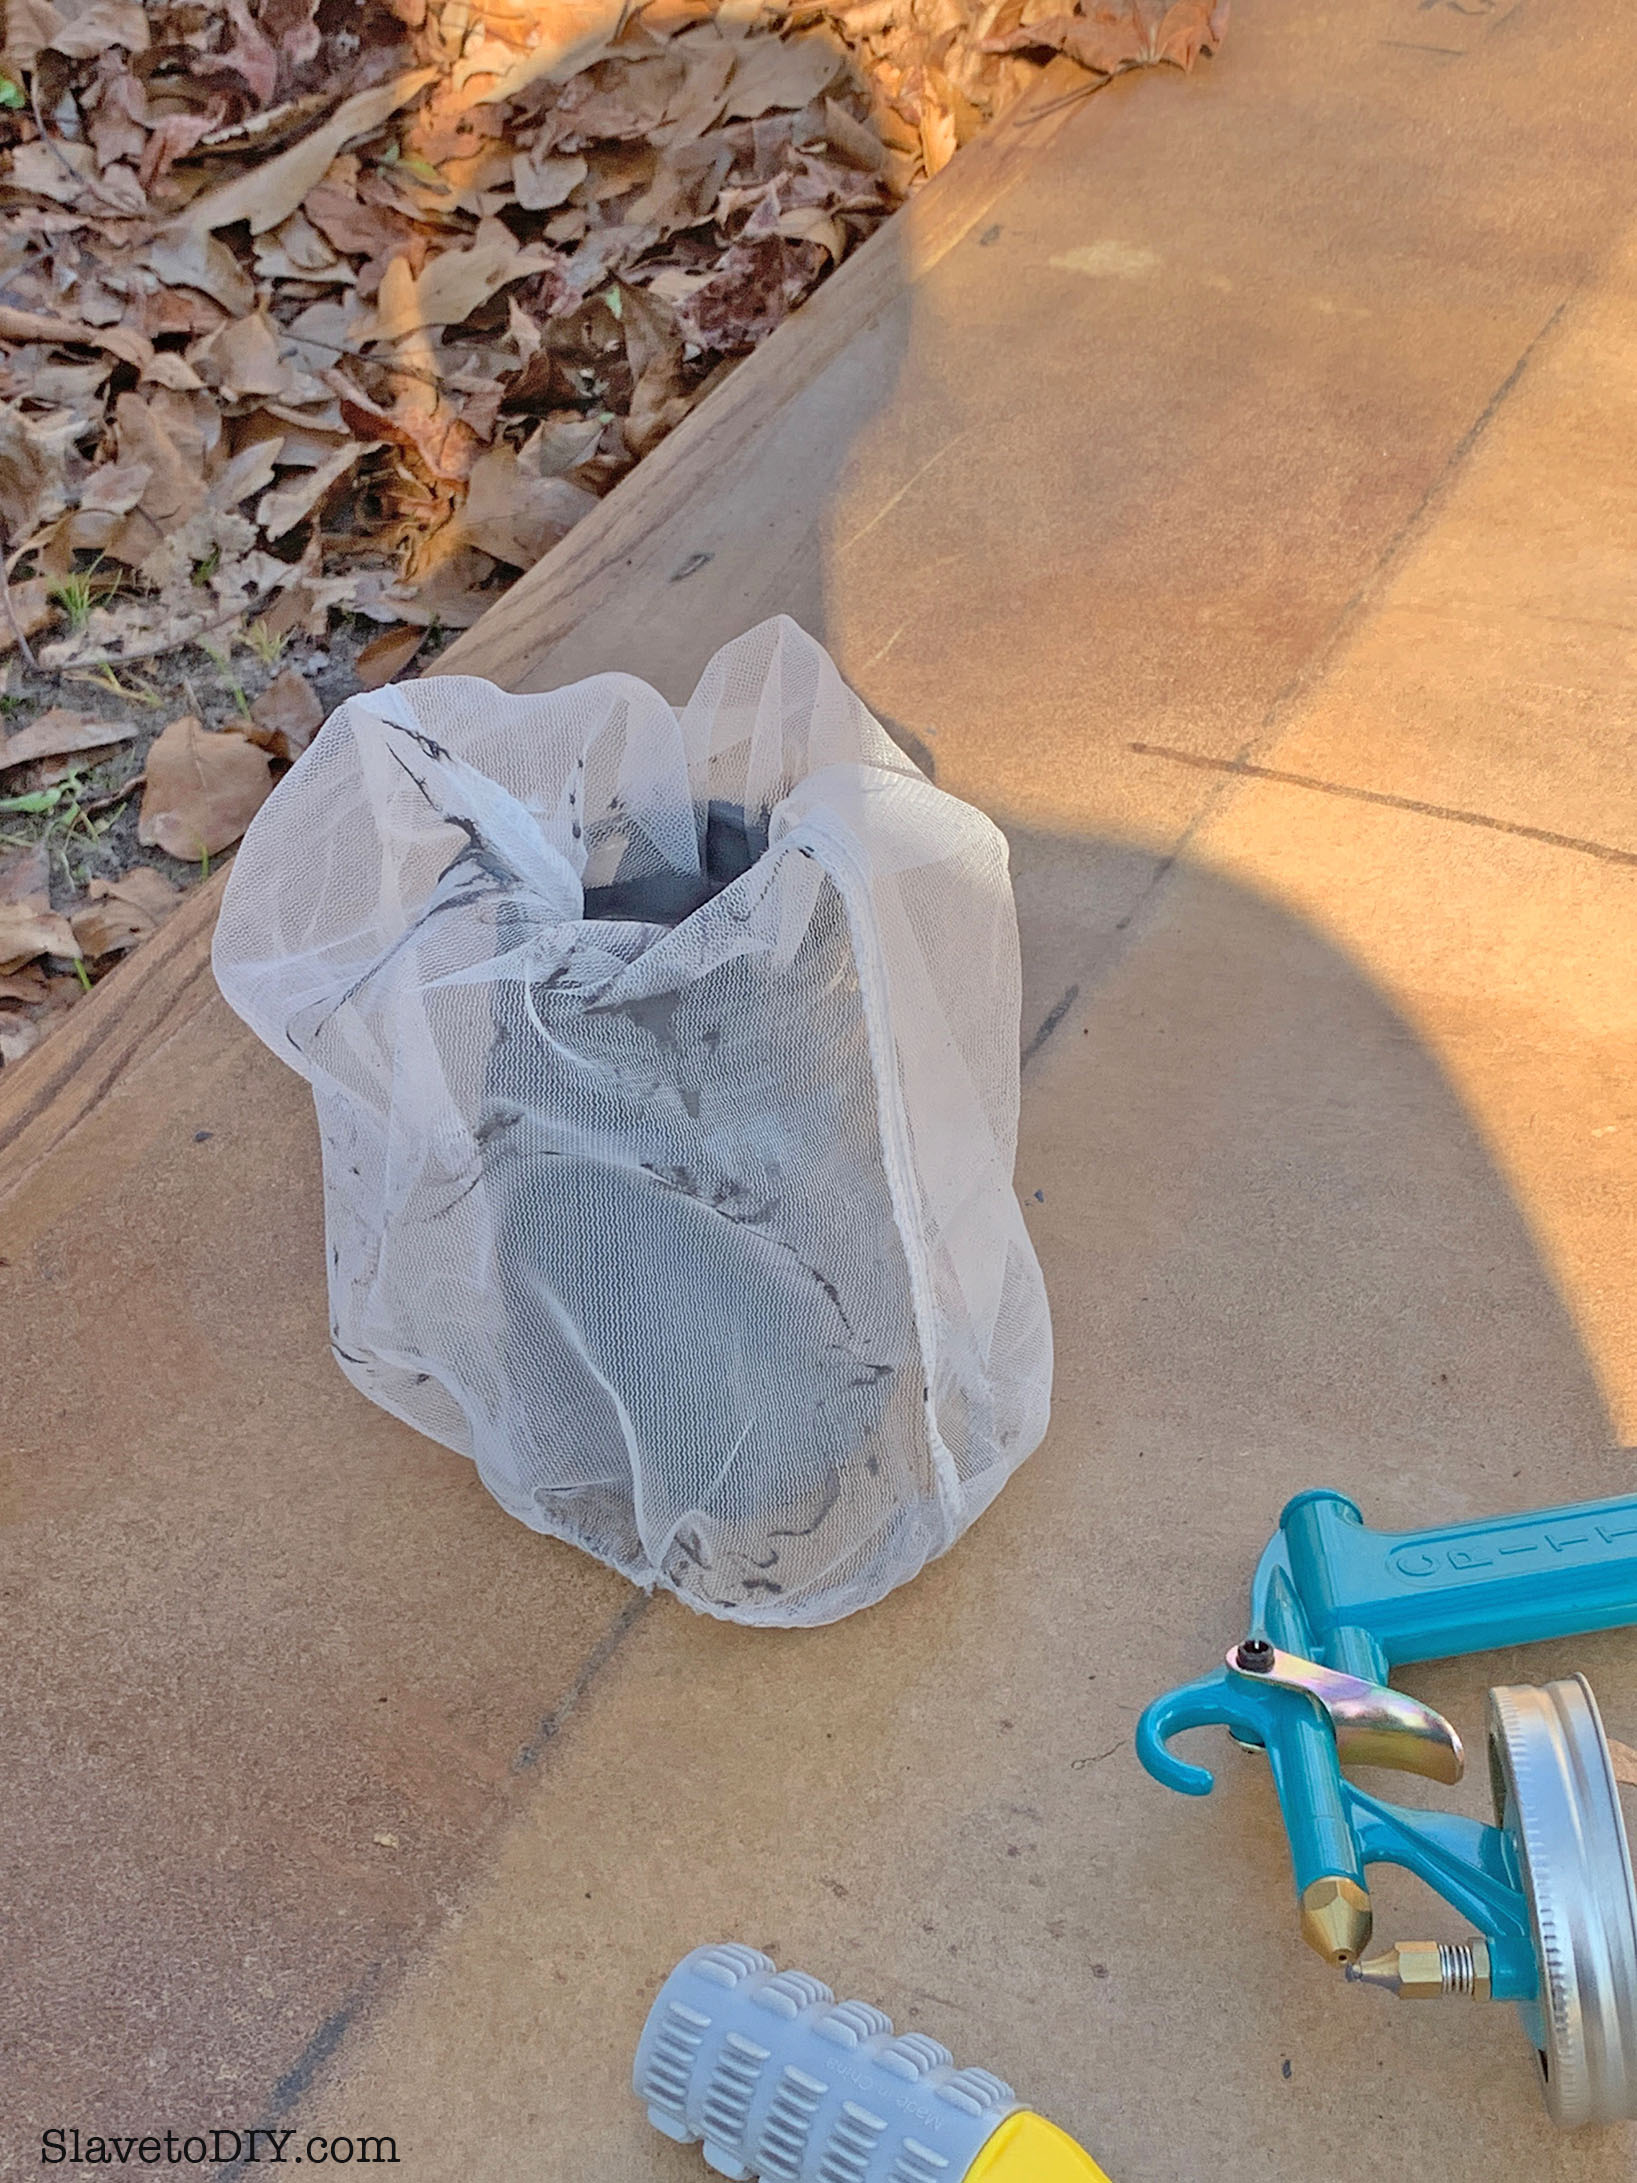
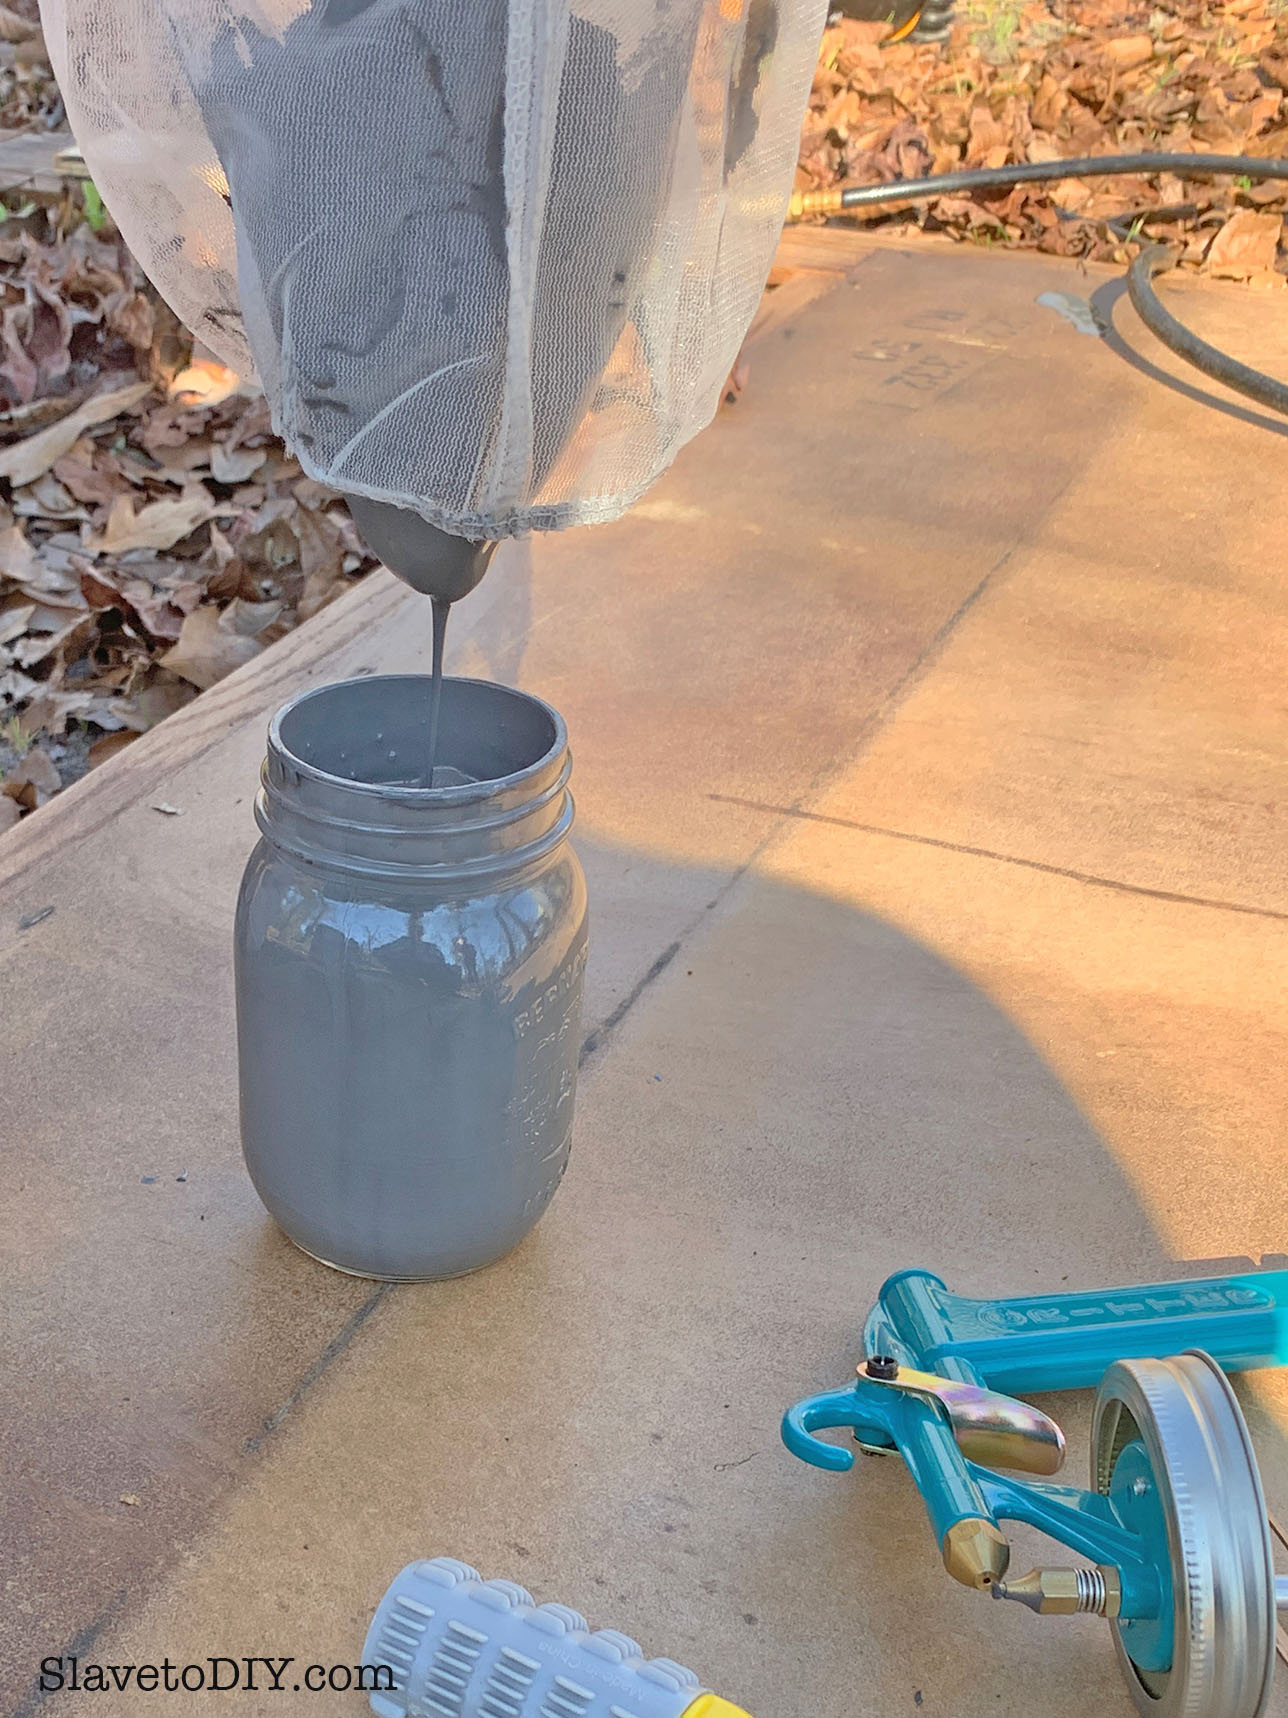
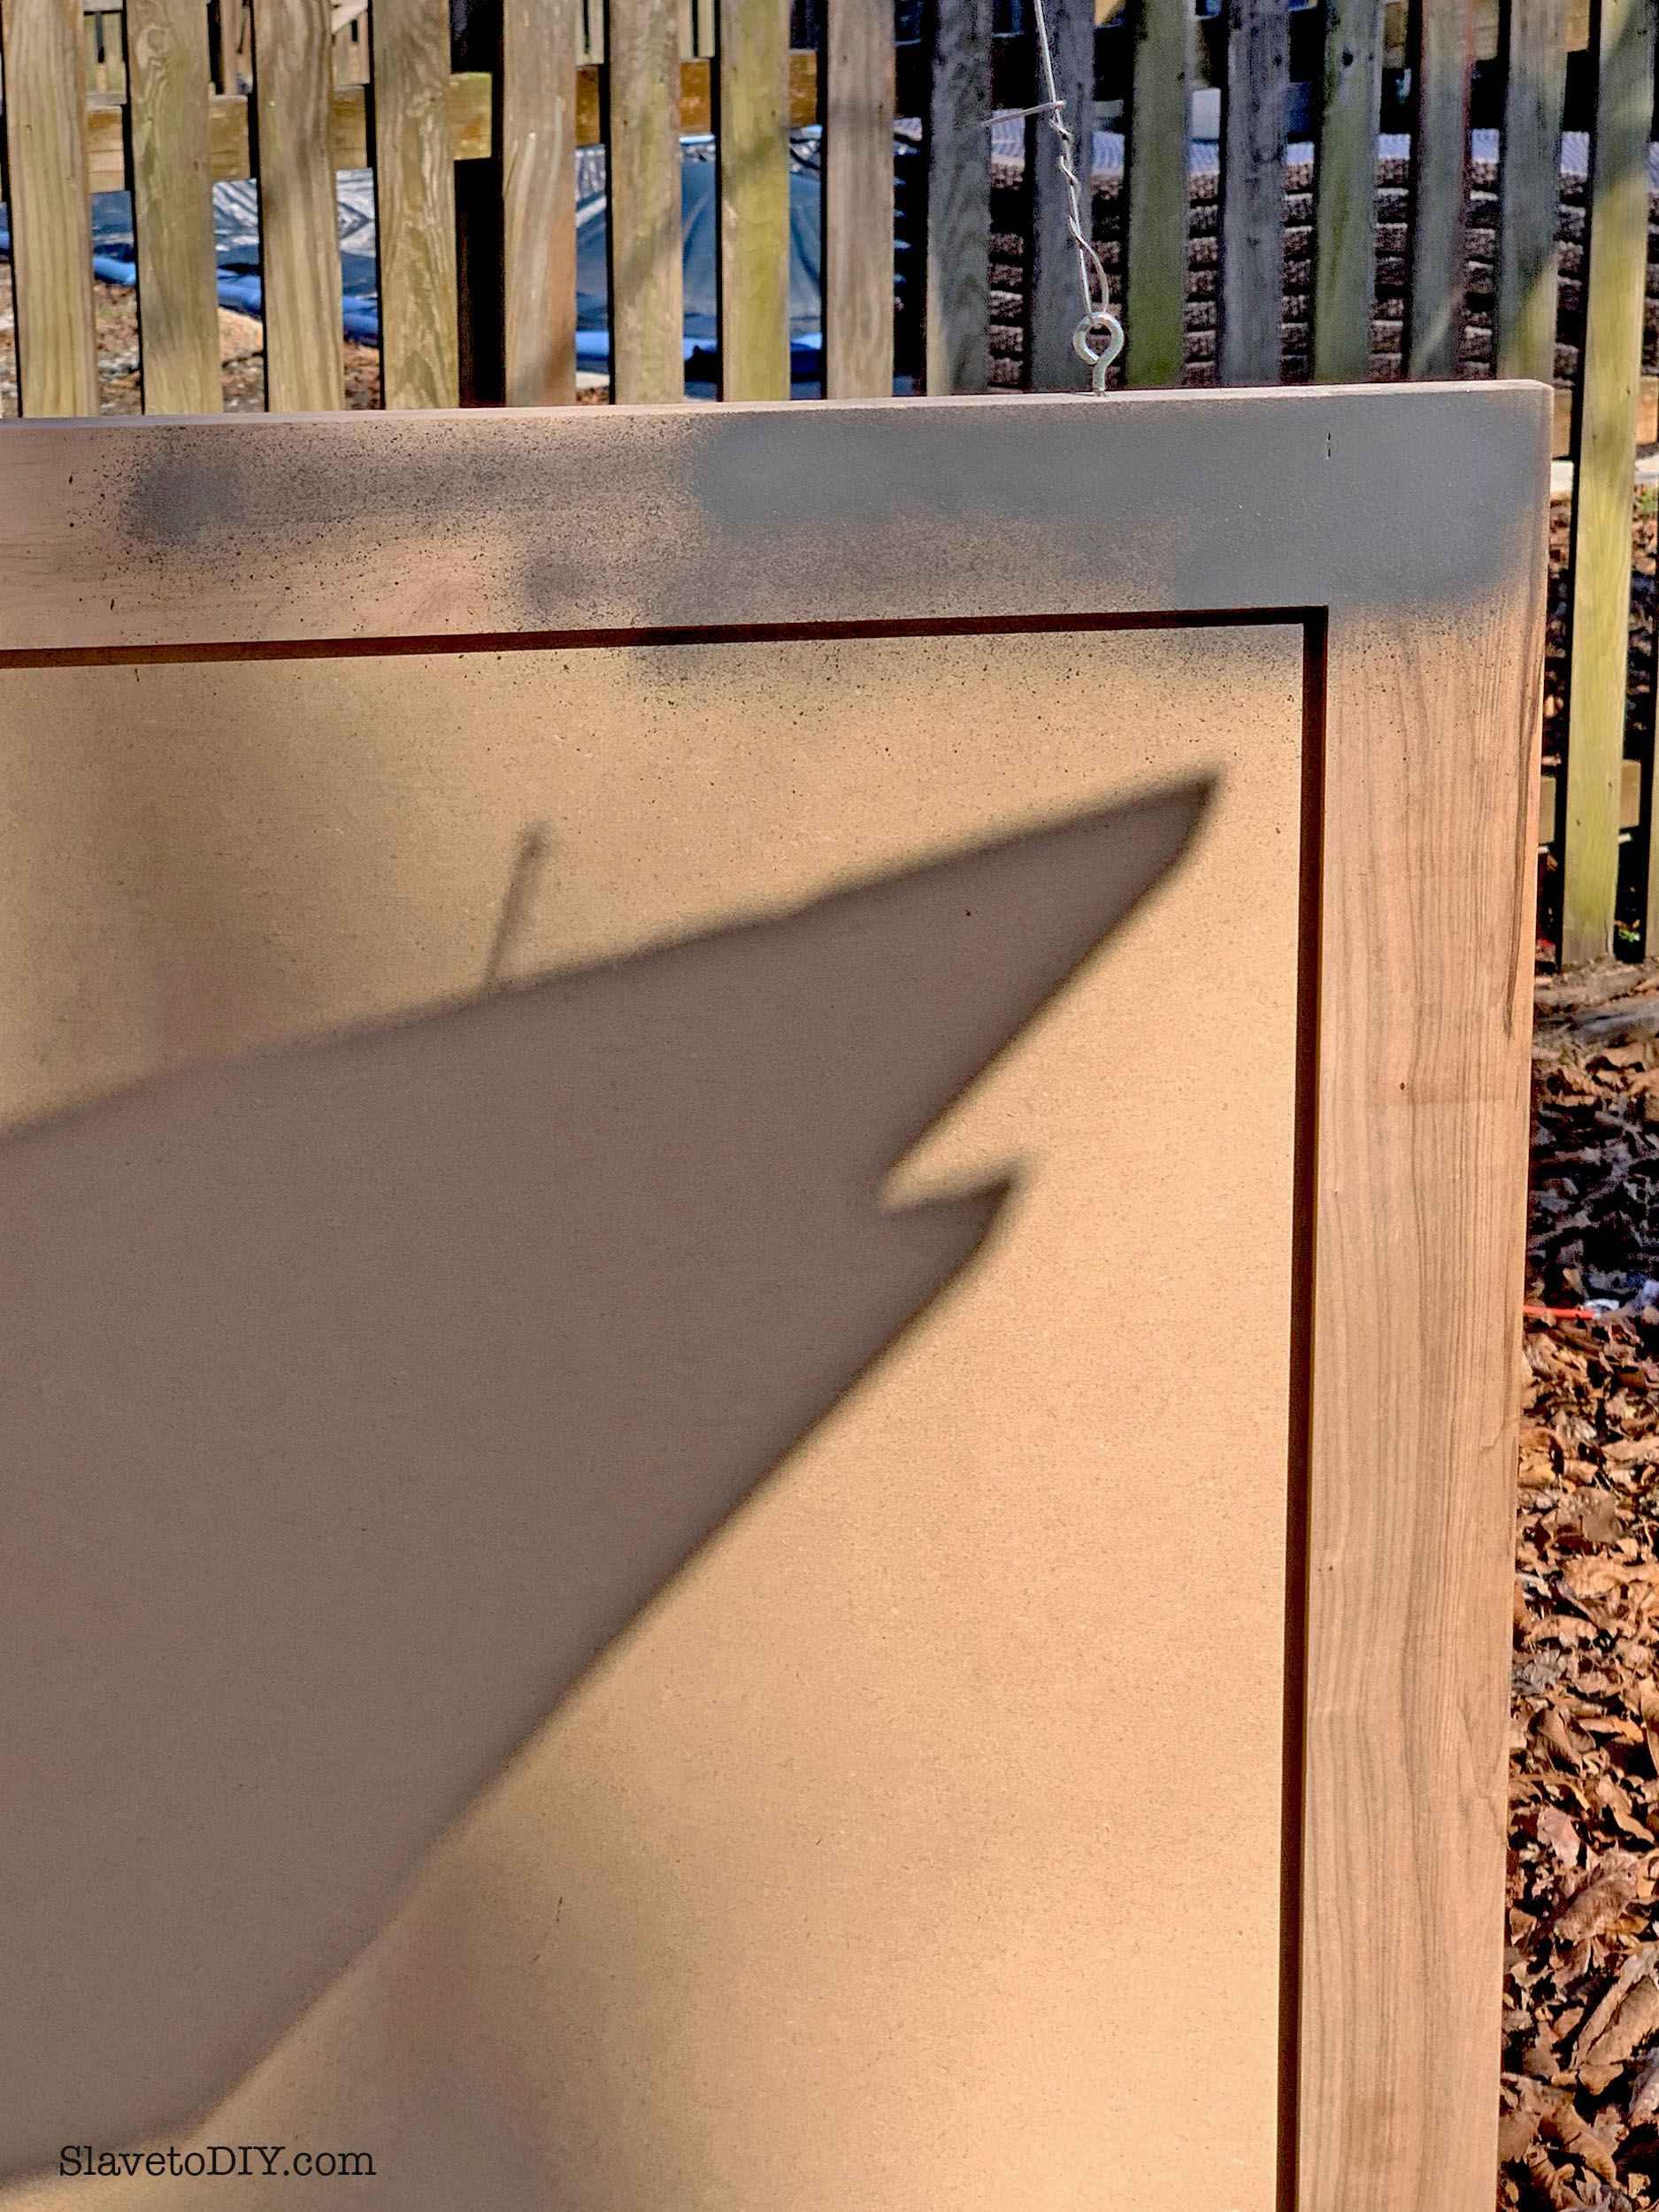
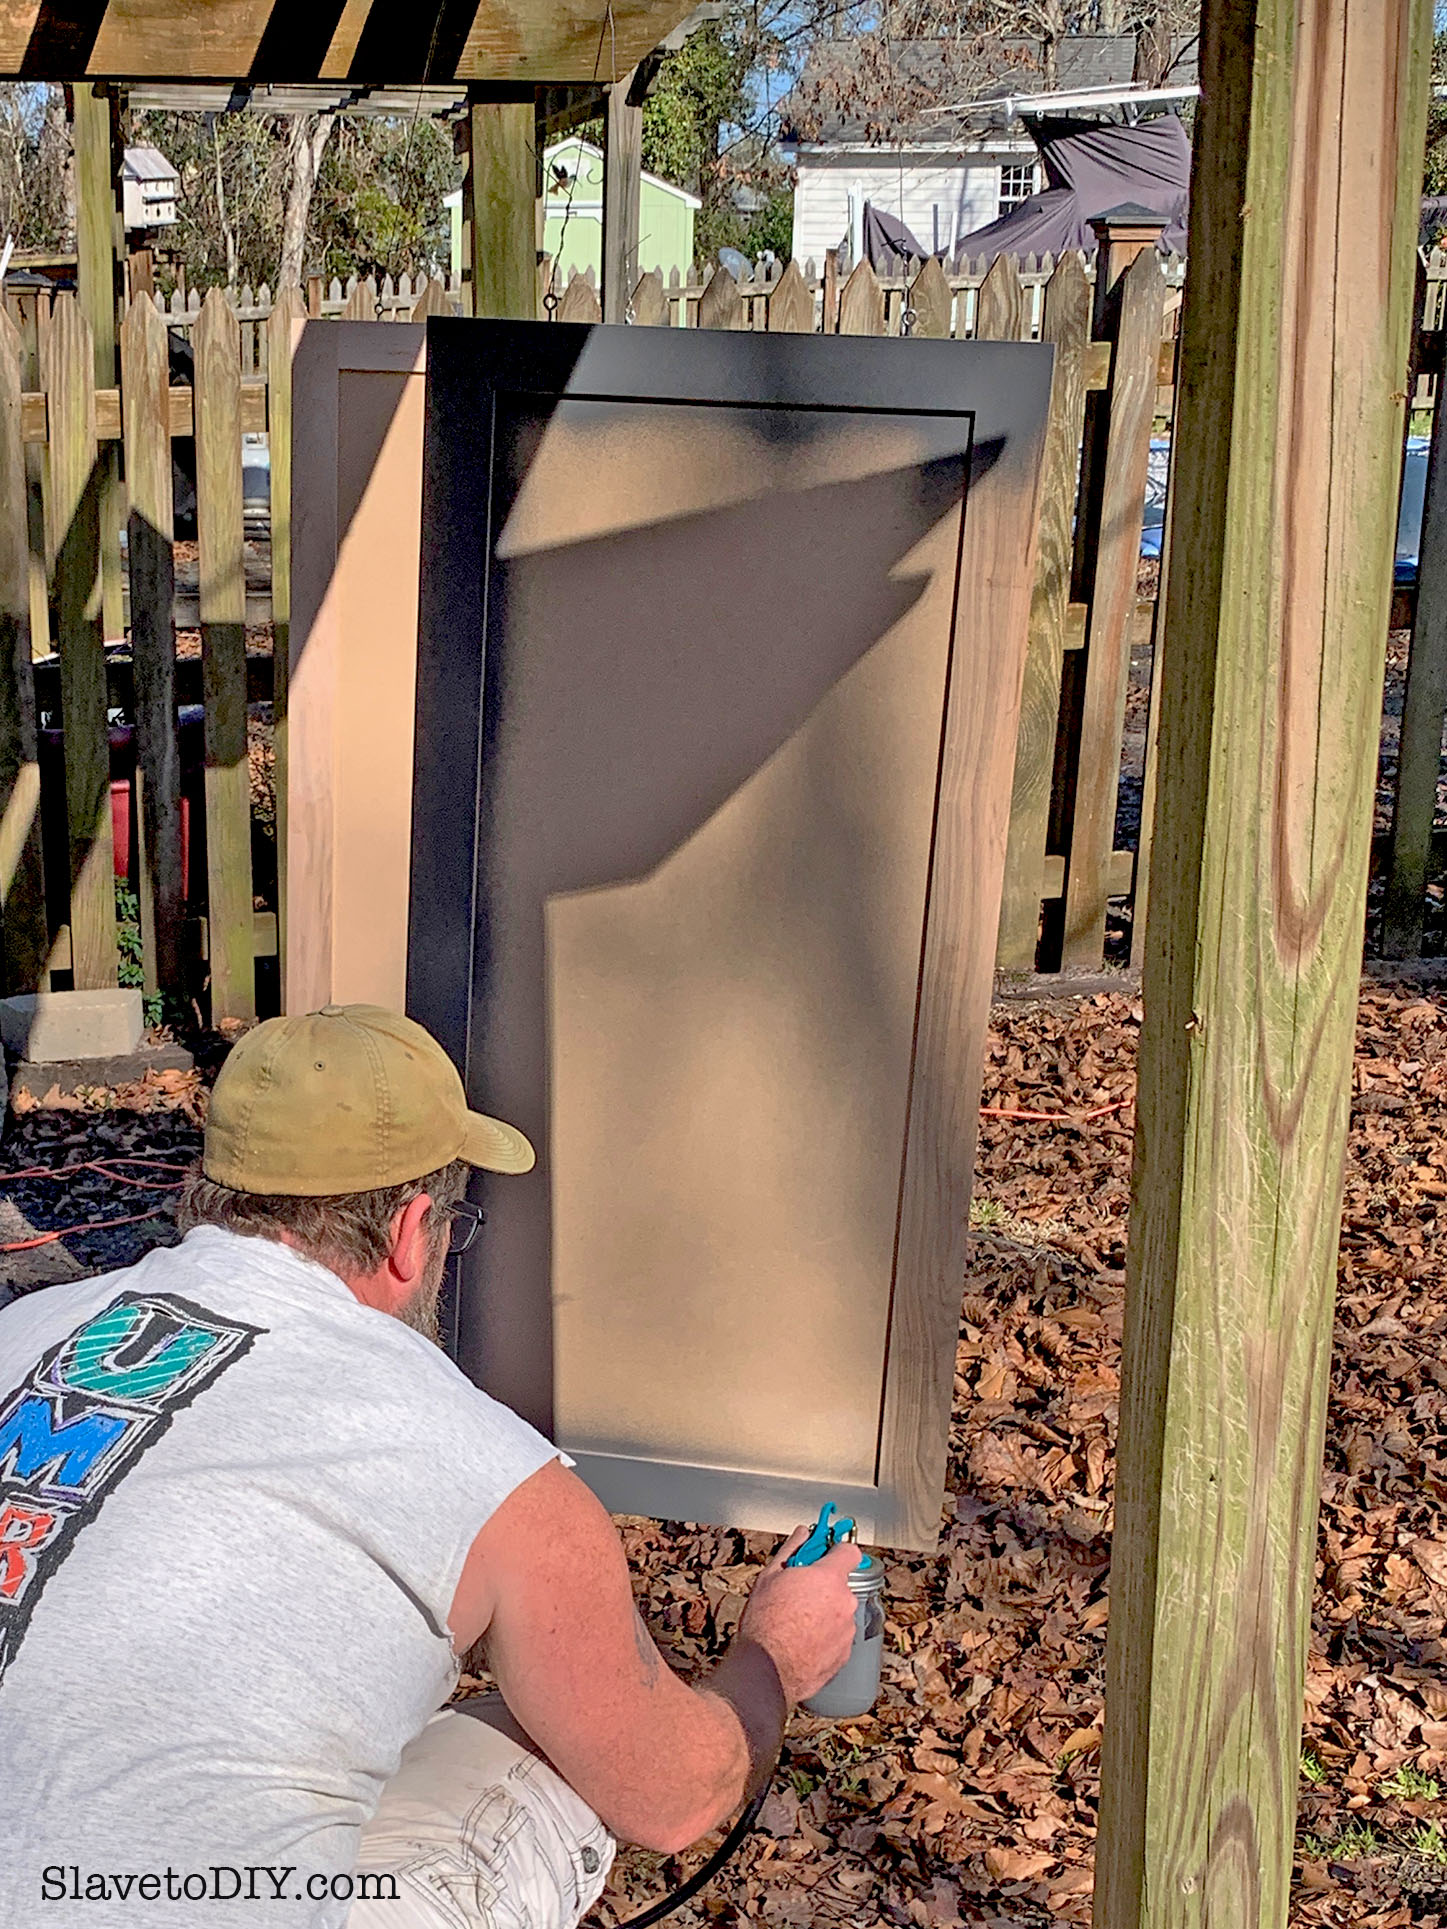
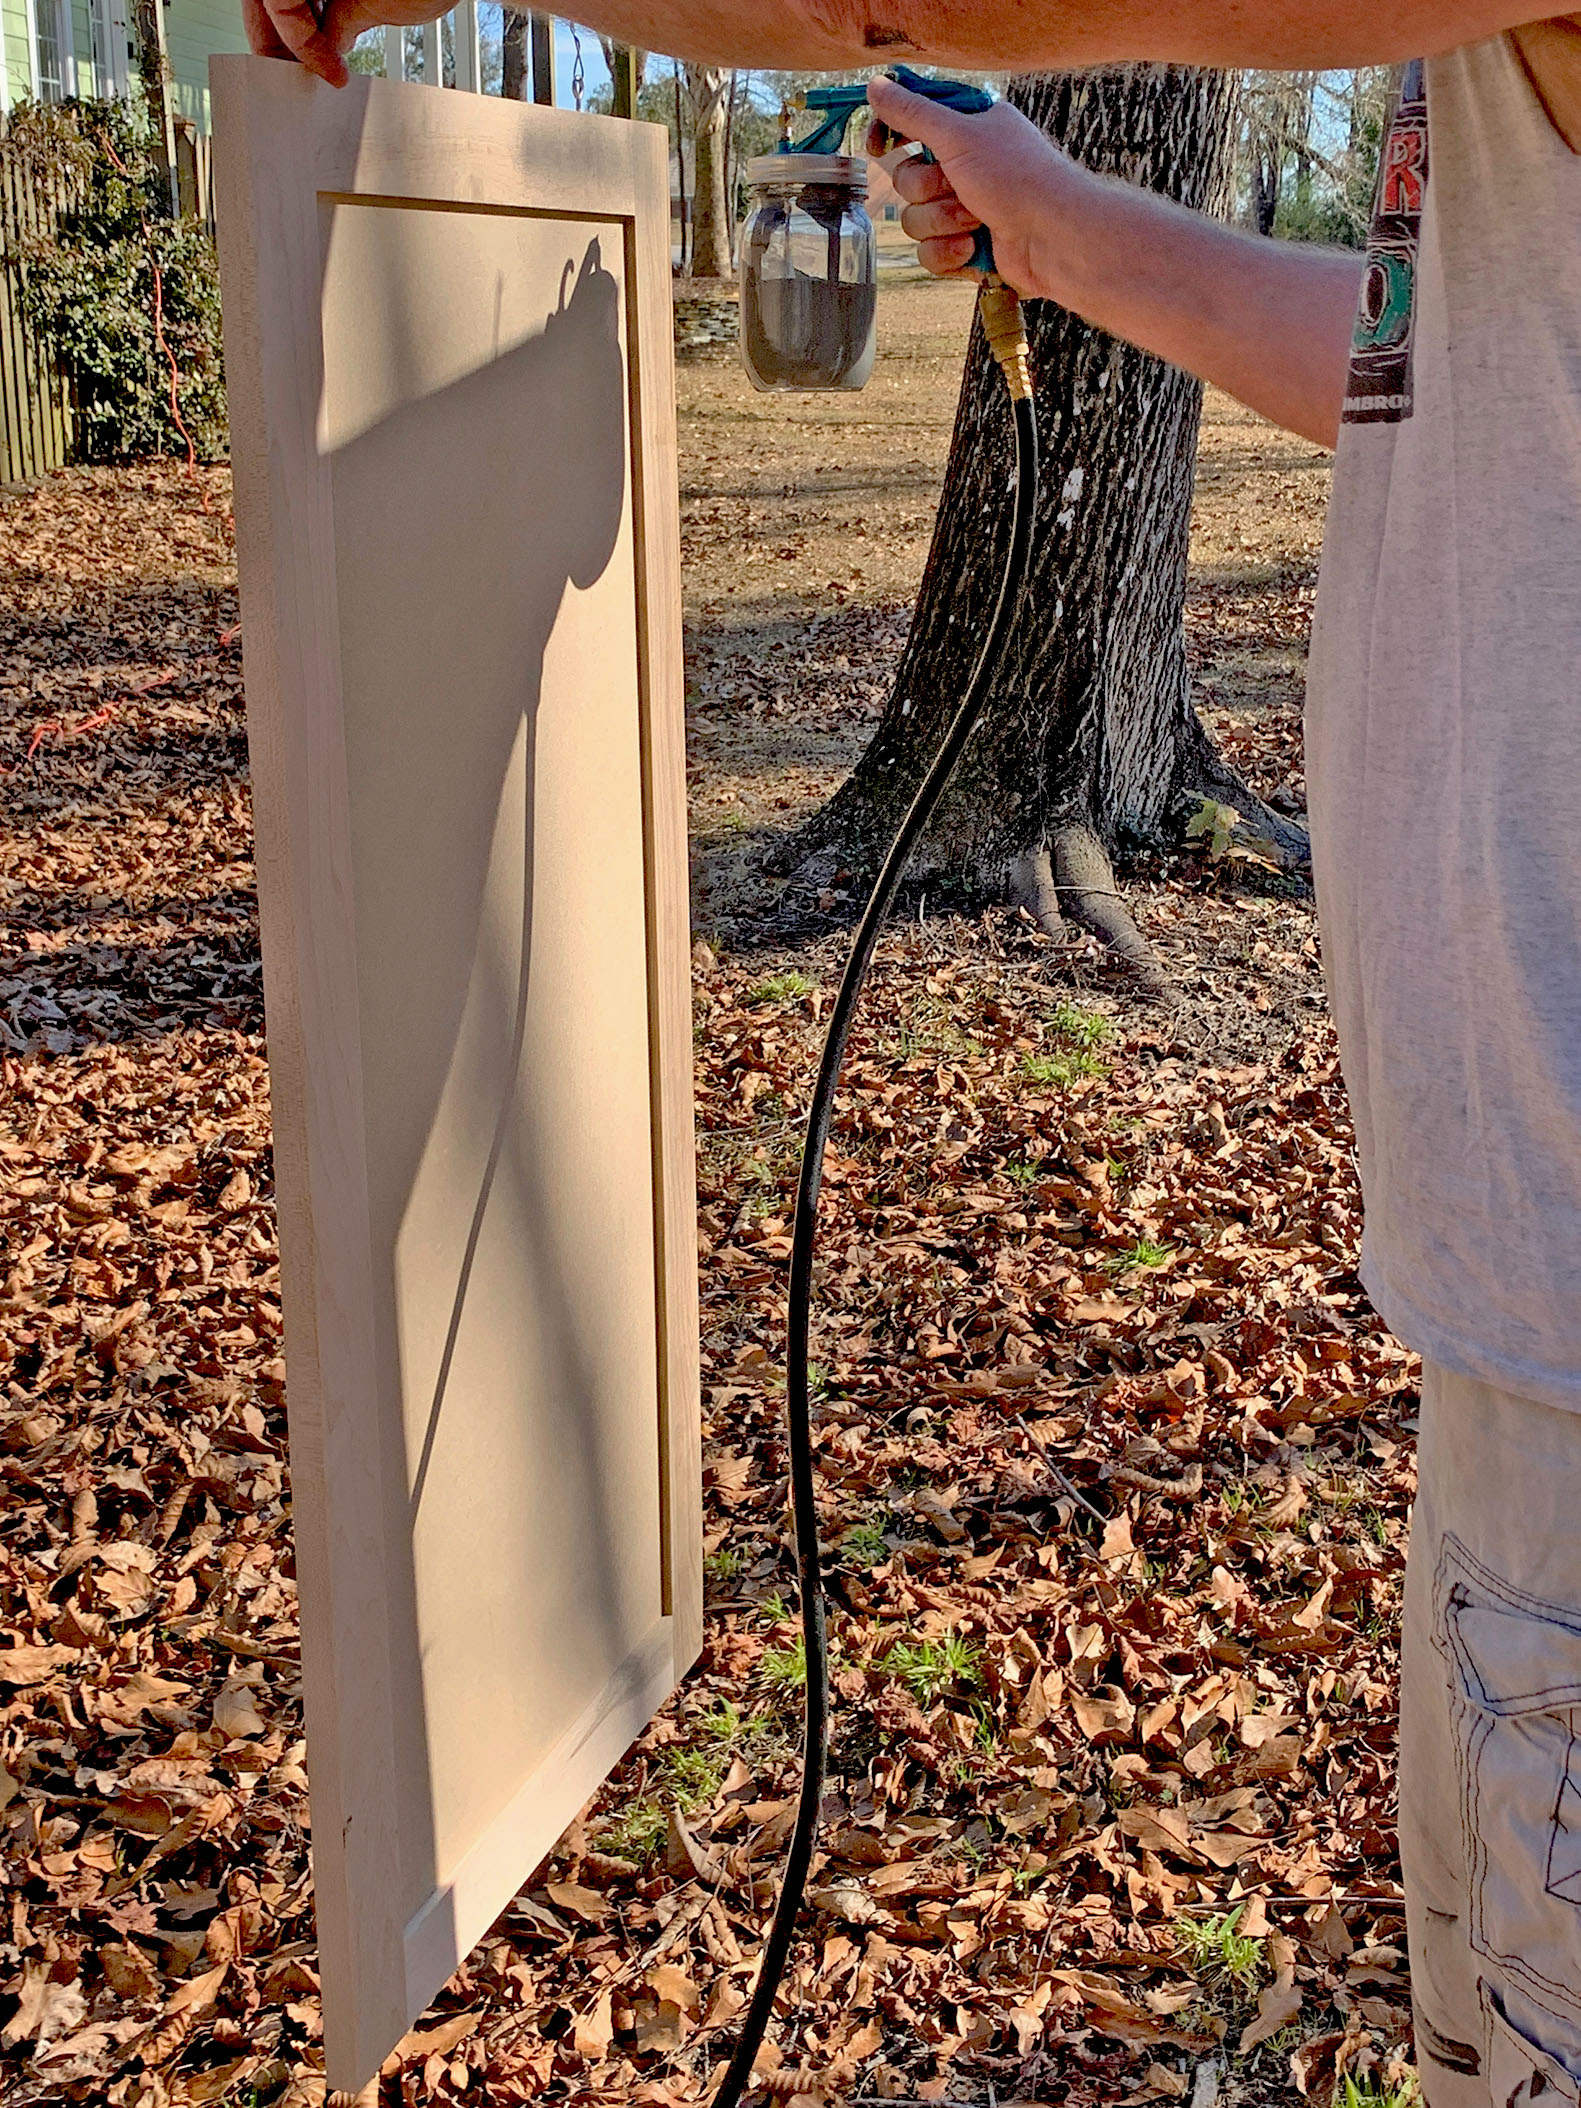
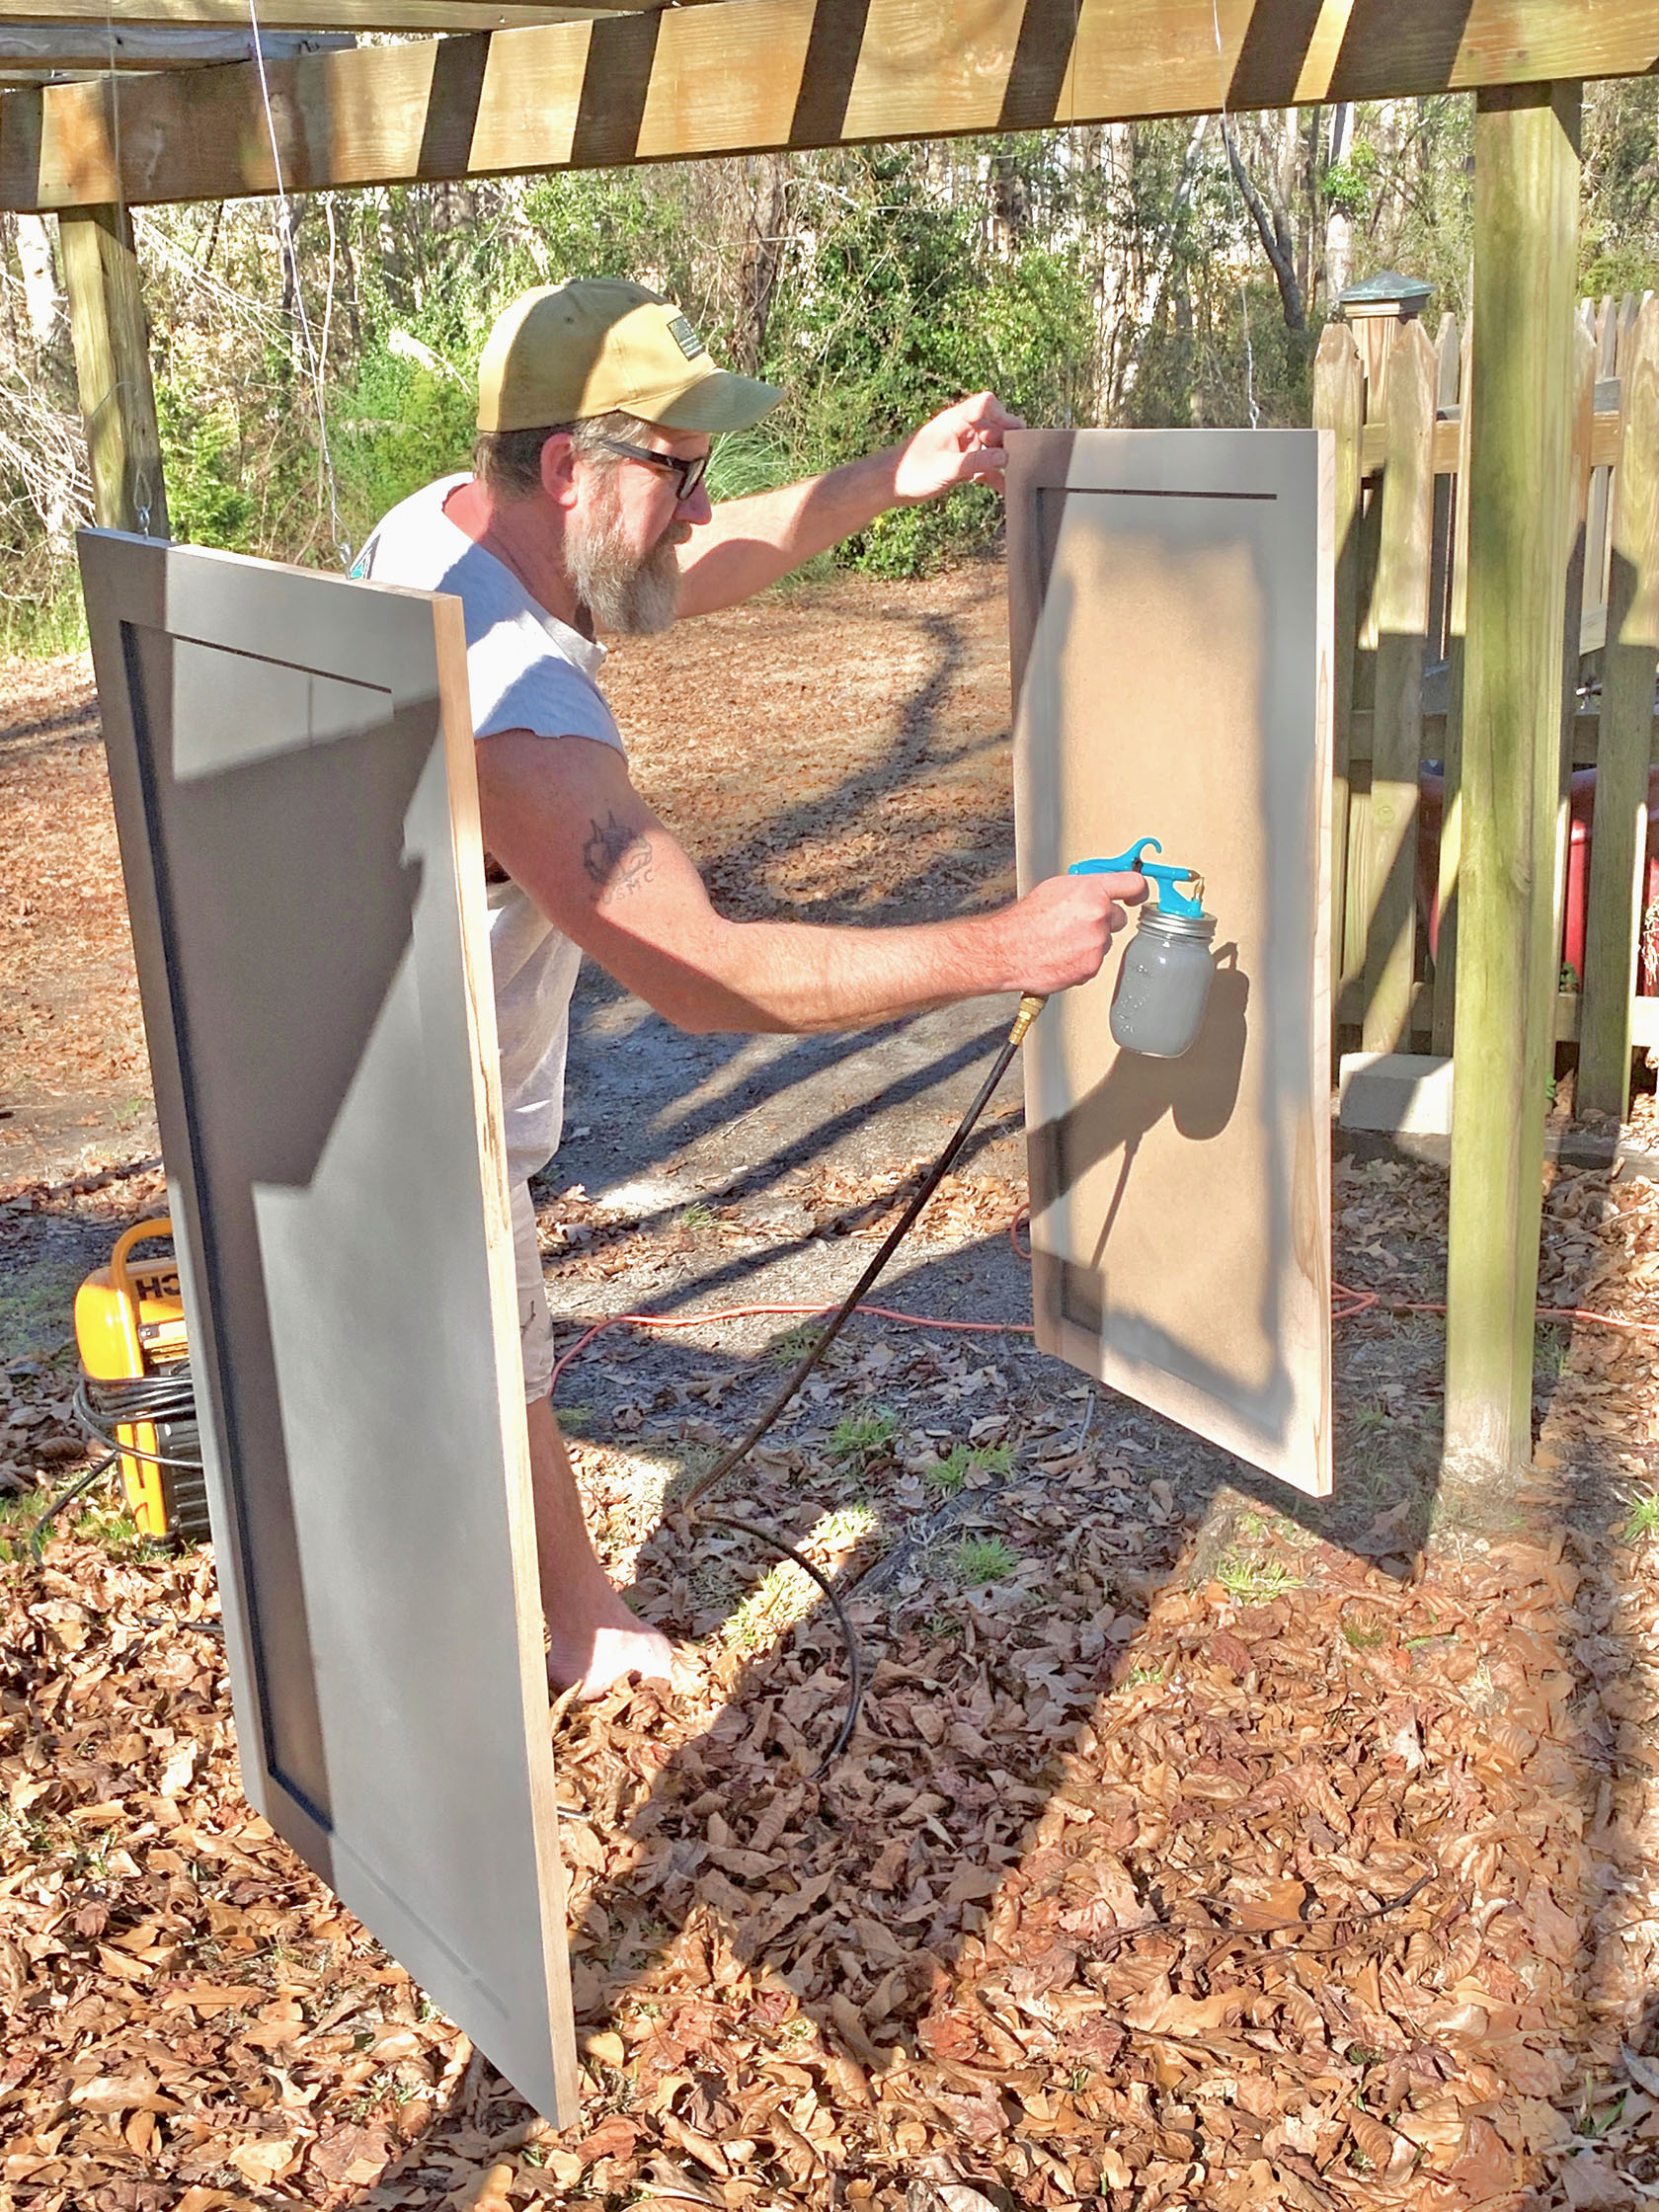
Pro tip: beware of the tutorials that tell you to slop on some paint with a brush. It’s going to turn out like poo and you’ll regret it. There’s a cheaper way to do this that has GREAT results. There’s a cute little basic paint spray gun that you can get for about $35 bucks that will take your cabinet paint job from “Yikes, she painted her cabinets” to “wow, how did you afford new cabinets?”
I recommend the paint from Benjamin Moore that makes it look and feel like a hard factory finish. If you’re one of those farmhouse gals that’s dreaming of a white kitchen, Benjamin Moore’s White Dove in CO-INSL-X Cabinet Coat is the BEST option. This is an enamel and will dry to a hard finish. It’s AWESOME. But, that paint is NOT cheap. If you can’t afford it, run down to the local hardware store and the paint guy should be able to tell you which paint to buy.
One of my favorite transformations is from Laura at inspirationformoms.porch.com. She did a heavenly flip on her kitchen:
Hardware:
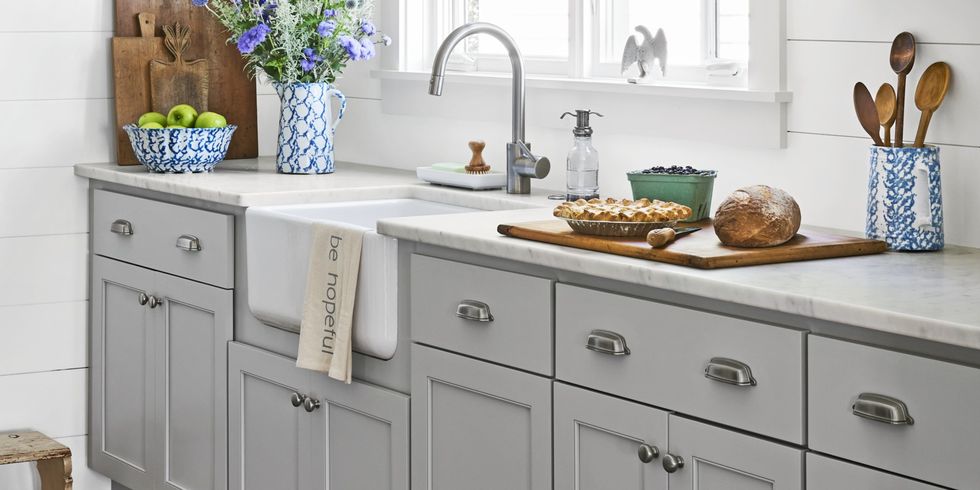
New hardware, and swapping out dated hardware, can completely transform a kitchen all by itself. It’s like remembering accessories when you get dressed up: the perfect necklace and jewelry to accent and improve your cute outfit. Think it’s expensive? Think again.
One of the coolest things that has happened because of Amazon in the last few years is that competition has SIGNIFICANTLY reduced the cost of cabinet hardware. The 3″ Stainless Steel Bar Kitchen Cabinet Pulls I purchased for a renovation in 2011/2012 at $25 each you can buy on Amazon today for a quantity of 25 for the same price (try to visualize the steam coming out of my ears). Yes, THEY’RE LITERALLY A DOLLAR APIECE. This is a project you can afford, and you don’t need any specialty tools to install them. If you purchase hardware with the same hole spacing as the old ones, you won’t even need to drill.
Country Living Magazine has a great blog post on easy DIY and inexpensive hardware updates. It’s amazing to me what a difference hardware makes, and how it can COMPLETELY change the style of a kitchen.
Countertop Update Kits and Butcher Block:
I know you want solid surface countertops. I get it. I love them, too. But, guess what, you can’t afford them right now. So, you’ve got two GREAT options:
Tiny budget: Vinyl contact paper. There are very convincing vinyl self-adhesive countertop paper kits that can make your laminate countertops look like Carrera Marble. They have great reviews and cost about $29 bucks. But, be careful with these: they won’t stand up to abuse or hot pans.
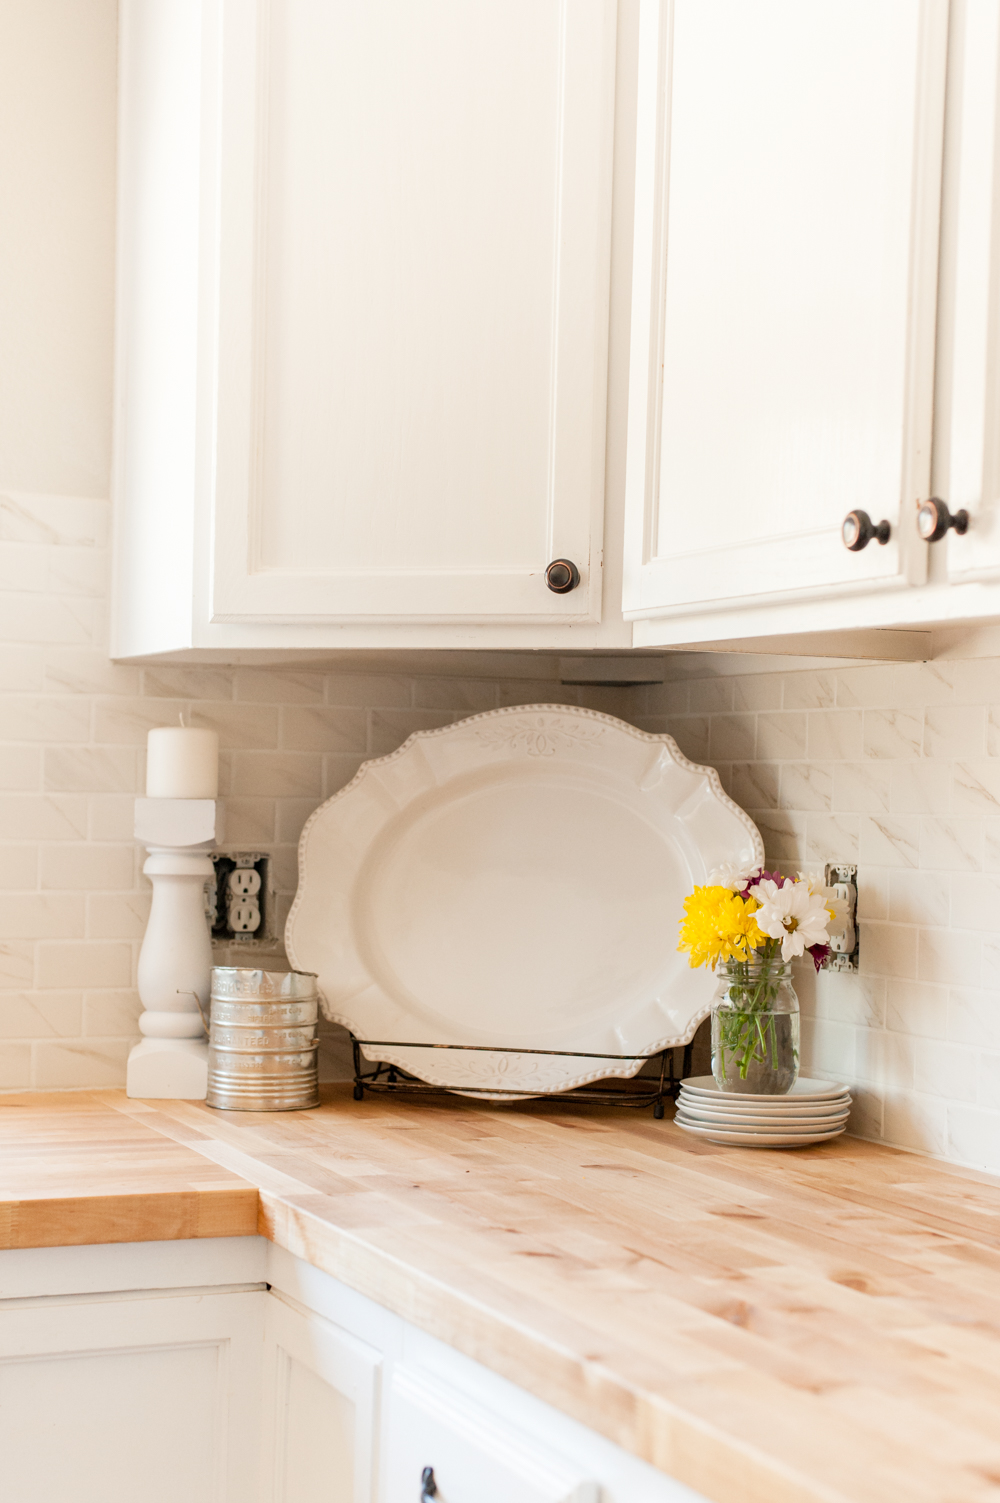
Small budget: Butcher block! It’s super popular right now and I have a great post on Where To Find The Best Deals On Butcher Block Countertops if you decide that’s the right option for you! To give you a ballpark idea, when I wrote the article, you could purchase 50 inches of butcher block countertop from the Home Depot for $105 plus tax. You’ll need some special oil to treat it and some screws to install it. How awesome is that?
Pro tip: You can find left over granite slabs on Craigslist and letgo for around $50 if you scour the internet and be patient. It’s not an easy project, but if you have any experienced craftsmen in the family, they can help you, so be on the lookout!
One of my favorite countertop updates is from my friend Krystle at Spruceandabide.com. She and her husband did a kitchen flip and I just love how it turned out (and definitely give them a follow on Pinterest and IG, they are the cutest couple ever):
Counter Stools:
Maybe your parents and friends donated some furniture to you when you moved in, and you know what? They were so generous because they didn’t want it anymore. Because it’s ugly. How are your barstools? Kitchen furniture can make your space look dated really fast. You can buy some VERY reasonable new bar stools both on Amazon and, my personal favorite place to find deals, Overstock.
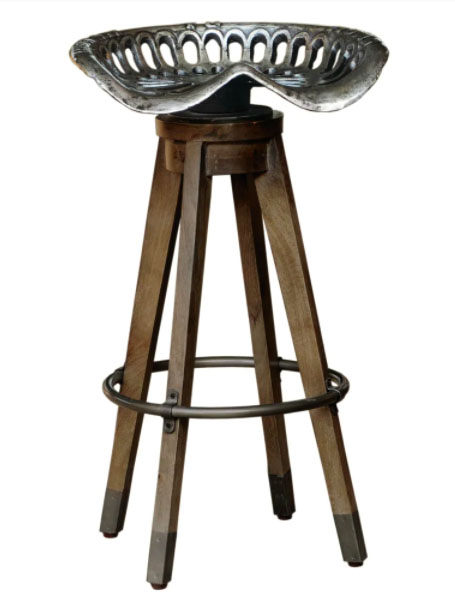
One of my favorite types of stools are tractor seat stools, they’ve been a thing in my native Vermont for several decades but have picked up steam more recently (thanks, Joanna). If you watch for antique tractor seats on Craigslist, you can add them to the top of a basic wooden stool, for about $25 each (plus the cost of the tractor seats and a little spray paint)!
Light Fixtures:
I’m not suggesting that you can get REALLY NICE light fixtures at this point in your life. But, what if they looked just like really nice light fixtures but were a lot cheaper (come to think of it, why are there more expensive fixtures when you can buy cheaper ones)? Once again, thanks to global competition, you can get some really nice looking light fixtures for a lot less than you’d imagine!
But, which ones should you swap out? Well, the giant florescent light fixture I would leave alone. I know it’s a bummer, but changing those out is not a straightforward process and I don’t want you to get mad at me for suggesting it (the replacement fixture isn’t that much, but it leaves an area of the ceiling needing repair and it’s a big mess). If you REALLY hate it, go get a new piece of plexiglass (they have seeded glass and rain pattern plexi panels cheap) for it and paint the wood on the outside to match your cabinets.
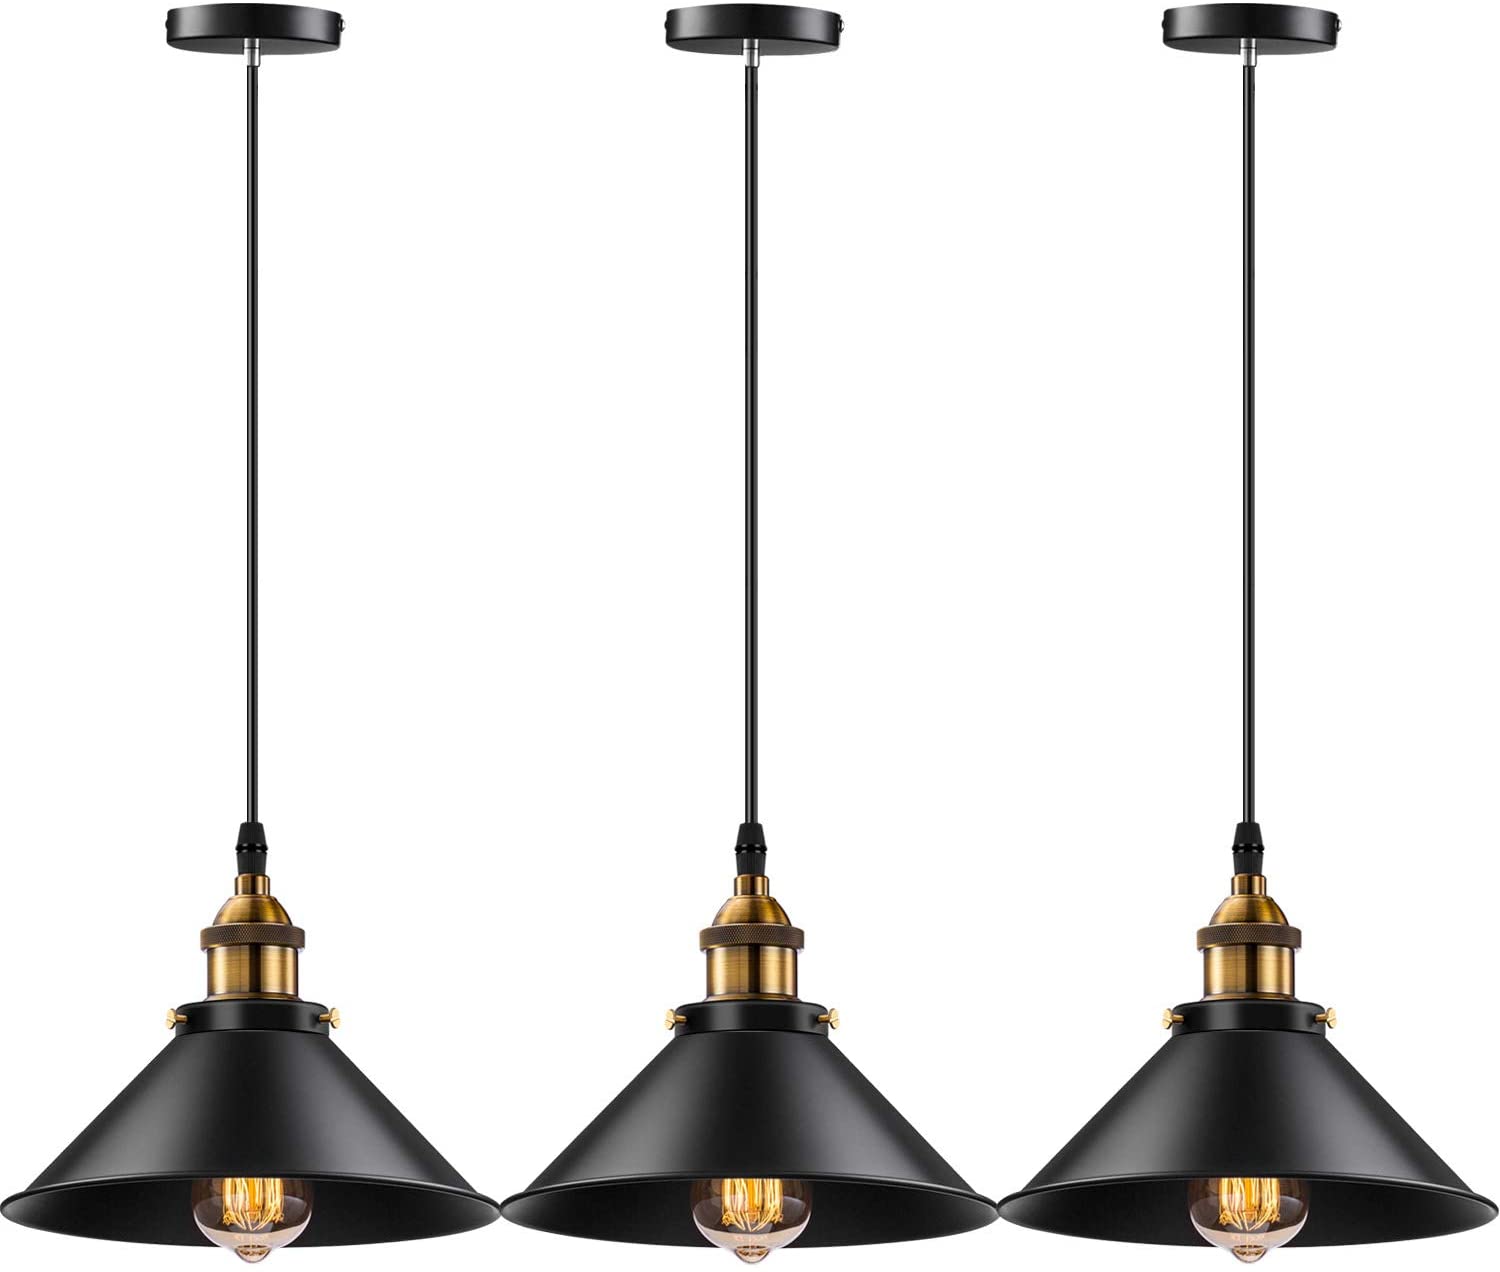
However, some light fixtures are very straightforward to swap out: if you have an outdated dome light over your kitchen sink, that’s a great opportunity to swap it for a pretty pendant for about $25 bucks. You can get a Three Pack of Industrial Edison Bulb Pendants to replace island lighting for $35 bucks! These might not be Pottery Barn fixtures, but I’m betting that your friends can’t tell the difference and YOU are going to love them.
Repurposed Furniture Island:
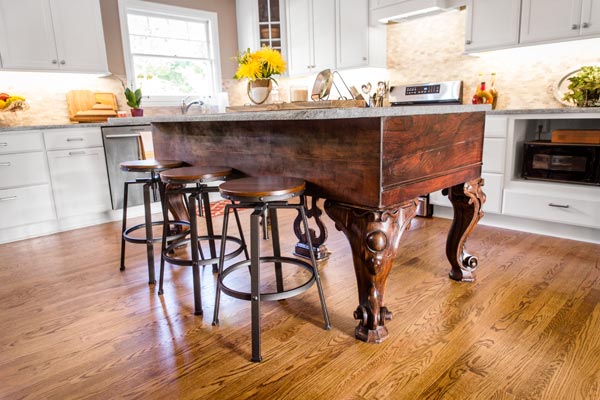
One of my favorite kitchen updates is seeing furniture transformed into functional kitchen islands (for a LOT cheaper than a custom build or using store bought cabinets)! If you want to see lots of ideas on this, check out our design inspiration post on Kitchen Islands Out of Repurposed Furniture and Materials! Craigslist finds are my favorite source for these, or dressers you couldn’t find a purpose for, etc. The point is, the island adds counter and storage space for next to nothing in cost if you’re creative!
My favorite idea is fancy antique pianos that are no longer working… how cool is this?
Backsplashes:
What’s popular right now? At the Home Depot you can get 3X6 Bright White Subway Tile for 15 cents each (and they generally ship free to your house)! That means that for the entire run, let’s say you have 10 linear feet of counters (and an 18 inch tall backsplash), the tile would cost you $19 plus tax. Now, once you add in the mortar, grout, and basic tools, the total will probably be closer to $100 bucks. But, what a HUGE impact! One of my favorite subway tile transformations is from my friend Krystle @spruceandbide on Instagram. Isn’t it cool???
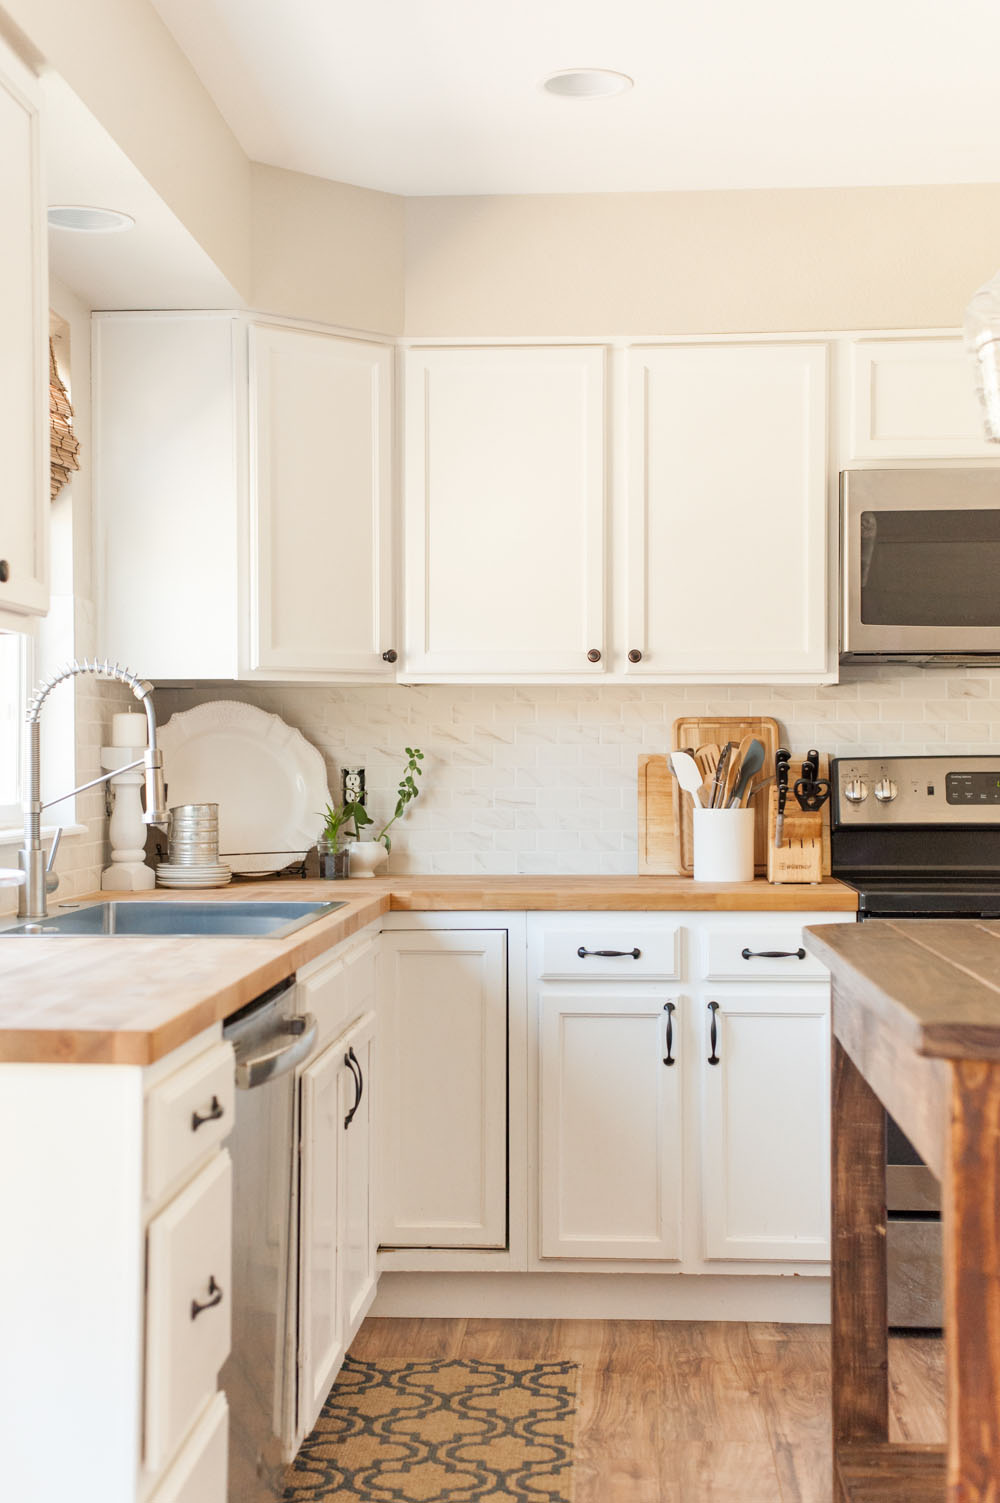
The point is, just because you’re broke doesn’t mean you have to live and cook in your depressingly outdated kitchen. There are absolutely ways to update your kitchen without spending a bunch of money!
How have you updated your spaces on a small budget? I’d love to hear about it!
Thanks for stopping by and check out more design inspiration and DIY on our blog. Cheers!
*Legal stuff:
I am honest about my experiences with different products and write because I enjoy it. I do however, have the opportunity to earn money for my writing, also.
Slavetodiy.com is a participant in the Amazon Services LLC Associates Program, an affiliate advertising program designed to provide a means for sites to earn advertising fees by advertising and linking to amazon.com. Amazon offers a small commission on products sold through their affiliate links. Each of your purchases via our Amazon affiliation links supports our cause at no additional cost to you.
If a blogger links to an Amazon product (with a special code for affiliates embedded in the link), and a reader places an item in their “shopping cart” through that link within 24 hours of clicking the link, the blogger gets a small percentage of the sale. Amazon links are not “pay per click.” If you click on the product link and stay around Amazon and purchase something else, however, I will get a commission on that sale.
Slavetodiy.com is also a Sovrn affiliate advertiser which works similarly.
