I have been wondering about using a paint sprayer for years now, because of course I see all these gorgeous finishes on people’s cabinets, furniture, and small paint projects. So, I did a little research, and finally settled on a small project paint gun that is inexpensive, works really well, and is very simple to set up and clean up. Here is the process and what we used to get outstanding results!
*This post may contain affiliate links. Please see full disclosure at the end of the post.
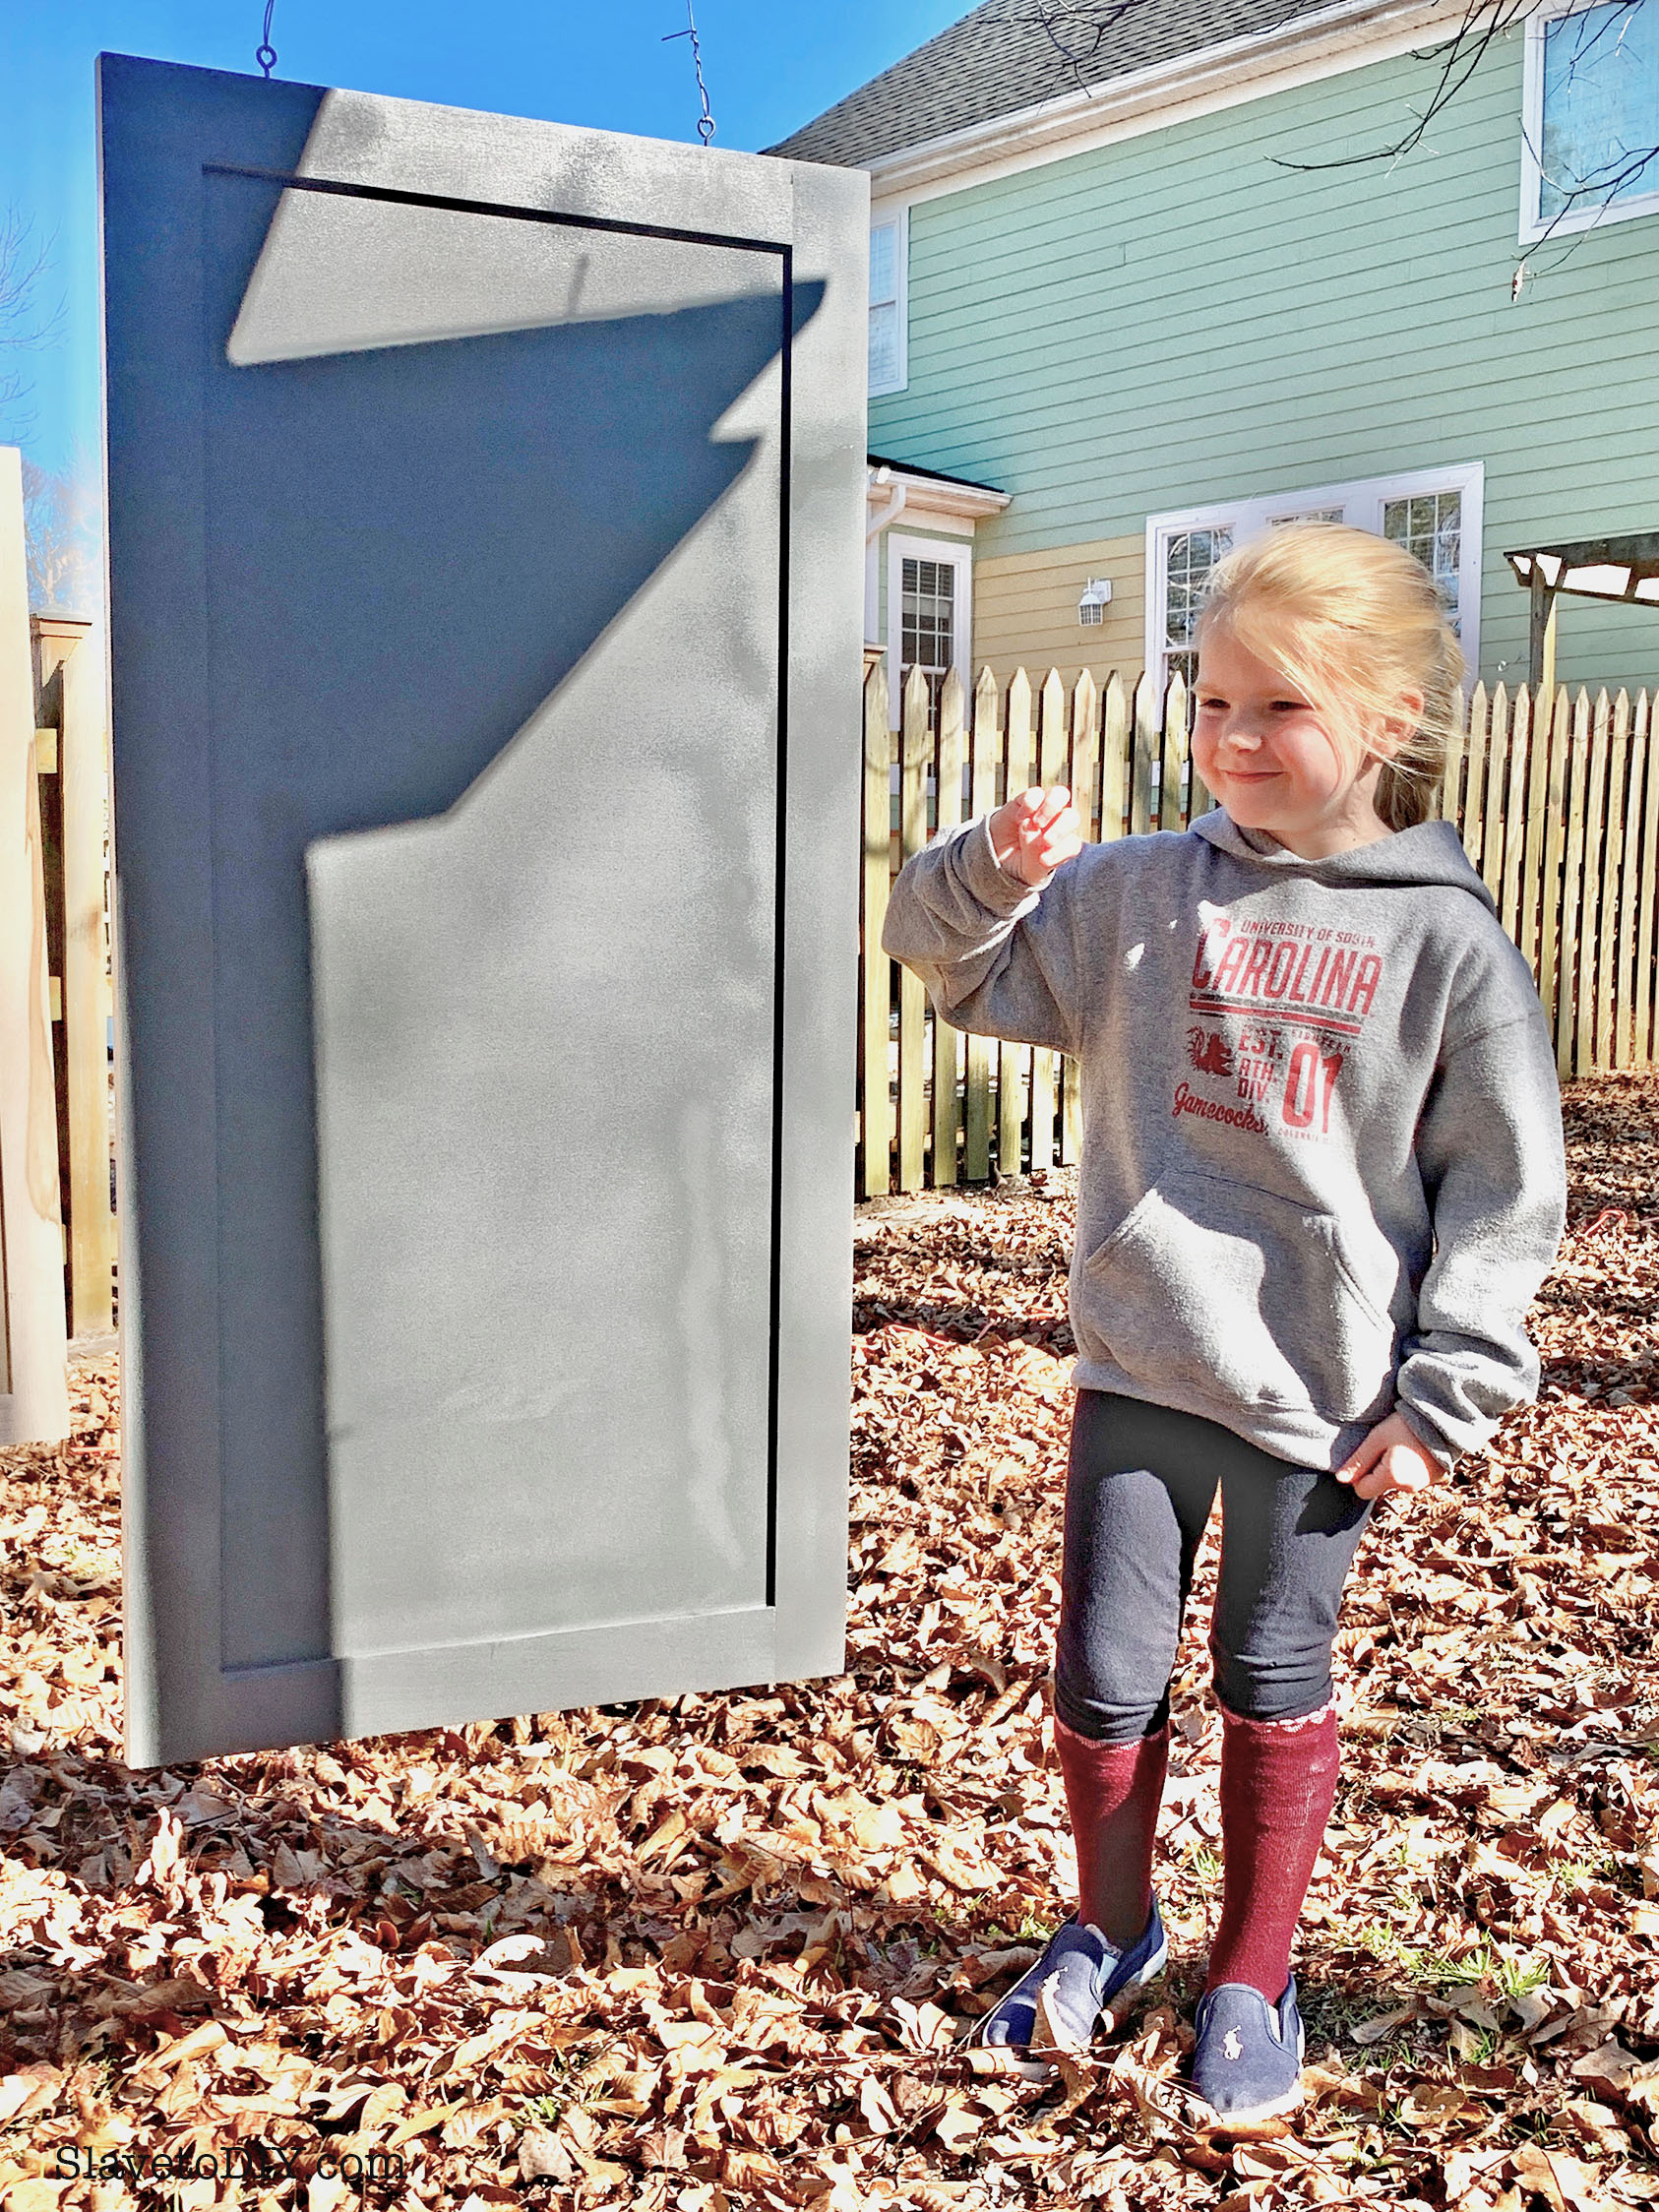
The first step is having a place to paint. Now these doors were unattached and I REALLY didn’t want to do prepwork inside to paint (especially because of the cats). So, we waited for a day when the wind was relatively still, and set up a clean work surface on the ground and screwed in eyelet screws into the top of the cabinet doors. Then we wired them to an outdoor arbor so they were suspended and accessible.
What you’ll need:
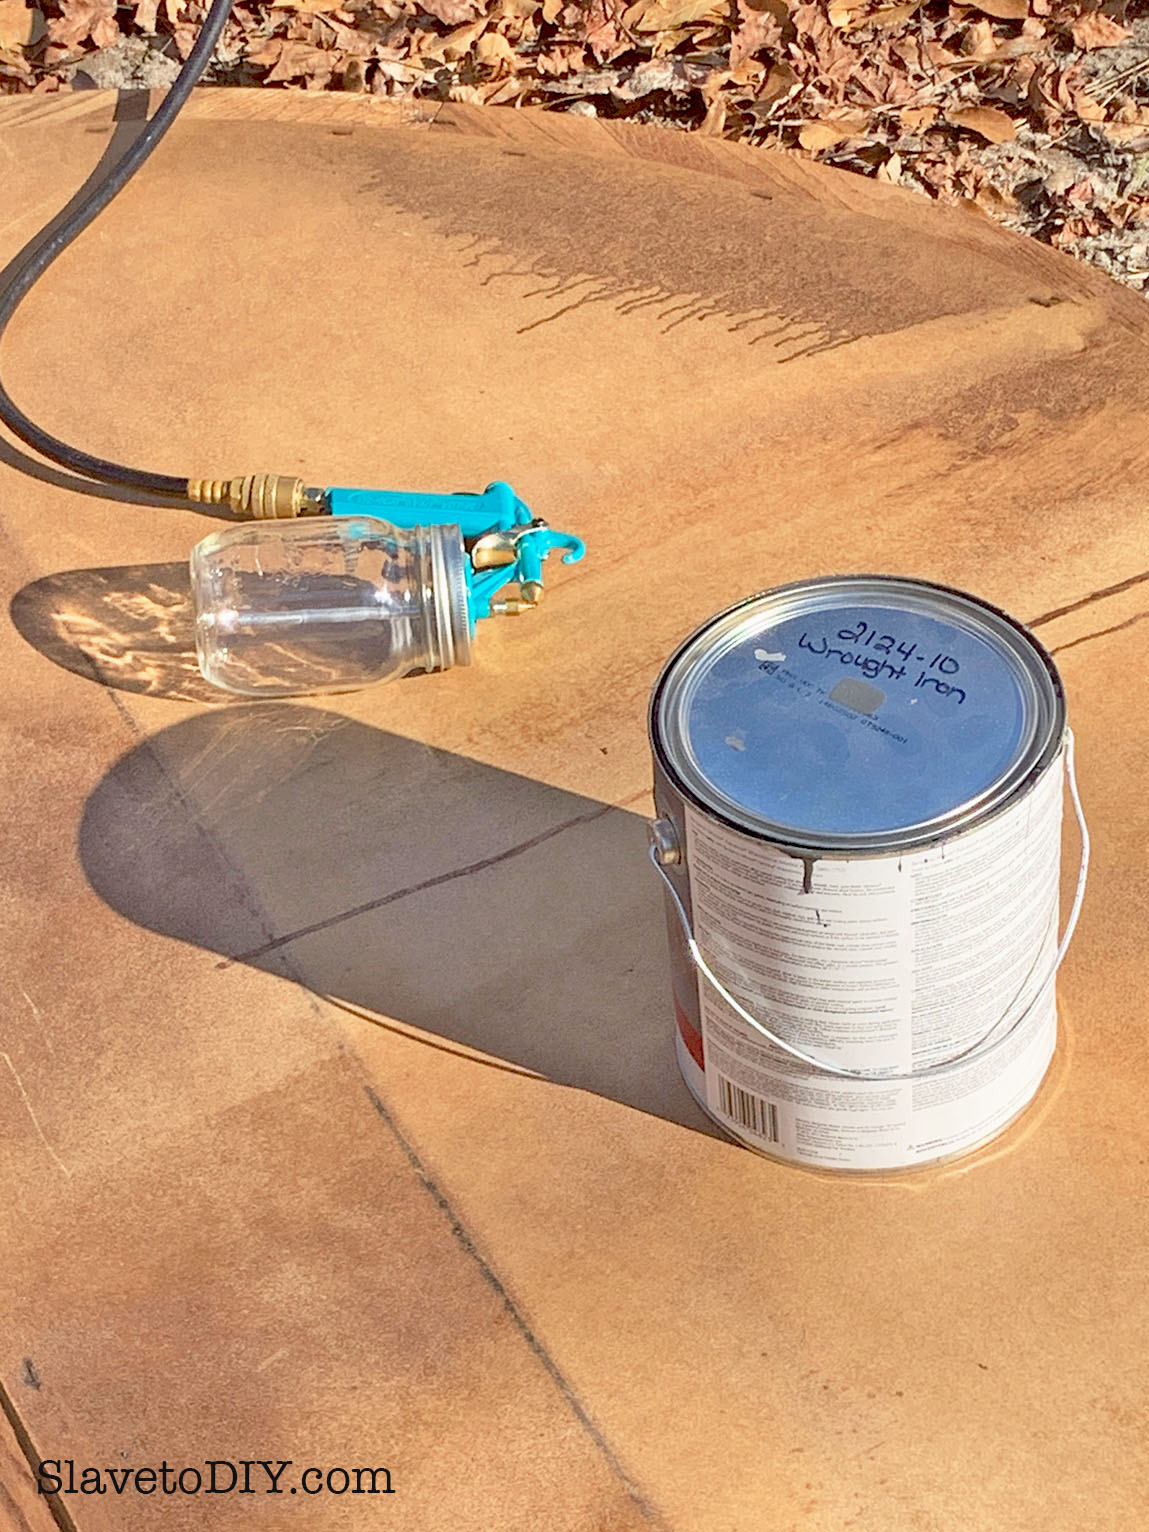
A paint gun: we used the Critter Paint Gun, (great design, very simple, and the best news: CHEAP!).
Paint straining bags: you can get these for a buck and change at hardware stores or buy them online: Paint Strainer Bags.
A compressor, hose, and basic attachments. We have a large Dewalt Compressor (which I bought apparently thinking we’d be framing walls and working in a commercial building environment) but we used the smaller and much more easy to wield Bostich Air Compressor for this project).
First we dry fitted everything on the gun to make sure it worked with the compressor hoses.
Then we used one of the paint strainers to strain the paint into the jar.
TIP FROM RAINMAN: THIS IS AN IMPORTANT STEP. If you don’t strain the paint, little chunks will clog up the tiny tube that feeds the sprayer.
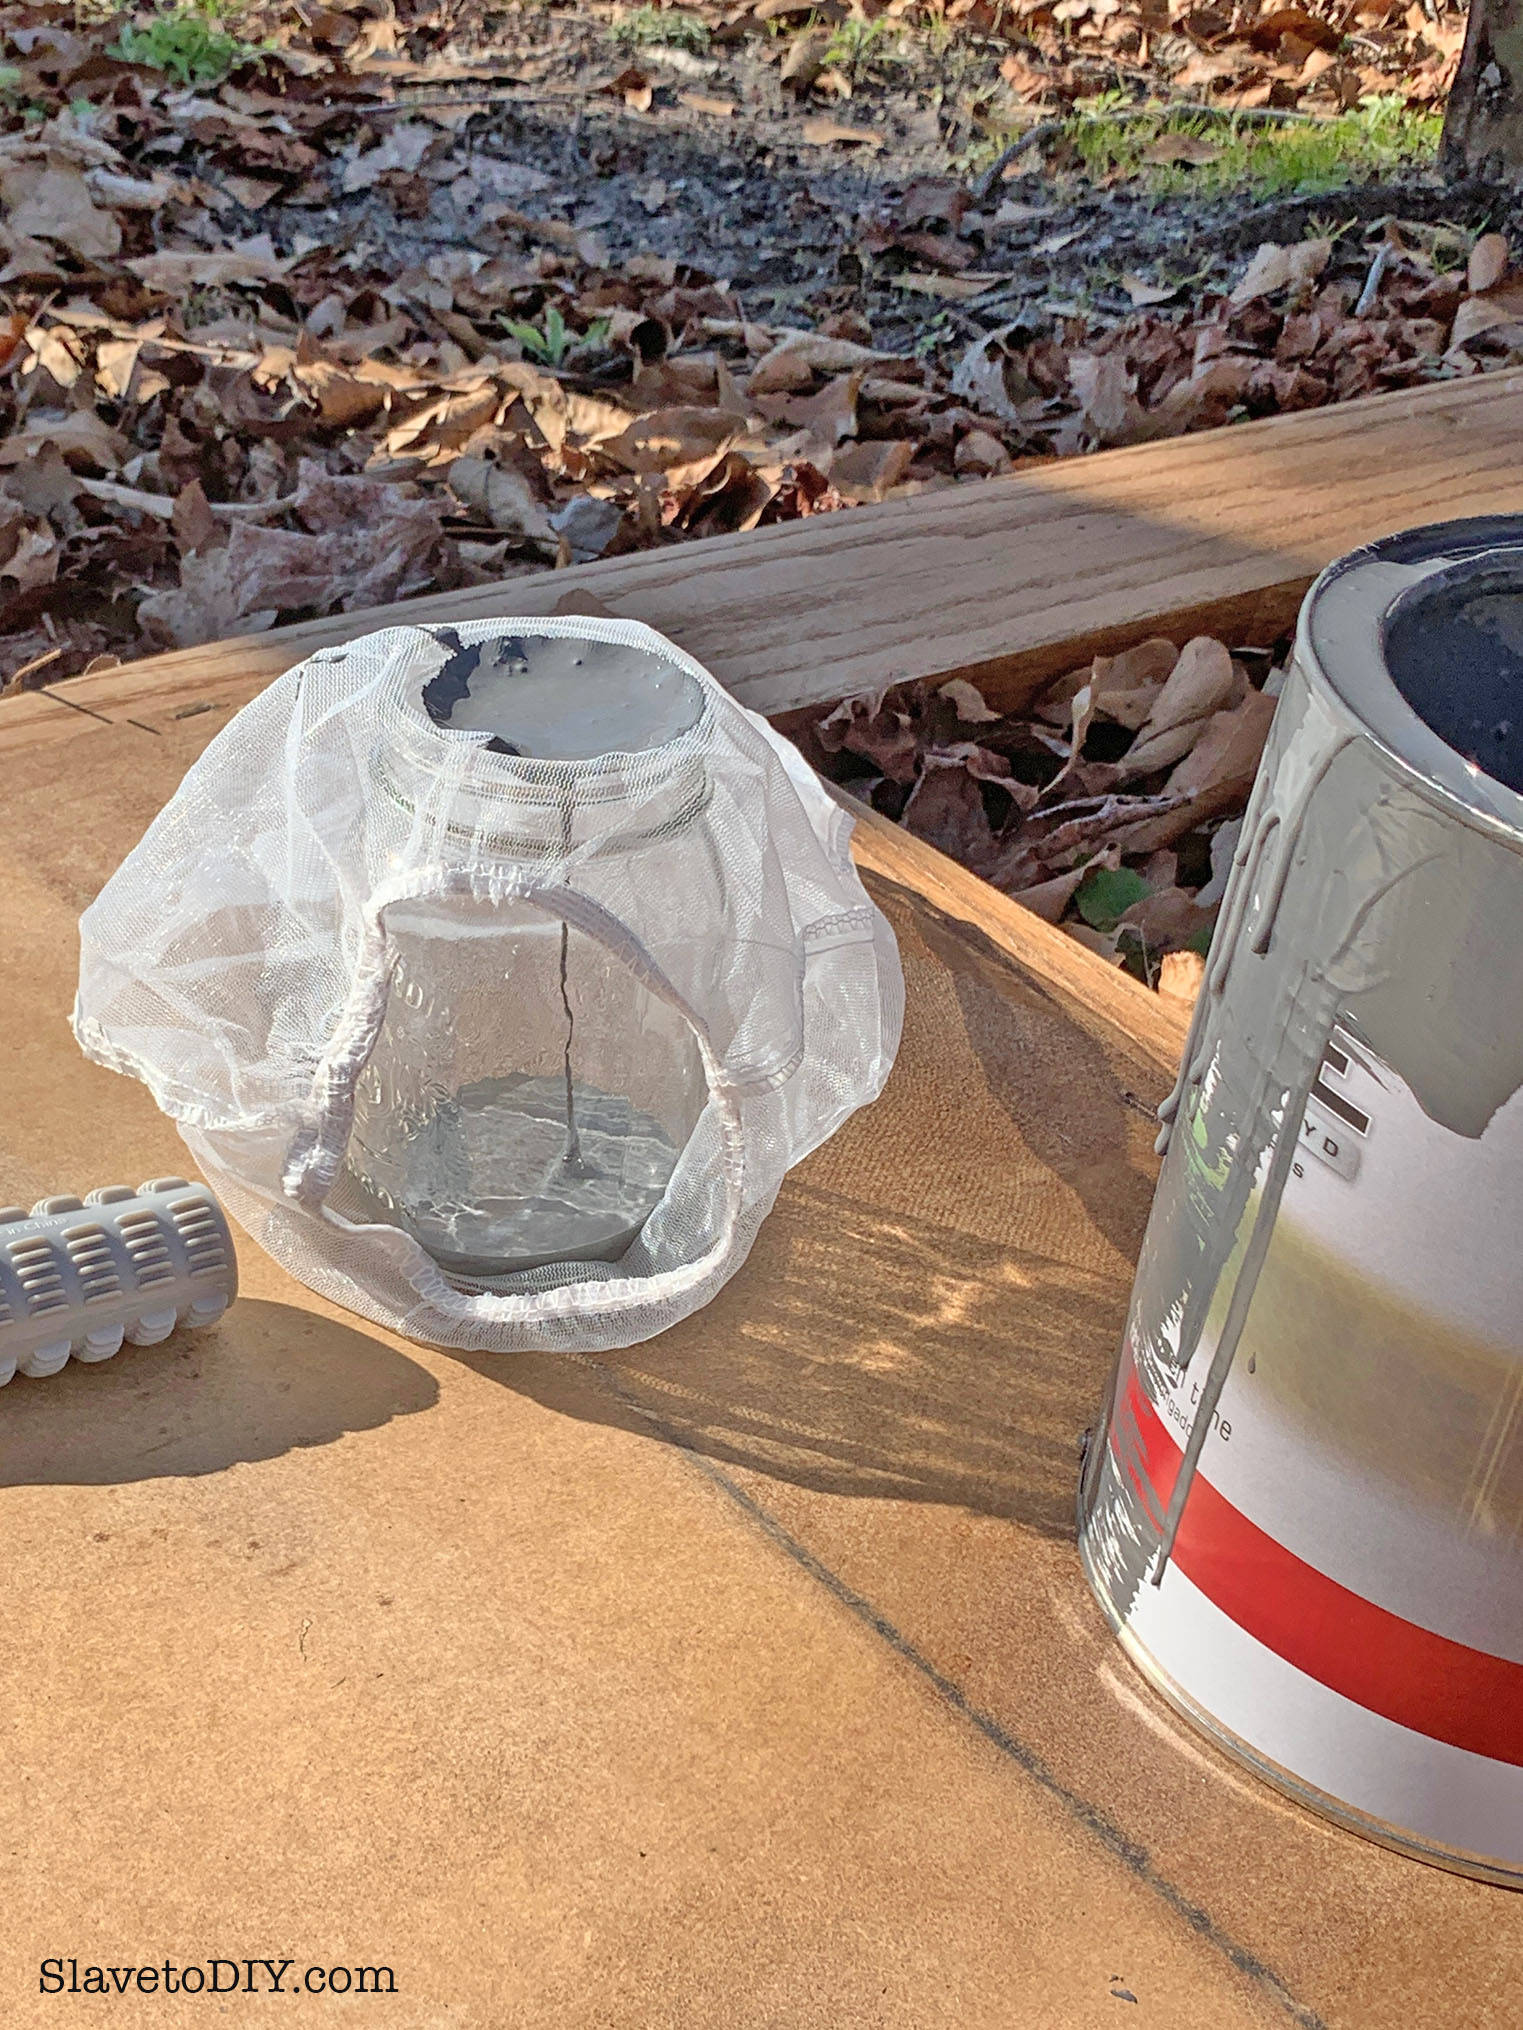
We realized after the first few minutes that the best method is to put the strainer all the way in and then pour the paint in. It lends some weight to the process and makes it strain MUCH faster.
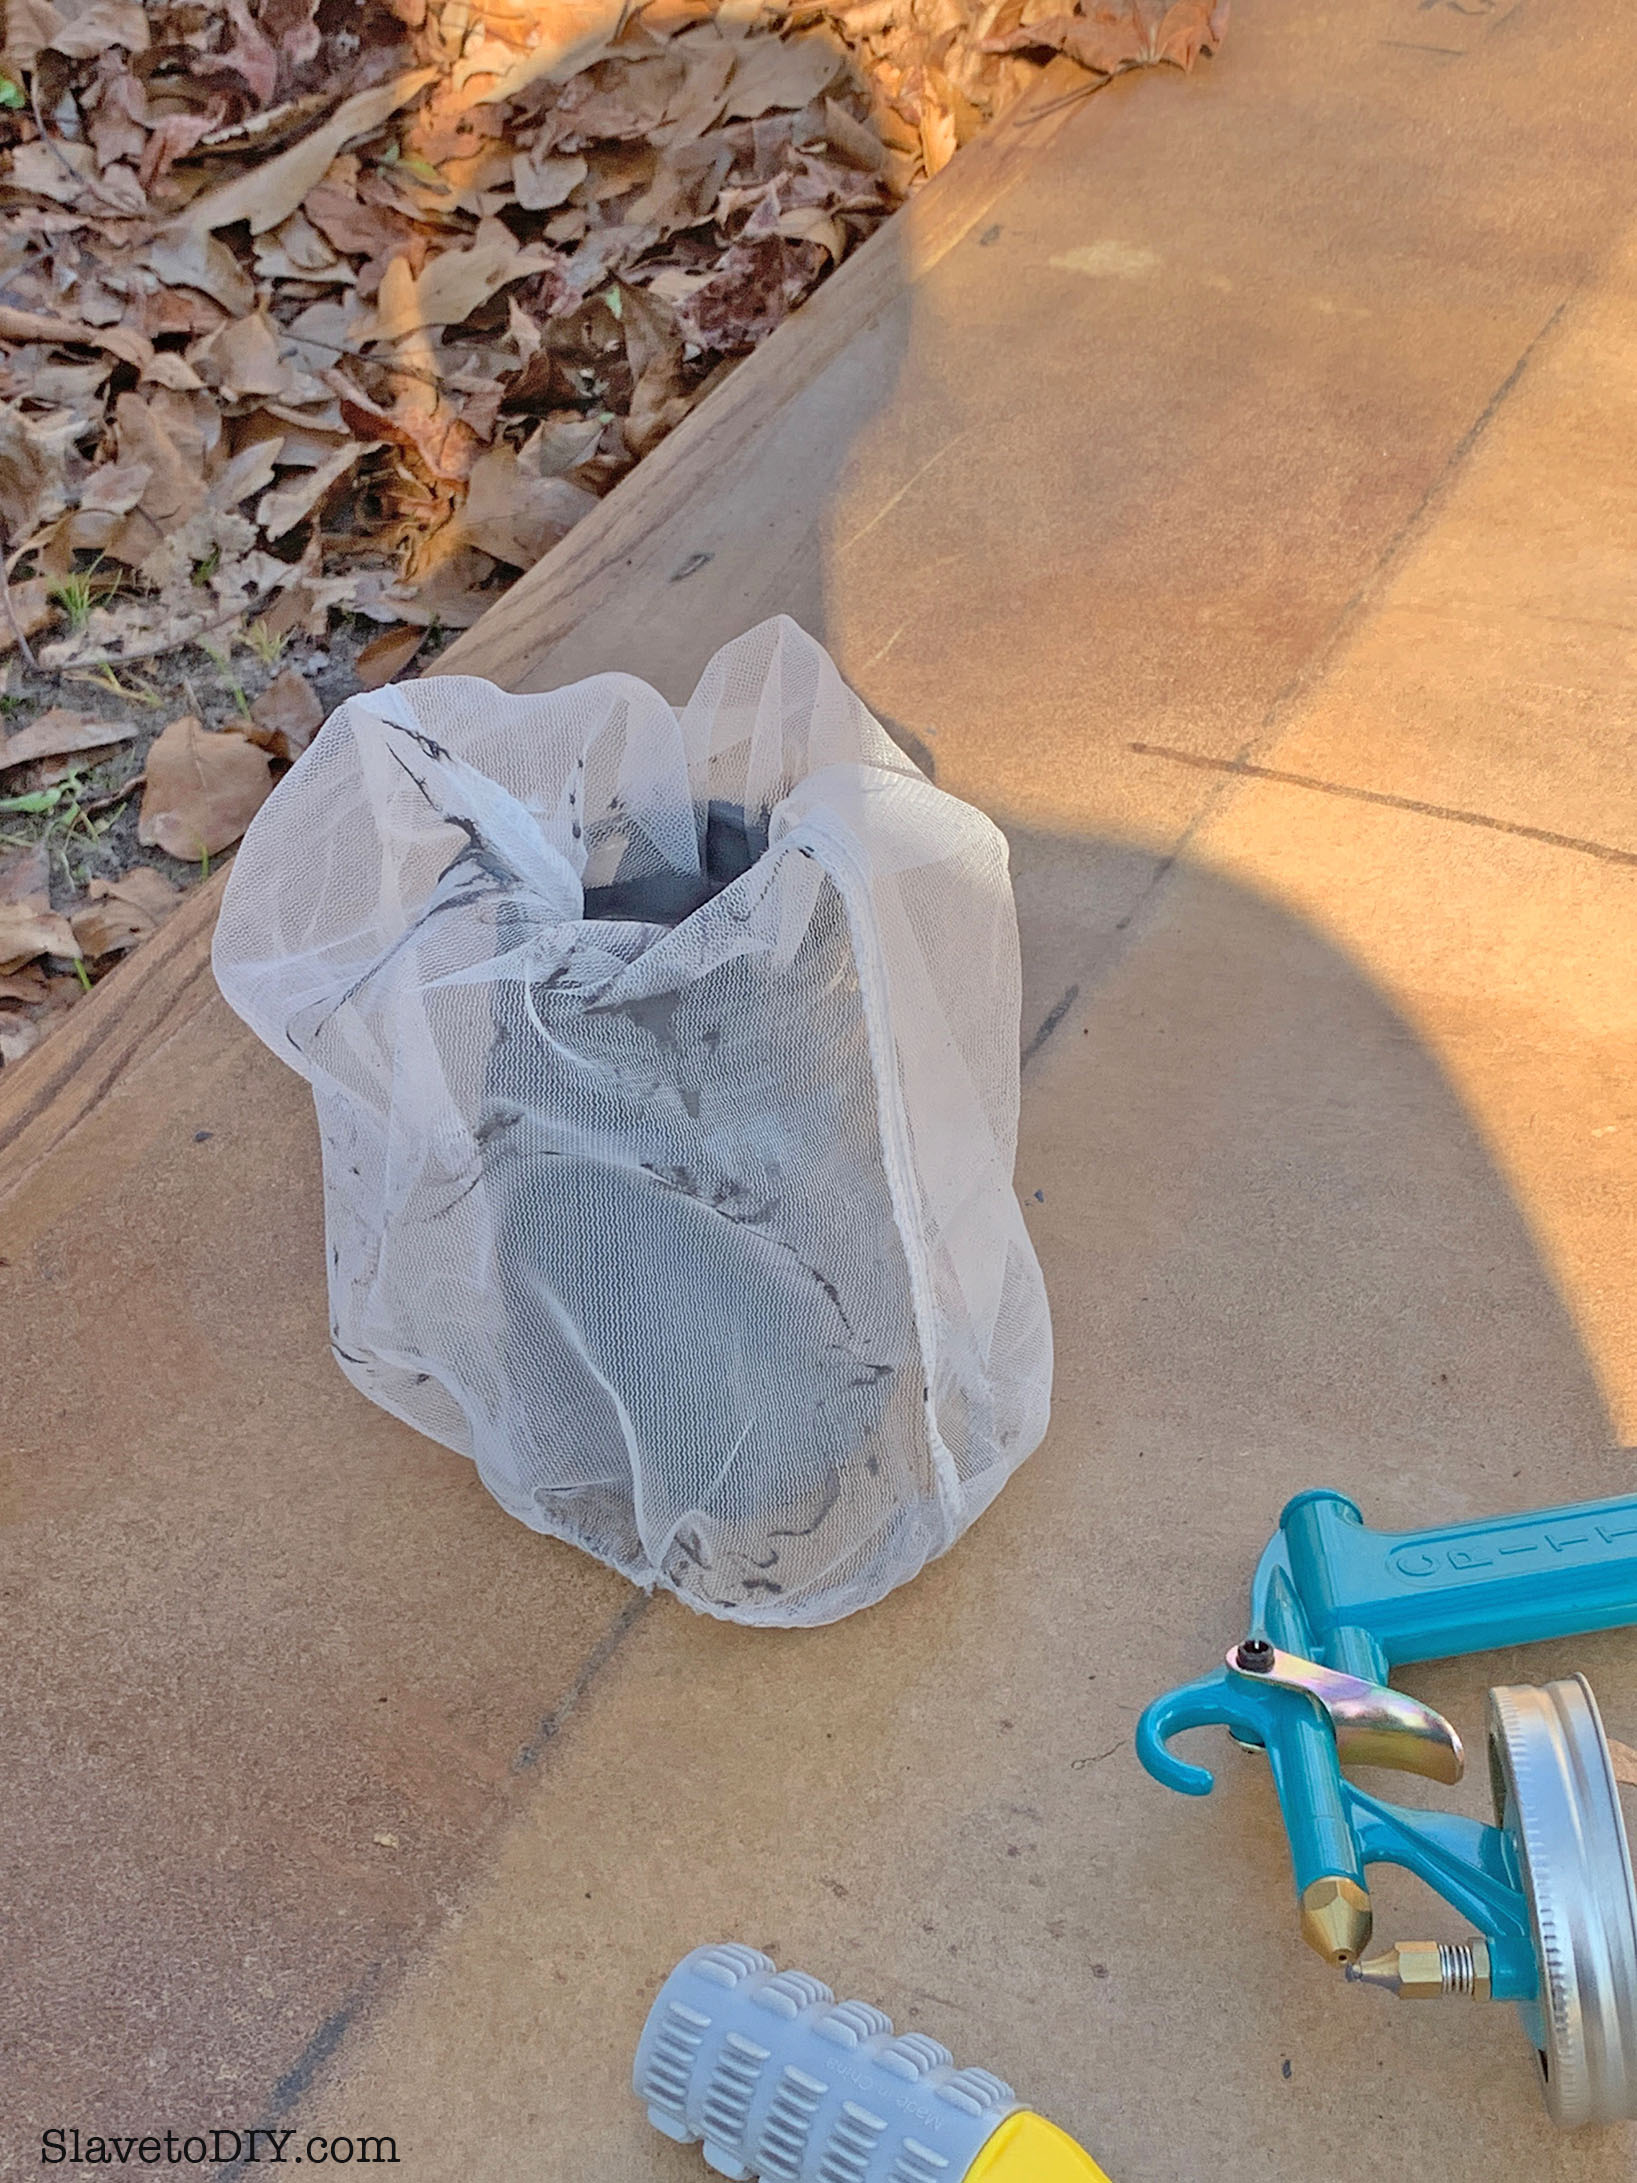
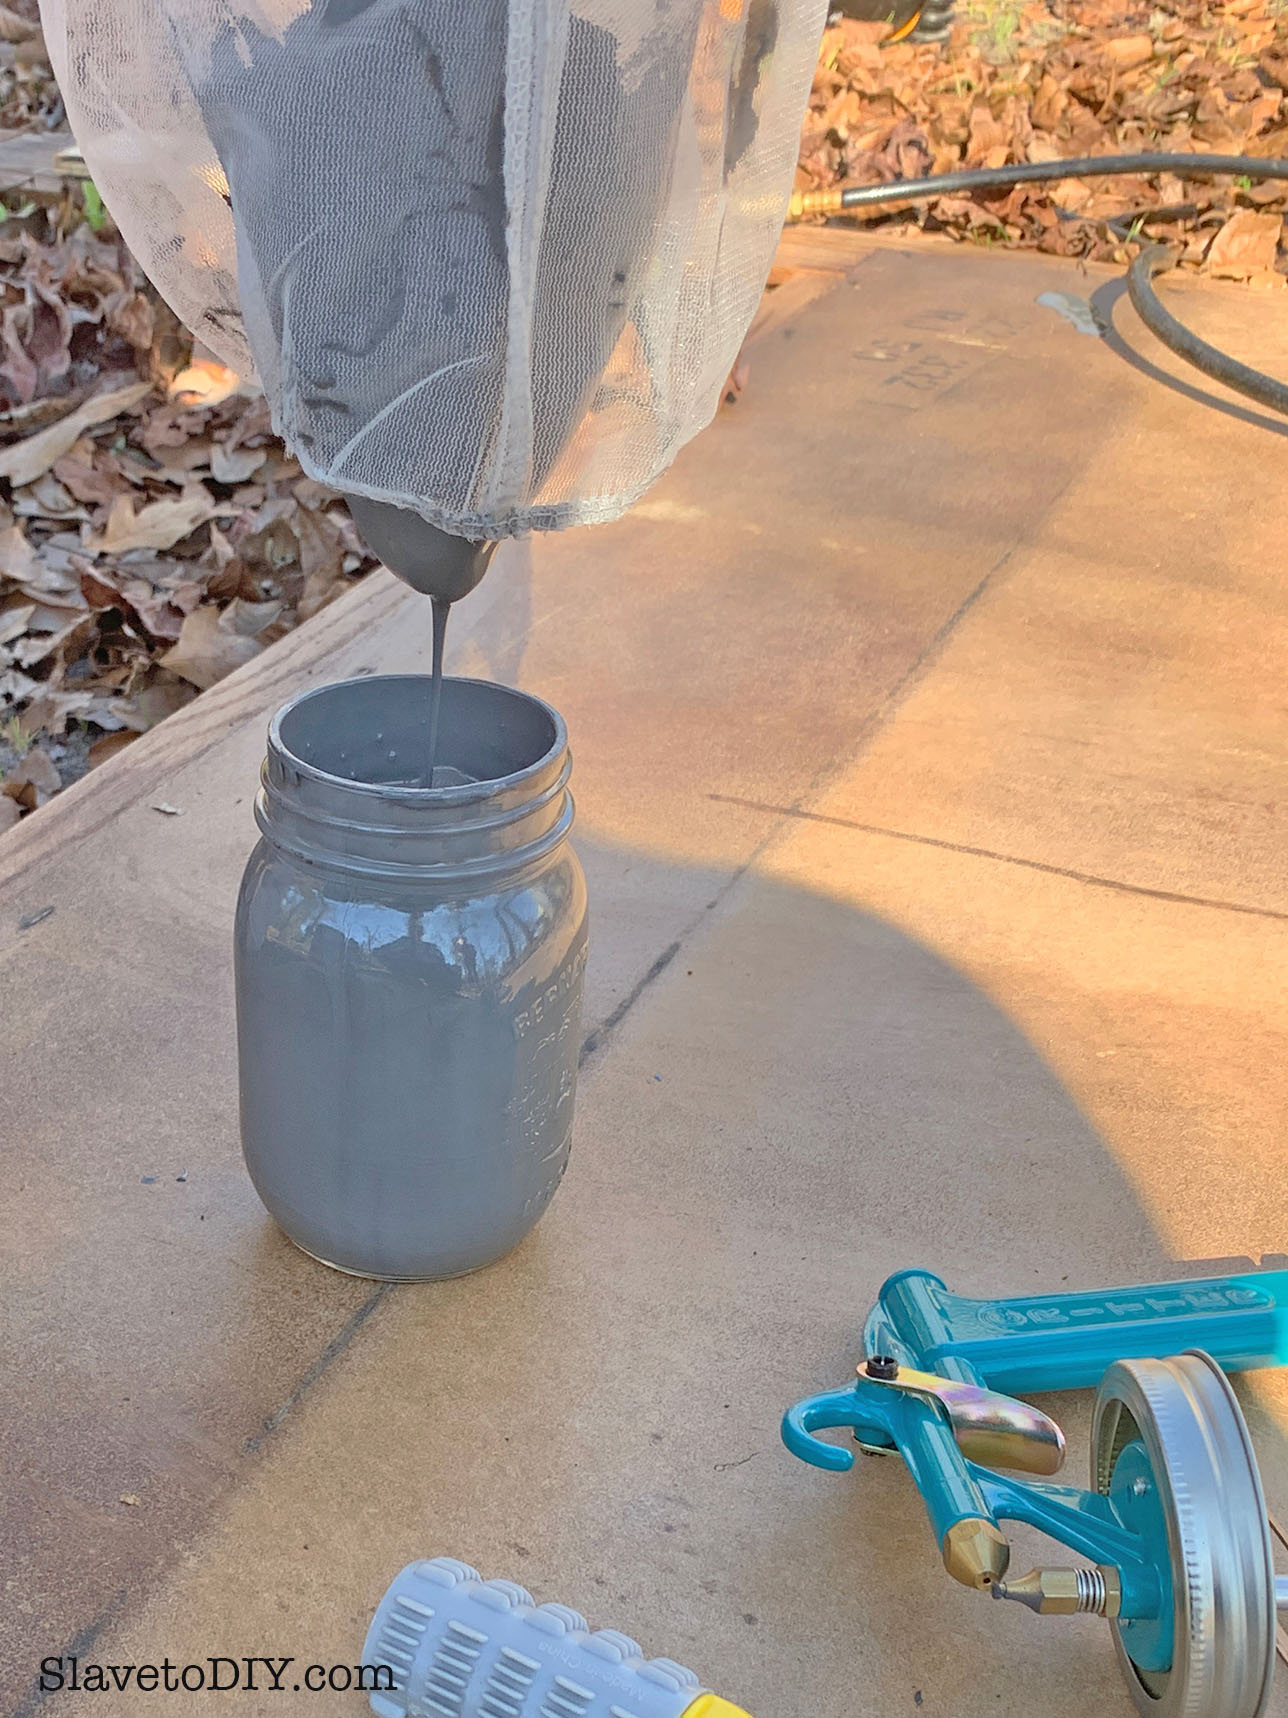
Once the paint is in, lift the strainer out until it has all drained into the mason jar. We layed the bag down on our clean surface, knowing we would use it again, but if you’re taking a long time, you might want to rinse it with a hose between uses (we have not found a non-messy way to do this).
Attach the mason jar back to the gun, and make sure your air compressor is set at 30 PSI.
TIP FROM RAINMAN: USE SCRAP WOOD TO GET PSI, LIQUID NOZZLE, AND DISTANCE SET (35 PSI WITH LIQUID NOZZLE CENTERED WORKED WELL WITH THIS PAINT AT AROUND 4 INCHES FROM SURFACE).
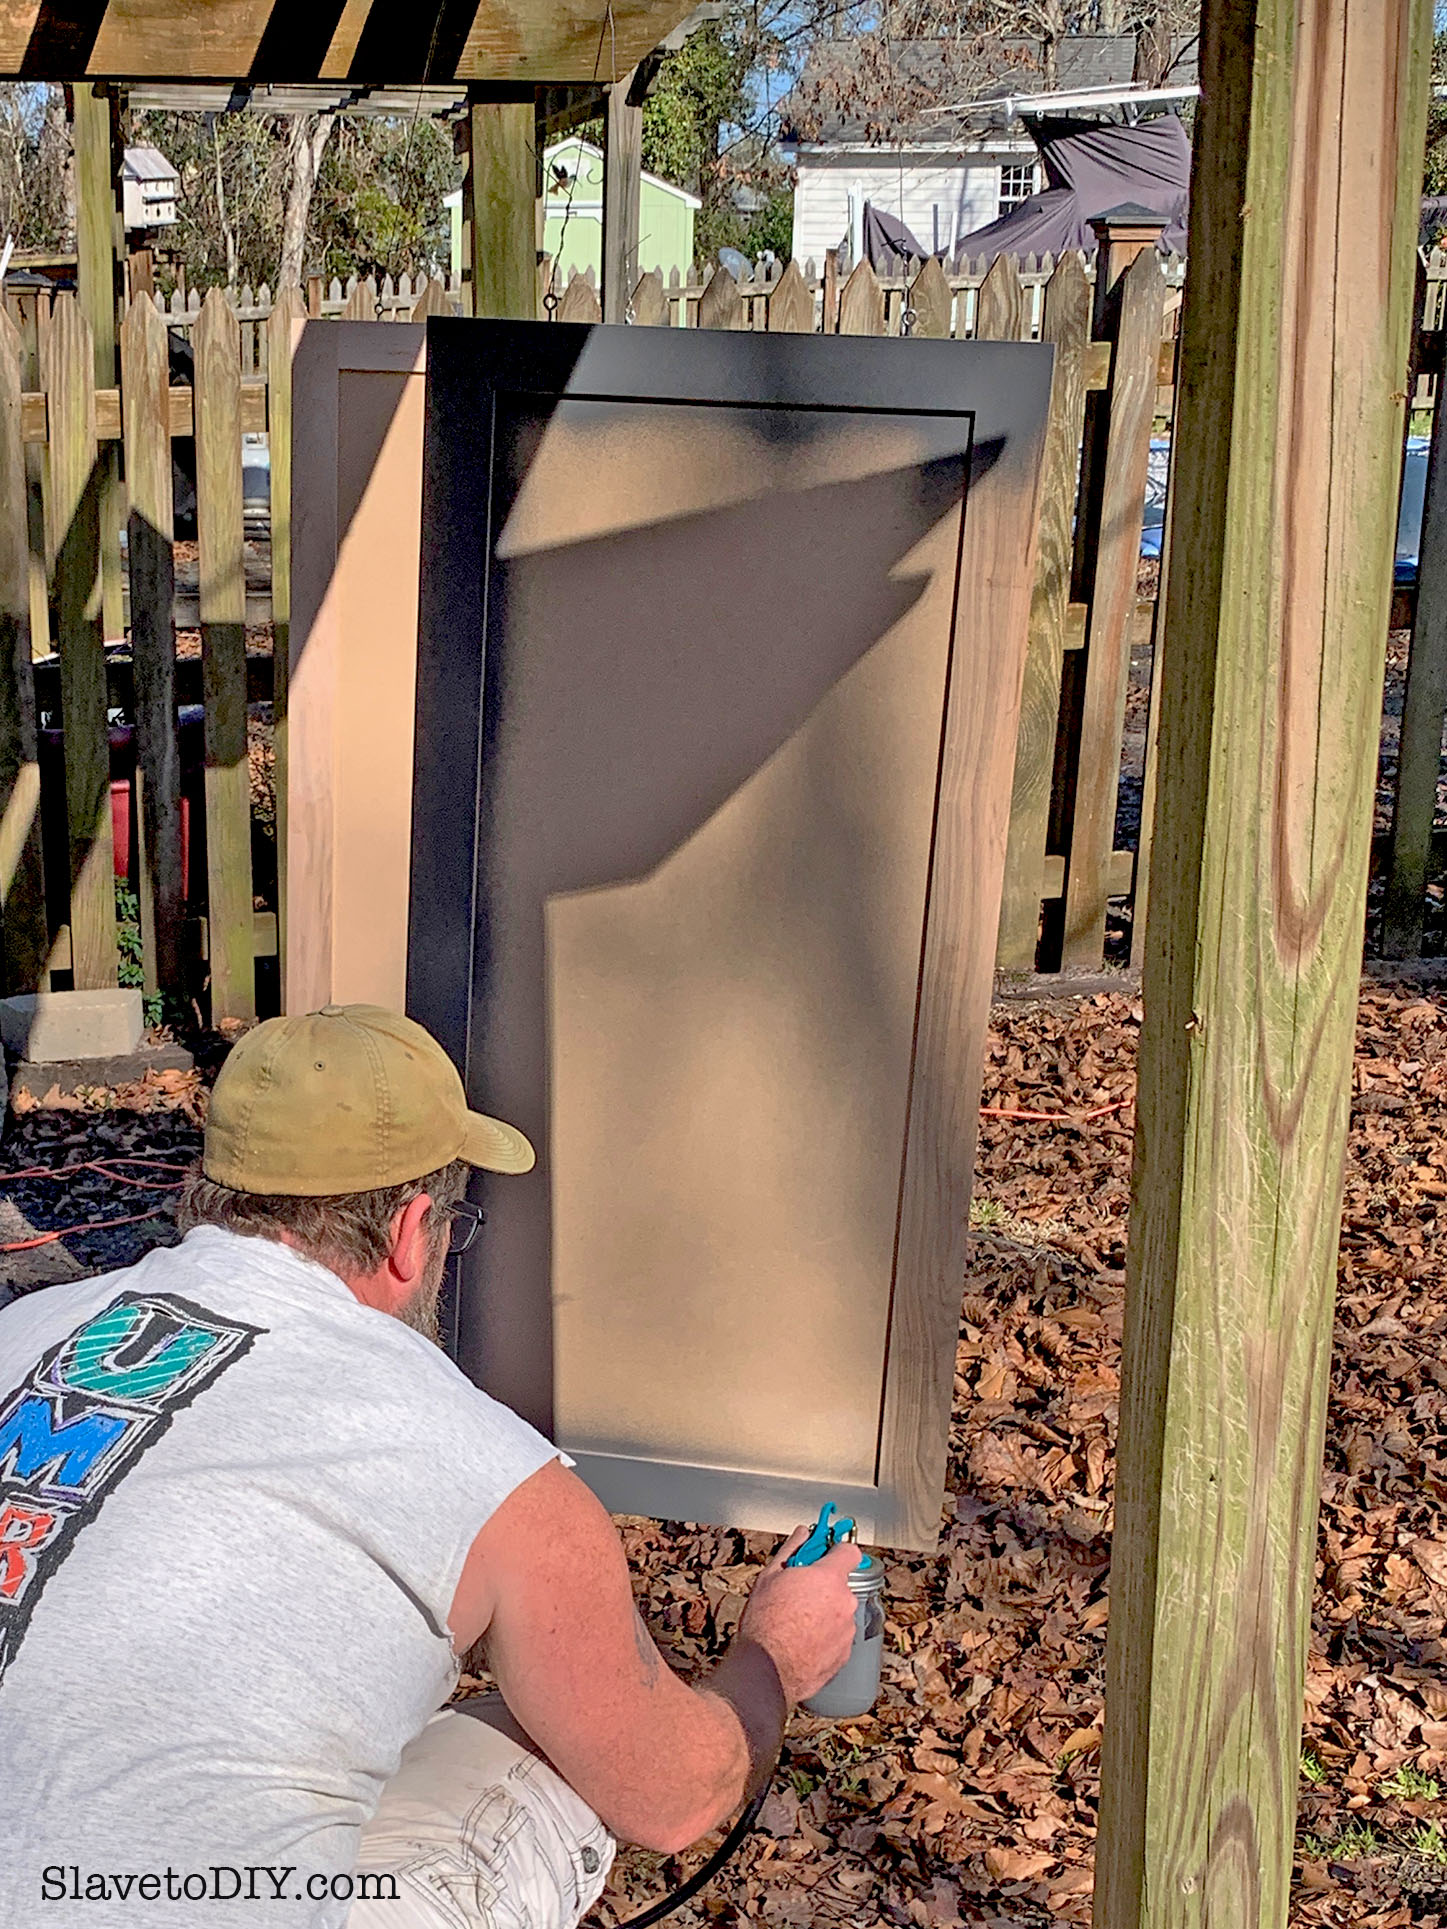
Rainman sprayed around the edges, then into the corners, then did a good layer, spraying back and forth across it.
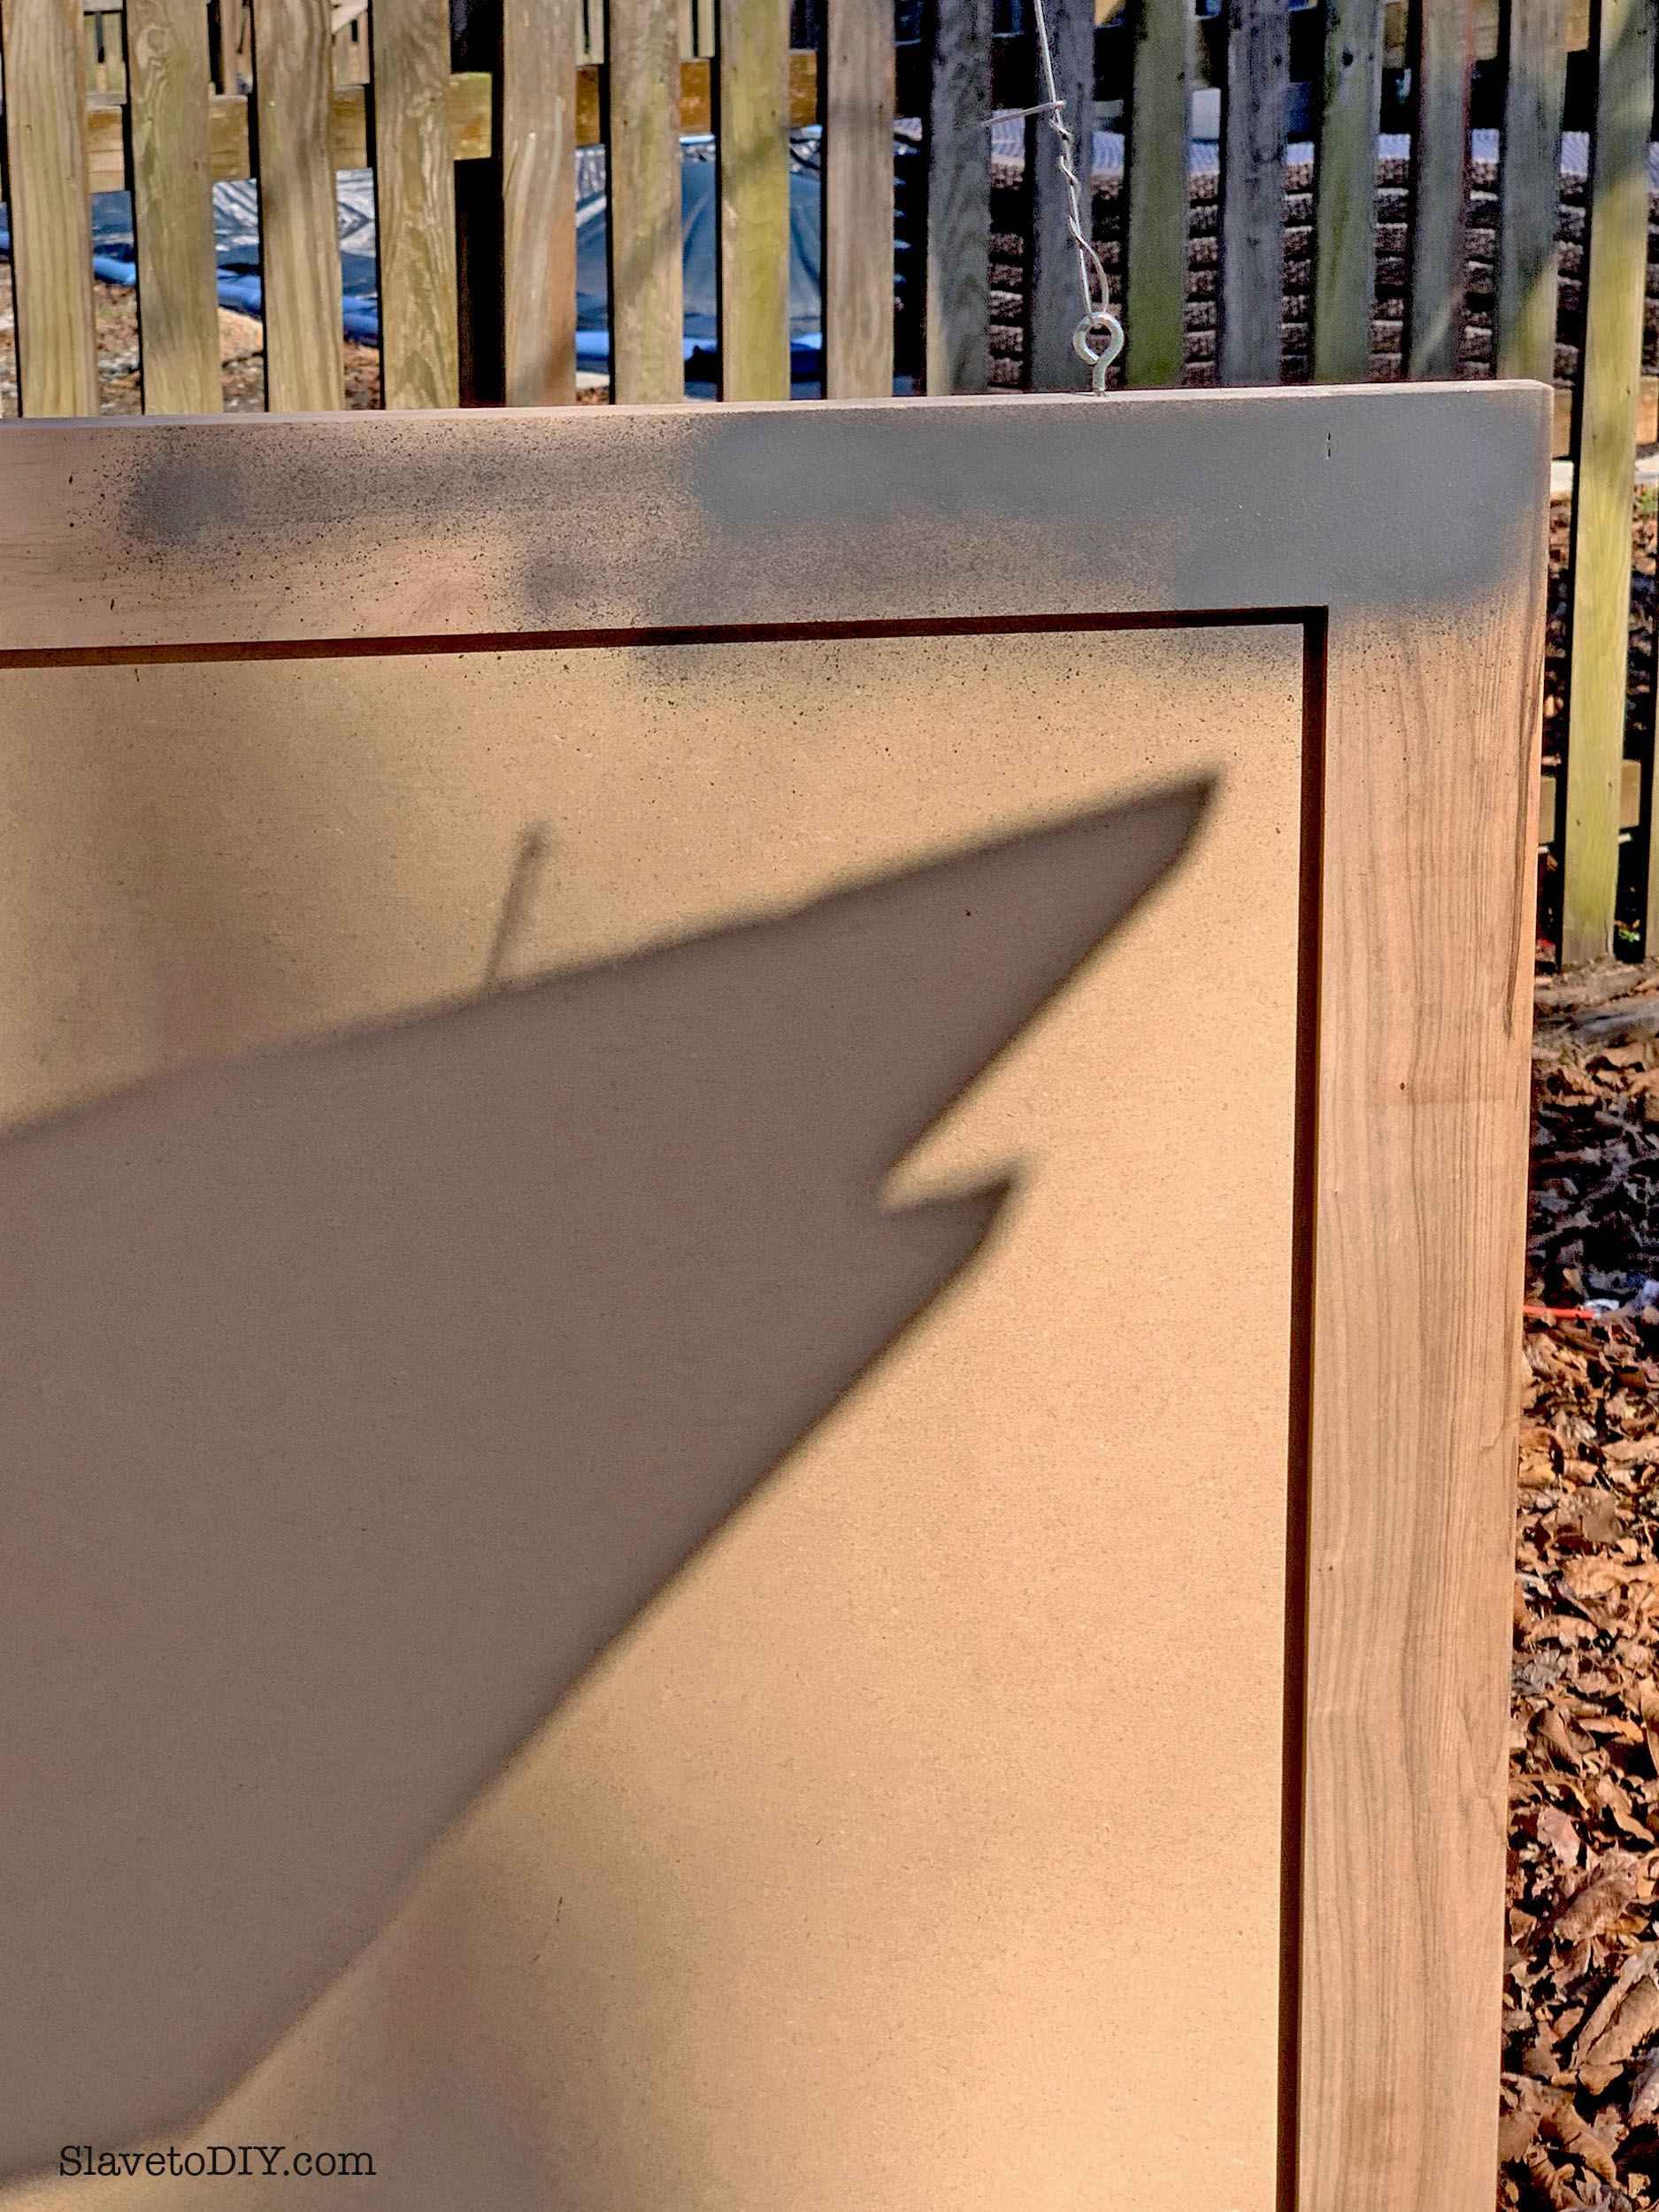
Spraying around the outside:
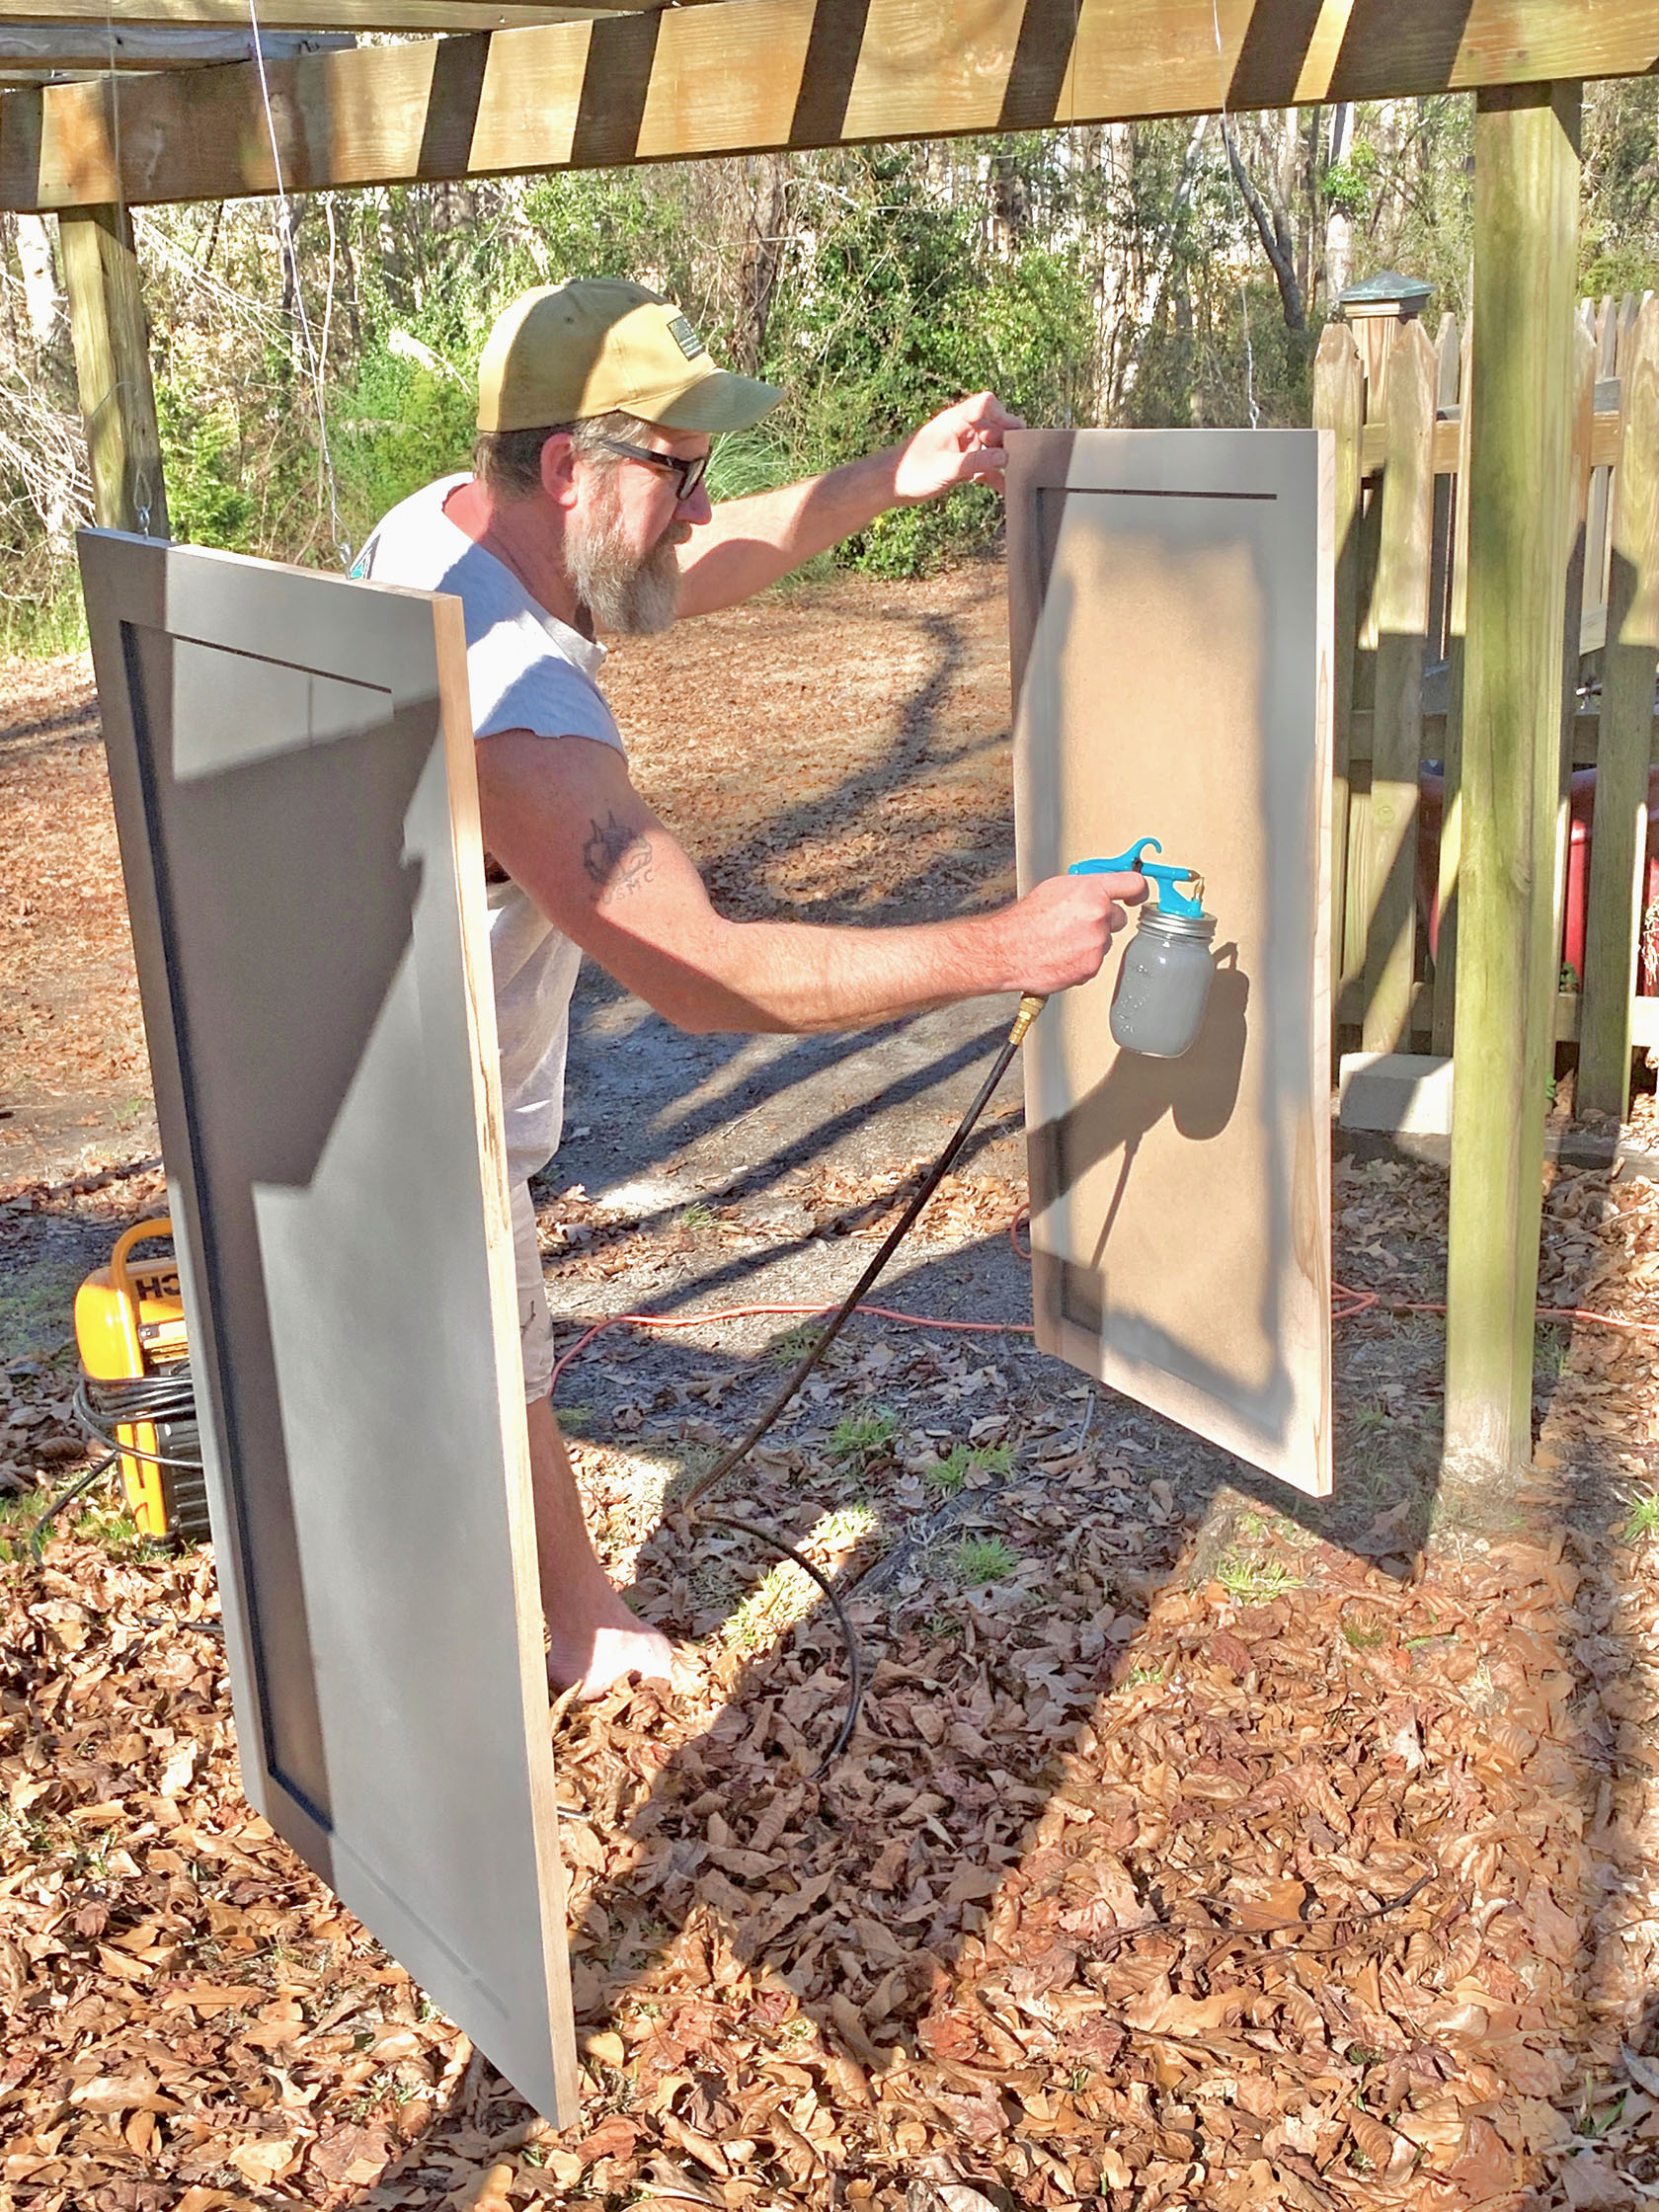
Door two: holding it steady to start spraying (this is where those eyelets and wire are handy).
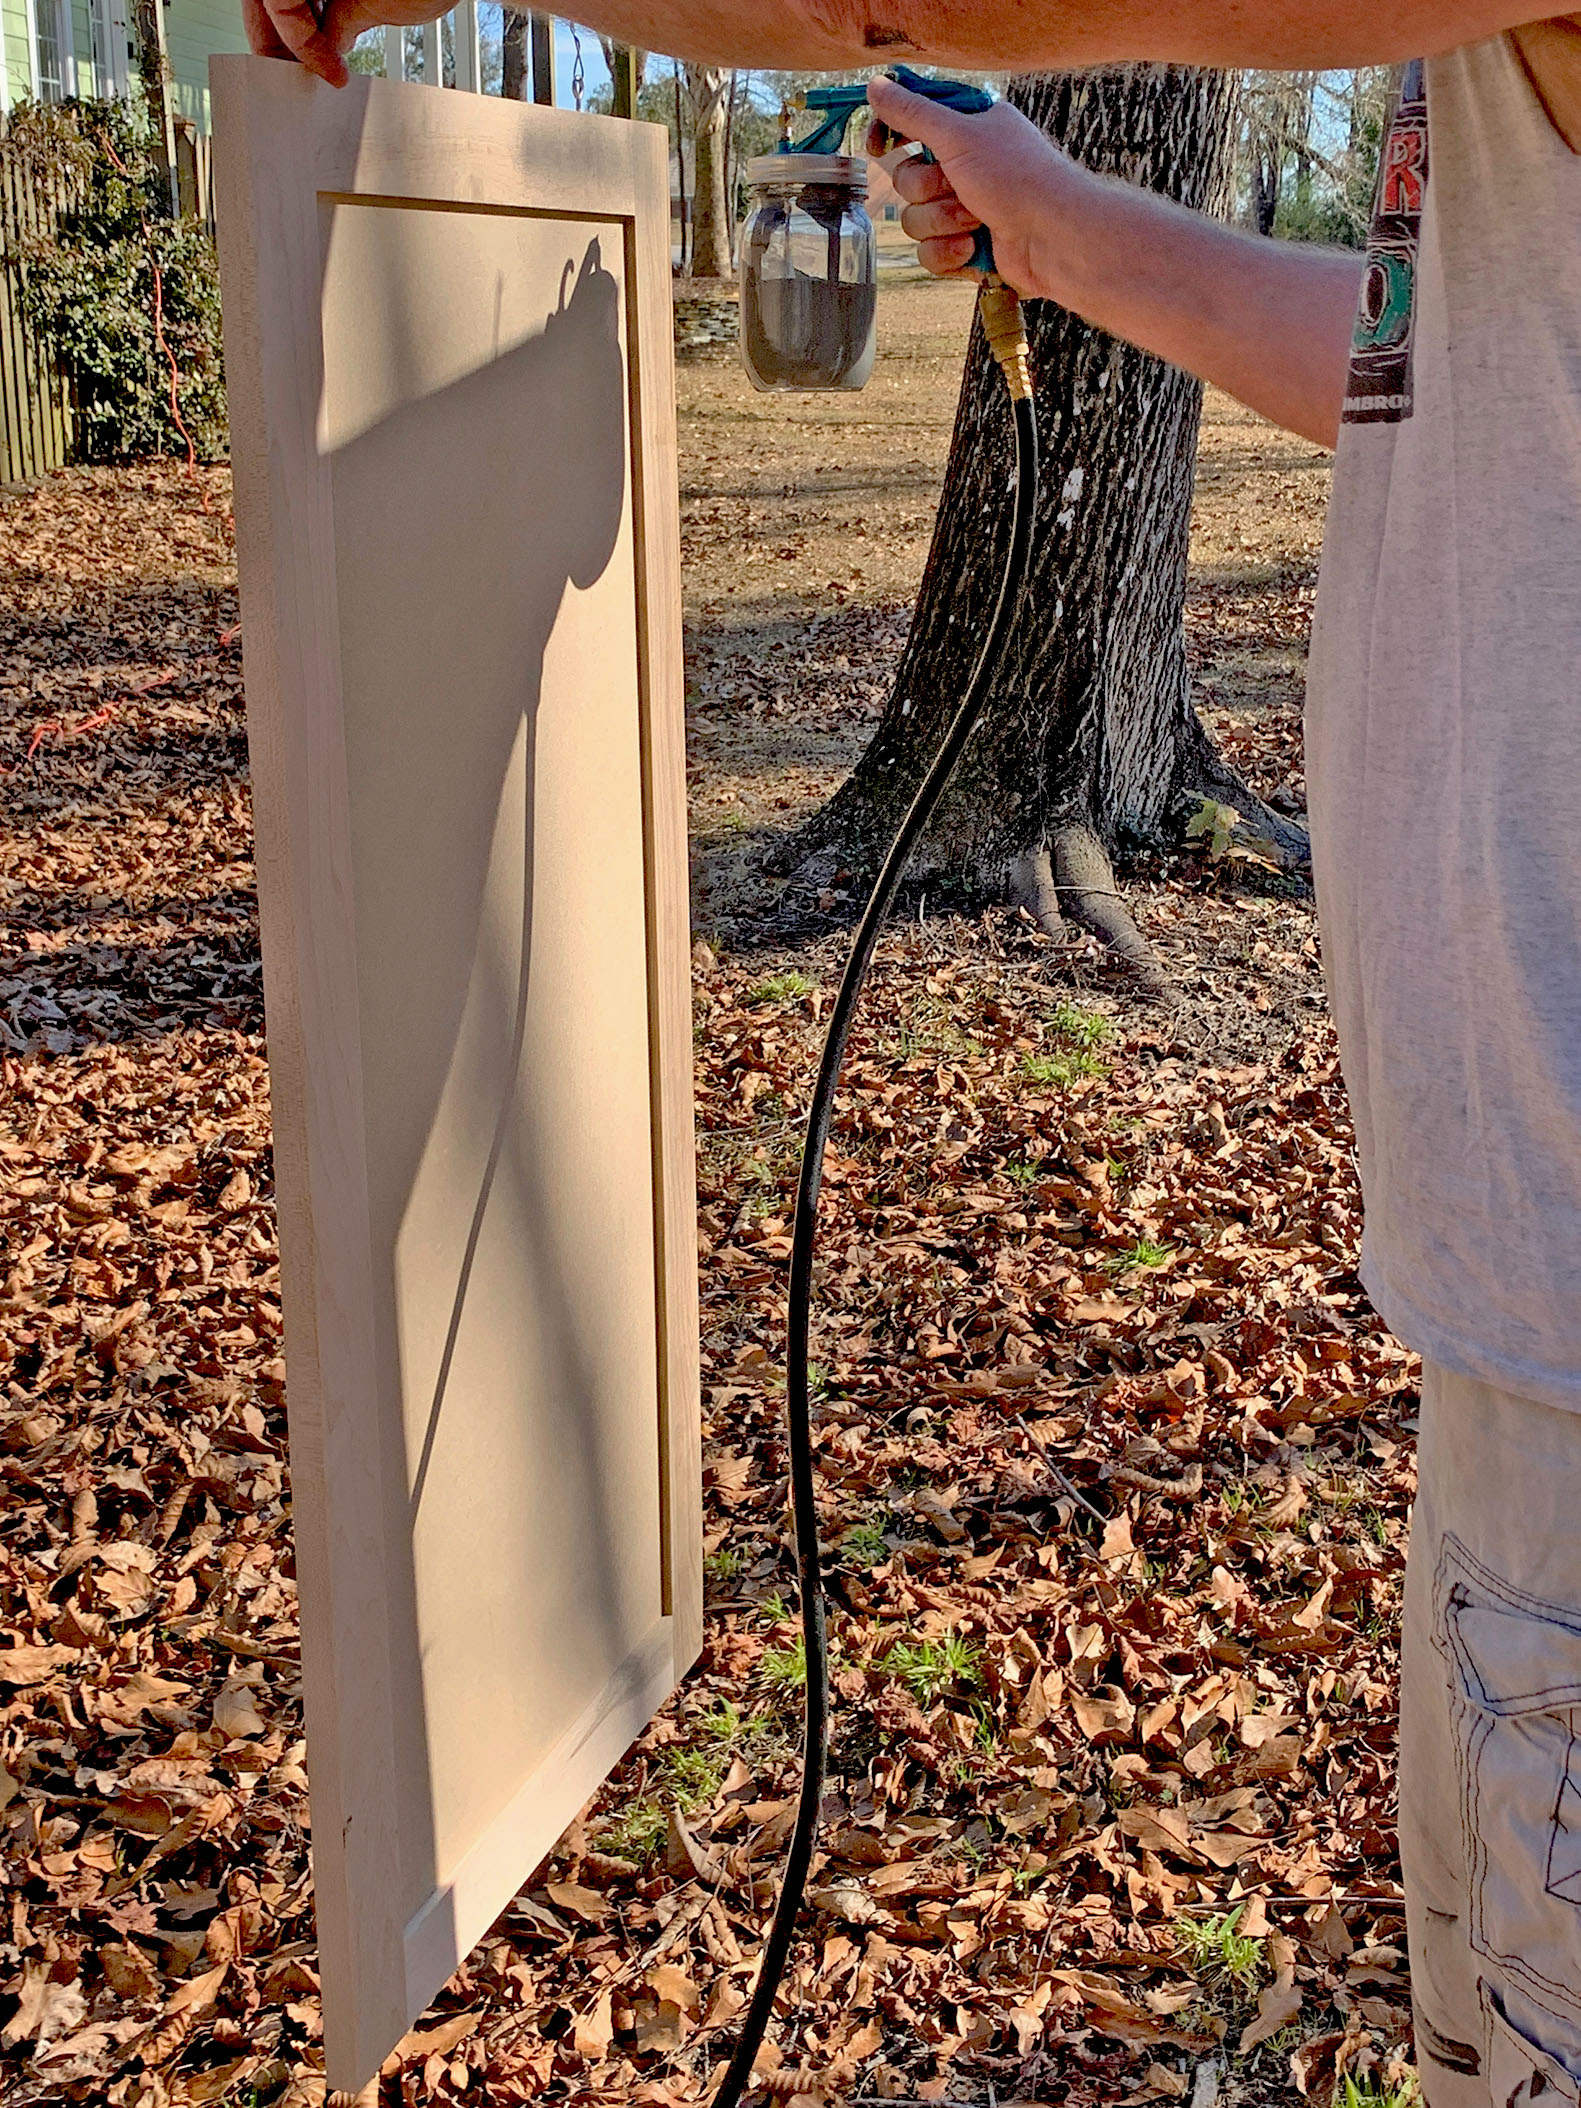
Spray the front sides, then the back sides, and give it a little time to dry. Make sure you get any outside edges you will see.
Depending on the paint and color, you will need at least two coats. We did three for good measure and for even coverage.
TIP FROM RAINMAN: LIQUID NOZZLE MAY NEED TO BE CLEANED (PICK OFF ANY DRIED/DRYING PAINT), ESPECIALLY IF YOU LET THE GUN SIT BETWEEN APPLICATIONS.
Pose for a “finished painting” photo:
We took the doors into the downstairs shower (where there are no cats if we close the door) and where we had a rod across the middle and resecured them to the rod for three days to make sure they were really good and dry before we mounted them.
TIP FROM RAINMAN: CLEAN GUN WITH PAINT THINNER BEFORE PAINT DRIES ON GUN SURFACES.
Clean-up: Rainman rinsed out all of the paint from the mason jar, rinsed all of the tubing and the outside of the paint gun off, and then added mineral spirits to the jar. He sprayed that all out to clean the inside of the tubing and the inside of the gun. Then he dumped that out, added water, and did it again. Take the components apart and let them dry completely before you put it back together. We stored it back in the box and will definitely use it again!
TIP FROM RAINMAN: NOT SURE HOW LONG JAR GASKET WILL LAST; PROBABLY NEED TO ORDER SPARES.
Here are the doors mounted on the fireplace:

Here they are mounted and COVERING THAT AWFUL GAPING HOLE!
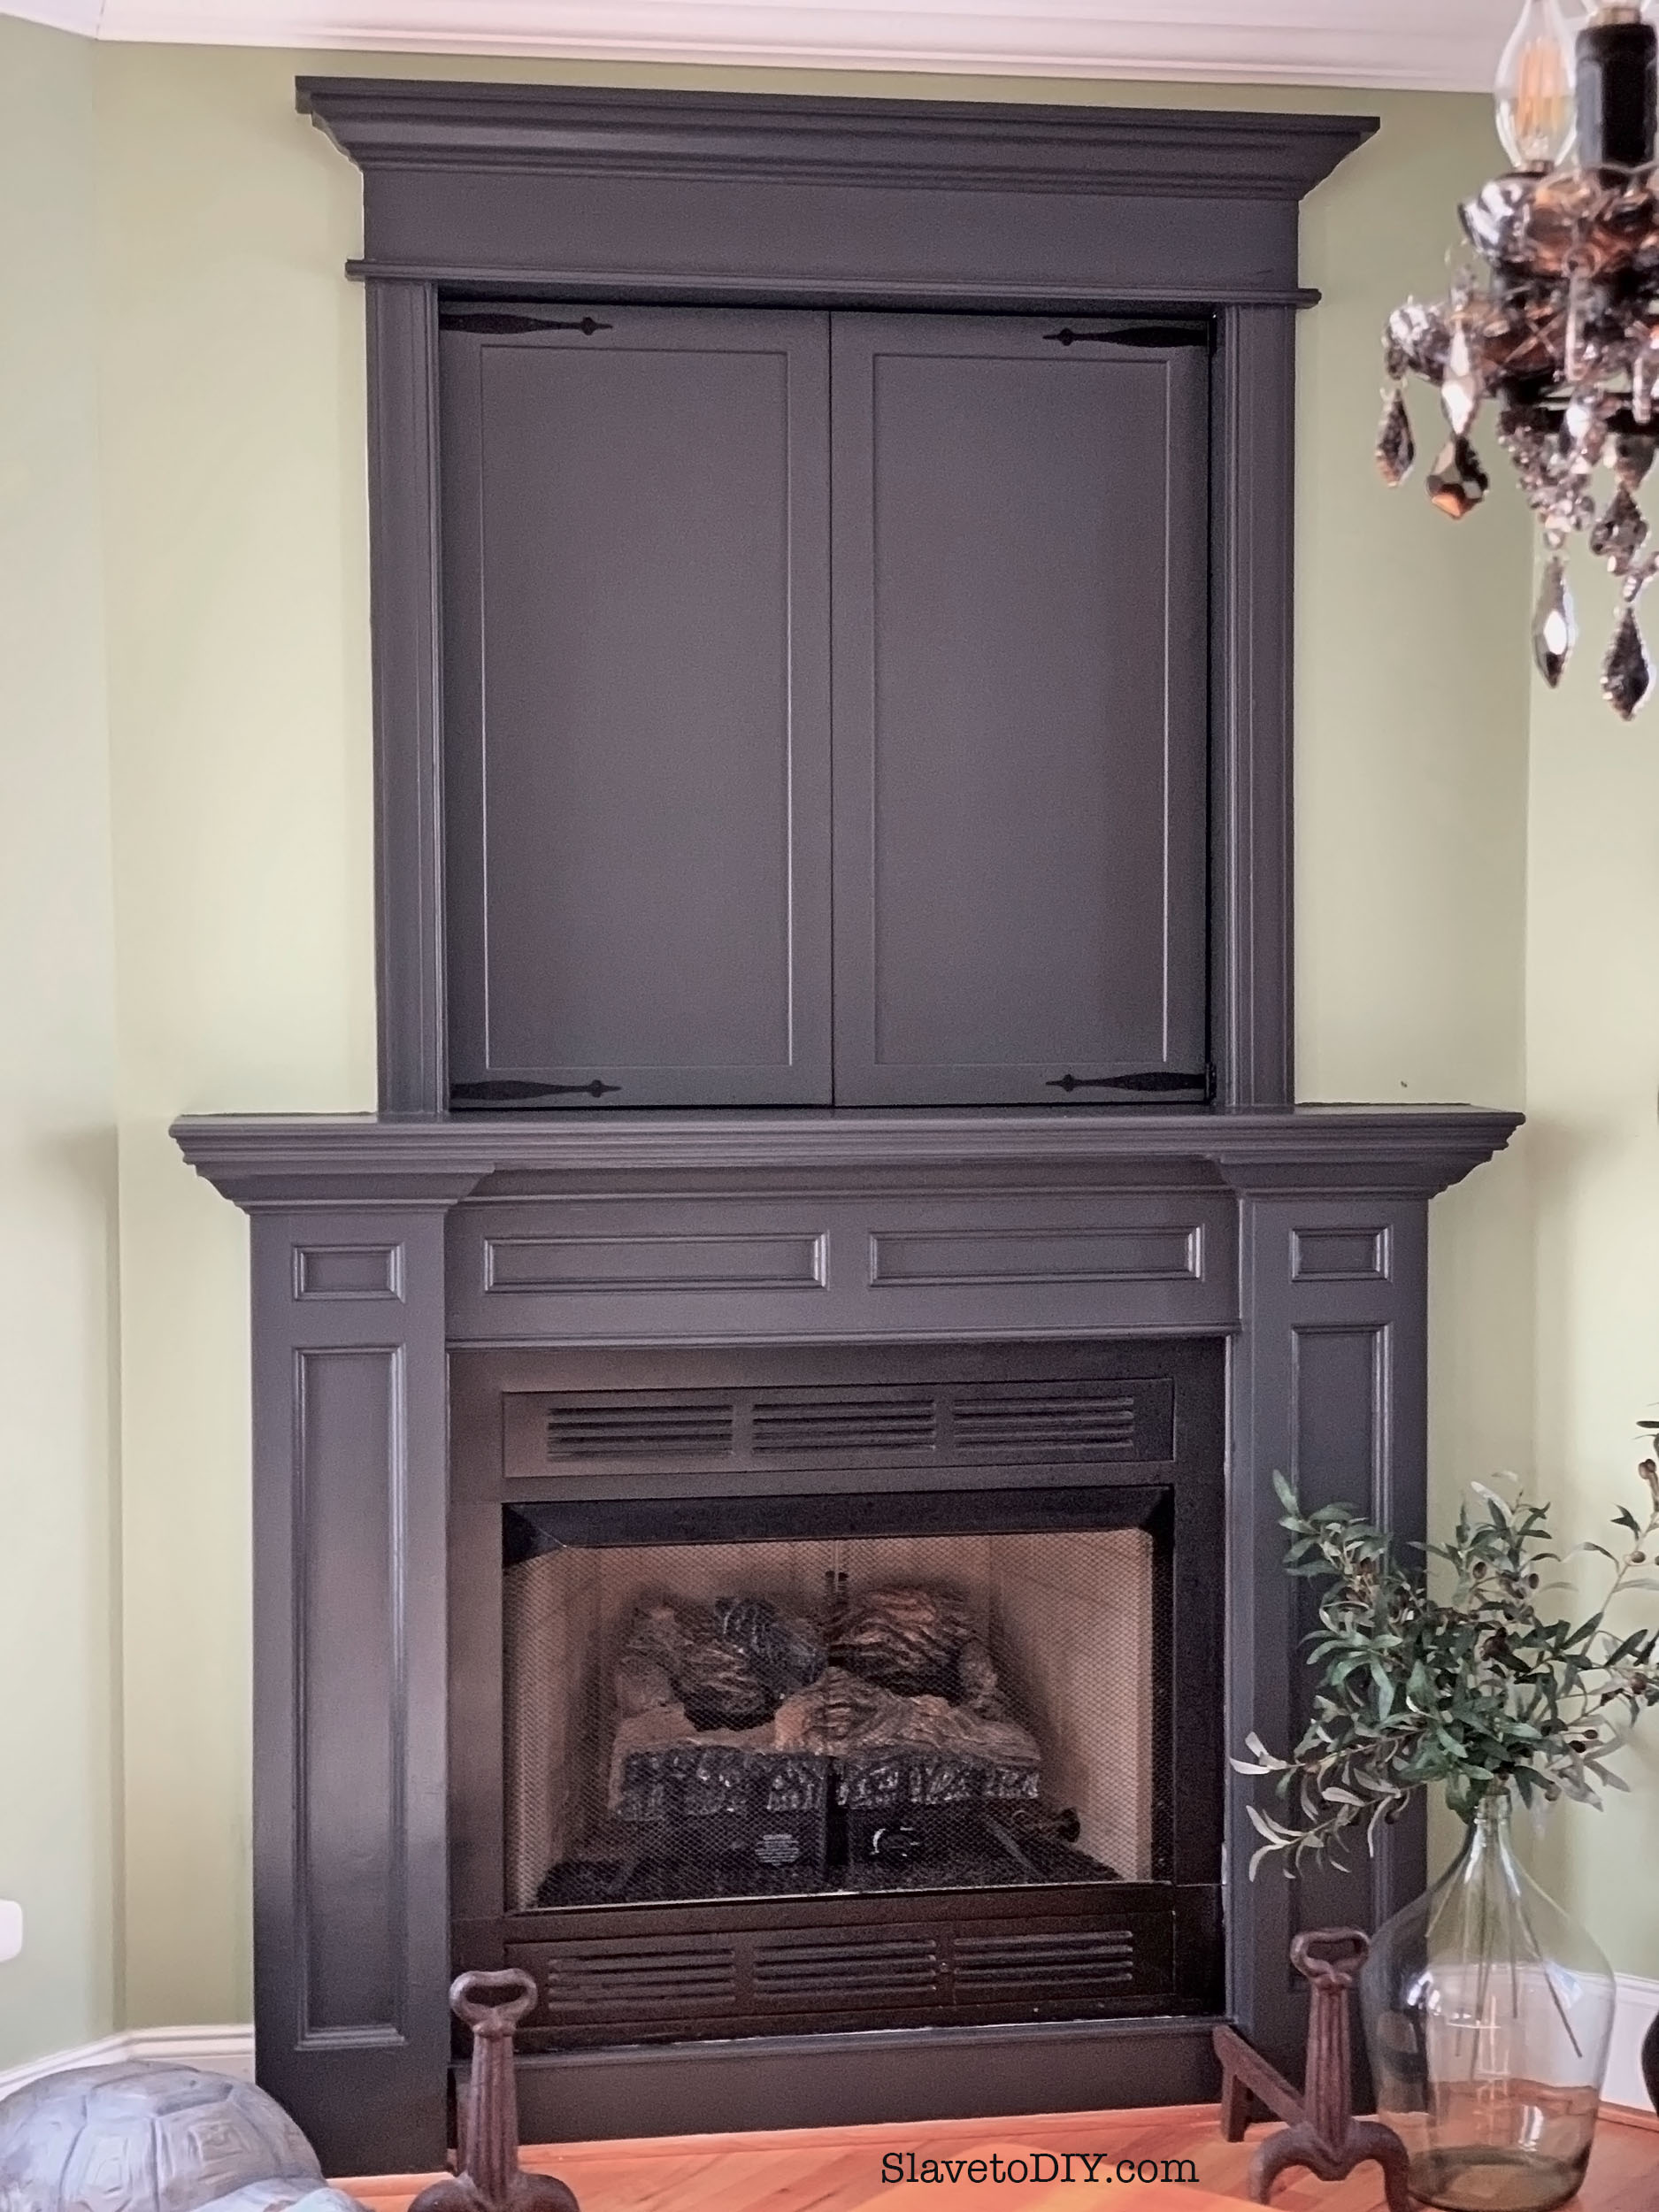
We had already painted the rest of the fireplace with brushes and rollers. If I had realized how easy it was to use the sprayer and how little overspray there was, I would’ve used The Critter to paint that, as well. The finish looks VERY professional, and I’ll definitely be using it to do our cabinets once we get to that point.
I’d love to see your paint projects and hear about how this little paint gun worked for you! Please share in the comments below and check out more great project tutorials and inspiration over on our blog.
Cheers!
*Legal stuff:
I am honest about my experiences with different products and write because I enjoy it. I do however, have the opportunity to earn money for my writing, also.
Slavetodiy.com is a participant in the Amazon Services LLC Associates Program, an affiliate advertising program designed to provide a means for sites to earn advertising fees by advertising and linking to amazon.com. Amazon offers a small commission on products sold through their affiliate links. Each of your purchases via our Amazon affiliation links supports our cause at no additional cost to you.
If a blogger links to an Amazon product (with a special code for affiliates embedded in the link), and a reader places an item in their “shopping cart” through that link within 24 hours of clicking the link, the blogger gets a small percentage of the sale. Amazon links are not “pay per click.” If you click on the product link and stay around Amazon and purchase something else, however, I will get a commission on that sale.
Slavetodiy.com is also a VigLink affiliate advertiser which works similarly.