The beautiful thing about this particular renovation, is that our house flooded. Yes, I said the GOOD thing. Bear with me. Hang on. I’ll explain.
This post may contain affiliate links. Please see the full disclosure at the bottom of the post.
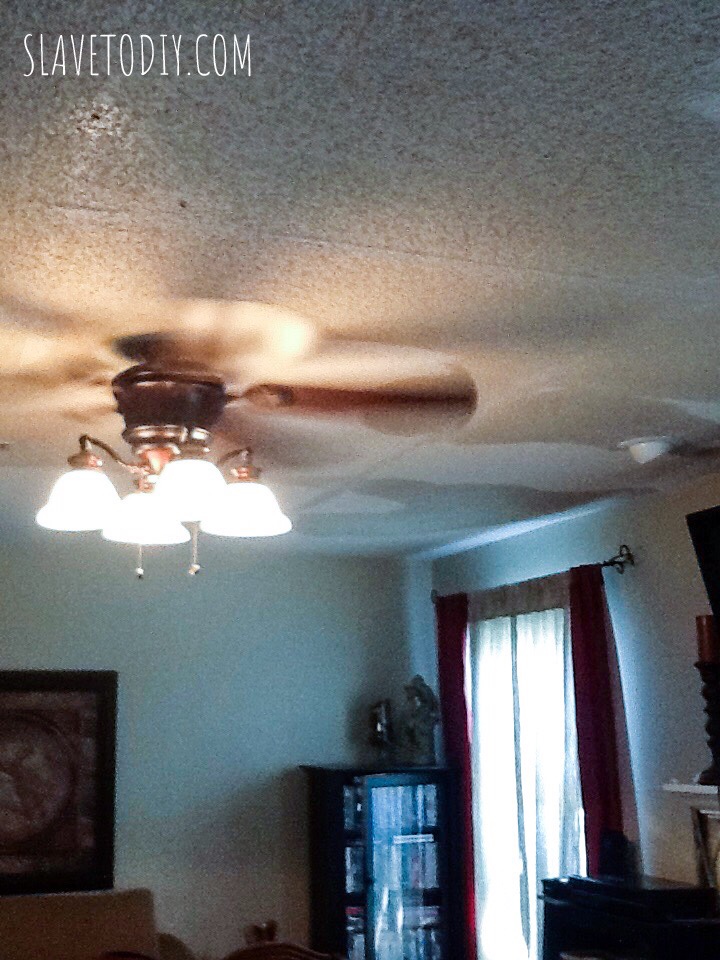
Before
I’m so embarrassed. This is the living room before the flood:
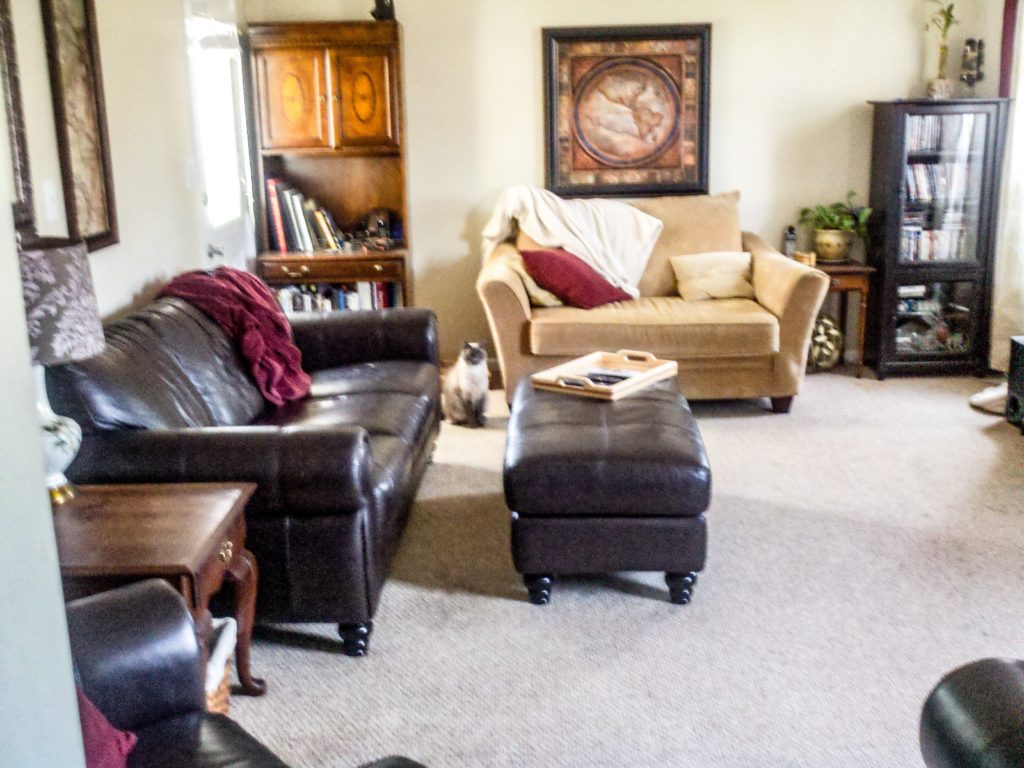
We had lived in our old house for several years and, aside from the fact that we were packed in there like sardines, we didn’t have the time or energy to get to some of the upgrades on our ever-growing-wish-list. We have a STUFF problem. As in, we have too much of it. Without builtins, there was stuff everywhere, with no rhyme or reason, just looking cluttered and awful. For me, this creates stress, and no matter how clean the house was, I never felt settled.
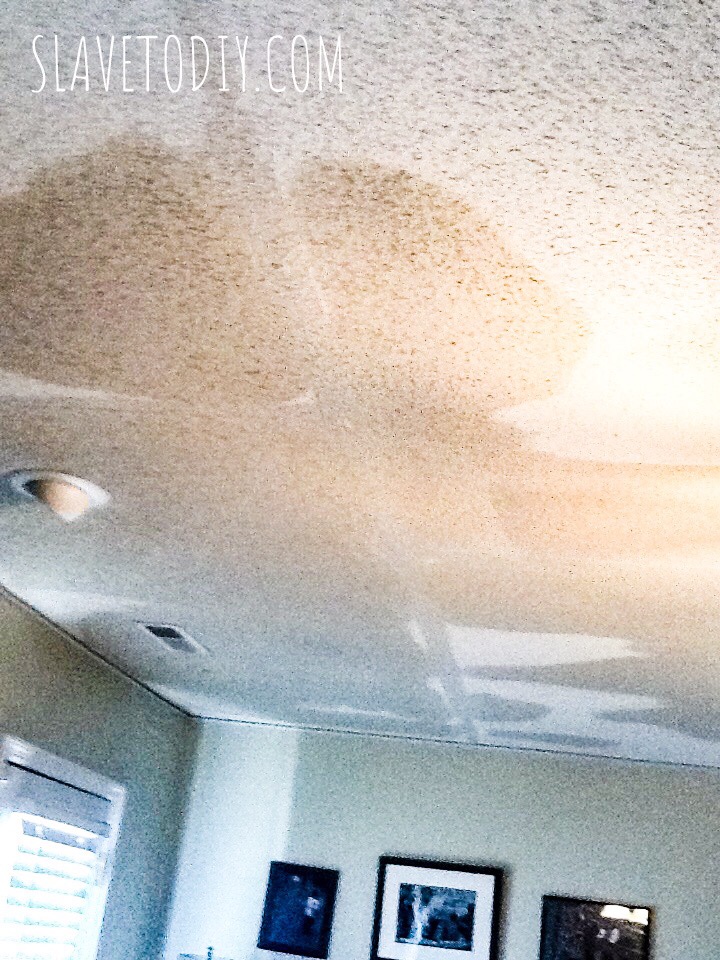
So, then the clouds parted, and the rain came. Well, not actual rain. The hot water supply line under the master bedroom sink broke in the middle of the night (directly above the living room) and completely destroyed the living room and most of the contents.
The Flood
Imagine waking up in the middle of the night to a hot, steamy room. “Is the shower on?” Nope. No shower. But, I stepped down into ankle deep water to investigate, UPSTAIRS. Not good.
This offered up an opportunity for a few things, since we have fantastic homeowners insurance. I’d like to take a moment to give a shout out to my homies at USAA who made the insurance claims process painless. The contractors were so relieved when we said we had USAA. That was enough to solidify my belief in their awesomeness.
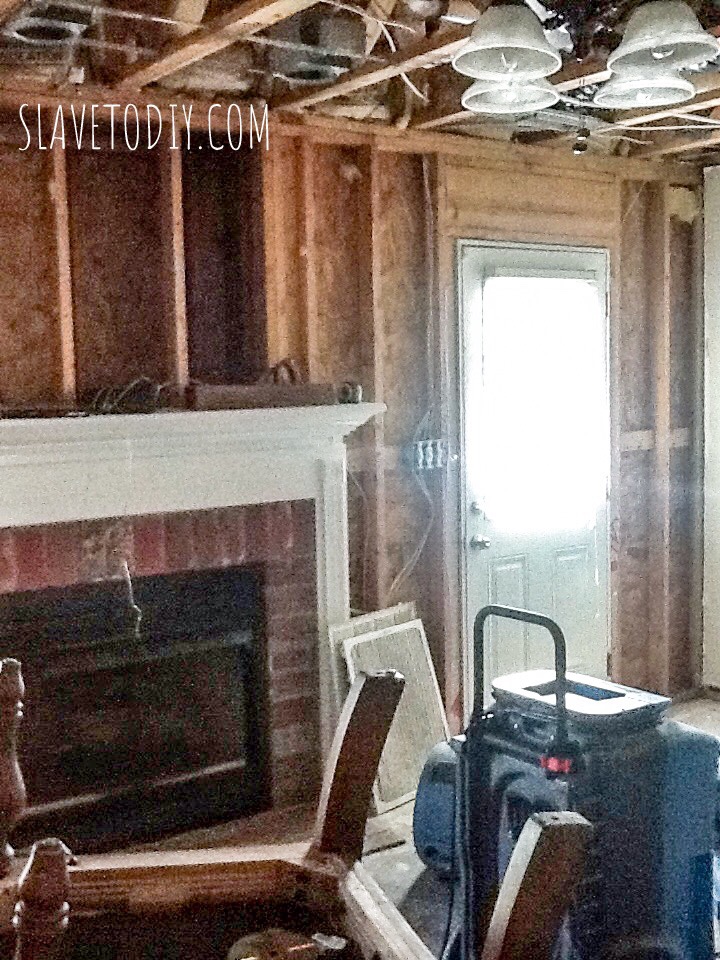
Demolition
The first thing that happened was the ripping out of the all of the sheetrock and flooring in the living room. Which made it look really weird. But, also awesome. Why? Two words: Popcorn ceilings. Even one room without those would be amazing and it was on my list of stuff to make happen.

A week and a half of industrial blowers and dehumidifiers later, the living room was dry and ready for REconstruction.
Reconstruction
So, honestly, the hardest part of a renovation is getting started. My favorite way to kickstart the process is to walk into a room with a crowbar or a sledgehammer and start swinging. Then Rainman sighs, and says, “so, that’s the next project, then?” But, in this case, we HAD to do the renovation, because it flooded. YAY!
So, demolition complete, the living room was ready to start rebuilding. Keep in mind, I knew this was not our forever home, so I took some design chances I probably wouldn’t duplicate now.
Sheetrock
The crew came in and put in sheetrock (we paid an additional $250 to have the ceiling flat finished instead of popcorn which felt a lot like extortion, but it was worth it).
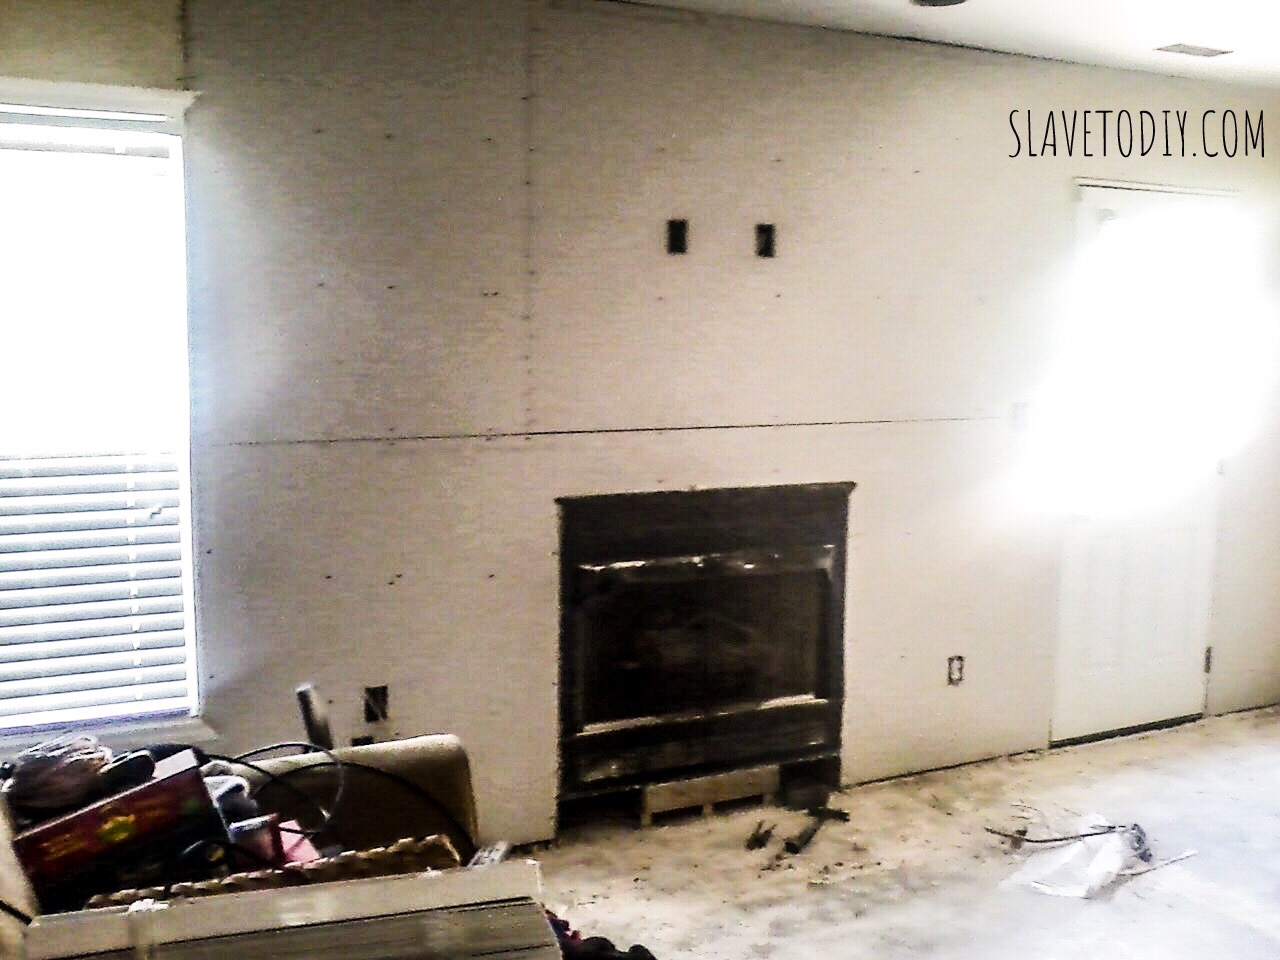
Tips: When we were “interviewing” contractors we asked if we could make changes to the insurance-approved punchlist after the fact to make sure they were on board. Many contractors will work with you, using the existing insurance payout, plus your add ons, to do upgrades. They will also give you credit for things you do yourself to help pay for some of the upgrades. Why not do upgrades when you have free labor? For instance, in order to put up the sheetrock the fan had to come down first. After the sheetrock was installed, the fan had to go back up. There was a $150 charge approved by the insurance company for an electrician to take it down, and another $150 to put it back up. Rainman installed the damn fan in the first place. We arranged to do that (and several other things) and applied the credit to the upgrades we were having done elsewhere.
This inspiration post is JUST for the wainscoting and molding, although we did install builtins, completely redo the fireplace and surround, and install beautiful flooring. I’ll cover the others separately.
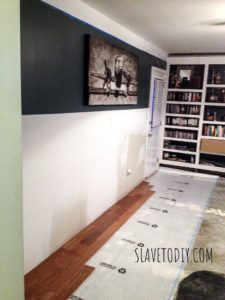
Customizing
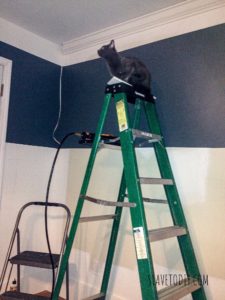
I painted my accent color first after Rainman drew me straight lines based upon where I pointed. That way I was sure I liked the height. I also wanted to make sure my awesome industrial airplane canvas fit where I wanted it mounted (I am notorious for prematurely hanging things on walls still under construction and dressing un-finished builtins).
Designing the Board and Batten Layout
The artwork fit perfectly, so I was able to give him the go-ahead to draw out the grid for the boards. Now, here’s the customization part: depending on the scale of your space (we were dealing with standard eight foot ceiling height) you may want a tighter grid, or something more spaced out. You may want wider or thinner boards. We drew out our boards and I liked the look. We used 1″x6″ pine boards for a majority of the grid.
We tried really hard to avoid going over light switches or outlets, but we did hit a few. Because the outlet was in an area that would be covered, we just did a cut out for it. Ditto for the dual light switch.
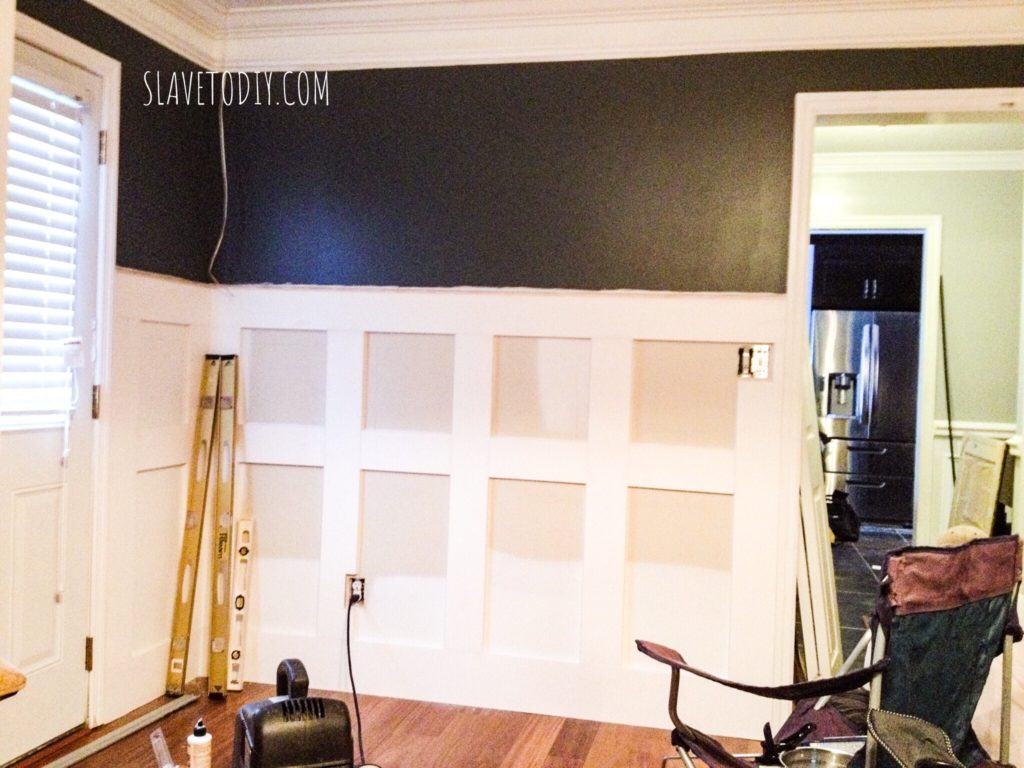
The grids were installed using finish nails, via a finish nailer and compressor. My husband got these Bostich nailers and compressor as a gift from his father like 15 years ago and they all still work great. We ran the vertical boards against the door frames and in the corners first, then the top and bottom horizontal boards (we used a wider baseboard), then the verticals (between the top and bottom), then the boards in between the verticals.
We did quarter round to cap the wainscoting and a white quarterround to finish it out against the flooring, also.
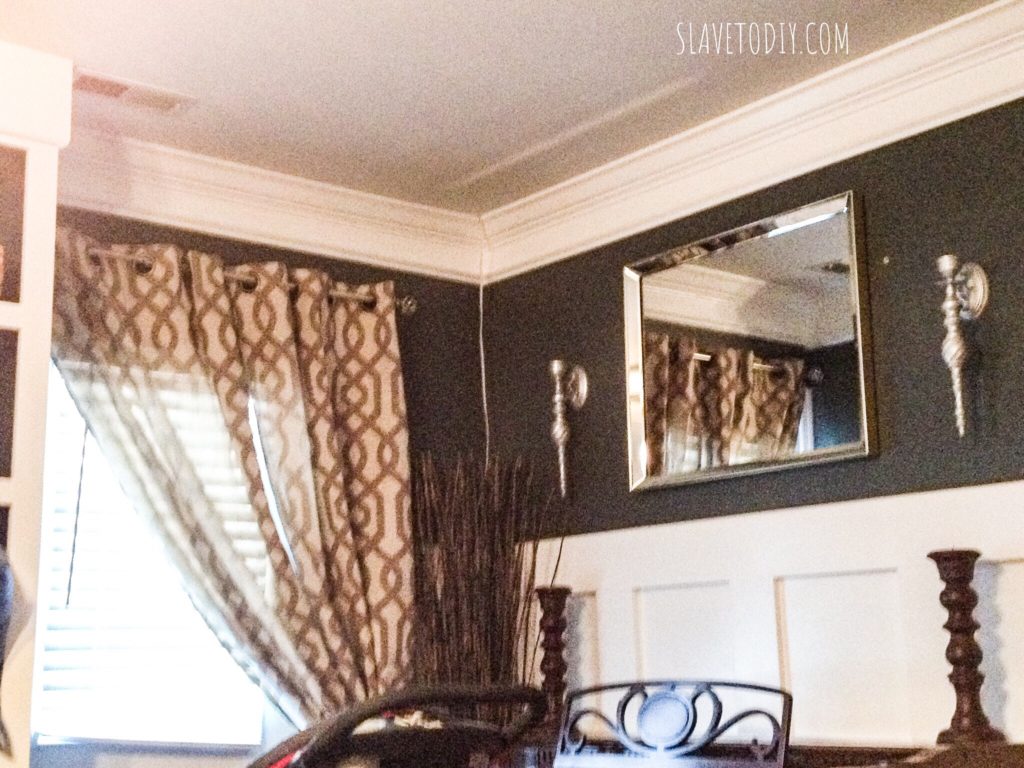
I apologize for the grainy photos (these are pre-blogging days and were on my phone). You can see the grid before we started the finish work. Above, the first layer of crown molding has gone up.
Finishing Touches, Crown Molding, and Engineered Brazilian Hardwood Flooring
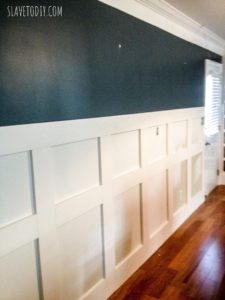
The additional white quarter round against the flooring really set off the deep color in the gorgeous engineered Brazilian Cherry Hardwood. I absolutely love the contrast of white against wood.
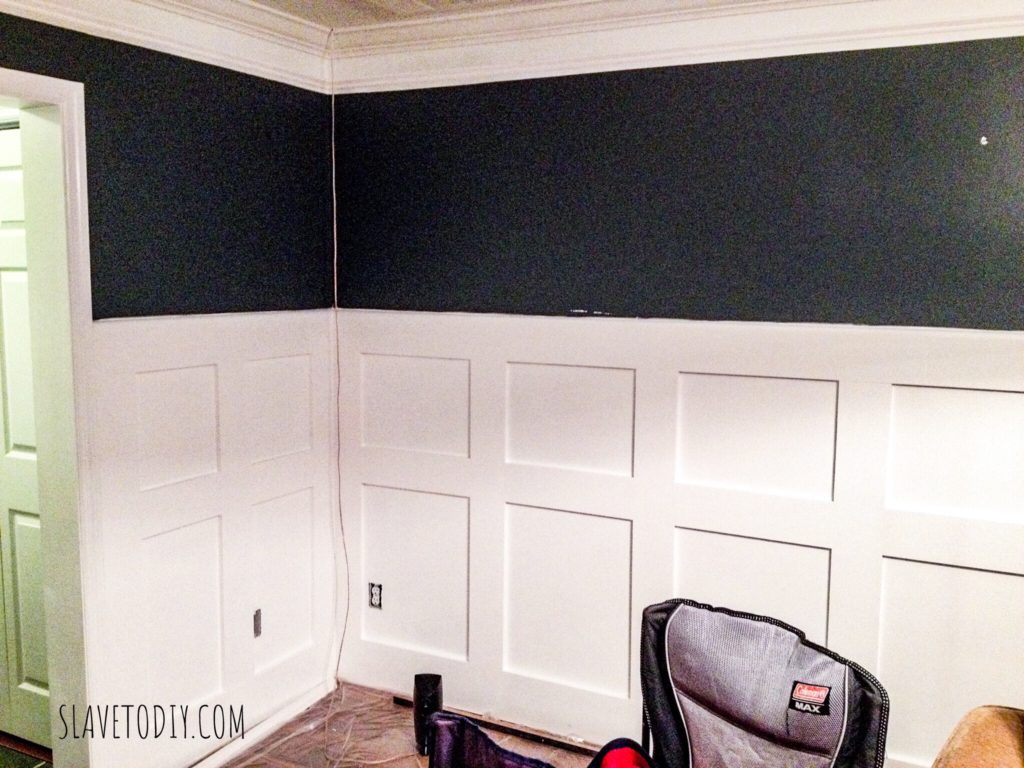
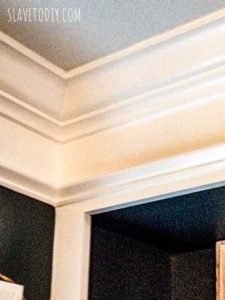
This shot shows the second detail layer below the crown and how the wainscoting looked. This is not a crown molding installation how-to. There’s a fantastic tutorial available from the Familyhandyman.com if you’re new at this. Rainman’s tool of choice on this (that we’ve used over and over) is The Dewalt Compound Sliding Miter Saw. We’ve used it to do an entire house of molding (at the old house) and it still does EVERYTHING we need at the new house.
So, this is an awful, grainy photo again. But, it shows how we continued the trim against the builtins. The top of the builtins was open. We capped the builtins with crown (so it continued around the room) and the detail piece tied it in beautifully.
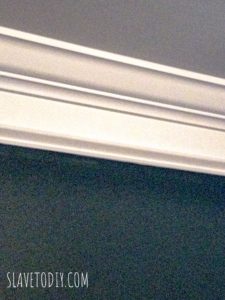
Here’s the final crown stack up, with only two pieces.
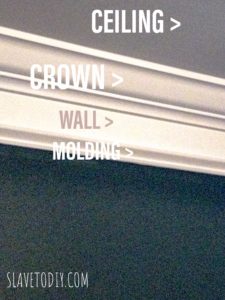
And them labelled, for guidance.

The finish work was time intensive once all of the crown and wainscoting was up. All of the molding took two layers of caulk (around every edge of the grid and to fill nail holes) to really be finished and THREE layers of gloss white paint. But, it turned out beautifully.
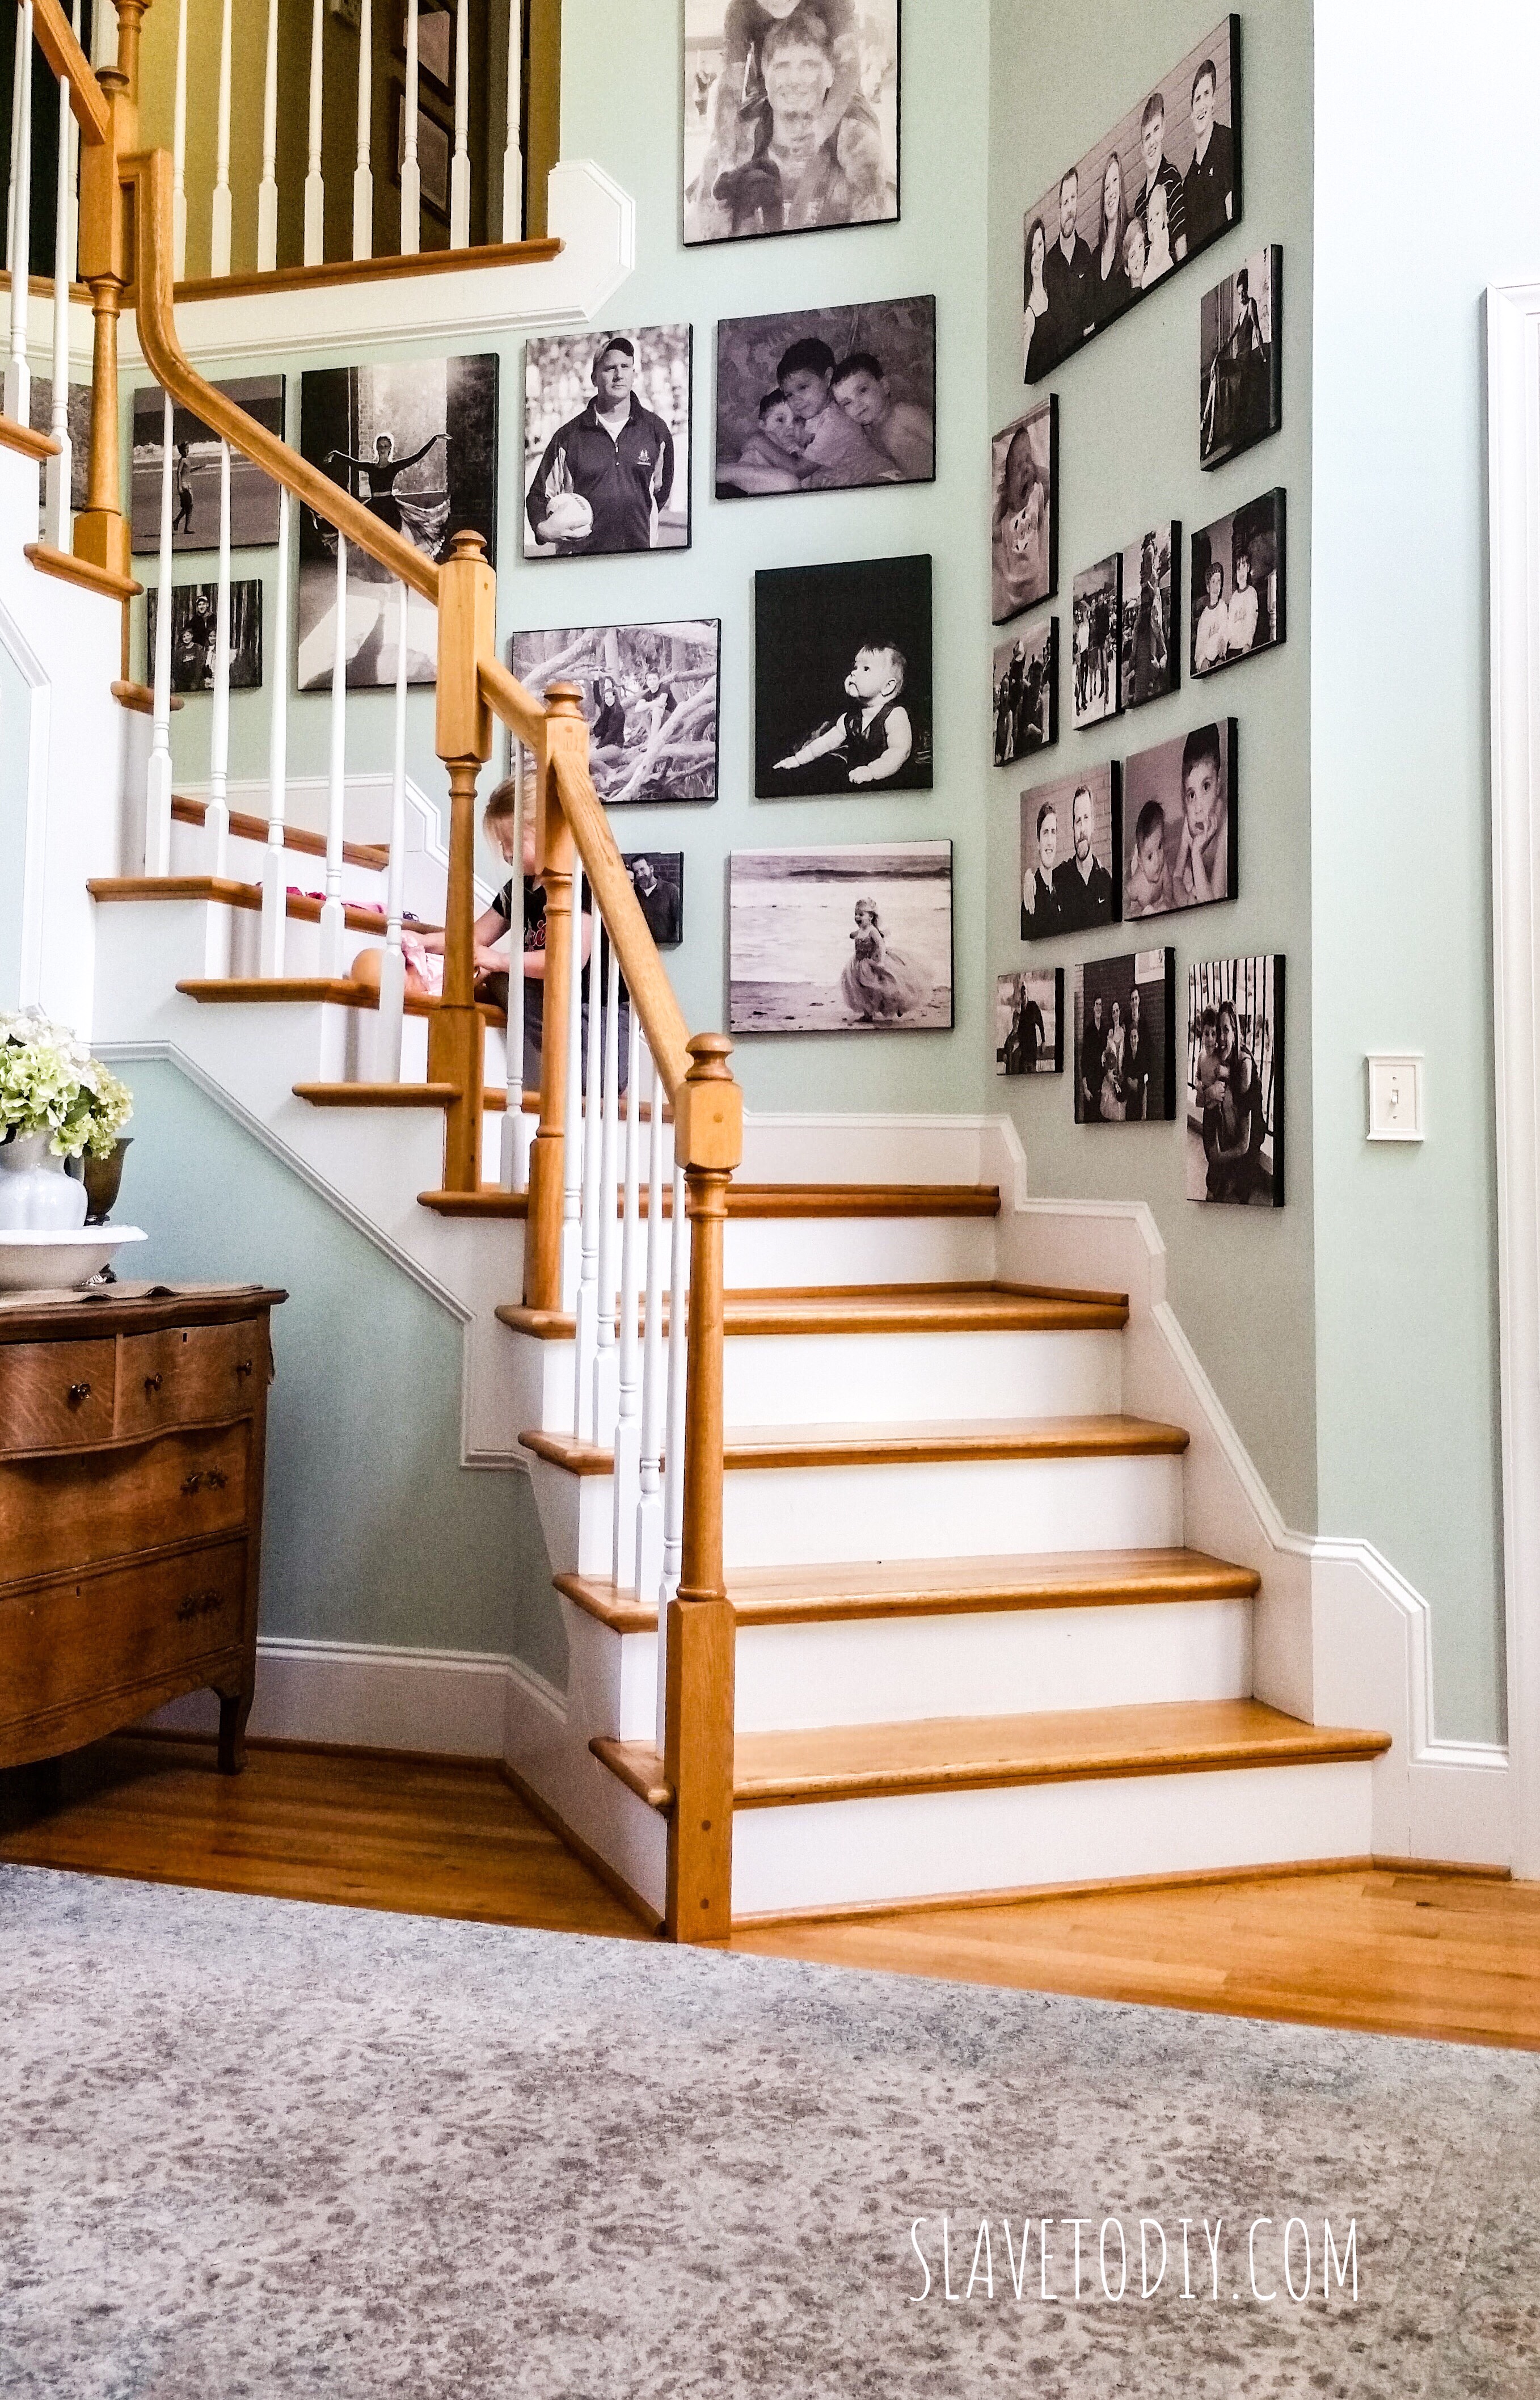
The Finished Product

This was one of the listing photos of the living room. The white wainscoting and molding REALLY punch up the color contrast and finish the room beautifully. See the finished Old House Tour for more great makeovers.
Check out more of our DIY projects here. Thanks for stopping by!
*Legal stuff:
I am honest about my experiences with different products and write because I enjoy it. I do however, have the opportunity to earn money for my writing, also.
Slavetodiy.com is a participant in the Amazon Services LLC Associates Program, an affiliate advertising program designed to provide a means for sites to earn advertising fees by advertising and linking to amazon.com. Amazon offers a small commission on products sold through their affiliate links. Each of your purchases via our Amazon affiliation links supports our cause at no additional cost to you.
If a blogger links to an Amazon product (with a special code for affiliates embedded in the link), and a reader places an item in their “shopping cart” through that link within 24 hours of clicking the link, the blogger gets a small percentage of the sale. Amazon links are not “pay per click.” If you click on the product link and stay around Amazon and purchase something else, however, I will get a commission on that sale.
Slavetodiy.com is also a VigLink affiliate advertiser which works similarly.