RH Restoration Hardware 19th C. Rococo Iron & Crystal Round Chandelier Product Review

Did you notice that it’s super hard to find reviews on RH light fixtures (or anything else Restoration Hardware sells)? I have to tell you, I was a little afraid… the shroud of secrecy surrounding the quality of the items, and lack of happy customer (or any) reviews, left me feeling a bit wary. So, I hope I can shed a little light on my RH “experience” and provide an honest review (I still have fear about a hypothetical RH strong arm guy coming to bust my knee caps, but here goes…): oh, by the way. I’m not an affiliate. I think their snobbery prevents affiliatery (dude, that’s not a word, I just made it up), so you can be sure of my unadulterated, completely honest opinion.

*This post may contain affiliate links. Please see full disclosure at the end of the post.

First, let’s be totally up front. Restoration Hardware’s marketing team and strategy are second to none. They are selling class. Period. It’s unbelievably brilliant and diabolically well executed. Every purchase says: welcome to the champagne life. But, is it true? Are their products that much better?

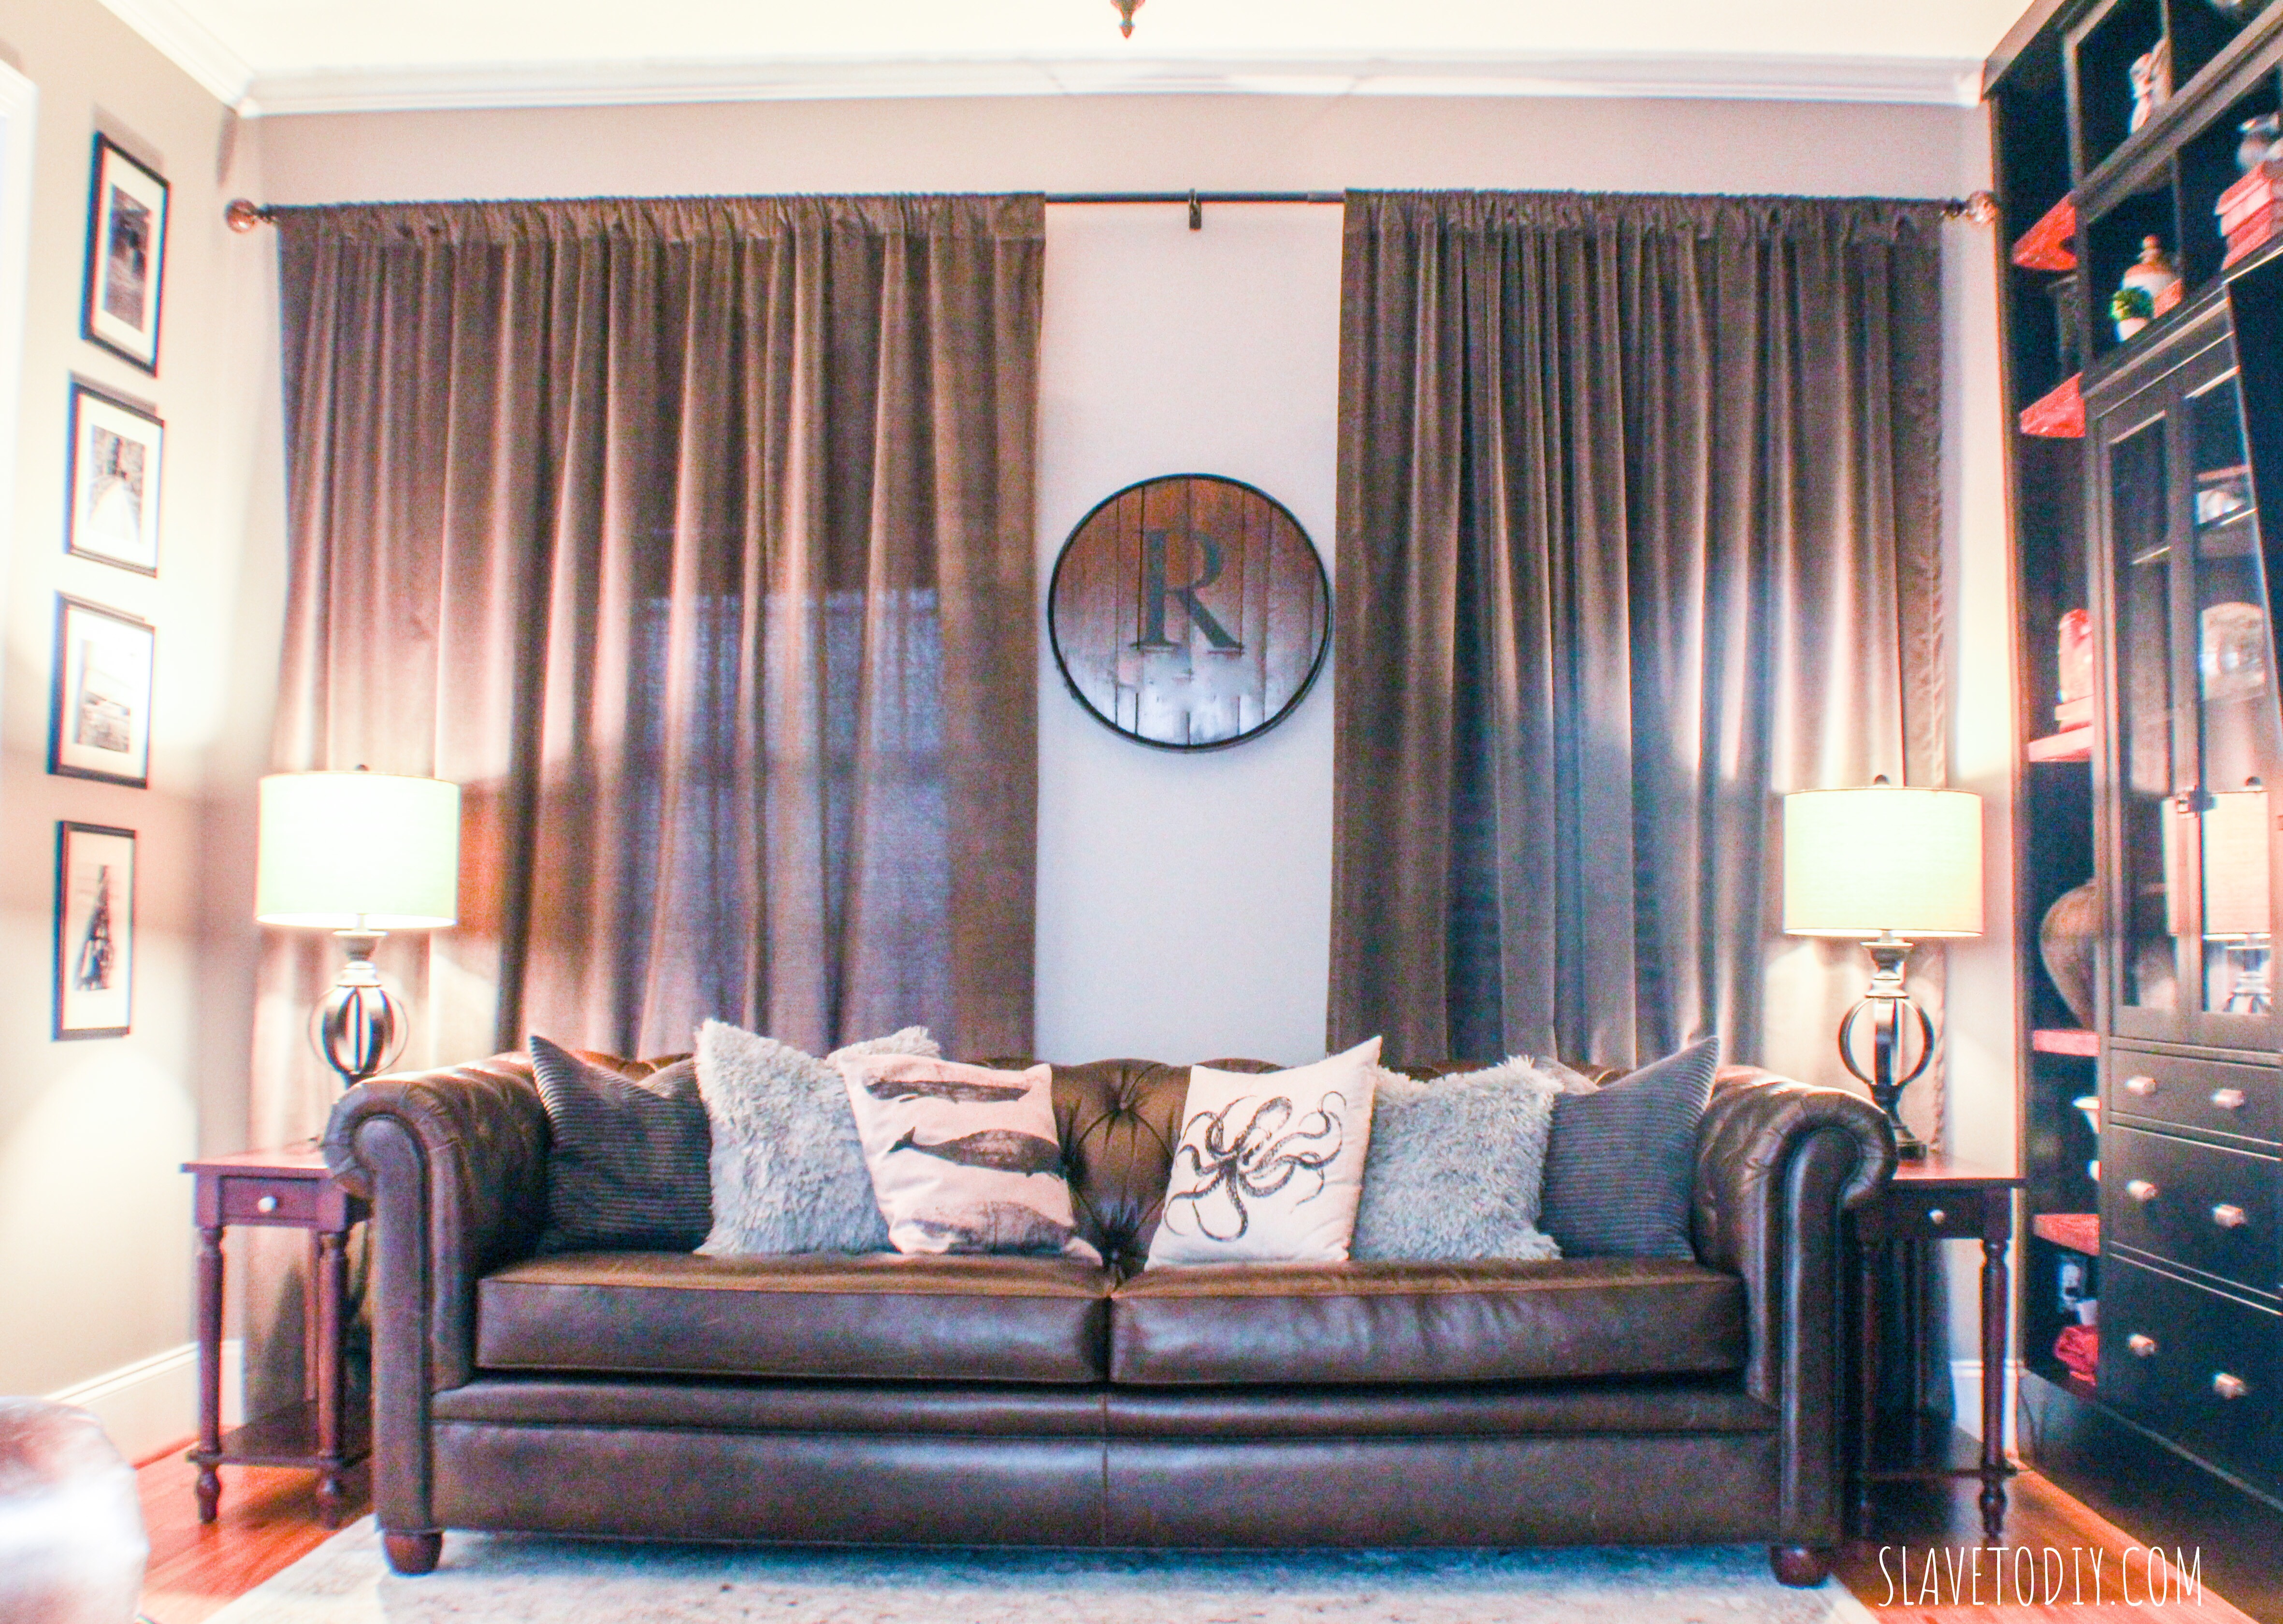
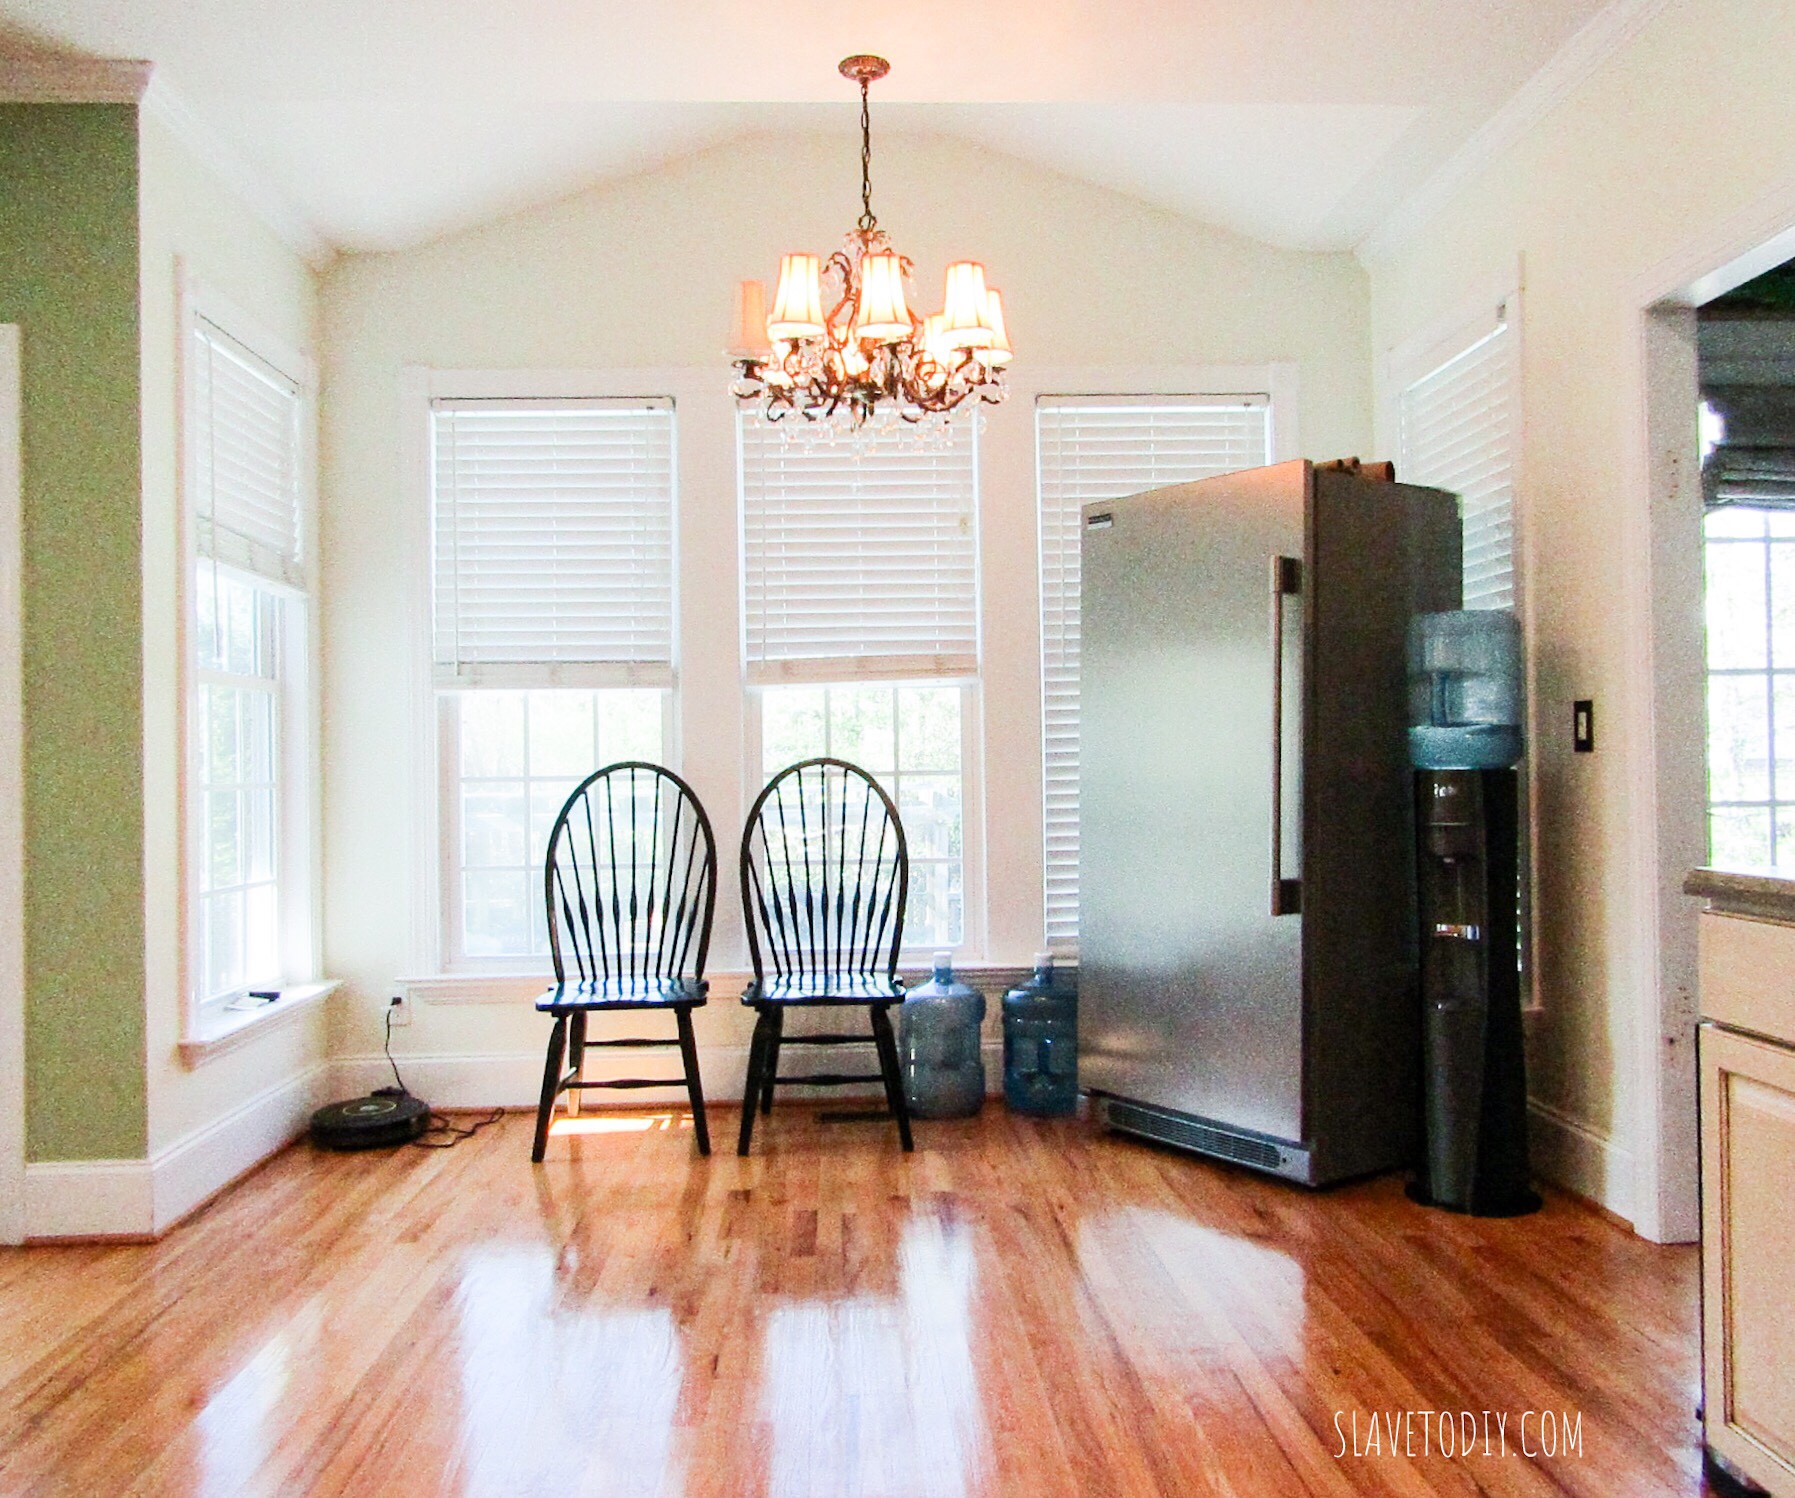
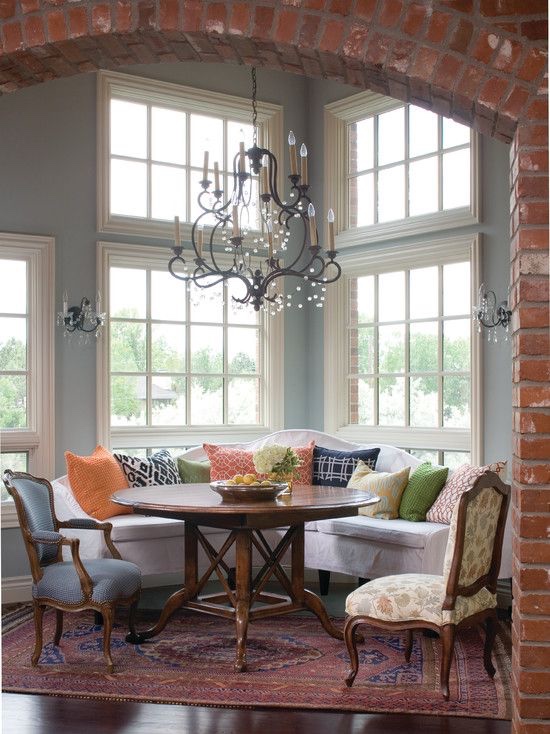
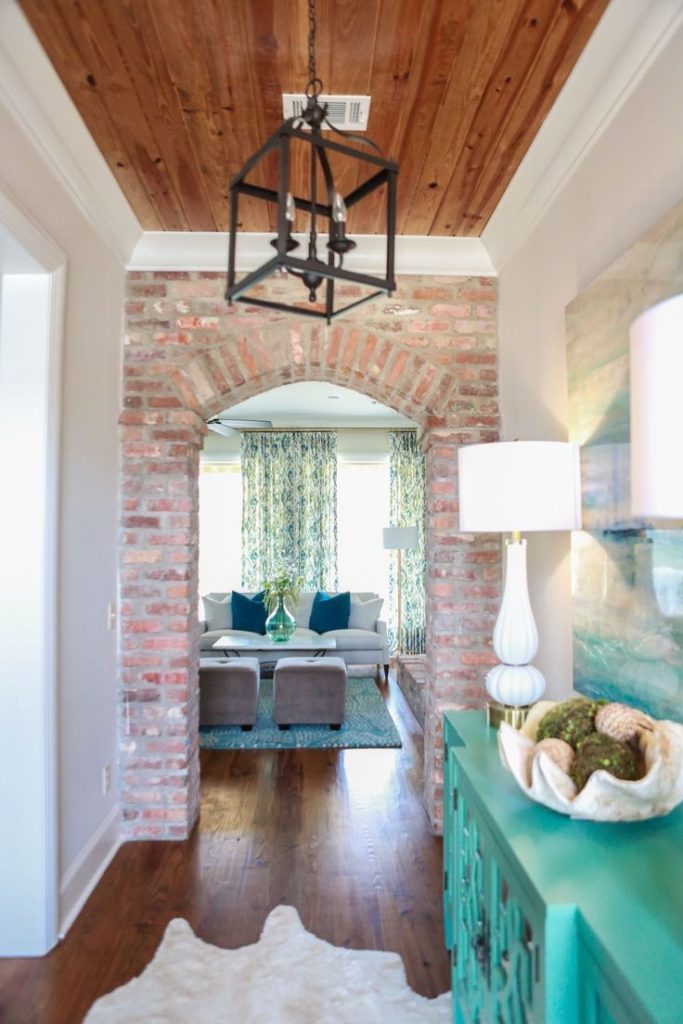
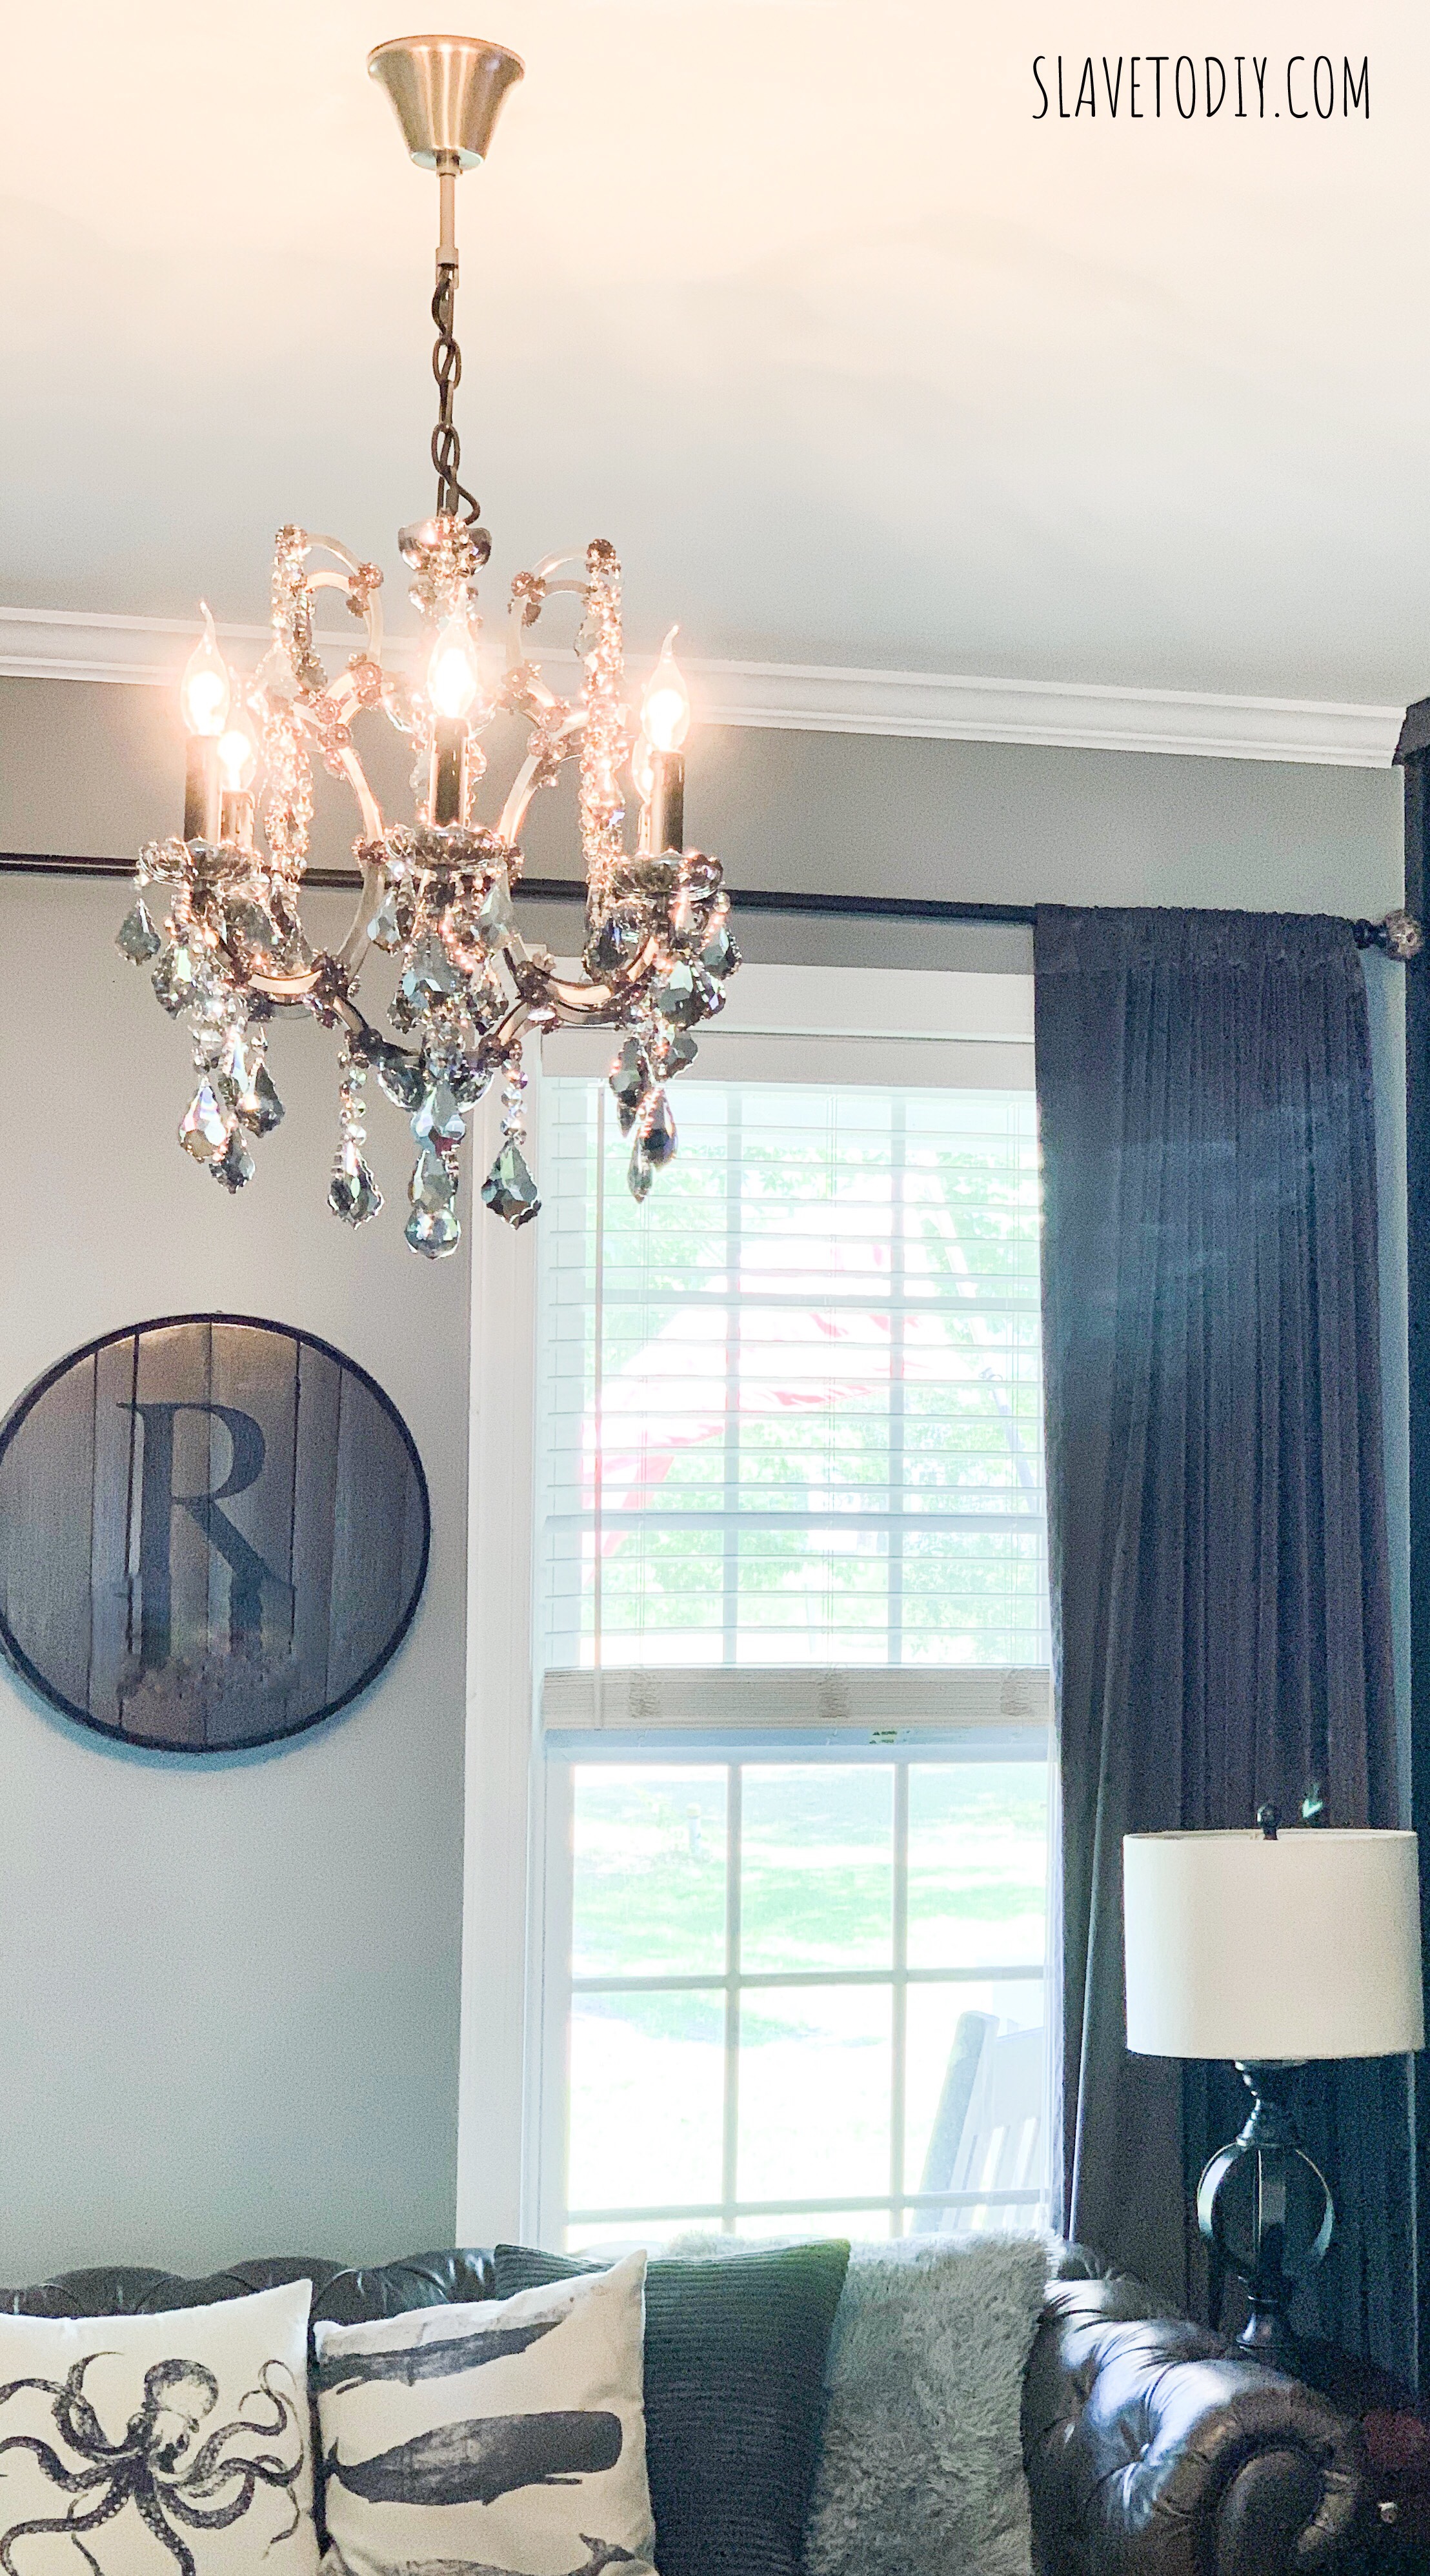
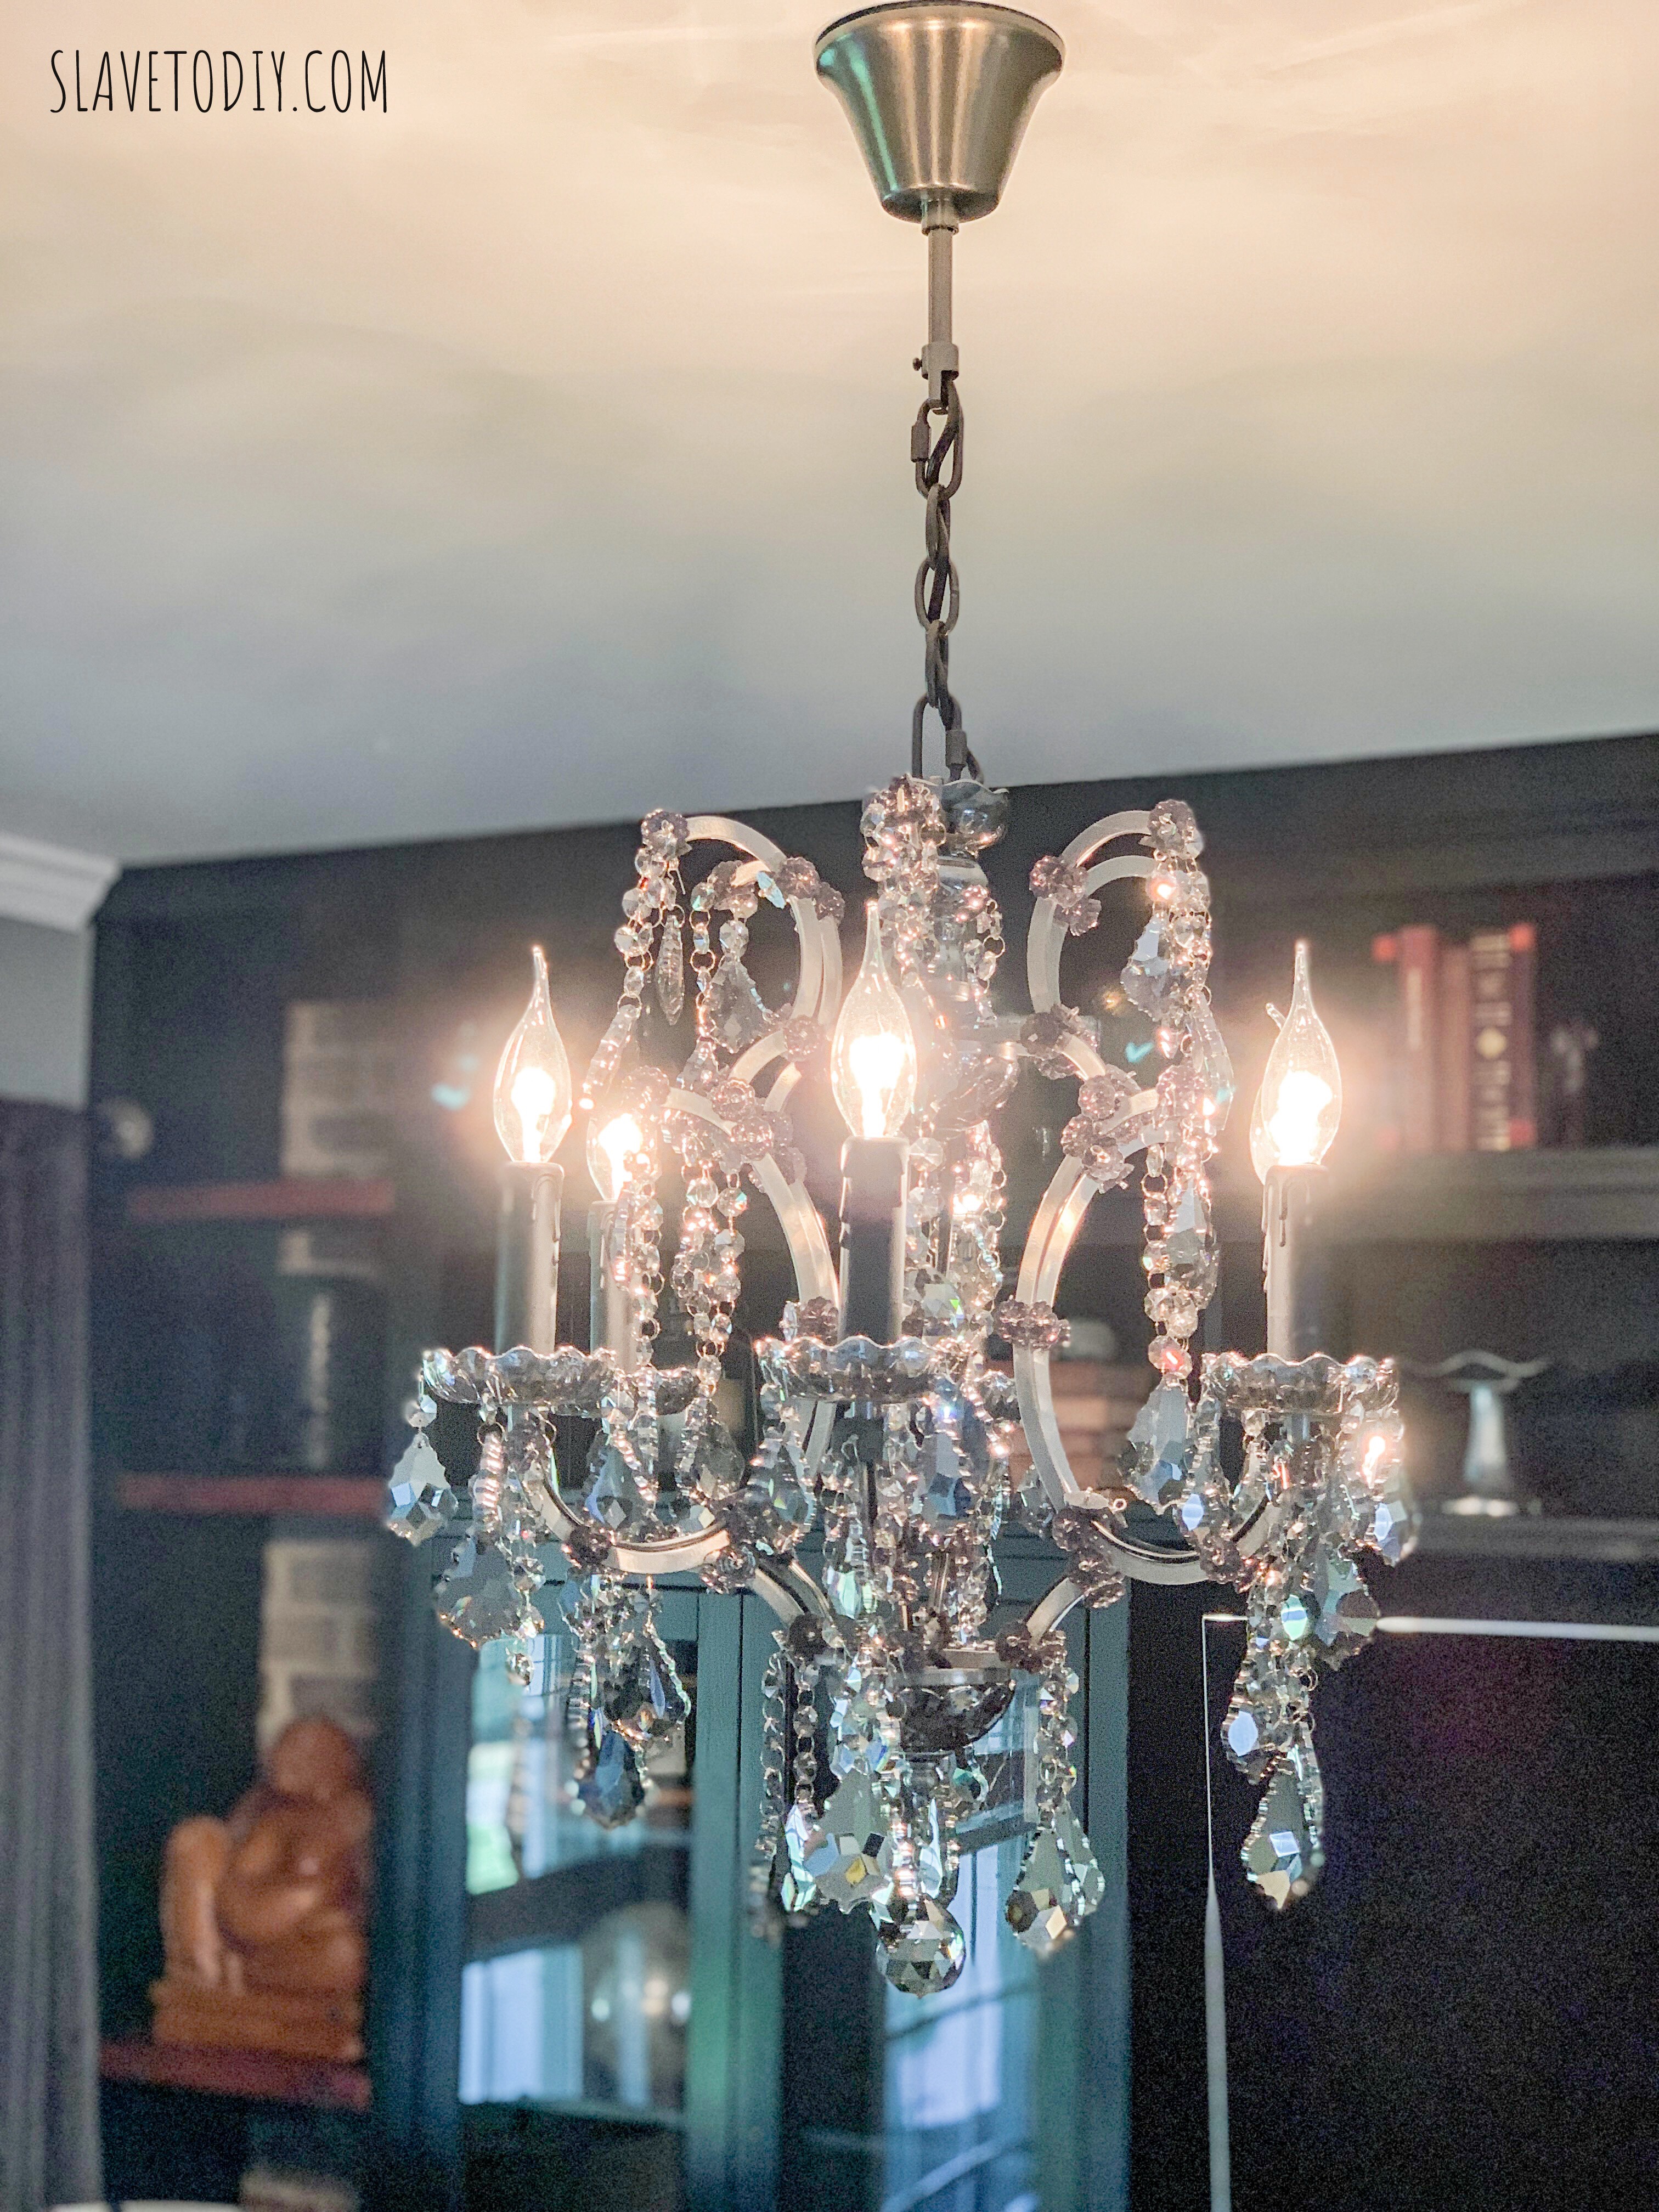
I’ve had my eye on a light fixture at RH for a while. I visited it at night on their website, shielding my iPad just in case Rainman was just pretending to be asleep and really wanted to know what I was cyber stalking.  Several times I almost caved and bought a knock off (everything that was similar had a lot of chrome, which was too glammy), but I stayed strong and finally bit the bullet. Enter the 19th century rococo chandelier in smoke into my life. It was the perfect piece to complete a recent adult living renovation and I just couldn’t say no.

RH Restoration Hardware 19th C. Rococo Iron & Crystal Round Chandelier Product Review

As we have been busy on a MAJOR DIY deck addition, the box sat unattended for several weeks before my Rainman discovered me looking sad one night and rolled up his sleeves. What we thought would be a simple installation was not quite, but I’ll tell you all about it.

RH Restoration Hardware 19th C. Rococo Iron & Crystal Round Chandelier Product Review

But, first, back to that deck renovation.  So, the deck needed to go in before child-next graduated from high school so there was an appropriately awesome place for his friends to hang out, not inside with all of the boring adults (and no one sued us when they fell through the old, rotting deck).  Surprise, surprise, as we were peeling back siding to install the ledger board, Rainman and my father in law discovered rot.  It went halfway up the back wall and surrounded the door.

RH Restoration Hardware 19th C. Rococo Iron & Crystal Round Chandelier Product Review

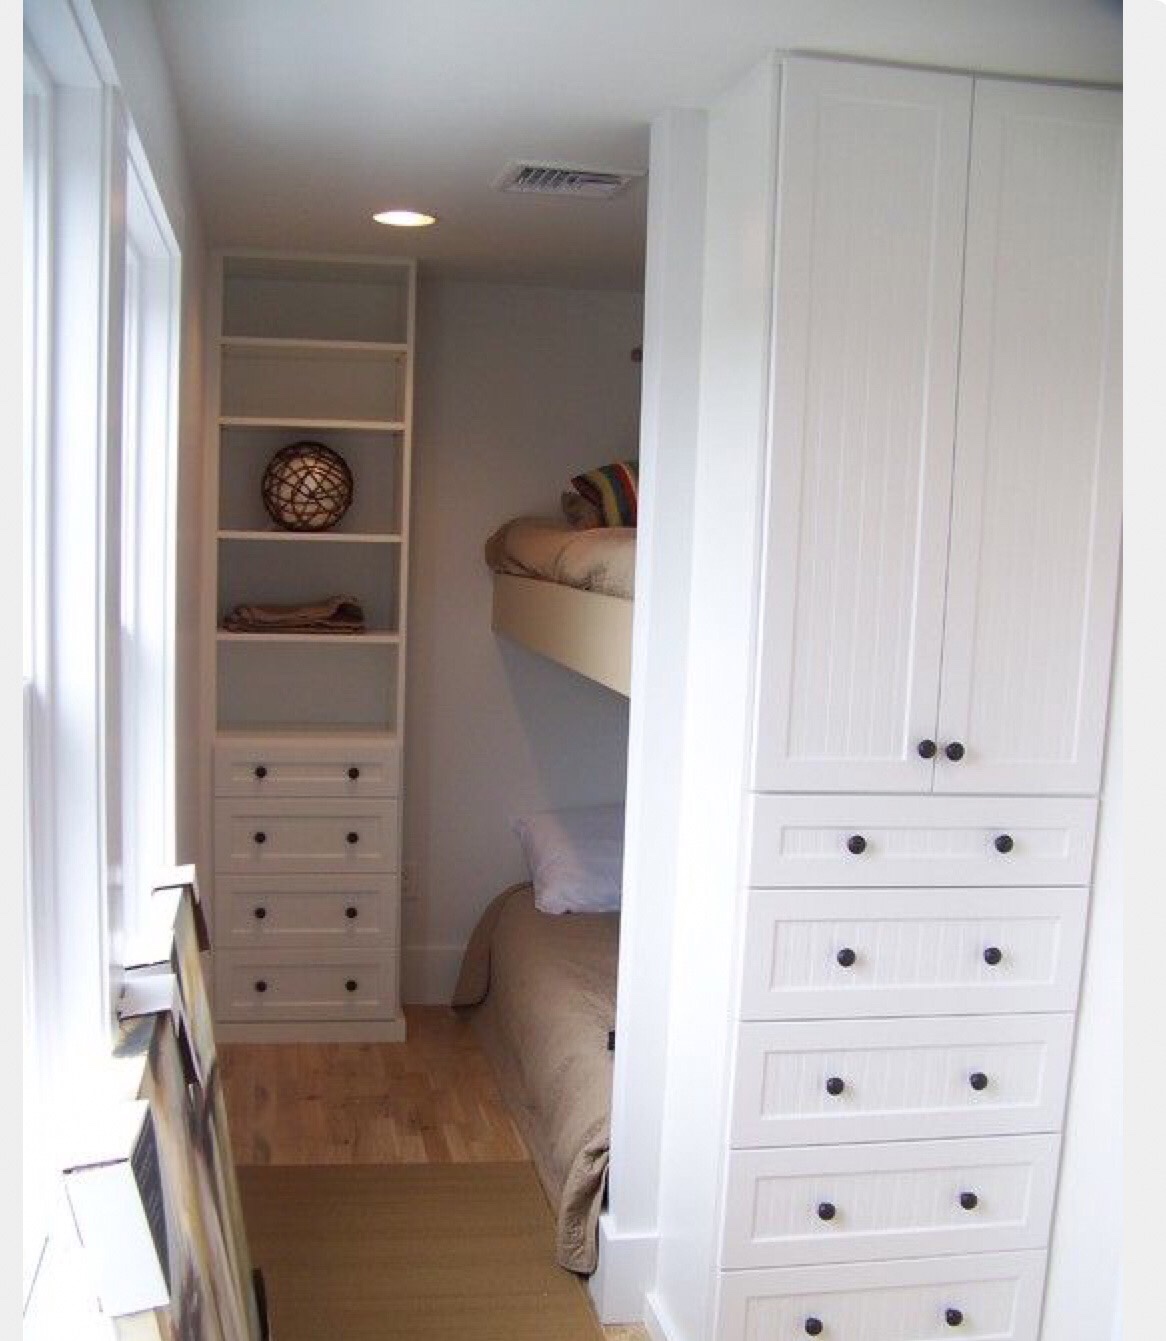
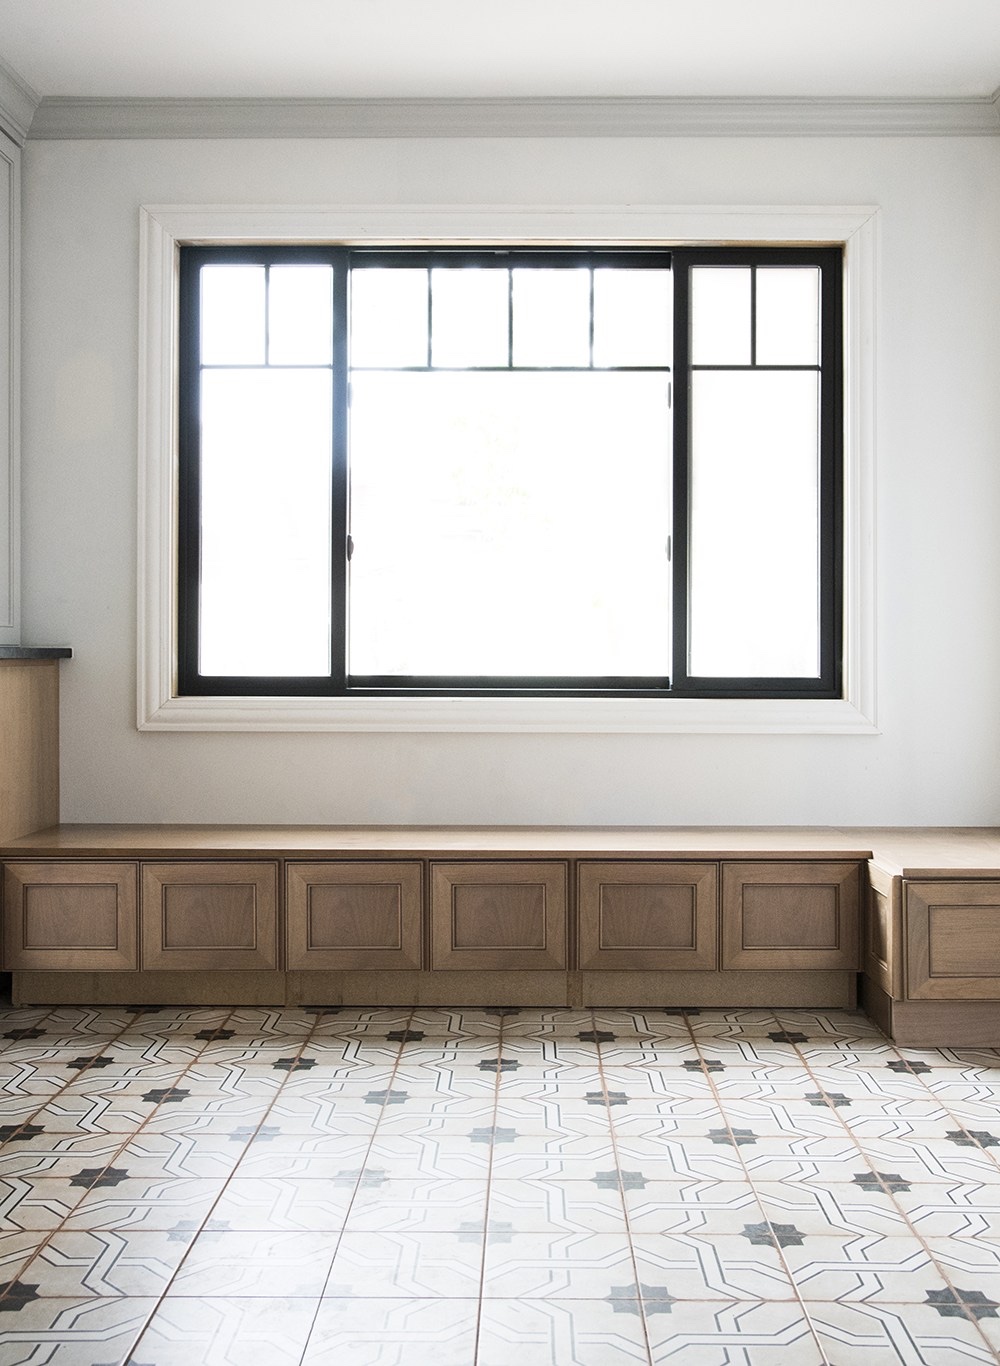
This was the same door that eventually I wanted to close in anyway, and was going to have a kitchen cabinet behind it, because we would also rip out windows and install custom steel doors instead.  Nevermind that this other renovation was nowhere near ready to start, financially or otherwise, I was like, “fill it in.”  We’re already doing this, and I’d rather not install a new door that we’re going to take out and close in later.  And, as anyone knows who has DIYed a kitchen reno, there’s no time like the present to start it, and no time like right before you sell the house to finish it!  Needless to say, I was a bully, and Rainman was not happy.

RH Restoration Hardware 19th C. Rococo Iron & Crystal Round Chandelier Product Review

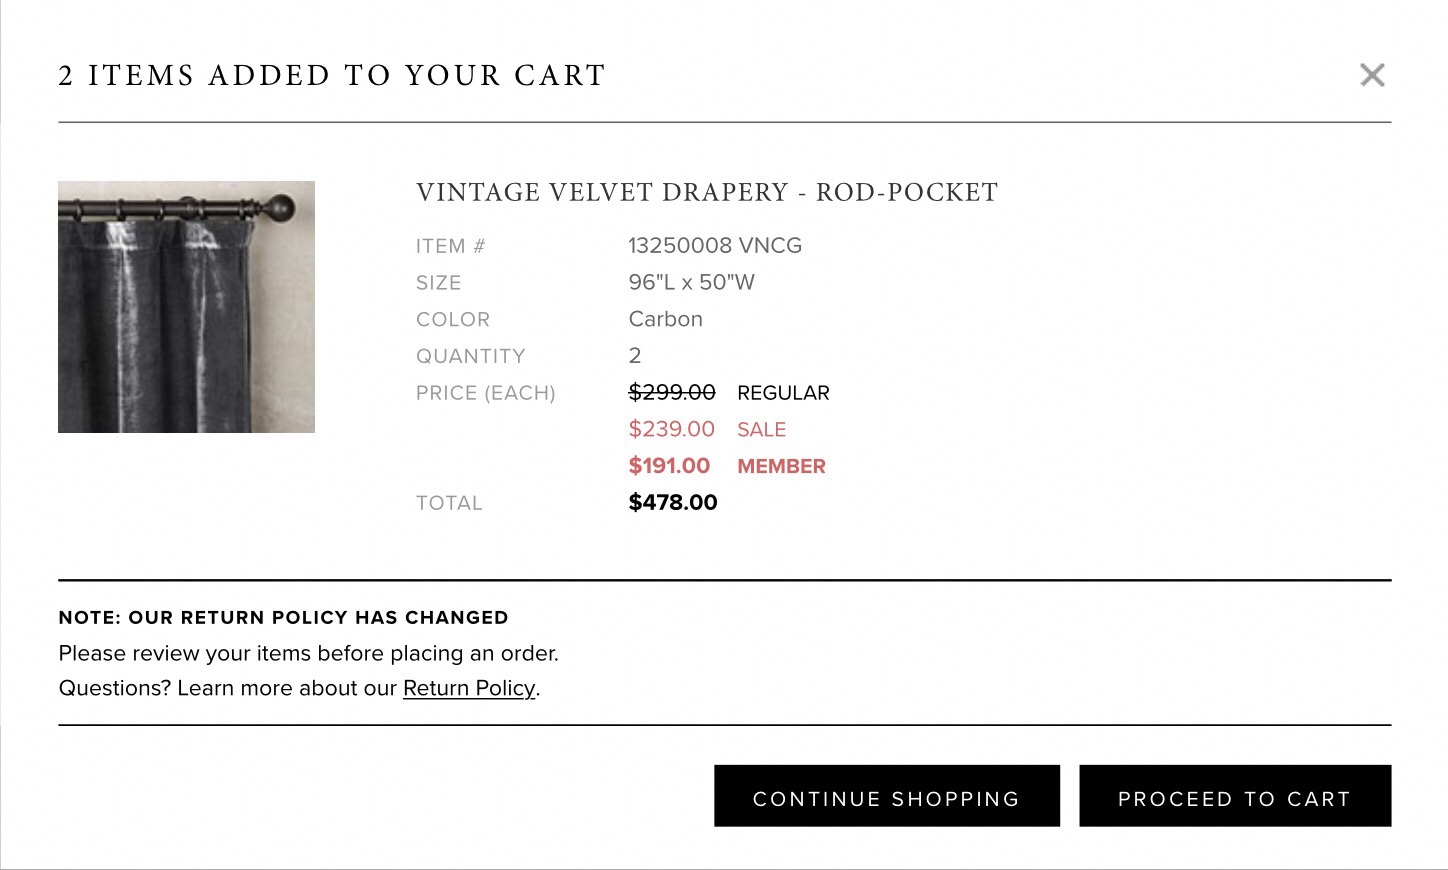
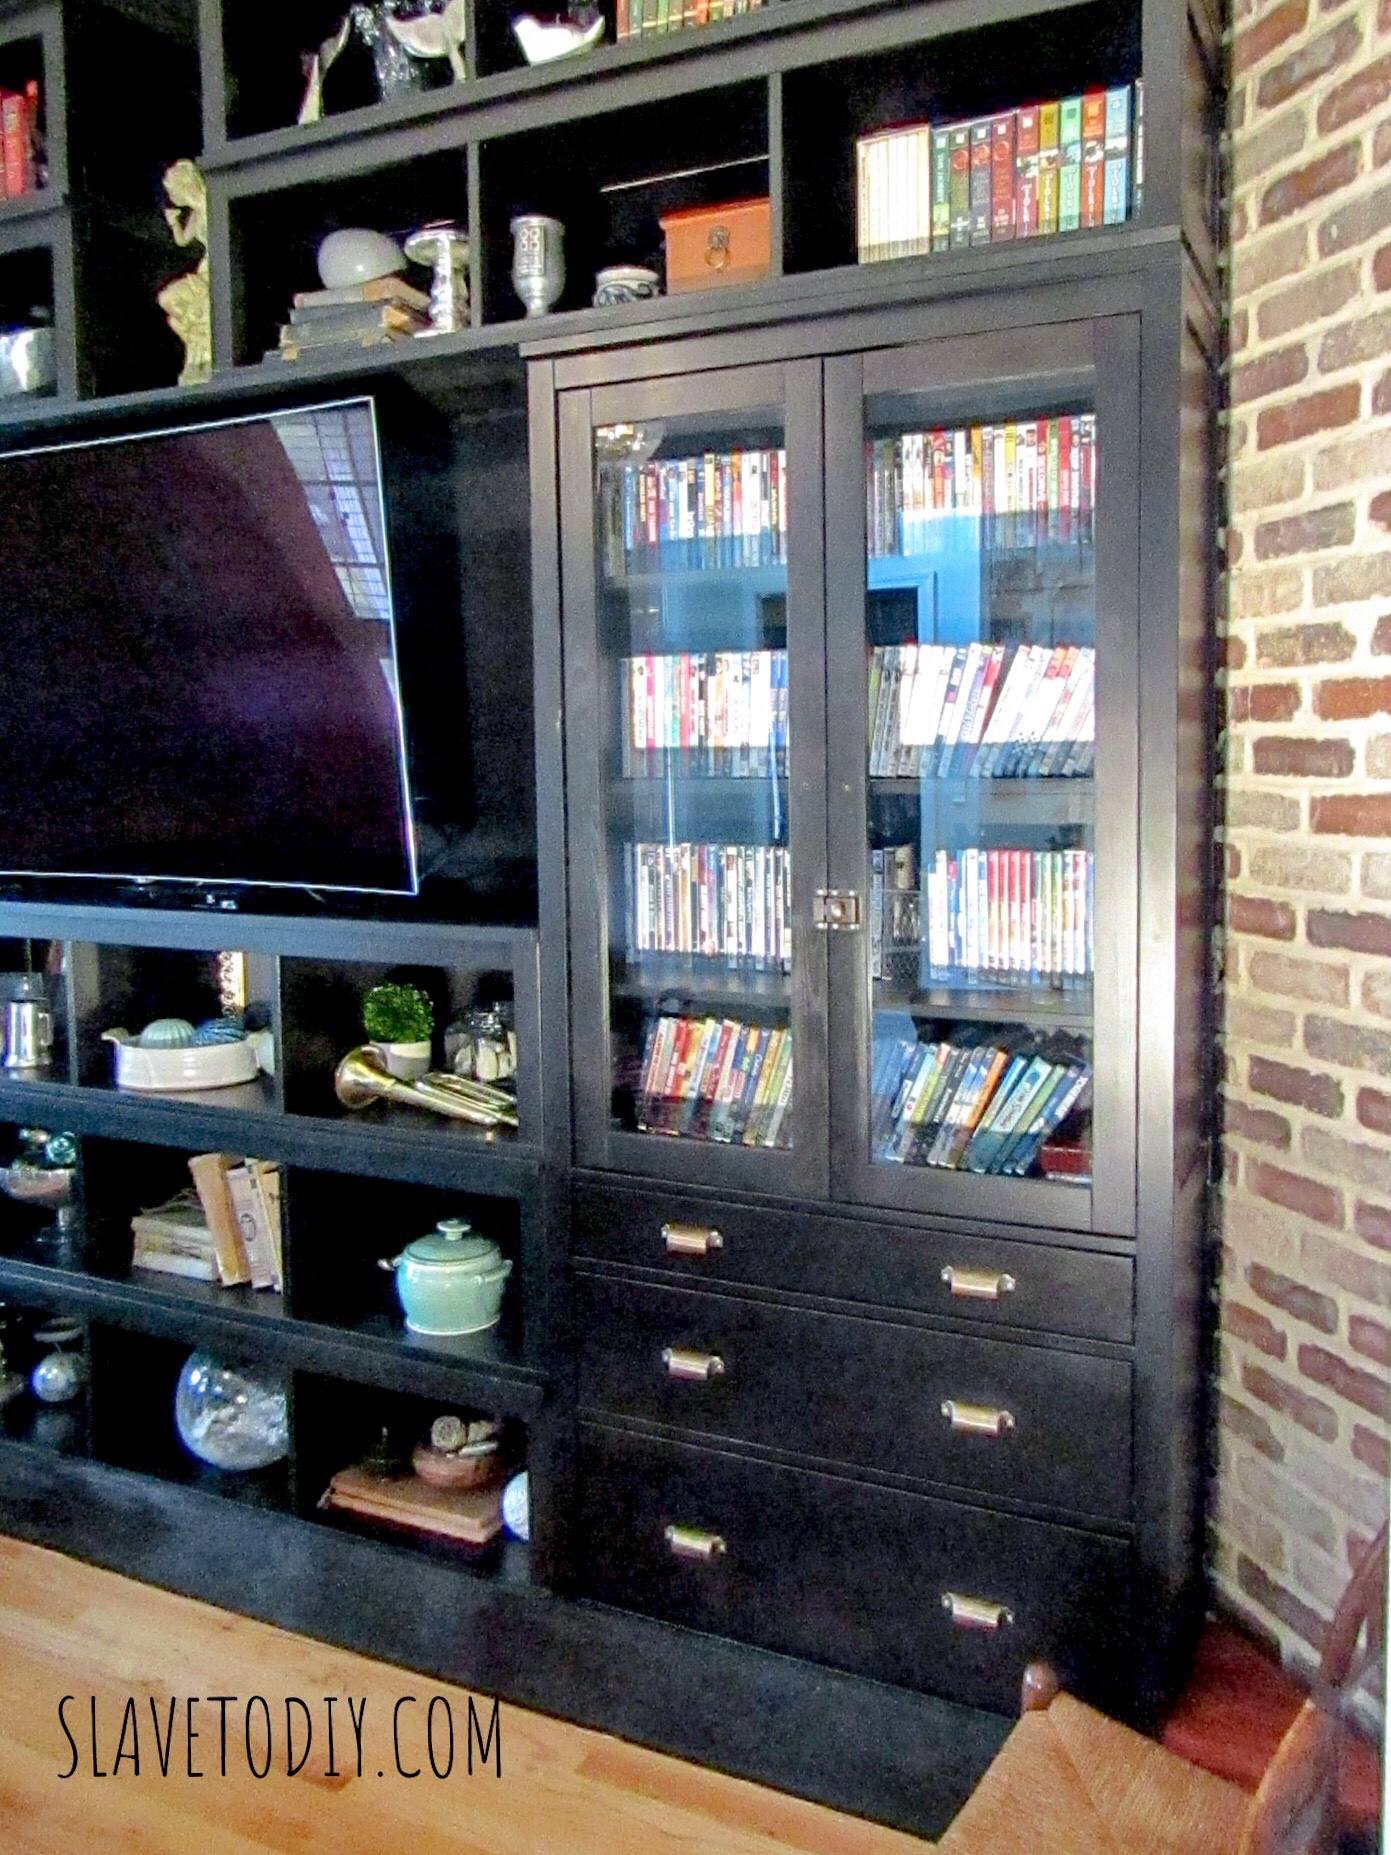
Well, I couldn’t leave the blank wall without a cabinet.  And if you’re going to get the cabinet you might as well get the matching one for the base of the banquette island you planned.  And if you’re already paying the unlimited furniture delivery fee (which is unfortunately $399 in my area because I live out in the sticks), you might as well buy that fixture you’ve had your eye on.  It’s like I was saving us money already. (I feel like I’ve maybe been reading those “If You Give A Mouse A Cookie” books to the little one too much lately).

RH Restoration Hardware 19th C. Rococo Iron & Crystal Round Chandelier Product Review

So, I had my fixture.

RH Restoration Hardware 19th C. Rococo Iron & Crystal Round Chandelier Product Review

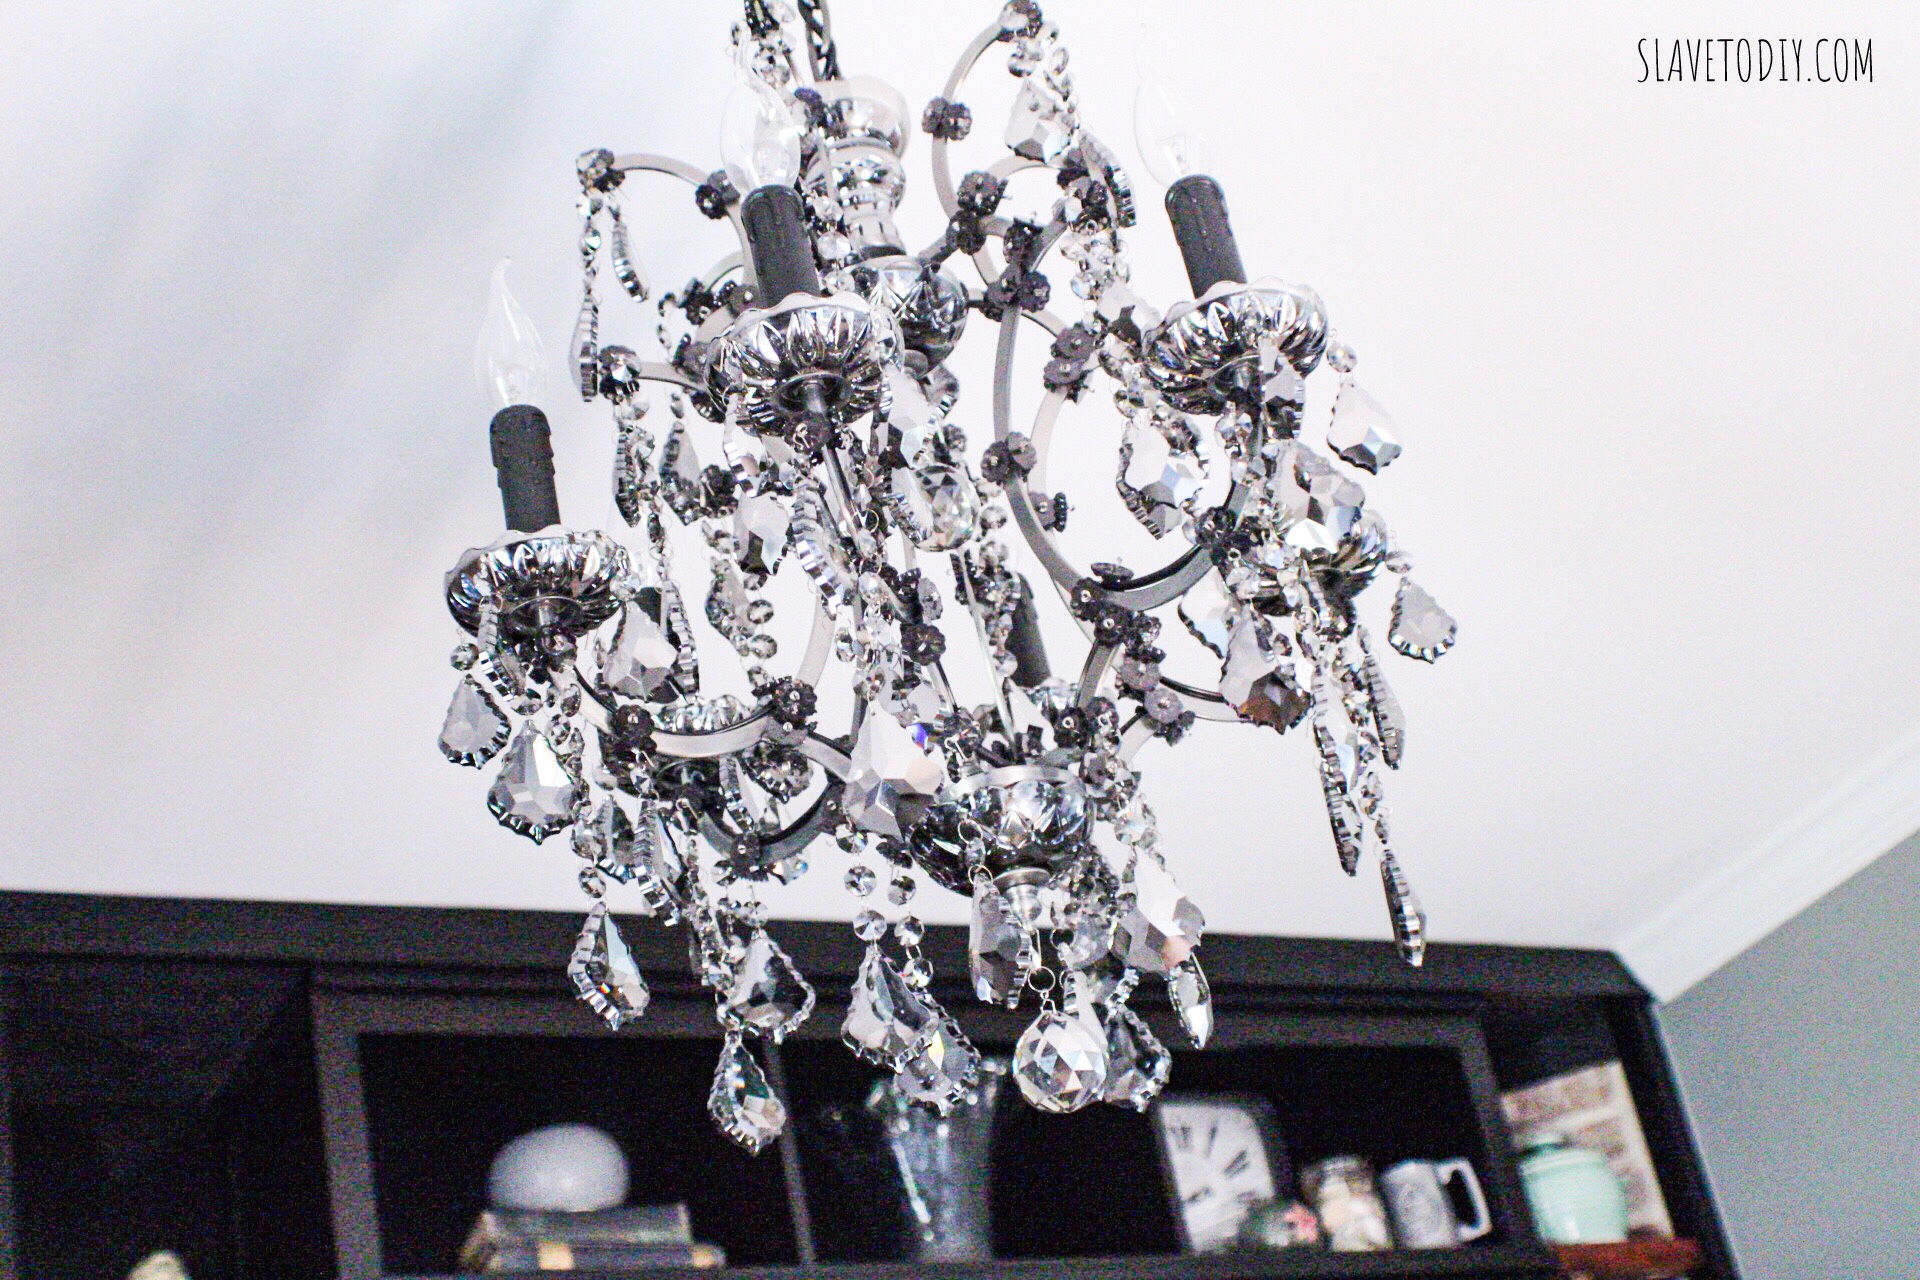
Rainman just wanted to make me happy, and generally, fixture hanging is a weekday evening type of deal.  Straightforward and satisfying.  Unless there are like 200 crystals that have to be individually attached.  But, it’s fine… it would be better if there were gloves but they’re not included (I still need to go back and get all of the fingerprints off the crystals). I ordered white cotton gloves from Amazon and they’re ready for me whenever I get to it (there was no way I was stopping progress to wait on gloves).

RH Restoration Hardware 19th C. Rococo Iron & Crystal Round Chandelier Product Review

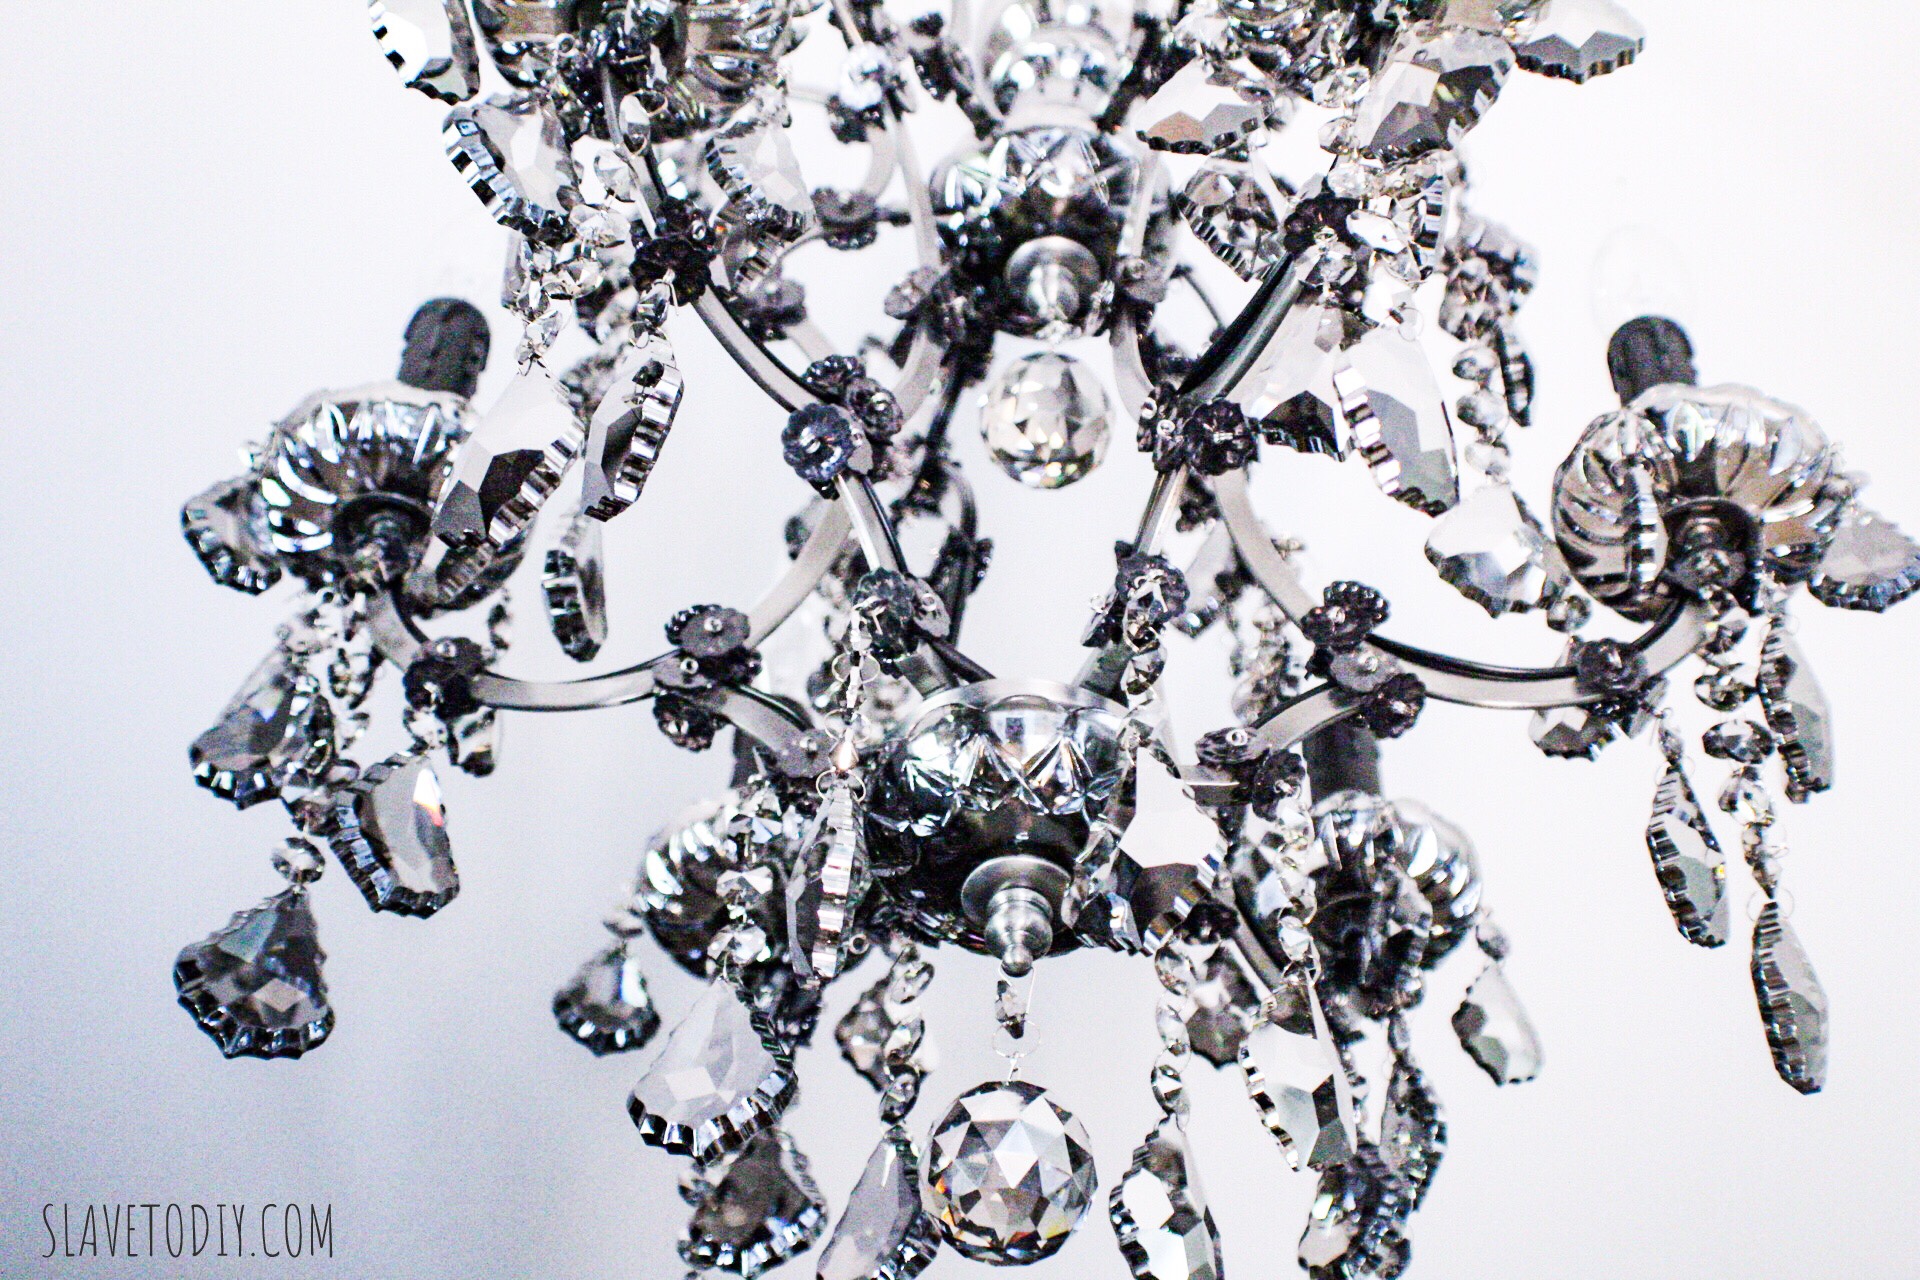
So, the actual fixture installation was pretty straightforward (although the directions are a bit lacking). I believe the prevailing assumption is that anyone buying this is going to have a pro install it and not their own personal slave Rainman after work one evening, so I guess I get that the wiring diagrams weren’t totally great.  The real kicker was that the number of crystals doesn’t actually match the installation guide and you basically can’t get there from here.  But, it may be that it’s a matter of personal preference how you’d like the crystals to hang, I’m not totally sure.

RH Restoration Hardware 19th C. Rococo Iron & Crystal Round Chandelier Product Review

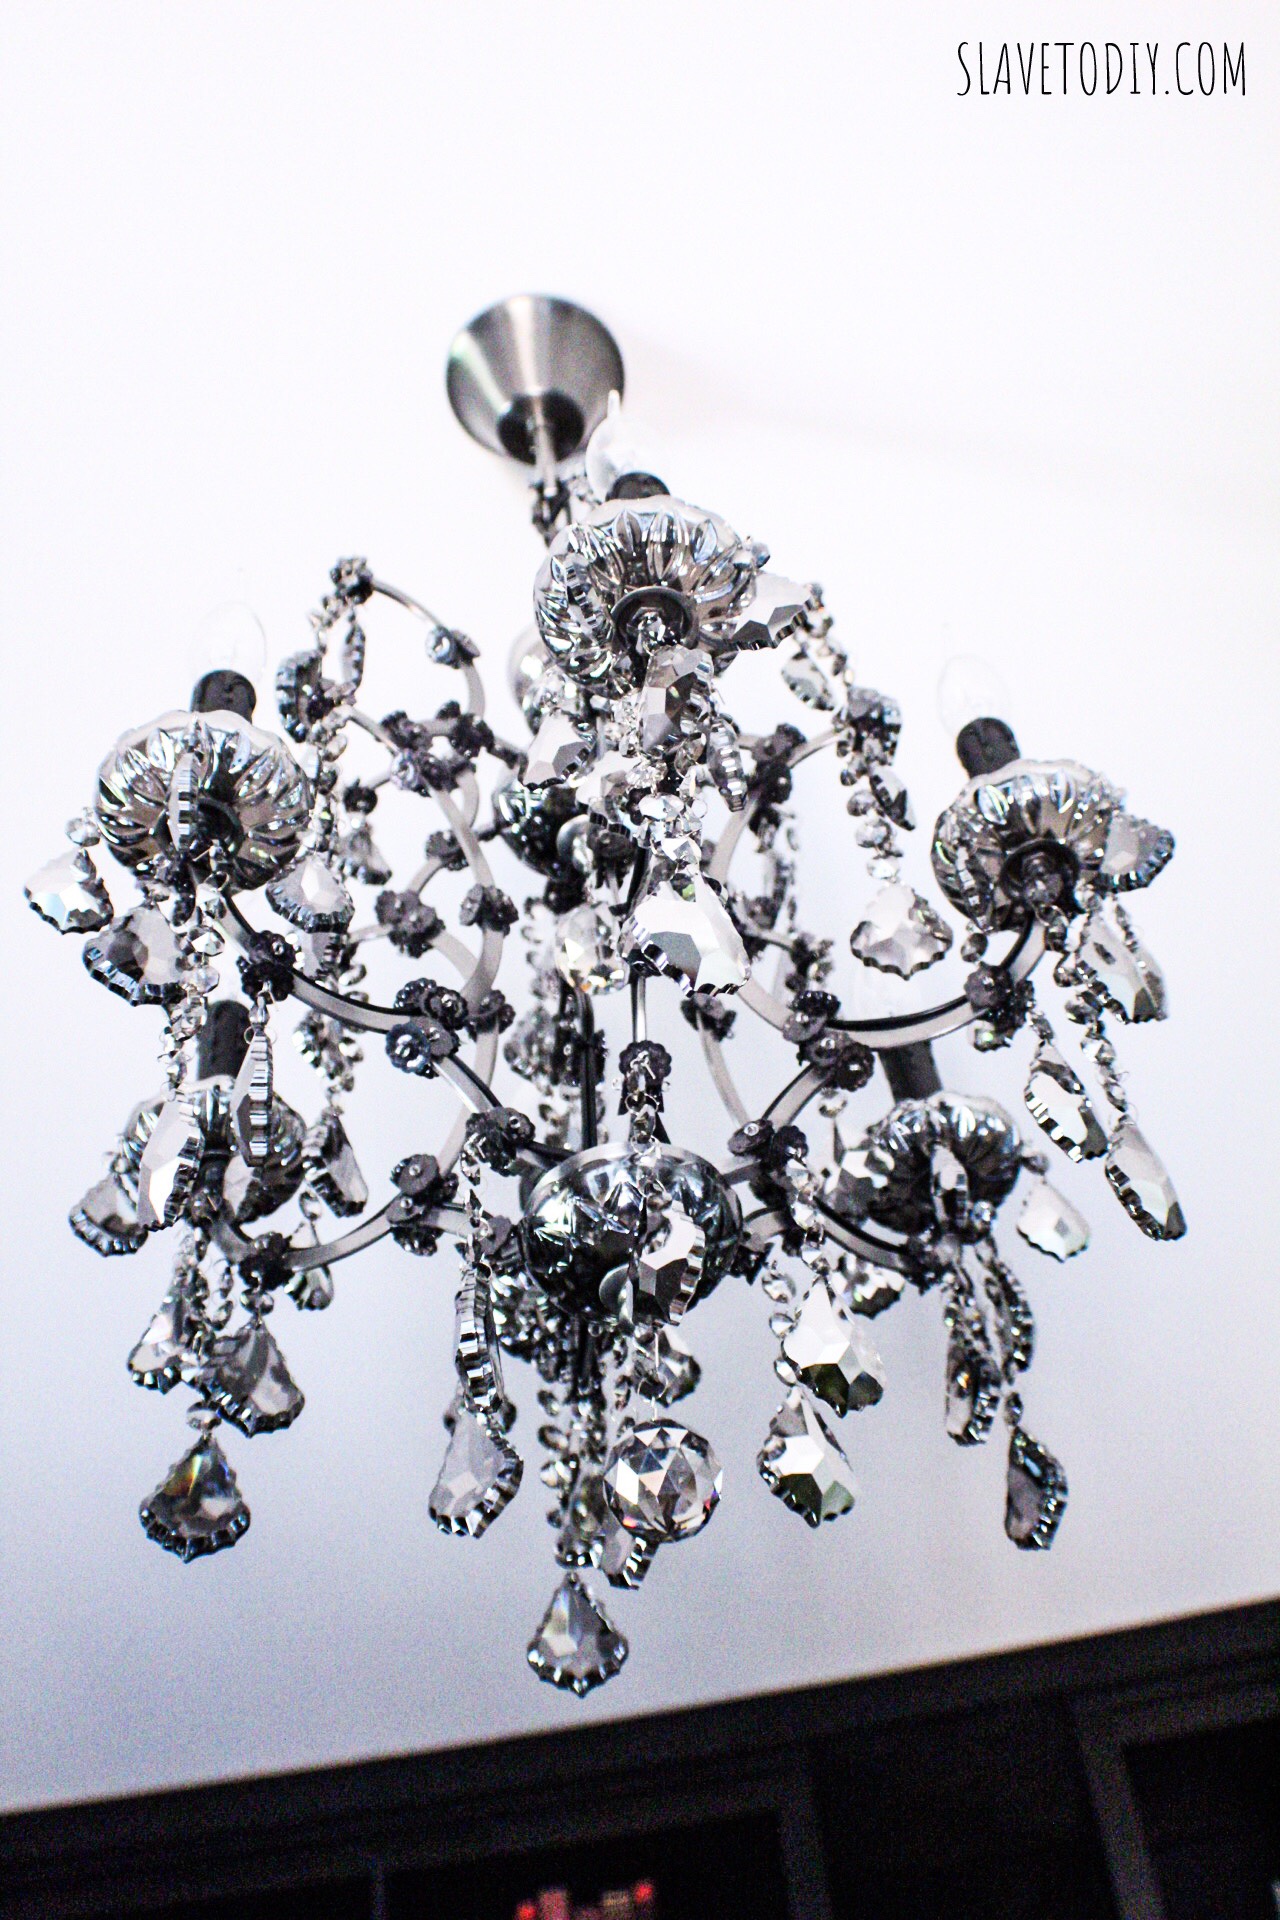
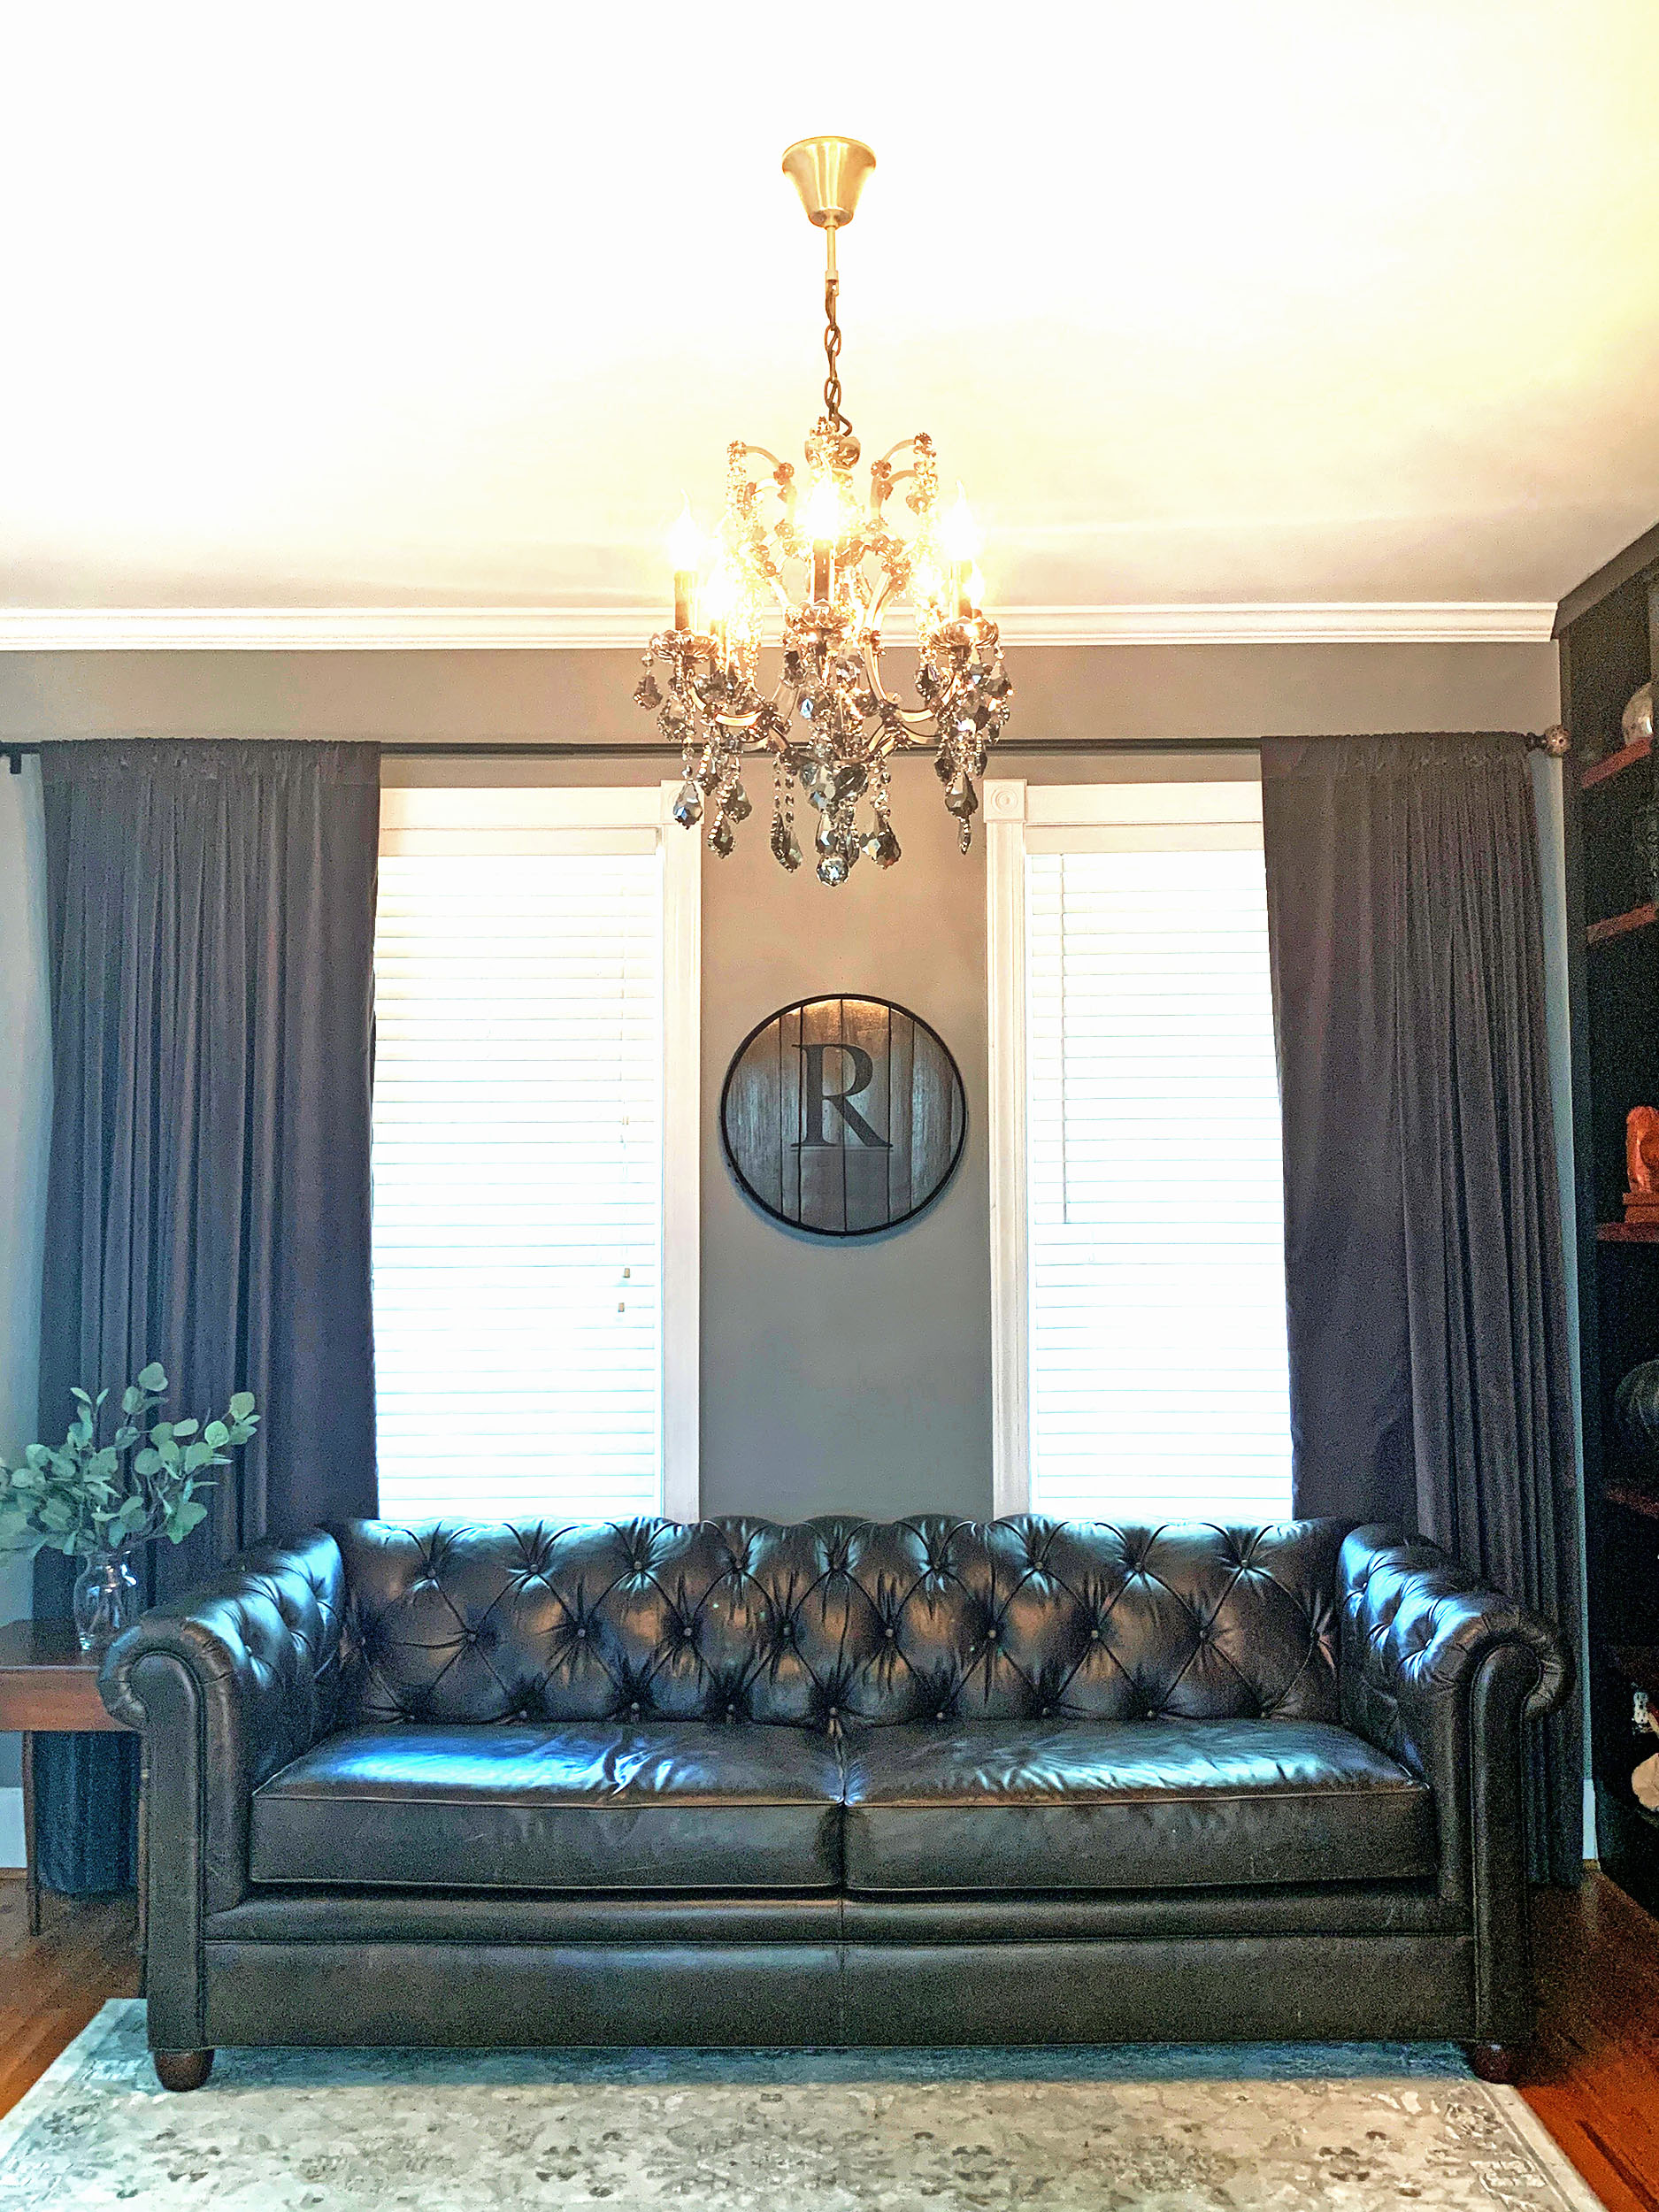
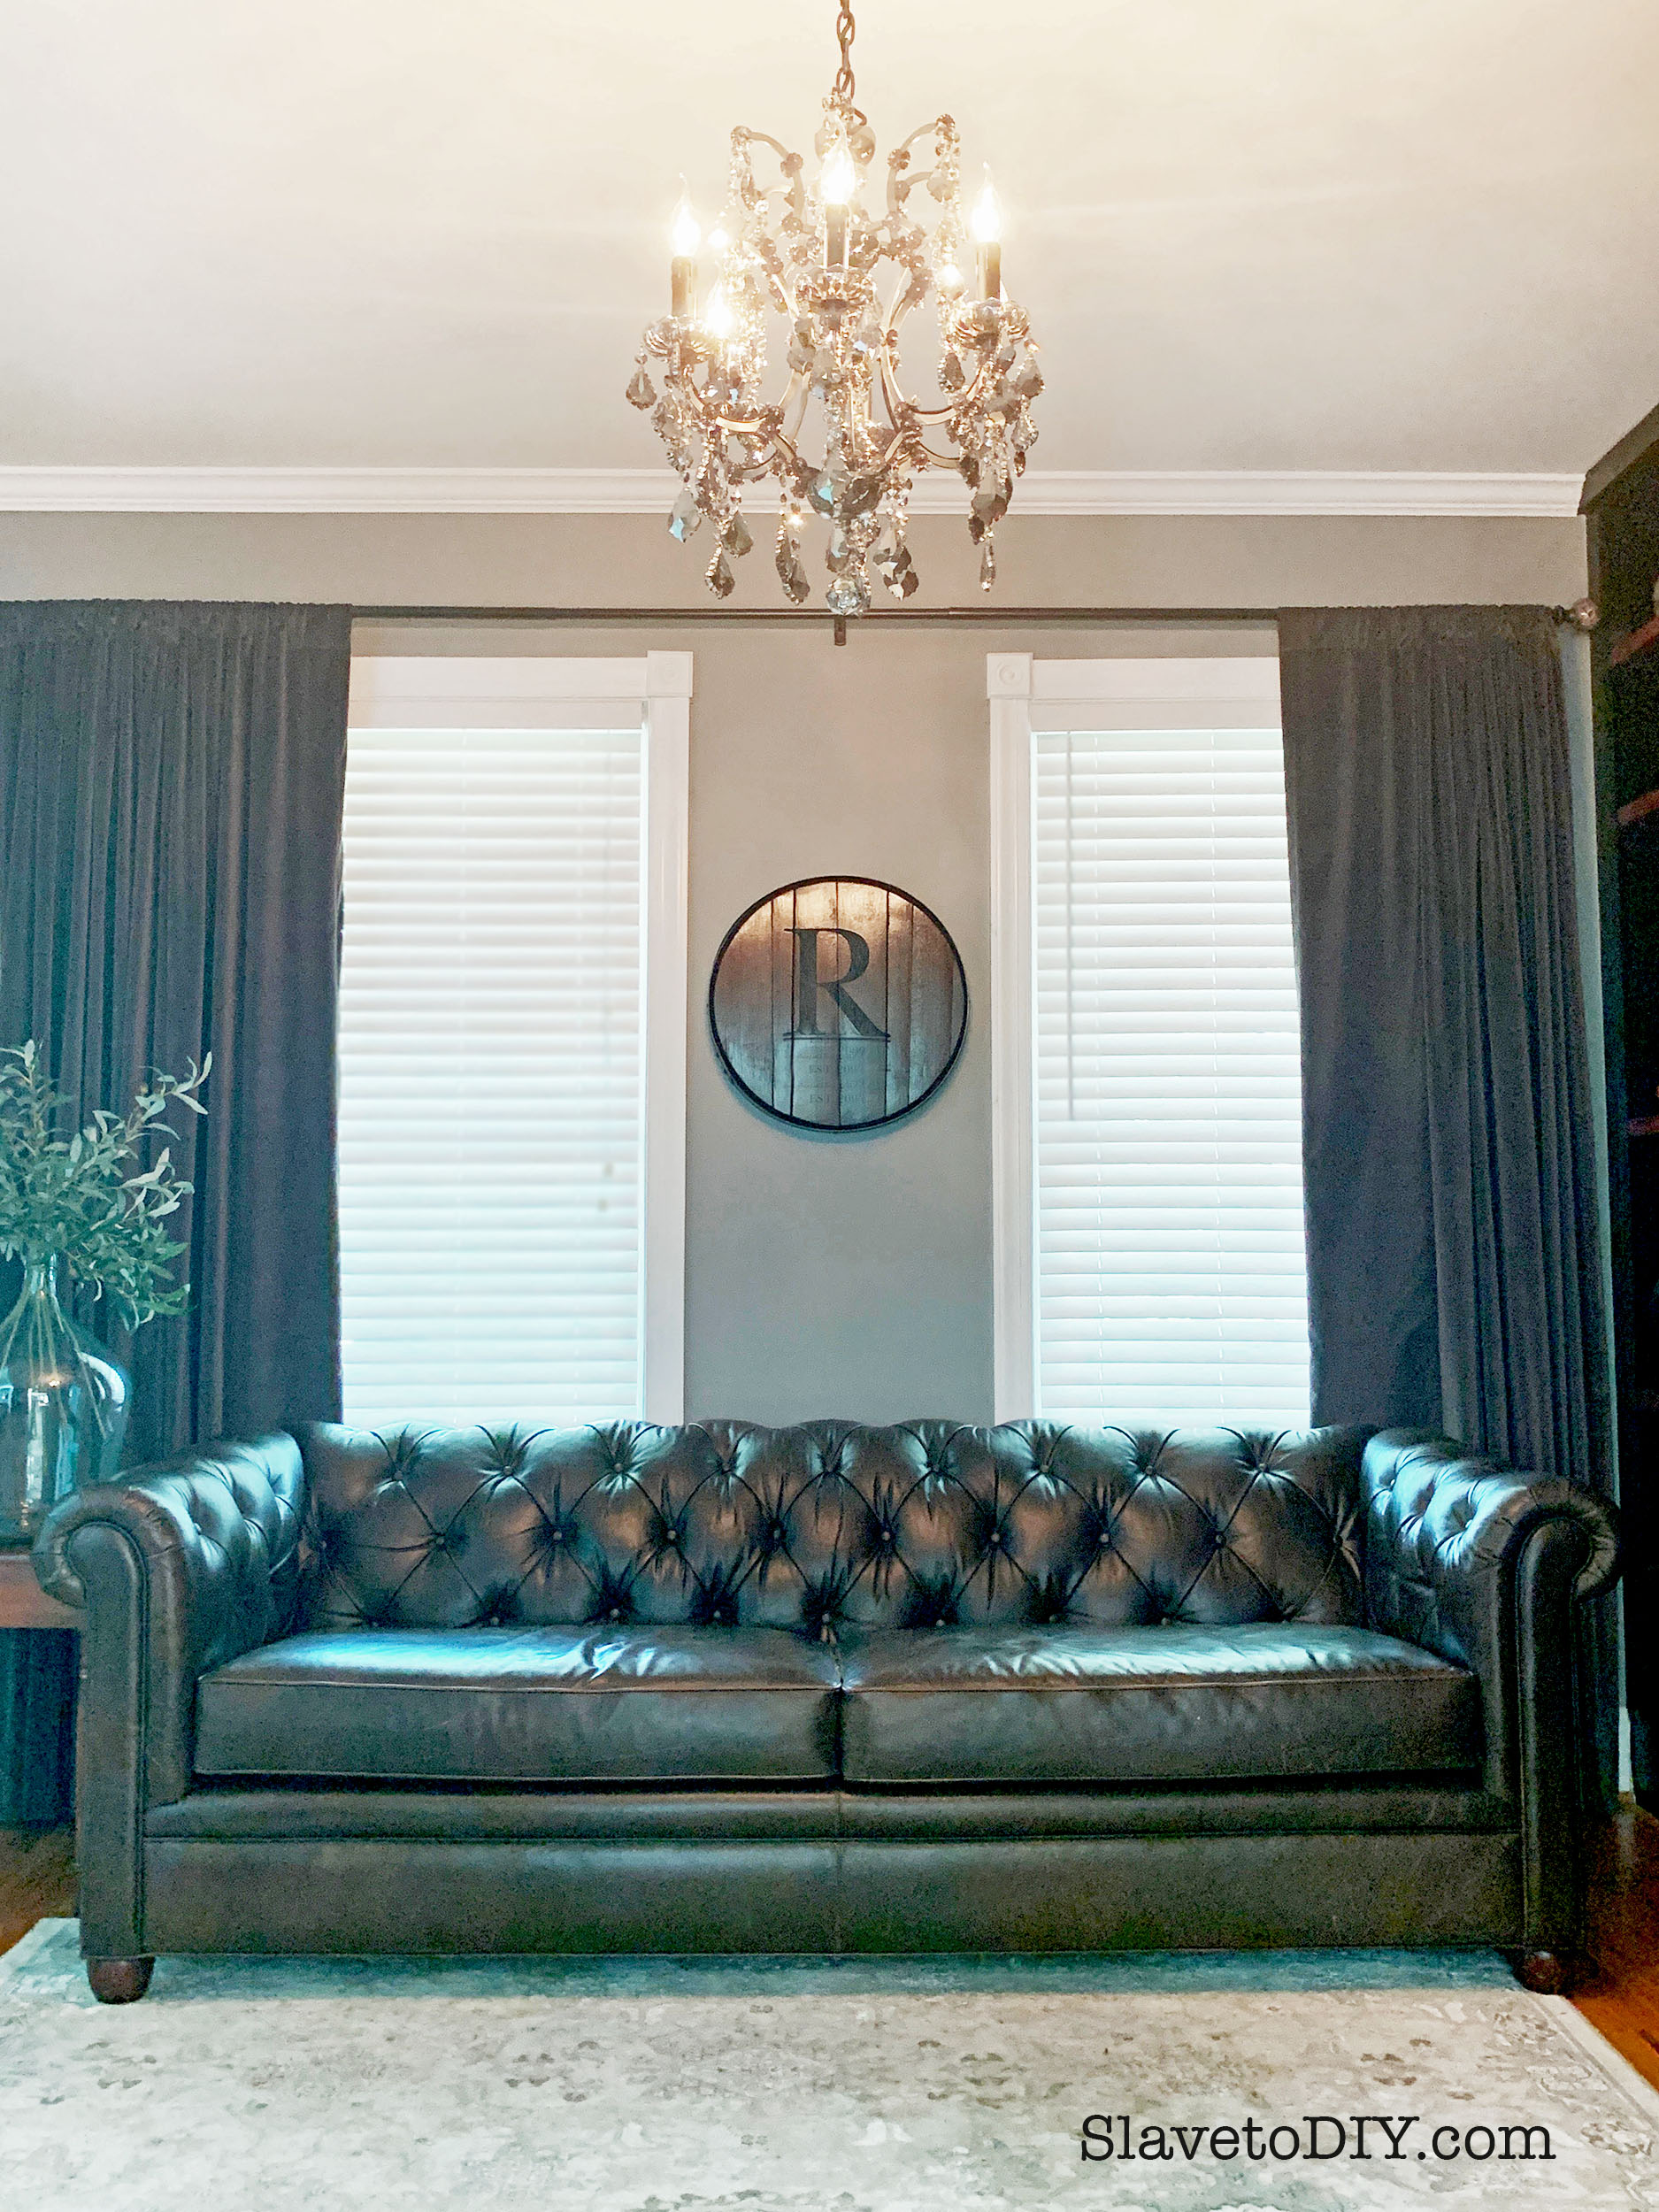
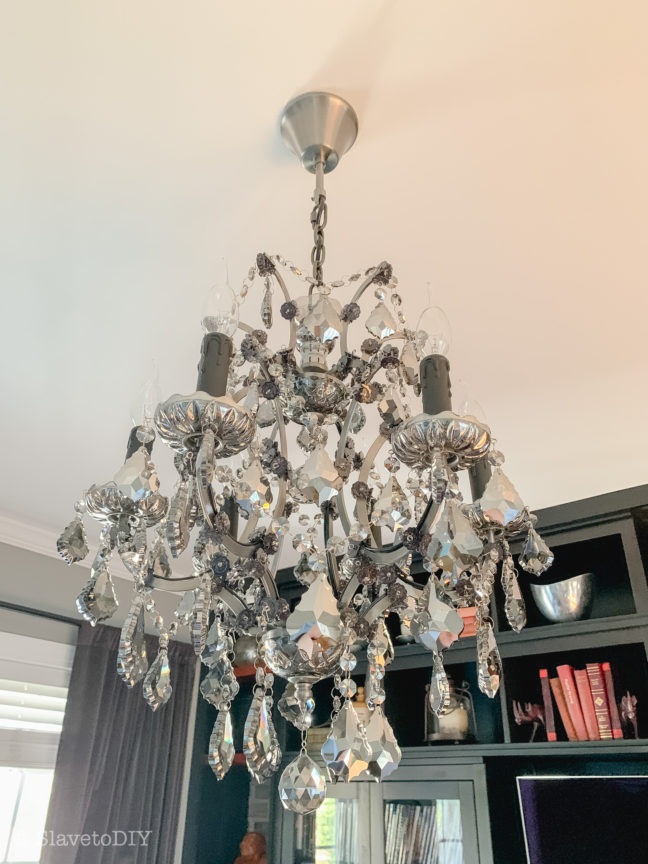
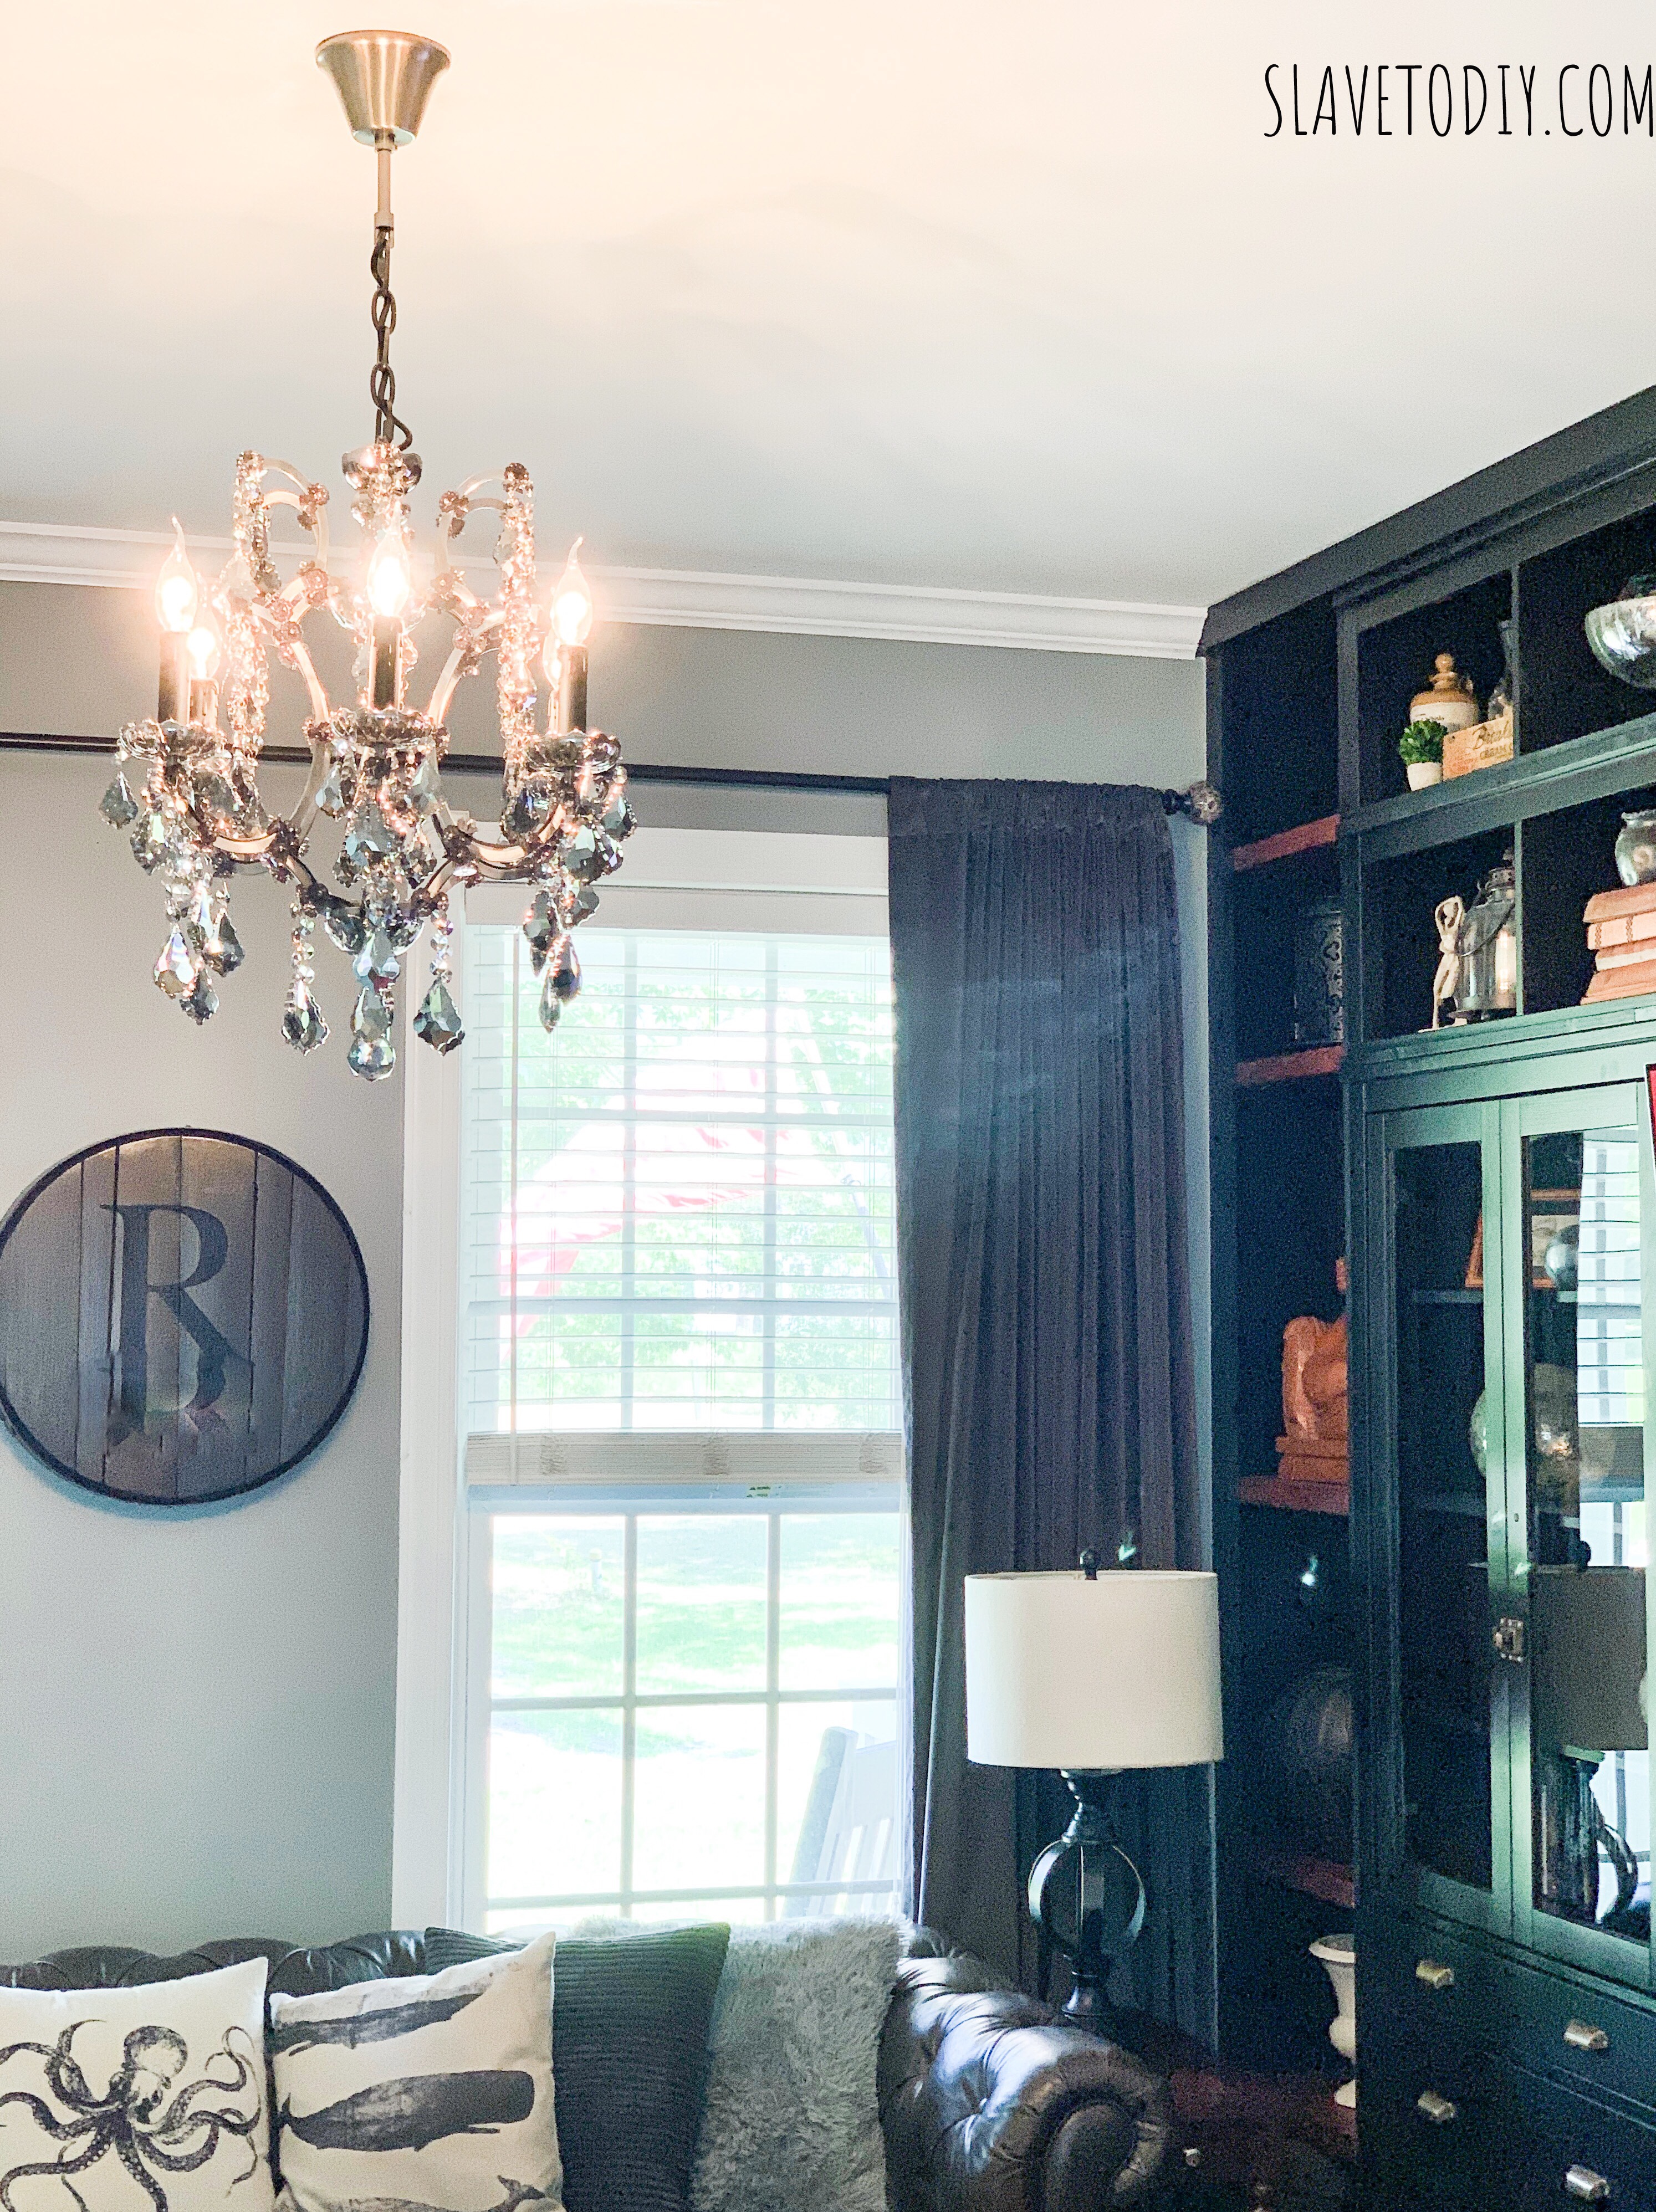
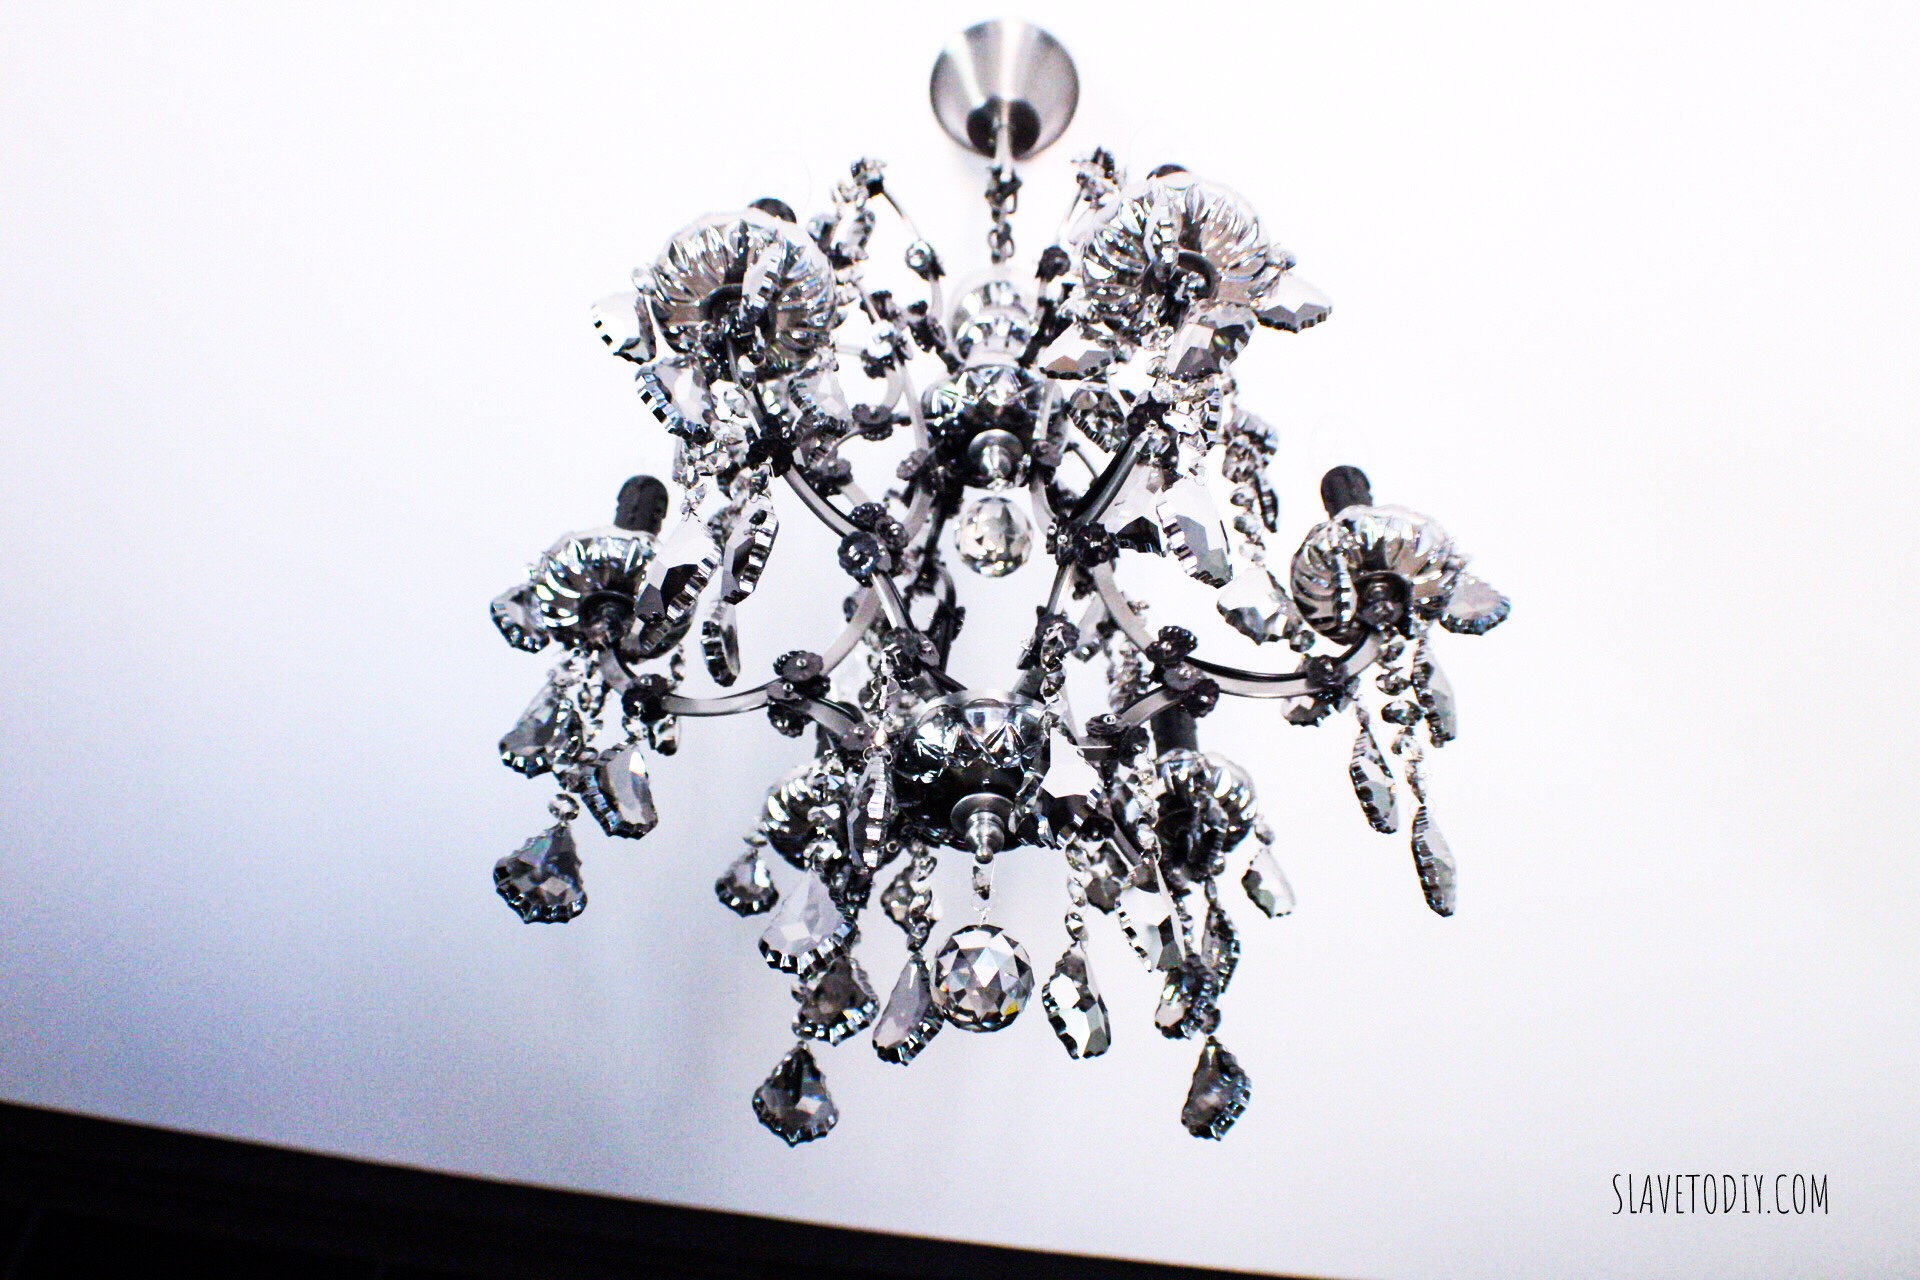
What I didn’t get from the product info before I received it (and you can’t see in their pictures) is that the body of the fixture is in matte iron – which sort of reminds me of industrial steel beams before they start rusting.  It’s beautiful, just not what I expected.  The black wrought iron seen in some of the pictures is only on the clear crystal option.  I love it just as much, I just figured it was worth noting since it wasn’t entirely apparent to me upfront.

RH Restoration Hardware 19th C. Rococo Iron & Crystal Round Chandelier Product Review

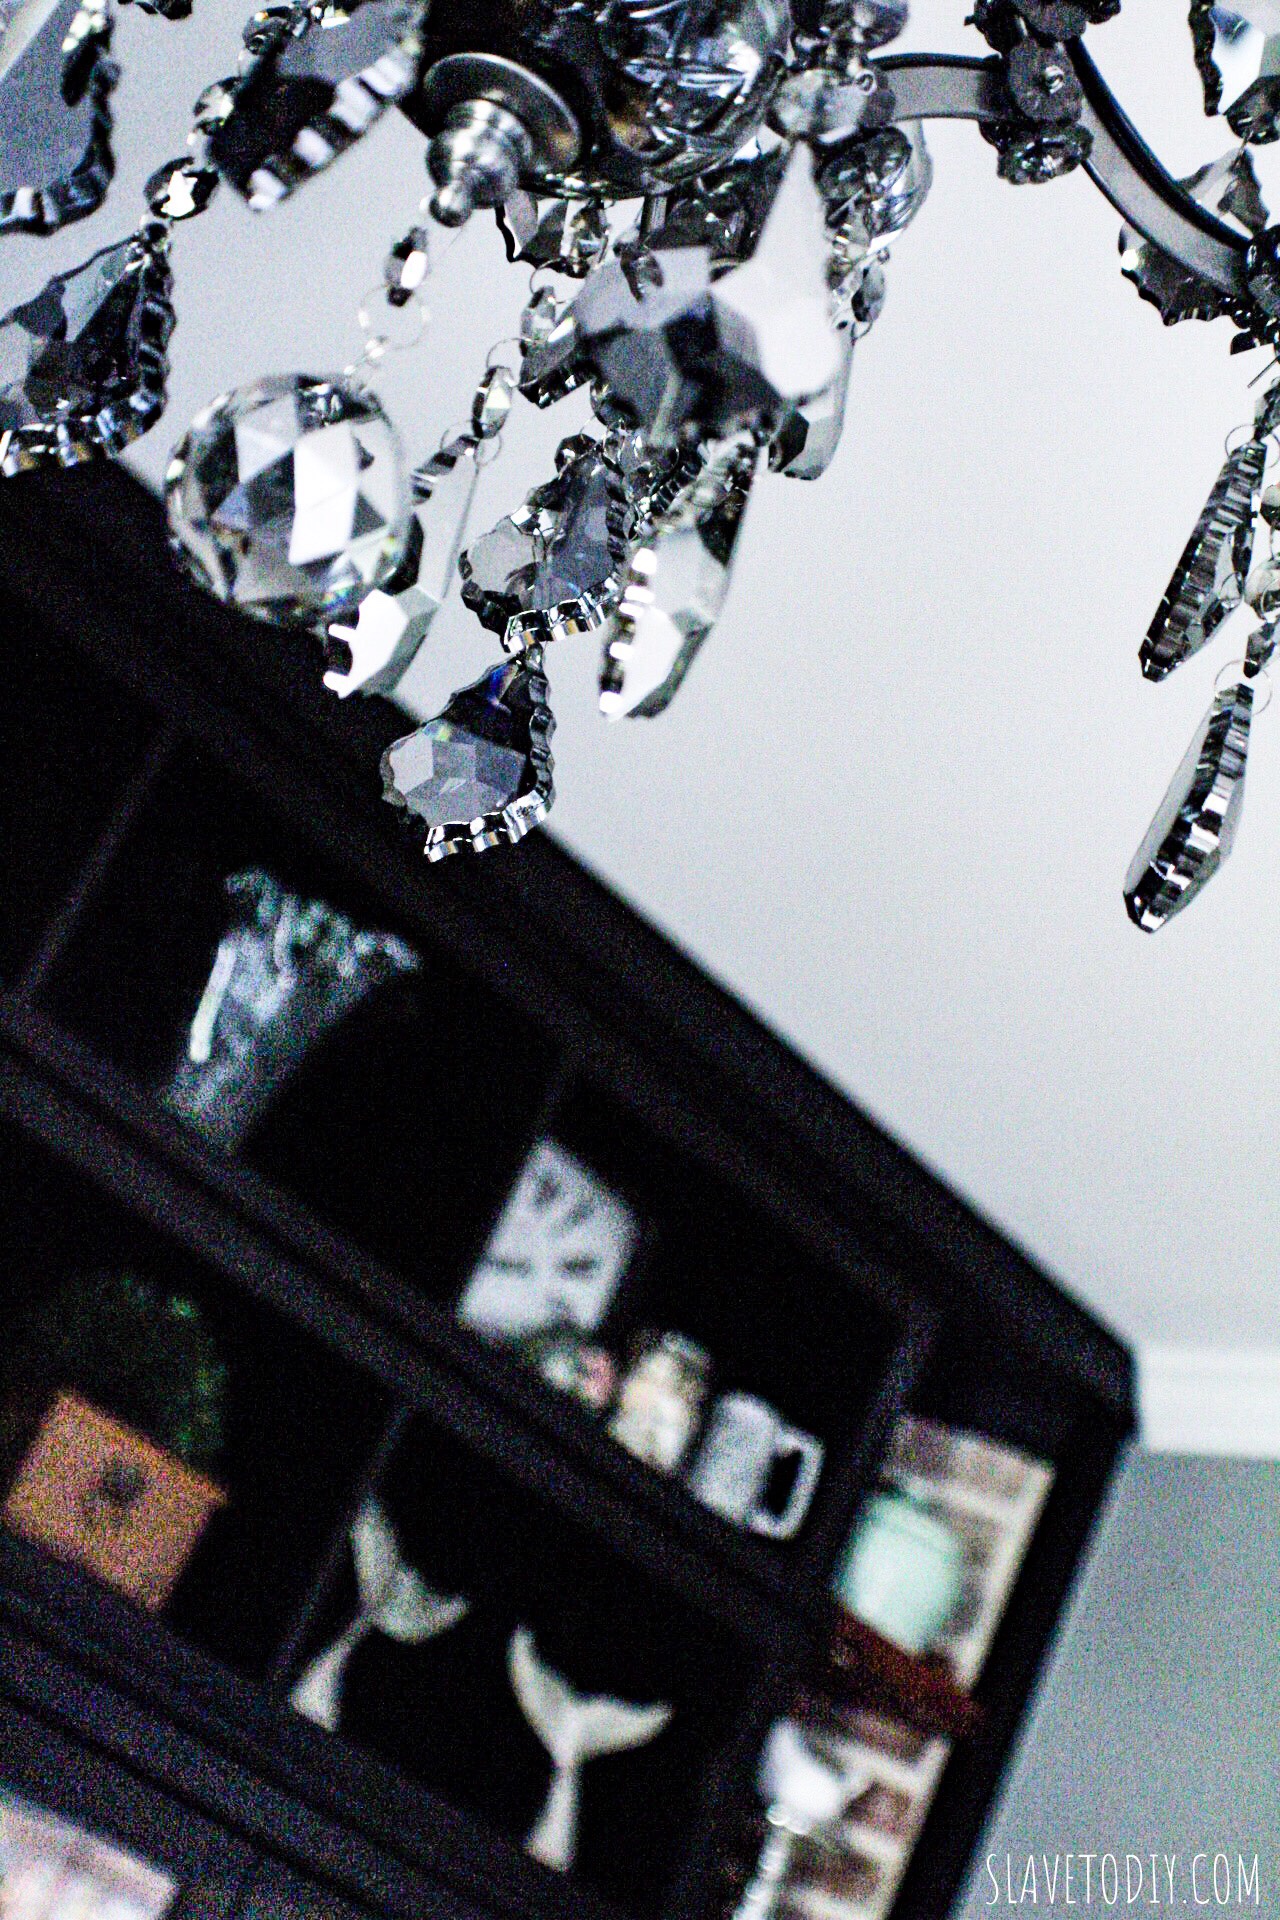
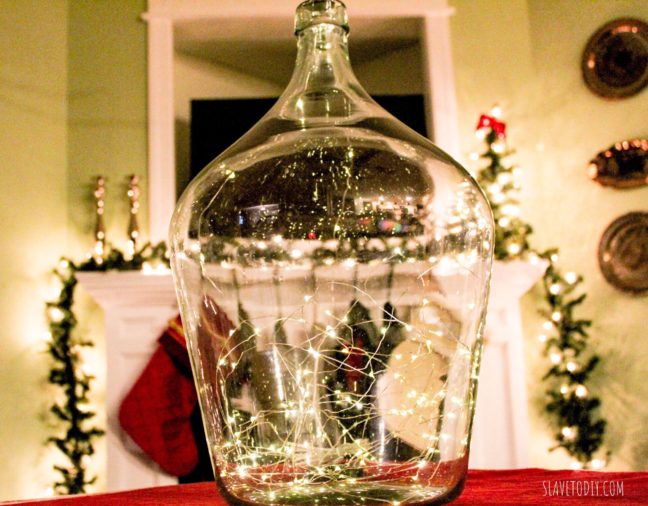
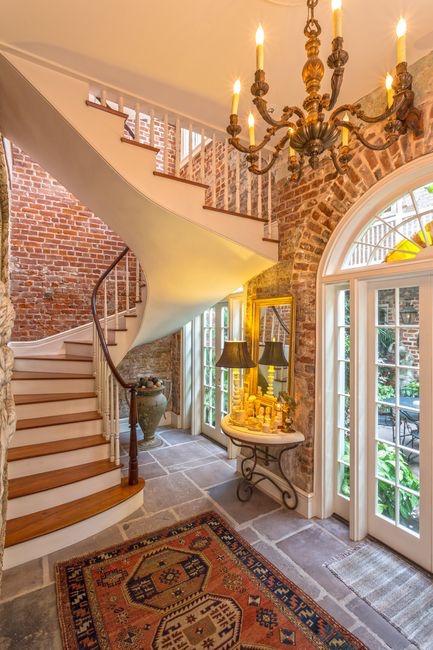
The verdict: (drumroll please) I would ABSOLUTELY recommend the fixture.  It’s gorgeous and dazzling (like, going to need a dimmer), it is the crown jewel in the living room that took it from nice to, OMG-where’d-you-get-that?  I love watching the light dance off of the beautiful smoke crystals in different patterns as the sun moves around the house during the day and the shadows it creates when the sun goes down.  It’s breathtaking.

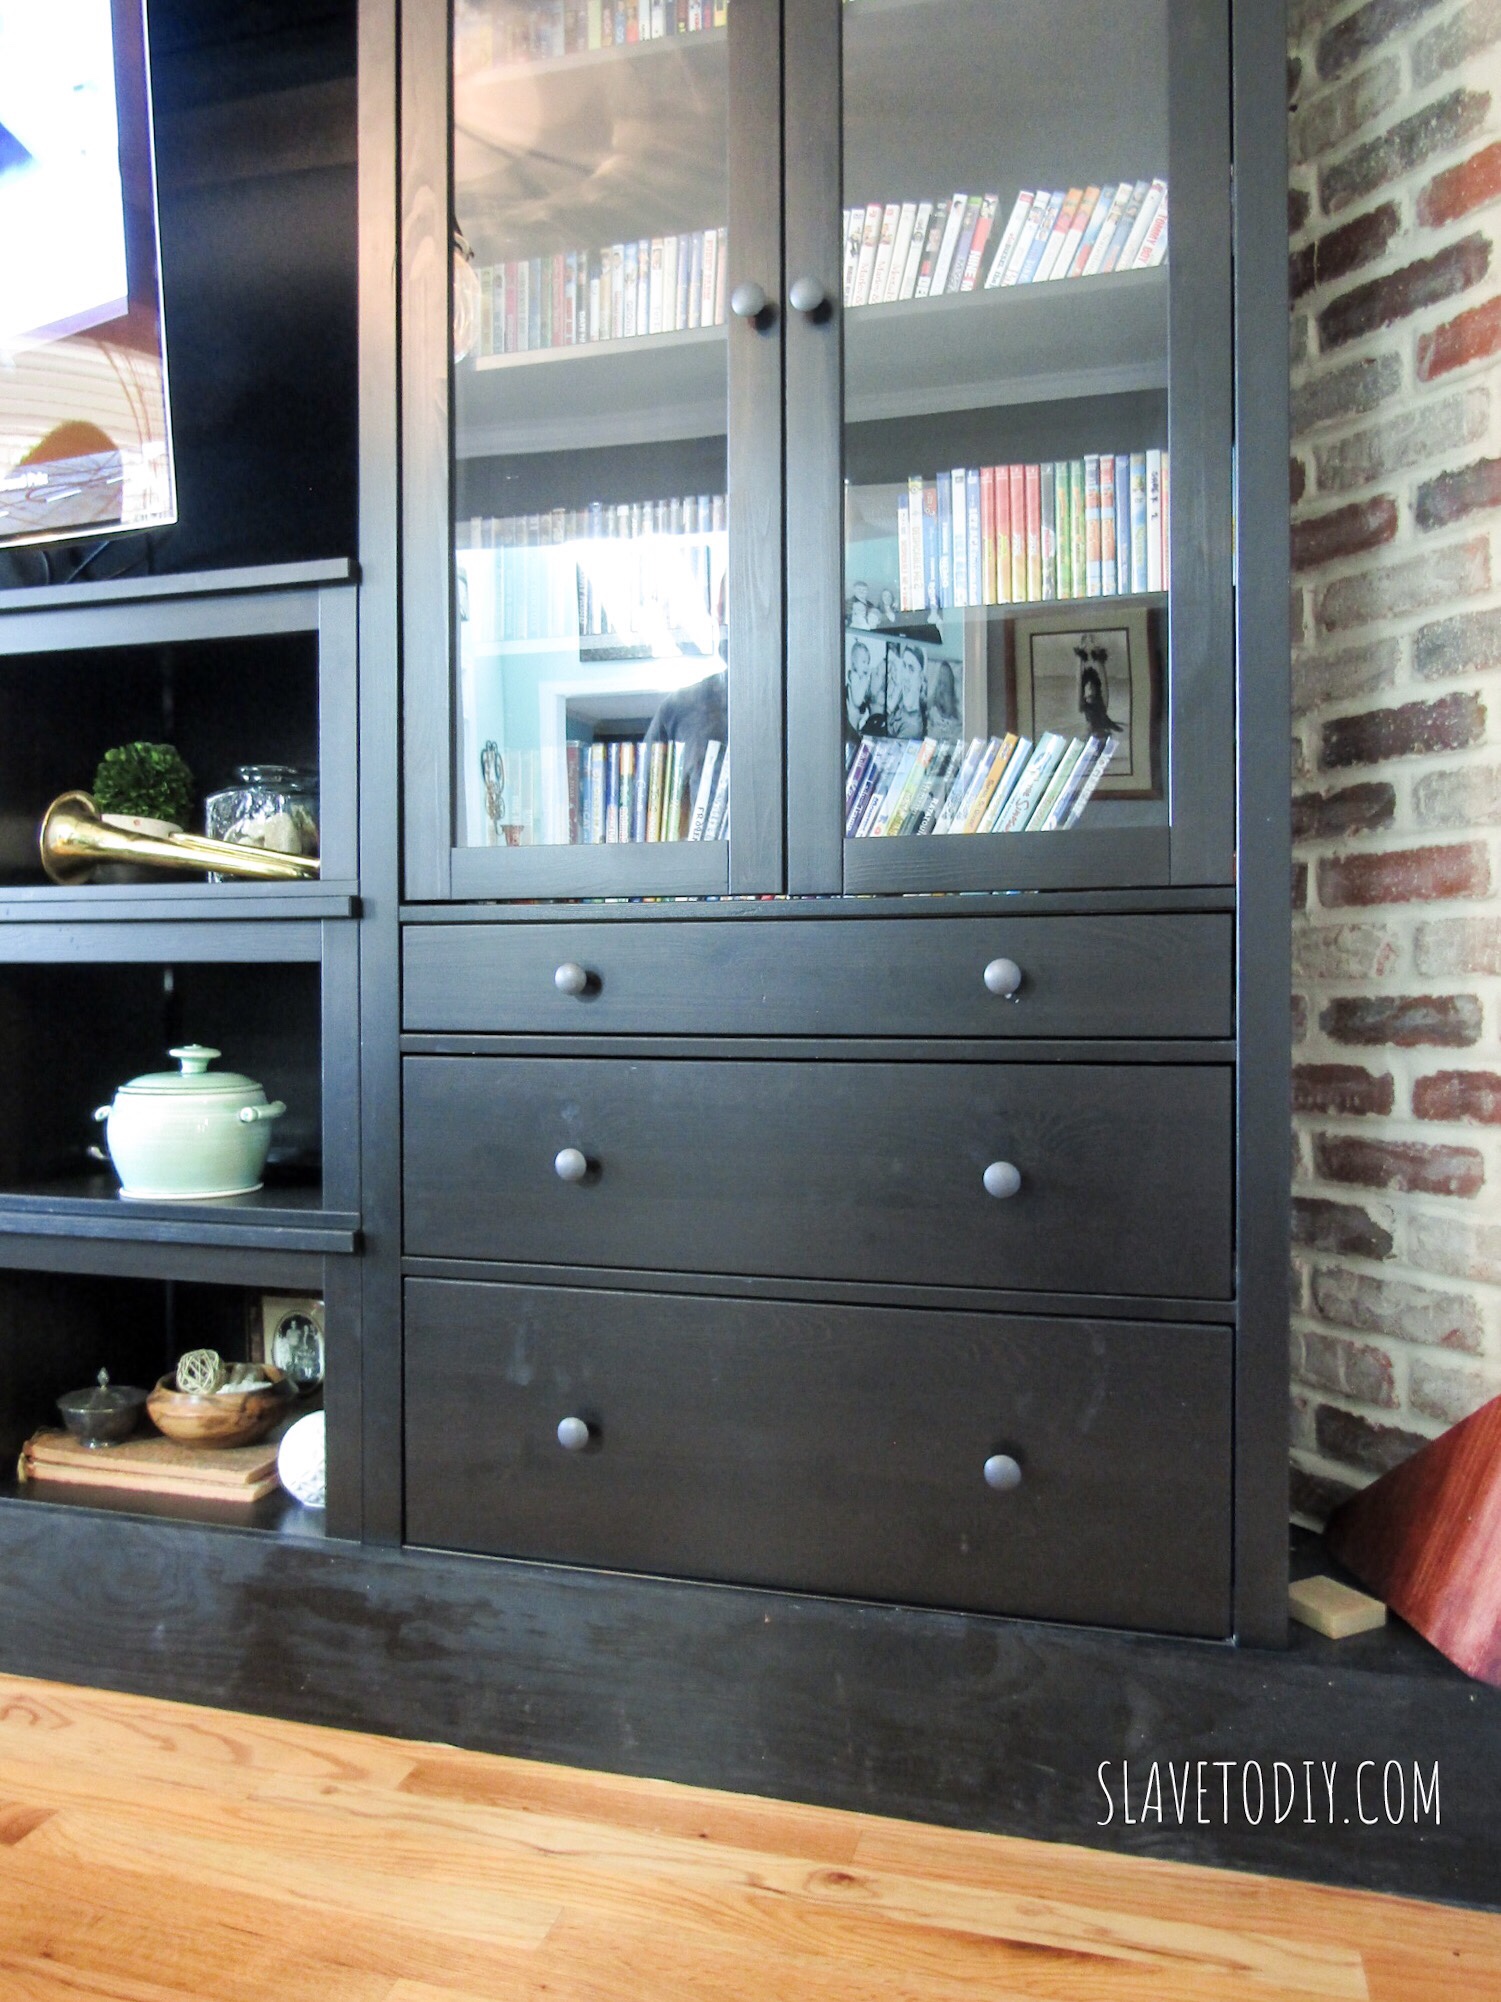
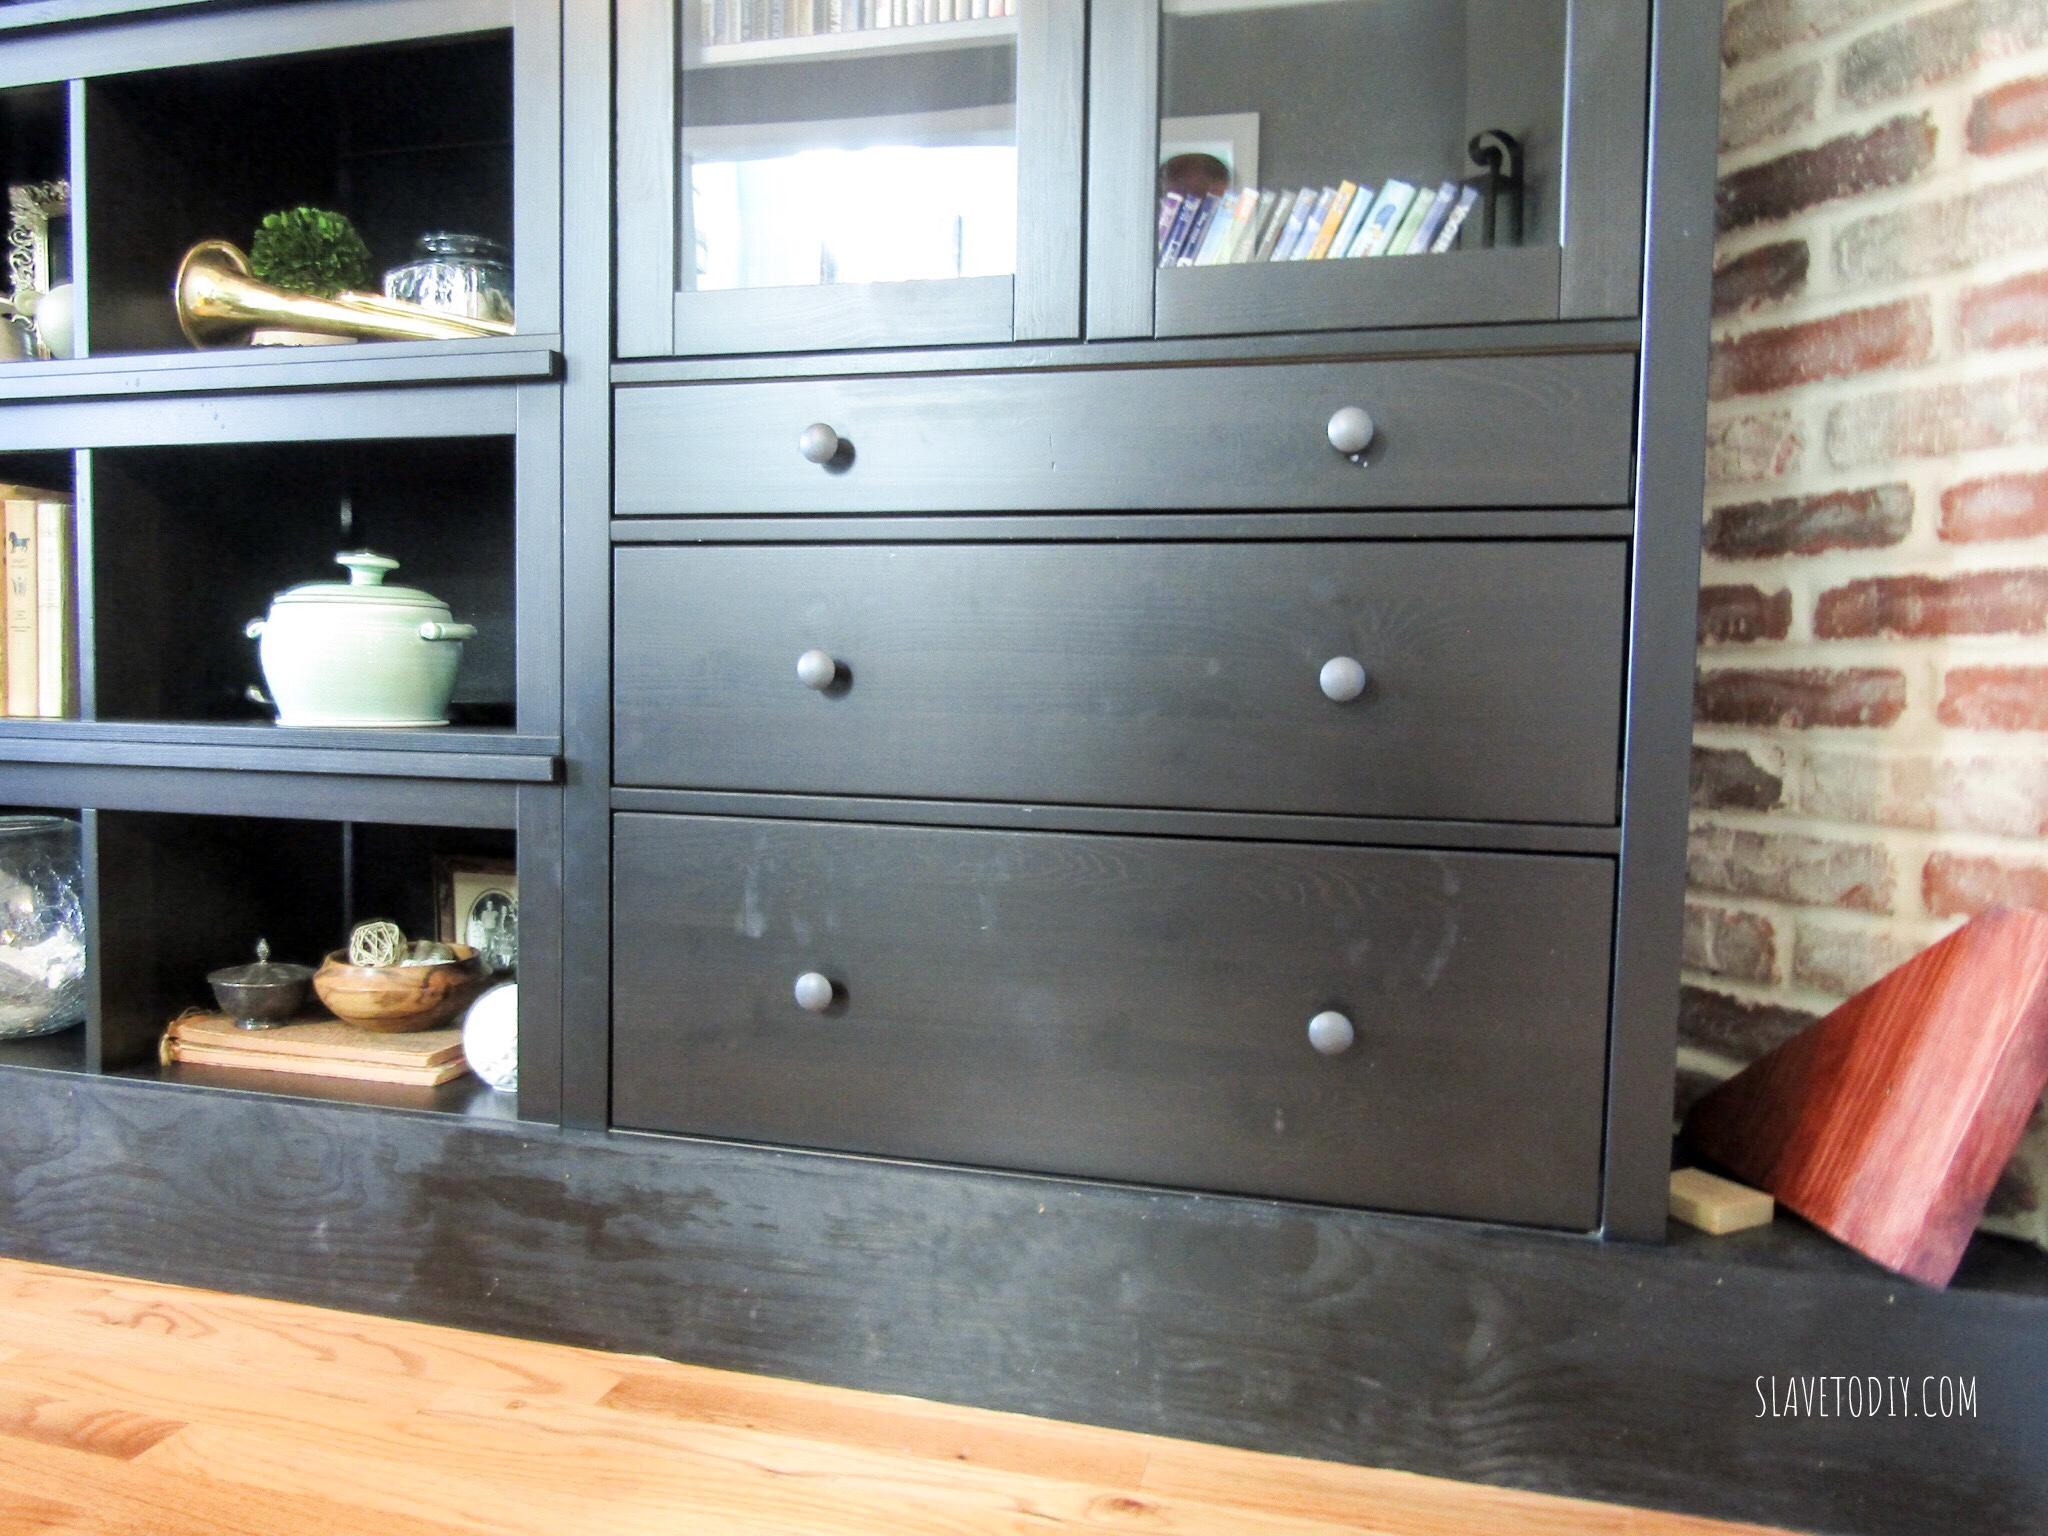
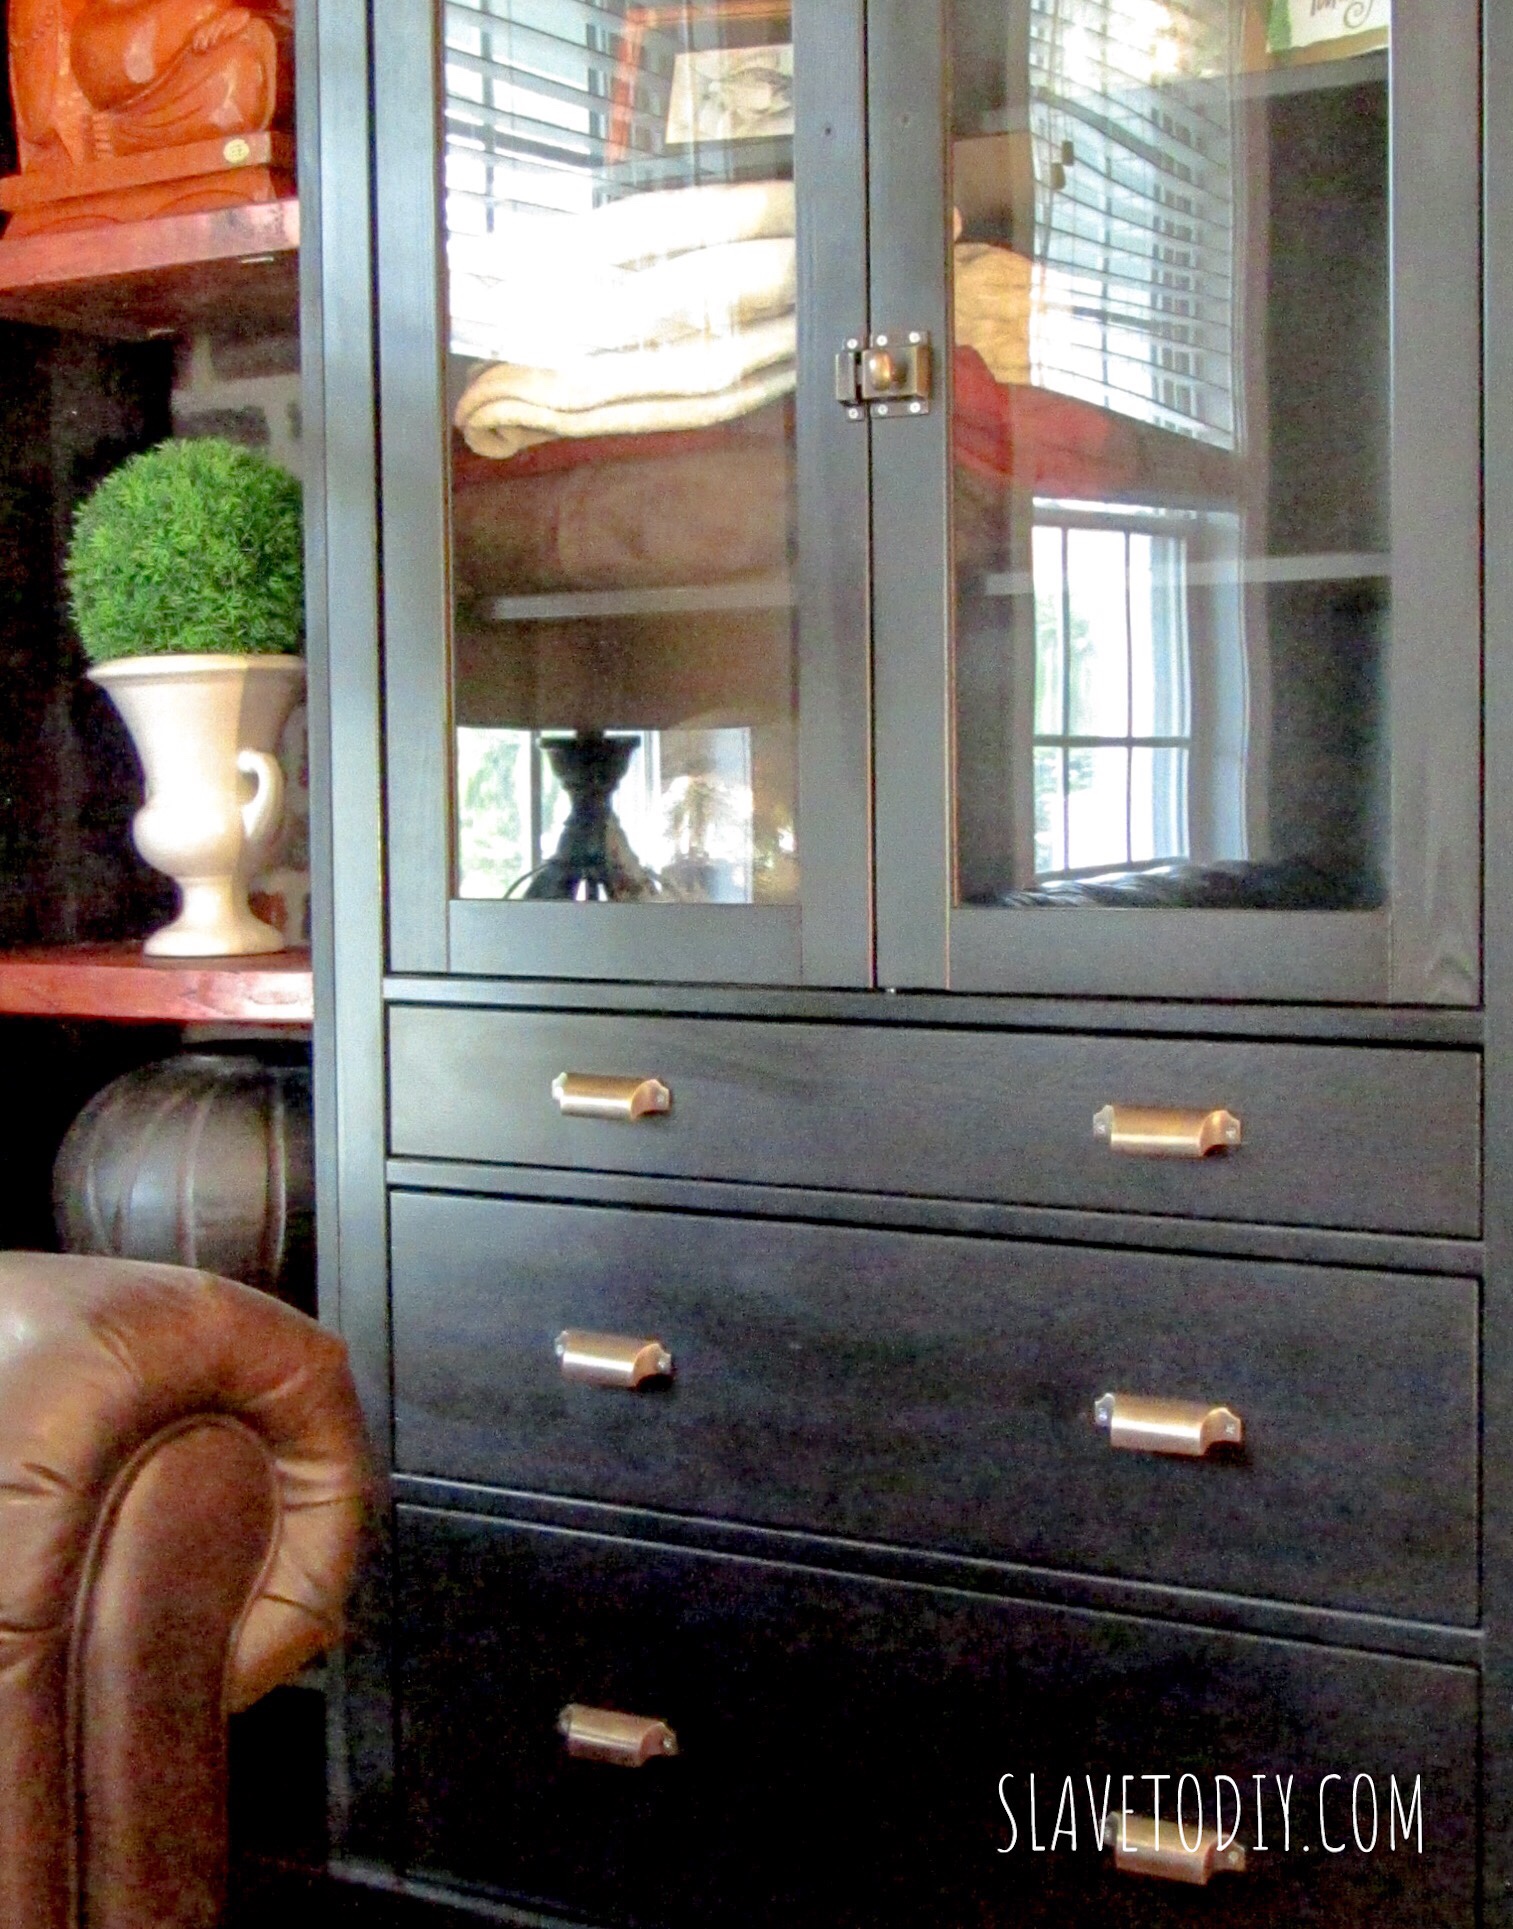
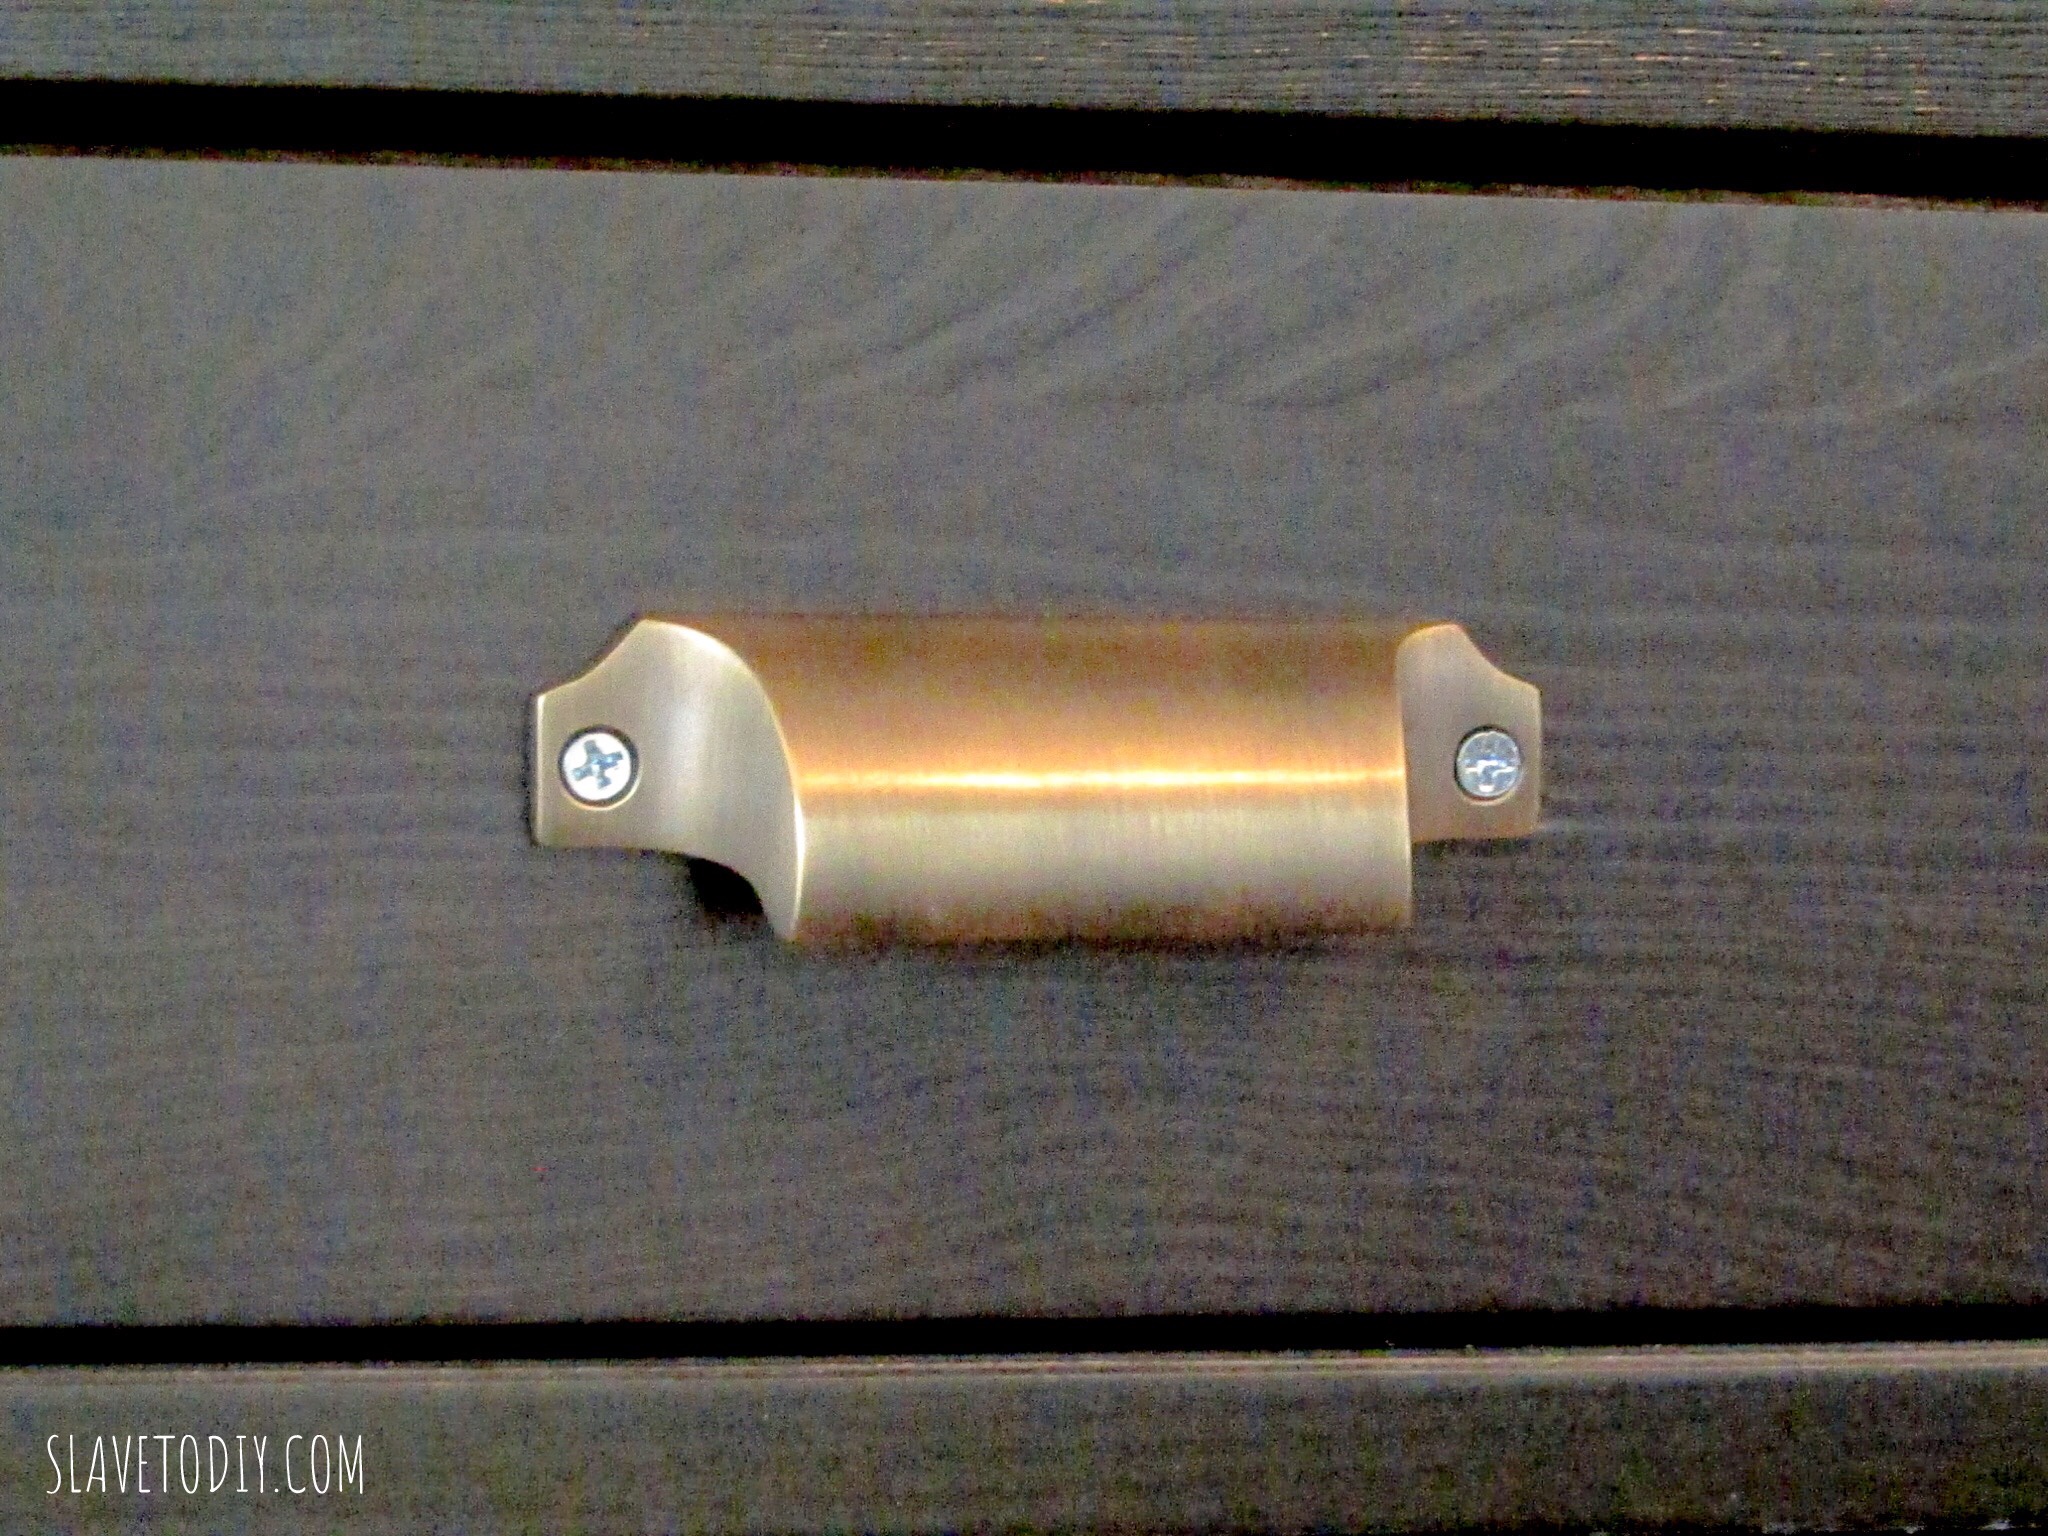
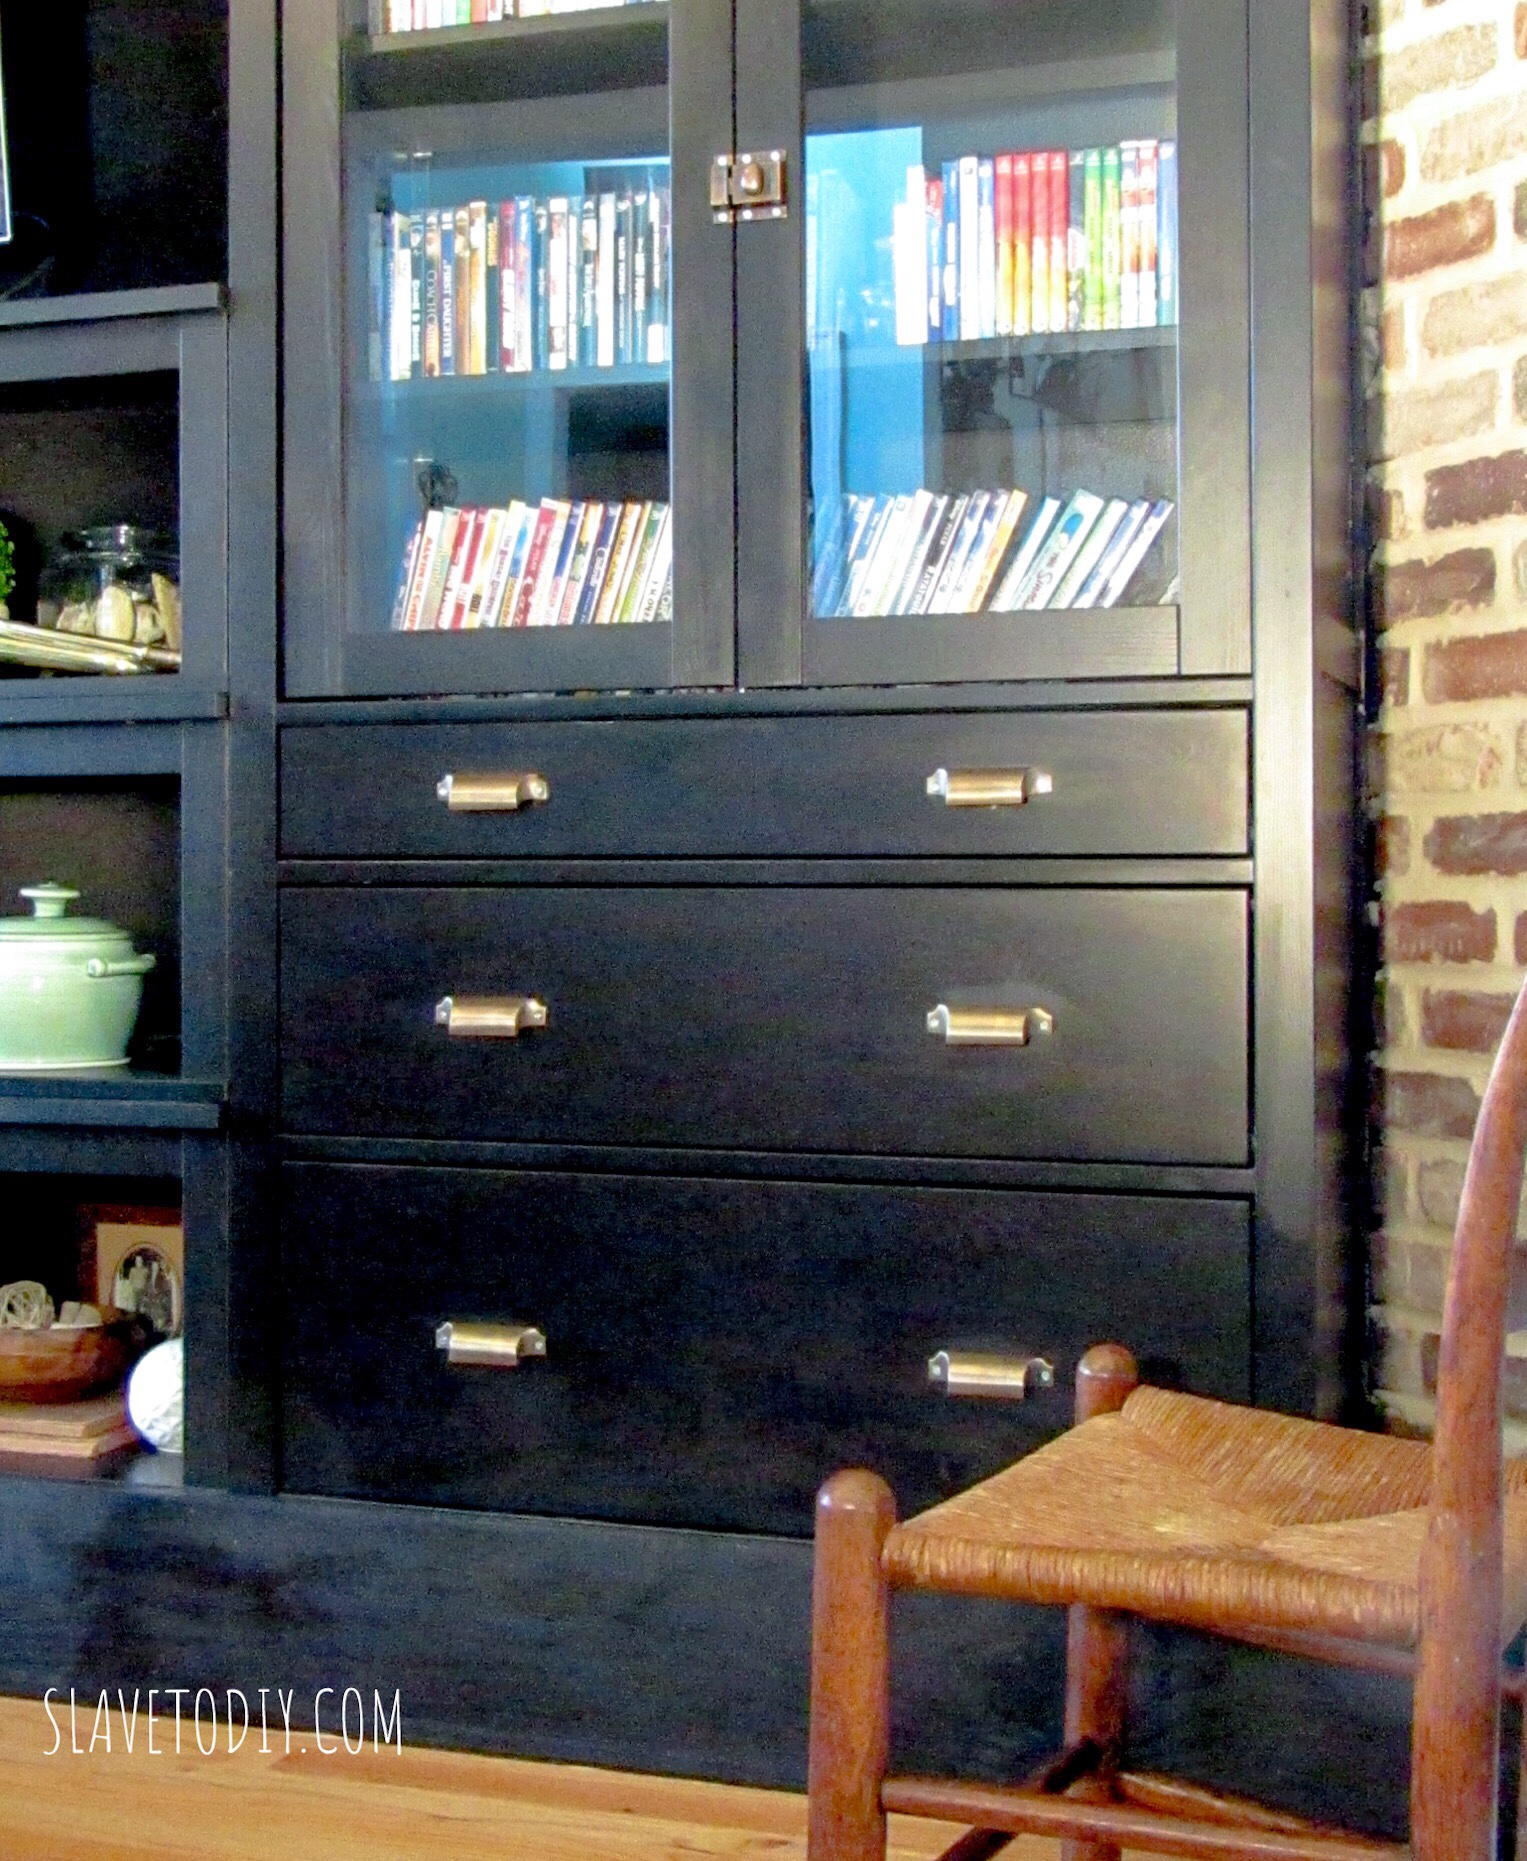
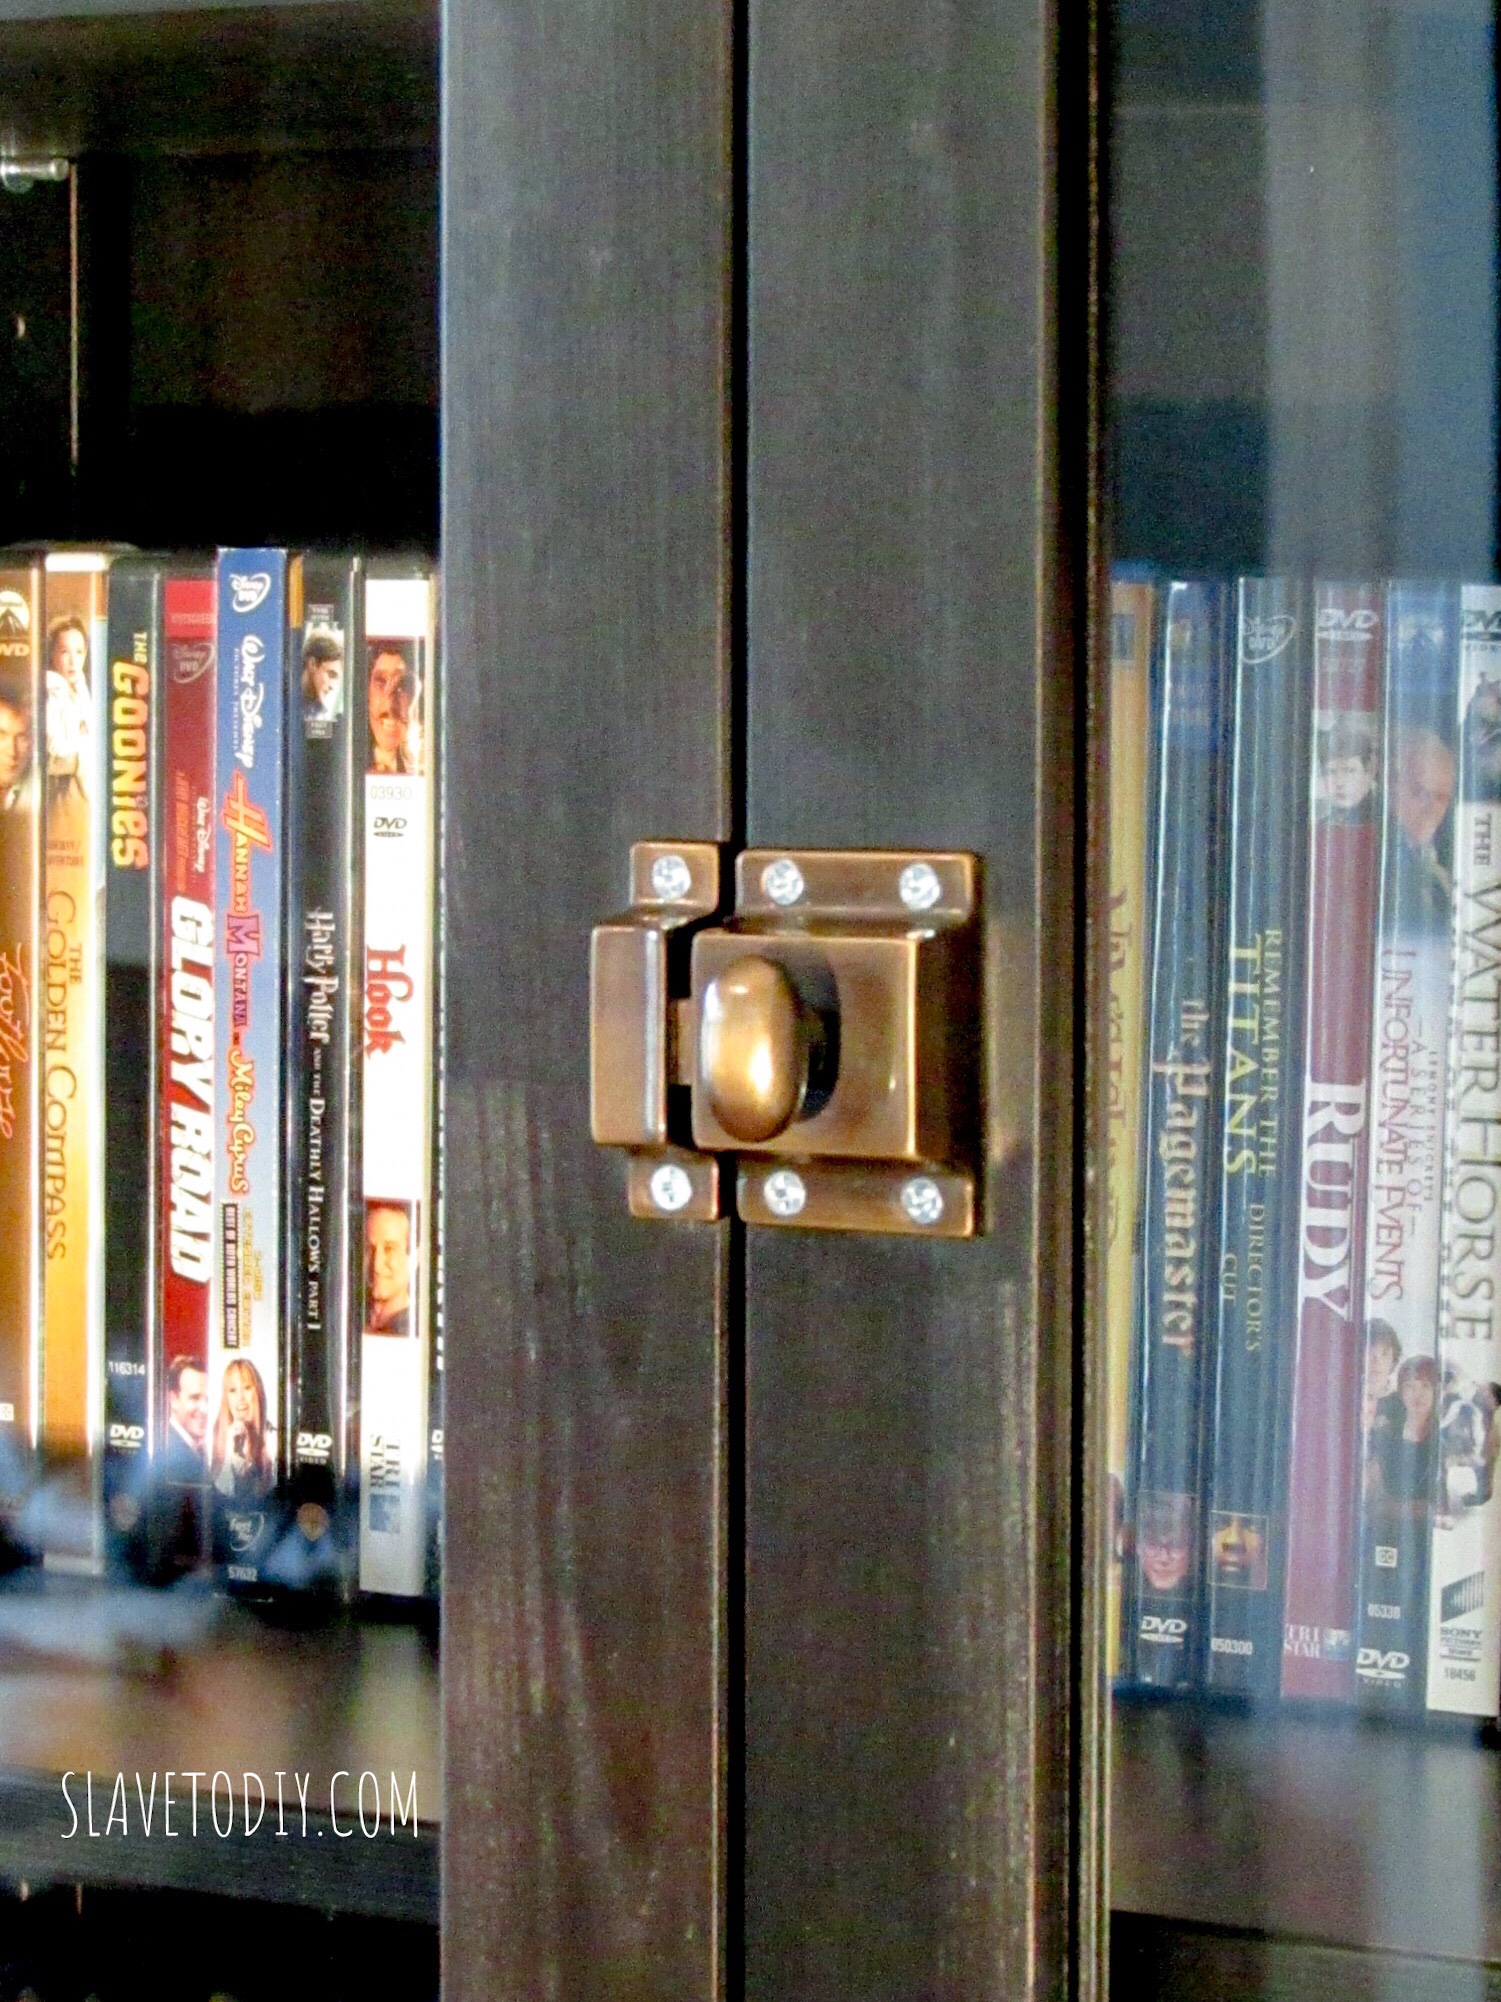
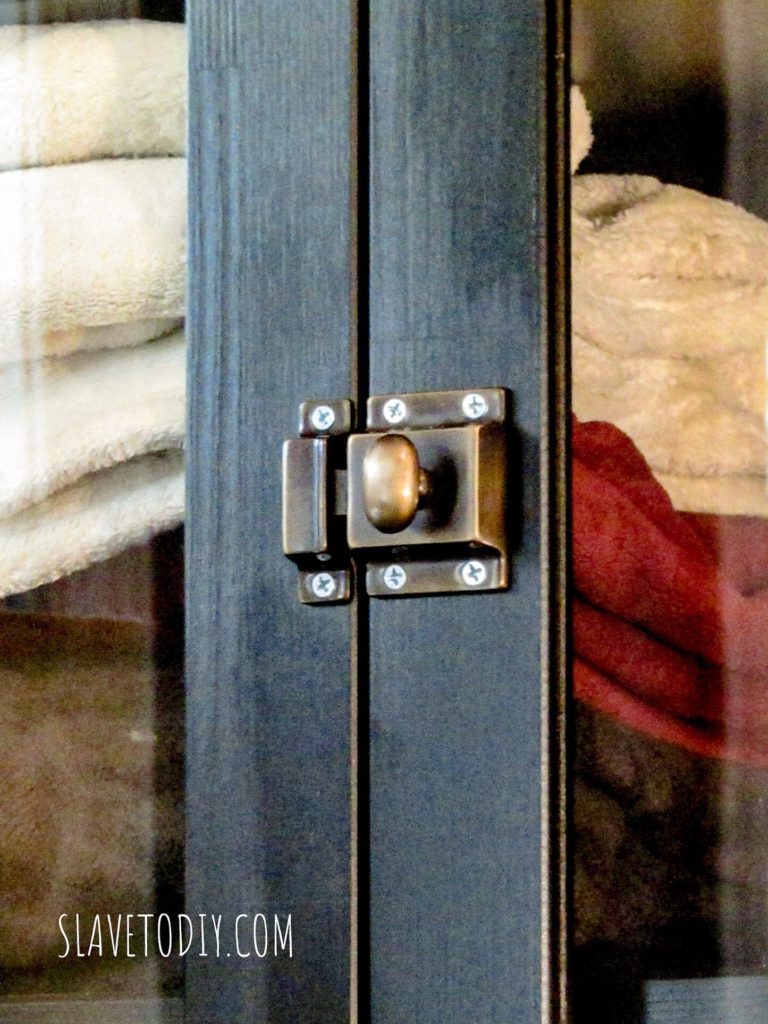
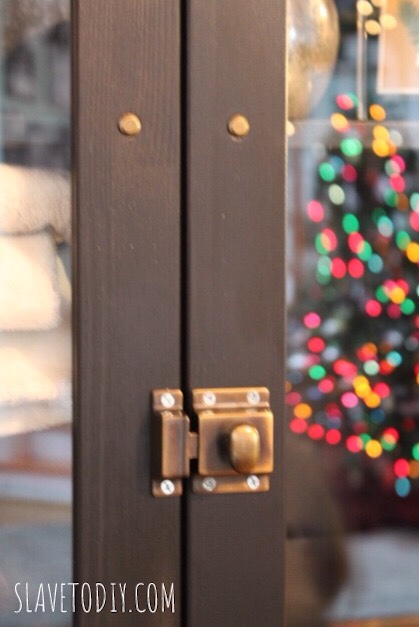
Although we didn’t have any issues with this particular fixture, there were some blemishes on one of the cabinets.  I offered to have them send me replacement hardware, but as that was out of stock, they send a team to pick up the cabinet and bring me a whole new one.  No trouble, no fuss, no problem.  The customer service is fantastic, and their dedicated delivery teams are super professional and friendly.

Apparently they have some ludicrously good warranty on all of their stuff (which I honestly didn’t know when I hit “play” on the purchase), so even though the products are a bit *cough *cough on the pricey side, we’ll be buying from them again.  It’s well worth the extra money to have heirloom quality pieces.

Thanks for hanging out with us today and check out more of our DIY, projects, and decor on our blog.

Cheers!


*Legal stuff:

I am honest about my experiences with different products and write because I enjoy it.  I do however, have the opportunity to earn money for my writing, also.

Slavetodiy.com is a participant in the Amazon Services LLC Associates Program, an affiliate advertising program designed to provide a means for sites to earn advertising fees by advertising and linking to amazon.com.  Amazon offers a small commission on products sold through their affiliate links.  Each of your purchases via our Amazon affiliation links supports our cause at no additional cost to you.

If a blogger links to an Amazon product (with a special code for affiliates embedded in the link), and a reader places an item in their “shopping cart” through that link within 24 hours of clicking the link, the blogger gets a small percentage of the sale.  Amazon links are not “pay per click.”  If you click on the product link and stay around Amazon and purchase something else, however, I will get a commission on that sale.

Slavetodiy.com is also a VigLink affiliate advertiser which works similarly.

DIY Restoration Hardware Knock Off Velvet Curtains

Restoration Hardware

Can you hear me laughing maniacally from there? I believe once I added in the shipping it was five hundred dollars from Restoration Hardware! For TWO luxuriously wonderful curtain panels. Yes, TWO. Not two sets. Two panels. ON SALE. I swallowed my insanity, put down my wine glass, closed the tab, and let reality sink in. Allow me a moment to get my blood pressure back down. Look, I admire Restoration Hardware’s whole seductive look they have going on, but I’m apparently in the wrong tax bracket to be shopping there. They’re CURTAINS. As in, fabric that adds privacy and style to windows. Not exactly life or death. So, I did what I do best: I found a way around their ridonculous pricing. But, first let’s bask in the sexy glory of Vintage Velvet Drapery for just a moment.

*This post may contain affiliate links. Please see full disclosure at the end of the post.

Restoration Hardware

Luckily for us, Restoration Hardware likes to brag about their designers and suppliers. Woot! It ALSO turns out their velvet supplier, J.B. Martin, is available on Fabric.com and Amazon (let’s hear it for non-exclusive suppliers). And (even better) I have a mother that is awesome with a sewing machine. WIN.

I almost purchased the J.B. Martin Banker’s Gray Velvet on Amazon, but decided I wanted a darker gray. So, I found 54″ wide fabric instead J.B. Martin’s Velvet in Graphite, to EXACTLY match the curtains I couldn’t afford from RH, shipped them directly to her… And here they are… (DRUM ROLL, PLEASE)…

RH knock off, DIY Velvet Curtains with Pottery Barn Chesterfield Grand Sofa

So, we made two 96″X50″ exact duplicate panels for the jaw dropping low price of:

$169.05

We saved $330.95 off of retail RHs SALE price.

So, not cheap, but CHEAPER. And gorgeous. And happy me.

Here are some shots with fewer distractions:

RH knock off, DIY Velvet Curtains with Pottery Barn Chesterfield Grand Sofa

Yaaaas!  I just love them!

Check out more of our awesomeness on our blog! Cheers!


*Legal stuff:

I am honest about my experiences with different products and write because I enjoy it.  I do however, have the opportunity to earn money for my writing, also.

Slavetodiy.com is a participant in the Amazon Services LLC Associates Program, an affiliate advertising program designed to provide a means for sites to earn advertising fees by advertising and linking to amazon.com.  Amazon offers a small commission on products sold through their affiliate links.  Each of your purchases via our Amazon affiliation links supports our cause at no additional cost to you.

If a blogger links to an Amazon product (with a special code for affiliates embedded in the link), and a reader places an item in their “shopping cart” through that link within 24 hours of clicking the link, the blogger gets a small percentage of the sale.  Amazon links are not “pay per click.”  If you click on the product link and stay around Amazon and purchase something else, however, I will get a commission on that sale.

Slavetodiy.com is also a VigLink affiliate advertiser which works similarly.

Mashup Monday 4: 26 Inspired Ways To Style Your Preserved Boxwood Wreath

I have been dying to get a preserved boxwood wreath for a long time. They’re classic, timeless, elegant, and versatile. They can be used as decor for every holiday or just for an everyday splash of green. I consider them one of those foundation pieces around which you can decorate for every season, and it’s worth spending the money to get an authentic one. I finally ordered mine from a wreath guru on Etsy, Door and Decor. I’m not an affiliate, I just think her work is awesome.

Here’s a shot of mine hanging proudly in the *almost completed living room:

image1
Preserved Boxwood Wreath with iron and glass lantern, Kim Taylor Reece Photography in Koa Wood frames, and Lansing Leather Recliner from Pottery Barn

So, now that I have my beautiful wreath, I am looking for seasonal ways to style it and use it with the most impact.  Here are a few of my favorites I found:

*This post may contain affiliate links. Please see full disclosure at the end of the post.

From Pender and Peony, beautifully styled preserved boxwood wreath with navy blue ribbon on an ornate gilded frame mirror
From HGTV.com (Photo by David A. Land, styling by Matthew Gleason), not boxwood, but I like the idea of the wreath with a neutral ribbon and a matching garland for Christmas


From Etsy.  I adore the silk tulips with the burlap ribbon. Classic and stunning for Valentine’s Day, Easter, or Spring


From Garnethill.com. I adore this hanging set with neutral ribbons. These would be super simple to DIY.


From Oliveandcocoa.com. I realize this would be VERY specific to Valentine’s Day decorating, and they’re pricy at $134, but if you can do it, it’s super cute.


From Donnahubbard on Etsy, I love the striped ribbon. A very classic Polo look for Fourth of July styling and summertime.


From Pier1.com, this is so attractive with a fall/harvest garland. It really kicks up the look in a clean, white kitchen


From garnethill.com I love this big wreath with baby wreaths. Great focal point on a blank wall.


From jet.com. I realize this is also very specific, like the heart wreath, but I would love it on a gallery wall on a shelf. It adds interest and color.


From Wayfair.com. I honestly don’t think I’d keep a boxwood next to my range, but I do dig the idea of the peace sign. Once again, I think it would be a poppy addition to a fun and eclectic gallery wall.


From betweennapsontheporch.net, I think this blogger is masterful with both styling and taste. I love this very classic styling for Christmas on a gorgeous mirror, well accessorized and simple. Bravo.


From This Old House. I adore the mirror and the trio of small boxwood wreaths. Stunning.


A stunning and simple design from Simplicityinthesouth.com.  Well done, boxwood wreath with a rustic burlap ribbon on a great, panelled mirror.


From MercantileAtMulberry on Etsy. I love the combination of the painted sign, simple ribbon and round tobacco basket. This is a great statement piece.


From emoryvalleymercantile.com. This is a clever use of a 6″ wreath as part of an Easter tablescape. I love it.


Also from MercantileAtMulberry on Etsy.  This mini boxwood wreath is so awesome hanging in the frame with a rustic ribbon.


From Julieblanner.com. Preserved boxwoods done even without frills are awesome. They are a strong standalone piece.


2855c15a-e97b-4d00-83c3-3a42993f37a3
From JustOneElle on Etsy. I love incorporating greens into farmhouse decor and signs


Joss and Main.  I would love a set of these on a dining tablescape or even on a side-table. Very simple and elegant.


Via Shop.lisarobertson.com. I’ve never seen these hanging on a lantern before and I really like the look, especially in a pair like this.


From decorsteals.com. This is a great deal at around $35 for a set of 3. What a great idea for a mini tablescape.


3e2422ae-ba46-4e69-9ea1-fd33d231a0a5
From Ebay. This is probably my favorite Christmas or Winter decor idea with preserved boxwood wreaths. I love these on an antique sled. Very well done.


From Kirklands.com. This is such a great look with a combination of Preserved boxwood topiaries and wreaths. They look great even unadorned with ribbon.


Here’s another super clever and classic Christmas styling from betweennapsontheporch.net. I highly recommend following her on Pinterest and her blog.


From decorsteals.com. What a great idea to use these as a wreath necklace on faux animal busts on the wall. It reminds me of the winning horse at a steeplechase. How cool would a trophy cup underneath it be?


Source unknown.  I totally dig a little bit of Christmas cheer in the kitchen. These mini preserved boxwood wreaths totally work.


I hope you were able to get some good ideas on how to decorate and style with Preserved Boxwood Wreaths. I would love to see how you use them in your own home in the comments!

Take care and check out more decorating and DIY renovations on our blog.

*Legal stuff:

I am honest about my experiences with different products and write because I enjoy it.  I do however, have the opportunity to earn money for my writing, also.

Slavetodiy.com is a participant in the Amazon Services LLC Associates Program, an affiliate advertising program designed to provide a means for sites to earn advertising fees by advertising and linking to amazon.com.  Amazon offers a small commission on products sold through their affiliate links.  Each of your purchases via our Amazon affiliation links supports our cause at no additional cost to you.

If a blogger links to an Amazon product (with a special code for affiliates embedded in the link), and a reader places an item in their “shopping cart” through that link within 24 hours of clicking the link, the blogger gets a small percentage of the sale.  Amazon links are not “pay per click.”  If you click on the product link and stay around Amazon and purchase something else, however, I will get a commission on that sale.

Slavetodiy.com is also a VigLink affiliate advertiser which works similarly.

Mashup Monday: 27 Inspired Bunkrooms.

I’ve been researching the bunk room concept for a long time. Given the ludicrous and unmanageable number of children we have, I expect at some point to have an even greater number of grandchildren.  This process hasnt started yet, but I’d like to be prepared when it happens.

*This post may contain affiliate links. Please see full disclosure at the end of the post.

Of course, grandkids are not the only reason to have a bunkroom. Bunkrooms are about efficient space utilization. For people who have kids sharing rooms, people with vacation homes, Airbnbs, and lots of friends that sleepover because they’ve had too much to drink, a bunkroom is a great idea.

Of course, it helps if you happen to have a bonus room or basement with extra space, but if you don’t, there are still some ideas here that can help. Here are some ideas to create extra sleeping room in your existing space:

Chrislovesjulia.com

I love this one because it was created as a sibling-shared space, includes a staircase vice a ladder (safe for even smaller children), and includes built-in toy storage.

Atlanta Homes Magazine

This idea would require an entire space devoted to guest quarters, but is fantastic for sleepovers, grandkids, family guest space, vacation rentals and airbnbs.  When I see guest space that can accommodate even my whole family, I’m impressed.

Anderson Custom Homes Inc.

Like the previous one, this is super well done. A basement or bonus space would easily accommodate this design, adding sleeping room for six. I love that it incorporates storage under three of the beds and cabinetry to each side and individual light fixtures.

Decorpad

This is a really nice design for an attic space with a long, unused wall. We did something similar in a bonus space that had those awkward slanted knee walls. Often the kneewall is not load bearing, and the sleeping space can be created without utilizing any additional floor space.

theenglishroom.biz

I love the curtains, finishes, and nautical lights here. This is a great place to crash when everyone is tired and ready for quiet time.

HomePortfolio

Great for one couple and kid in a single space. Perfect for a beach house, ski chalet, or guestroom.

GeoffChick.com

Addition for a long wall in a bonus space for kids. What about in your entertaining space for friends to crash?

homeizy.com

I love this one for a cool grandkid space or a shared room. Each space is cozy like a little fort with great, wide steps for easy access to the upper bunk.

sarahsarna.com

This is a great option if you happen to have vaulted ceilings in your space. Great privacy and still has an adventure feeling with the separate, curtained nooks.

telpaper.com

I love seeing this in work, demonstrating that you can, in fact, DIY this type of project.  This set of four bunks has some neat features: A shared set of stairs for conserving space, a safety net for smaller children, and under bed storage space below the bottom bunks.

CoastalRetreats.co.uk

So, apparently this is a beach house (I do like the oars, provided they are functional as well as attractive). But, I would love to see this same design in a ski house in the mountains. I love the colors, the varied bed sizes, the stained wood, and the leaning ladders.

bostondesignguide.com

I love the stained trim and ceilings on these bunks.

homebunch.com

Portholes? These kids have the coolest grandparents ever!

Noelito Flow

This is a legit guest space. See the bathroom peeking around the corner? Room for two couples and two kids, there is tons of privacy and a nice, wide staircase. Built in bookcases and individual reading lights make it that much more awesome.

gallery.apartmentherapy.com

If you have a square room and need to squeeze in a whole bunch of single beds, this is a really clever design. Without putting head to feet, this is about as space efficient as it gets.

inthralld.com

If this design on a dutch cupboard doesn’t bring out your inner child, I don’t know what will. This C.S. Lewis style cabinet entry is made for lazy afternoons with a book and magical time with grandparents.

awe.sm

This has a very built-in, professional feel. Perfect for an unused back wall in the bonus room.

Coastal Living

I like the concept of using this long, sloped attic wall and the basic layout and storage. The drawers and trim look a little cheap. I would beef those up so they don’t get destroyed with regular use.

houzz.com

Since this bed is incorporated into office built ins, I can only guess that it’s dad’s spot for crashing when he’s in the dog house. I like it. We might need one of these for Rainman when he’s gone fishing instead of finishing building things I ask for.

babble.com

So, if you happen to have a barn-sized spare room and an unlimited budget for creating sleeping space for a crowd, here’s your option. Privacy and lounge space included.

karnushas.com

This is so cleverly done, albeit expensive (I’m guessing). I love the incorporation of clean, modern lines with rustic, reclaimed finishes. Once again, a long narrow space may not be good for much else, but this is extremely well done and useful.

landsenddev.com

What a cool way to separate functional and sleeping spaces. What a super cool way to sleep kids in a small space.

Patricia Borowicz

I absolutely adore the washed finishes in this set up.  Lots of sleeping space and storage space with extensive privacy.

houzz.com

This is a super clever way to cordon off a corner and create a private sleeping space.

nativehunt.com

This is a very basic, doable design.  It would be super easy to DIY and sleep lots of people.

Glenna Dement

I love the finishes on this design.  Another great option for attic rooms with sloped ceilings.

brit.co

I saved my favorite for last. This is the ultimate bunkhouse, using great 3D space. Multiple sizes, heights, accesses, and finishes, I just adore the overall feel. This would be a huge draw for any application that needed to sleep extra people.

Thanks for reading along with us. Check out more of our great content here.

*Legal stuff:

I am honest about my experiences with different products and write because I enjoy it.  I do however, have the opportunity to earn money for my writing, also.

Slavetodiy.com is a participant in the Amazon Services LLC Associates Program, an affiliate advertising program designed to provide a means for sites to earn advertising fees by advertising and linking to amazon.com.  Amazon offers a small commission on products sold through their affiliate links.  Each of your purchases via our Amazon affiliation links supports our cause at no additional cost to you.

If a blogger links to an Amazon product (with a special code for affiliates embedded in the link), and a reader places an item in their “shopping cart” through that link within 24 hours of clicking the link, the blogger gets a small percentage of the sale.  Amazon links are not “pay per click.”  If you click on the product link and stay around Amazon and purchase something else, however, I will get a commission on that sale.

Slavetodiy.com is also a VigLink affiliate advertiser which works similarly.

Mashup Monday 2: 14 Inspired Kitchen Banquette Benches

Our current “breakfast nook”

Over the Holidays, Specifically in time for the annual sale, I have requested a trip to the magical land of Restoration Hardware. For those of us who don’t live anywhere near one, this is a big deal, so don’t judge me. We are going so I can touch and feel a sideboard that I’m planning on using as a base for our breakfast nook/island with banquette seating. So, of course, in anticipation of my big purchase, I am trying to decide which type of banquette seating I really want to do that will serve the look and functionality I’m trying to achieve.

*This post may contain affiliate links. Please see full disclosure at the end of the post.

*Update: soul-crushing disappointment: the sideboard is not on sale. We’ll still go at some point so I know if I like it, for when it DOES go on sale. I will take LOTS of pictures to share.

In case you haven’t figured it out, this is how I passive aggressively start projects. I buy the pieces I want to use, then leave them in the middle of the room until Rainman reluctantly asks what’s supposed to happen with them. The bench will need to run the length of the wall under the windows (backless so we don’t limit visibility to the pool and backyard) and have the ability to house small appliances that will be homeless when Rainman reclaims the pantry for an office closet.

Here are some ideas for banquette seating:

RoomforTuesday.com

The banquette above is a very nicely done seat. I would definitely do cushions, but this is a solid concept. Unfortunately, I don’t think using premade cabinets will work for us as they open from the front and we’ll have an island in the way, making it more difficult to get things in and out. I love the stained finish, though.

Ana-white.com

The DIY one above is a very clean look and I love that it has the flip-up bench seats. I think we may want more detail than this one, however. It is fantastic for the nook it’s in and I love their heat register solution. We also have one to contend with in our future bench seat.

Blueroofcabin.com

The blue roof cabin banquette is a super simple and attractive design. I really like it but I would want to have the squares centered vertically whereas here the base molding covers much of the bottom.

Housefulofhandmade.com

This is a neat idea also, but I want a solid flip top instead of the cushions mounted on wood.

Louannedeco.blogspot.com

With some caulk and paint this could be a very nice bench. If your plan is to have a painted piece, MDF really makes anything more affordable.

Home craft builders

This is very nicely done, although aesthetically I think I prefer the base bumped out instead of recessed as it is here- especially since I have some small appliances that are wider at the base.

Placeofmytaste.com

This is a very basic, clean design. Once again, I think these are pop off cushions, and I would really prefer a hinged lid.

Marthastewart.com

Here’s that beautifully crafted hinged lid. I love that the cushions are separate for wash-ability.

Utahrealestate.com

I love the thickness on these cushions though I question their longevity on a kitchen banquette. If they are washable slip covers that would be awesome. I can’t imagine trying to cut the base molding on these angles. Ugh.

Jurnaldedesigninterior.com

Like most things in Veranda magazine, the next one is impractical, but breathtaking. They should just rename it “shit-you’ll-never-have-because-you-have-kids magazine”. I’m telling myself, willing myself to walk away. (My sister asked me why this is impractical: the pretty little knobs will become footrests and get ripped out. The light-colored fabric will become immediately stained.)

Veranda.com

Once again, Veranda, I admire you for your optimism. Breathtaking and unrealistic.

Makinghomebase.com

Any DIYer could be proud of this simple, little build. Add some quarter round and cushions, and voila, you have yourself a pro level bench.

Biggerthanthethreeofus.com

I love this whole space, except the face of the bench. Just a few pieces of trim will make this space varsity level.

Trendir.com

Once again, if you’re using stock cabinets and want drawers, these are very nice.

I think we’ll eventually settle for a basic board and batten style, with a hinged top, and removable, leather cushions (for easy cleanup).

Thanks for joining us on our adventures! For more inspiration check out our blog.

*Legal stuff:

I am honest about my experiences with different products and write because I enjoy it.  I do however, have the opportunity to earn money for my writing, also.

Slavetodiy.com is a participant in the Amazon Services LLC Associates Program, an affiliate advertising program designed to provide a means for sites to earn advertising fees by advertising and linking to amazon.com.  Amazon offers a small commission on products sold through their affiliate links.  Each of your purchases via our Amazon affiliation links supports our cause at no additional cost to you.

If a blogger links to an Amazon product (with a special code for affiliates embedded in the link), and a reader places an item in their “shopping cart” through that link within 24 hours of clicking the link, the blogger gets a small percentage of the sale.  Amazon links are not “pay per click.”  If you click on the product link and stay around Amazon and purchase something else, however, I will get a commission on that sale.

Slavetodiy.com is also a VigLink affiliate advertiser which works similarly.

Mastering the Scene: Styling Your Demijohn at Christmas

Pottery Barn demijohn with solar fairy lights.

The reason the demijohn is one of our favorite decor foundation pieces is that it is so versatile from season to season. This year we went with basic solar powered fairy lights to create that warm Christmas glow… and I just love it.

*This post may contain affiliate links. Please see full disclosure at the end of the post.

This particular demijohn is available from Pottery BarnSolar LED Fairy Lights are really stunning. Here’s a glimpse of some other Christmas vignettes in the home.

Yankee Candle “fireside”

(I’m not an affiliate), but Yankee Candles (and their not-so-sneaky offshoot Kringle candles) are my favorite. If you’re ever up in Deerfield, Massachusetts I highly recommend a visit. They have a year round Christmas area (with the most authentic Santa ever), an outlet with discounted mis-poured candles, and a great (albeit pricey) home goods section. Next time I’m up there I hope to shoot a tour and share it!

Unfortunately, my favorite Christmas candle (Fireside) was discontinued several years ago, but I’ve been gifted some from outlet leftovers from loving friends and family- so now I ration my last candle like a grinch.

Grandfather clock at Christmas.

The grandfather clock always looks good with some holiday cheer.

Christmas mantle with stockings.

Thanks for checking out some of our holiday decor!

For more ways to style the demijohn in other seasons check out this post.

Check out more of our blog here!

*Legal stuff:

I am honest about my experiences with different products and write because I enjoy it.  I do however, have the opportunity to earn money for my writing, also.

Slavetodiy.com is a participant in the Amazon Services LLC Associates Program, an affiliate advertising program designed to provide a means for sites to earn advertising fees by advertising and linking to amazon.com.  Amazon offers a small commission on products sold through their affiliate links.  Each of your purchases via our Amazon affiliation links supports our cause at no additional cost to you.

If a blogger links to an Amazon product (with a special code for affiliates embedded in the link), and a reader places an item in their “shopping cart” through that link within 24 hours of clicking the link, the blogger gets a small percentage of the sale.  Amazon links are not “pay per click.”  If you click on the product link and stay around Amazon and purchase something else, however, I will get a commission on that sale.

Slavetodiy.com is also a VigLink affiliate advertiser which works similarly.

Customize Your IKEA Hack

IKEA hacks are all the rage, and with good reason. Pre-built, reasonably priced items that can be totally customized give me plenty of reasons to get on board. Can you say: factory finish?

*This post may contain affiliate links. Please see full disclosure at the end of the post.

So, when it comes to the Hemnes line (Hemnes is IKEA’s real wood, upgraded line)- the hardware is a dead give away that you’re using IKEA shelves. Updating the hardware creates a HUGE impact for not very much money.

IKEA Hemnes cabinets with stock hardware

On our giant living room wall builtins IKEA hack, we used two sets of black Hemnes cabinets, each with three drawers and glass doors (please excuse our tardiness- they’re not finished). They were totally snooze-fest level with the existing hardware.

IKEA Hemnes cabinets with stock hardware

You can completely change the look and feel of the whole thing by finding hardware that speaks to you. At first I really wanted long, brass handles. However, 16″ hole separations on the drawers really limit non-custom options (the quotes I got on custom bars were in the $100 each range, and I needed six). So, I went back to the two pulls per drawer option and found something in the same family as what I wanted before.

IKEA Hemnes stock drawer hardware

I found these Antique Brass Bin Pulls pretty reasonably and the two Cast Brass Cupboard Latches for a total of $142, both from House of Antique Hardware.

House of Antique Hardware, bin pulls and cabinet latches

They made such a difference. Aren’t they just gorgeous?

House of Antique Hardware, bin pulls and cabinet latches

A few notes on installation: the pulls came with screws instead of two sided hardware. No way were we risking that accident-waiting-to-happen with our fifty kids, so I sent Rainman with one of the pulls down to the hardware store to hunt for a screw, washer, and nut that would work and go all the way through inside the drawer. Since we purchased them at Lowe’s our color options were limited. I haven’t decided whether I want to paint the hardware heads to match the pulls yet.

House of Antique hardware bin pulls

I originally intended to use one pre-drilled hole on each side but after we looked at the spacing we decided to straddle the existing holes and drill all new holes for each bin pull. They just looked better balanced.

The cabinet latches were a little more difficult because the pre drilled holes were too far back (toward the glass).

There is not a whole lot of wiggle room when installing these latches. I moved them down to a place I liked better visually and filled the old holes with a basic brushed brass Chicago screw. They have to go to the very edge to latch and the drilling has to be done very precisely.

96606fe3-0c20-499e-971f-0664d3e50664

Here are the Chicago Screws we used to cover the existing hardware holes.

I would love to see different ways you customize your own IKEA hacks! Thanks for joining our adventures!

Check out more of our projects here.

*Legal stuff:

I am honest about my experiences with different products and write because I enjoy it.  I do however, have the opportunity to earn money for my writing, also.

Slavetodiy.com is a participant in the Amazon Services LLC Associates Program, an affiliate advertising program designed to provide a means for sites to earn advertising fees by advertising and linking to amazon.com.  Amazon offers a small commission on products sold through their affiliate links.  Each of your purchases via our Amazon affiliation links supports our cause at no additional cost to you.

If a blogger links to an Amazon product (with a special code for affiliates embedded in the link), and a reader places an item in their “shopping cart” through that link within 24 hours of clicking the link, the blogger gets a small percentage of the sale.  Amazon links are not “pay per click.”  If you click on the product link and stay around Amazon and purchase something else, however, I will get a commission on that sale.

Slavetodiy.com is also a VigLink affiliate advertiser which works similarly.

16 Ways To Use Brick Veneer Inside Your Home

When I’m perusing Pinterest late at night when I’m supposed to be sleeping (don’t tell me you’re not guilty), I find that I’m always attracted to images of older homes. Beautiful, preserved stone or brick walls that have either been re-exposed in a renovation or have been there the whole time.  Stone mixed with plaster, crumbling/repaired brick, or even painted brick fireplaces… I love them all. One of the things I have chosen as a challenge for myself in transforming various projects is making them feel like they’ve always been there. Even if they’re new and modern, they should feel homey… like there’s history behind them.

*This post may contain affiliate links. Please see full disclosure at the end of the post.

My new obsession is using accent walls of brick veneer to add some age and depth to different projects. It’s smart and it’s classic. Brick has been around in different forms since the dawn of time, and I LOVE it.

49077a92-a0e3-4d49-aa17-b3ec95960311
Built in shelves, part of IKEA hack, with Castlegate Old Mill Brick Veneer, dressed with farmhouse candlesticks and preserved boxwood


Our first experiment with brick was a complete and total pain in the tail. I, of course, chose a super narrow space to install it, because I feel like Rainman really needs the additional challenge of working in a tight space on top of doing something he hasn’t done before. I’ll do a project tutorial soon, but I’m just not ready to relive that pain yet, nor do I have enough wine in the house to really delve into it.

Anyway, along the way, as I was researching different looks I found some fantastic applications for brick veneer in the house. I’ll share my favorites with you:

As an accent behind builtins or shelves:

6b89b47e-8f76-468e-af7b-11afbb00f0de
Built in shelves, part of IKEA hack, with Castlegate Old Mill Brick Veneer, dressed with farmhouse candlesticks and preserved boxwood

This is our unfinished builtins project (IKEA hack) with the brick veneer behind the shelves. I love the effect. After researching multiple options, I finally decided on Old Mill, Castle Gate Brick Veneer. I always check a local distributor first, and although he was able to do it for 5 cents cheaper a brick, we had to buy an entire pallet and there was a six-week lead time. In any case, we really love how it turned out, and the Old Mill quality was excellent.

Here are some of the images that inspired me and continue to provide planning inspiration for possible future projects:

As an accent wall in the bathroom:

Image Source Unknown (Instagram Account Deleted)

So, this is a great space. I really like the vanity. But, honestly, without the brick accent wall this room would be pretty vanilla, right? It was a fantastic choice in this room.

In the bathroom with antique fireplace:

1e2609f7-9f2e-4283-8b21-ffcac3f66c41-1
Image from Signature Hardware

There is a lot going on with this bathroom. I honestly don’t LOVE the shower, because I think the “modern” level is overdone and clashes with the other AMAZING elements. The preserved antique brick fireplace is incredible (minus the hearth in the modern tile). The clawfoot tub is equally fantastic. I also love that they refinished what appear to be original wide plank floors. If you look carefully you can see a chandelier in the shower glass reflection…. reinforcing my deep belief that no bathroom is truly complete without a sparkling chandelier. Bravo.

As a foyer accent wall:

From diyfurnituremaven.com

This is such an amazing space. The combination of herringbone wood floors, the brick, the incredibly detailed wood moldings, the classic settee, and of course, the maps. This person might love Restoration Hardware. It’s a rich, warm, classic look and I just adore it.

As a kitchen accent wall:

img_1325
From carmenza.spotlife.se

The antique brick really adds interest to this space. I also dig the bank of apothecary drawers and the banquette seating.

For a more modern take on the kitchen with an antique wall:

Image from myhouseidea.com

The scale of this room is part of what makes it so cool (did you see how thick that table slab is???). Doing this wall in brick veneer would be a pricey undertaking.

Over the stove:

Image from housetrends.com

Sigh. Yes, the antique brick surround for the stove wall is happening and in our future kitchen renovation. For real. Don’t you love the beams and the lighting?

On the fireplace:

Image from designsponge.com

This is one of the coolest two-sided fireplaces ever. And I love the faux skin rug. I would’ve loved to see a wide plank, hand finished hard wood with this. It would have been epic.

A totally different take on a fireplace:

Image from betweennapsontheporch.com

This fireplace inspires my inner Hobbit. So much movement, and paired with what appears to be heart pine… what more could one want?

As an accent on window walls:

img_1326
Image from Pocket.co

I love brick accents around windows, especially if they are original, or made to appear to be the outer wall of the home. These are uniquely awesome because of their depth- they were able to incorporate a great panelled look on the inside. Really nicely done with superb depth.

Image from Theloftsofgreenville.com

The loft pictured here is incredibly well done all around. They really captured a moody ambiance.

As a column wrap:

img_1328
Centophobe.com

My favorite part of this column wrap is that it appears to actually be an original home element. Very cool that they kept it.

As an archway wrap:

img_1334
Image from Houzz

The difference in materials on the archway does a masterful job of separating living areas. The flow between spaces here is exquisite.

img_1335
Image source unknown

Isn’t this an awesome transition from foyer to living area?

In the dining room:

img_1330
Image from emeco.net

This is obviously a commercial space, but what a perfect combination of gray velvet tufted seating, antique mirrors, rustic wood floors, iron table bases, classic artwork, and of course, the brick.

On the basement wall:

Image from howtobuildahouseblog.com

Once again, realize this would be an expensive undertaking. But, the look is so unique. I love it paired here with medium tones in wood flooring and the bright white baseboards.

As a brick ceiling:

Image from ElMueble.com

After a fairly frustrating installation of brick on a wall, I’m not totally sure how one would accomplish a ceiling installation. Nor do I think I know anyone with a marriage strong enough to survive a joint brick ceiling installation. But, if it was possible, the results are breathtaking.

Brick floor inlay:

Image from enchantedhome.com

Isn’t this amazing? I love combining the materials of deep wood tones with the whitewashed-look brick. It is really something special. They accomplished something very similar below.

Image from architecturaldesigns.com

Something interesting to note on the image above is that I believe this is new construction. This is varsity level use of different depths, textures, and finishes to make the house feel homey and not too new. There are three different styles of doors in one hallway and the mixed use of wood floors and brick is cool (though I’ll admit the antique-size brick would have been a visual and authentic improvement). Overall, really well done.

Master bedroom accent wall:

Image from Magnolia Realty, Instagram

I really like the style of this entire space (it’s new/old), classic/eclectic, well done and homey. The heavy grout is very popular right now.

As a staircase brick accent wall:

Image from seabelle.tumblr.com

If I ever walked into this space, it is truly “gasp” worthy. Unbelievably elegant and warm.

Have you used brick veneer interior applications?

Using brick inside offers an opportunity to completely transform the feel of a space. It creates warmth, texture, and depth. Are there other interior brick applications you love? I would love to see pictures in the comments section!

Thanks for joining us and check out more of our fabulous DIY and project blog here!

*Legal stuff:

I am honest about my experiences with different products and write because I enjoy it.  I do however, have the opportunity to earn money for my writing, also.

Slavetodiy.com is a participant in the Amazon Services LLC Associates Program, an affiliate advertising program designed to provide a means for sites to earn advertising fees by advertising and linking to amazon.com.  Amazon offers a small commission on products sold through their affiliate links.  Each of your purchases via our Amazon affiliation links supports our cause at no additional cost to you.

If a blogger links to an Amazon product (with a special code for affiliates embedded in the link), and a reader places an item in their “shopping cart” through that link within 24 hours of clicking the link, the blogger gets a small percentage of the sale.  Amazon links are not “pay per click.”  If you click on the product link and stay around Amazon and purchase something else, however, I will get a commission on that sale.

Slavetodiy.com is also a VigLink affiliate advertiser which works similarly.

Privacy Hedge in the Southeast: Arborvitae or Leyland Cyprus?

Two years ago, when we moved into our new place in Eastern North Carolina, we found one area of our yard that wasn’t hiding the neighbors quite well enough. Friends of ours are landscapers, so I asked them to come take a look and give us their honest opinion. The two most popular for our zone were the Arborvitae and Leyland Cyprus, so we had to choose between the two.

*This post may contain affiliate links. Please see full disclosure at the end of the post.

I’m sure you’ve seen the Thuja Green Giant (Arborvitae) or Emerald Green (Arborvitae) in the nursery magazines you receive in the mail, as well as the Leyland Cypress. They’re all listed as “fast growing” trees and they’re fantastic as mature privacy hedges. They’re both relatively disease and drought tolerant and grow well in a variety of soils.

There were several mature Leyland Cypresses already, and they’re wider than the mature arborvitae, but I didn’t love the way they grow if they have neighboring trees encroaching. There were Leyland Cypresses EVERYWHERE in our neighborhood (sometimes, you can just look around and figure the neighbors might know what they’re doing, or at least the local landscapers). The Arborvitaes seemed to be more of what I had in mind.  Tall, slender, fast growing, and I liked the lighter green. But, the Cypresses seemed to be the PROVEN winner in the neighborhood.

So, which do you choose?

1b671983-9b73-417e-92c8-8108d26cc1ea
Arborvitae Hedge, Emerald Green

We chose the Arborvitae, and I’m about to show you why you should, too.

I have one word for you: HURRICANES.

Not long ago, a strong Category One hurricane came through our area and wreaked havoc on everything including the trees. We went from being able to see one neighbor vaguely in the winter, to being able to see at least five. EVERY LELAND CYPRESS HEDGE in the neighborhood was destroyed by the hurricane. We took down the hedge between us and the neighbors (the trees were essentially laying on our driveway).  This is what the trees look like that we haven’t taken down yet in the backyard:

6fd9ba8e-1f15-4709-8262-13fdd51af36f
Leyland Cyprus after the hurricane

Now, you might argue that the Leyland Cypresses were bigger and creating more drag (they are ABSOLUTELY wider and create more drag) but, neighbors with a mature Arborvitae hedge have the only hedge that survived the storm. I don’t know the mechanics, I just know that our young trees made it and so did the neighbors mature trees that were Arborvitaes.

cc791277-00e3-428a-8a69-47286e6de3ba
Arborvitae Hedge

I know that I haven’t yet seen an undamaged Leyland Cypress in our entire area.

a264d60b-28ed-4a96-acc2-10fac019cc7d
Damaged Leyland Cyprus after hurricane

Basically, if you live in a hurricane prone area, our experience has been that the Arborvitaes are more likely to survive than the Leyland Cypresses. We purchased some of them from the local landscaper and some from Brighter Blooms. The ones ordered in the mail always surprise me, because I’m initially disappointed, and then once they are planted they catch right back up.

Happy planting and thanks for joining us! Check out more of our adventures on our Blog!

*Legal stuff:

I am honest about my experiences with different products and write because I enjoy it.  I do however, have the opportunity to earn money for my writing, also.

Slavetodiy.com is a participant in the Amazon Services LLC Associates Program, an affiliate advertising program designed to provide a means for sites to earn advertising fees by advertising and linking to amazon.com.  Amazon offers a small commission on products sold through their affiliate links.  Each of your purchases via our Amazon affiliation links supports our cause at no additional cost to you.

If a blogger links to an Amazon product (with a special code for affiliates embedded in the link), and a reader places an item in their “shopping cart” through that link within 24 hours of clicking the link, the blogger gets a small percentage of the sale.  Amazon links are not “pay per click.”  If you click on the product link and stay around Amazon and purchase something else, however, I will get a commission on that sale.

Slavetodiy.com is also a VigLink affiliate advertiser which works similarly.

How To Preserve Roses

How To Preserve Roses
How To Preserve Roses, Preserving Roses

I’m so excited. I got BEAUTIFUL roses for my birthday. I know we’ve all lied to our significant others at some point, and told them we didn’t like flowers, but if they were smart, they knew it was a lie and bought flowers anyway. Because there are significantly fewer tears that way.

This post may contain affiliate links.  Please see the full disclosure at the bottom of the post.

We won’t talk about that time that I cried like a little girl because, even though I had dropped copious hints, I didn’t get flowers for my birthday. We’re complicated creatures, women. Poor Rainman.

Yeah, I’m that girl. (If you are in the dog house, and need to buy flowers, this is a great service).

How To Preserve Roses
How To Preserve Roses, Roses on the Sewing Machine Table

Ugh, they’re just gorgeous from every angle. But, I have a secret. These are in the process of “preserving”. Did you know that you can prevent those gorgeous roses from keeling over on you?

There are two really good methods for doing this and I’ll go through both!

Method One (best for roses that you want to use in arrangements later… more finicky than method two):

How To Preserve Roses
How To Preserve Roses, Beautiful Roses for My Birthday


This is pre-preservation. I always love the arrangement from our local florist, although I don’t love their choice of cheapo vases. Even the “budget” line shouldn’t be a throw away. Anyhoo, when I get to the preserving phase, I’m really only interested in the roses. I love them at Christmas for their deep red and am looking forward to bringing them back out.


How to Preserve Roses
How to Preserve Roses: Red rose bouquet with preserving supplies: scissors, vegetable glycerin, and a hammer.

You really only need a couple of things to do this:

  • Your preserving vase (mine is an antique but I have these also, which are super cute and very reasonable)
  • Florist shears/ scissors (as you can see, I was using the poultry shears instead of going to get my nice florist shears which drives Rainman totally NUTS)

Fill your vase with about 1.5 – 2 inches of glycerin.

I start with the longer roses in the arrangement. Holding the vase next to the edge of the counter and the rose stem next to it, I eyeball where I want the cut. Snip! Take your little hammer and flatten the end of the stem. Roll it and flatten again. Mash it up so it opens up (this helps the glycerin get into the stem).

I do the center (long pieces) first, then fill in around the edge with the shorter stems. For mine, I remove all of the leaves and toss everything other than the roses.

Move them to a location out of the sun to start the preserving process.

Preserving Roses
Preserving Roses: Red rose bouquet, beginning preservation.

I have to be honest: I adore how these are turning out. They will be gorgeous for my Christmas scenes. These can possibly last years if handled carefully and are such a better option than silk!

Tip: Make sure to add glycerin over several weeks until the stems stop absorbing, then dump out any excess (the glycerin will start gelling on the petals and getting goopy if you leave it).

Preserving Roses
Preserving Roses: Preserved red rose bouquet ready to WOW.


Method 2 (My Favorite):

How To Preserve Roses

This is the PERFECT preserved roses in a hatbox method!

You’ll need:

How To Preserve Roses


How To Preserve Roses

Step One: Snip off the leaves

How To Preserve Roses


How To Preserve Roses


How To Preserve Roses


How To Preserve Roses


Step Two: measure how long to cut your roses!  Then cut them at that height at an angle (check your height by putting it in the box).

How To Preserve Roses


How To Preserve Roses


Step three: Remove the three outermost petals on your roses.

How To Preserve Roses


How To Preserve Roses


Step four: Put your roses into the bag and pour the silica beads over it. Gently shake it to completely cover and get it inside the petals. Once they are covered, put them into a cool dark place for about a week. (Don’t worry about using all of your silica, you can re-use it!)

How To Preserve Roses


How To Preserve Roses


Step Five: Once all of the petals are preserved, shake the silica off carefully, and place them gently into your hatbox. These can last more than a year if you preserve them correctly!

How To Preserve Roses


How To Preserve Roses


Thanks for checking out our little tutorial! Feel free to comment and ask questions below and check out more of our great projects here! Cheers!


*Affiliate Disclosure:

I am honest about my experiences with different products and write because I enjoy it.  I do however, have the opportunity to earn money for my writing, also.

Slavetodiy.com is a participant in the Amazon Services LLC Associates Program, an affiliate advertising program designed to provide a means for sites to earn advertising fees by advertising and linking to amazon.com.  Amazon offers a small commission on products sold through their affiliate links.  Each of your purchases via our Amazon affiliation links supports our cause at no additional cost to you.

If a blogger links to an Amazon product (with a special code for affiliates embedded in the link), and a reader places an item in their “shopping cart” through that link within 24 hours of clicking the link, the blogger gets a small percentage of the sale.  Amazon links are not “pay per click.”  If you click on the product link and stay around Amazon and purchase something else, however, I will get a commission on that sale.

Slavetodiy.com is also a VigLink affiliate advertiser which works similarly.