DIY Stonewall: Stacked Stone Fieldstone Hydrangea and Rose Garden

For those of you have been following our progress, you know I was mortified that we hadn’t completed the front garden project.  We did a massive, beautiful stacked stone garden around the front porch but the garden along the walk leading from the driveway to the front door was still sad, neglected, and downright awful.

*This post may contain affiliate links. Please see full disclosure at the end of the post.

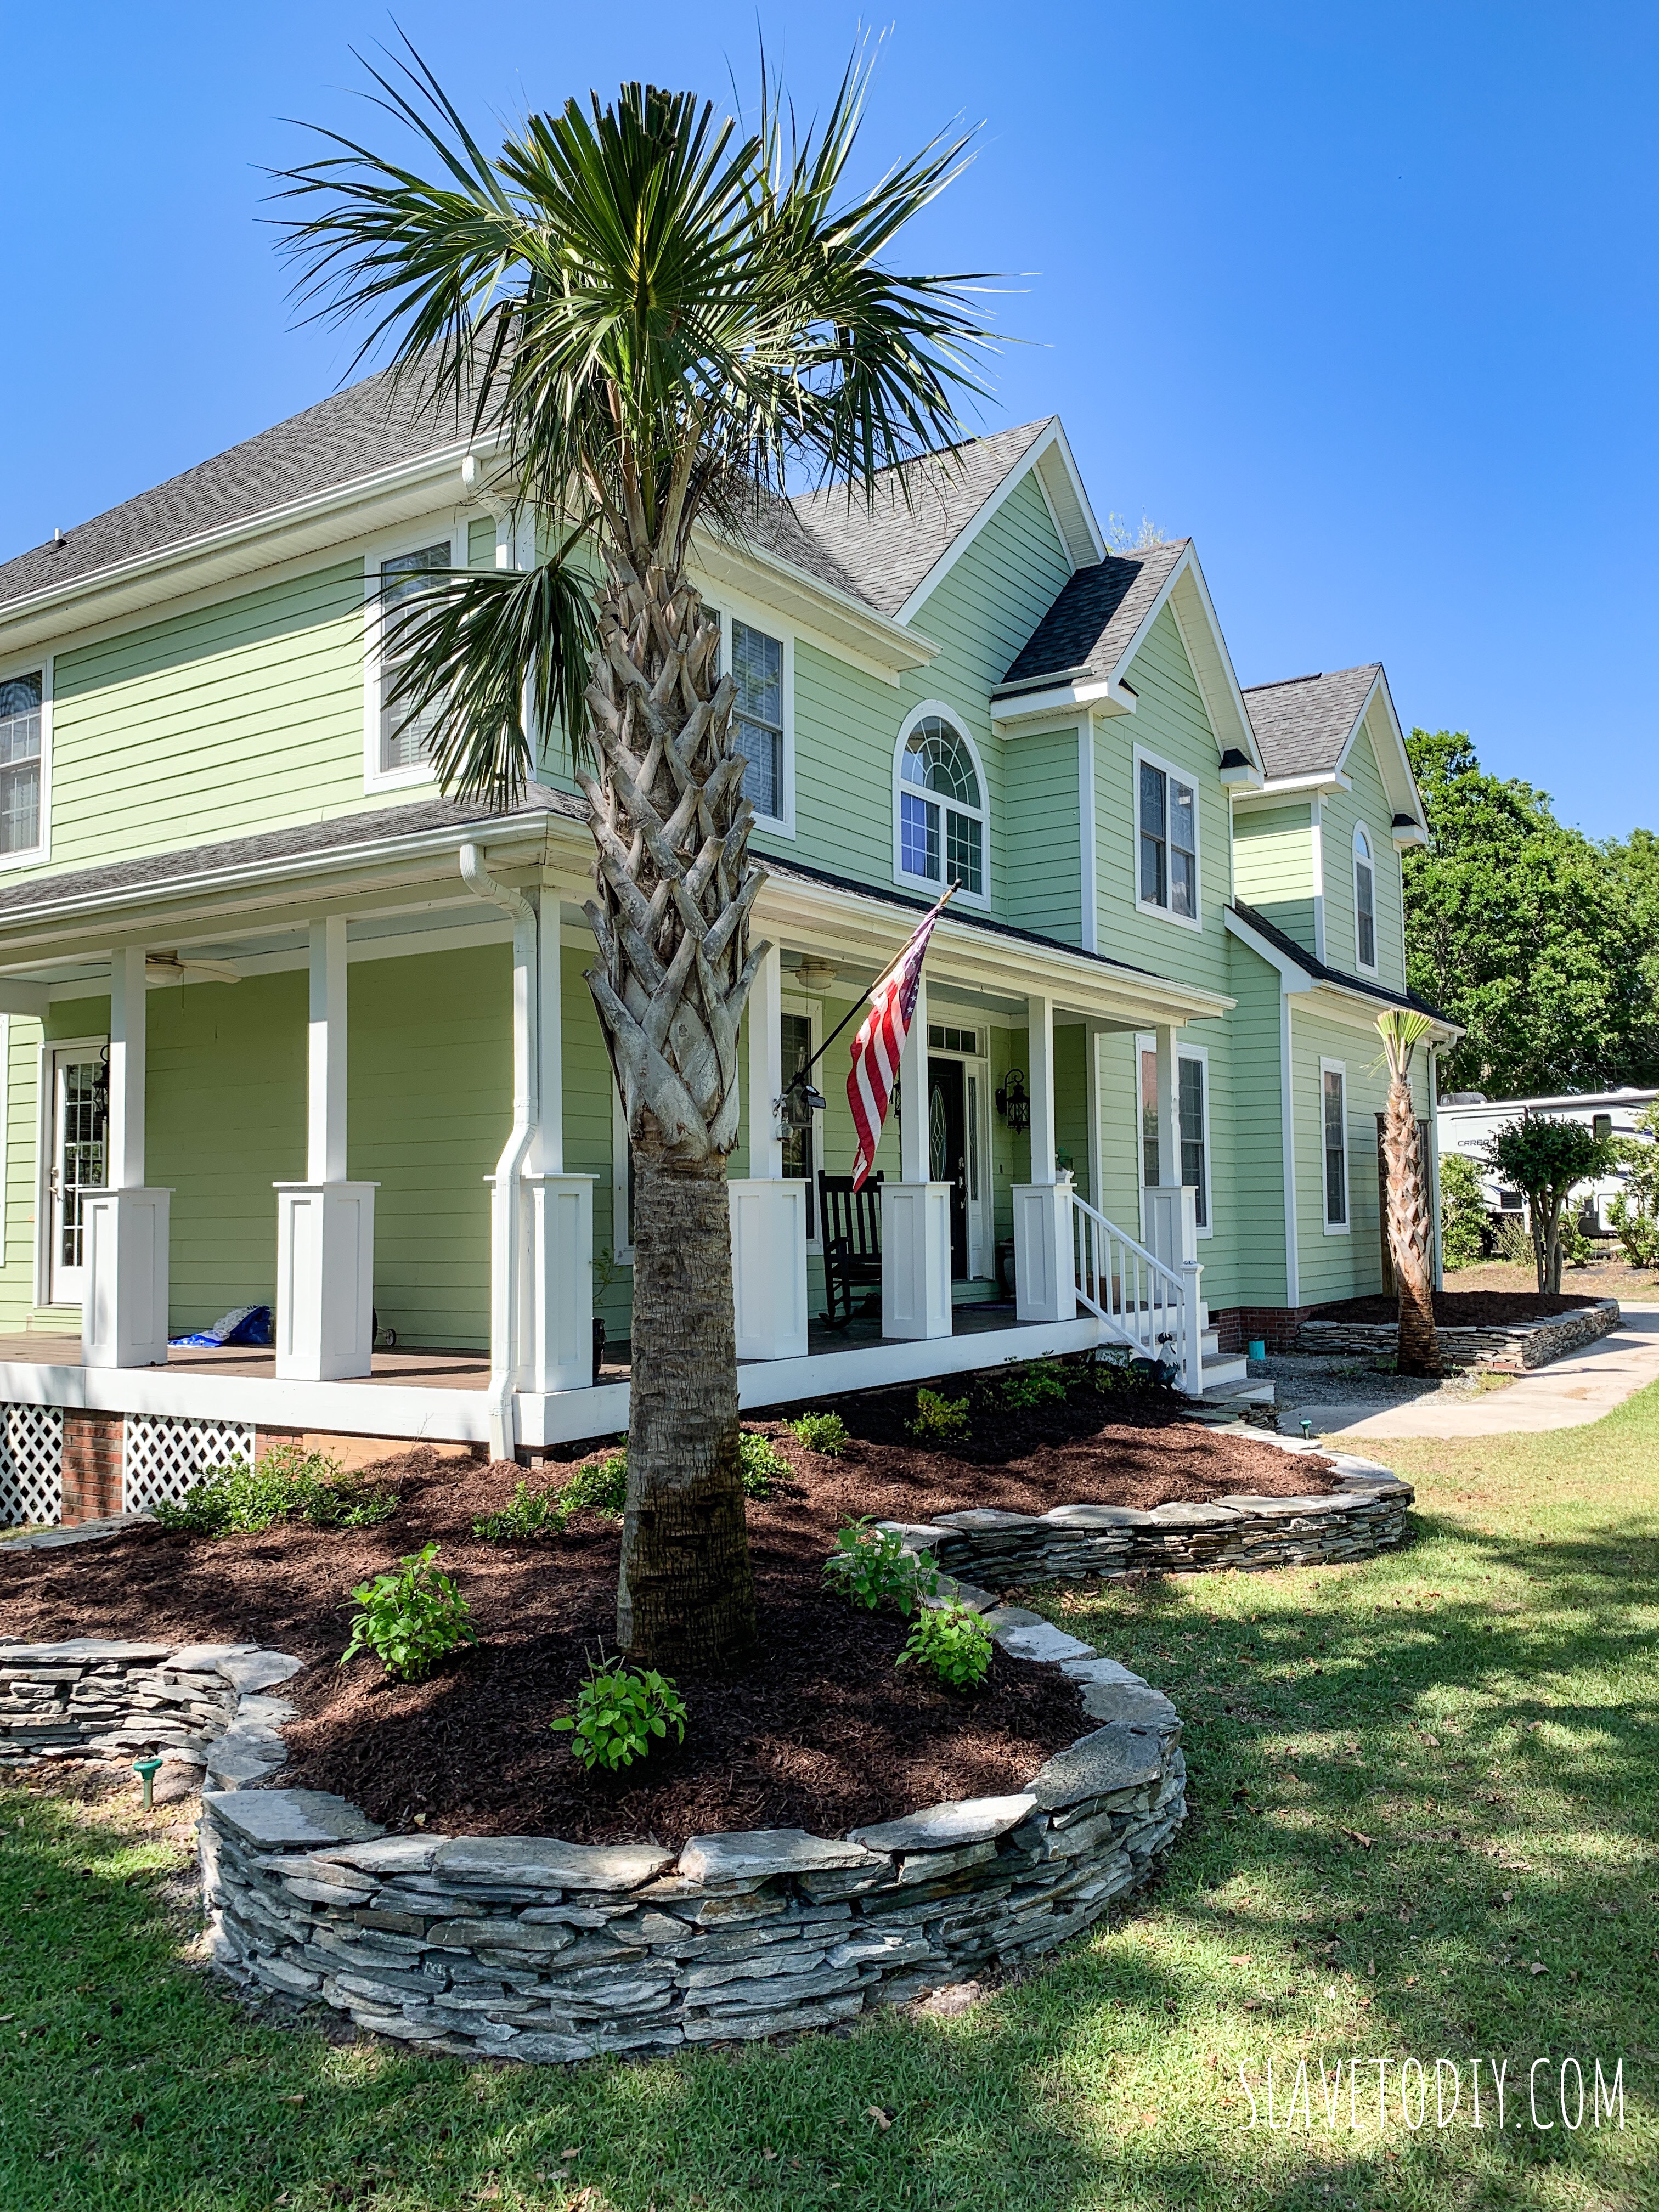
This is the “after,” but it took a few weeks to get there, working a little bit each day:

c7d75b0b-7267-4a96-a7f7-bac089aee829


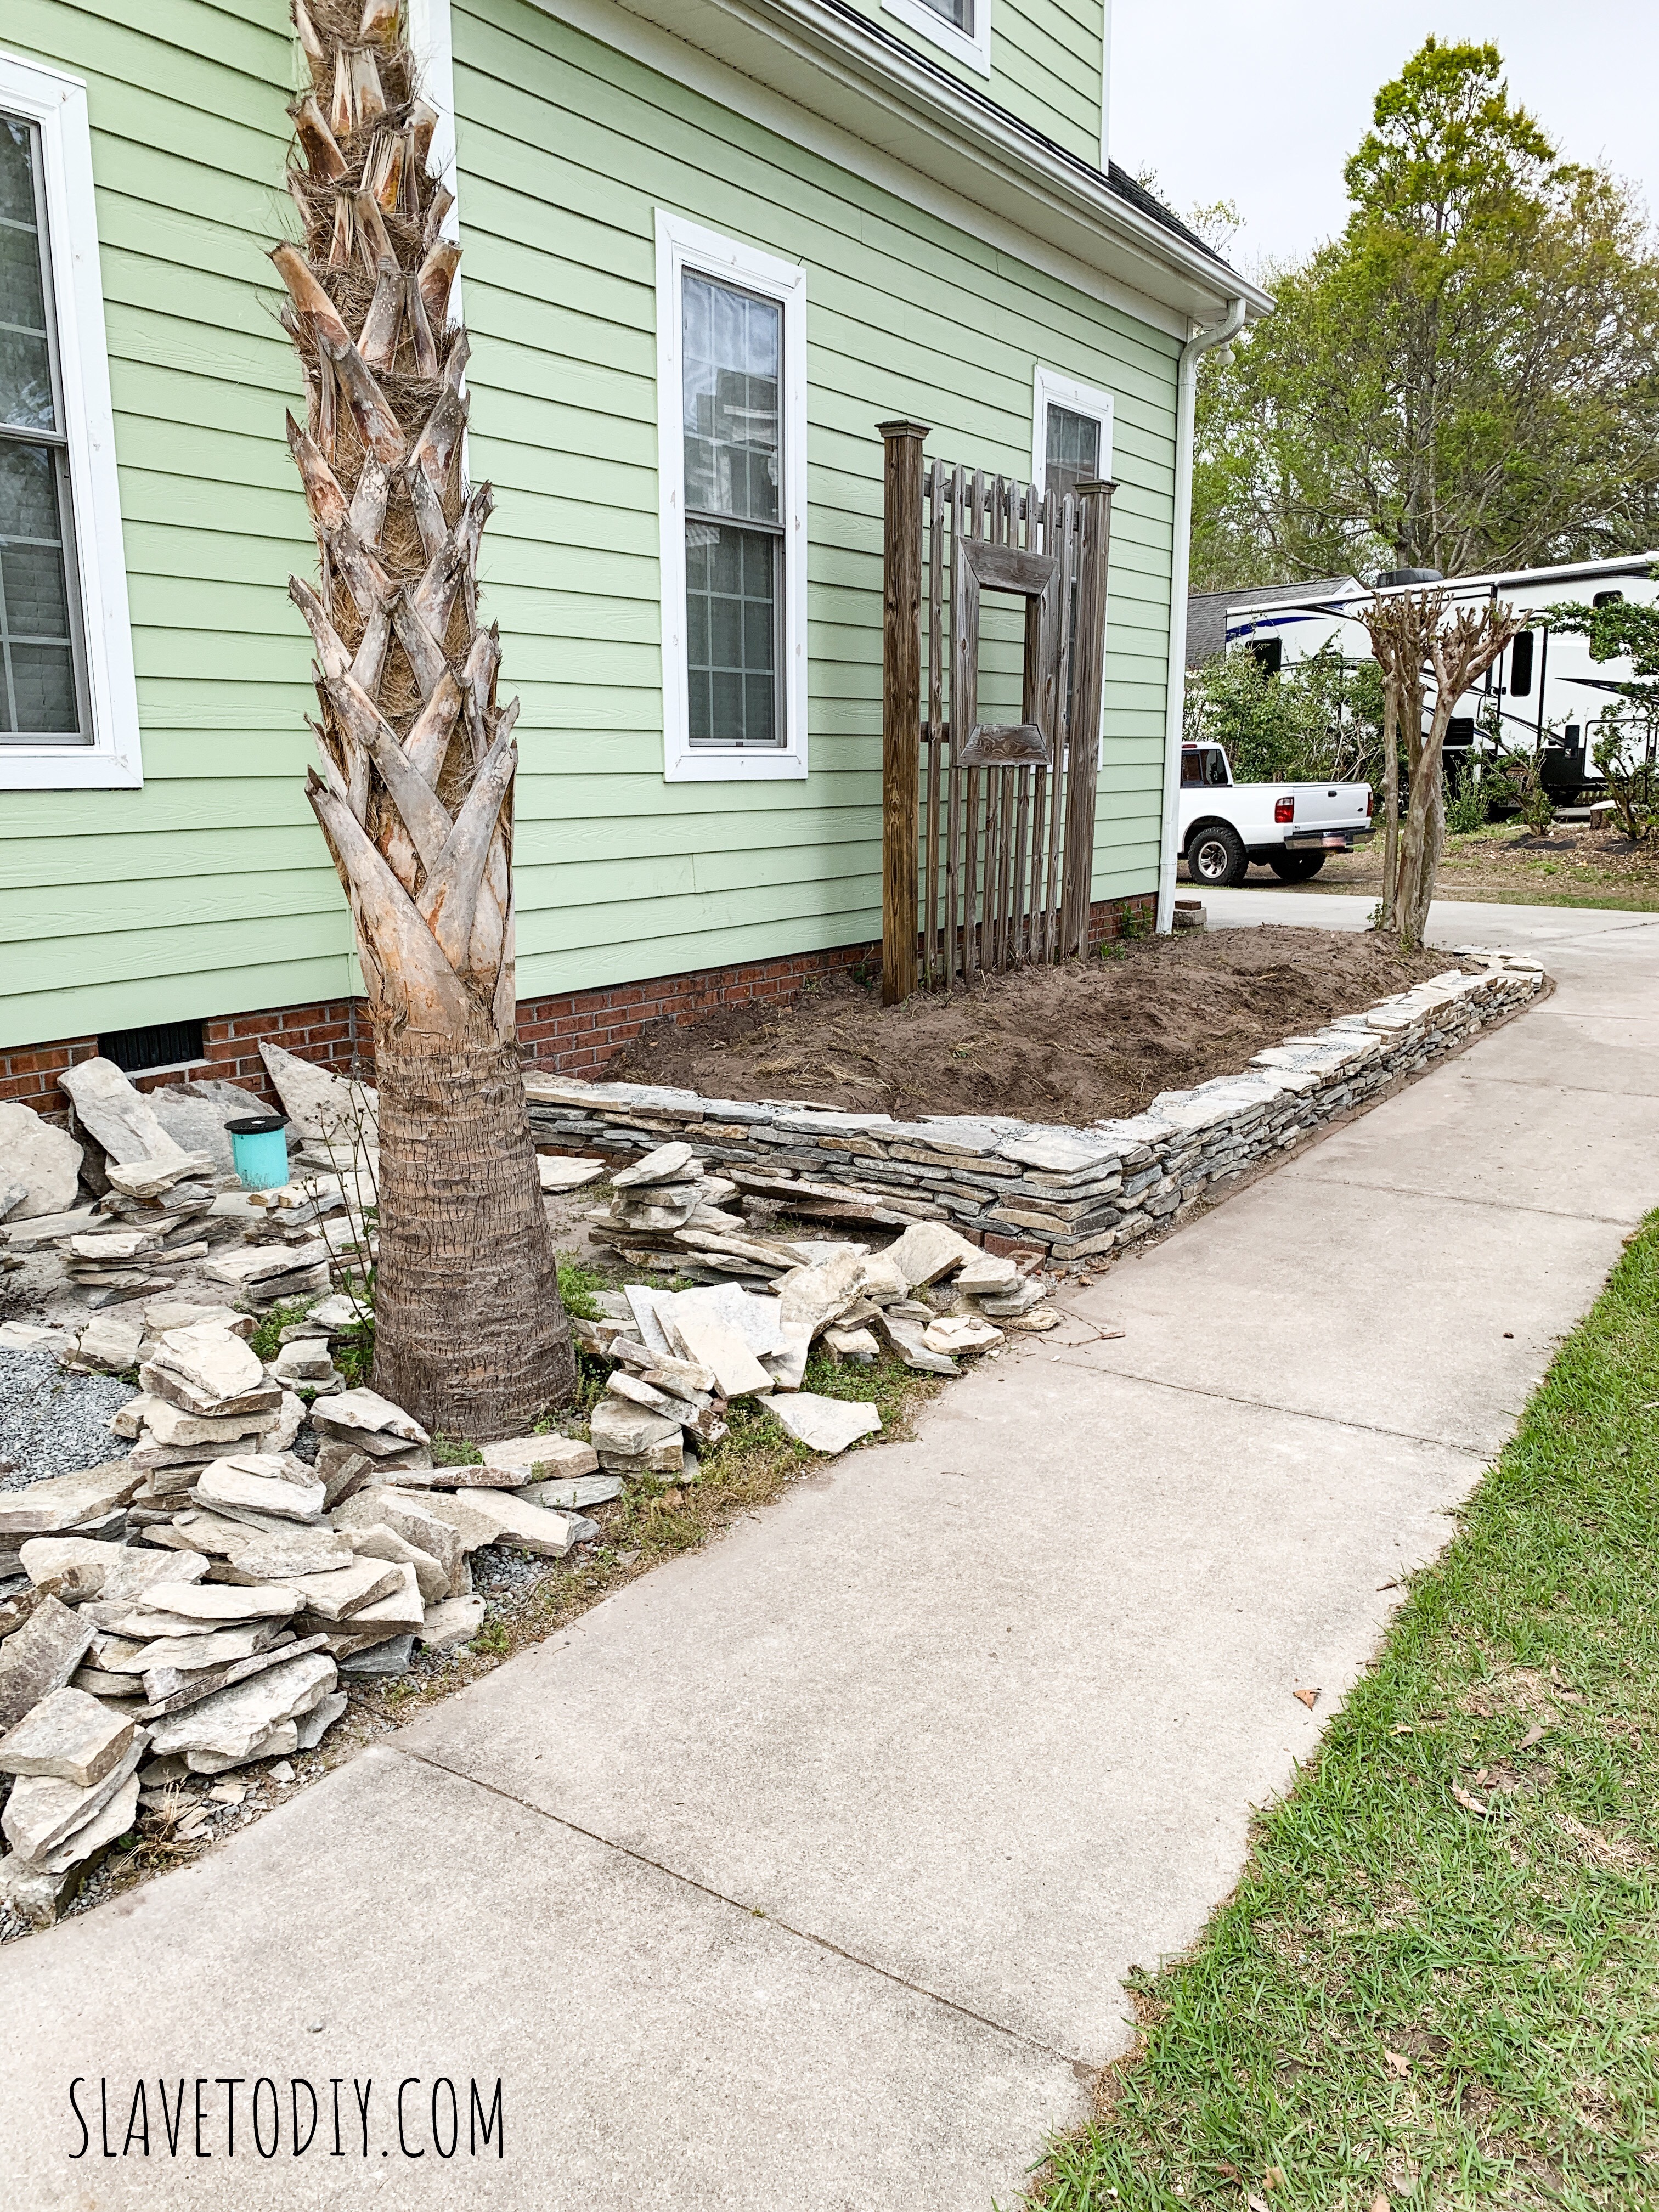
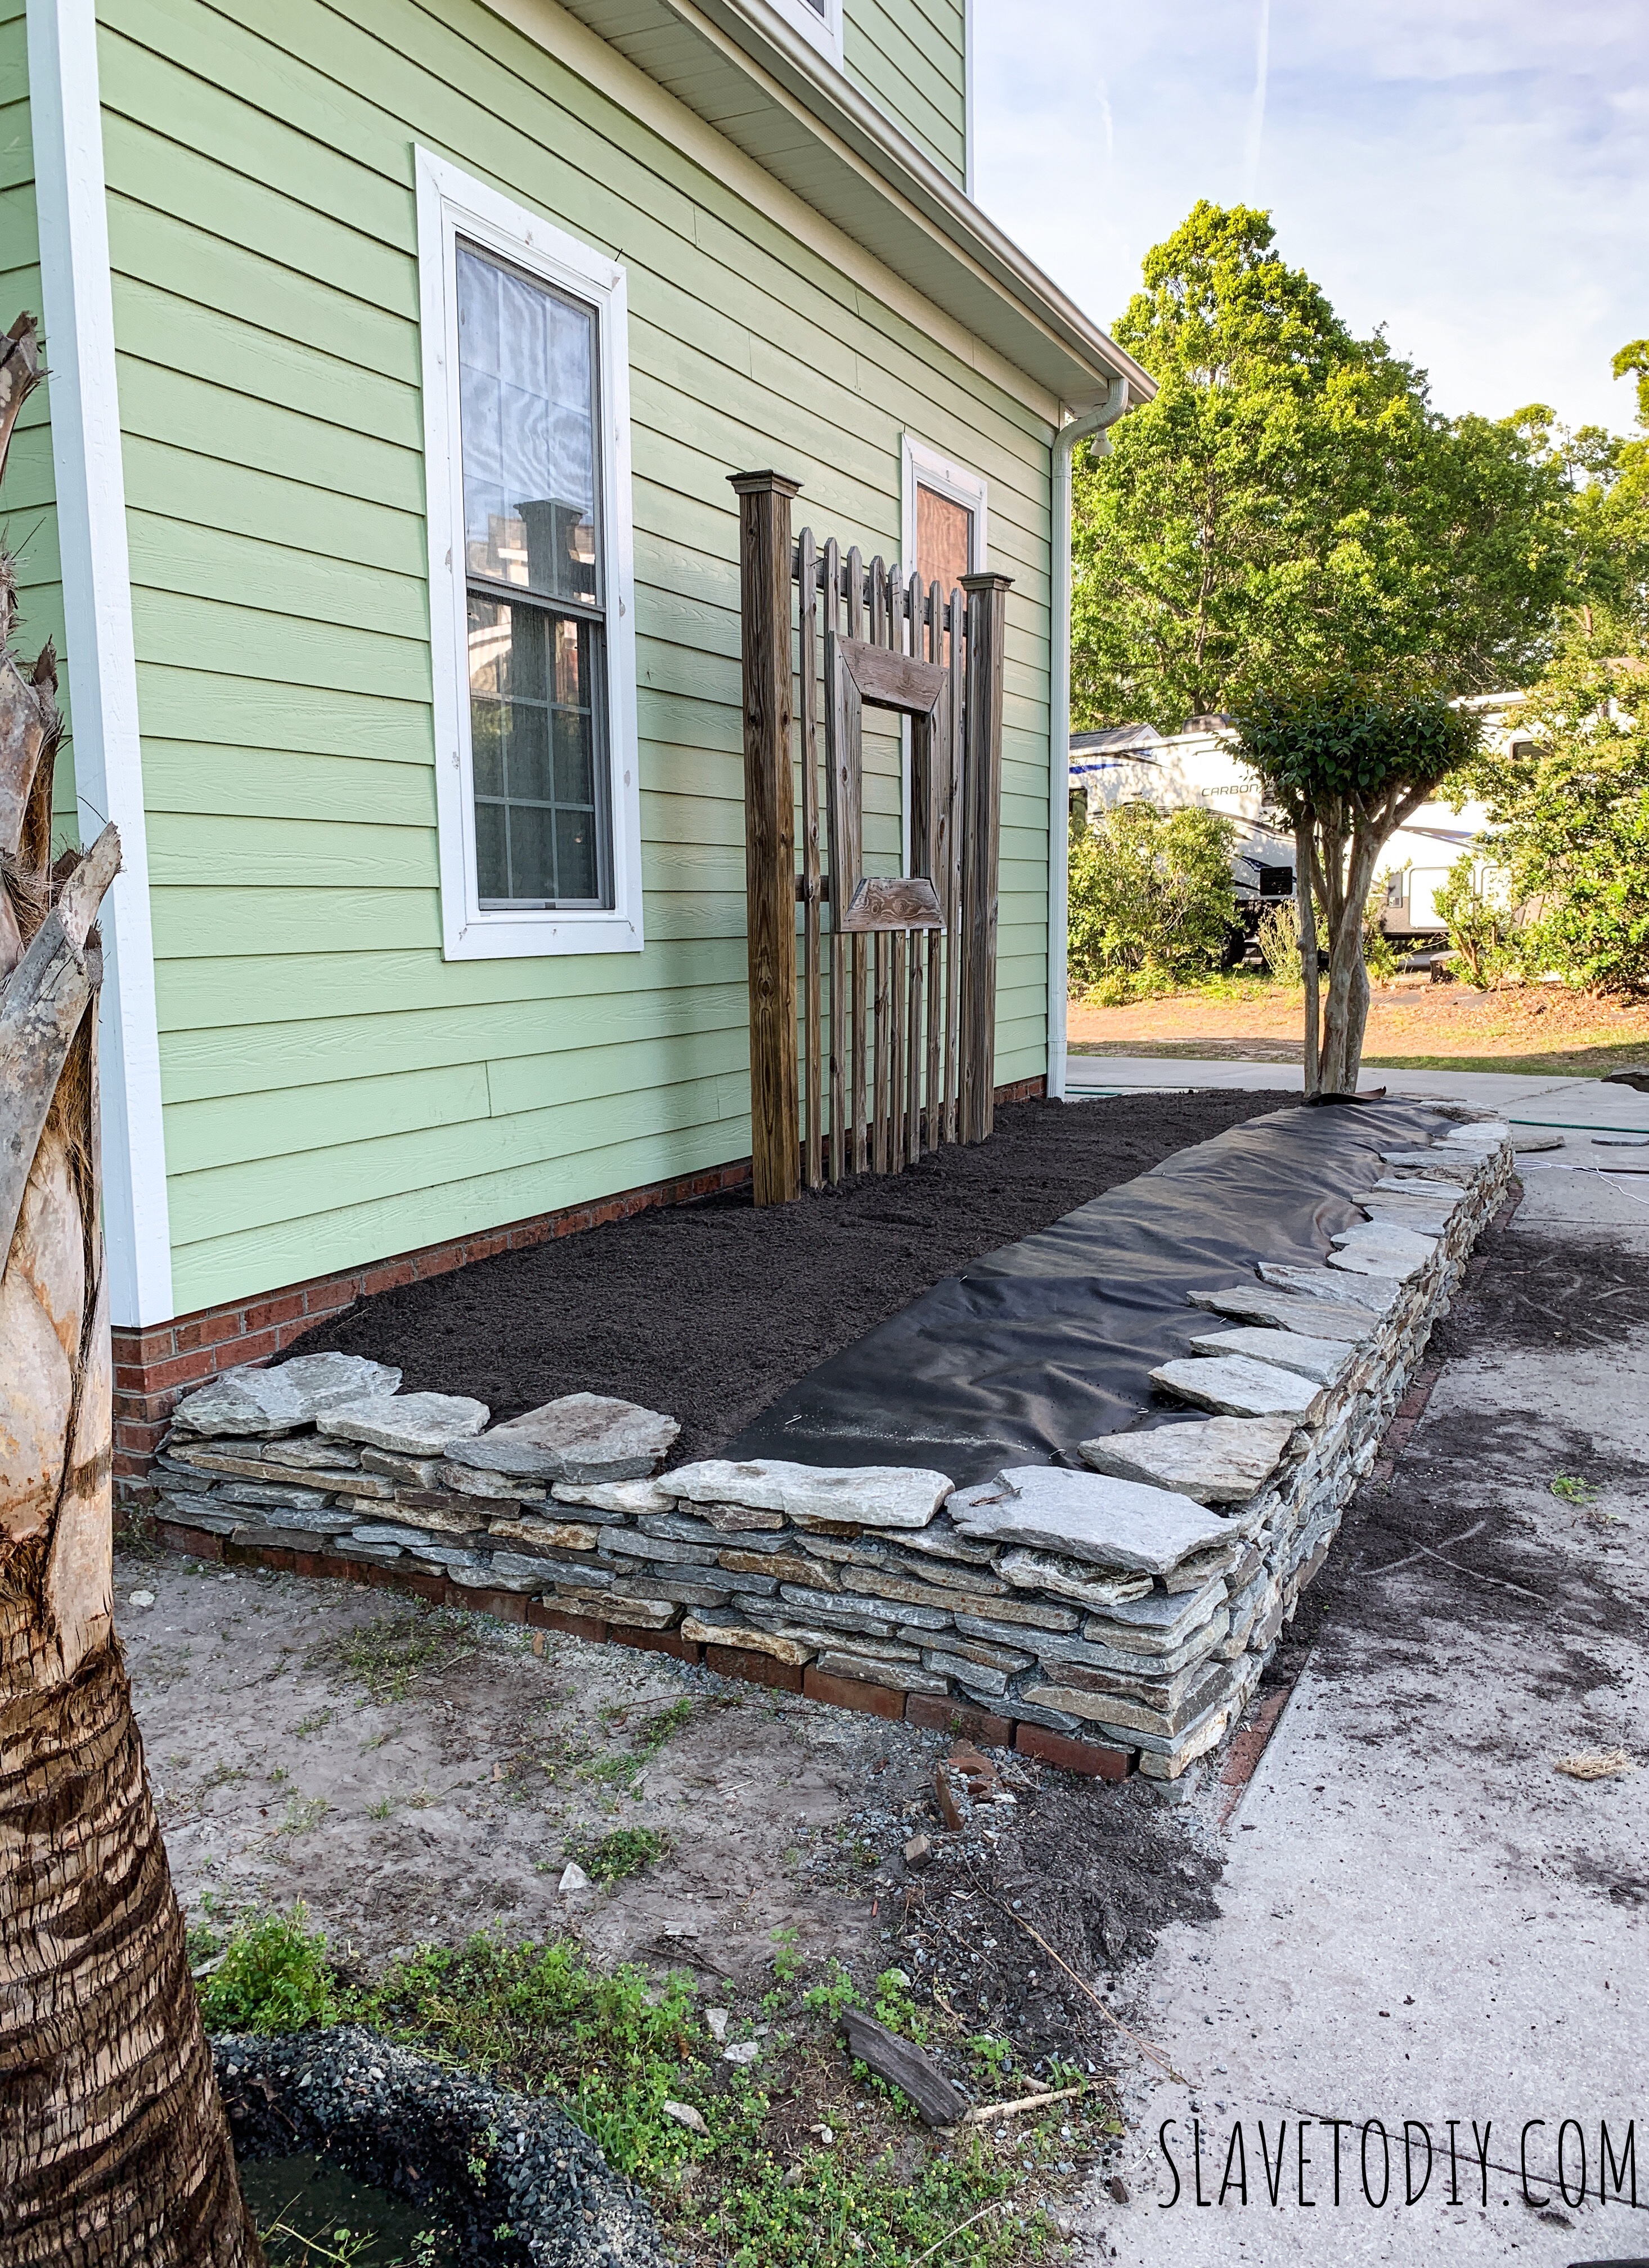
So, this is what that “garden” looked like before I finally insisted Rainman go buy me some rocks (like we didn’t already have enough on our plates).  We had already cleared for the future patio and had deposited excess dirt into it, piled up around the bushes, with the bonus of random pavers that braced Christmas lights.  Just beautiful.  Sigh.

638dbc3e-57ec-4285-91b0-fb9467c6cd9e
Before.  Awful, unfinished landscaping project.

Ugh.  It’s really bad.  Please look away.

View from the porch of the bad garden.

The sand-base is the home of the future brick patio.  This is another “before” photo.  So, I’m not going to go into the project as exhaustively as I did on the last one, this is sort of an abbreviated photo tutorial.  For detailed instructions (totally the same process!) check out A Classic Stacked Stone Garden Wall, Phase One and Classic Stacked Stone Garden, Phase Two.  As for this guy, here goes.

Base layer for dry stacked stone garden with gravel and stone.

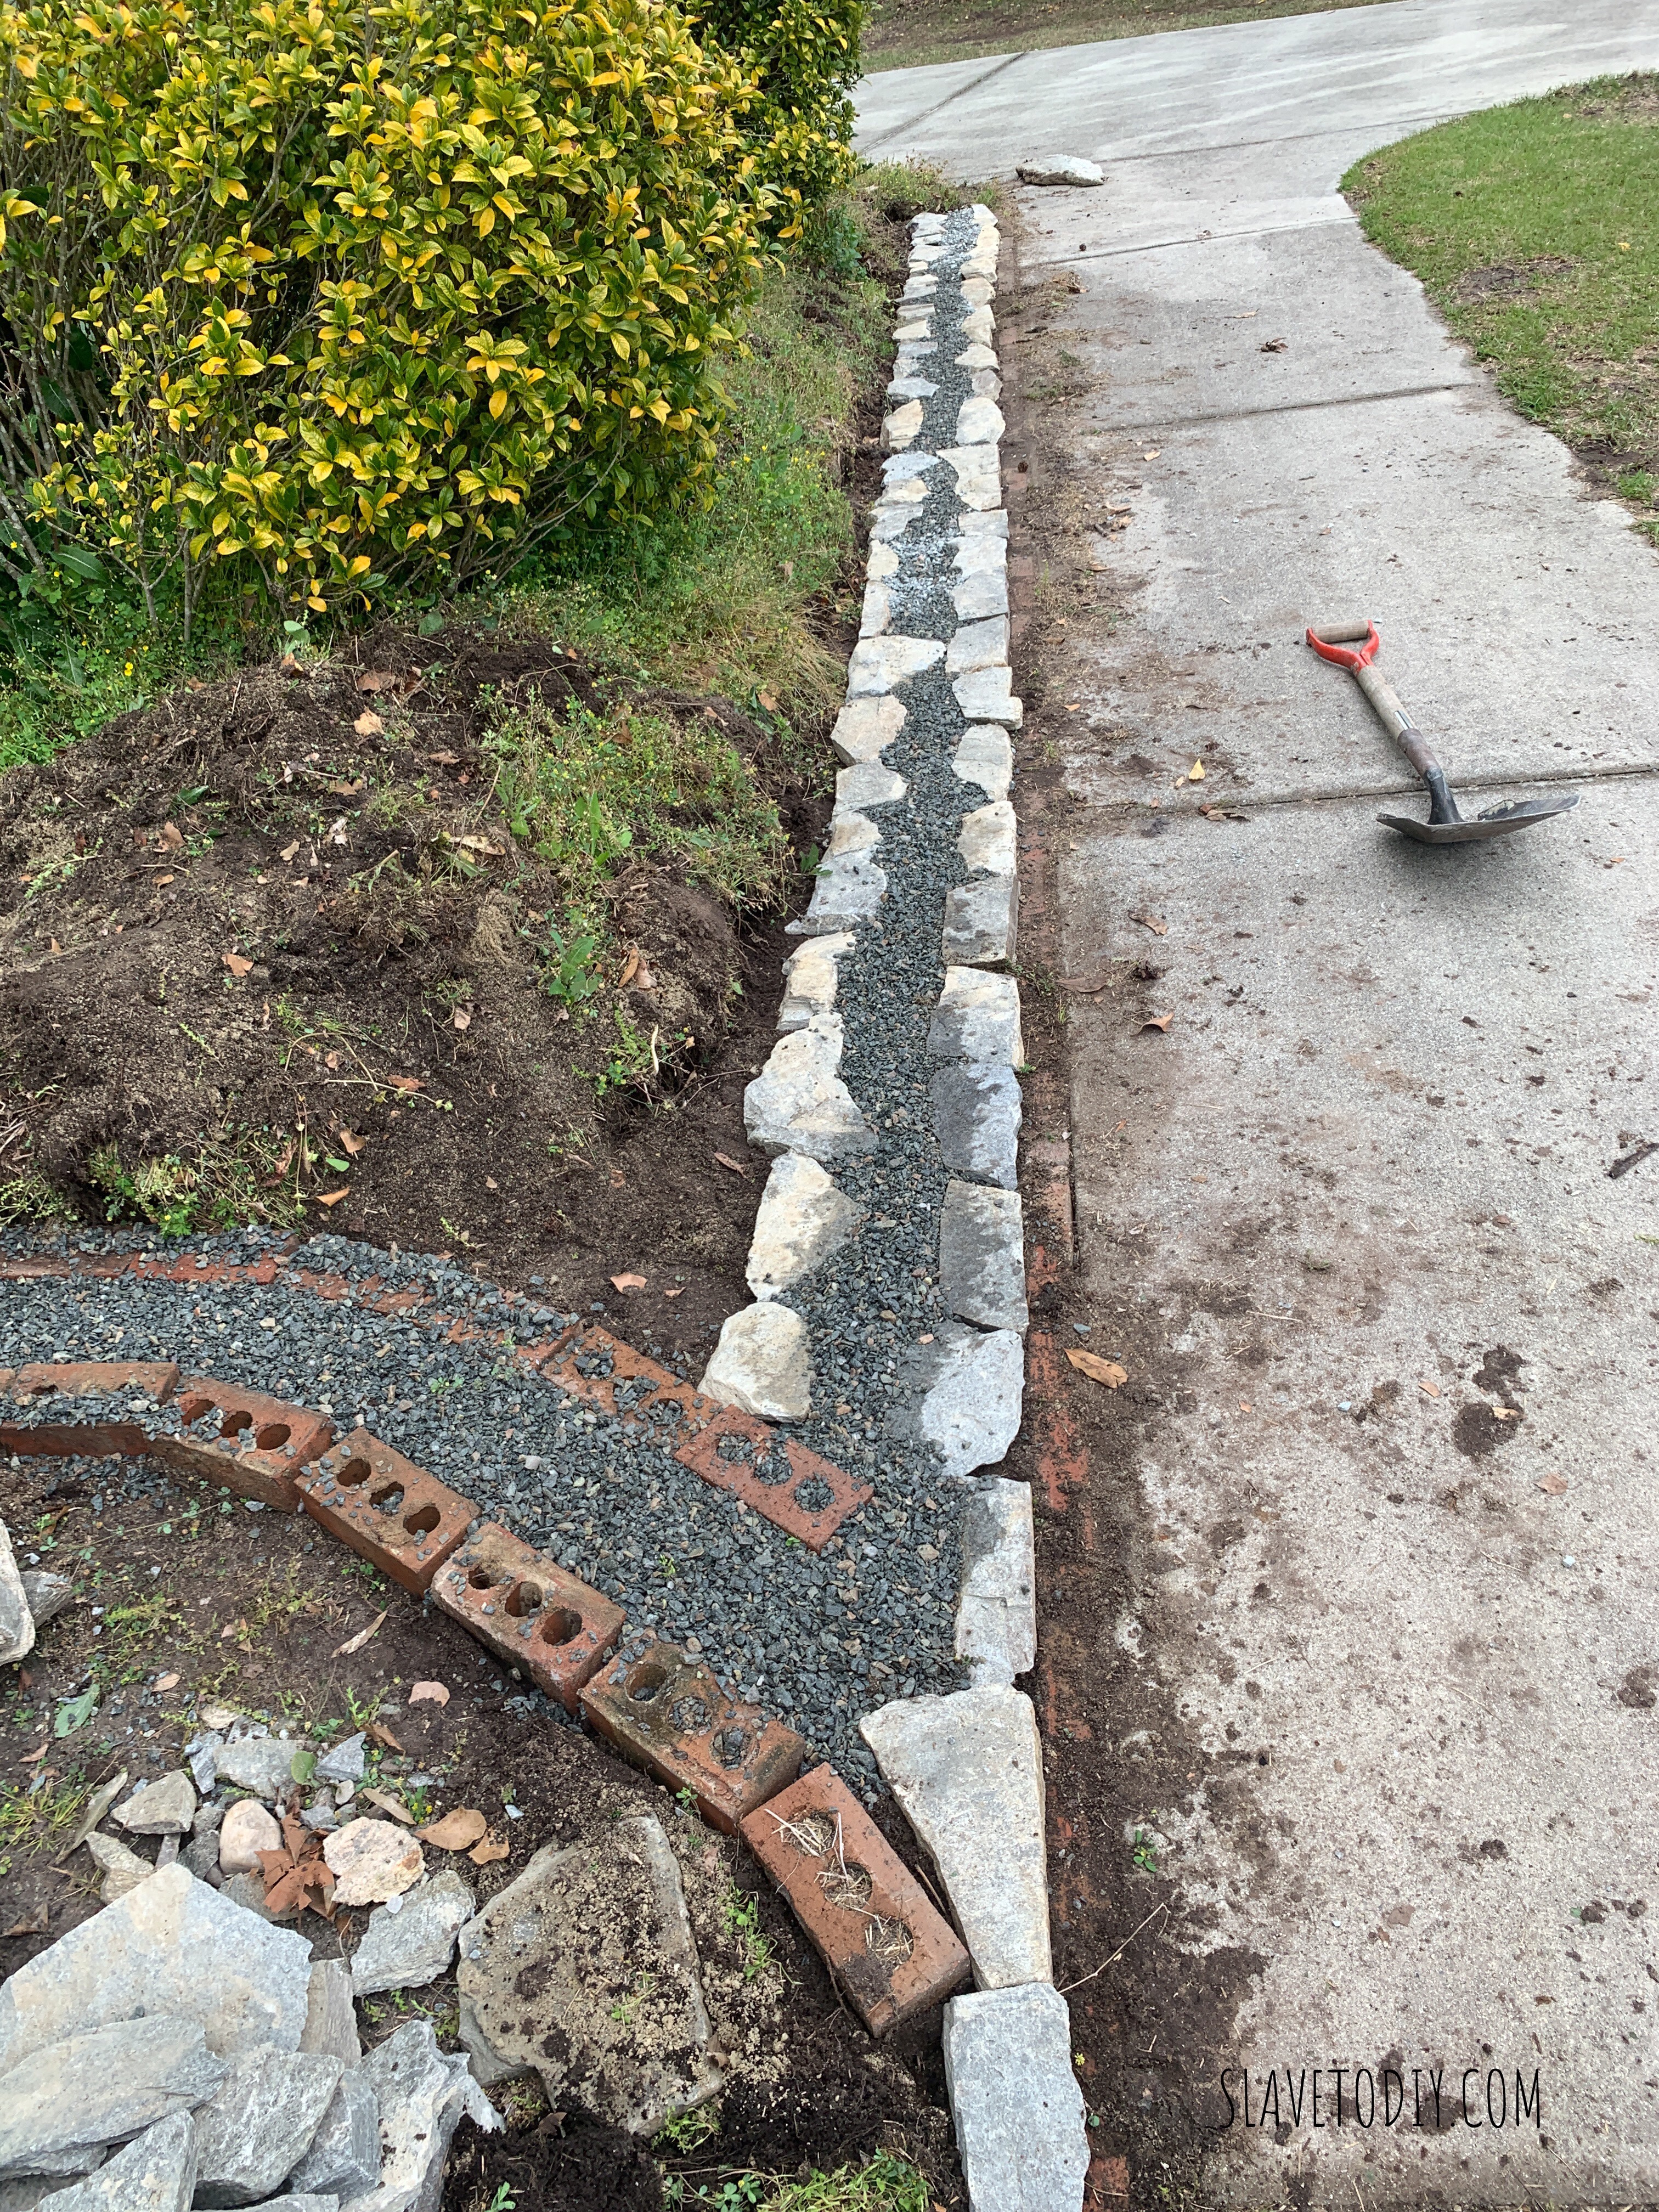
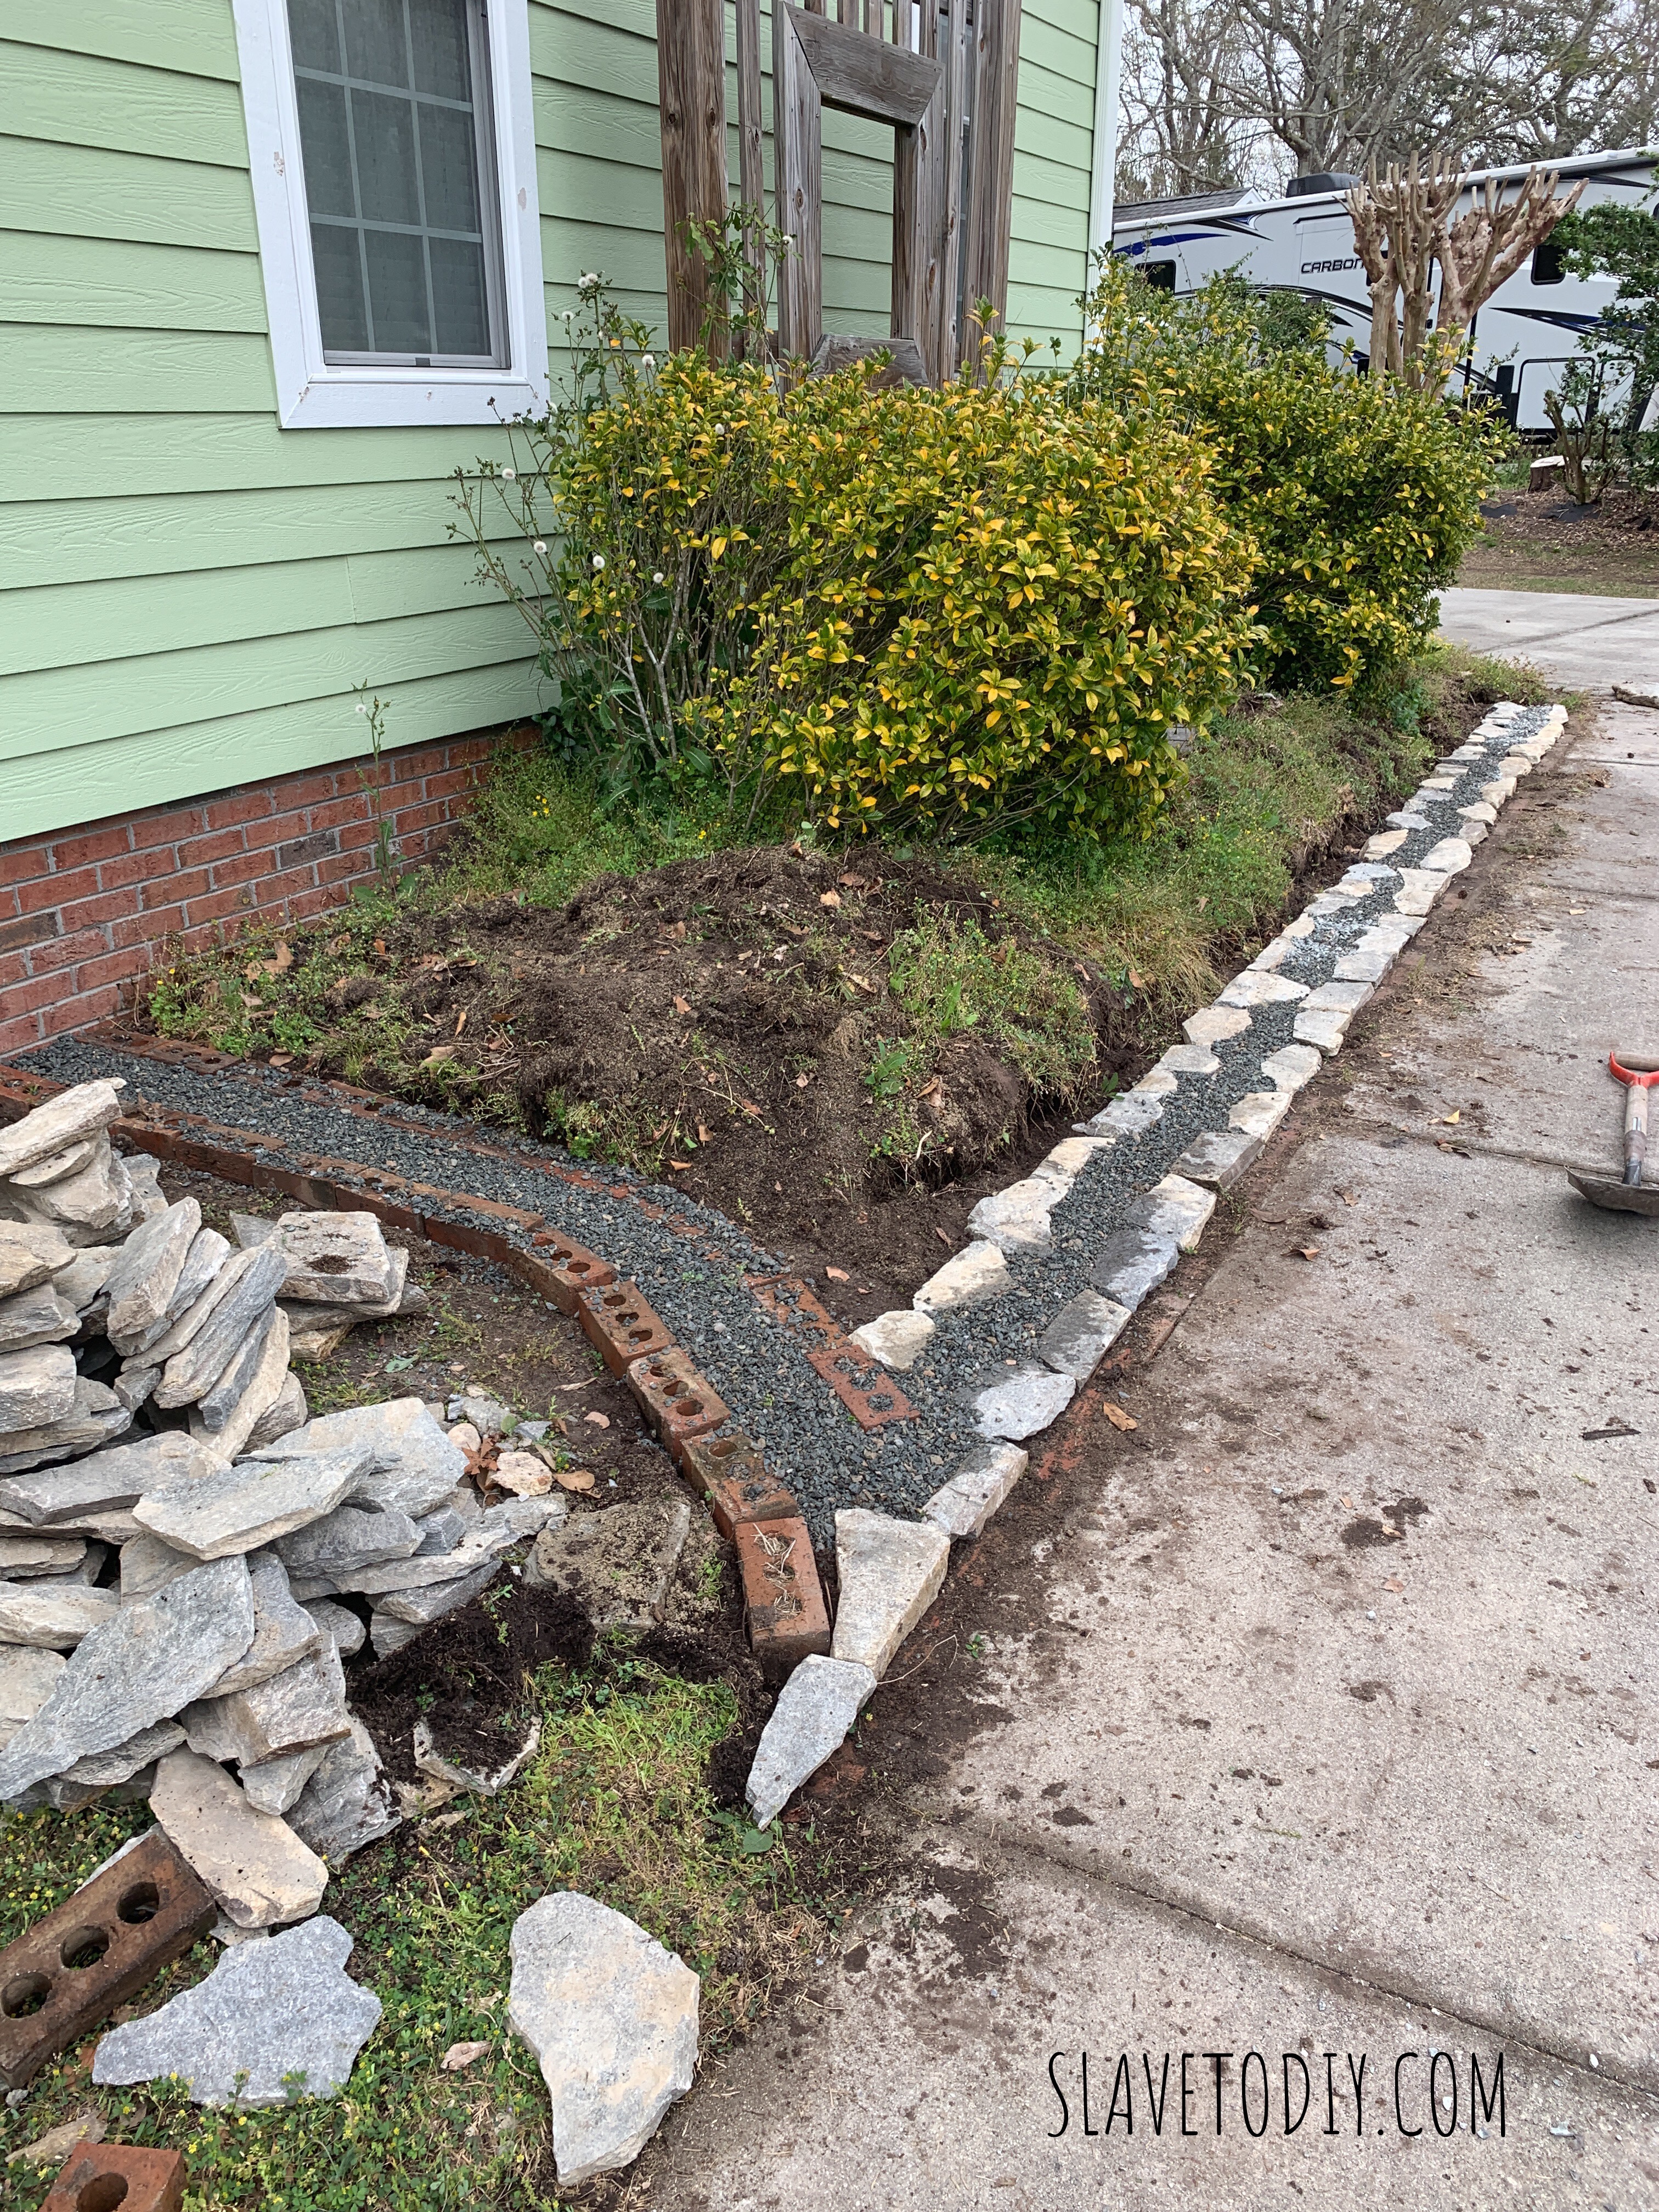
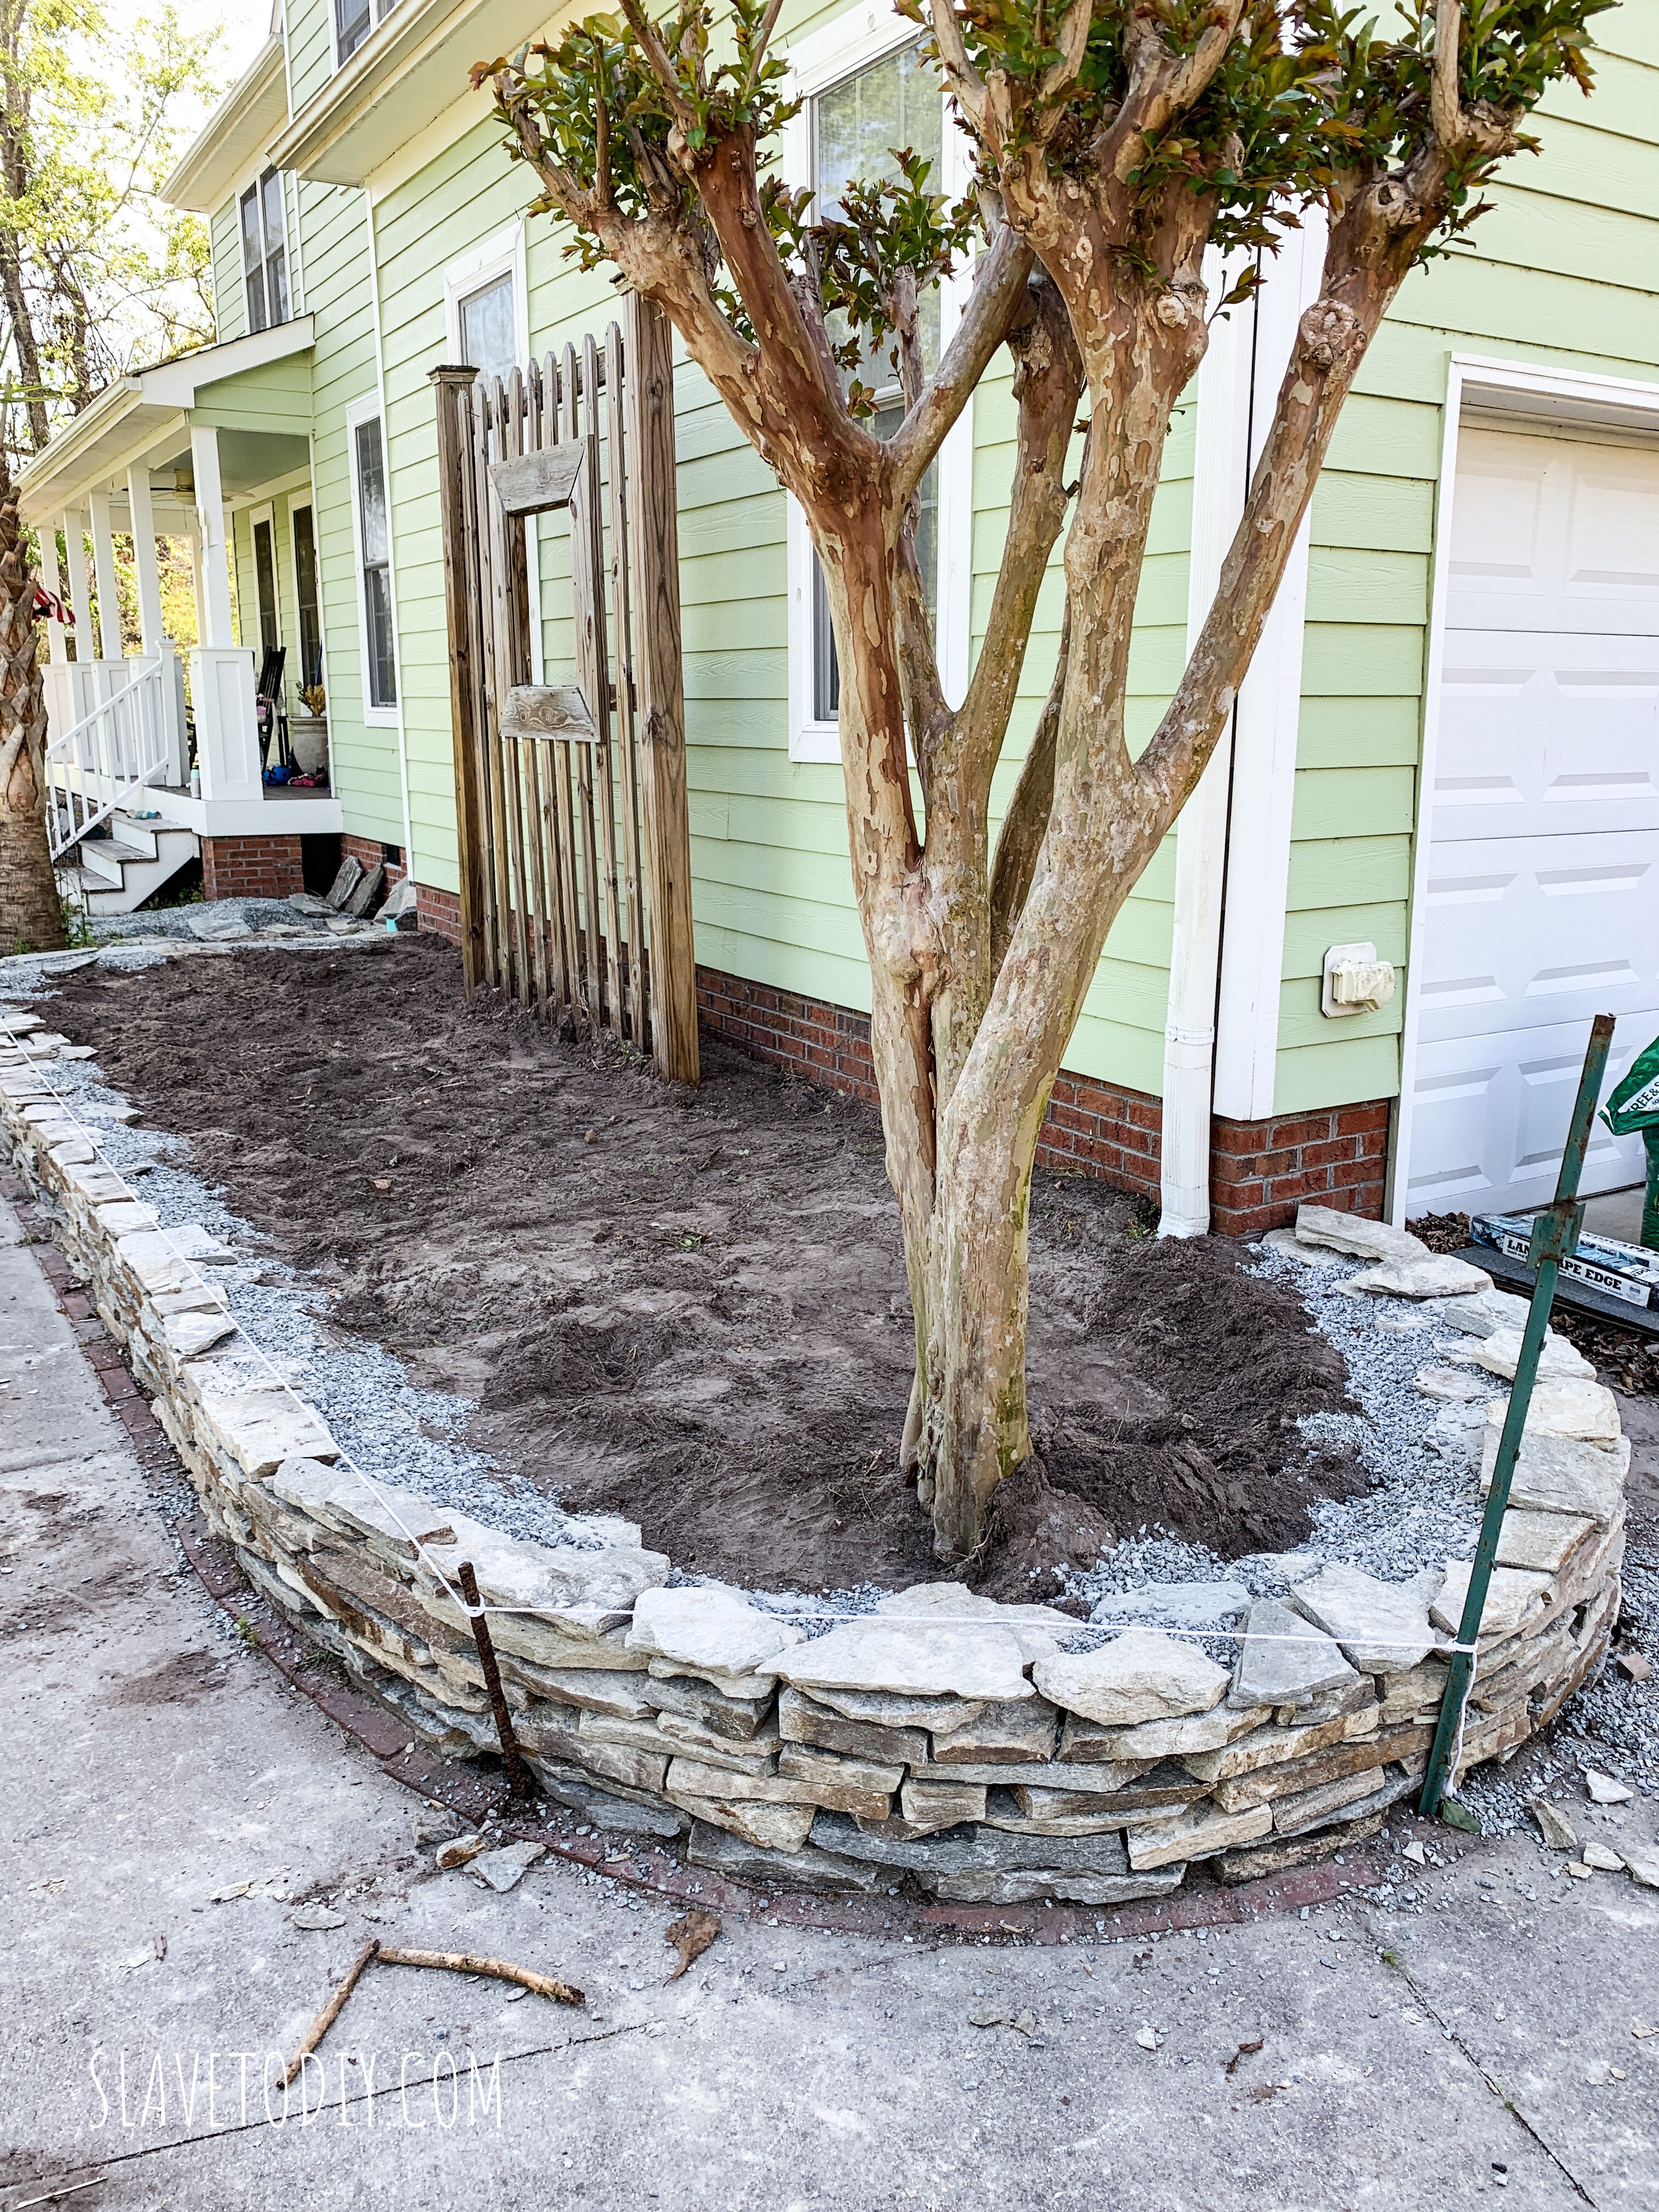
First we did the base to make sure we had a stable foundation.  We mimicked the curve coming off the steps so the future patio will be the right shape.  We used the bricks since that side will be higher (a step up to the brick patio) and that way we didn’t waste any stone.

Another shot of the base layer in on the dry stacked stone garden.

It didn’t occur to me at this point what was really bothering me.  But, I’ll get to that.

The curve around the Crepe Myrtle with stacked stone garden base

I really love this gentle curve around the end of the garden.  It’s a great shape.

Another shot of the rock base for the dry stack stone garden wall.

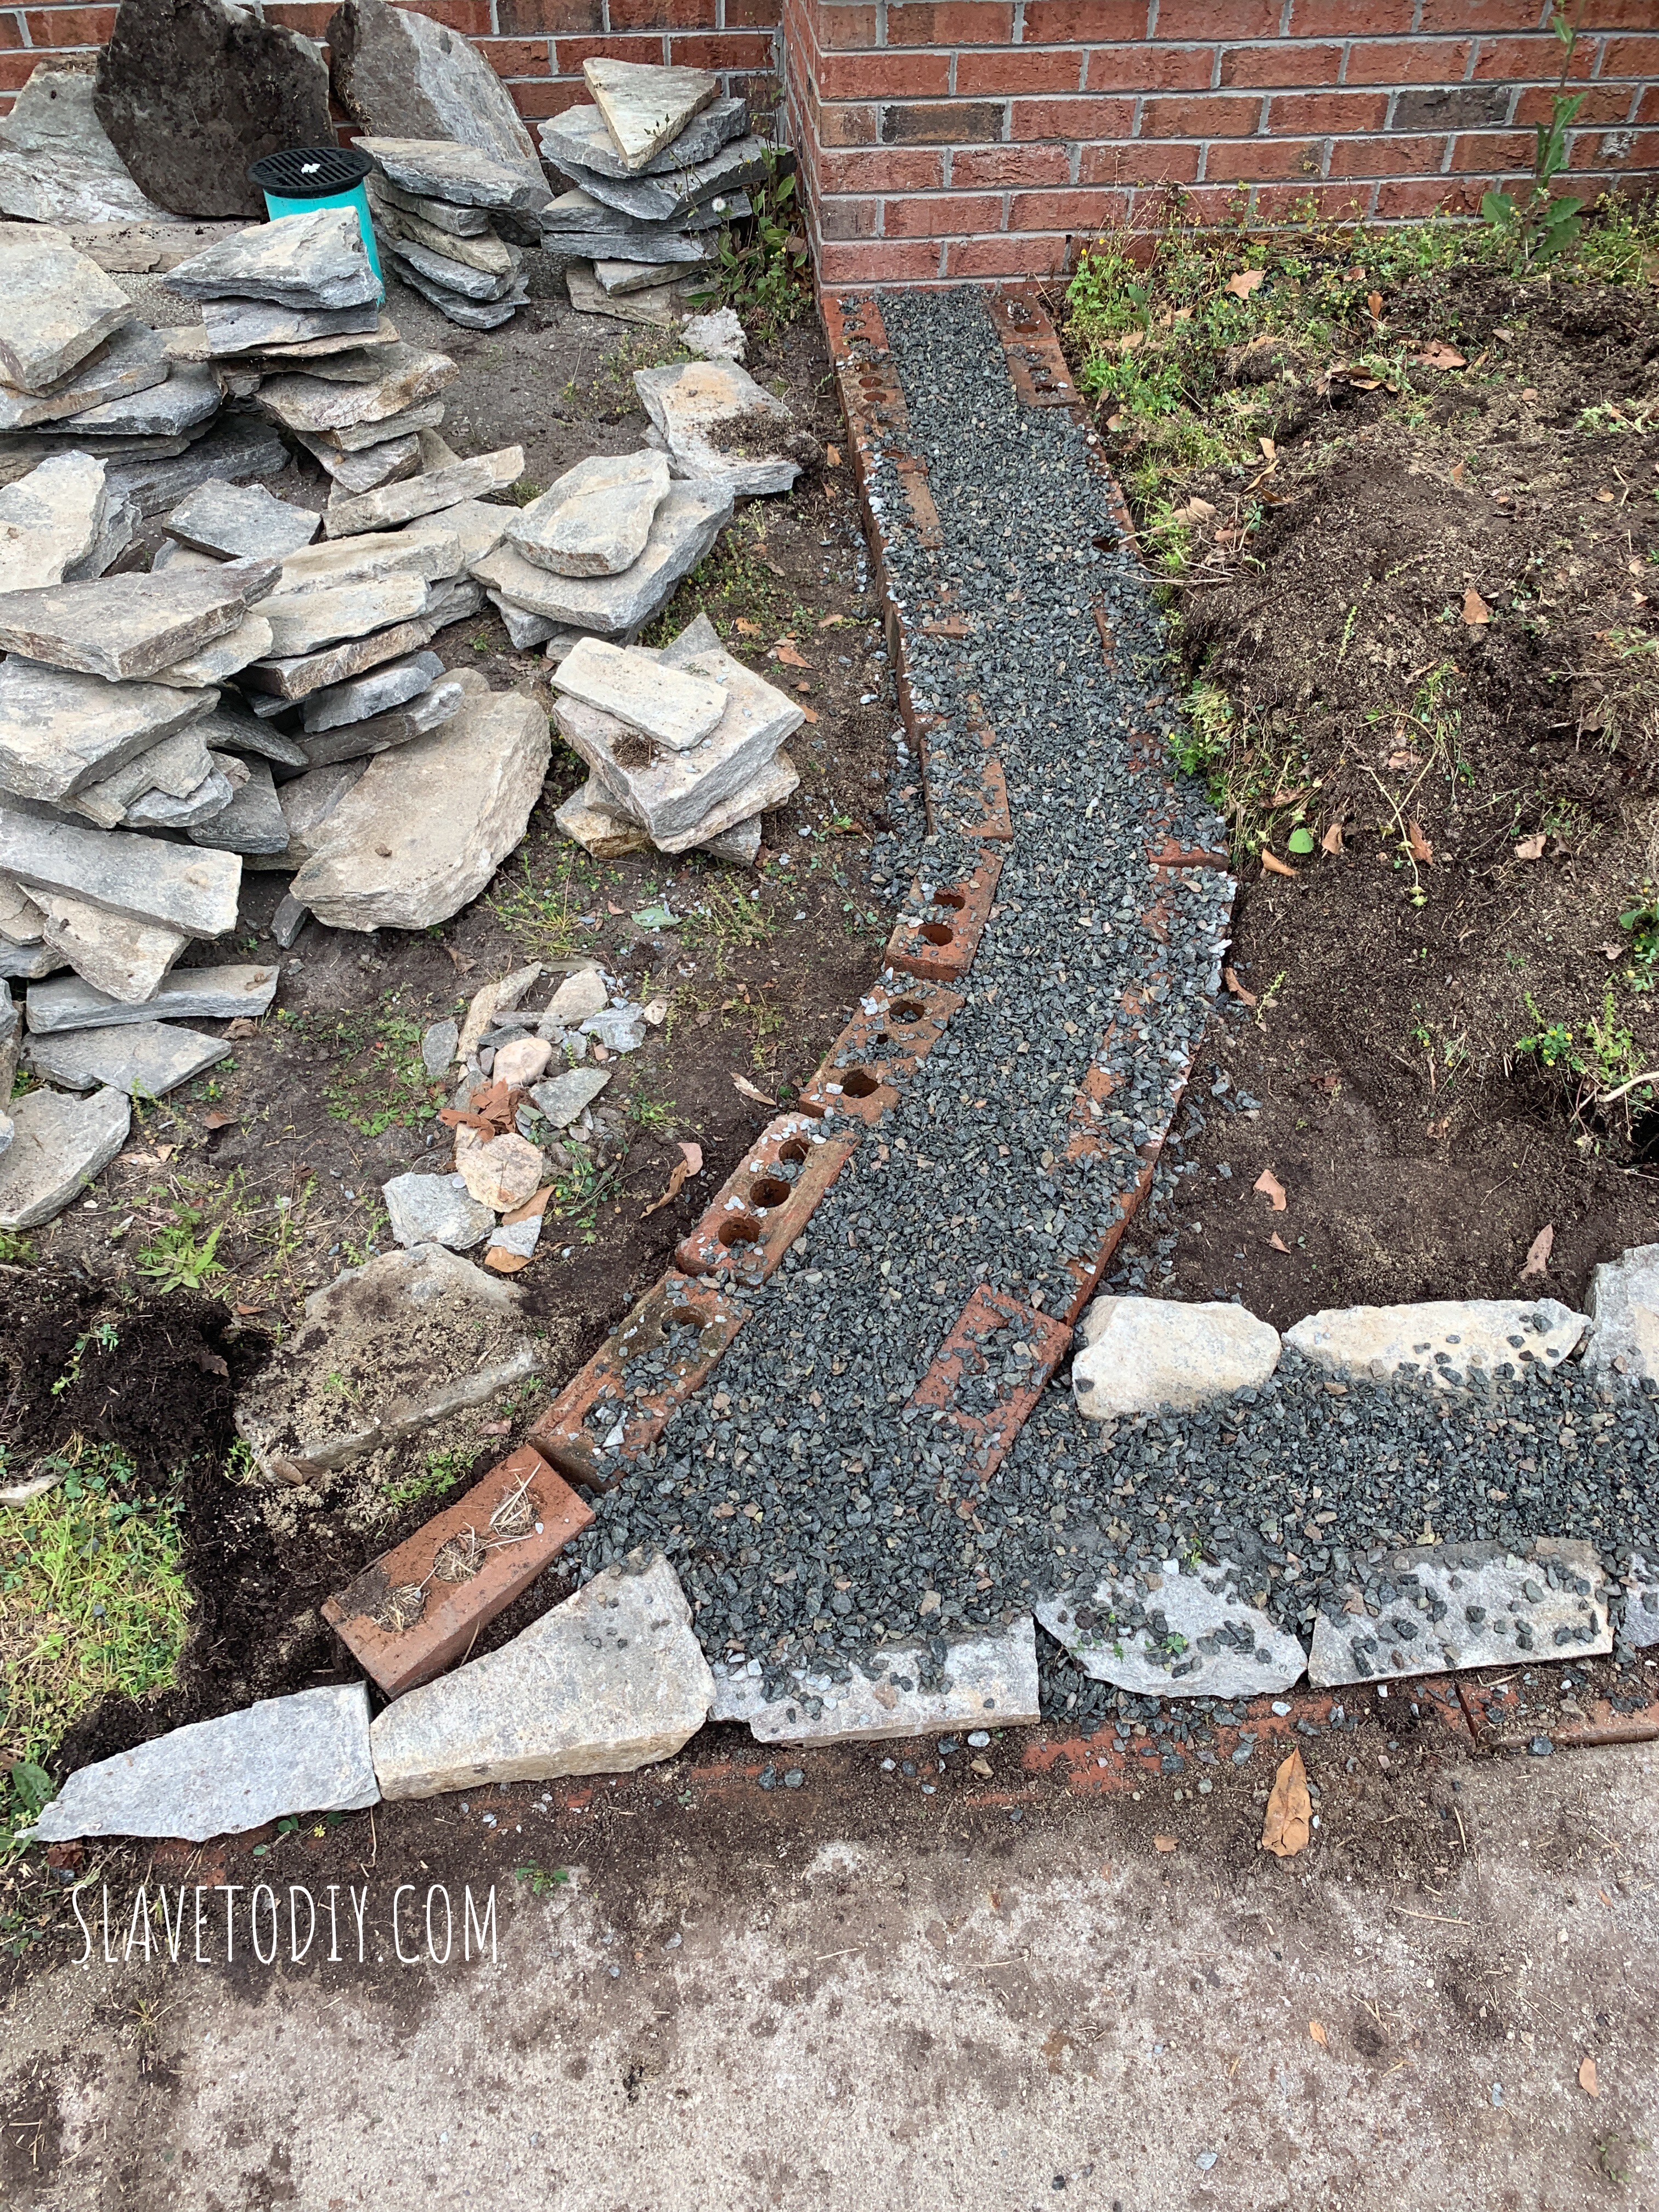
This shows how the base took shape.

Dry Stacked Stone Garden wall going in.

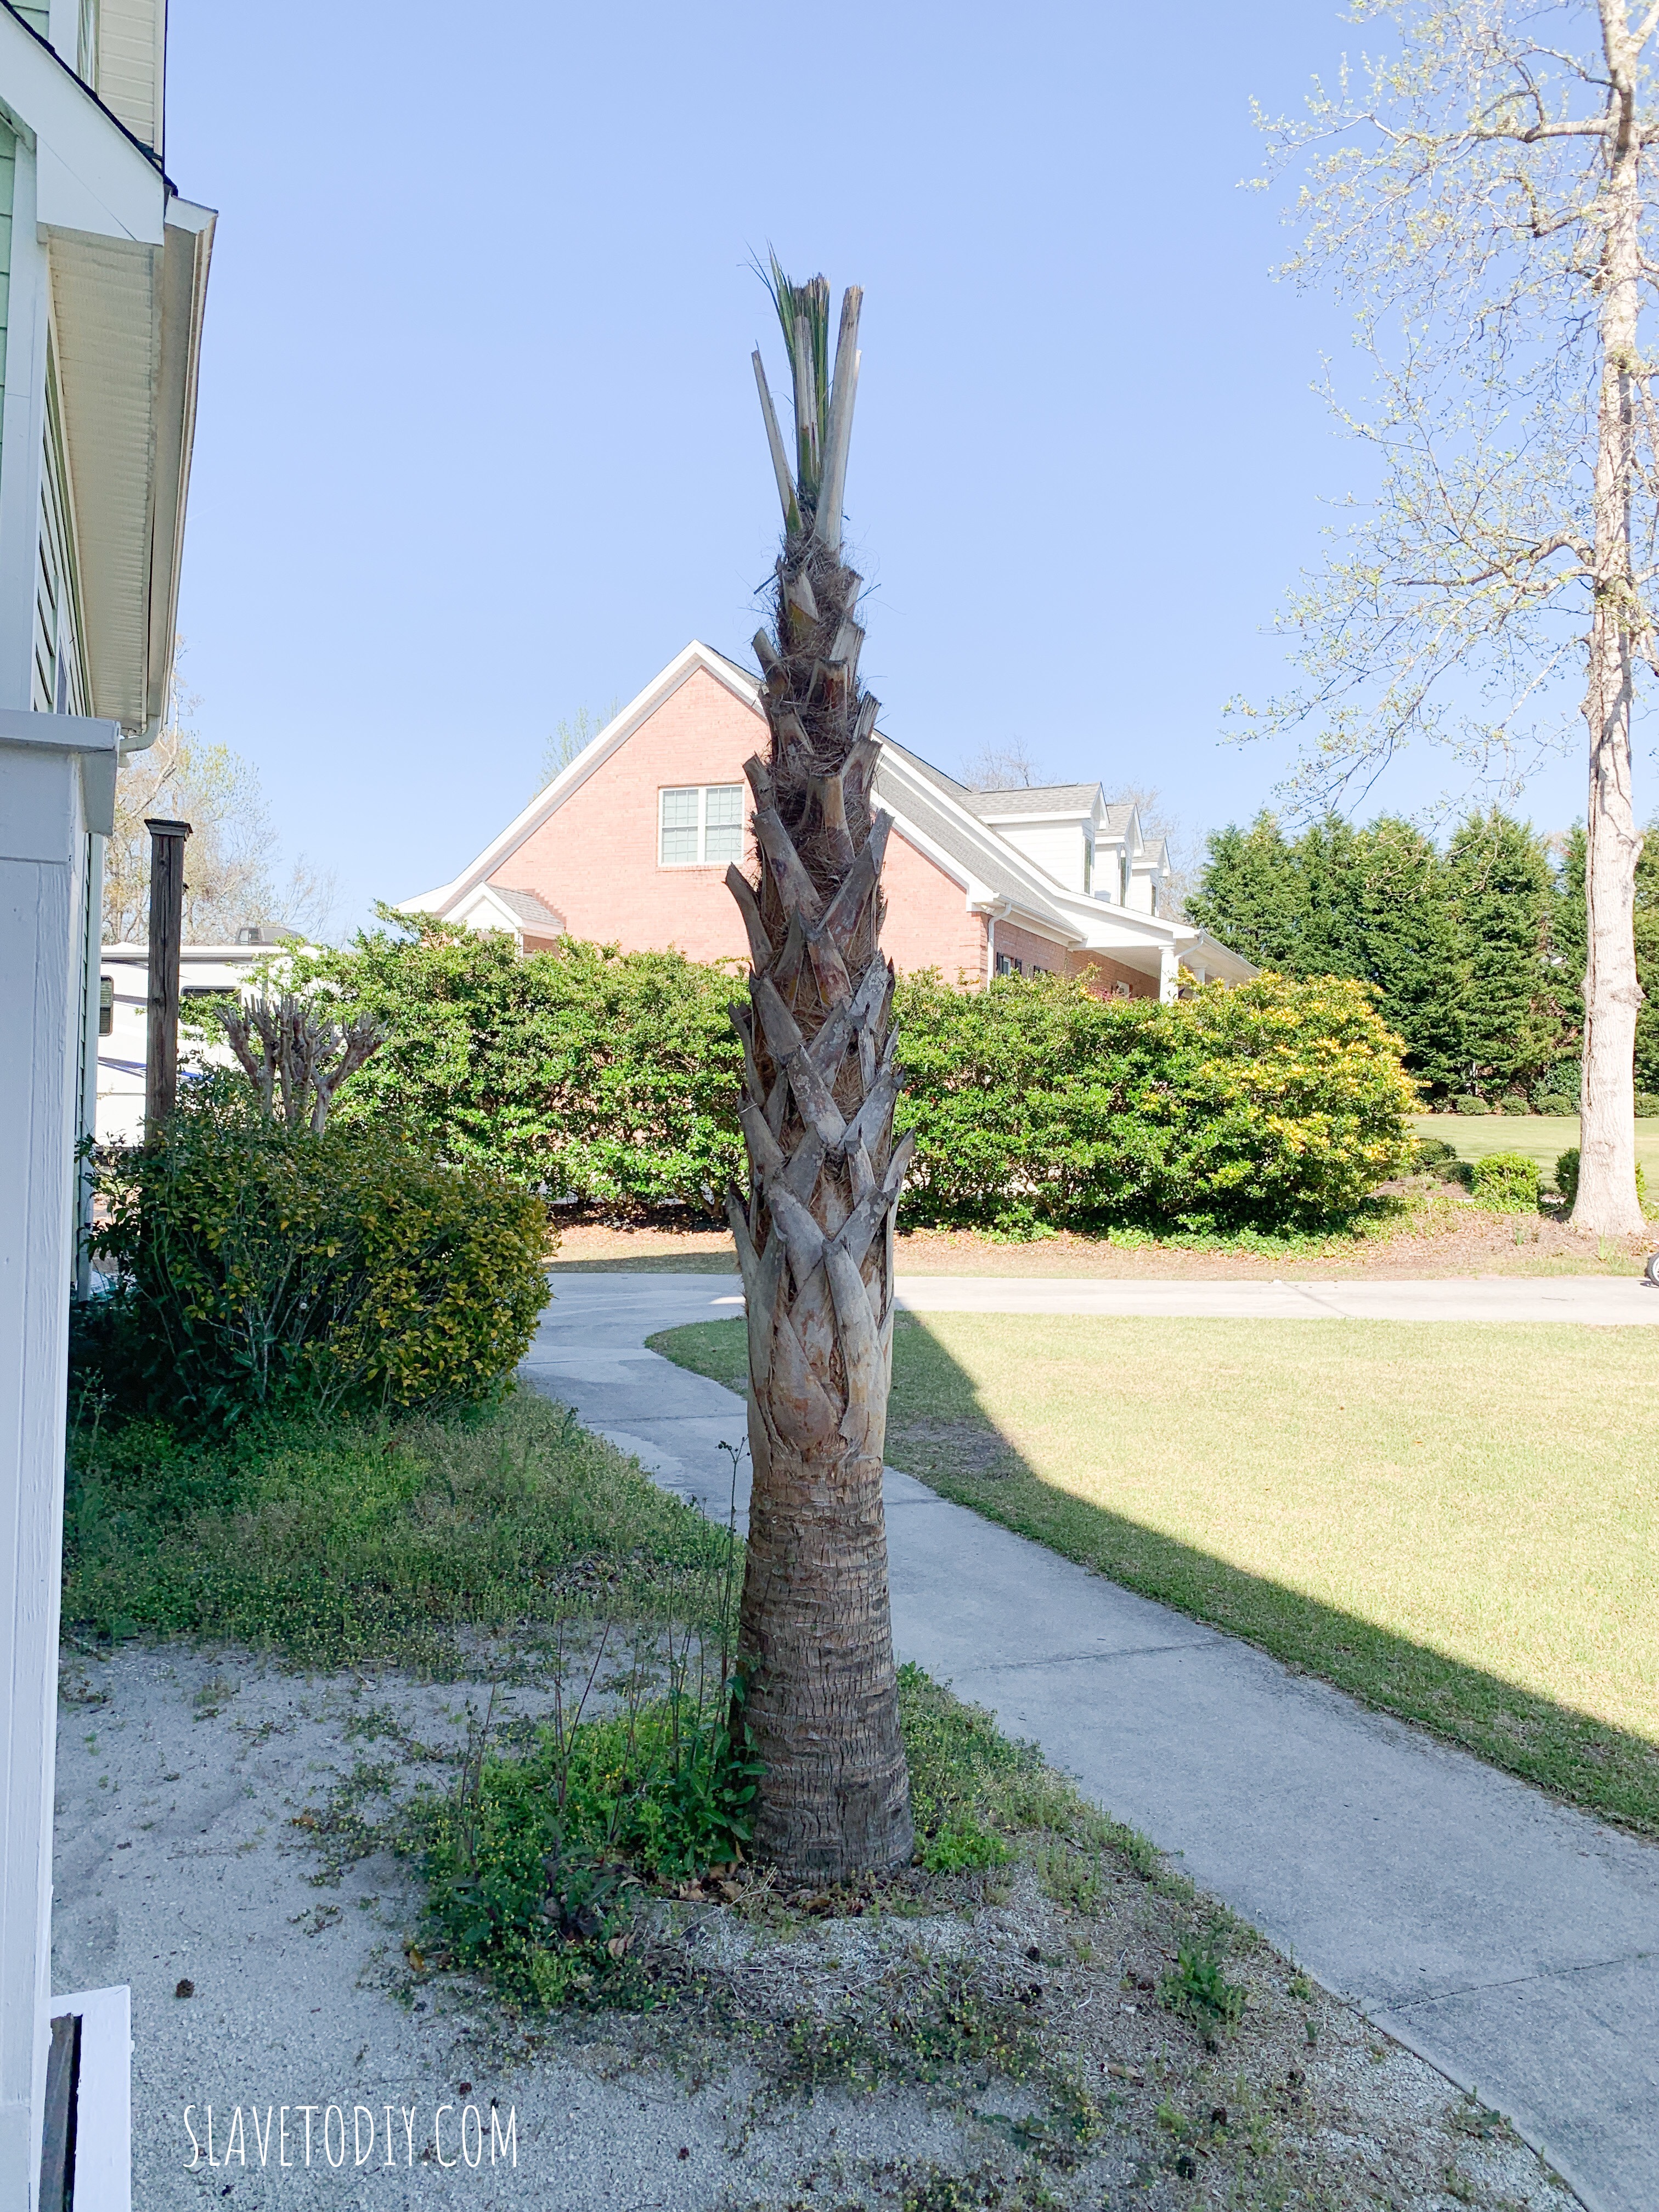
So, I was standing there looking at it: this future garden and Rainman asks me a simple question.  “You don’t like those bushes do you?”  And, of course, that was exactly what was bothering me.  It would’ve been WAY more simple if I had asked him to remove them BEFORE I began the wall installation, but he didn’t even fuss at me.

Dry Stacked Stone Garden wall taking shape.

So, the deal with the garden wall installations is that Rainman can’t help.  It’s sort of like playing tetris, except that the pieces aren’t the same and you have to be a little creative.  It’s an art, really.  So, he did what he could: he broke up the weeds and filled in gravel where I needed it.  He also lugged rocks of various sizes over to where I was working so that I could build faster.  He’s really very awesome, this Rainman of mine.

Leveling the dry stacked stone garden

When we get to this stage of the game, where final leveling is happening, his help, and his eye are essential.  I still don’t let him touch any rocks, but he gets me a line so we can get the wall ready for capstones.

Topsoil going in on the dry stacked stone garden

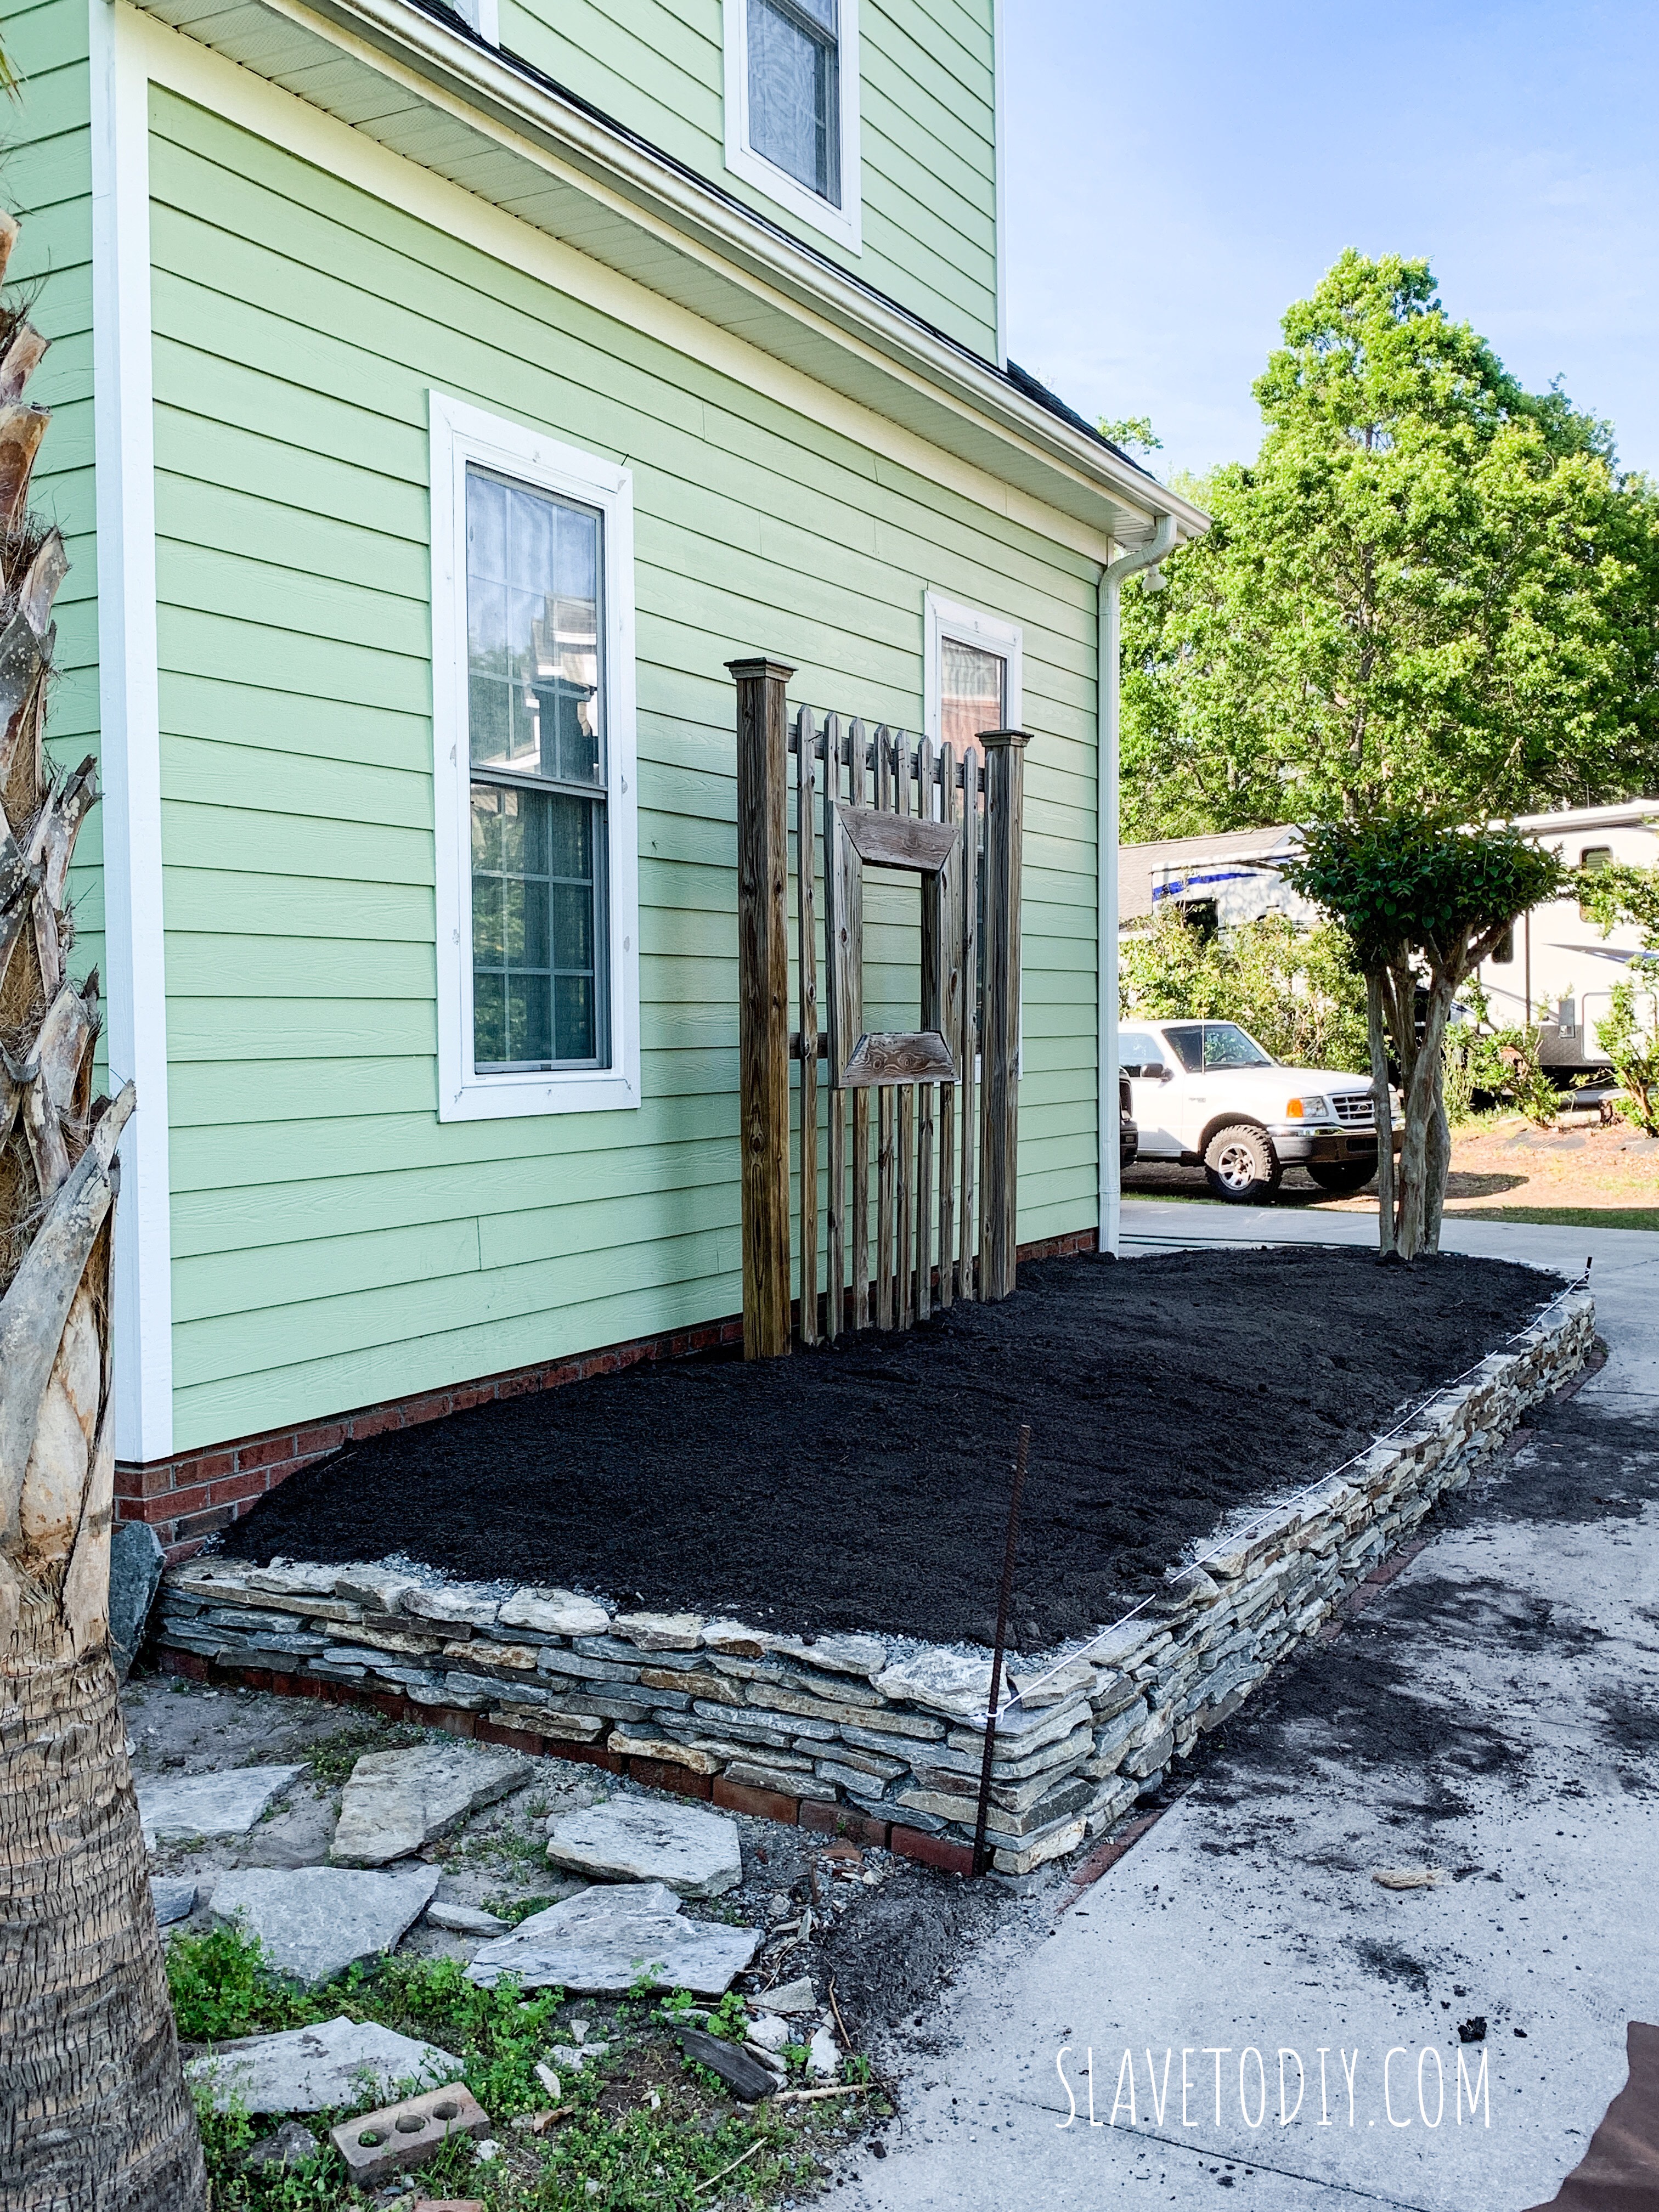
In order to get the garden ready for capstones and landscaping fabric I needed the rest of the topsoil in so I put the teenagers on duty, running back and forth to the topsoil and mulch place.

Getting dry stacked stone garden levelled and ready for landscaping fabric and mulch.

So, we finally got it mounded where I wanted it, and let it rest overnight with a good soaking rain so we were sure it was good and settled and the levels were where I wanted them.

Dry stacked stone garden with landscaping fabric and capstones going in.

Once the soil was in and mounded the way I wanted, we added landscaping fabric and capstones.  Don’t EVER skip the landscaping fabric.  You’ll be sorry you did.

Dry stacked stone garden complete with mulch and ready to plant!

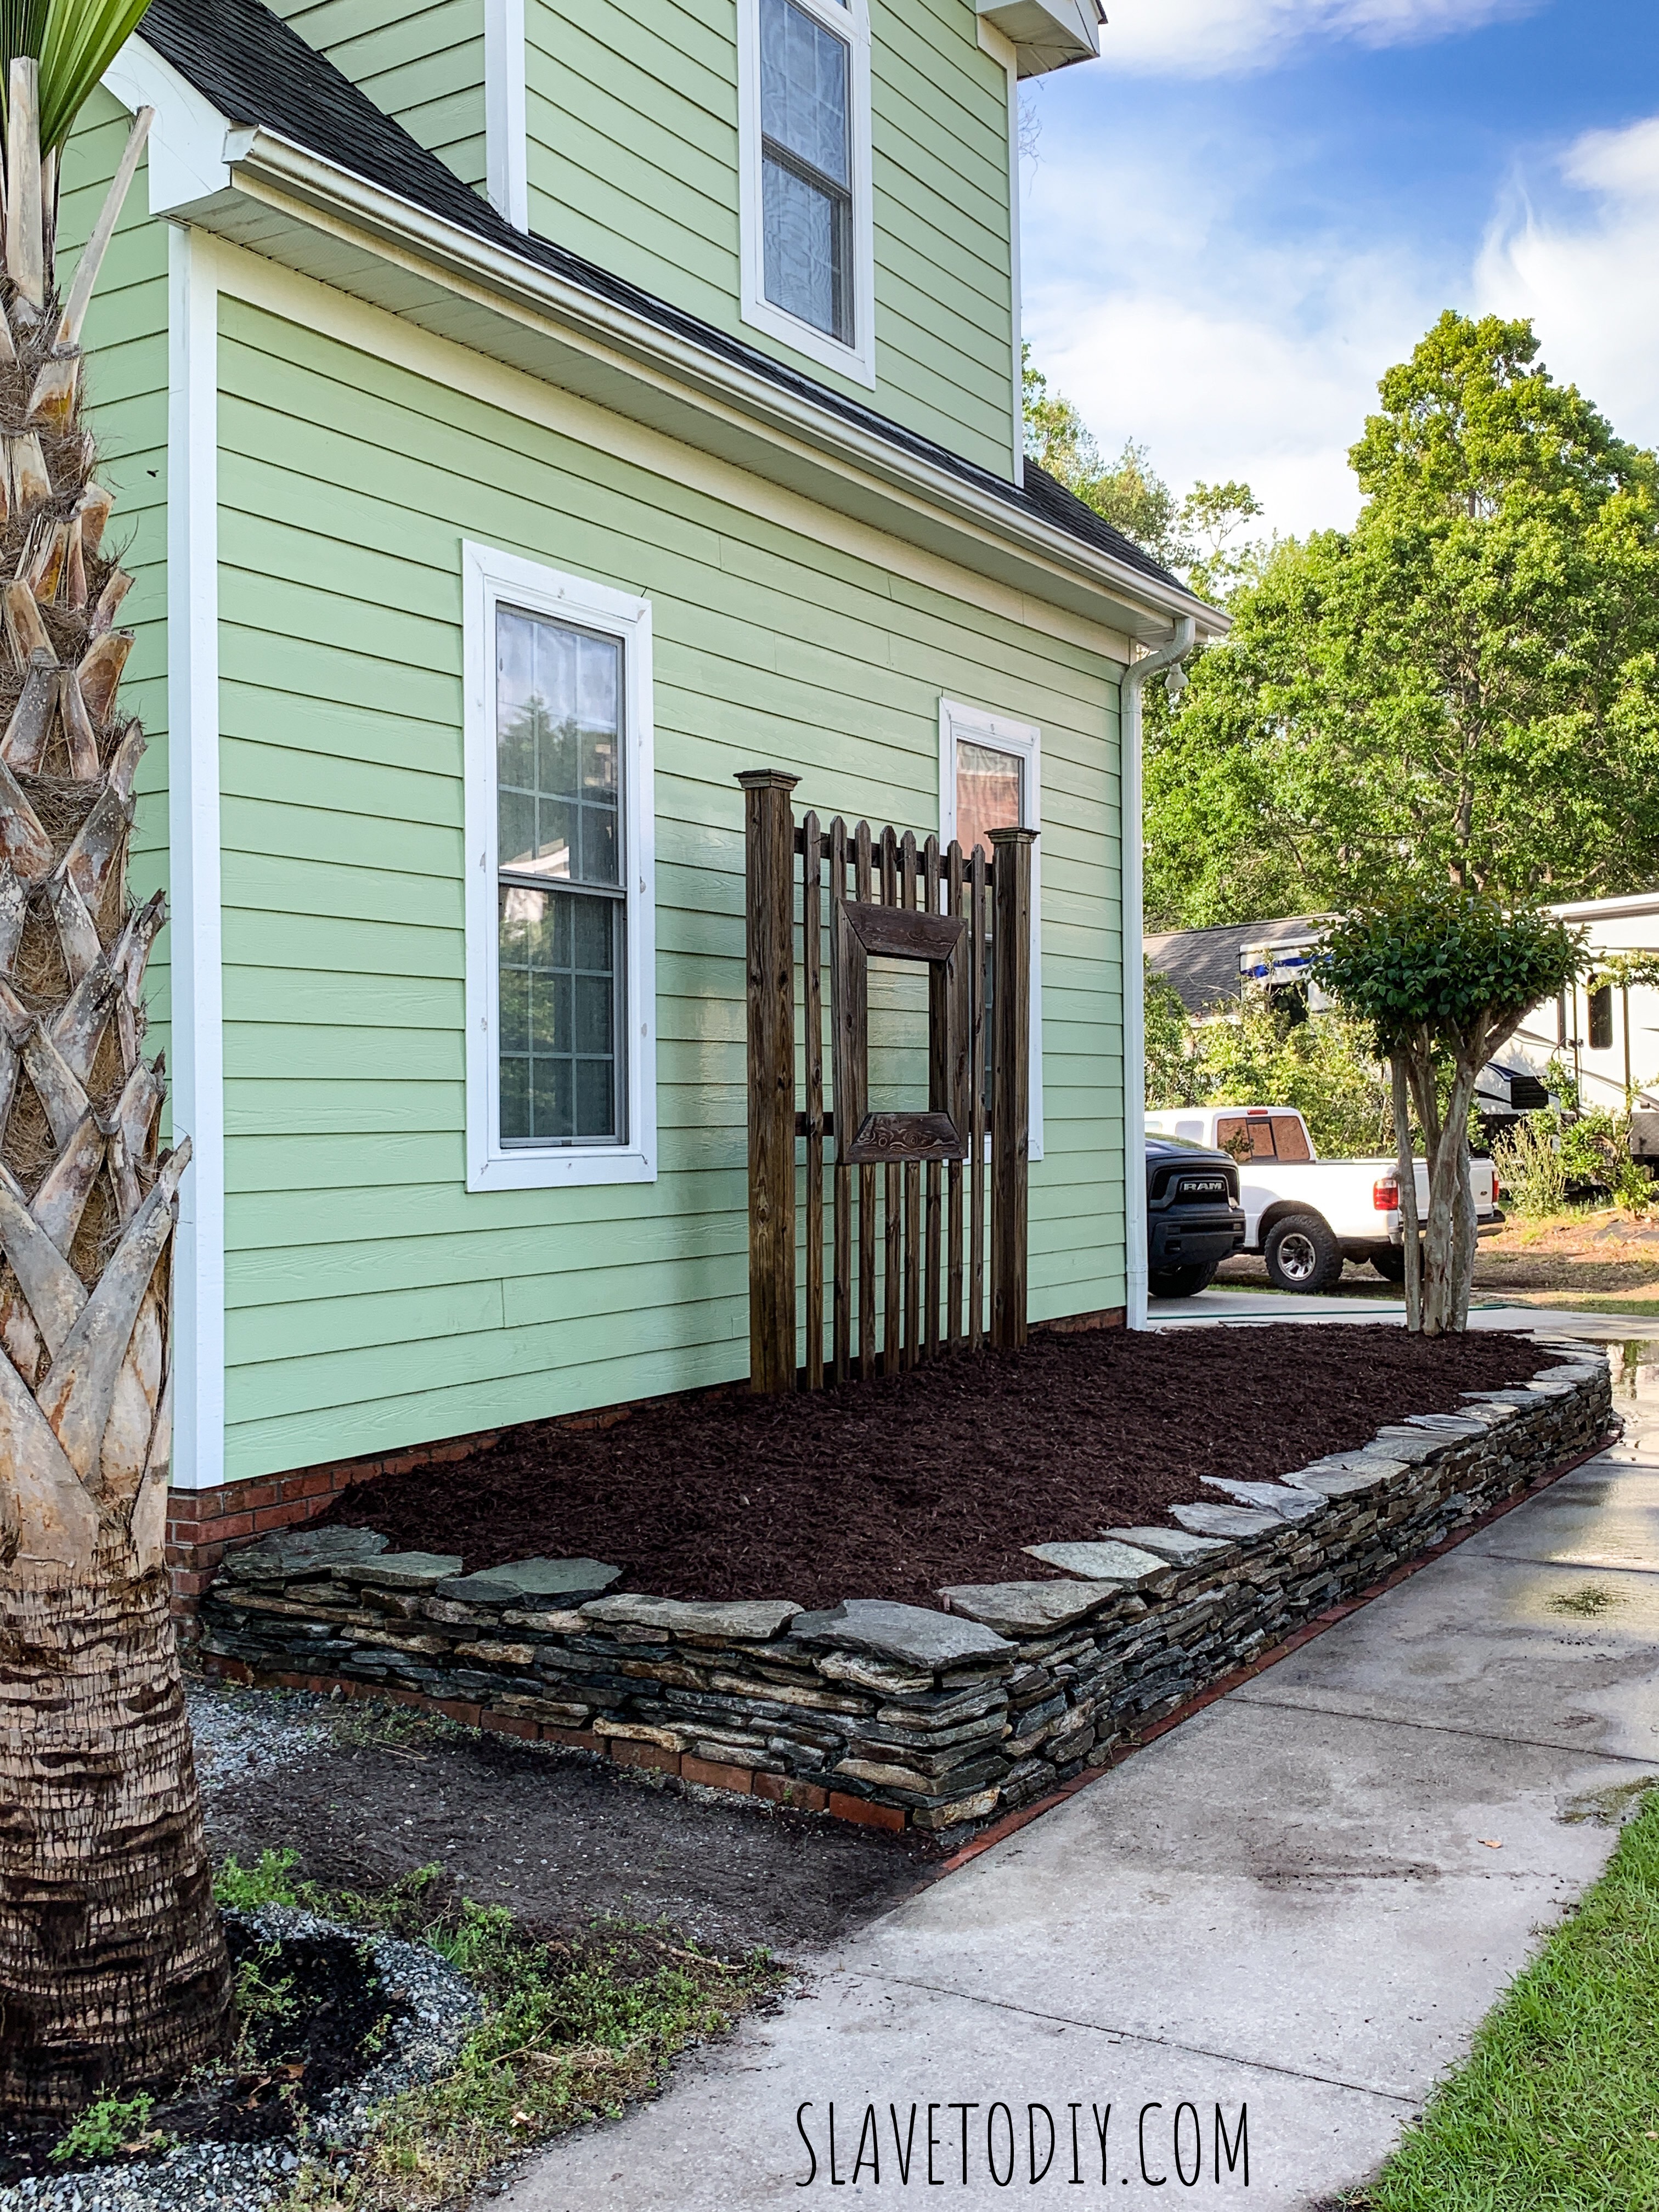
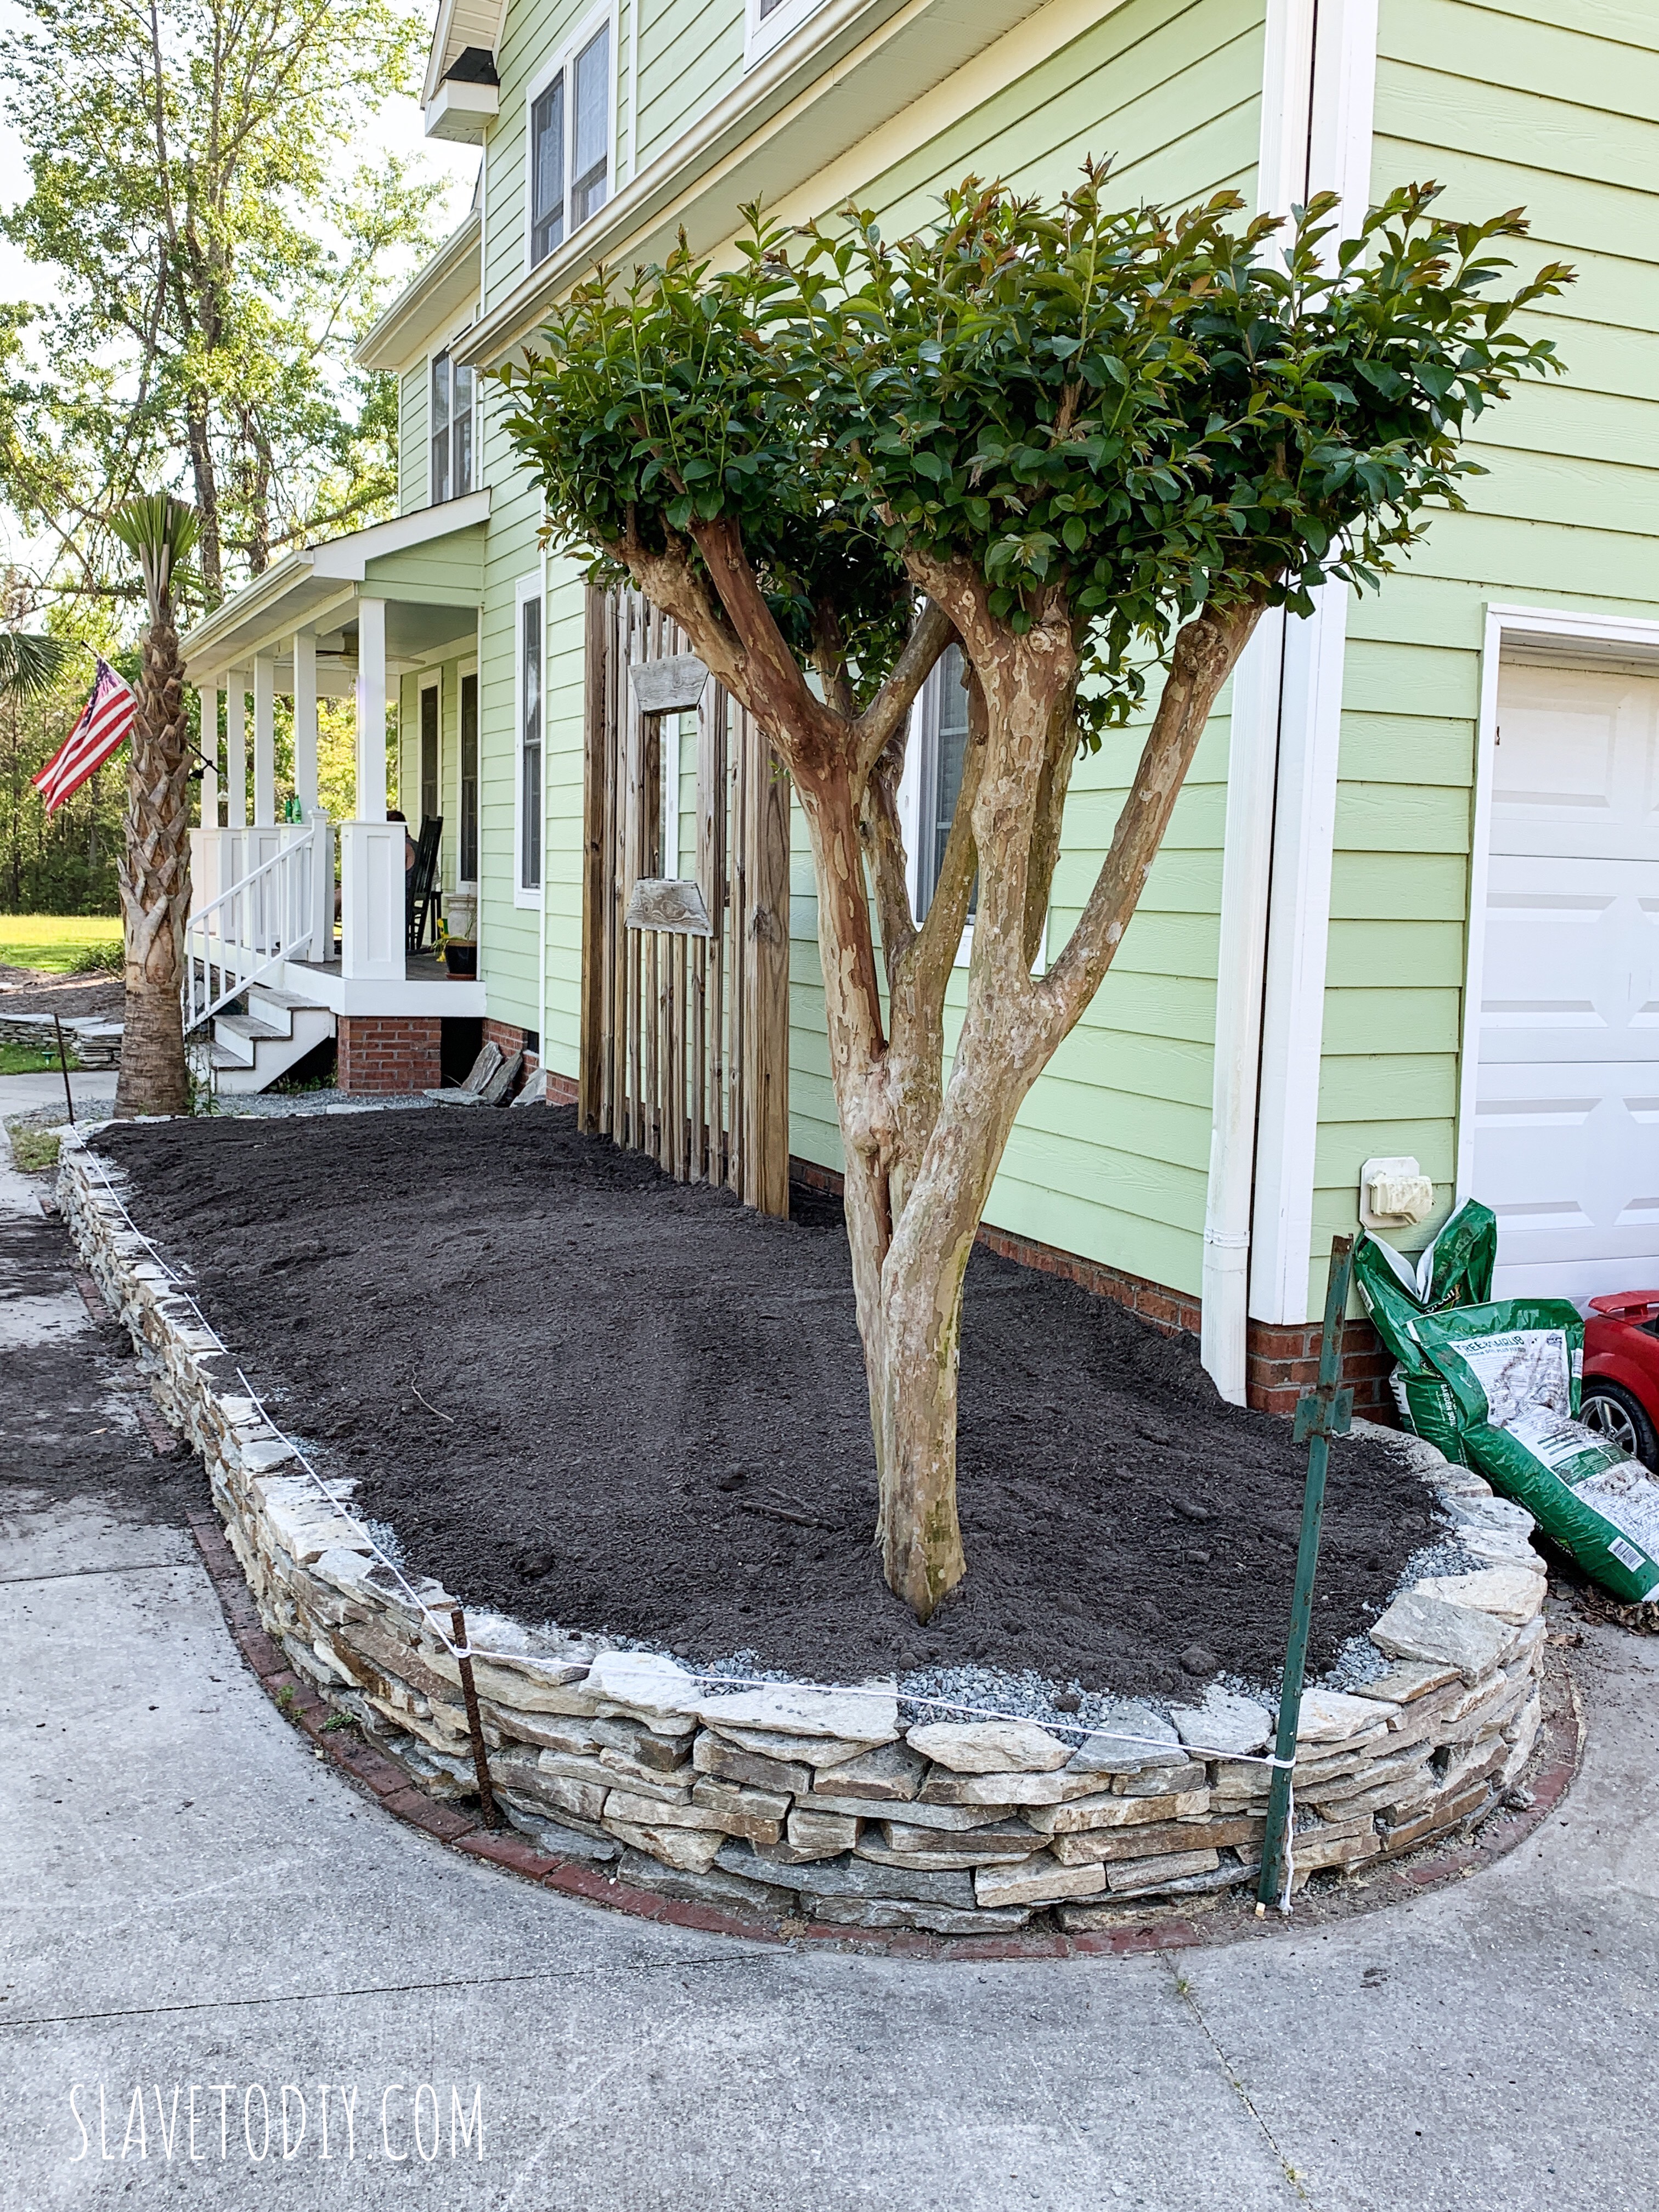
Once we had the landscaping fabric and capstones in, it only took two scoops of mulch to get a nice thick layer.  Now I could really look at my blank palette and make plant decisions.

Enter a caption

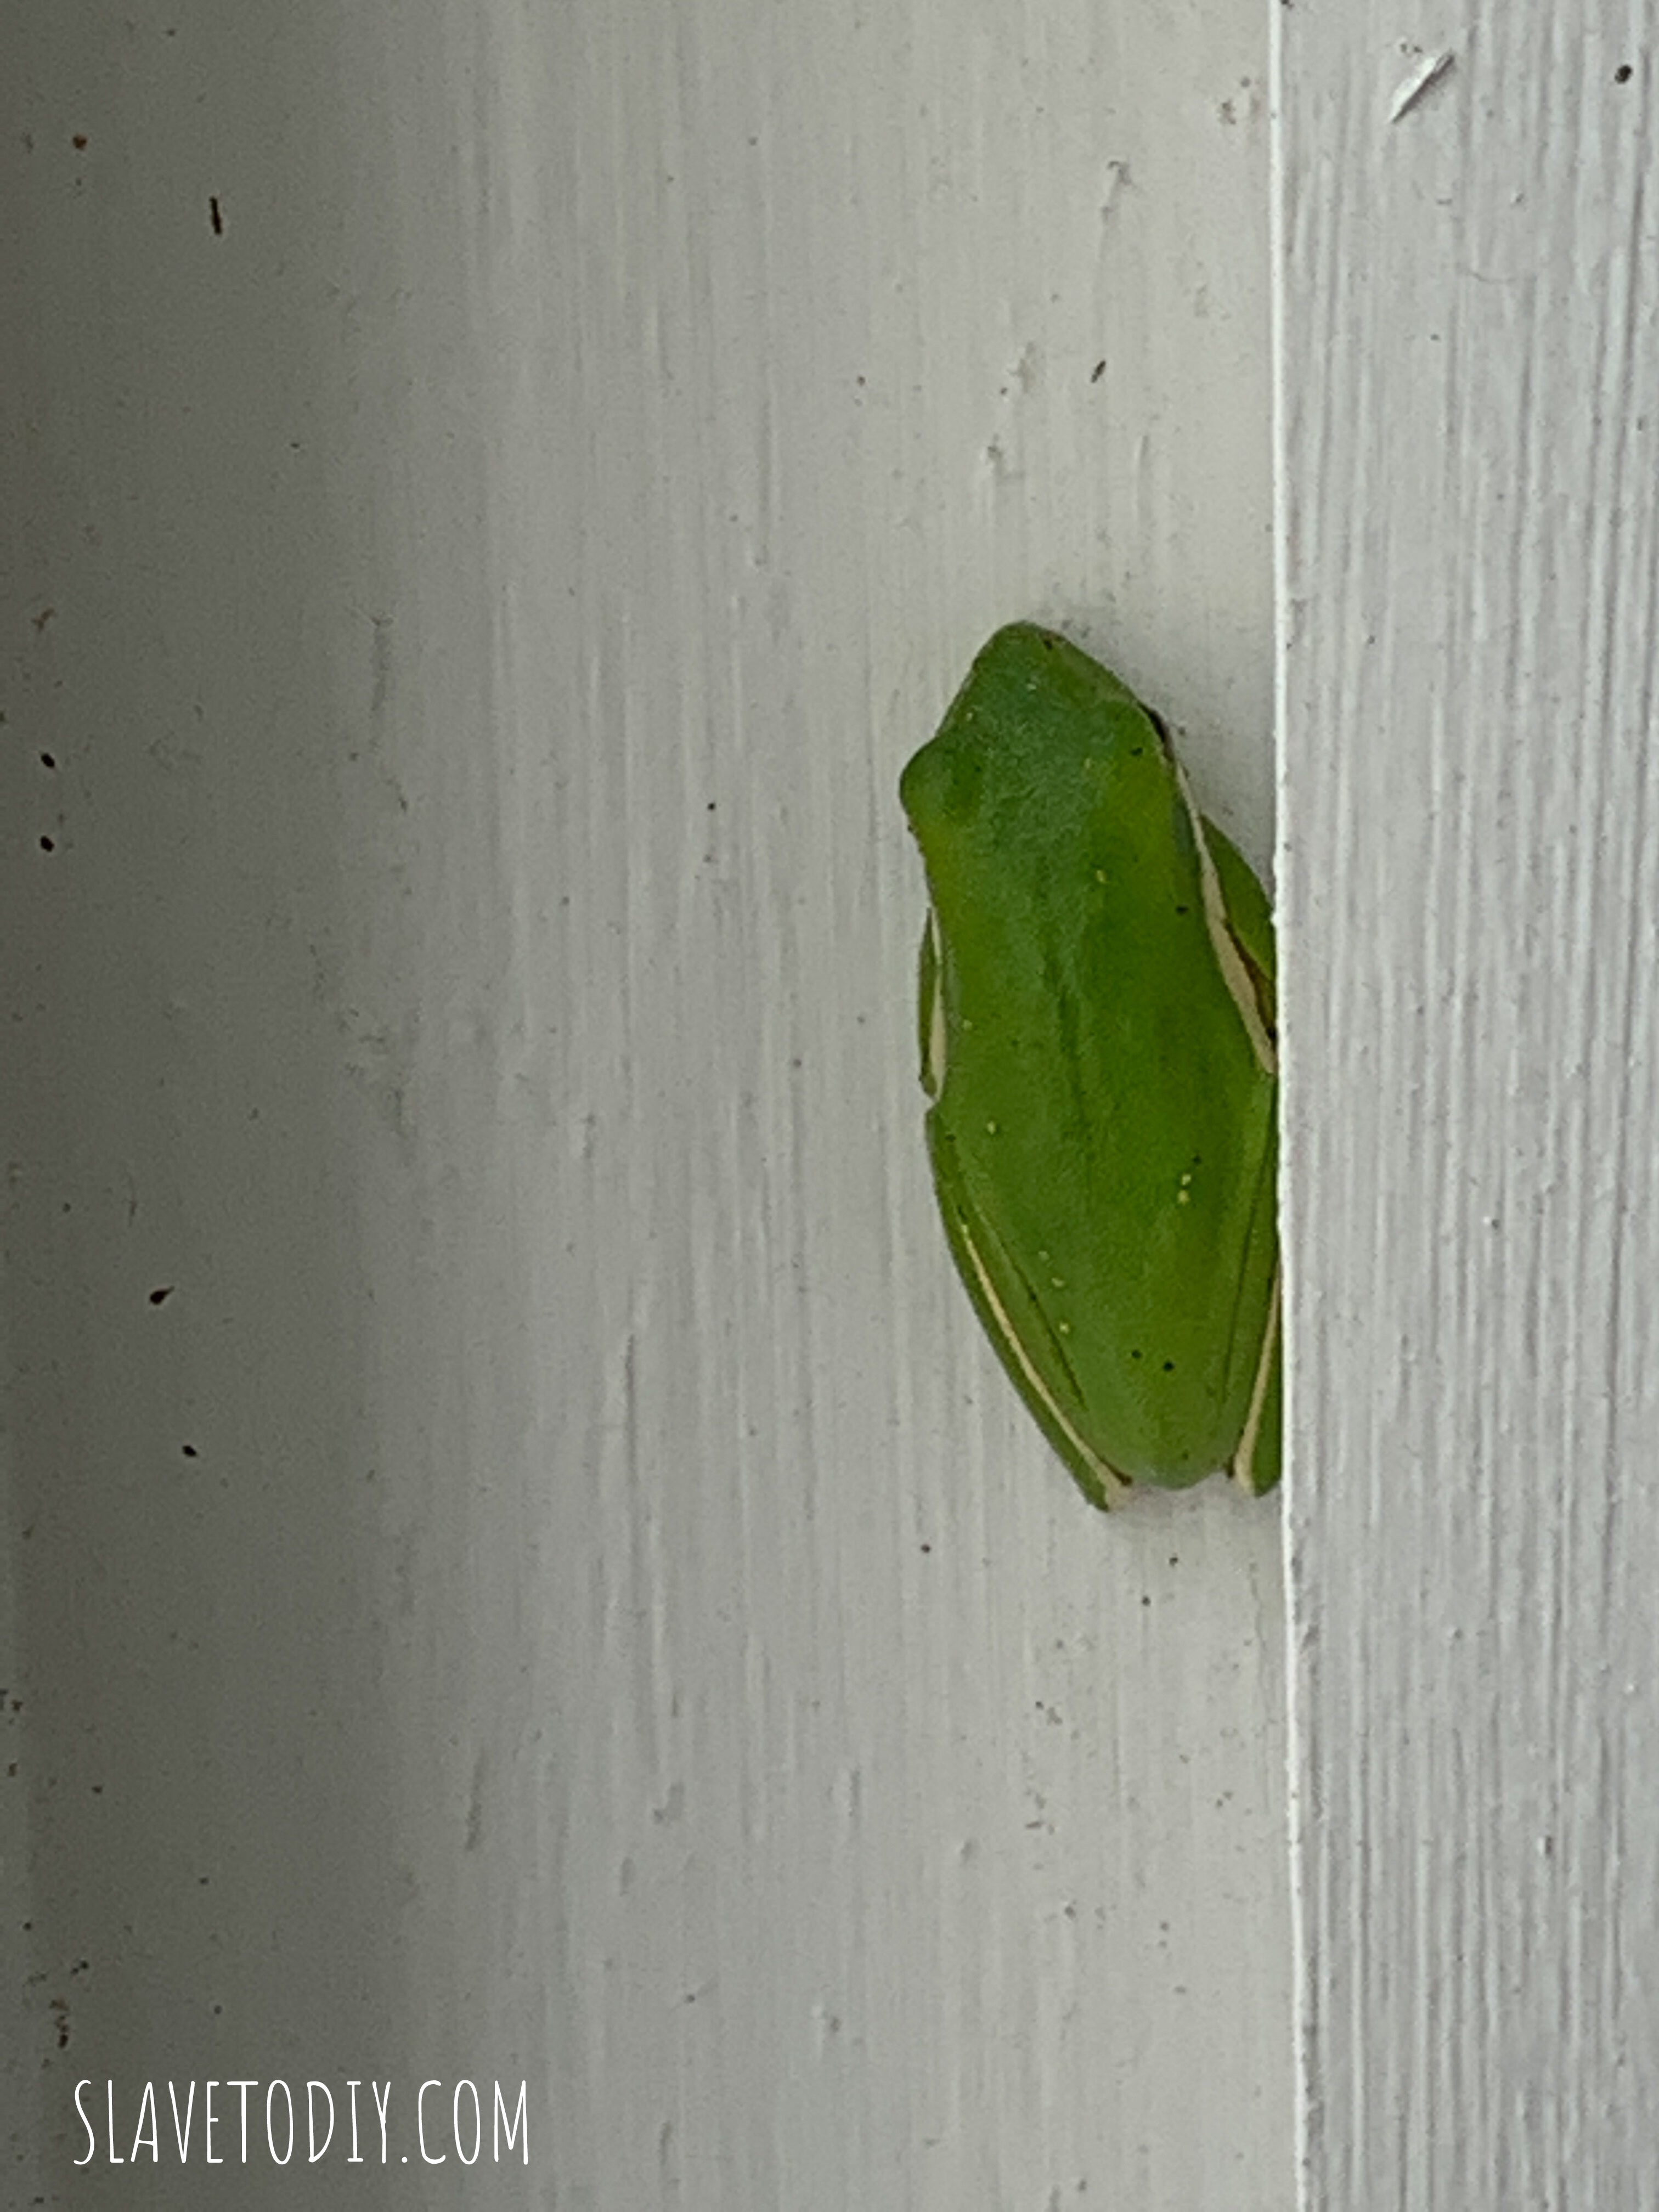
This little tree frog took up residence on one of the porch columns and kept us company almost the whole project.


Dry stacked stone garden from the driveway.

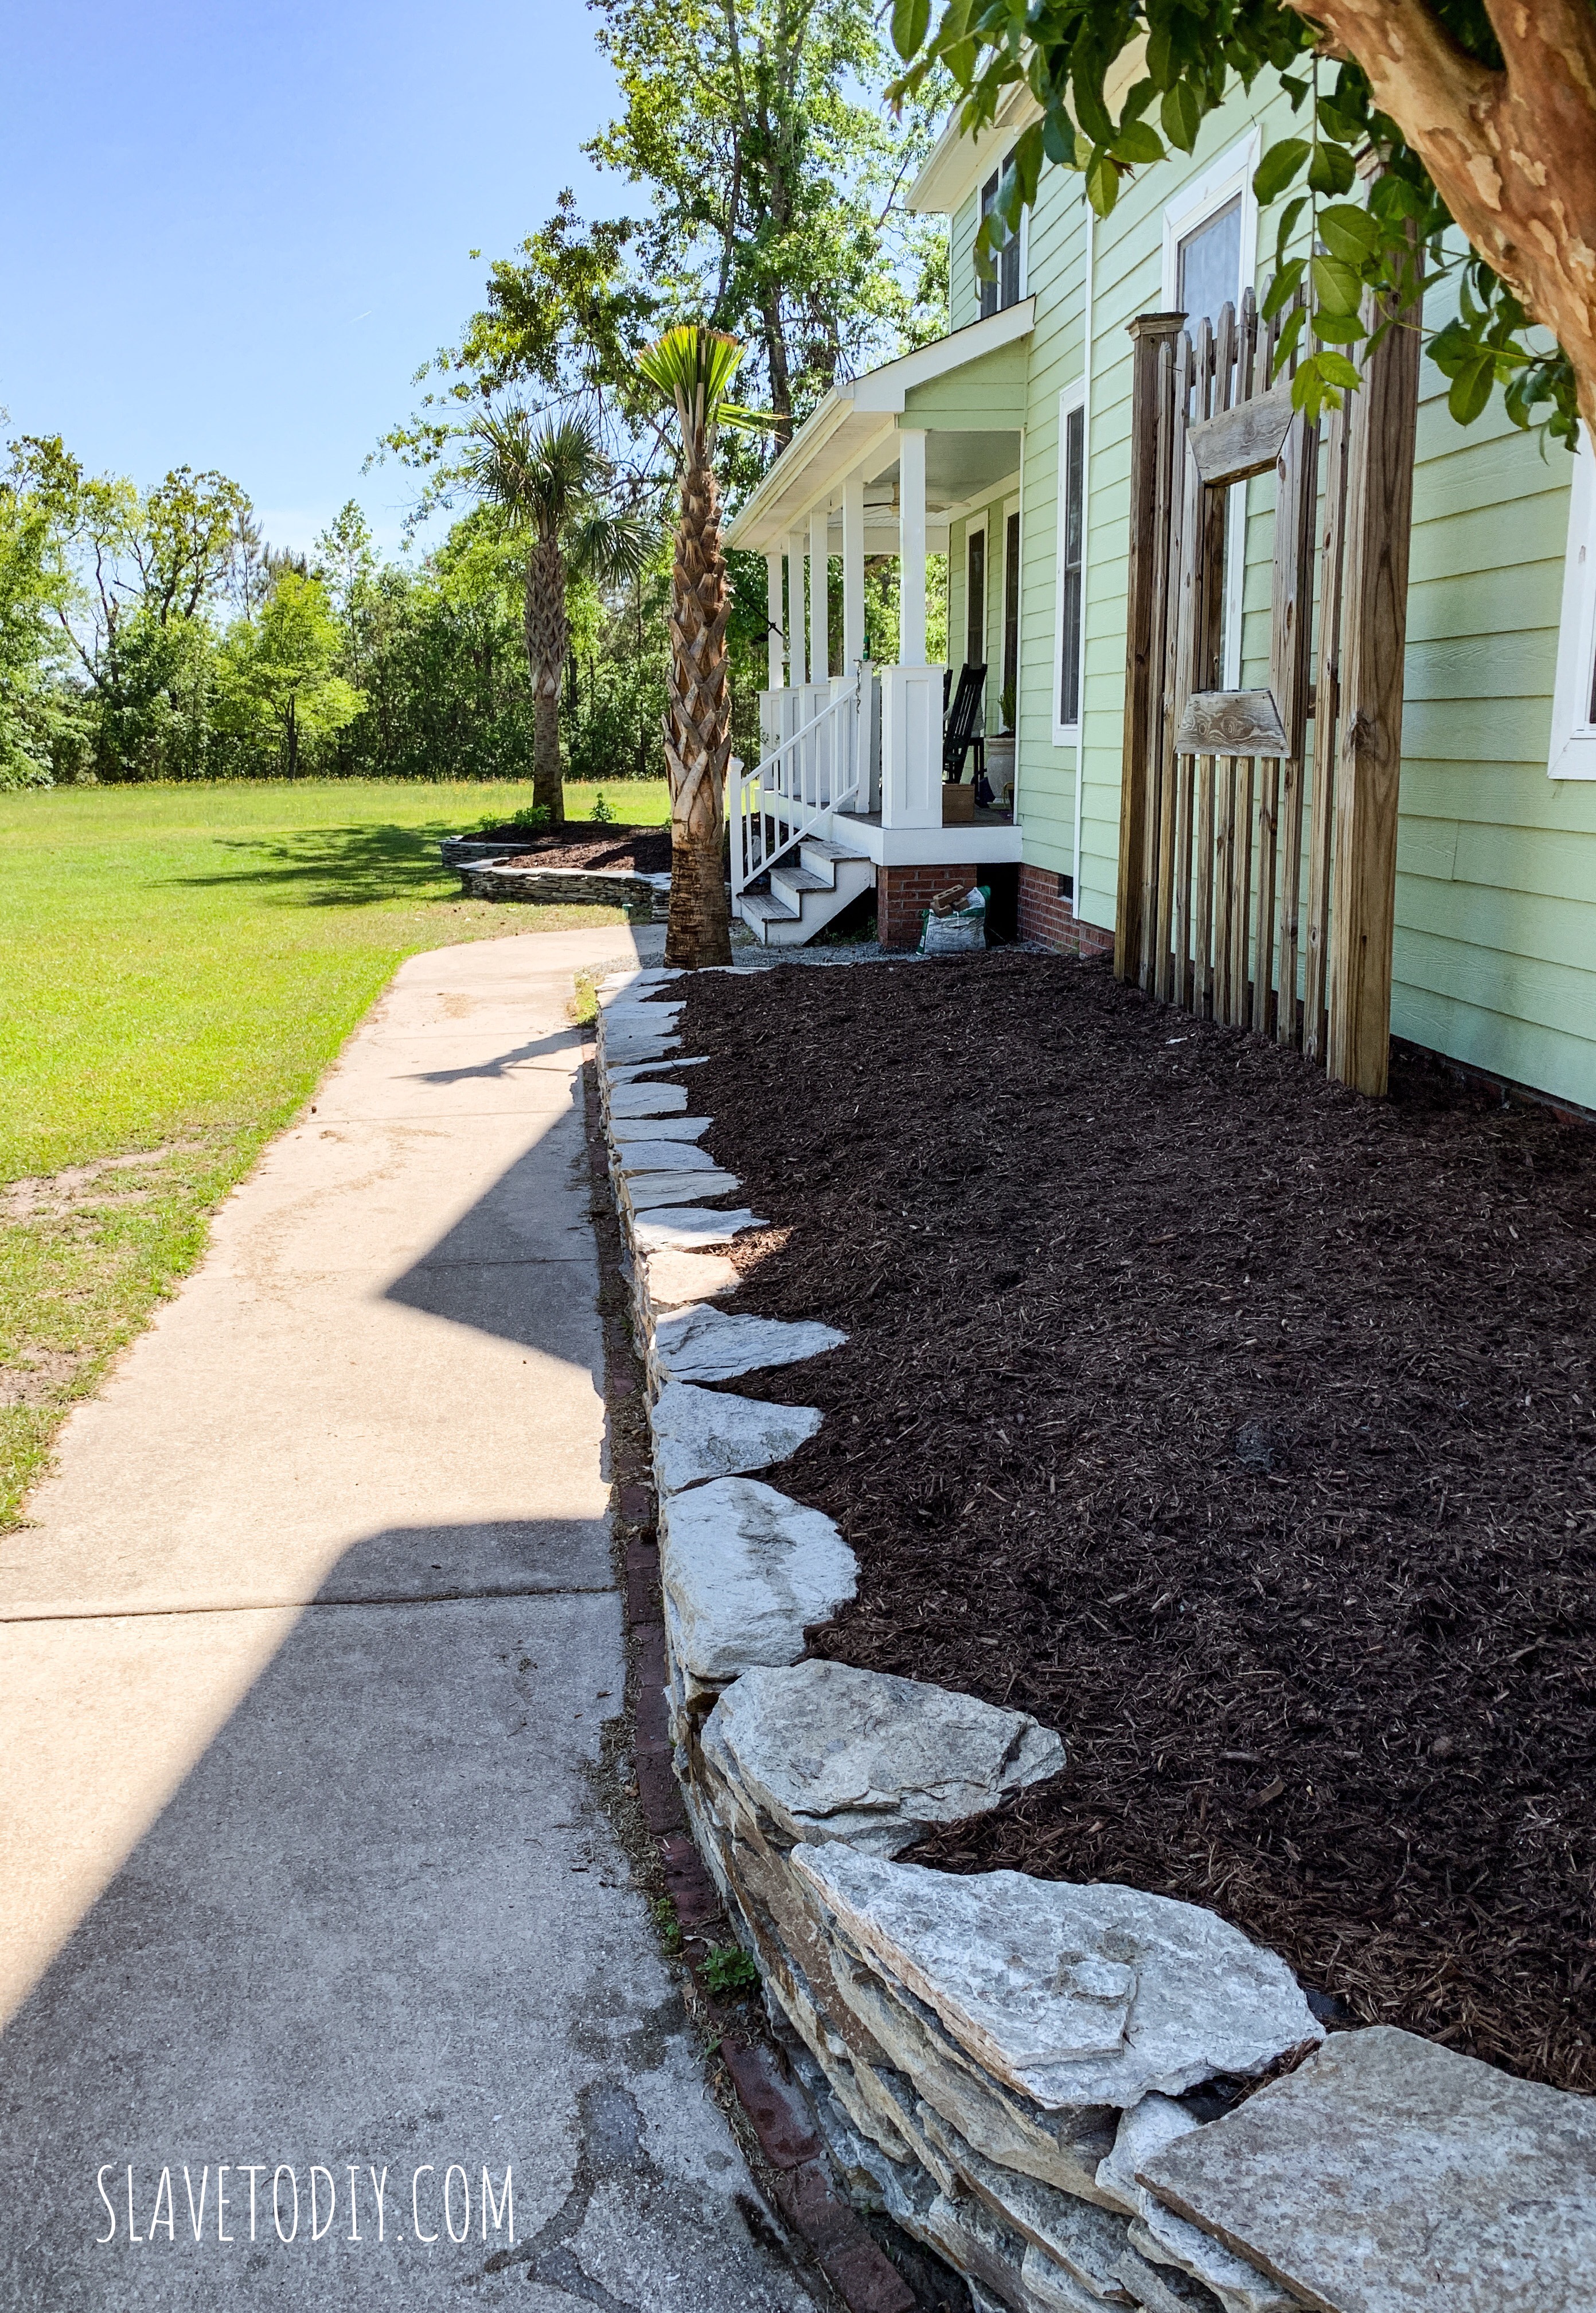
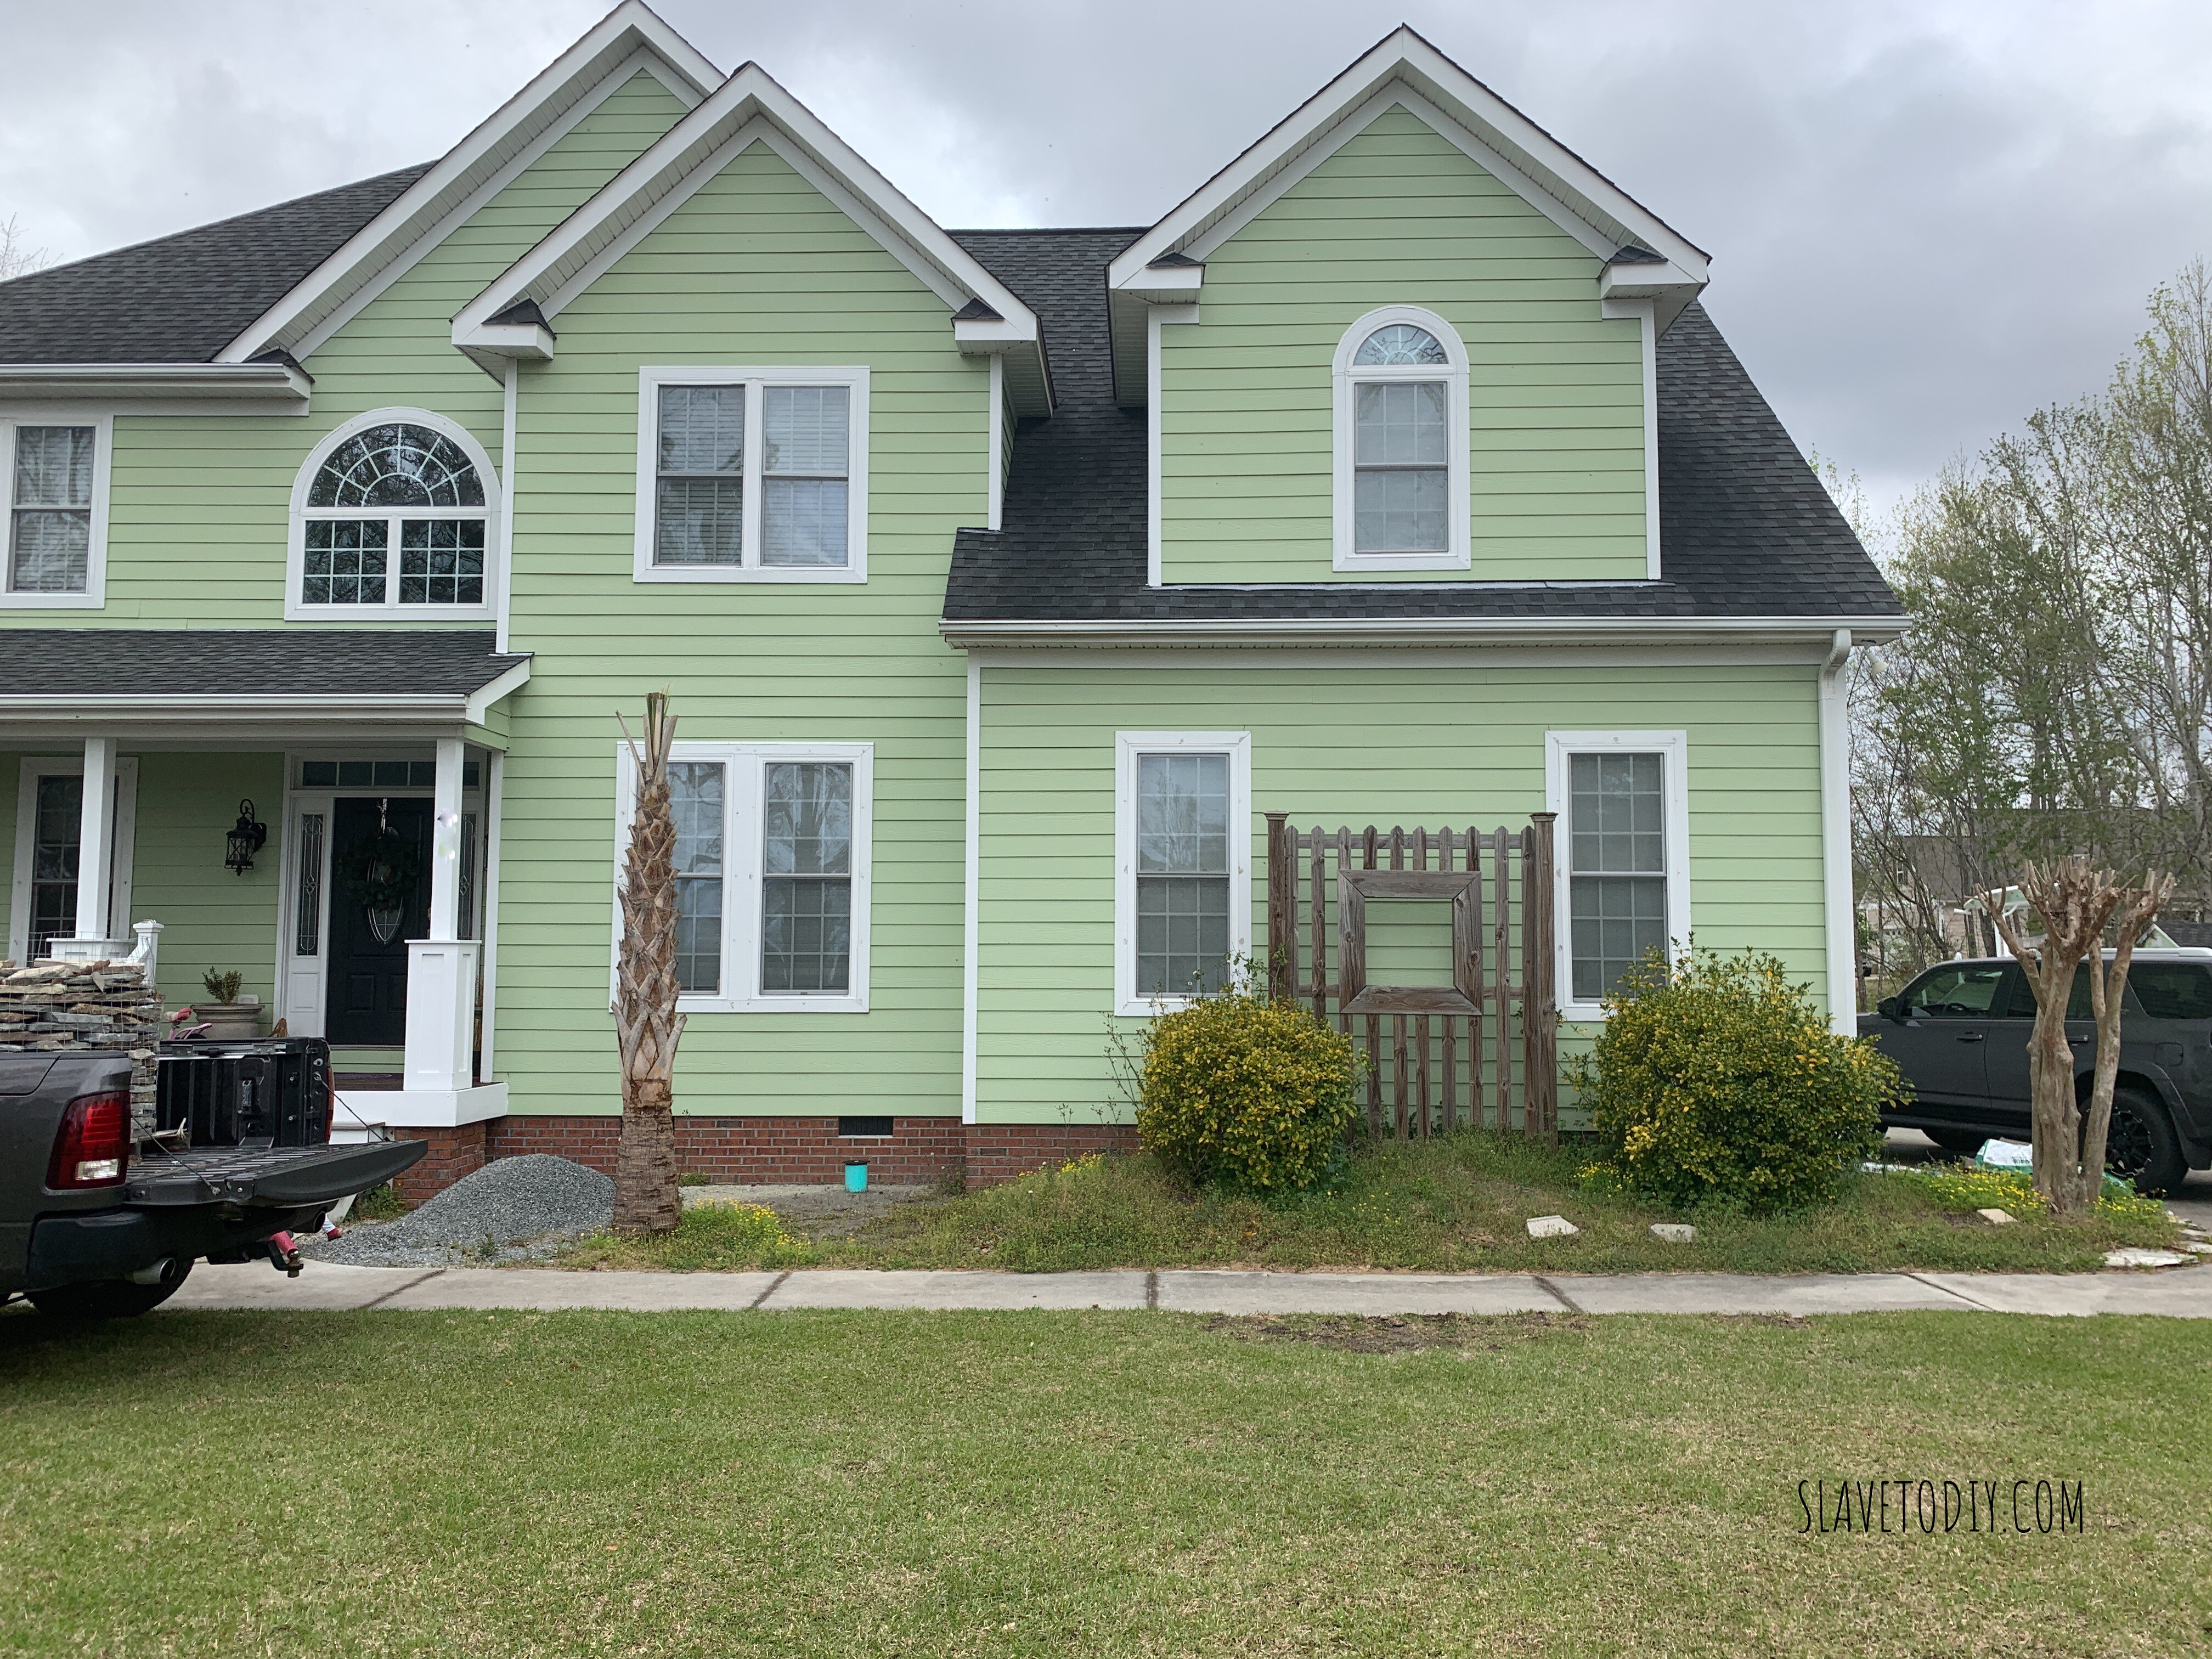
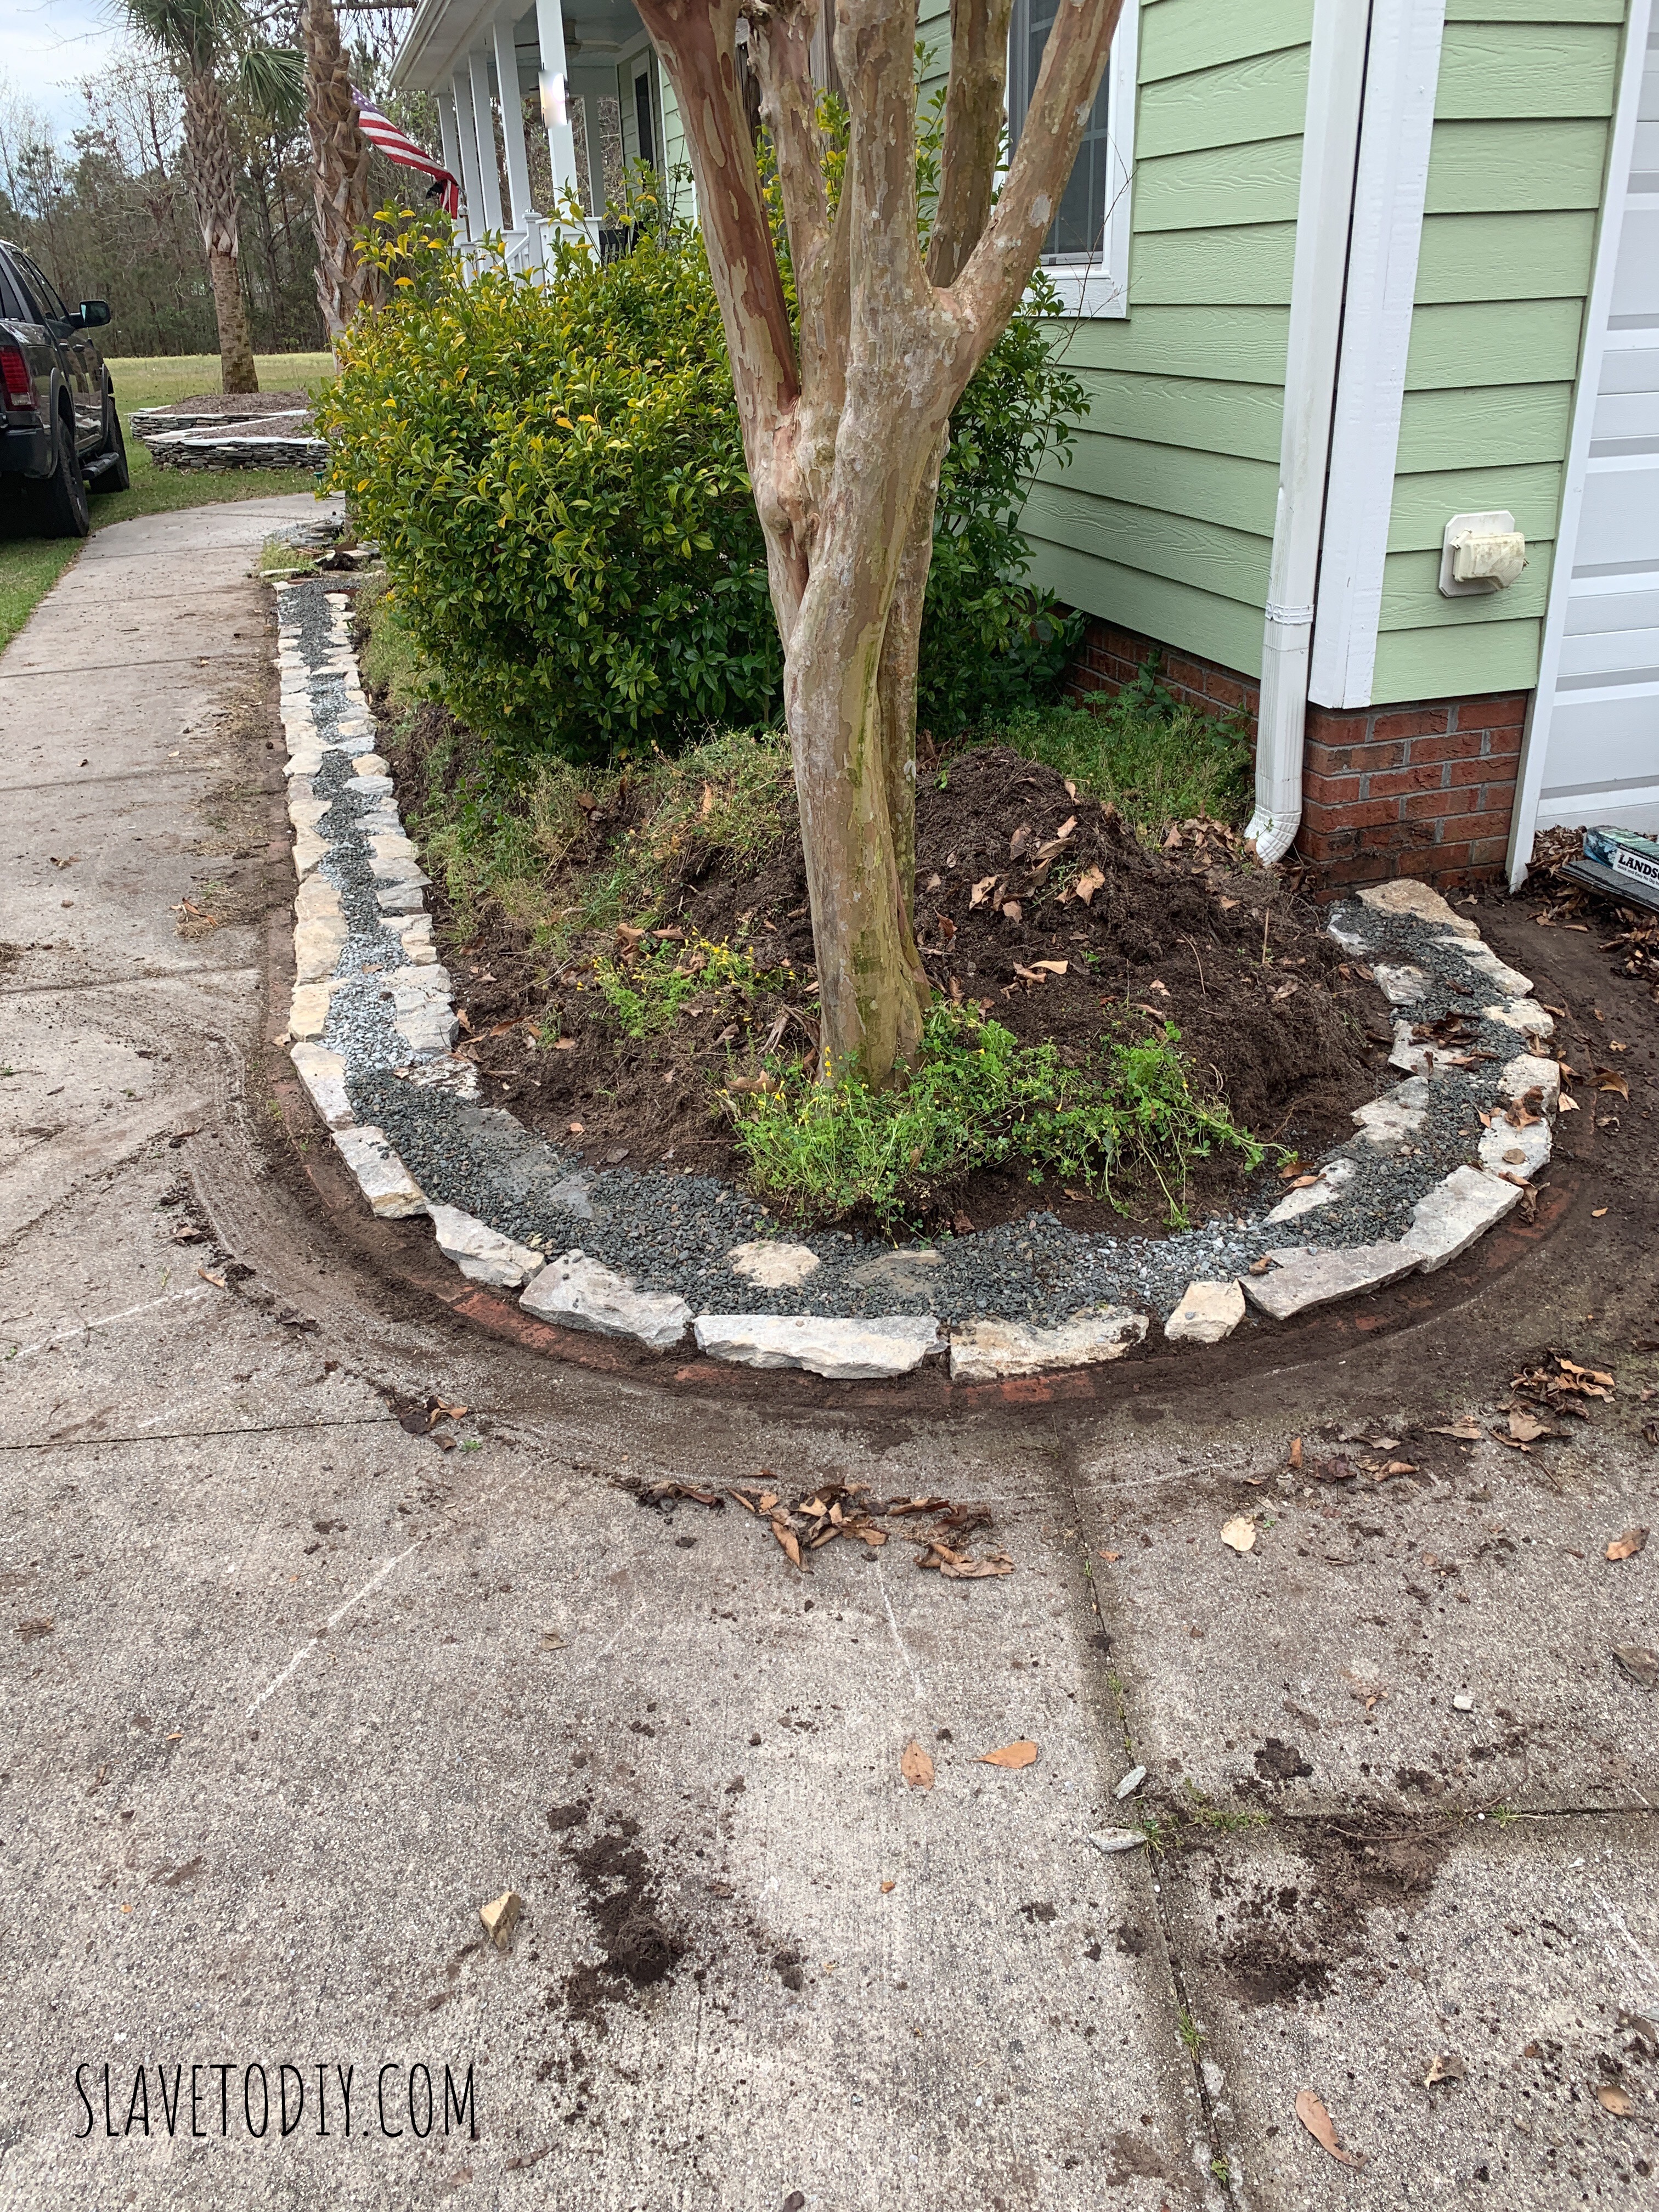
This is a shot of the garden from the driveway.

Both dry stacked field stone gardens together and finished!

For the tutorial on step-by-step stacked stone garden wall installation see our blog post here.

The total cost on this section of the garden was:

  • 2 pallets of stone: $610
  • Gravel base scoop: $37.36
  • 2 Sta Green Ultimate Weed Barrier: $70
  • Landscaping Fabric Pins (leftover from another project)
  • Two Scoops Mulch: $74.72
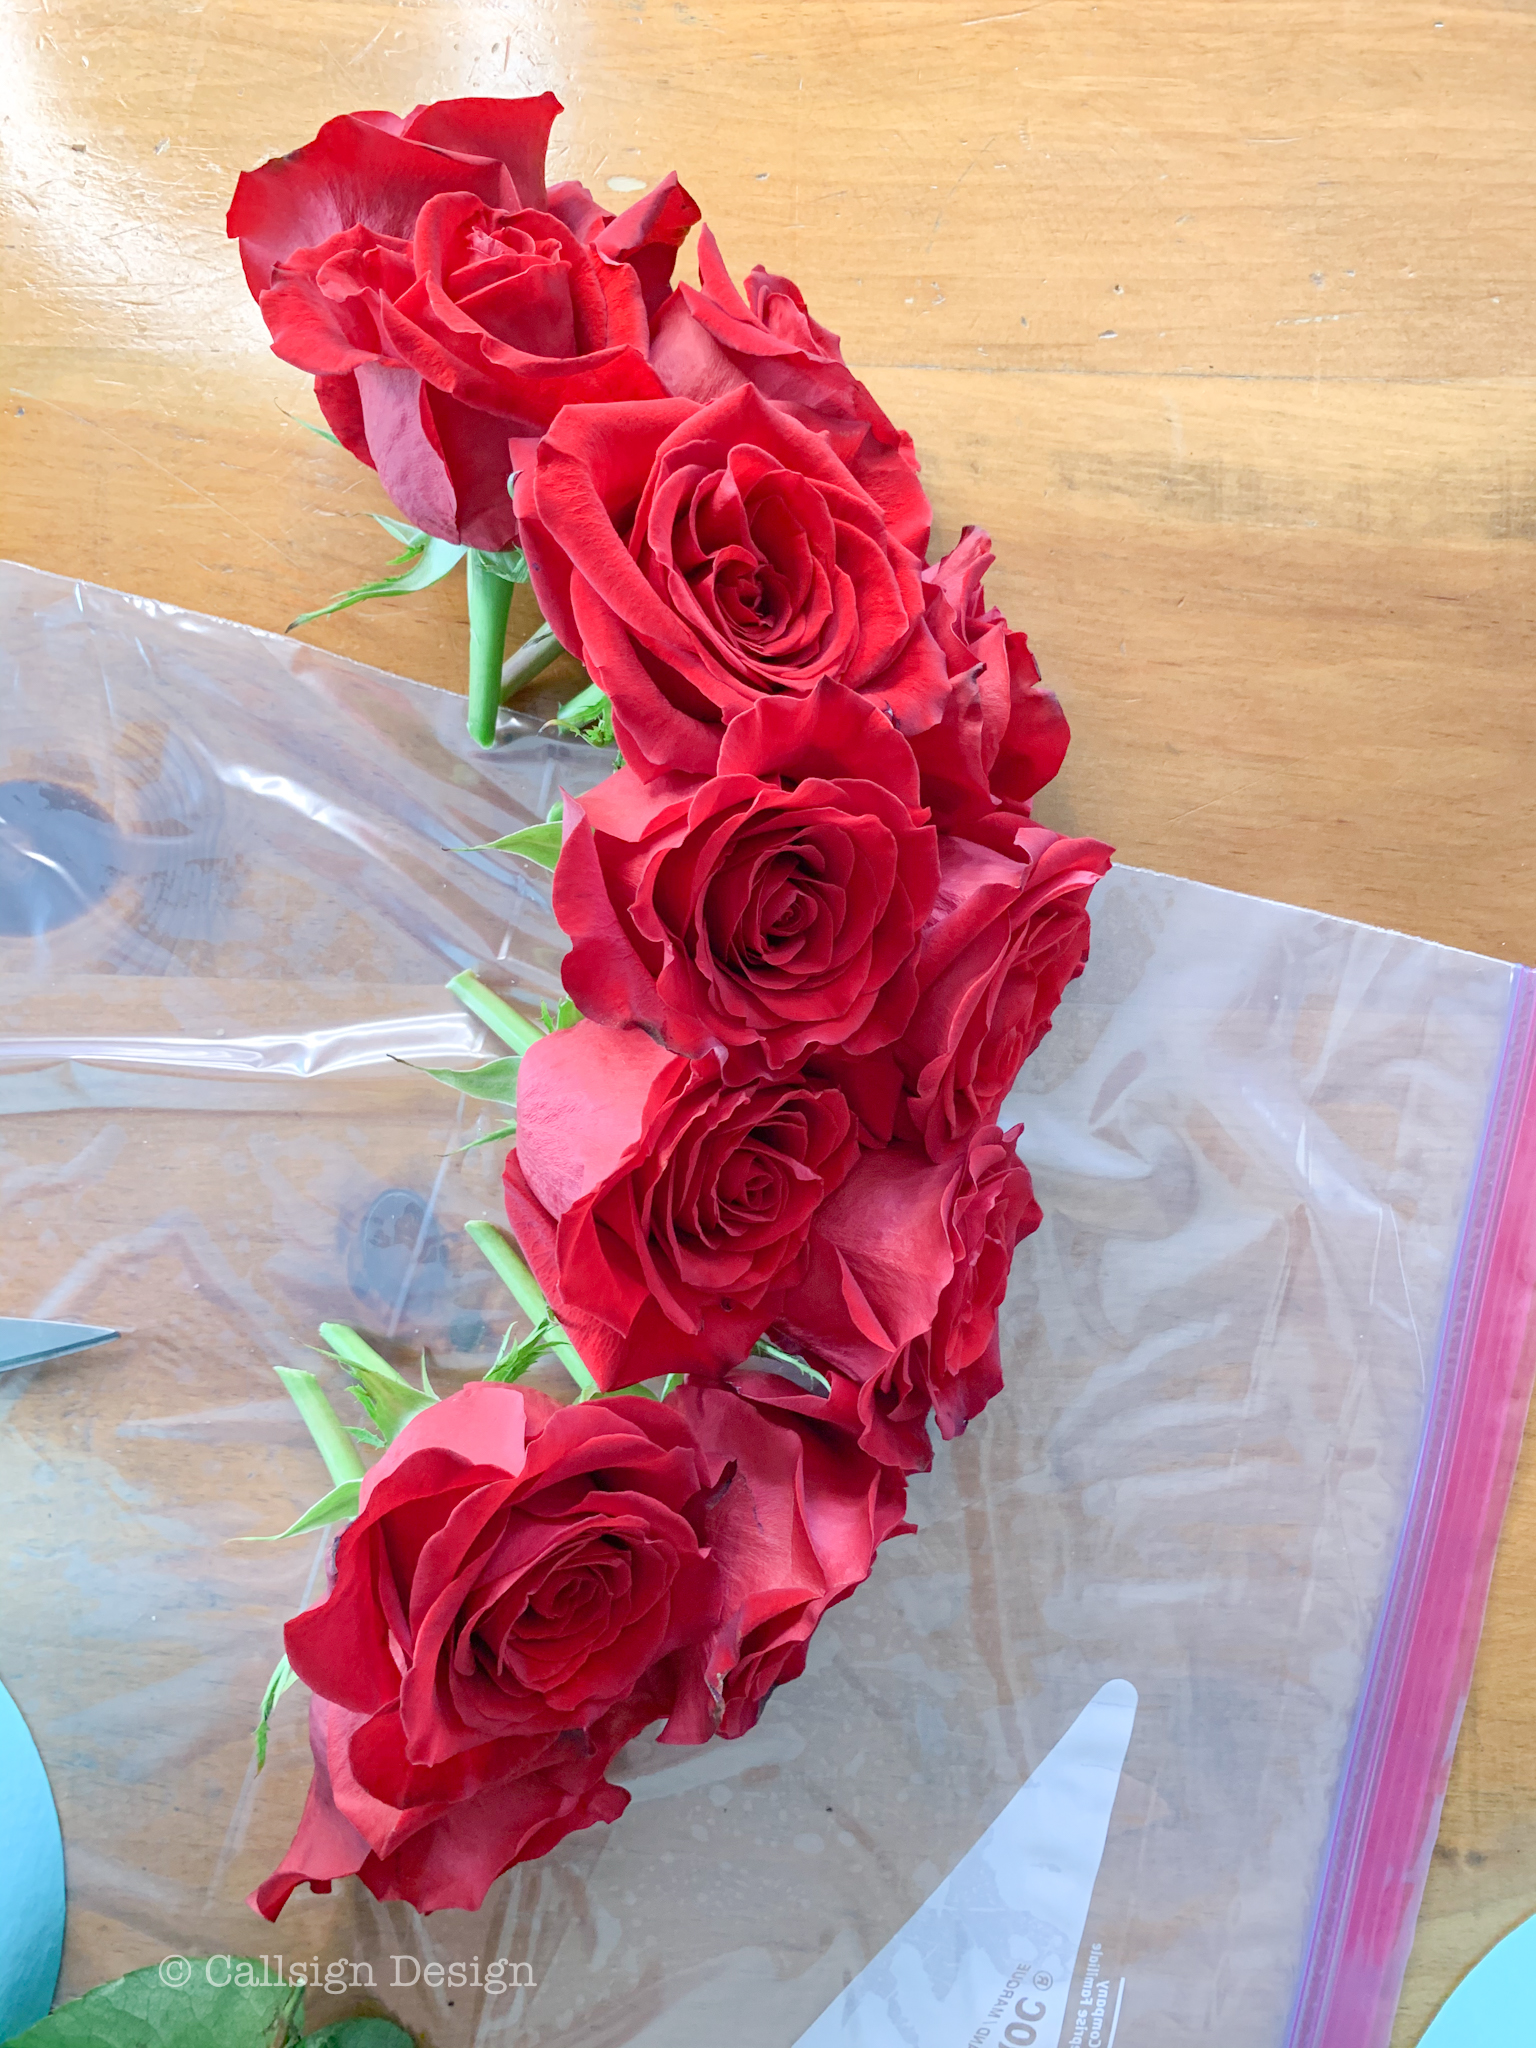
  • Four Incrediball Hydrangea and a Rose Bush from Spring Hill Nurseries: $147.55
  • Seven Scoops Topsoil: $134.54
  • Total: $1074.17

Can you imagine how much it would’ve cost to hire someone to do this?  I’m not saying it’s easy, but it IS a project you can do one afternoon at a time.  And it’s VERY, VERY satisfying and rewarding to see what a beautiful thing you created.

Thanks for reading along and check out more of our projects on our blog.  Cheers!


*Legal stuff:

I am honest about my experiences with different products and write because I enjoy it.  I do however, have the opportunity to earn money for my writing, also.

Slavetodiy.com is a participant in the Amazon Services LLC Associates Program, an affiliate advertising program designed to provide a means for sites to earn advertising fees by advertising and linking to amazon.com.  Amazon offers a small commission on products sold through their affiliate links.  Each of your purchases via our Amazon affiliation links supports our cause at no additional cost to you.

If a blogger links to an Amazon product (with a special code for affiliates embedded in the link), and a reader places an item in their “shopping cart” through that link within 24 hours of clicking the link, the blogger gets a small percentage of the sale.  Amazon links are not “pay per click.”  If you click on the product link and stay around Amazon and purchase something else, however, I will get a commission on that sale.

Slavetodiy.com is also a VigLink affiliate advertiser which works similarly.

How To Preserve Roses

How To Preserve Roses
How To Preserve Roses, Preserving Roses

I’m so excited. I got BEAUTIFUL roses for my birthday. I know we’ve all lied to our significant others at some point, and told them we didn’t like flowers, but if they were smart, they knew it was a lie and bought flowers anyway. Because there are significantly fewer tears that way.

This post may contain affiliate links.  Please see the full disclosure at the bottom of the post.

We won’t talk about that time that I cried like a little girl because, even though I had dropped copious hints, I didn’t get flowers for my birthday. We’re complicated creatures, women. Poor Rainman.

Yeah, I’m that girl. (If you are in the dog house, and need to buy flowers, this is a great service).

How To Preserve Roses
How To Preserve Roses, Roses on the Sewing Machine Table

Ugh, they’re just gorgeous from every angle. But, I have a secret. These are in the process of “preserving”. Did you know that you can prevent those gorgeous roses from keeling over on you?

There are two really good methods for doing this and I’ll go through both!

Method One (best for roses that you want to use in arrangements later… more finicky than method two):

How To Preserve Roses
How To Preserve Roses, Beautiful Roses for My Birthday


This is pre-preservation. I always love the arrangement from our local florist, although I don’t love their choice of cheapo vases. Even the “budget” line shouldn’t be a throw away. Anyhoo, when I get to the preserving phase, I’m really only interested in the roses. I love them at Christmas for their deep red and am looking forward to bringing them back out.


How to Preserve Roses
How to Preserve Roses: Red rose bouquet with preserving supplies: scissors, vegetable glycerin, and a hammer.

You really only need a couple of things to do this:

  • Your preserving vase (mine is an antique but I have these also, which are super cute and very reasonable)
  • Florist shears/ scissors (as you can see, I was using the poultry shears instead of going to get my nice florist shears which drives Rainman totally NUTS)

Fill your vase with about 1.5 – 2 inches of glycerin.

I start with the longer roses in the arrangement. Holding the vase next to the edge of the counter and the rose stem next to it, I eyeball where I want the cut. Snip! Take your little hammer and flatten the end of the stem. Roll it and flatten again. Mash it up so it opens up (this helps the glycerin get into the stem).

I do the center (long pieces) first, then fill in around the edge with the shorter stems. For mine, I remove all of the leaves and toss everything other than the roses.

Move them to a location out of the sun to start the preserving process.

Preserving Roses
Preserving Roses: Red rose bouquet, beginning preservation.

I have to be honest: I adore how these are turning out. They will be gorgeous for my Christmas scenes. These can possibly last years if handled carefully and are such a better option than silk!

Tip: Make sure to add glycerin over several weeks until the stems stop absorbing, then dump out any excess (the glycerin will start gelling on the petals and getting goopy if you leave it).

Preserving Roses
Preserving Roses: Preserved red rose bouquet ready to WOW.


Method 2 (My Favorite):

How To Preserve Roses

This is the PERFECT preserved roses in a hatbox method!

You’ll need:

How To Preserve Roses


How To Preserve Roses

Step One: Snip off the leaves

How To Preserve Roses


How To Preserve Roses


How To Preserve Roses


How To Preserve Roses


Step Two: measure how long to cut your roses!  Then cut them at that height at an angle (check your height by putting it in the box).

How To Preserve Roses


How To Preserve Roses


Step three: Remove the three outermost petals on your roses.

How To Preserve Roses


How To Preserve Roses


Step four: Put your roses into the bag and pour the silica beads over it. Gently shake it to completely cover and get it inside the petals. Once they are covered, put them into a cool dark place for about a week. (Don’t worry about using all of your silica, you can re-use it!)

How To Preserve Roses


How To Preserve Roses


Step Five: Once all of the petals are preserved, shake the silica off carefully, and place them gently into your hatbox. These can last more than a year if you preserve them correctly!

How To Preserve Roses


How To Preserve Roses


Thanks for checking out our little tutorial! Feel free to comment and ask questions below and check out more of our great projects here! Cheers!


*Affiliate Disclosure:

I am honest about my experiences with different products and write because I enjoy it.  I do however, have the opportunity to earn money for my writing, also.

Slavetodiy.com is a participant in the Amazon Services LLC Associates Program, an affiliate advertising program designed to provide a means for sites to earn advertising fees by advertising and linking to amazon.com.  Amazon offers a small commission on products sold through their affiliate links.  Each of your purchases via our Amazon affiliation links supports our cause at no additional cost to you.

If a blogger links to an Amazon product (with a special code for affiliates embedded in the link), and a reader places an item in their “shopping cart” through that link within 24 hours of clicking the link, the blogger gets a small percentage of the sale.  Amazon links are not “pay per click.”  If you click on the product link and stay around Amazon and purchase something else, however, I will get a commission on that sale.

Slavetodiy.com is also a VigLink affiliate advertiser which works similarly.