Customize Your IKEA Hack

IKEA hacks are all the rage, and with good reason. Pre-built, reasonably priced items that can be totally customized give me plenty of reasons to get on board. Can you say: factory finish?

*This post may contain affiliate links. Please see full disclosure at the end of the post.

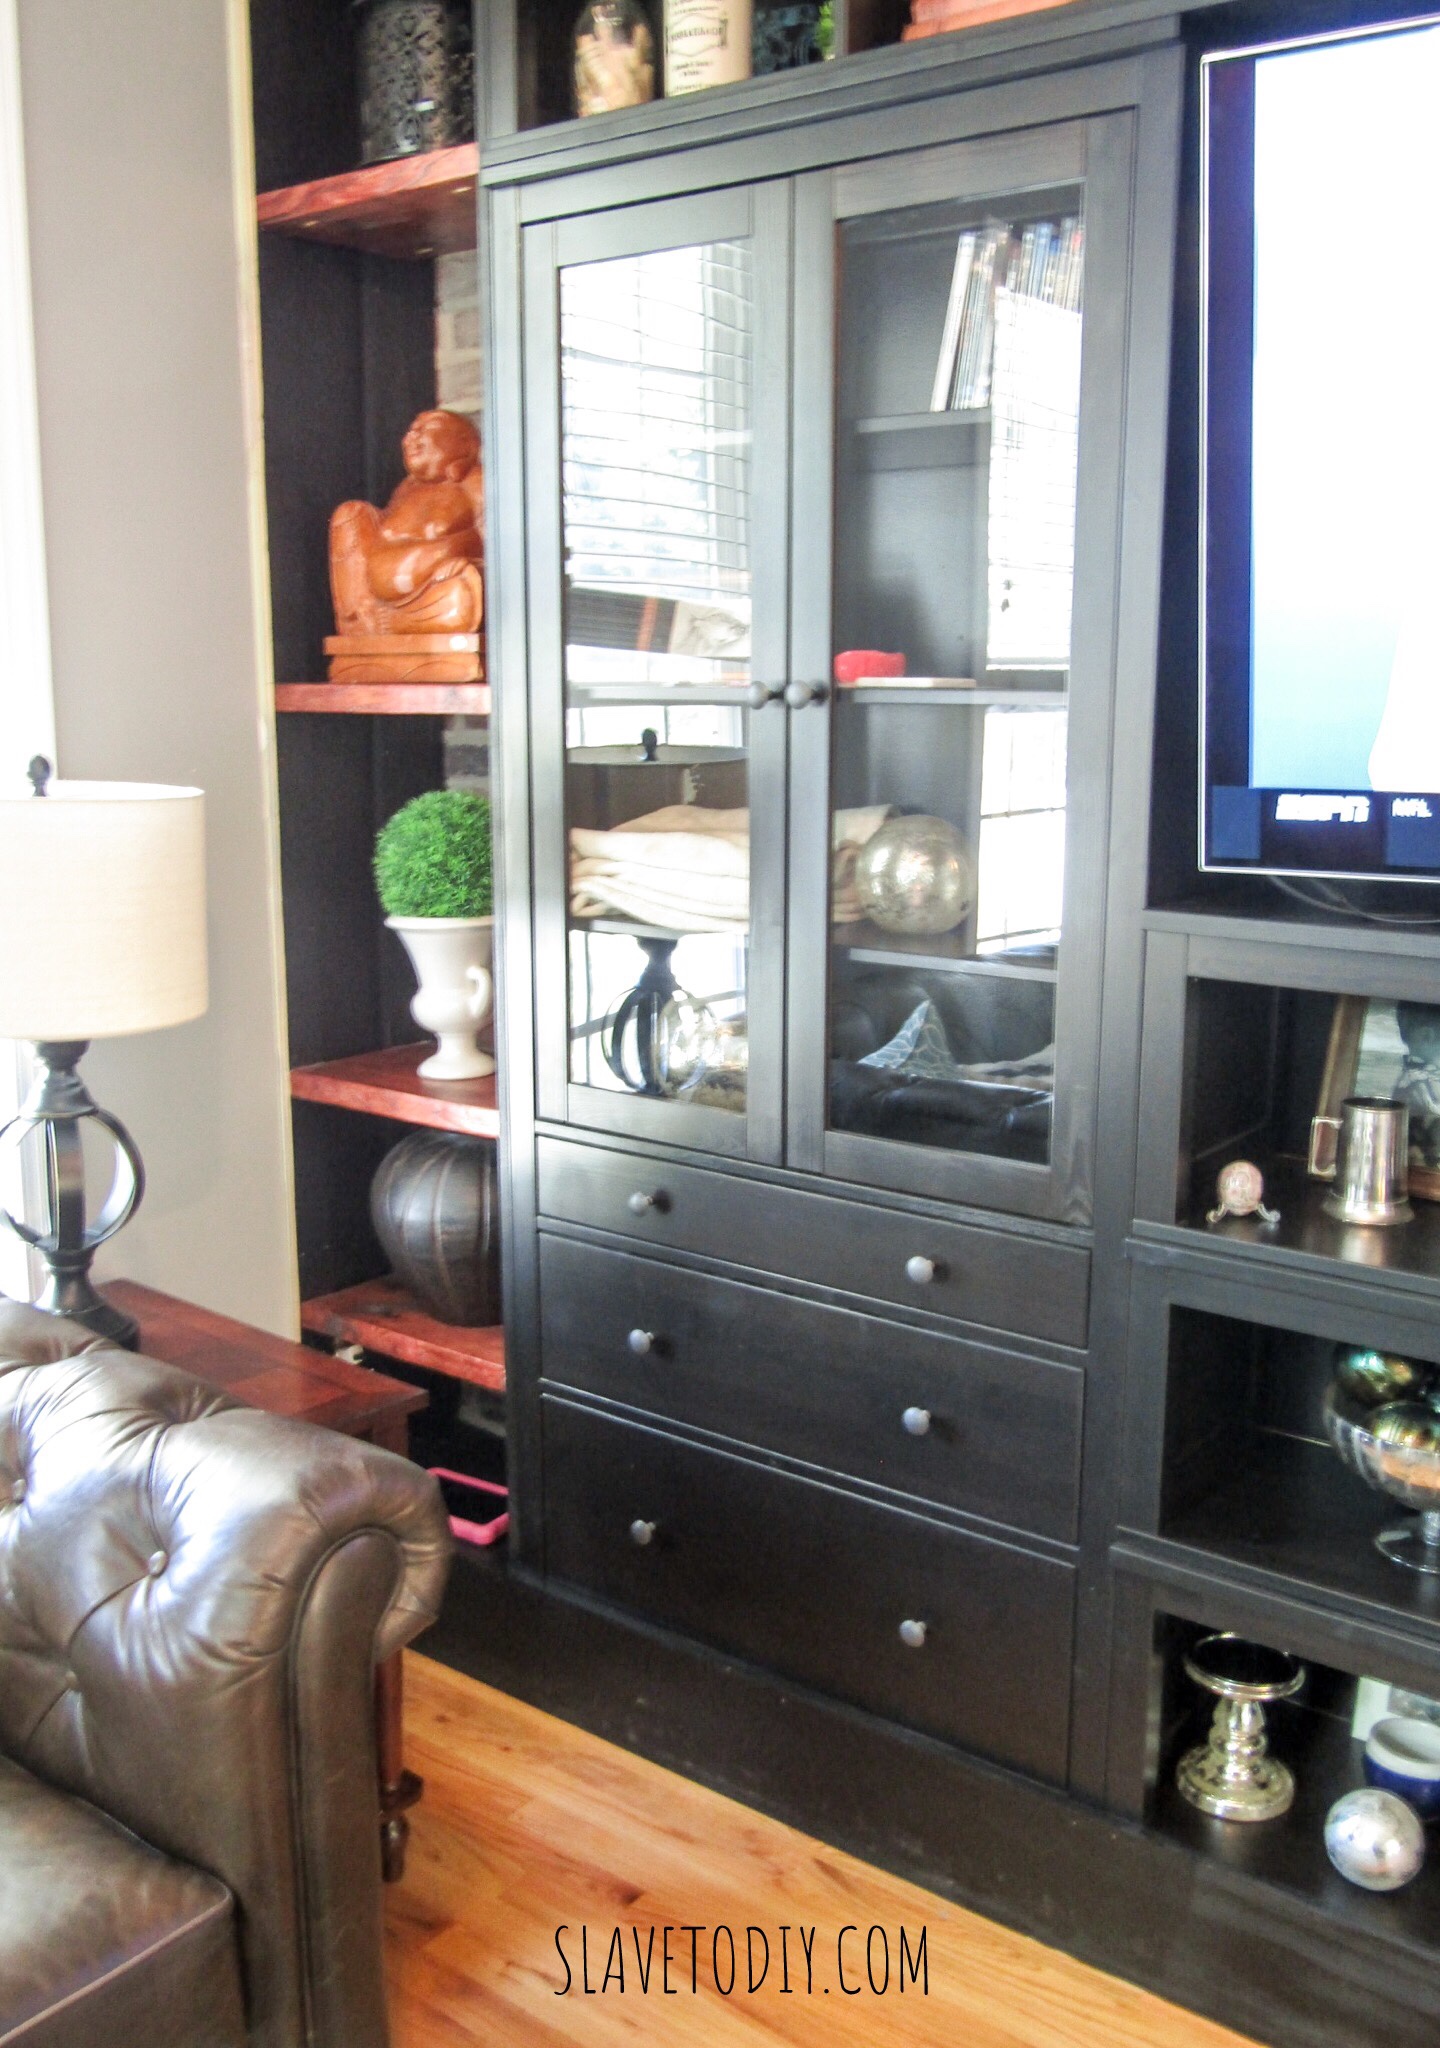
So, when it comes to the Hemnes line (Hemnes is IKEA’s real wood, upgraded line)- the hardware is a dead give away that you’re using IKEA shelves. Updating the hardware creates a HUGE impact for not very much money.

IKEA Hemnes cabinets with stock hardware

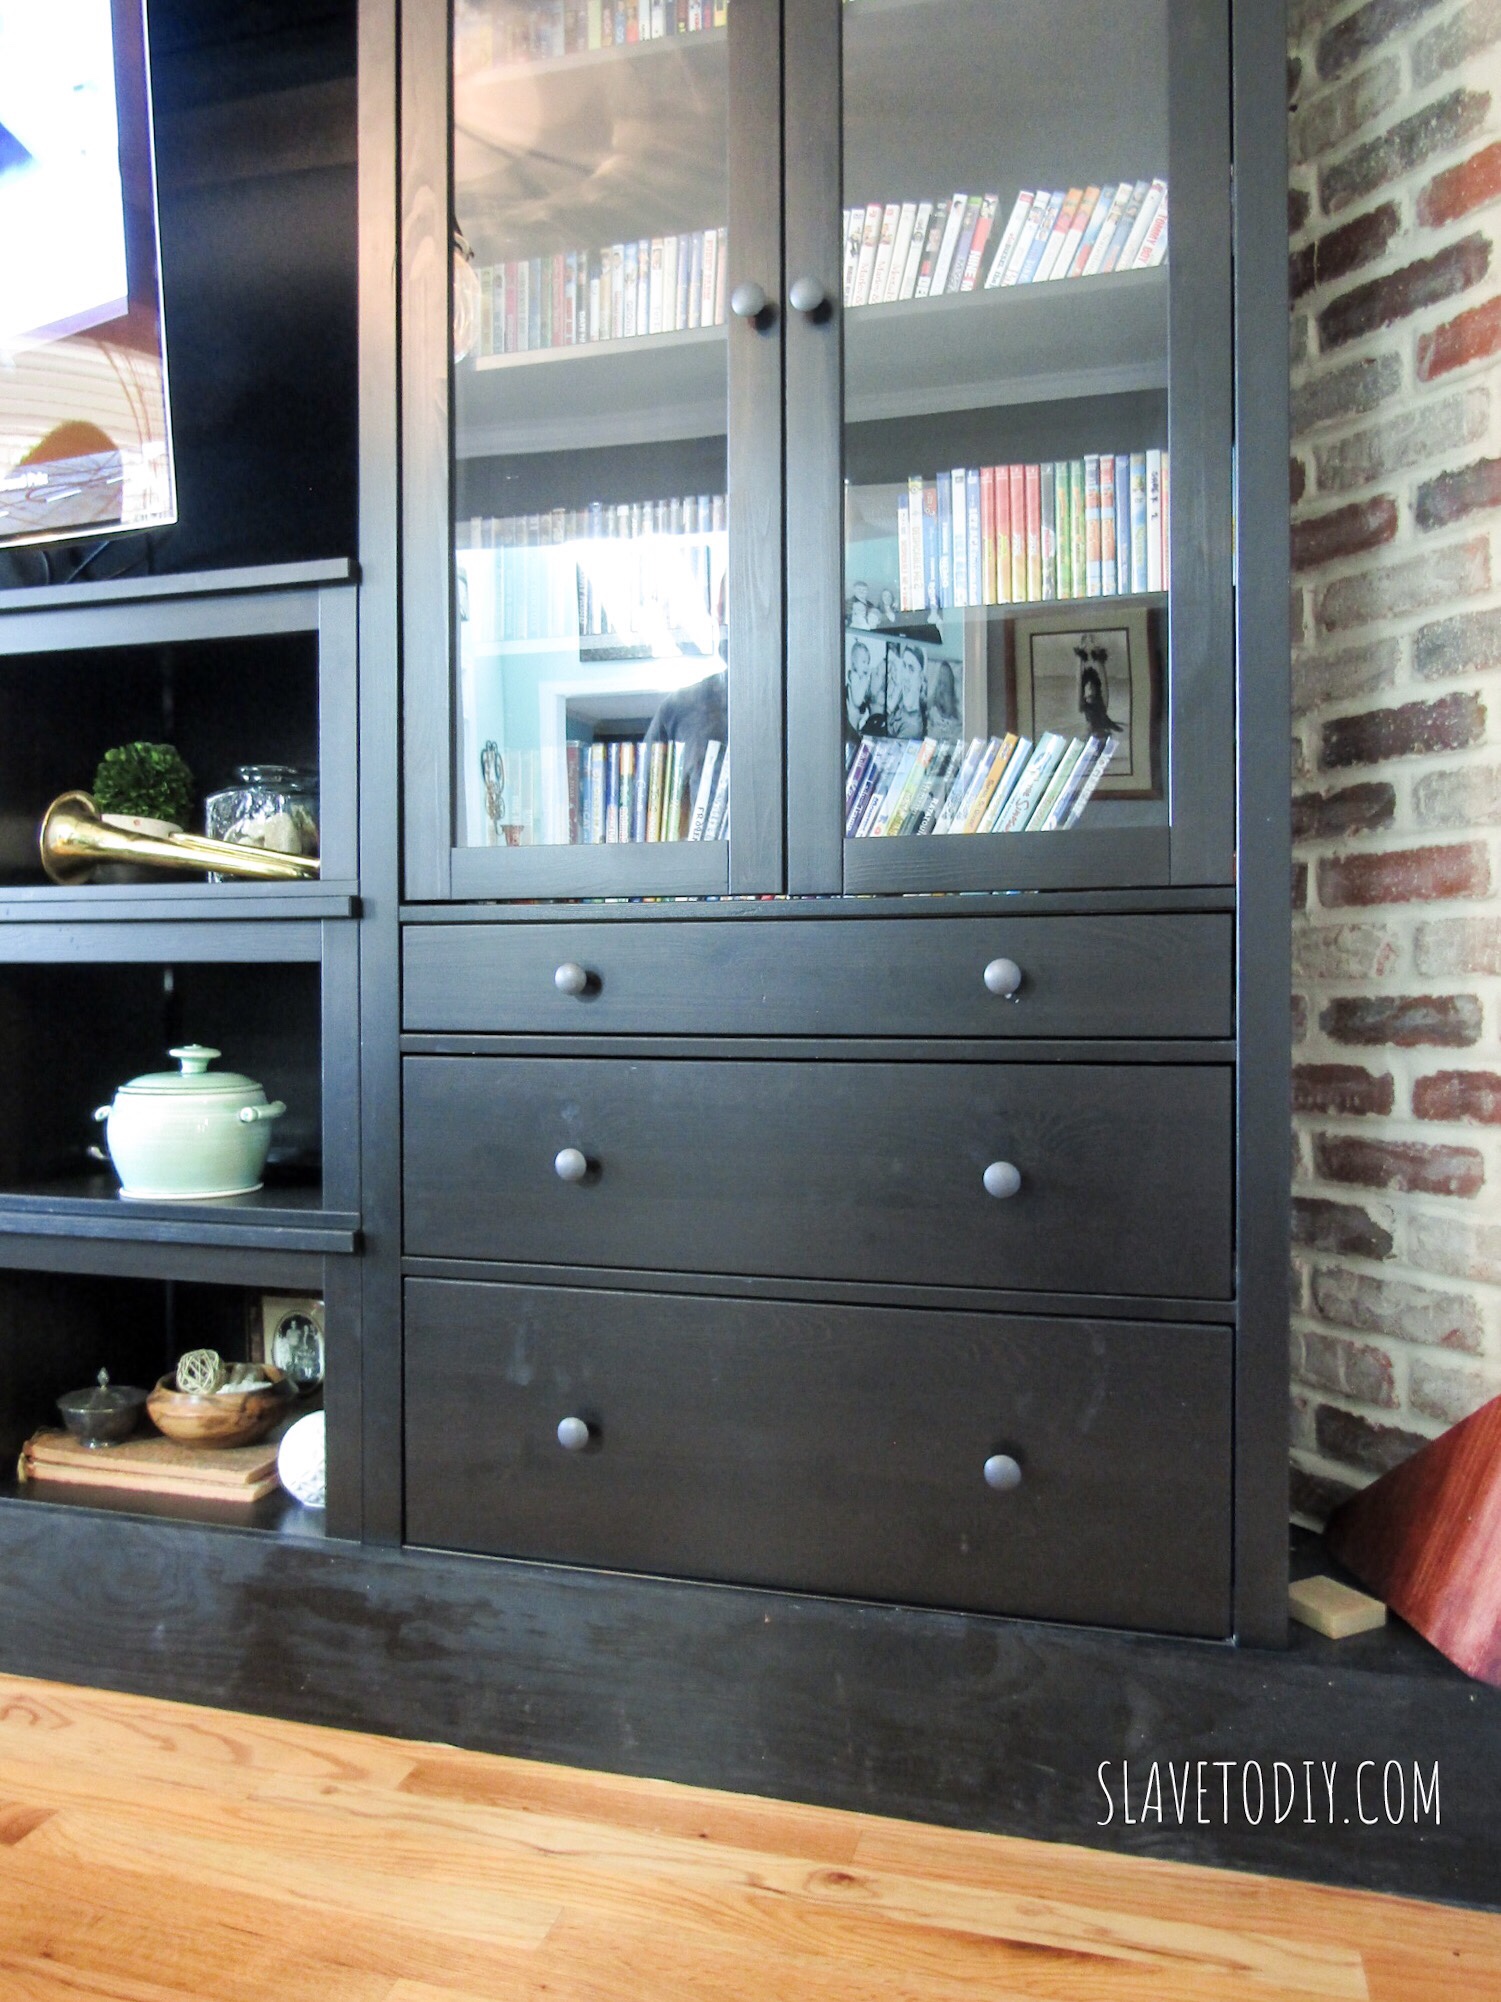
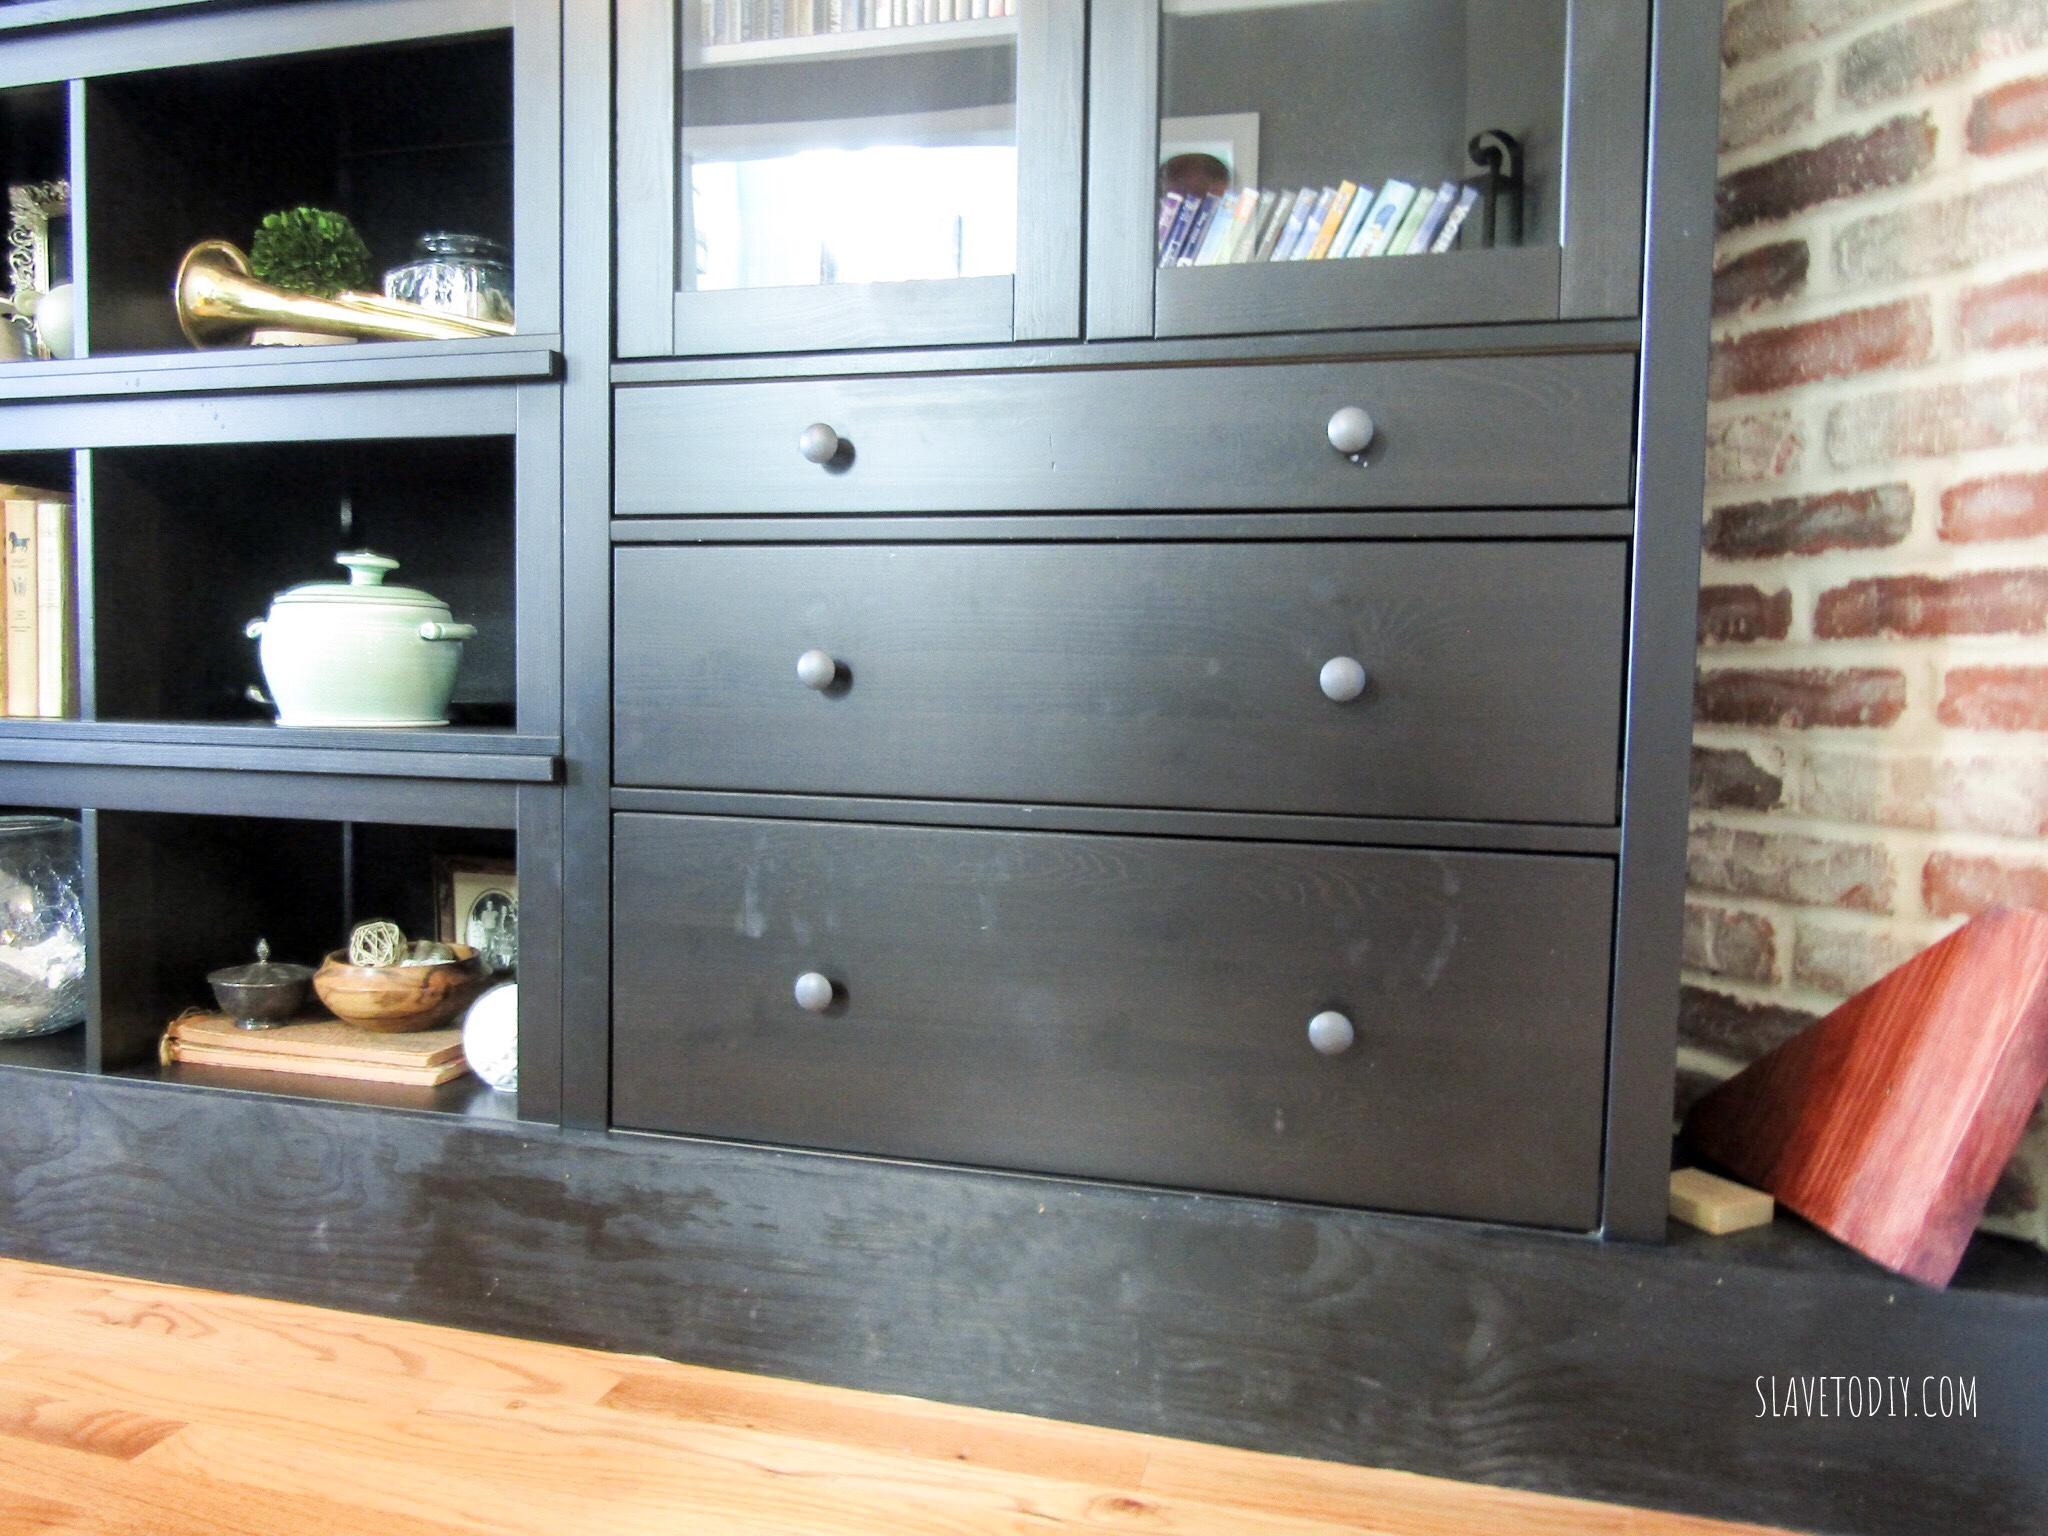
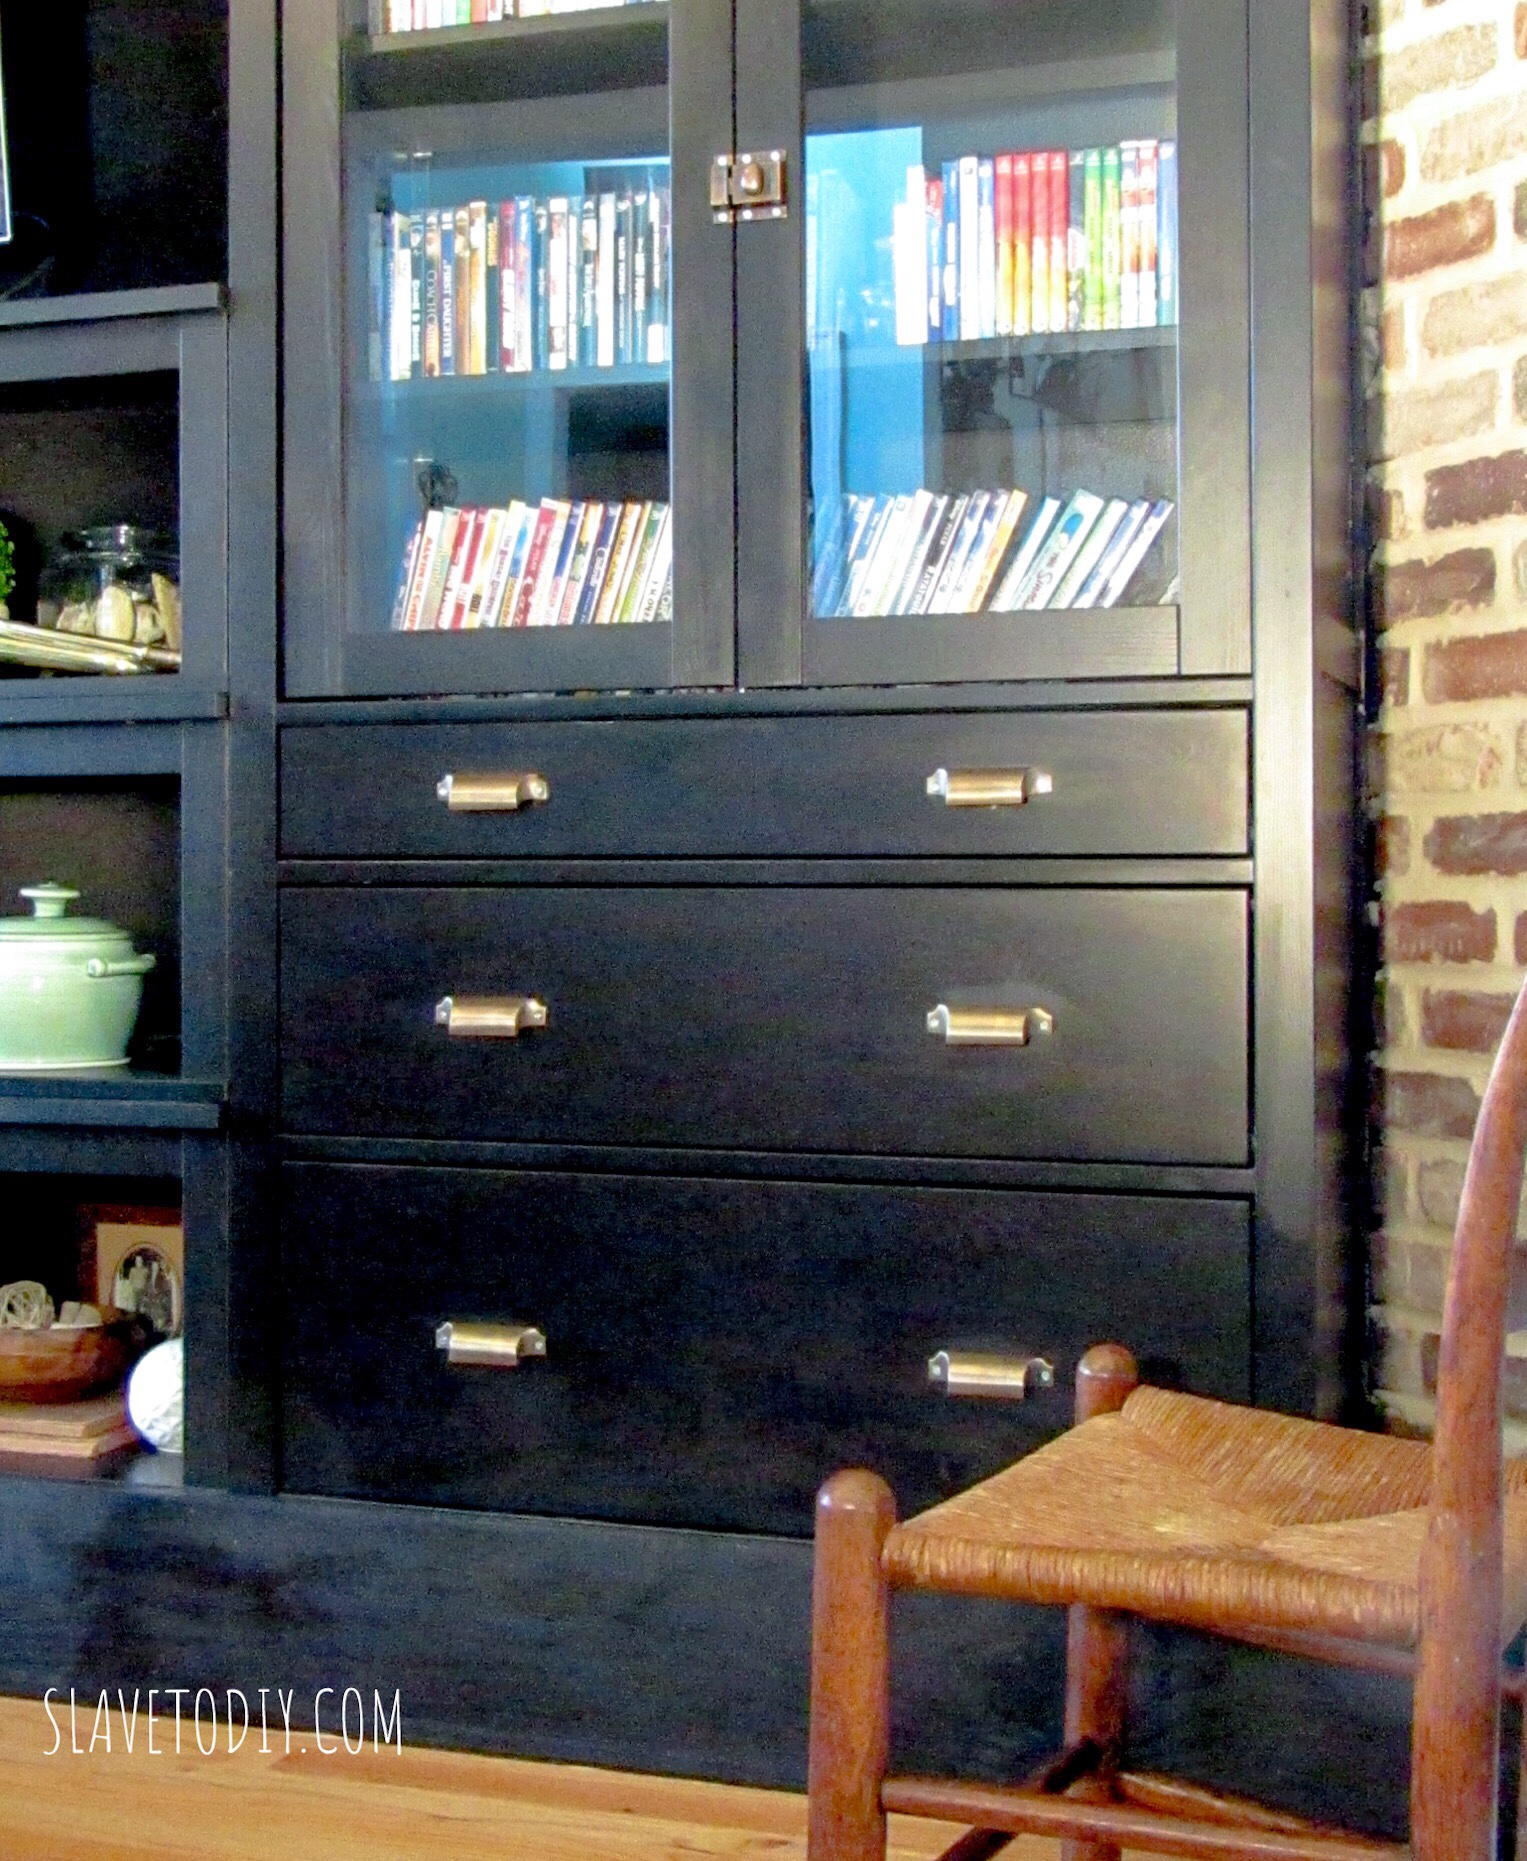
On our giant living room wall builtins IKEA hack, we used two sets of black Hemnes cabinets, each with three drawers and glass doors (please excuse our tardiness- they’re not finished). They were totally snooze-fest level with the existing hardware.

IKEA Hemnes cabinets with stock hardware

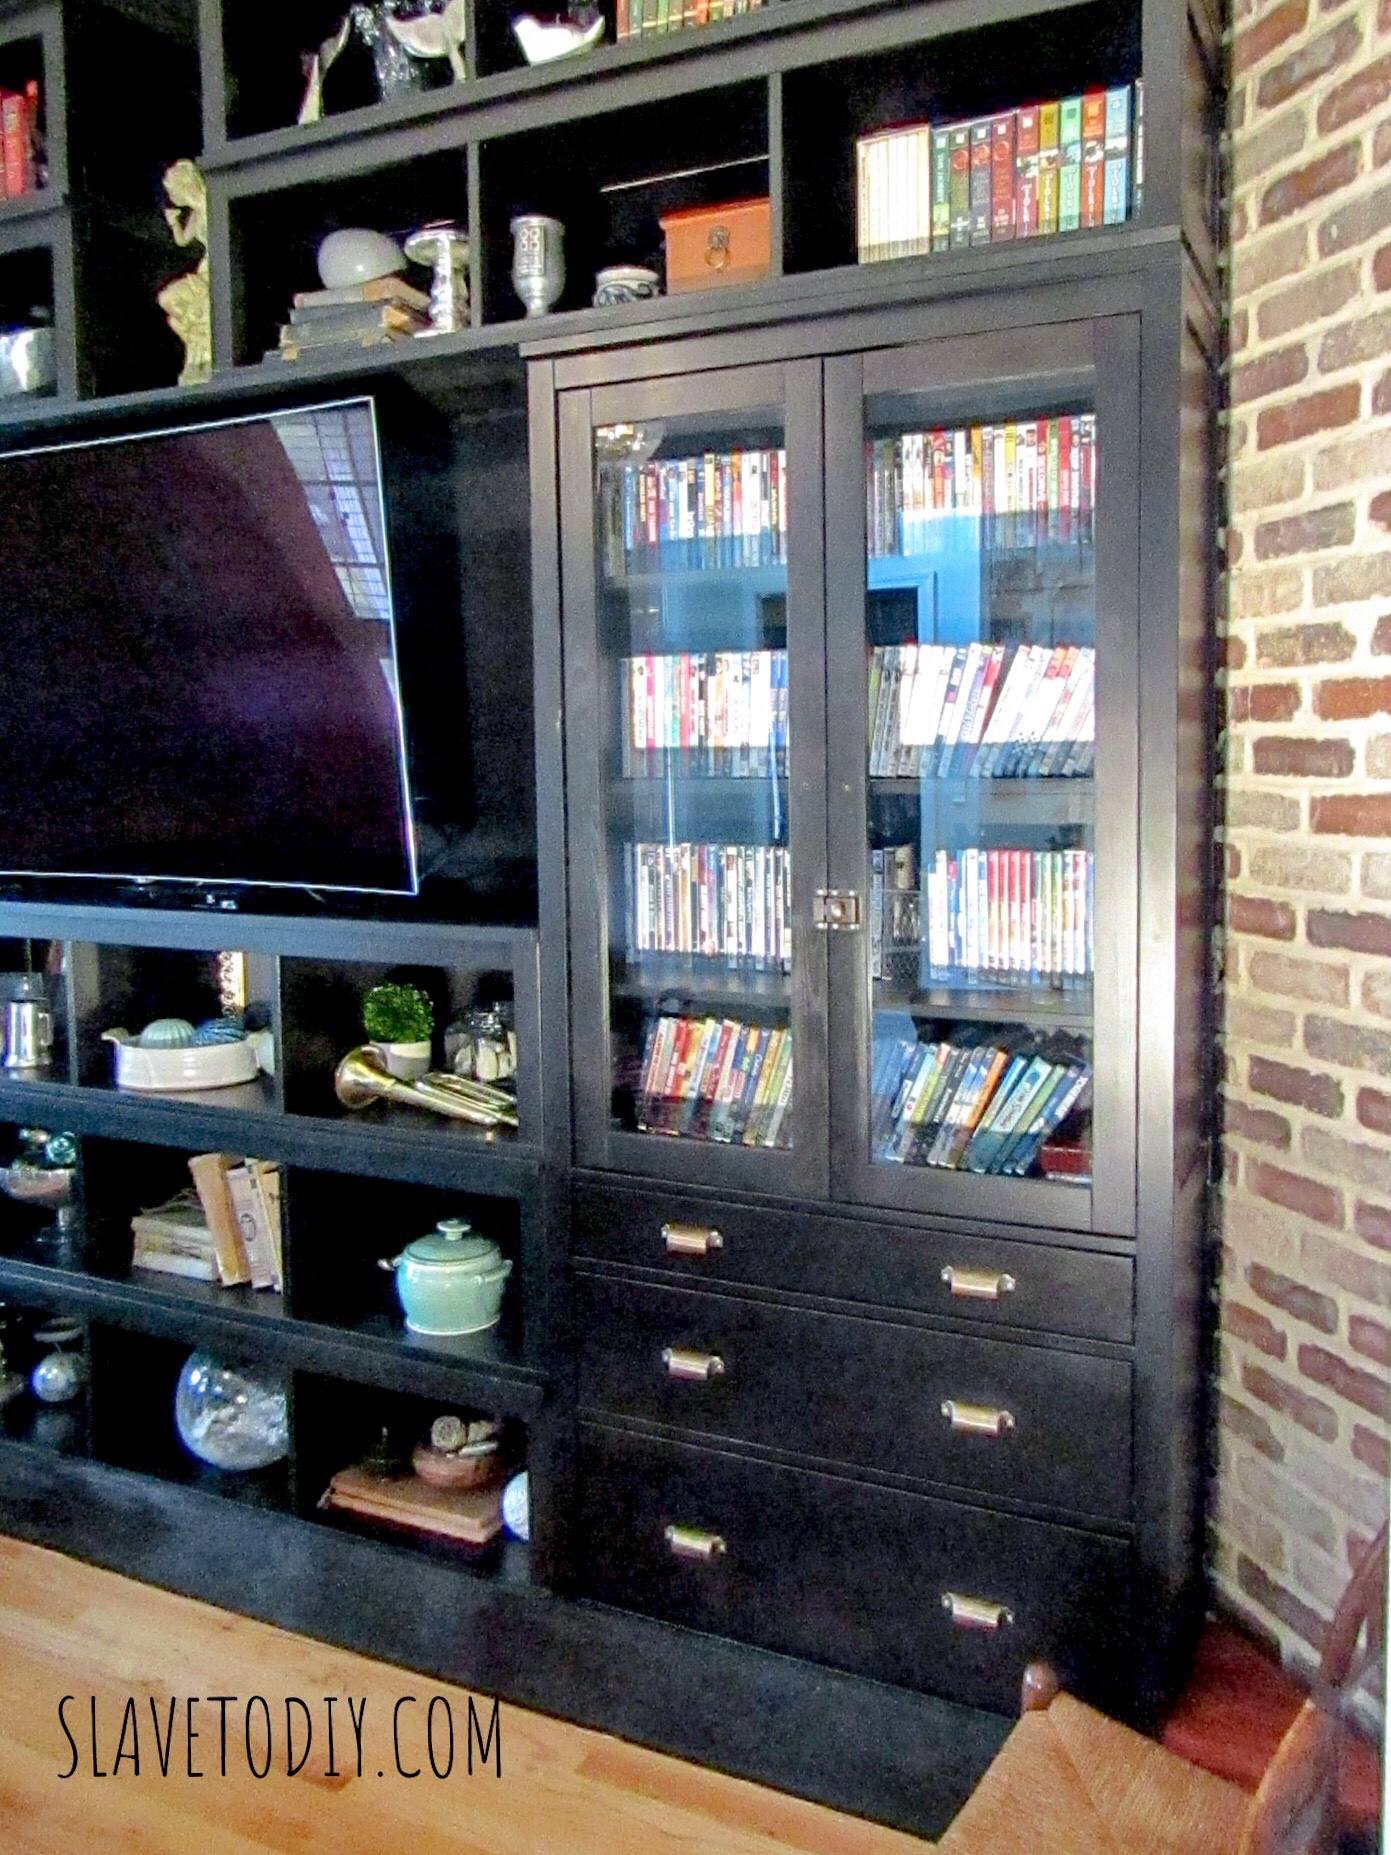
You can completely change the look and feel of the whole thing by finding hardware that speaks to you. At first I really wanted long, brass handles. However, 16″ hole separations on the drawers really limit non-custom options (the quotes I got on custom bars were in the $100 each range, and I needed six). So, I went back to the two pulls per drawer option and found something in the same family as what I wanted before.

IKEA Hemnes stock drawer hardware

I found these Antique Brass Bin Pulls pretty reasonably and the two Cast Brass Cupboard Latches for a total of $142, both from House of Antique Hardware.

House of Antique Hardware, bin pulls and cabinet latches

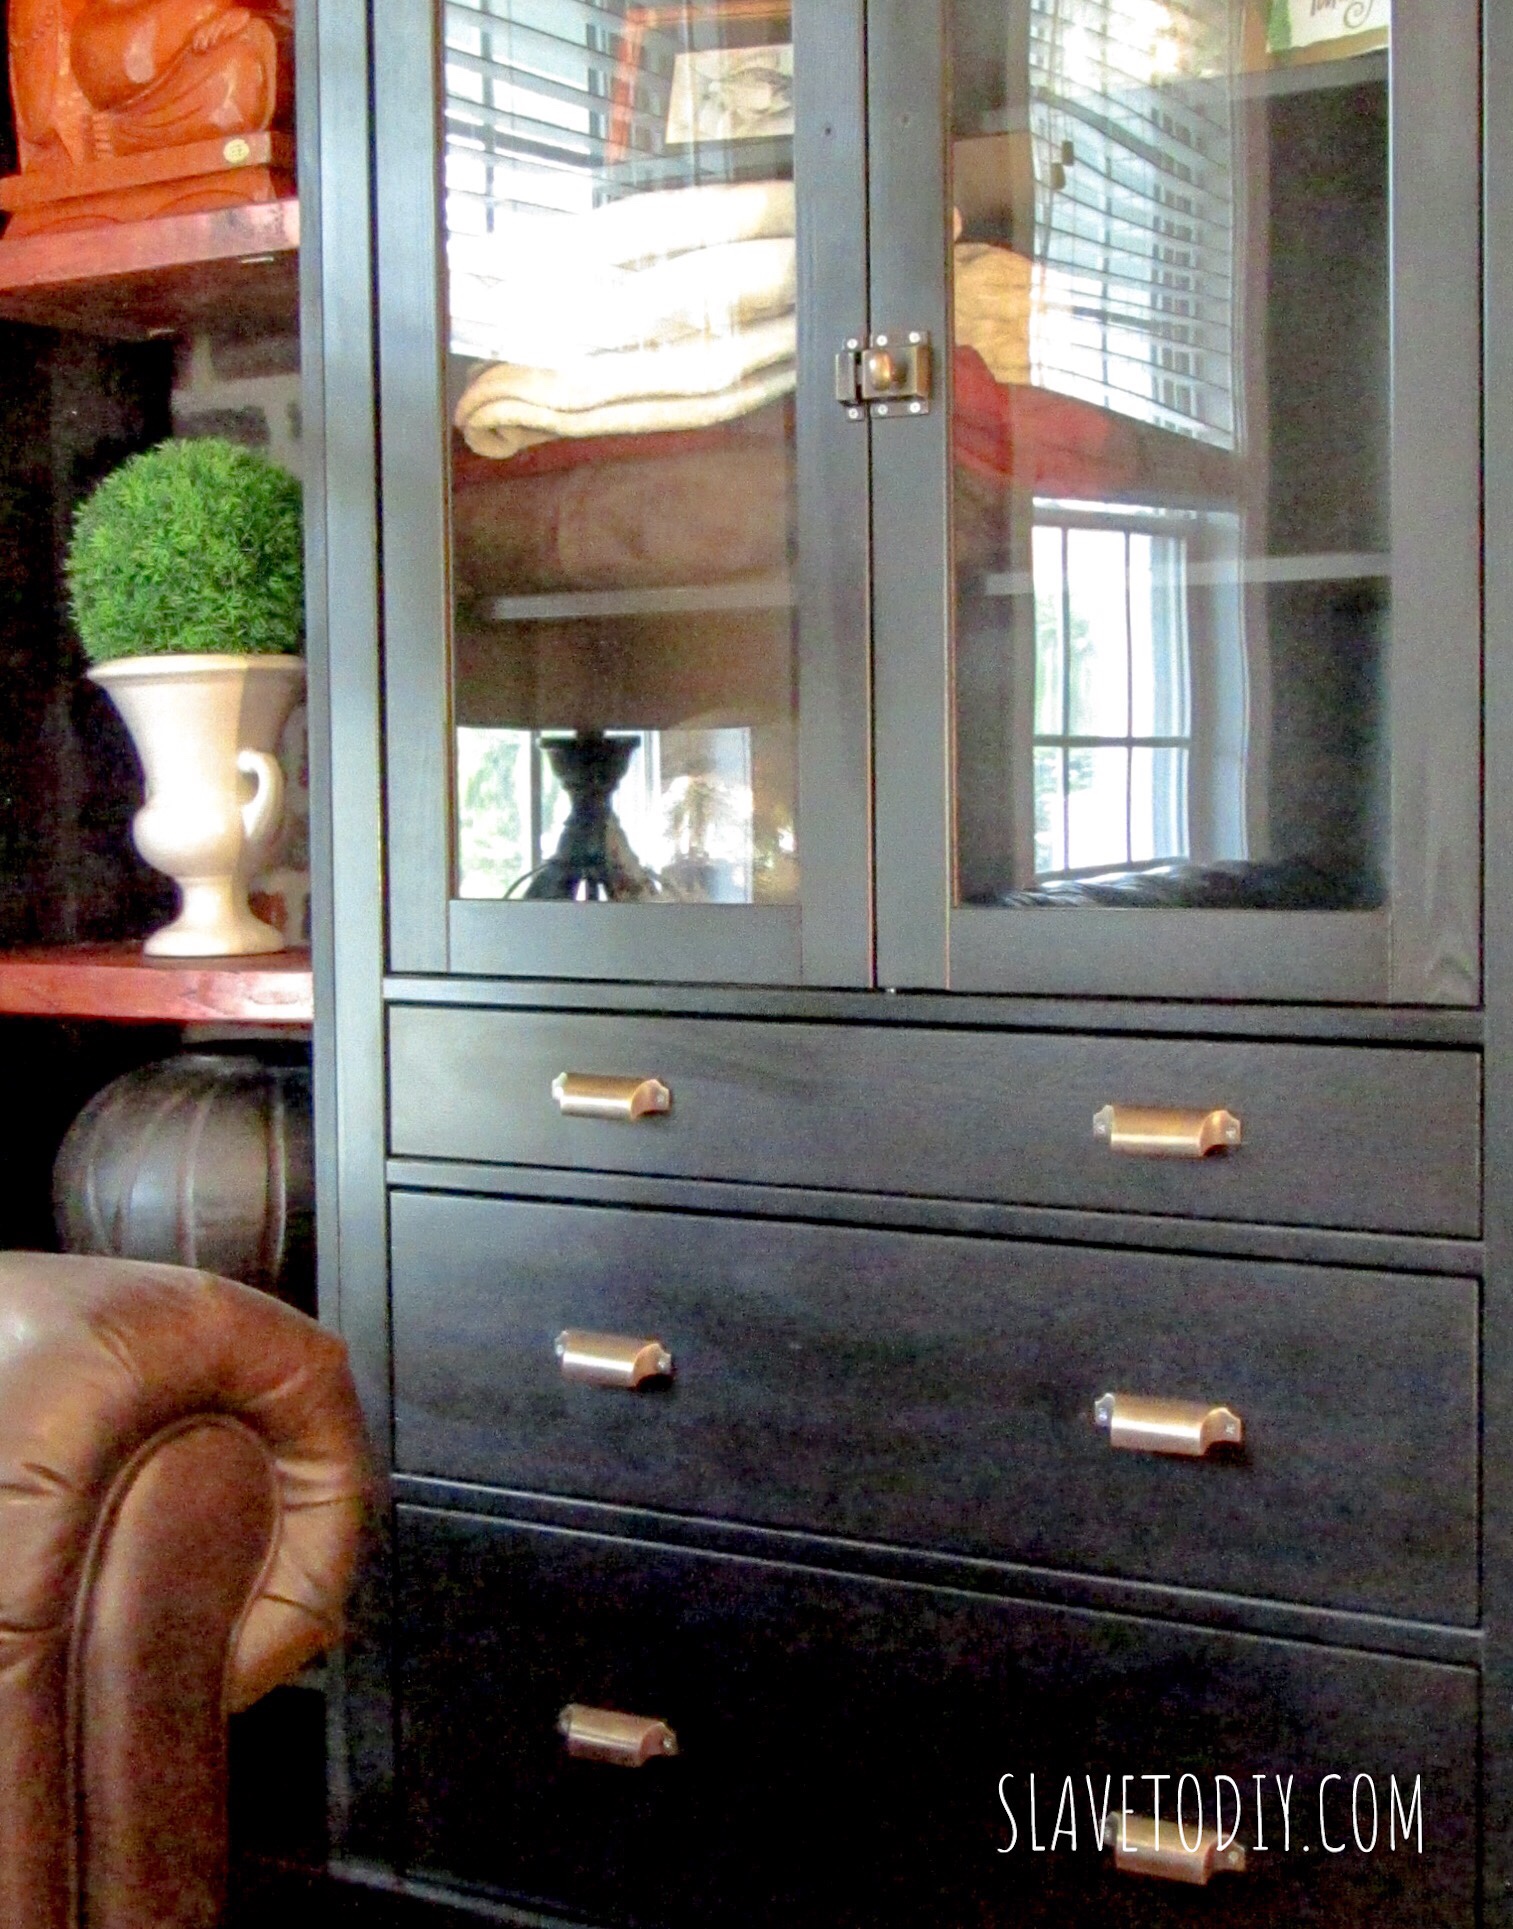
They made such a difference. Aren’t they just gorgeous?

House of Antique Hardware, bin pulls and cabinet latches

A few notes on installation: the pulls came with screws instead of two sided hardware. No way were we risking that accident-waiting-to-happen with our fifty kids, so I sent Rainman with one of the pulls down to the hardware store to hunt for a screw, washer, and nut that would work and go all the way through inside the drawer. Since we purchased them at Lowe’s our color options were limited. I haven’t decided whether I want to paint the hardware heads to match the pulls yet.

House of Antique hardware bin pulls

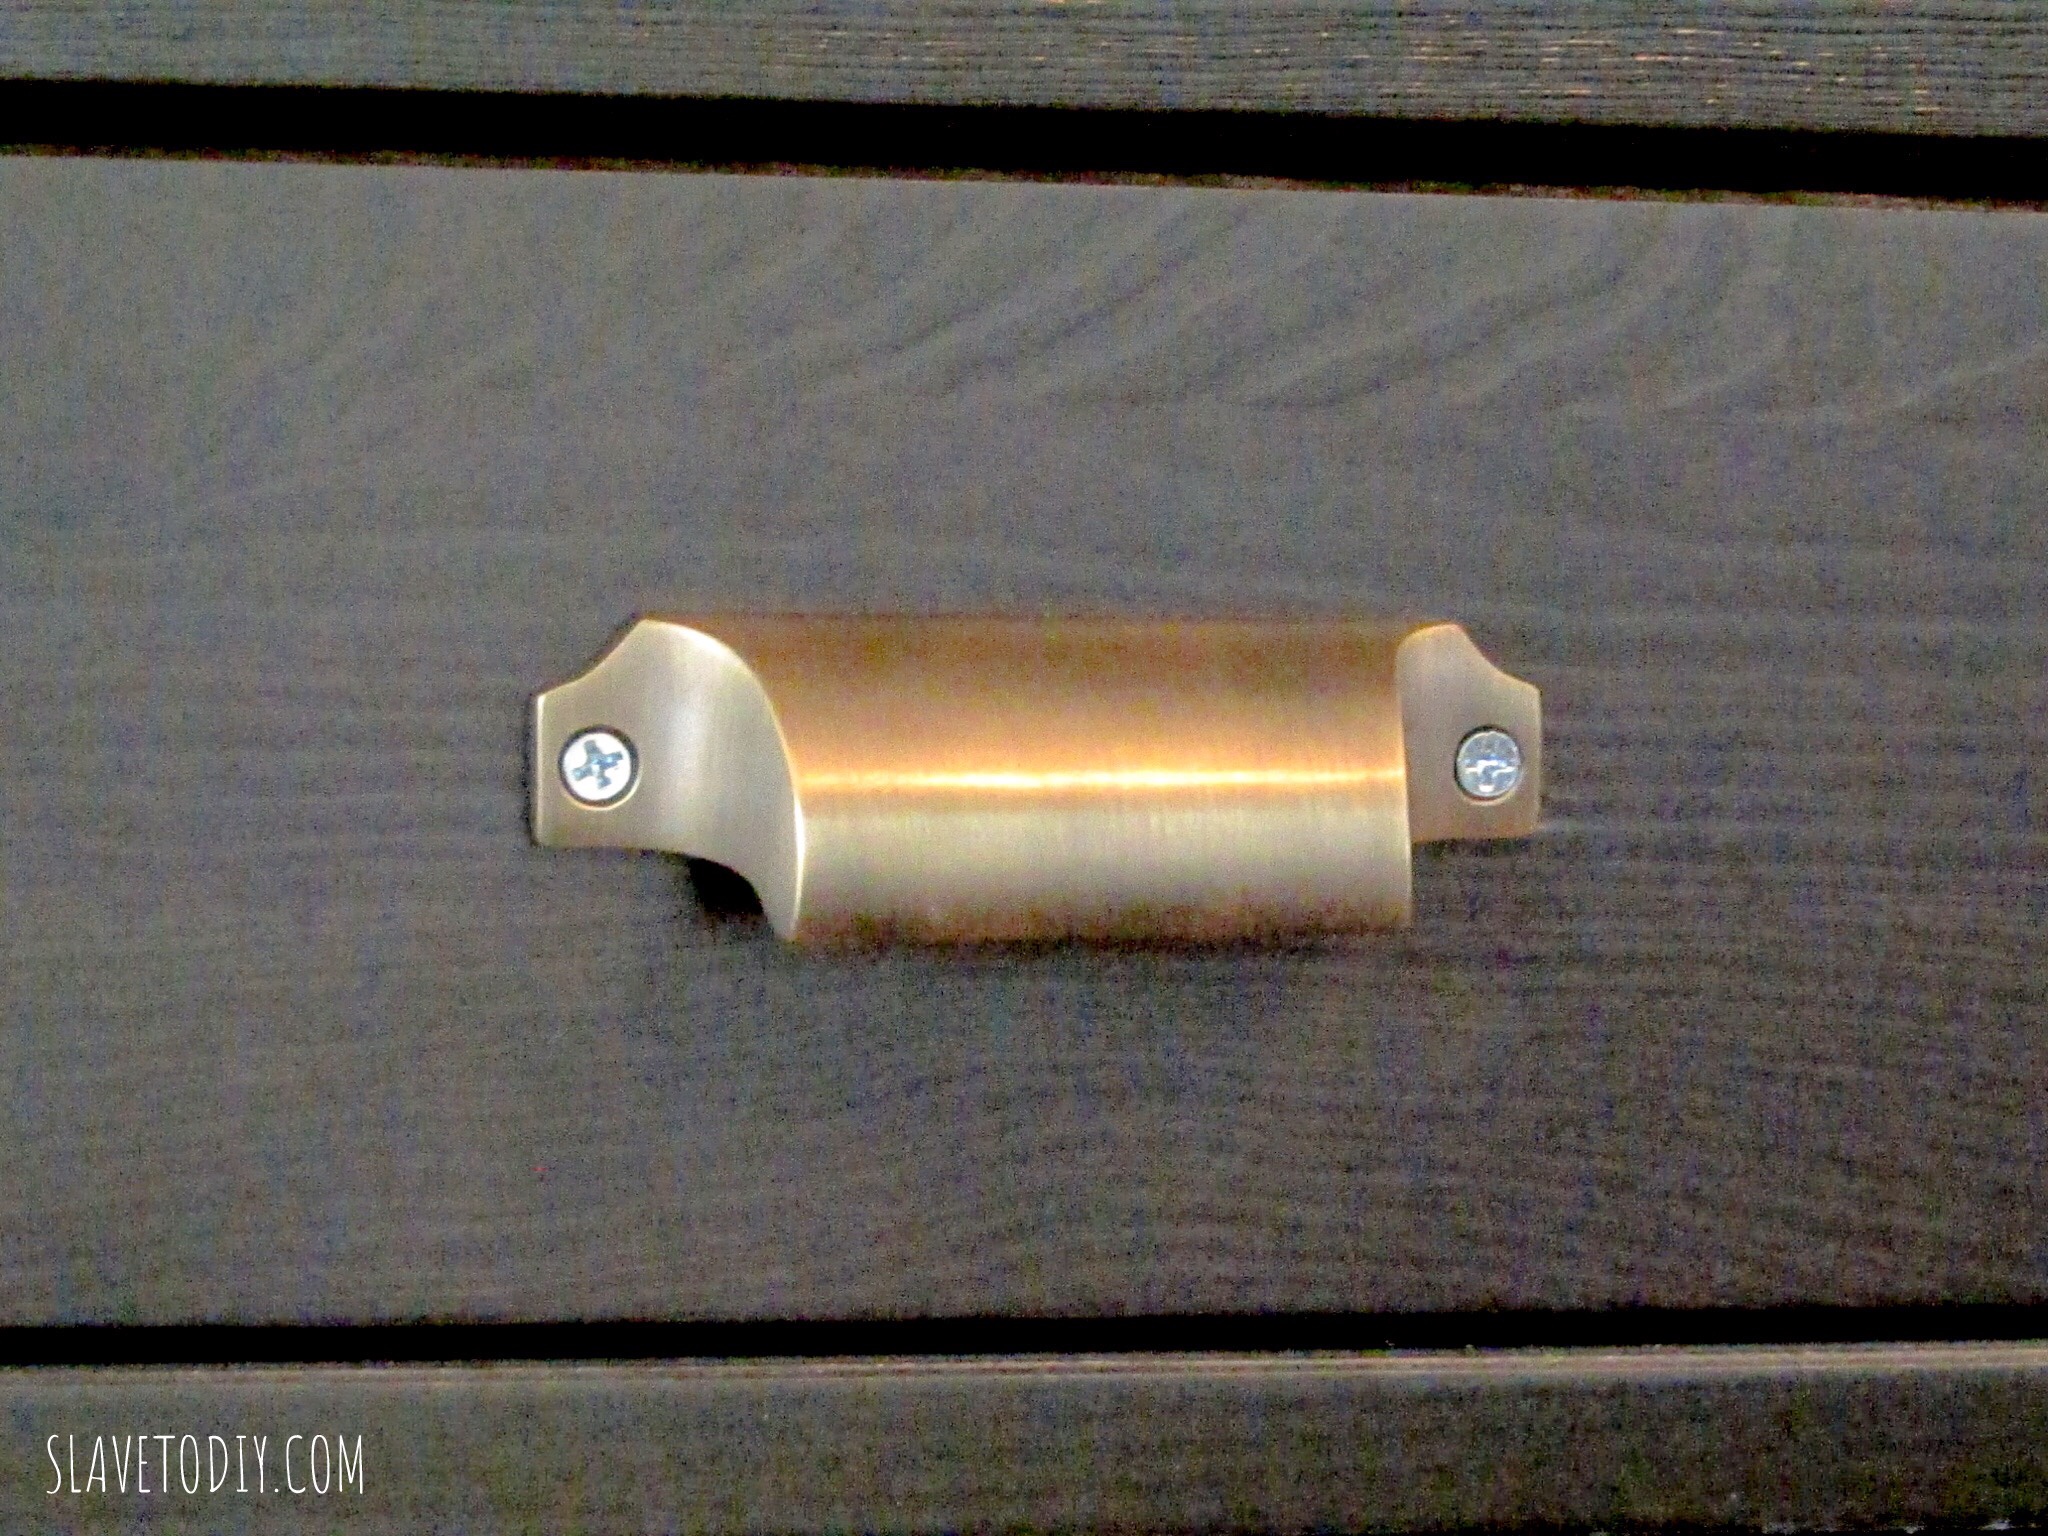
I originally intended to use one pre-drilled hole on each side but after we looked at the spacing we decided to straddle the existing holes and drill all new holes for each bin pull. They just looked better balanced.

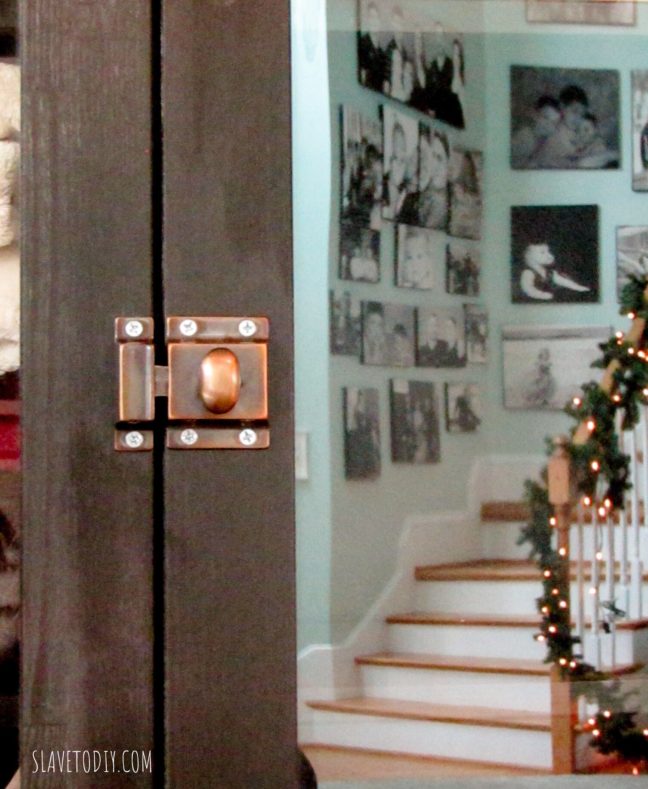
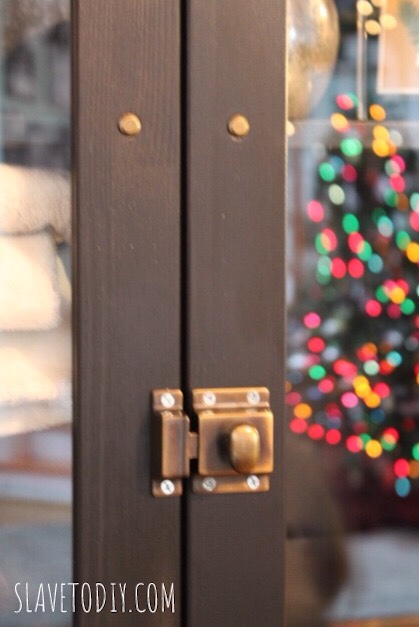
The cabinet latches were a little more difficult because the pre drilled holes were too far back (toward the glass).

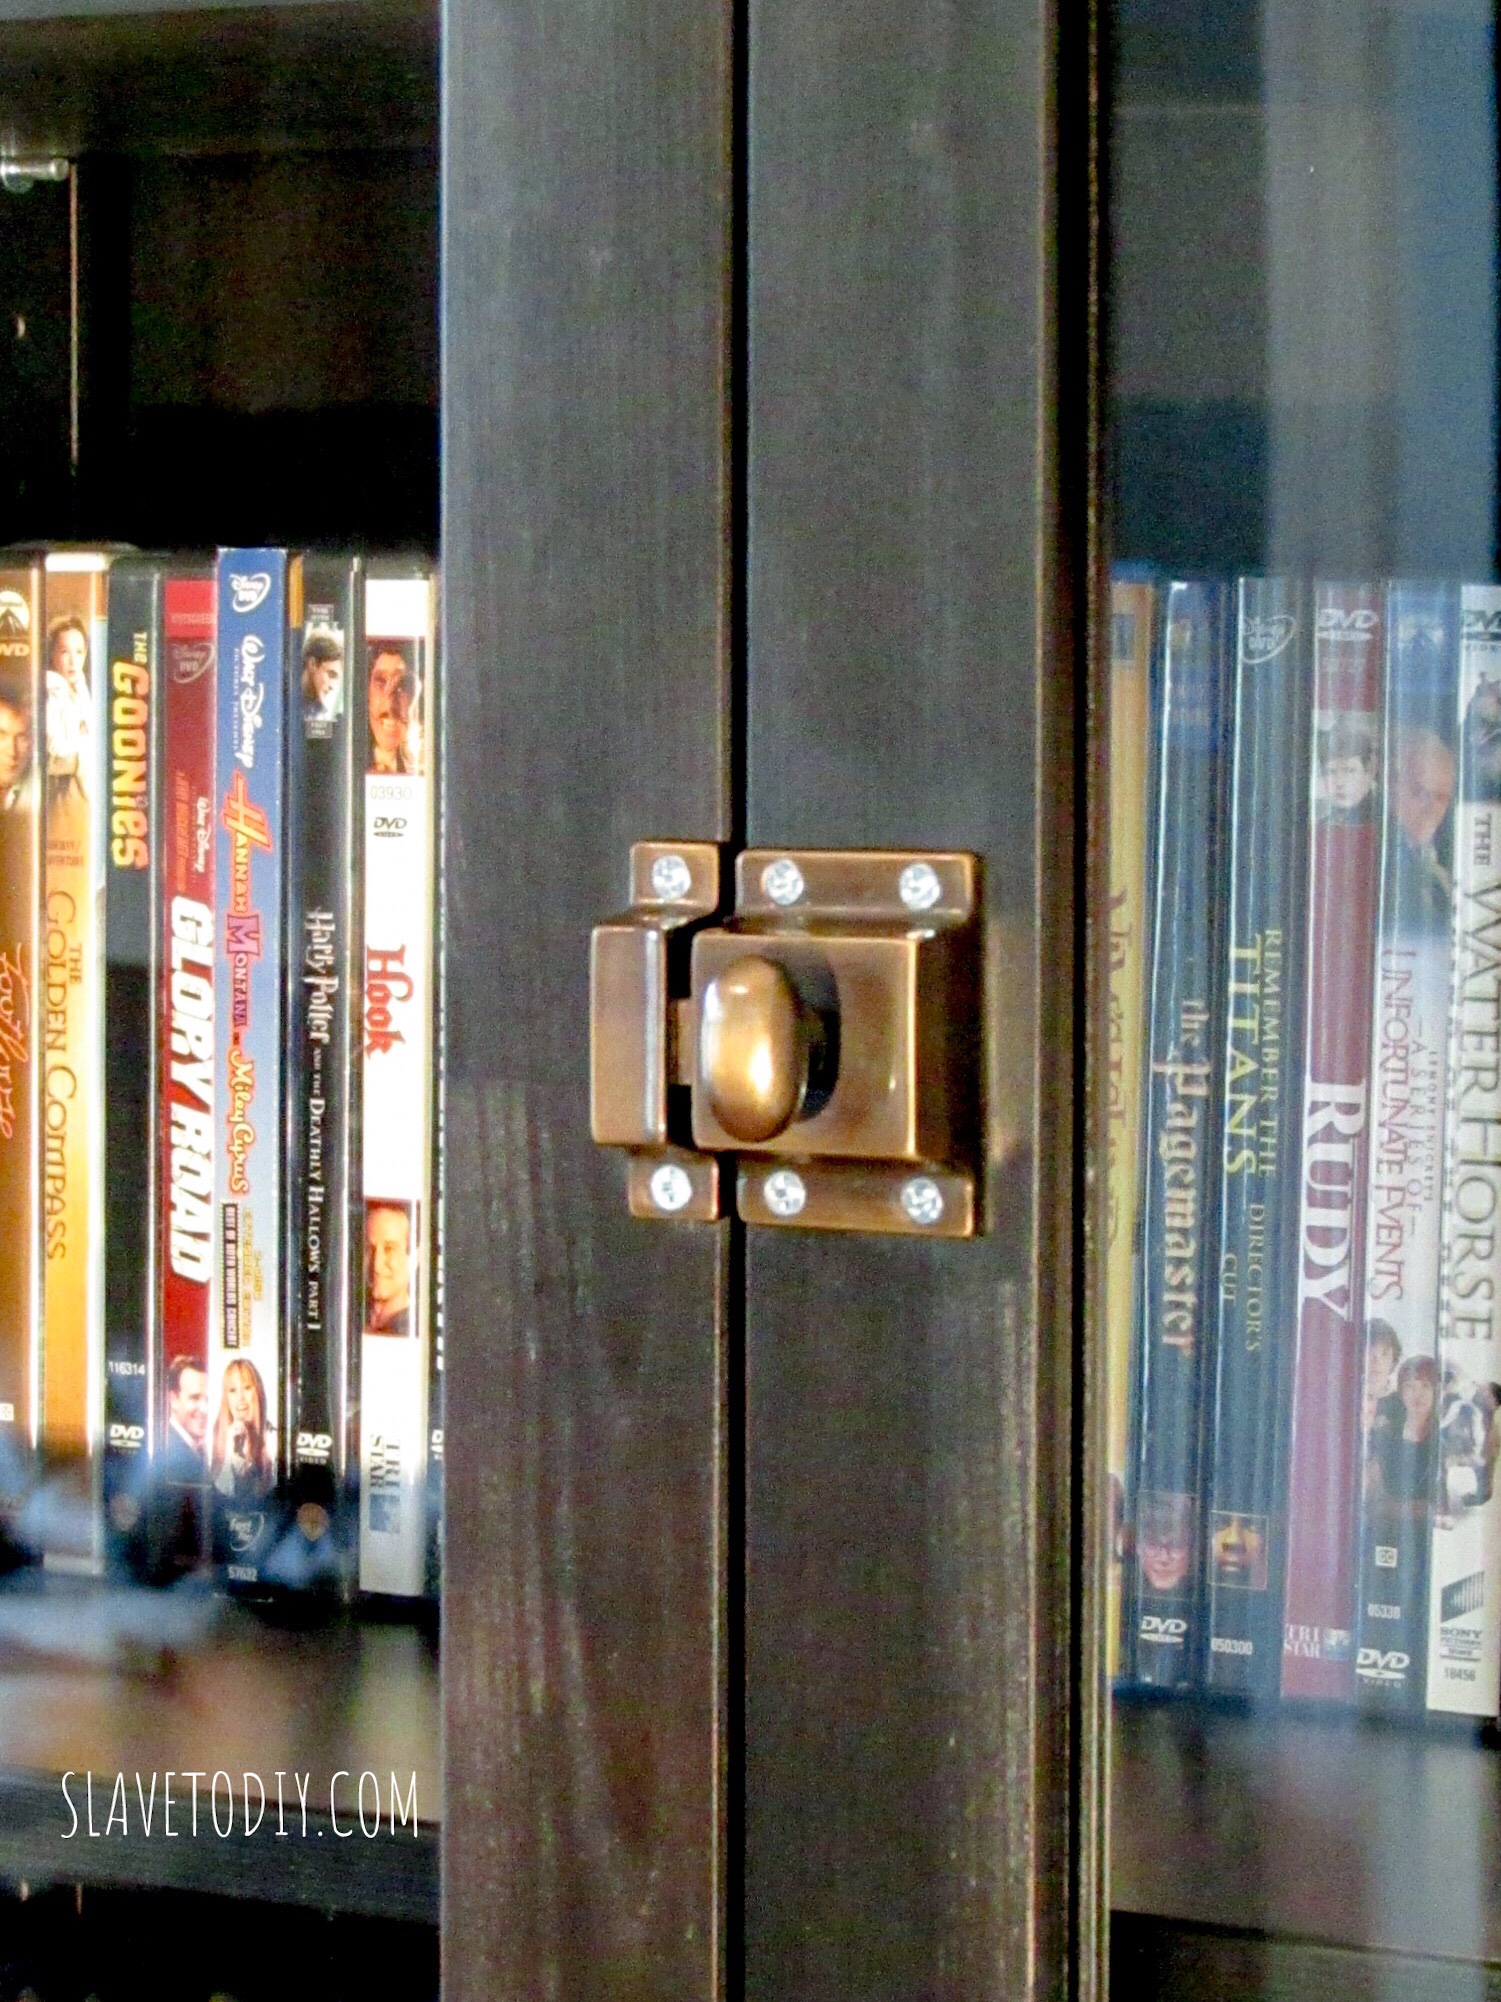
There is not a whole lot of wiggle room when installing these latches. I moved them down to a place I liked better visually and filled the old holes with a basic brushed brass Chicago screw. They have to go to the very edge to latch and the drilling has to be done very precisely.

96606fe3-0c20-499e-971f-0664d3e50664

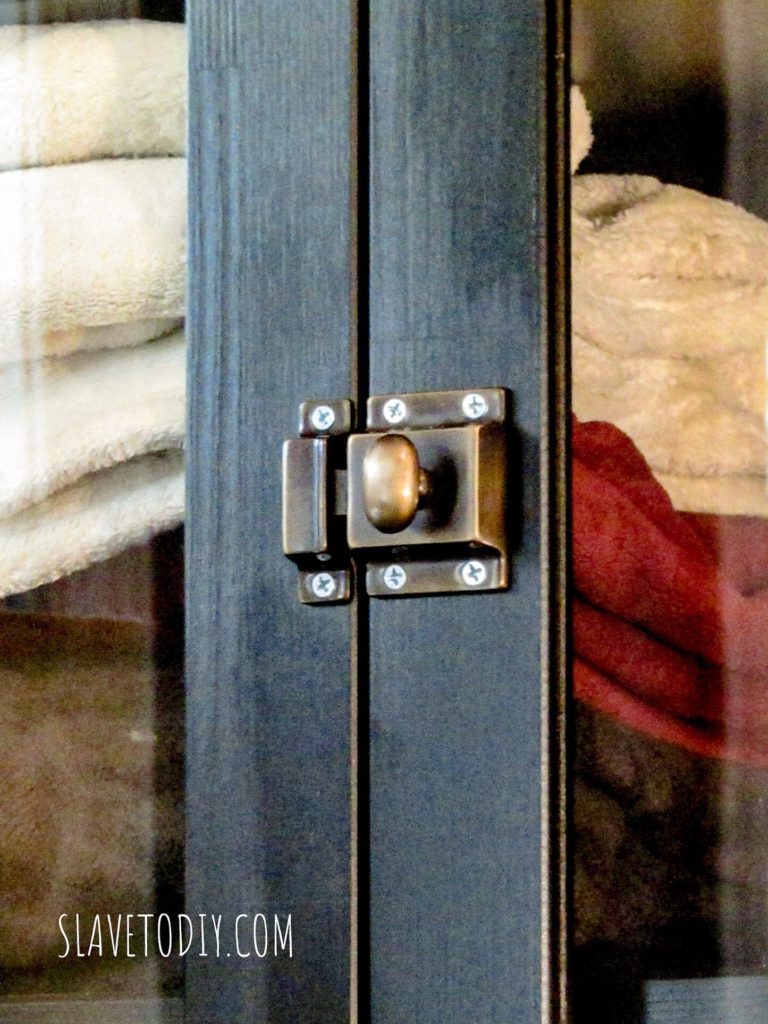
Here are the Chicago Screws we used to cover the existing hardware holes.

I would love to see different ways you customize your own IKEA hacks! Thanks for joining our adventures!

Check out more of our projects here.

*Legal stuff:

I am honest about my experiences with different products and write because I enjoy it.  I do however, have the opportunity to earn money for my writing, also.

Slavetodiy.com is a participant in the Amazon Services LLC Associates Program, an affiliate advertising program designed to provide a means for sites to earn advertising fees by advertising and linking to amazon.com.  Amazon offers a small commission on products sold through their affiliate links.  Each of your purchases via our Amazon affiliation links supports our cause at no additional cost to you.

If a blogger links to an Amazon product (with a special code for affiliates embedded in the link), and a reader places an item in their “shopping cart” through that link within 24 hours of clicking the link, the blogger gets a small percentage of the sale.  Amazon links are not “pay per click.”  If you click on the product link and stay around Amazon and purchase something else, however, I will get a commission on that sale.

Slavetodiy.com is also a VigLink affiliate advertiser which works similarly.

How To Preserve Roses

How To Preserve Roses
How To Preserve Roses, Preserving Roses

I’m so excited. I got BEAUTIFUL roses for my birthday. I know we’ve all lied to our significant others at some point, and told them we didn’t like flowers, but if they were smart, they knew it was a lie and bought flowers anyway. Because there are significantly fewer tears that way.

This post may contain affiliate links.  Please see the full disclosure at the bottom of the post.

We won’t talk about that time that I cried like a little girl because, even though I had dropped copious hints, I didn’t get flowers for my birthday. We’re complicated creatures, women. Poor Rainman.

Yeah, I’m that girl. (If you are in the dog house, and need to buy flowers, this is a great service).

How To Preserve Roses
How To Preserve Roses, Roses on the Sewing Machine Table

Ugh, they’re just gorgeous from every angle. But, I have a secret. These are in the process of “preserving”. Did you know that you can prevent those gorgeous roses from keeling over on you?

There are two really good methods for doing this and I’ll go through both!

Method One (best for roses that you want to use in arrangements later… more finicky than method two):

How To Preserve Roses
How To Preserve Roses, Beautiful Roses for My Birthday


This is pre-preservation. I always love the arrangement from our local florist, although I don’t love their choice of cheapo vases. Even the “budget” line shouldn’t be a throw away. Anyhoo, when I get to the preserving phase, I’m really only interested in the roses. I love them at Christmas for their deep red and am looking forward to bringing them back out.


How to Preserve Roses
How to Preserve Roses: Red rose bouquet with preserving supplies: scissors, vegetable glycerin, and a hammer.

You really only need a couple of things to do this:

  • Your preserving vase (mine is an antique but I have these also, which are super cute and very reasonable)
  • Florist shears/ scissors (as you can see, I was using the poultry shears instead of going to get my nice florist shears which drives Rainman totally NUTS)

Fill your vase with about 1.5 – 2 inches of glycerin.

I start with the longer roses in the arrangement. Holding the vase next to the edge of the counter and the rose stem next to it, I eyeball where I want the cut. Snip! Take your little hammer and flatten the end of the stem. Roll it and flatten again. Mash it up so it opens up (this helps the glycerin get into the stem).

I do the center (long pieces) first, then fill in around the edge with the shorter stems. For mine, I remove all of the leaves and toss everything other than the roses.

Move them to a location out of the sun to start the preserving process.

Preserving Roses
Preserving Roses: Red rose bouquet, beginning preservation.

I have to be honest: I adore how these are turning out. They will be gorgeous for my Christmas scenes. These can possibly last years if handled carefully and are such a better option than silk!

Tip: Make sure to add glycerin over several weeks until the stems stop absorbing, then dump out any excess (the glycerin will start gelling on the petals and getting goopy if you leave it).

Preserving Roses
Preserving Roses: Preserved red rose bouquet ready to WOW.


Method 2 (My Favorite):

How To Preserve Roses

This is the PERFECT preserved roses in a hatbox method!

You’ll need:

How To Preserve Roses


How To Preserve Roses

Step One: Snip off the leaves

How To Preserve Roses


How To Preserve Roses


How To Preserve Roses


How To Preserve Roses


Step Two: measure how long to cut your roses!  Then cut them at that height at an angle (check your height by putting it in the box).

How To Preserve Roses


How To Preserve Roses


Step three: Remove the three outermost petals on your roses.

How To Preserve Roses


How To Preserve Roses


Step four: Put your roses into the bag and pour the silica beads over it. Gently shake it to completely cover and get it inside the petals. Once they are covered, put them into a cool dark place for about a week. (Don’t worry about using all of your silica, you can re-use it!)

How To Preserve Roses


How To Preserve Roses


Step Five: Once all of the petals are preserved, shake the silica off carefully, and place them gently into your hatbox. These can last more than a year if you preserve them correctly!

How To Preserve Roses


How To Preserve Roses


Thanks for checking out our little tutorial! Feel free to comment and ask questions below and check out more of our great projects here! Cheers!


*Affiliate Disclosure:

I am honest about my experiences with different products and write because I enjoy it.  I do however, have the opportunity to earn money for my writing, also.

Slavetodiy.com is a participant in the Amazon Services LLC Associates Program, an affiliate advertising program designed to provide a means for sites to earn advertising fees by advertising and linking to amazon.com.  Amazon offers a small commission on products sold through their affiliate links.  Each of your purchases via our Amazon affiliation links supports our cause at no additional cost to you.

If a blogger links to an Amazon product (with a special code for affiliates embedded in the link), and a reader places an item in their “shopping cart” through that link within 24 hours of clicking the link, the blogger gets a small percentage of the sale.  Amazon links are not “pay per click.”  If you click on the product link and stay around Amazon and purchase something else, however, I will get a commission on that sale.

Slavetodiy.com is also a VigLink affiliate advertiser which works similarly.