Welcome to the first installment of our kitchen inspiration and design series: Kitchen Crush! I am working on an impossibly difficult and involved task: simplifying kitchen design. I soon realized that although I could probably get the design guide down into a bite-sized checklist that people could use without a designer, I really wanted to provide an explanation for a lot of the recommendations and ideas I offer as kitchen options so there are visual aids for each section.
*This post may contain affiliate links. Please see full disclosure at the end of the post.
Watch for our free printable kitchen design guide/checklist, coming soon!
One of the concerns I hear from every client is being afraid that an investment in a shiny new kitchen will result in a dated kitchen in less than ten years (ten years used to be the guideline for remodeling dated kitchens). That is a legitimate concern! I usually point out that it happens a lot faster than that now, because of platforms like Pinterest and easy visual access to what the pros are currently doing. It’s easy to feel sad when you sink a fortune into a beautiful kitchen and then start seeing that the pros are doing something new, something cooler, and you’re already regretting your design choices just a matter of months into the process.
We have a simple solution for that: don’t chase trends. Period. (Watch for our design post on trend chasing, coming soon!)
Pro tip: if you MUST chase trends (we know, you can’t help it that Pinterest keeps showing you that new cool tile shape for backsplashes), follow trends in areas that are cheaper and easier to replace than the bones of your kitchen, including: cabinet color, hardware, counter stools, light fixtures, and, yes, backsplashes. I promise that if you like your existing layout, cabinet style, flooring, etc, with the mini changes I just listed, you can have a whole brand new kitchen for a relatively miniscule investment if you’re itching for a trend change later.
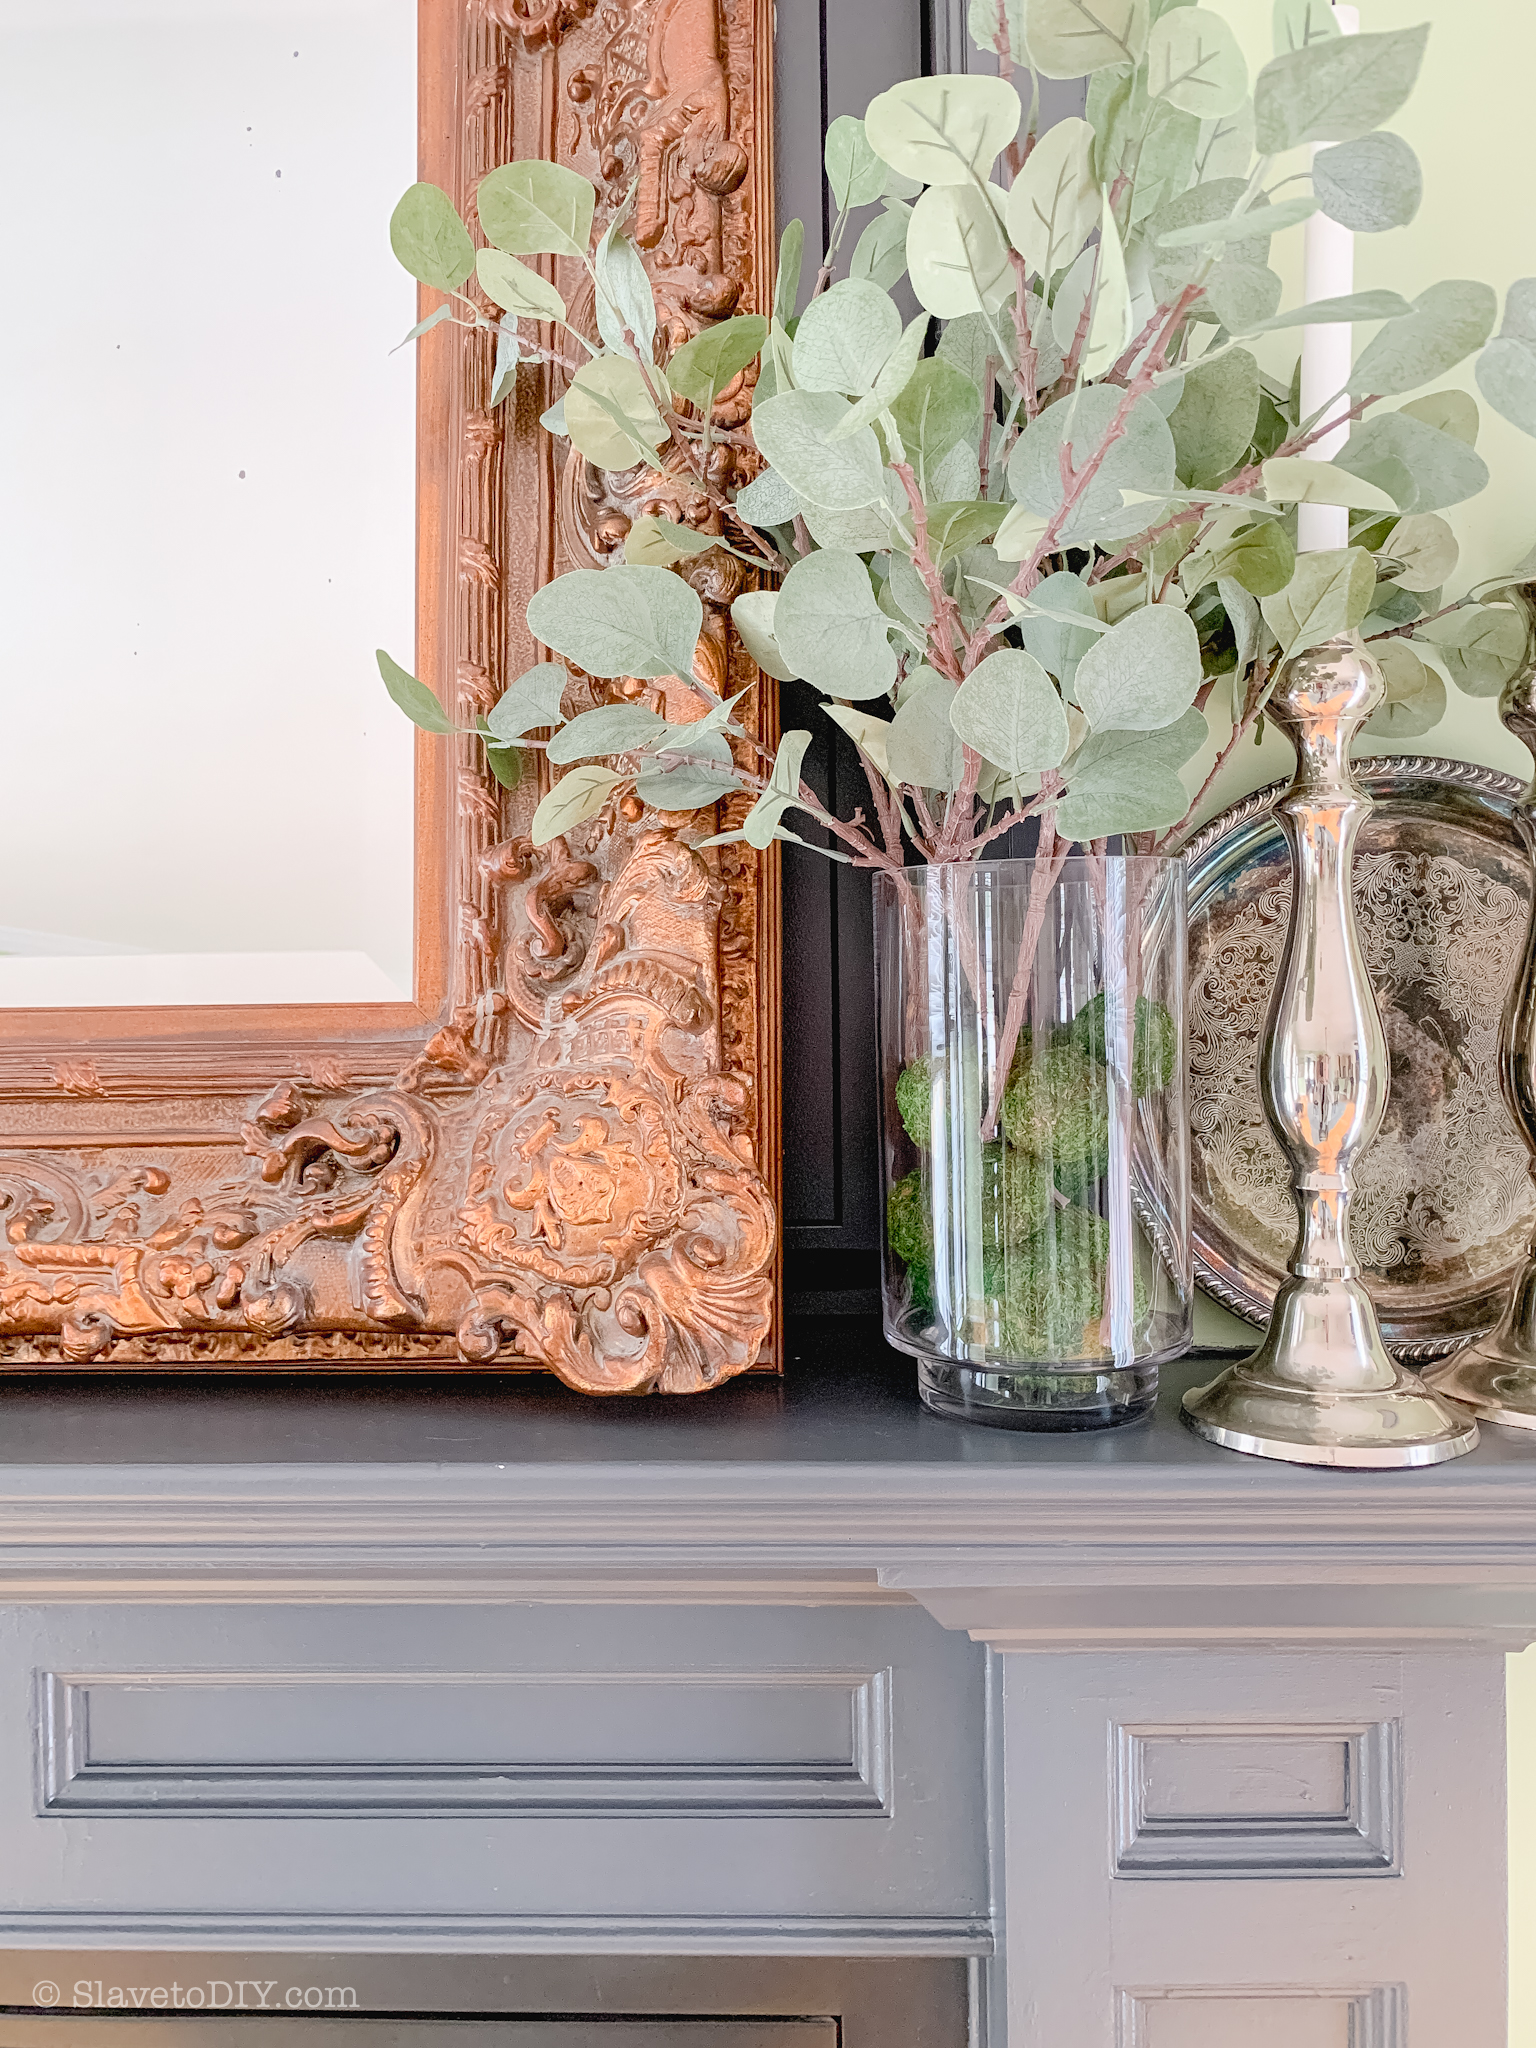
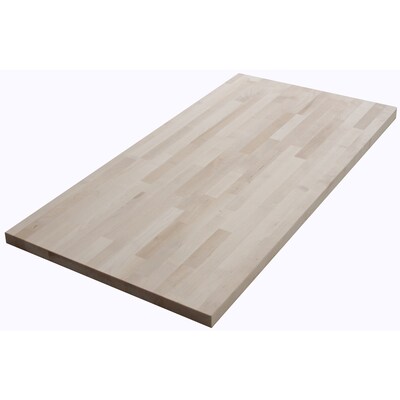
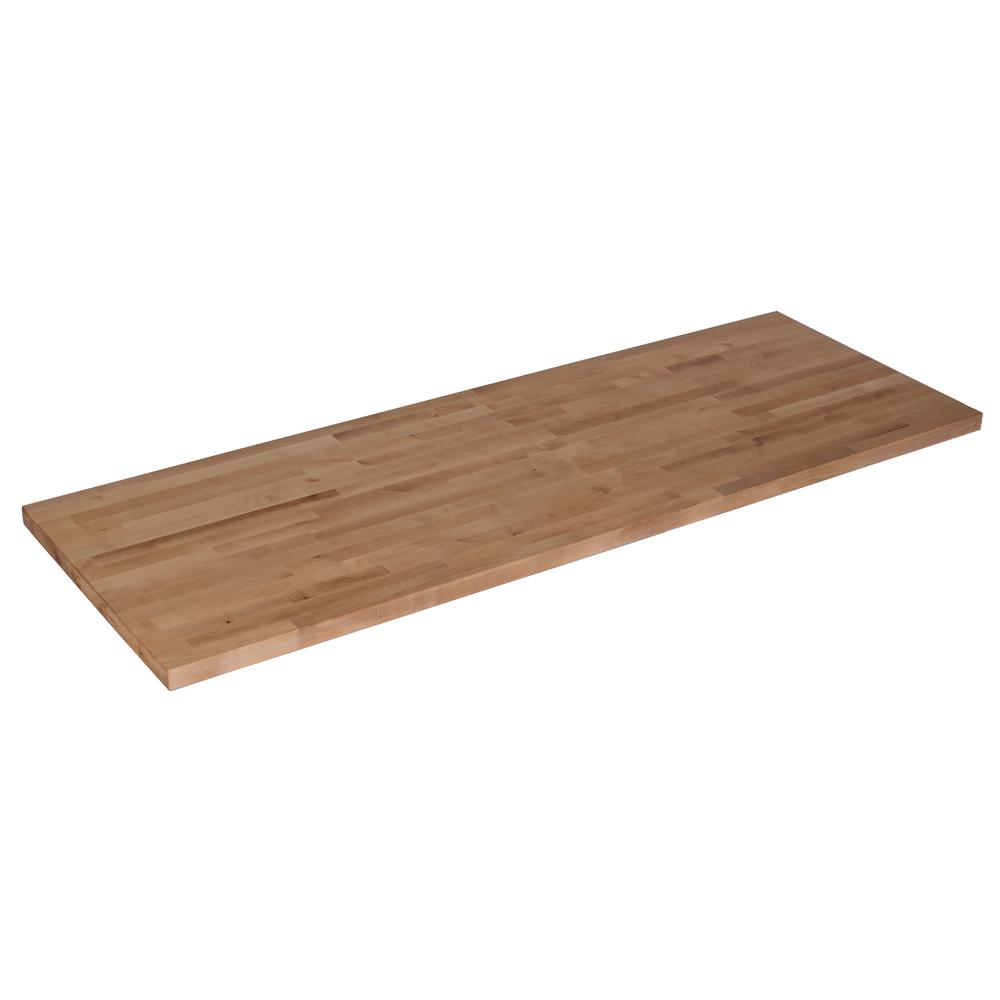
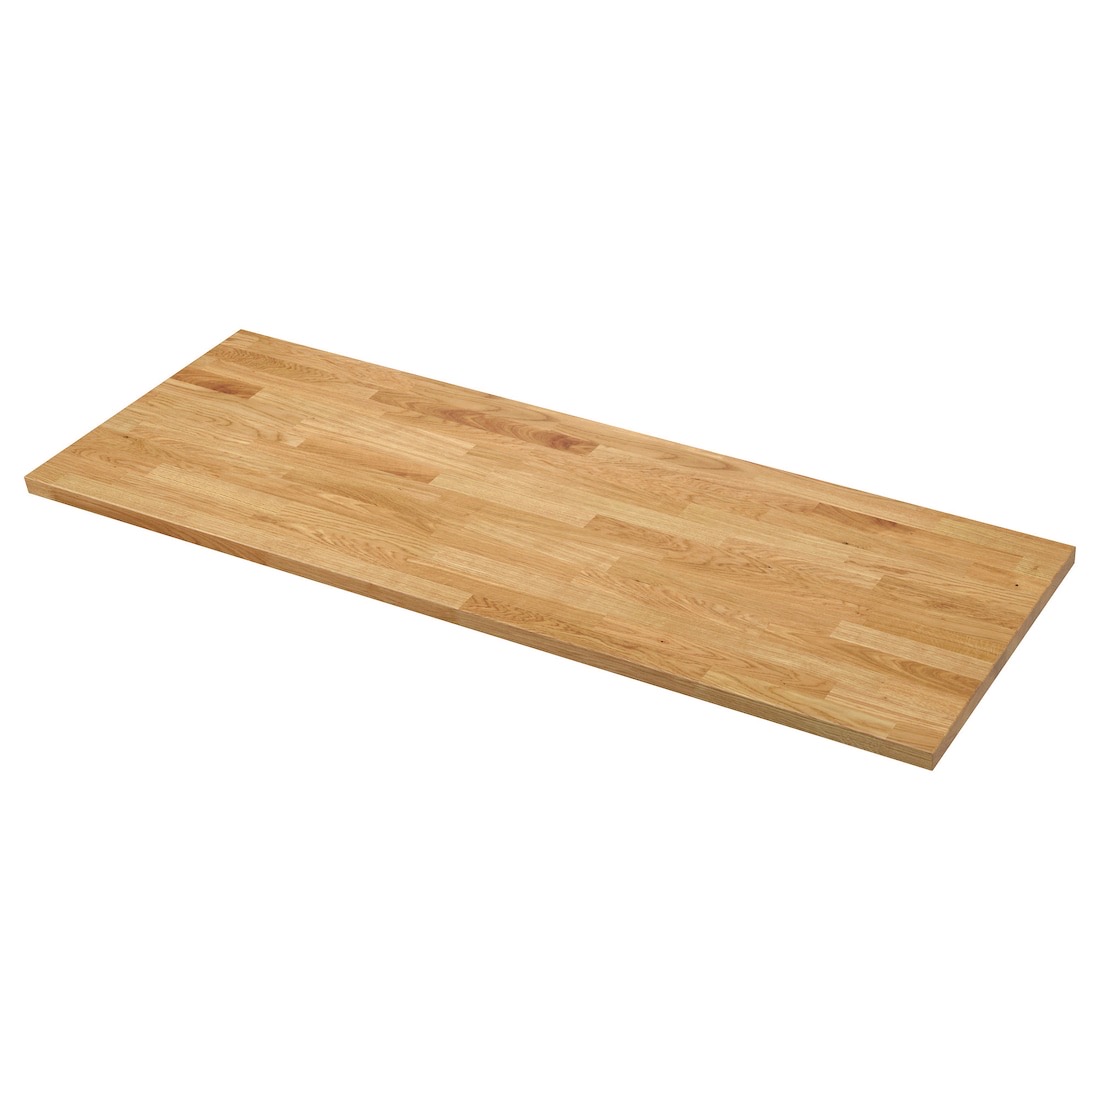
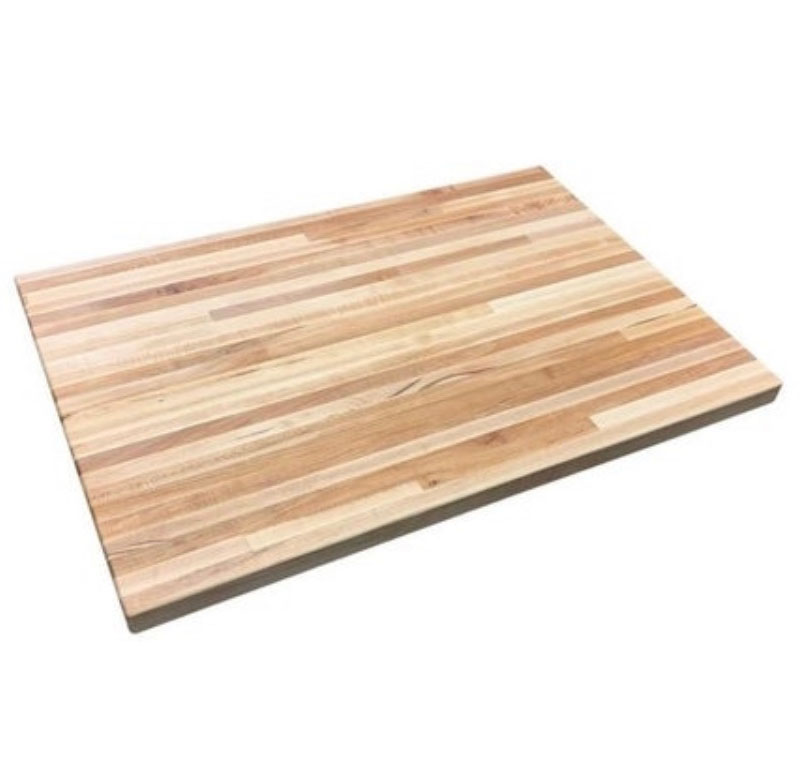
However, back to my point. I advise against trend following. What does that mean? That means use authentic materials, they never go out of style. Rethink what the cabinet companies are telling you that you need to have a beautiful kitchen, and design a kitchen you’ll love forever.
One of the items I talk to my clients at length about is the concept of how they really live, how they really cook, and how they interact from the kitchen on a day to day basis. Do they entertain a lot? Do their kids do homework at the kitchen island while they cook dinner? Do they have multiple family members cooking together on a regular basis?
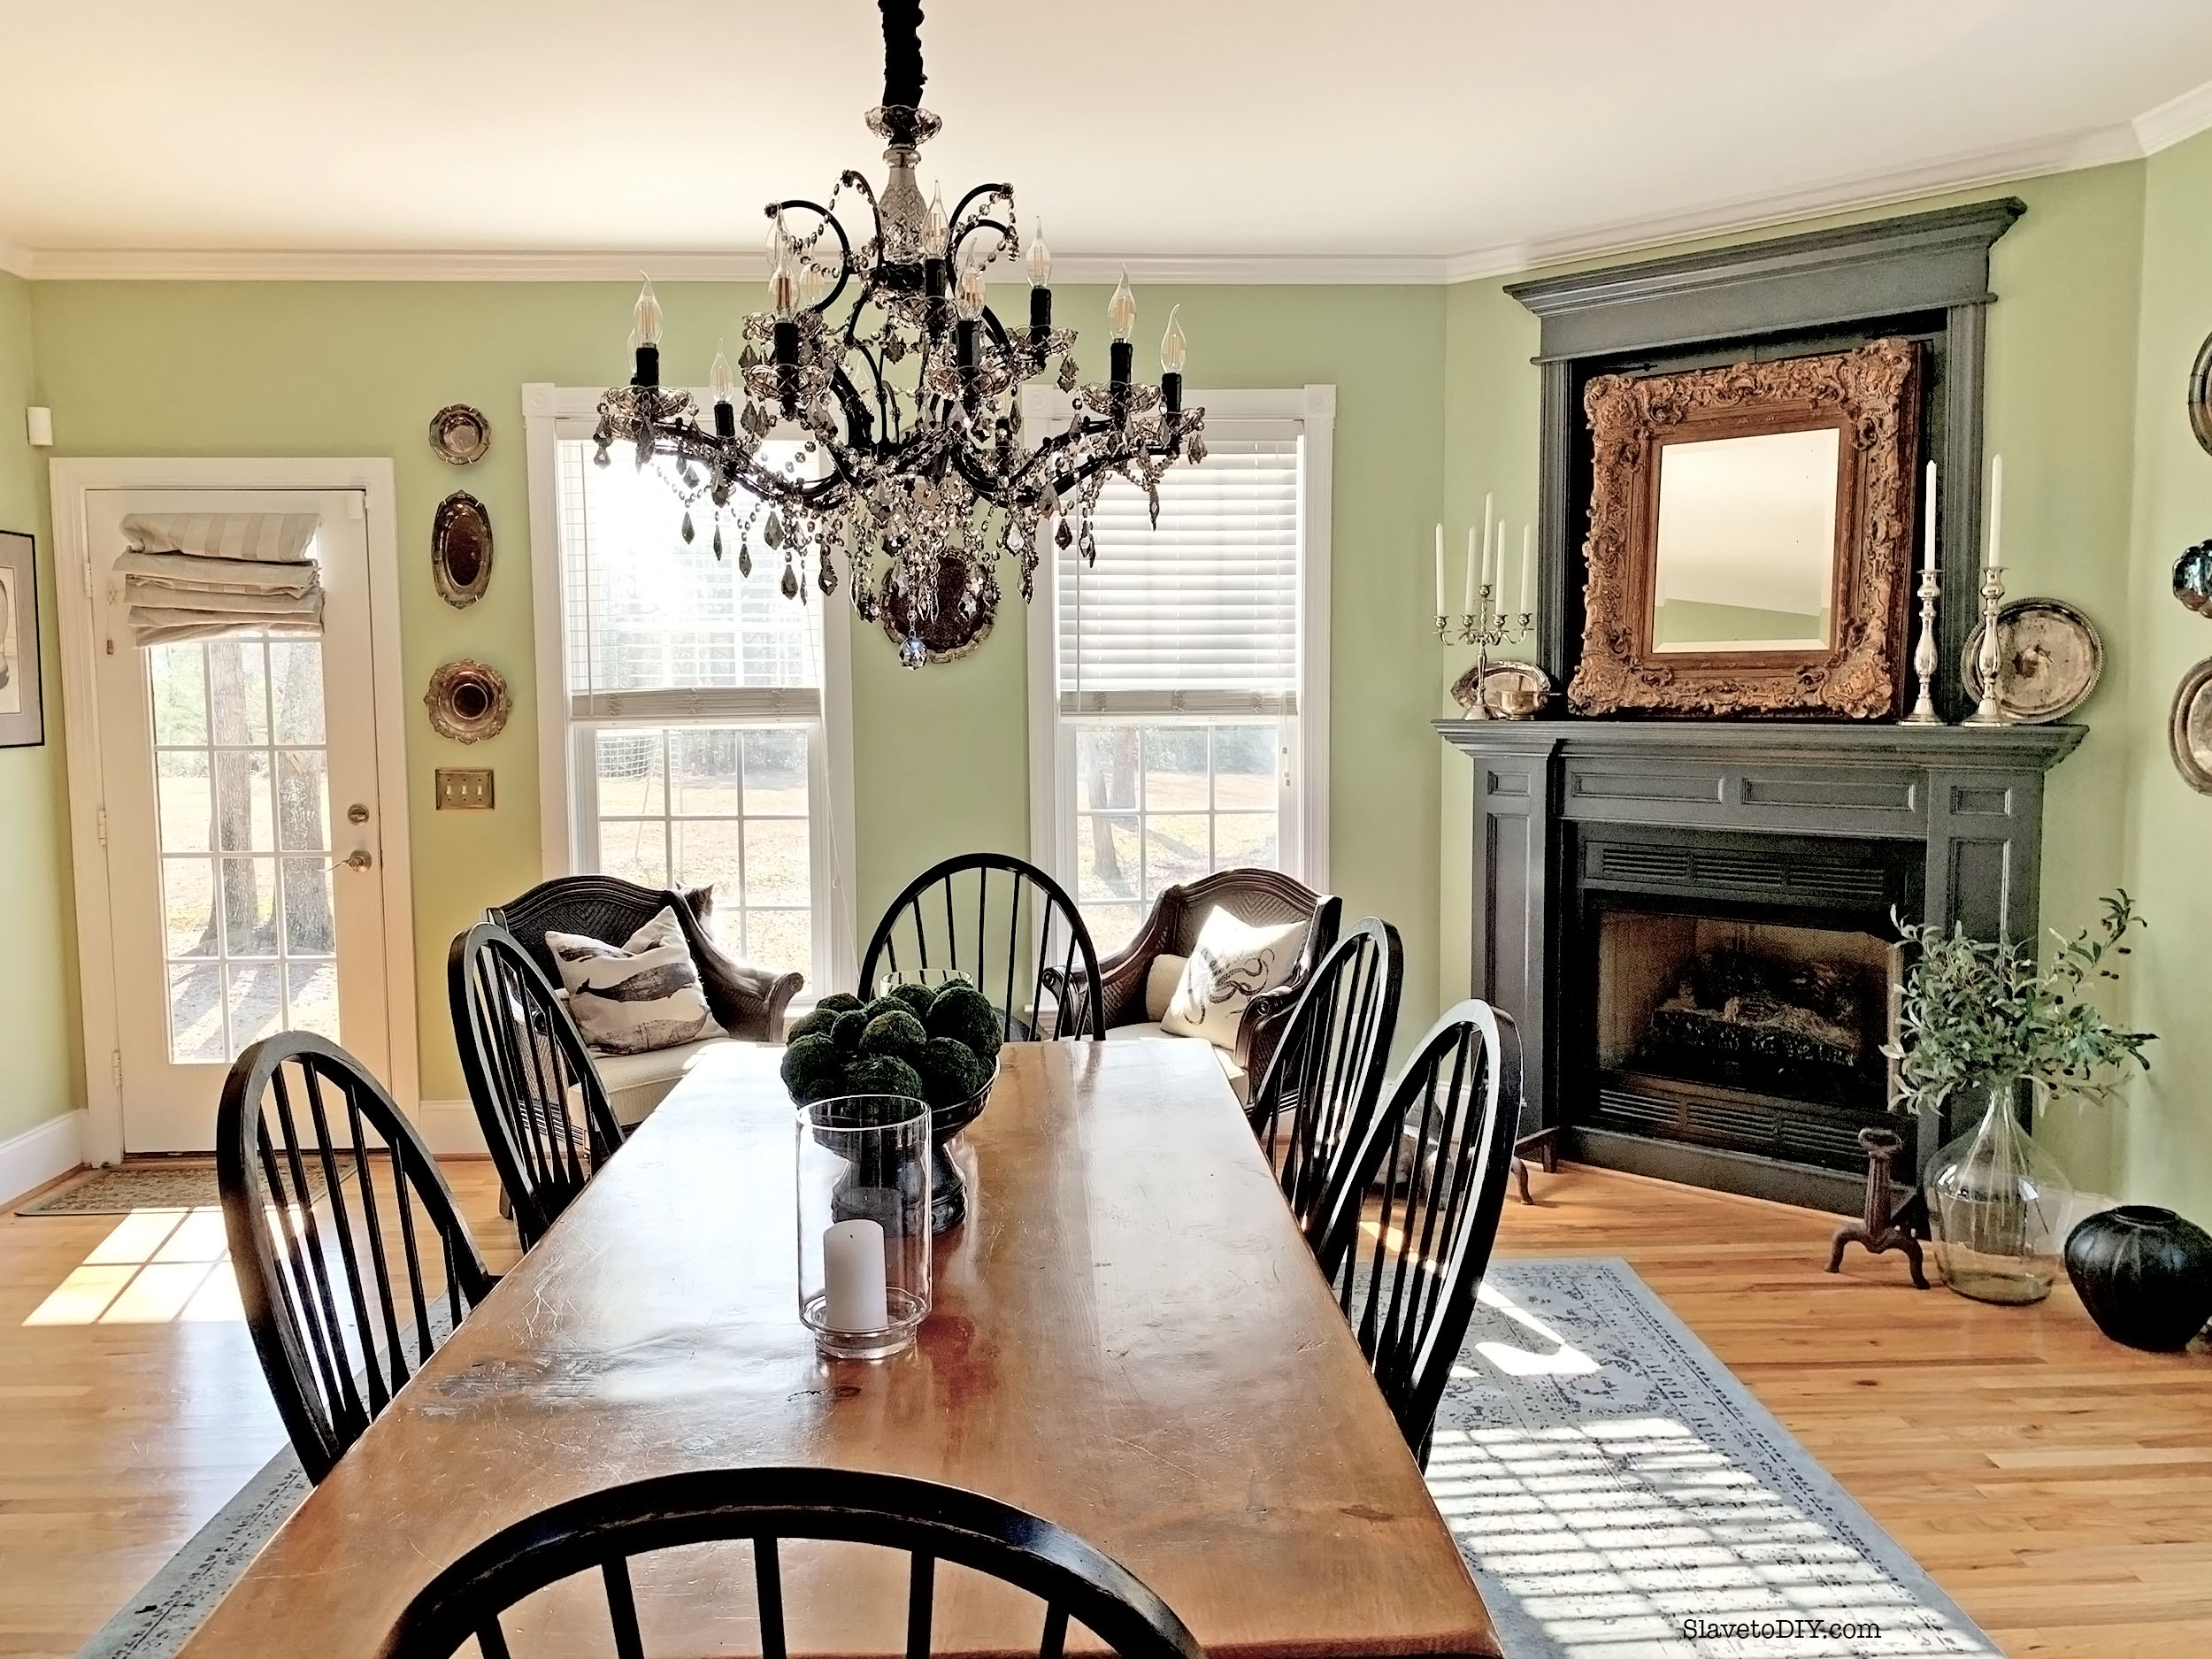
One of the biggest laments I have regarding the modern kitchen is that the family kitchen table went away, and the table was moved either to a corner or to a completely different room. So, mom cooks in a space far away from everyone and doesn’t get to join in the fun.
So, to start: rethink your space.
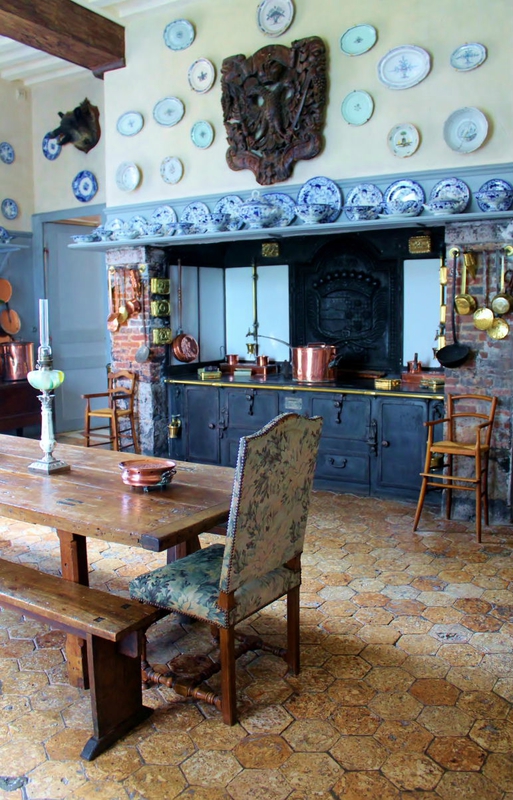
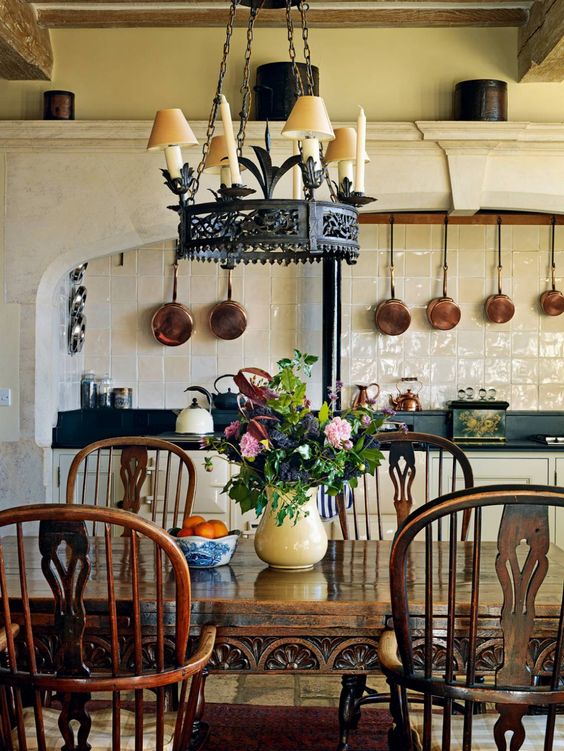
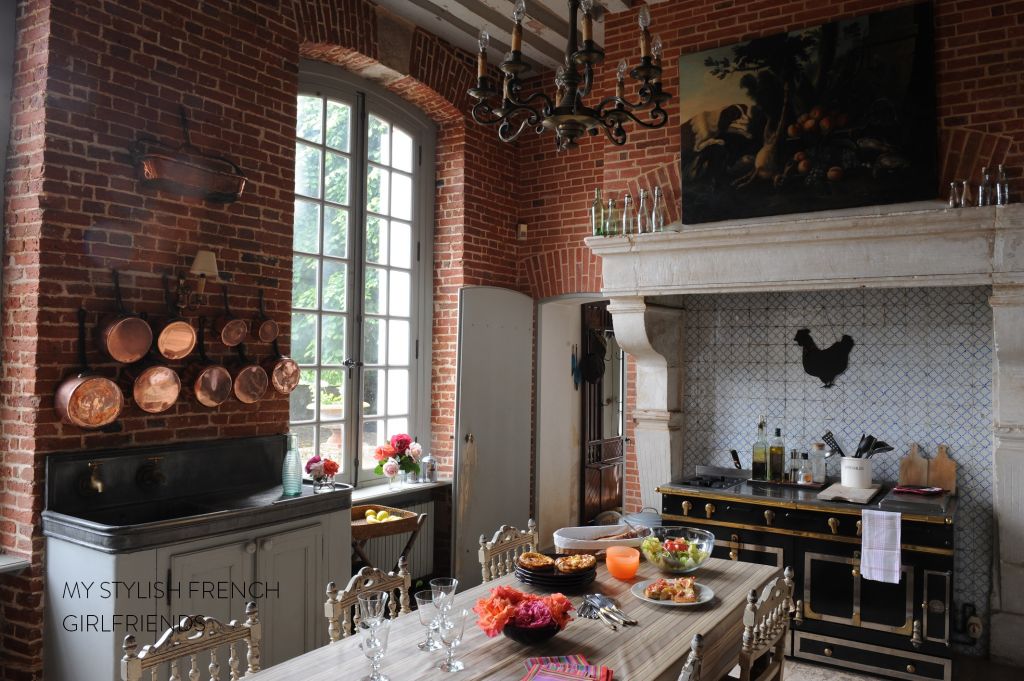
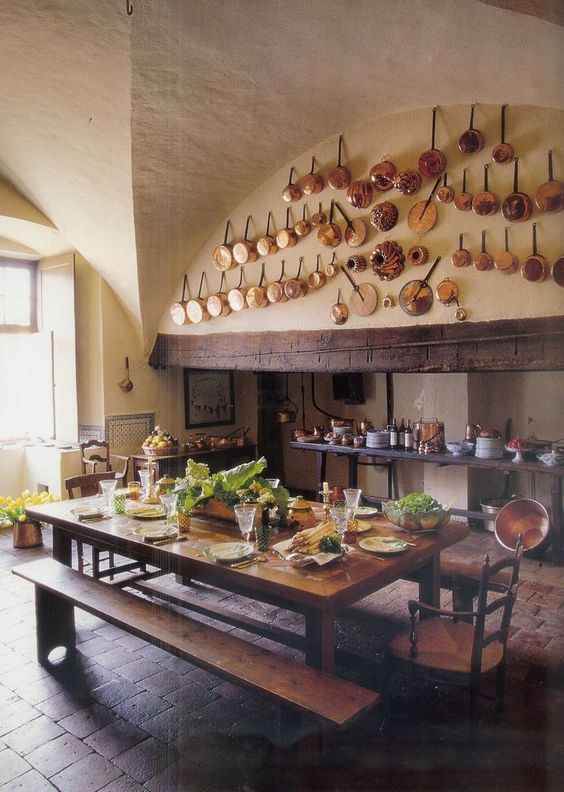
What if you had a long space that was an eat in kitchen, plus kitchen, plus dining room? Get out some graph paper and draw the footprint of your kitchen AND dining spaces. What would it look like if the family table was in the middle of the kitchen and the surrounding space held kitchen furniture and cabinetry that holds the things you need for that area?
Think outside of the box, and I don’t just mean the cabinet box.
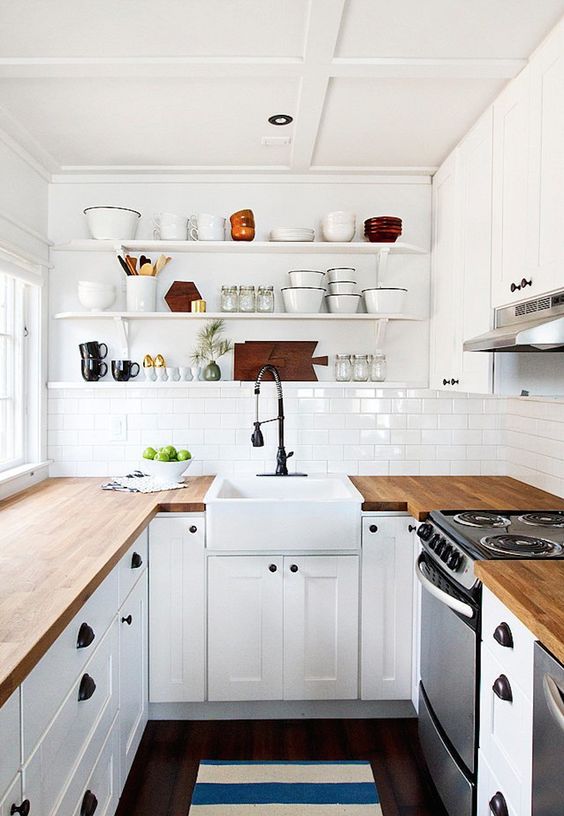
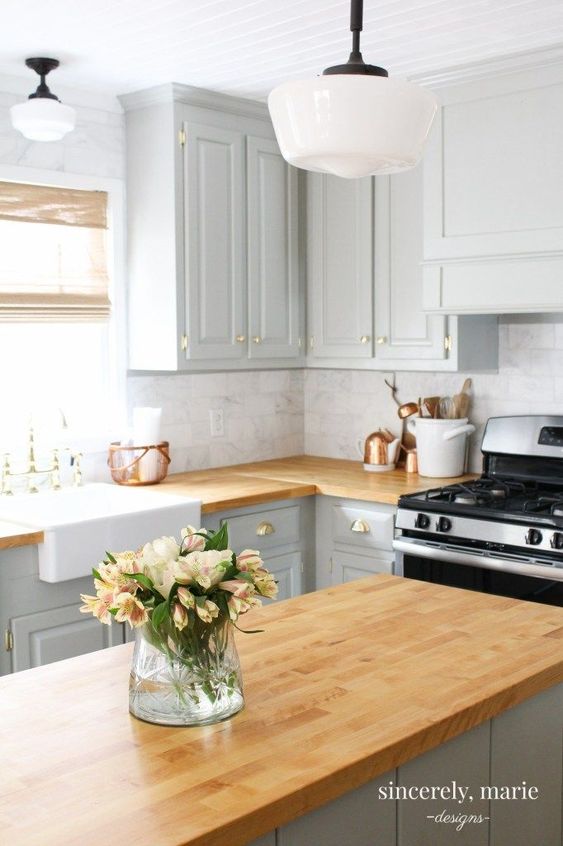
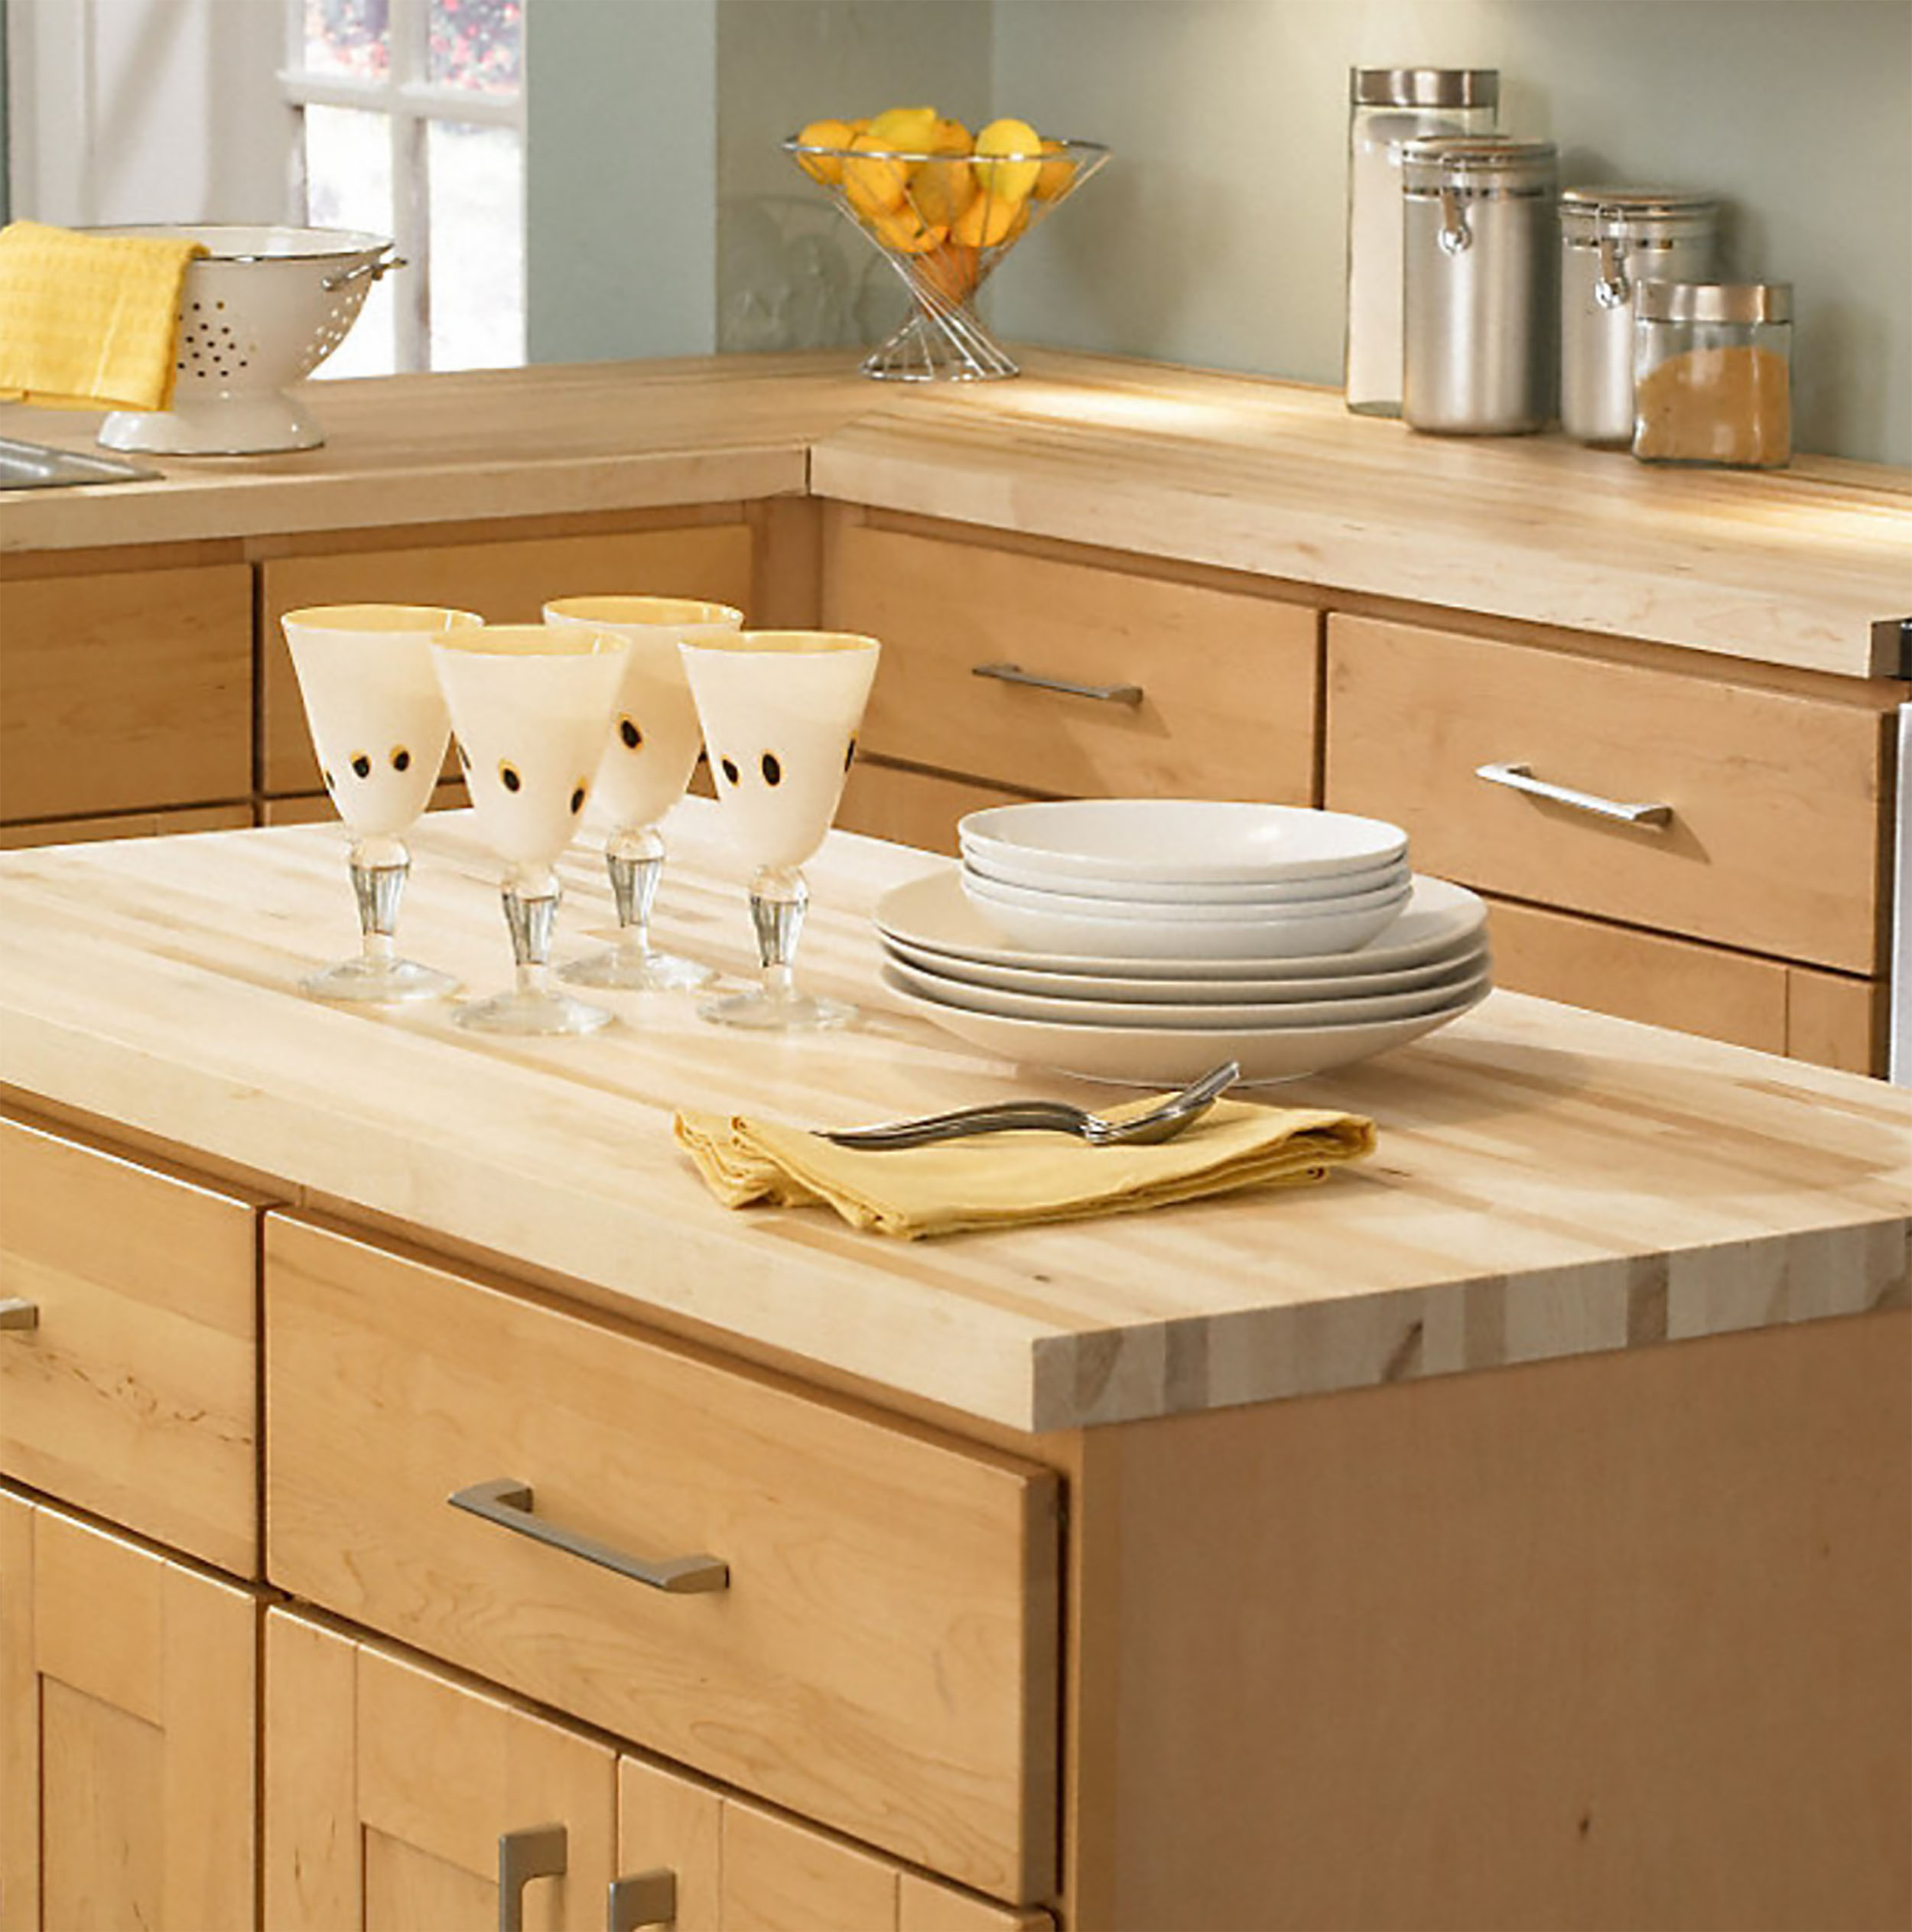
The kitchen table is just ONE timeless component of your kitchen design, but check out these inspiration images that feature the dining table as the central hub of the kitchen, and tell me what you think!
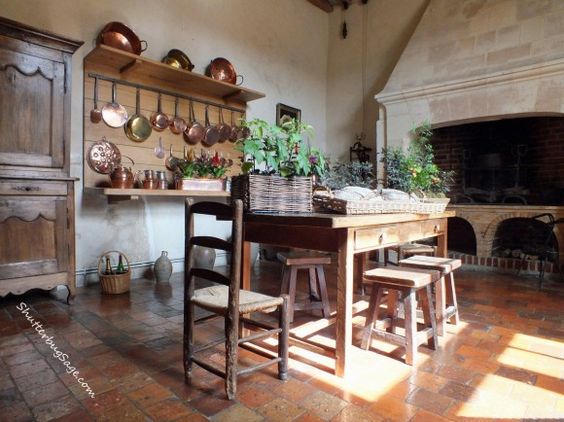
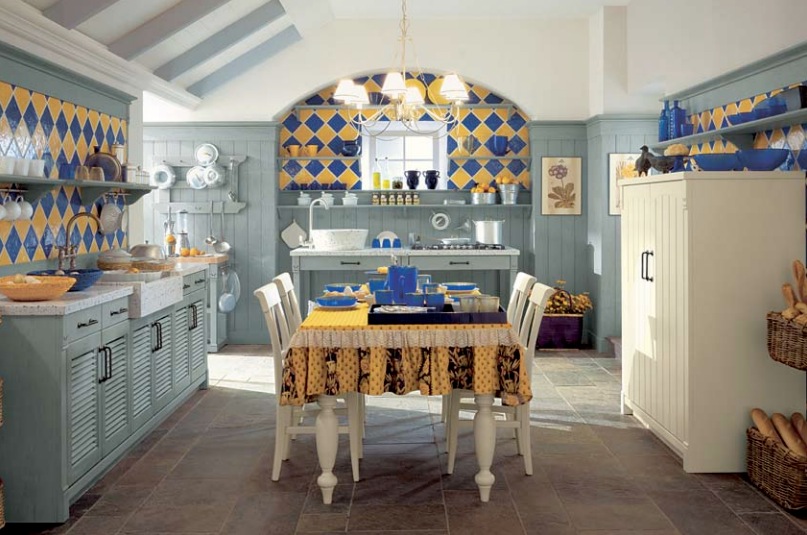
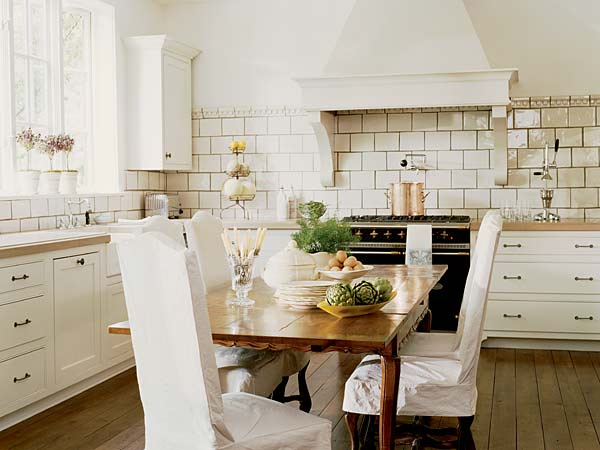
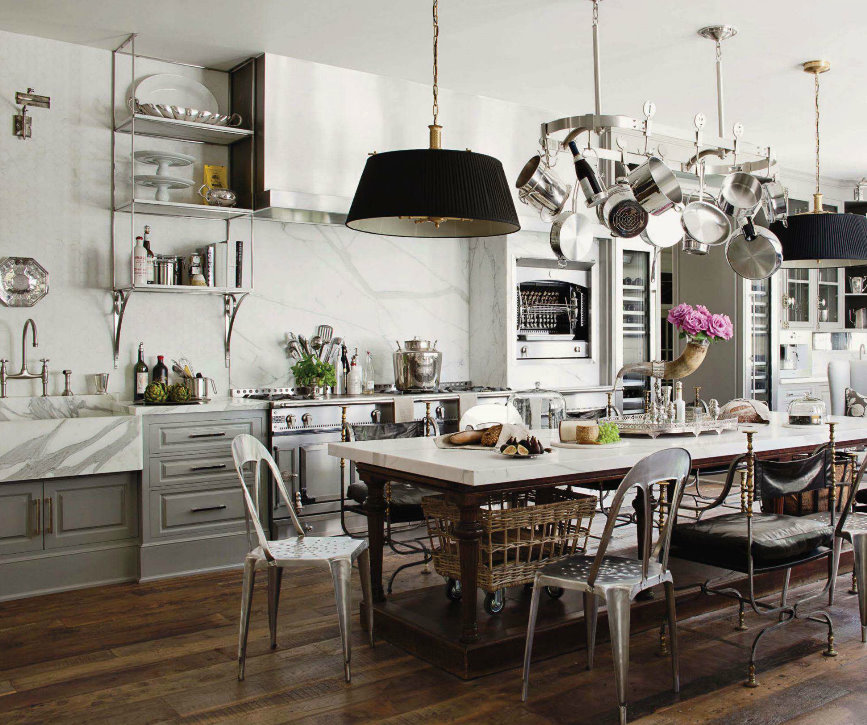
What do you think? Could you see your family living with an informal, in-kitchen table? Are you casual or formal when dining? We’d love to hear about it in the comments!
Thanks for hanging out with us in DIY land and check out more great DIY and design inspiration over on our blog.
*Legal stuff:
I am honest about my experiences with different products and write because I enjoy it. I do however, have the opportunity to earn money for my writing, also.
Slavetodiy.com is a participant in the Amazon Services LLC Associates Program, an affiliate advertising program designed to provide a means for sites to earn advertising fees by advertising and linking to amazon.com. Amazon offers a small commission on products sold through their affiliate links. Each of your purchases via our Amazon affiliation links supports our cause at no additional cost to you.
If a blogger links to an Amazon product (with a special code for affiliates embedded in the link), and a reader places an item in their “shopping cart” through that link within 24 hours of clicking the link, the blogger gets a small percentage of the sale. Amazon links are not “pay per click.” If you click on the product link and stay around Amazon and purchase something else, however, I will get a commission on that sale.
Slavetodiy.com is also a VigLink affiliate advertiser which works similarly.