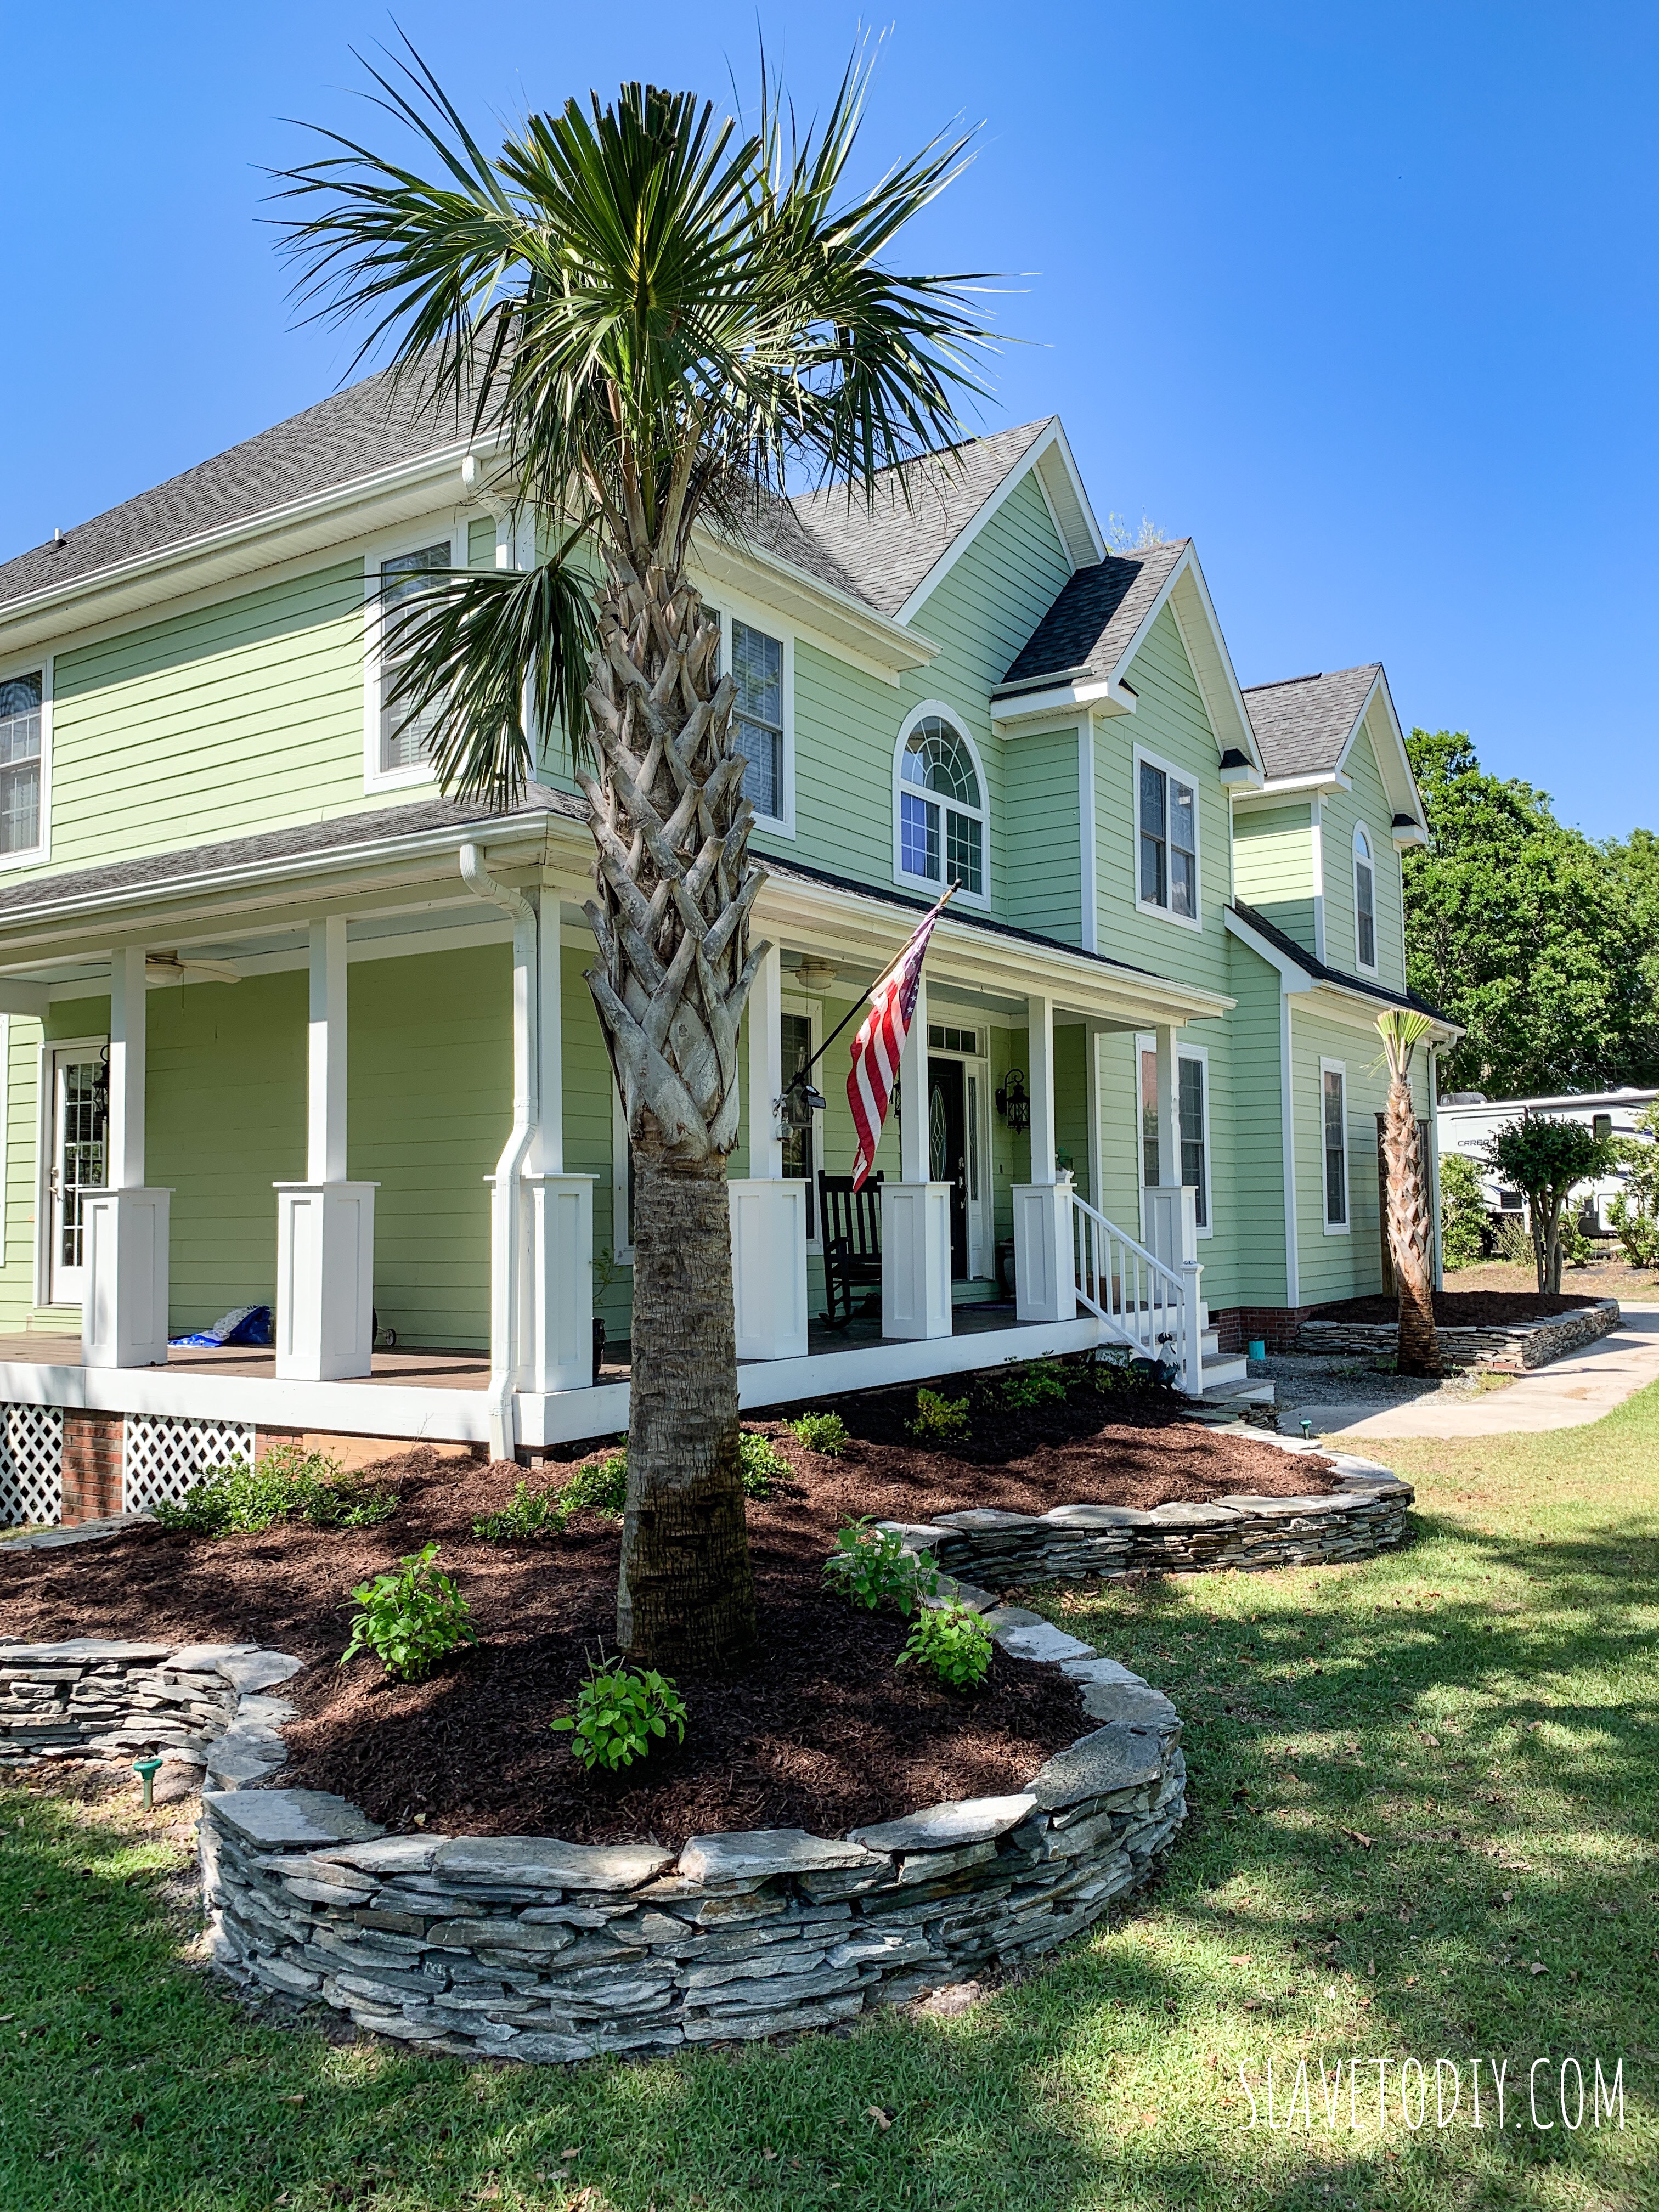
For those of you have been following our progress, you know I was mortified that we hadn’t completed the front garden project. We did a massive, beautiful stacked stone garden around the front porch but the garden along the walk leading from the driveway to the front door was still sad, neglected, and downright awful.
*This post may contain affiliate links. Please see full disclosure at the end of the post.
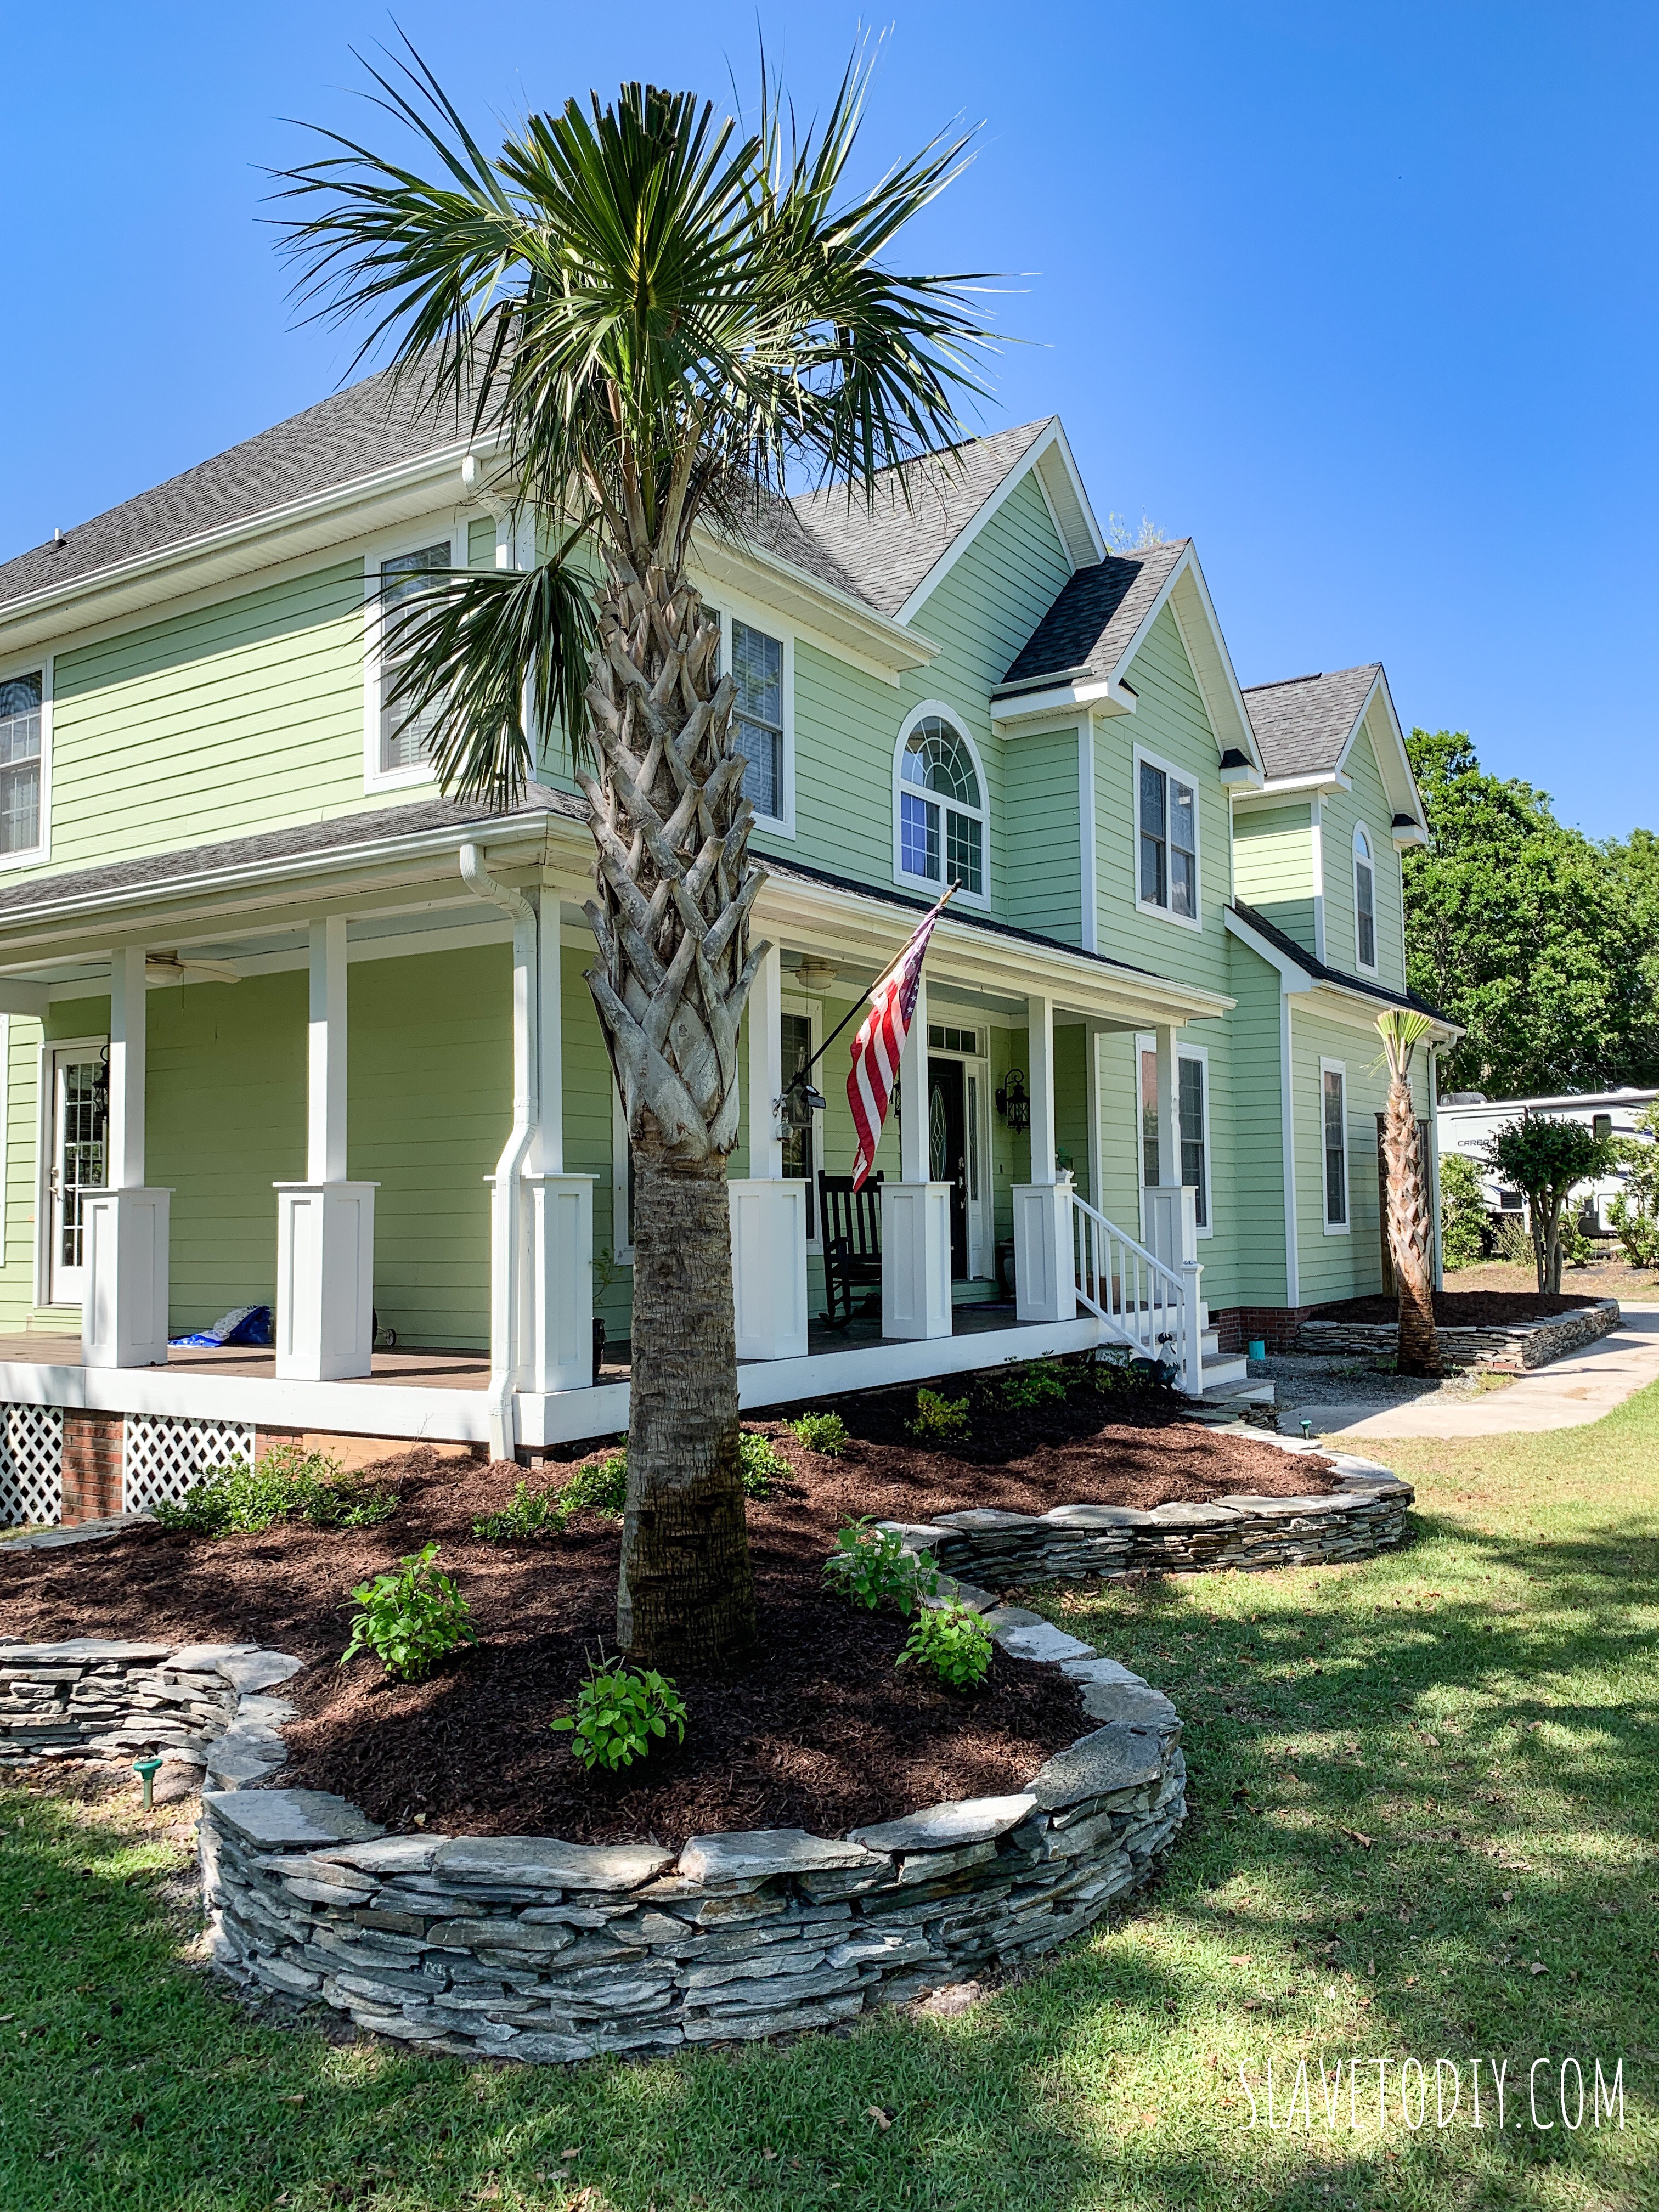
This is the “after,” but it took a few weeks to get there, working a little bit each day:
So, this is what that “garden” looked like before I finally insisted Rainman go buy me some rocks (like we didn’t already have enough on our plates). We had already cleared for the future patio and had deposited excess dirt into it, piled up around the bushes, with the bonus of random pavers that braced Christmas lights. Just beautiful. Sigh.
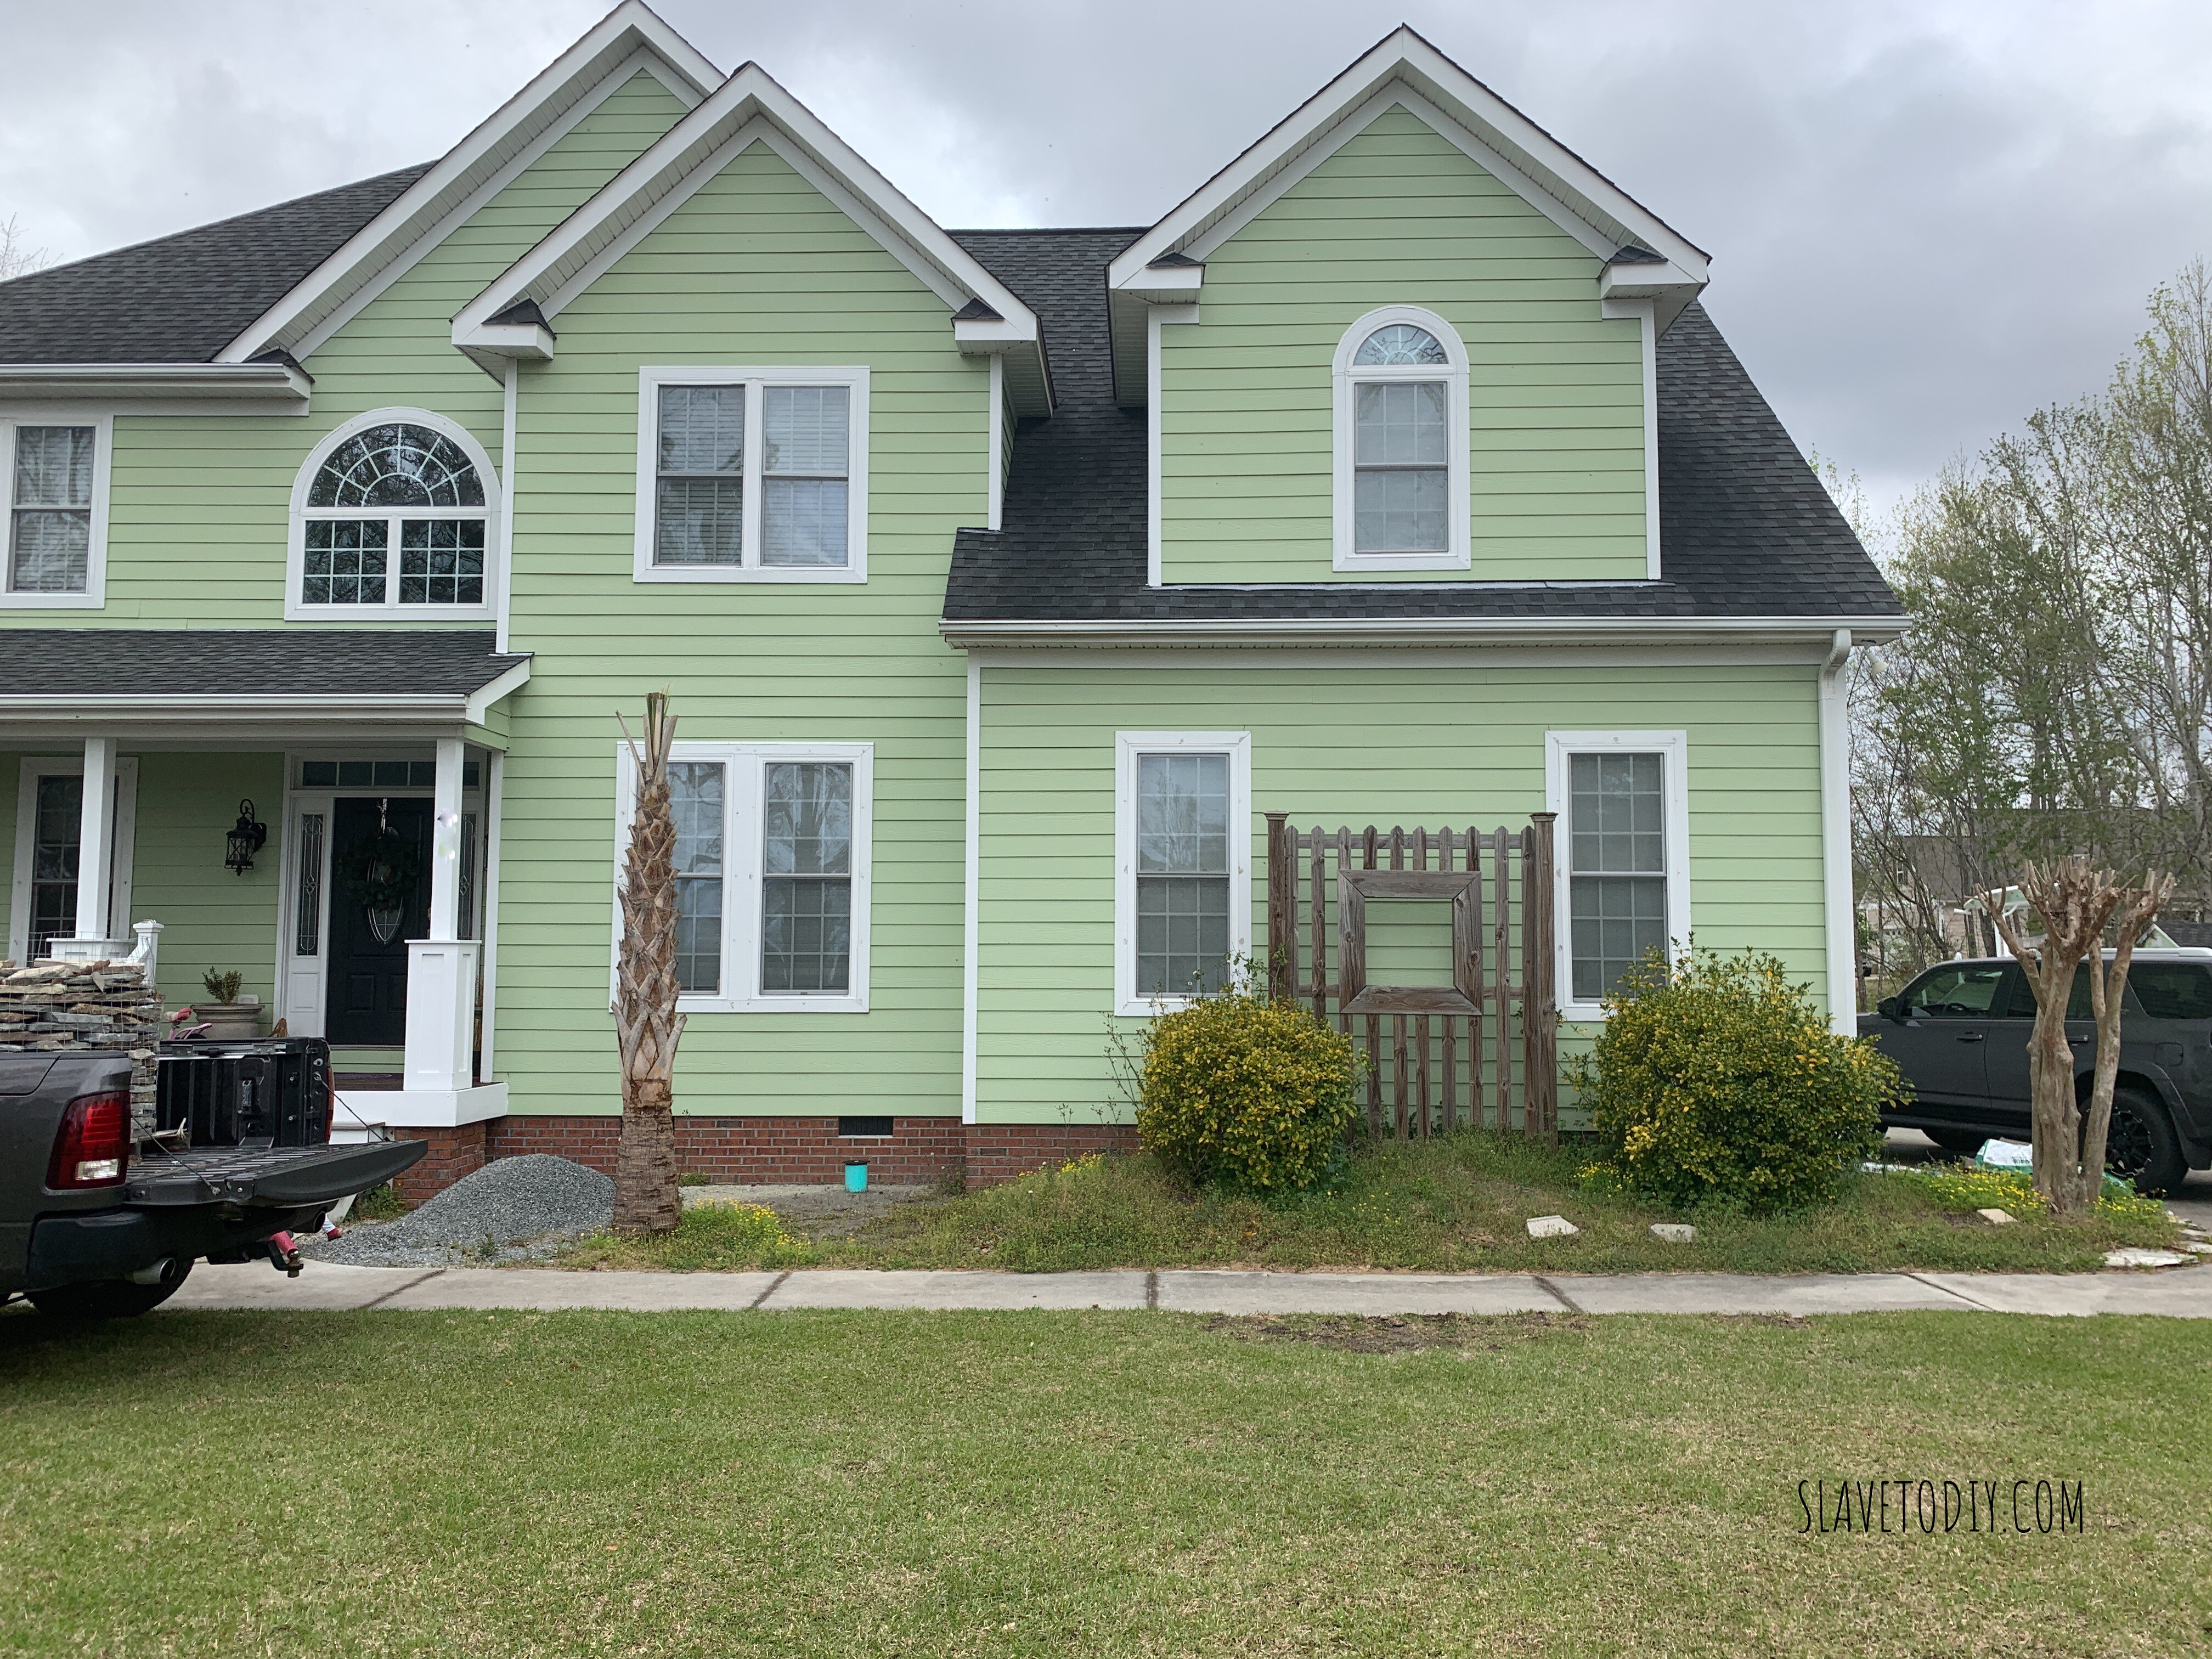
Ugh. It’s really bad. Please look away.
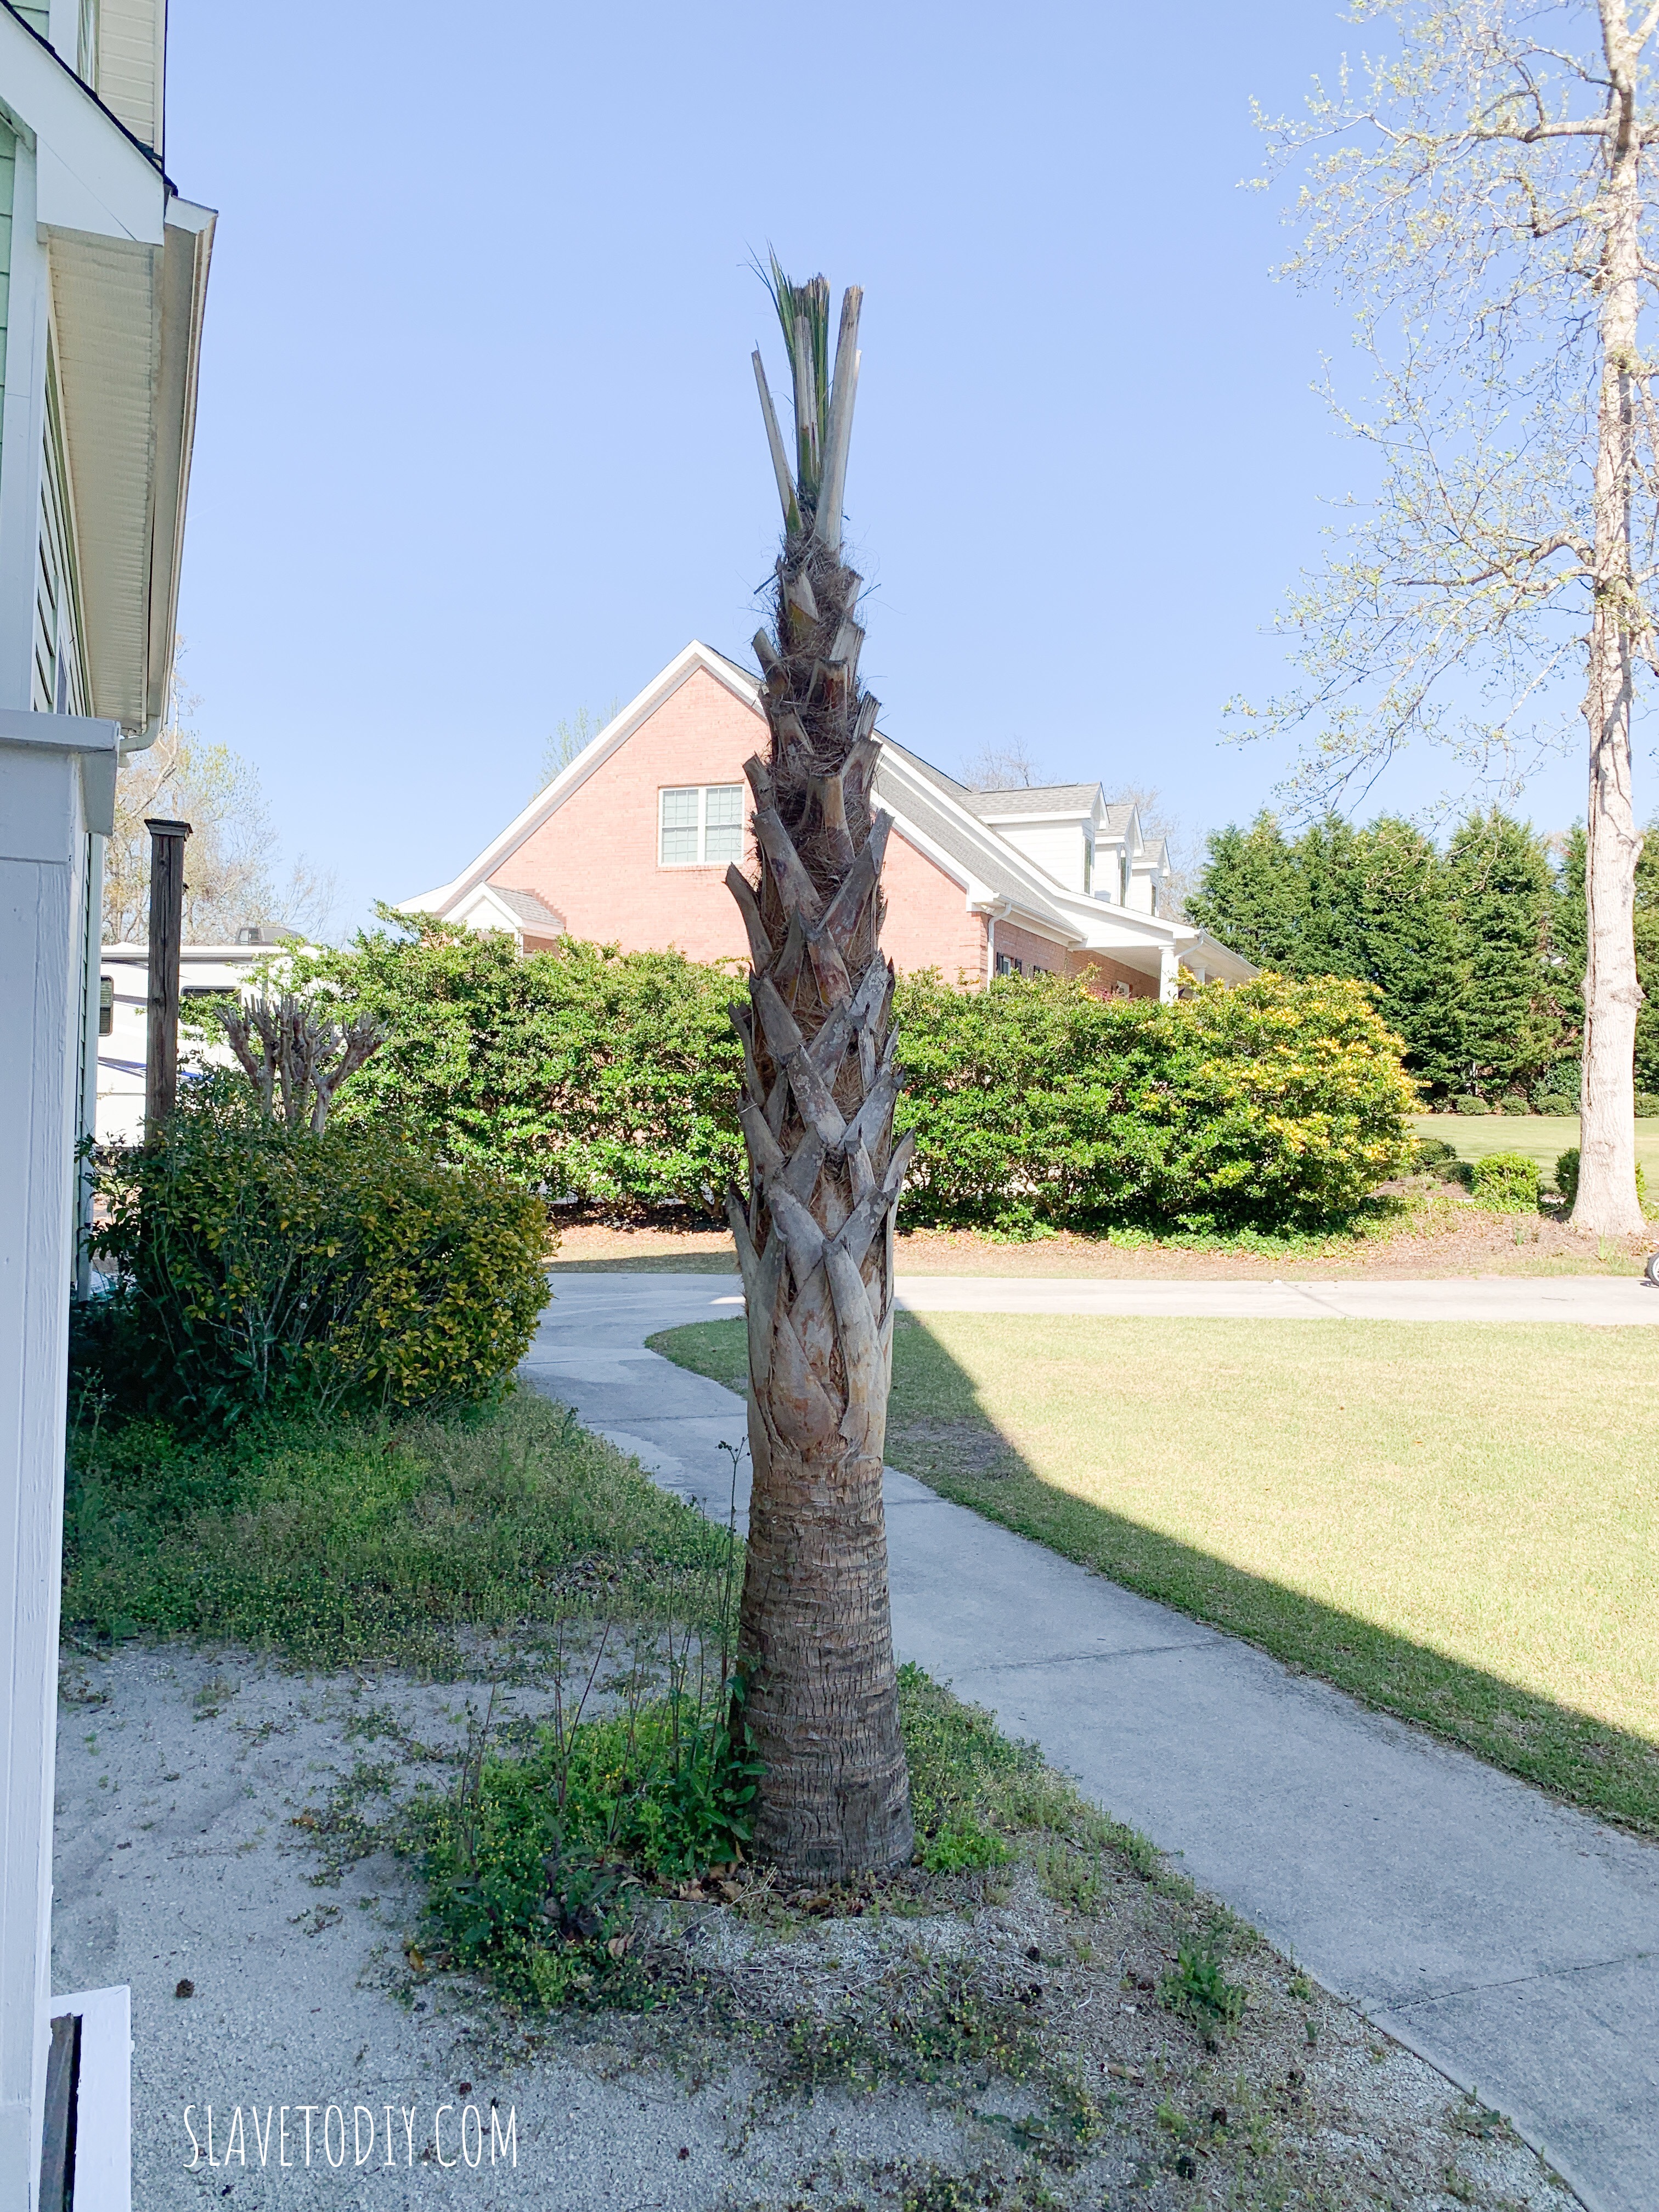
The sand-base is the home of the future brick patio. This is another “before” photo. So, I’m not going to go into the project as exhaustively as I did on the last one, this is sort of an abbreviated photo tutorial. For detailed instructions (totally the same process!) check out A Classic Stacked Stone Garden Wall, Phase One and Classic Stacked Stone Garden, Phase Two. As for this guy, here goes.
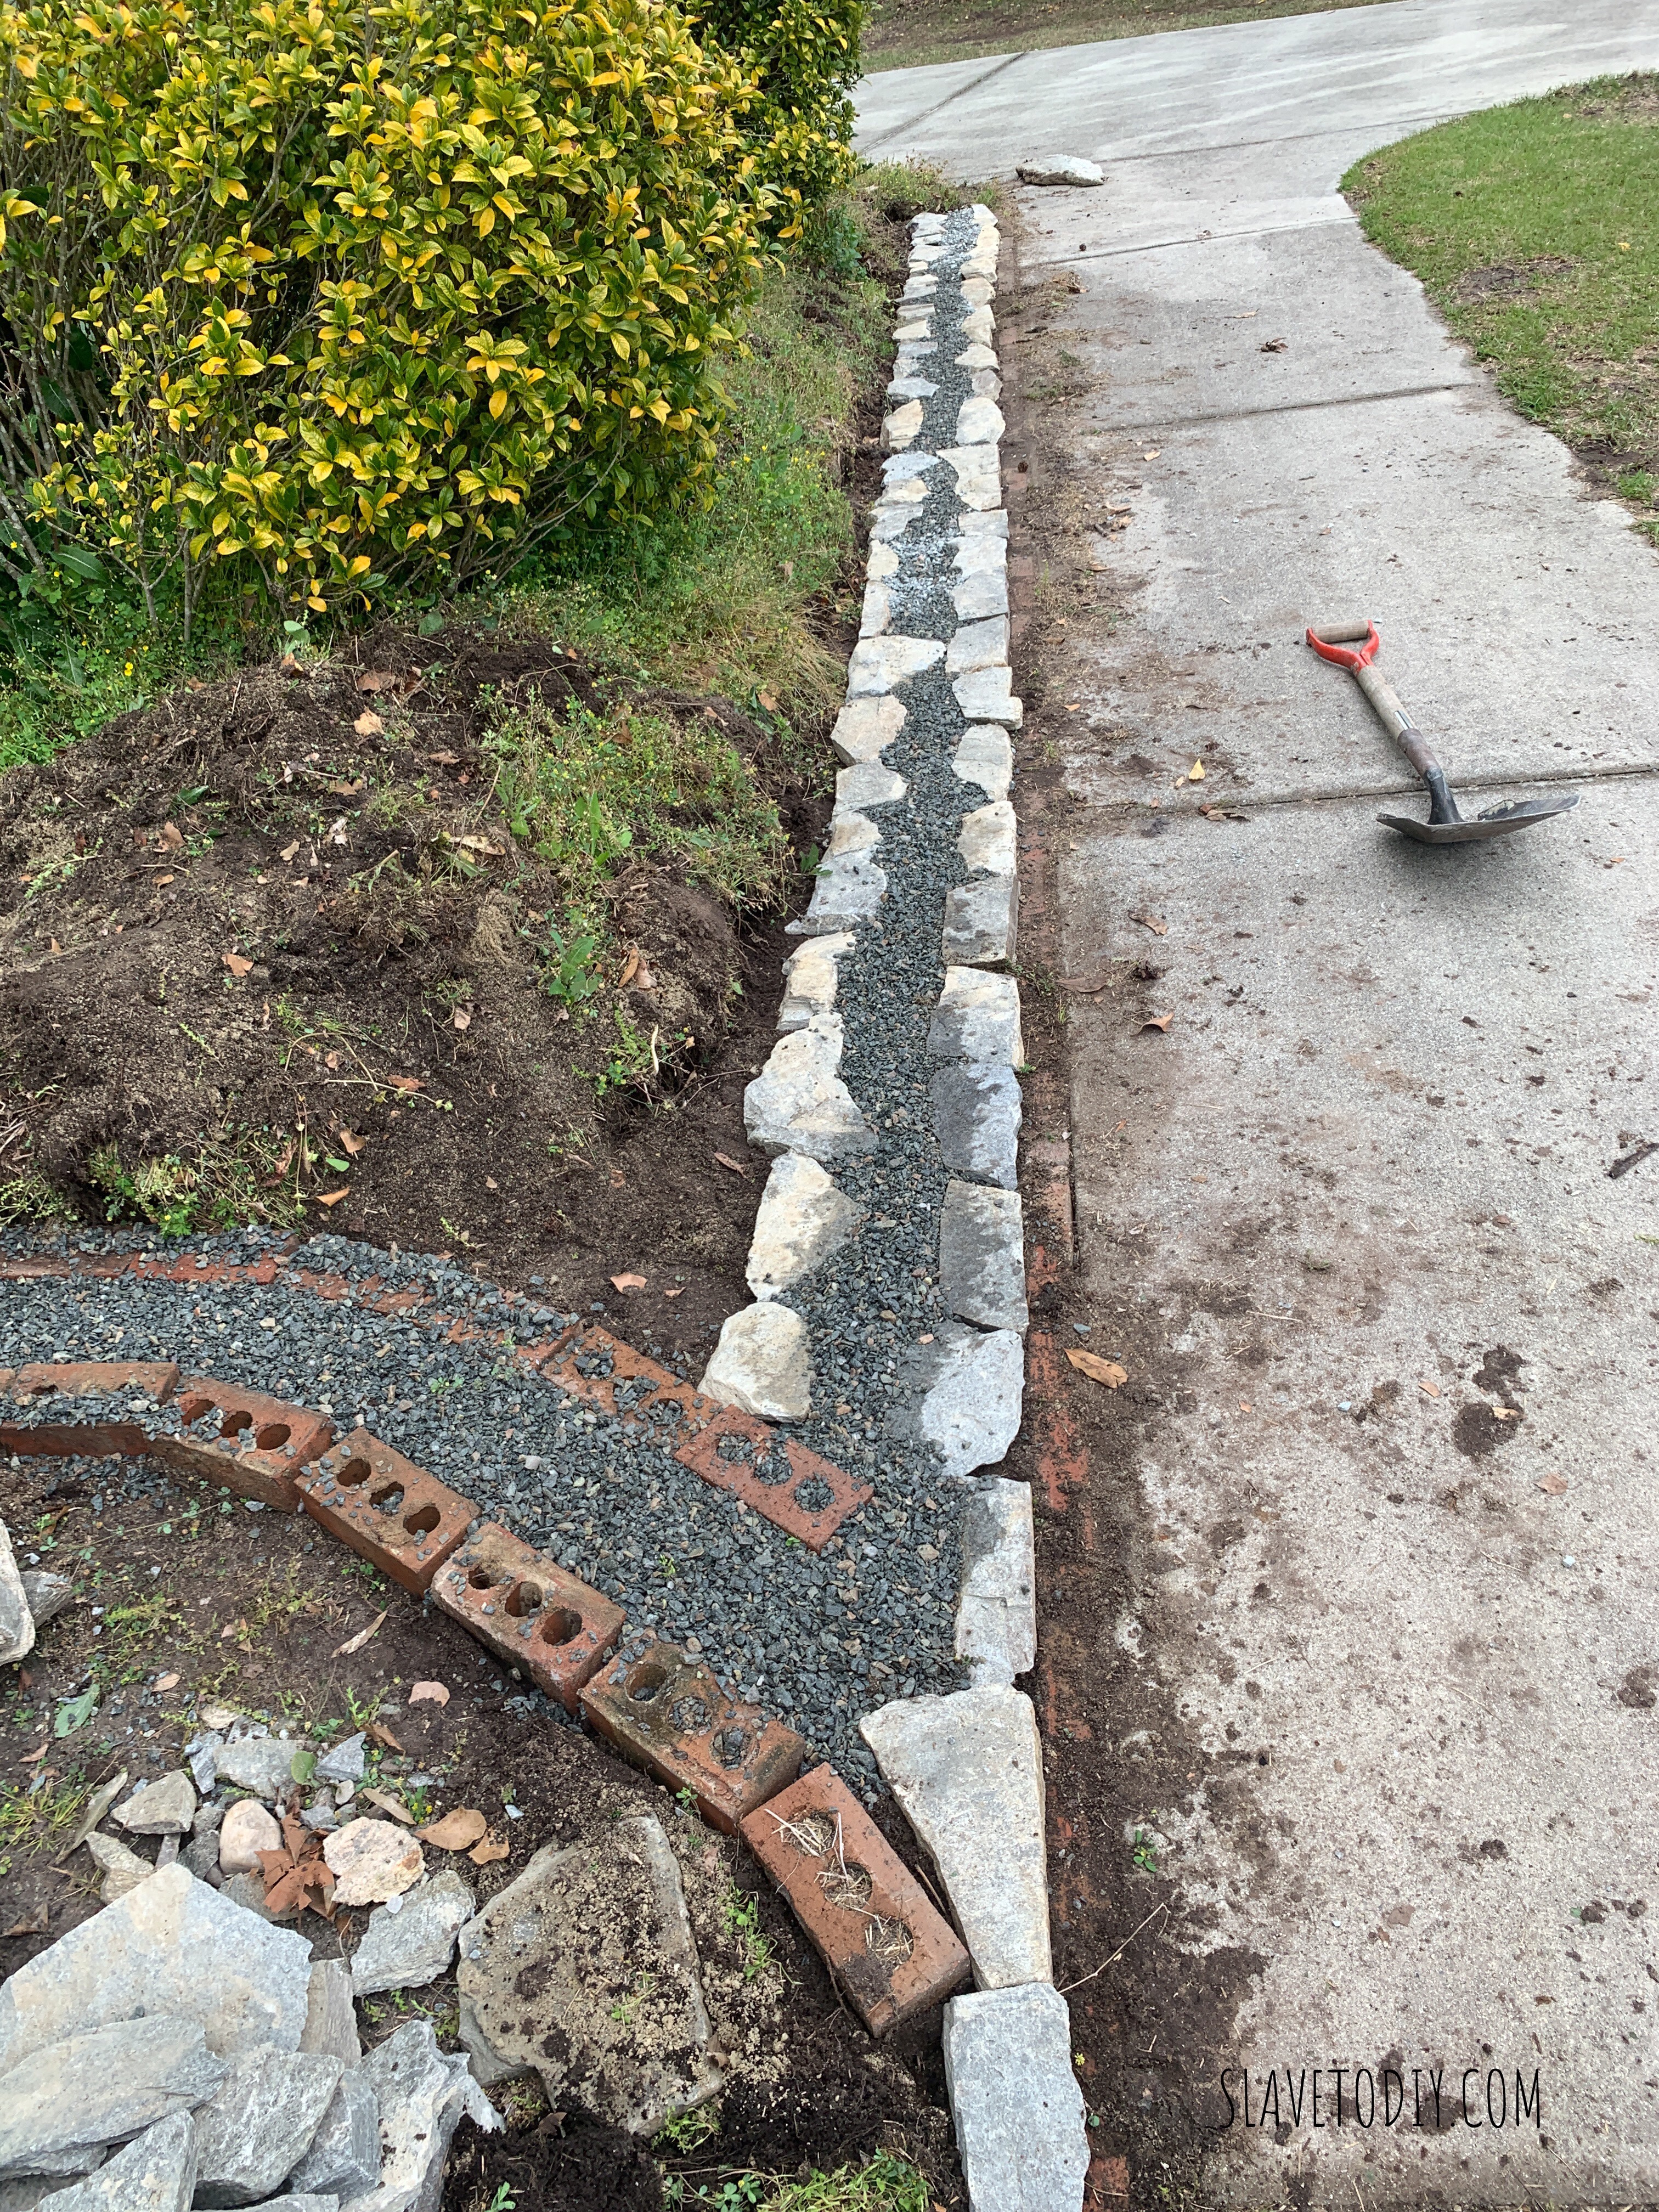
First we did the base to make sure we had a stable foundation. We mimicked the curve coming off the steps so the future patio will be the right shape. We used the bricks since that side will be higher (a step up to the brick patio) and that way we didn’t waste any stone.
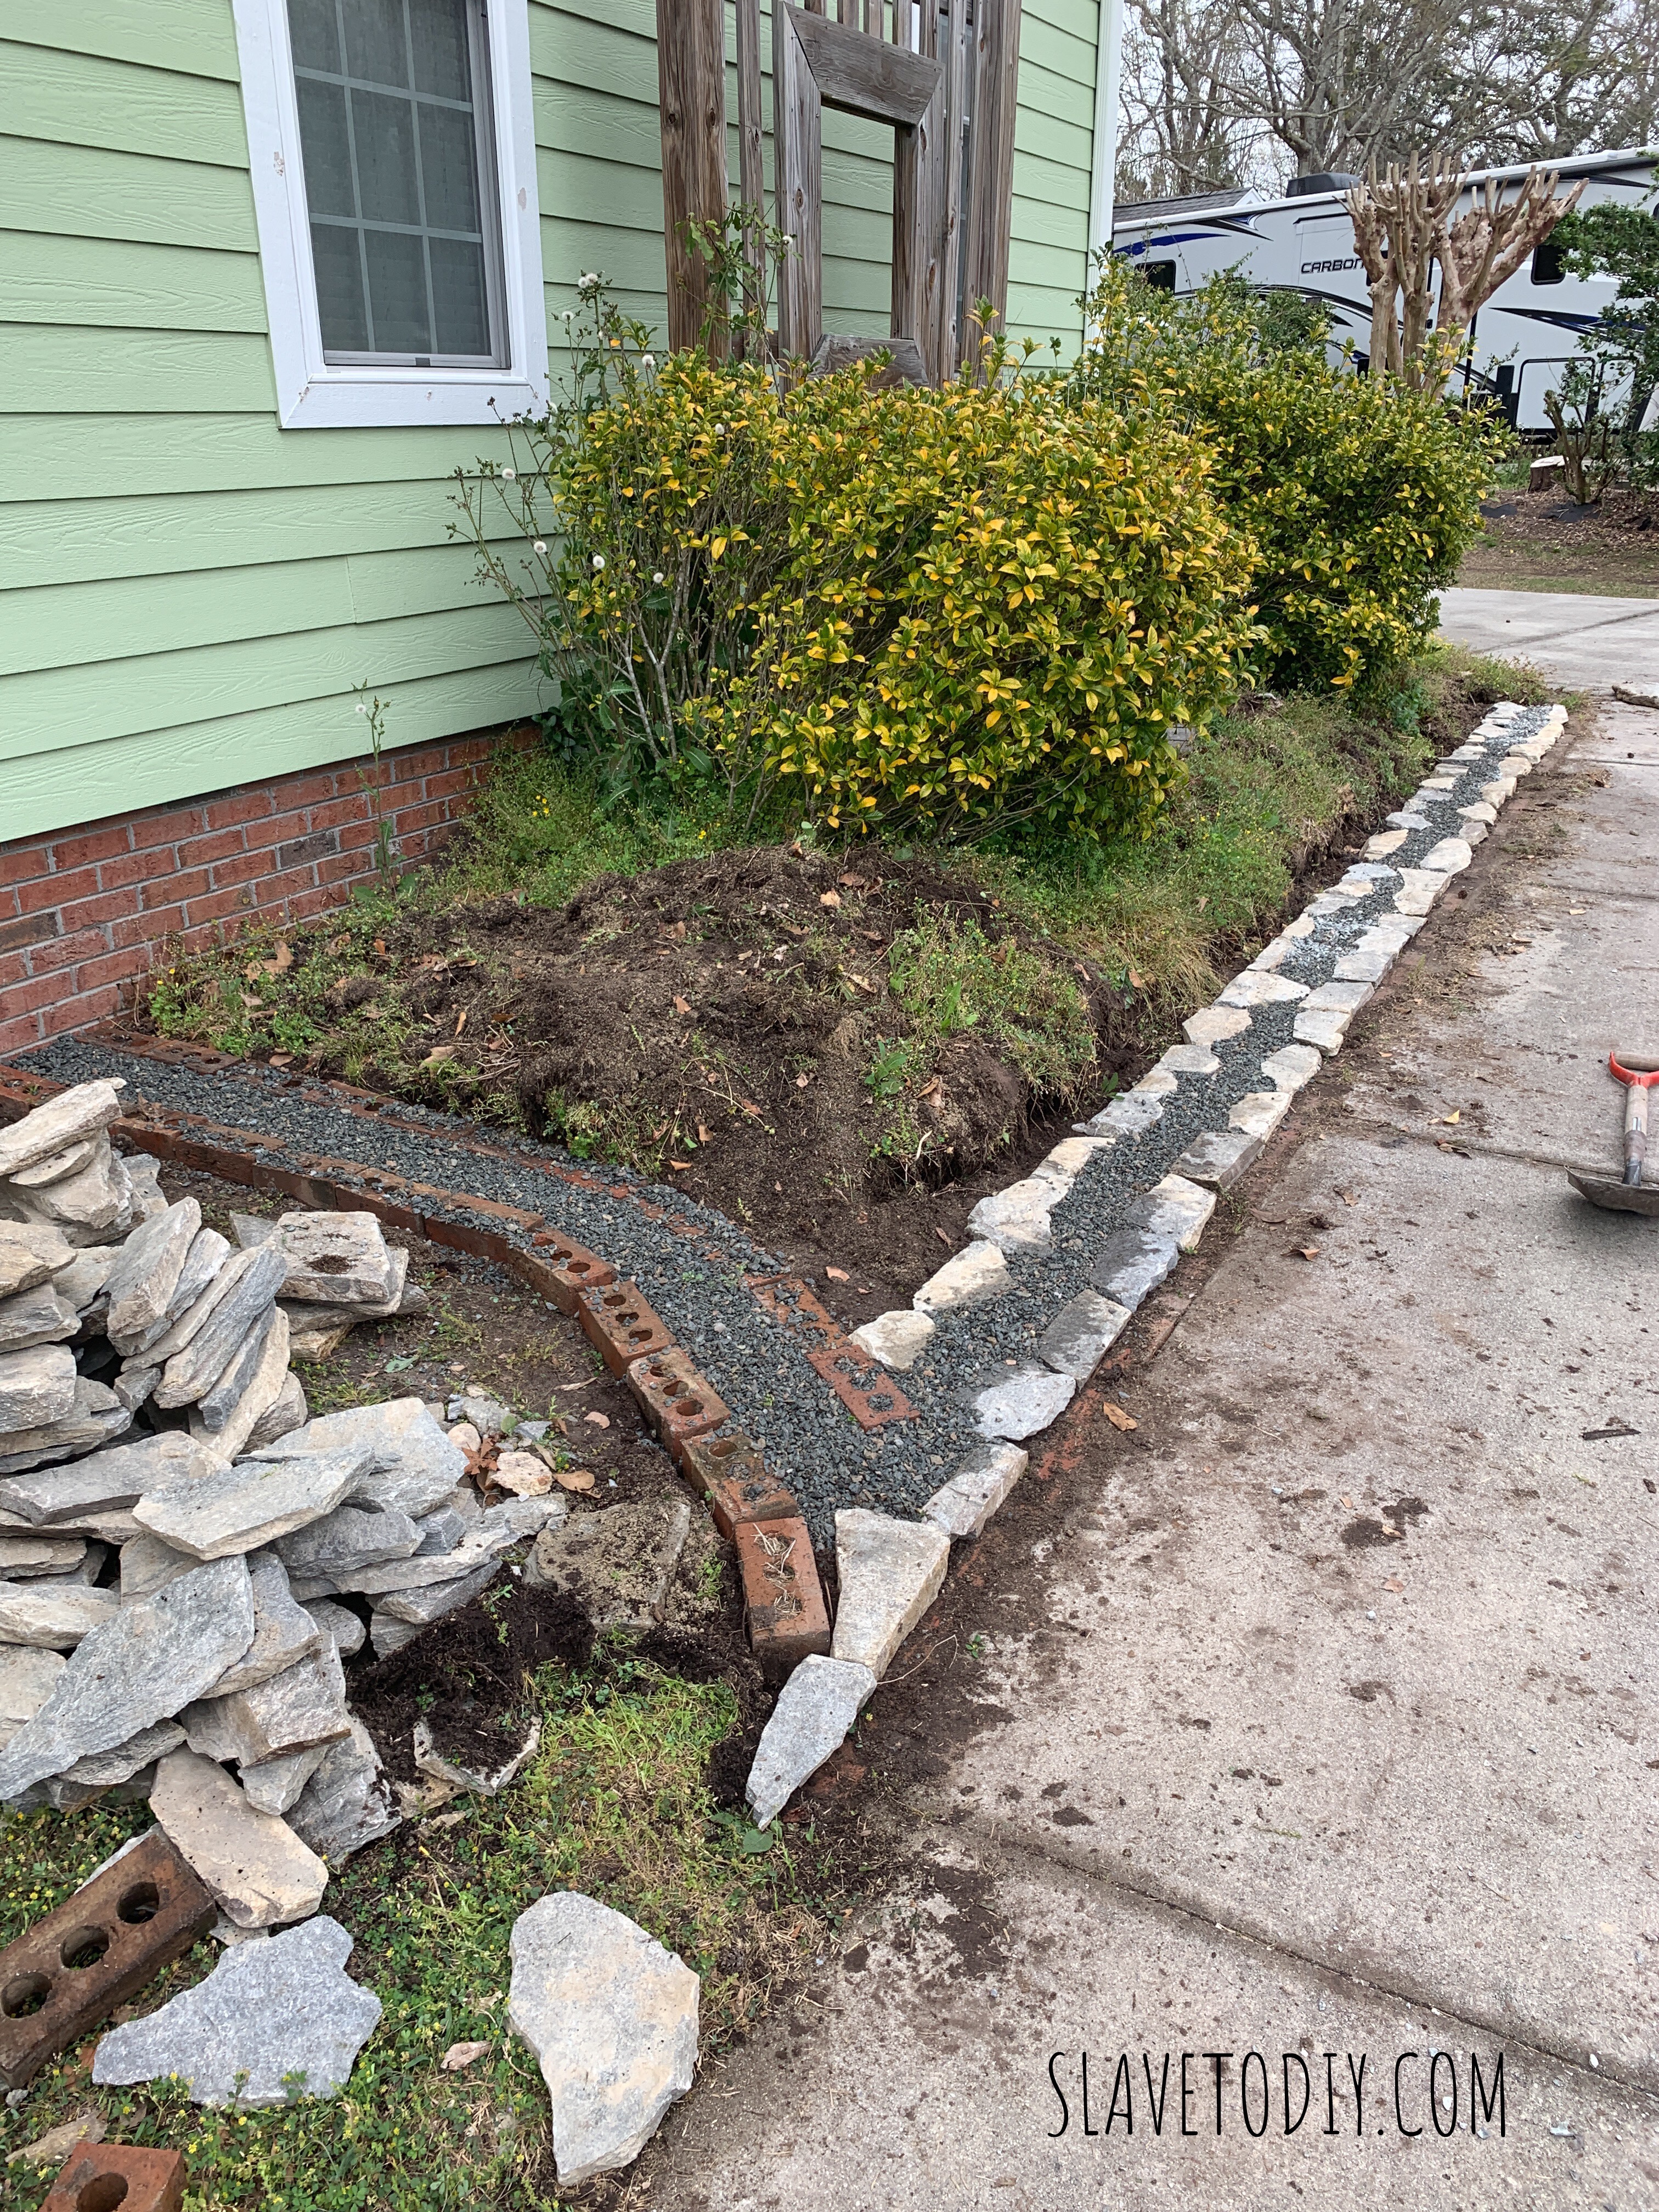
It didn’t occur to me at this point what was really bothering me. But, I’ll get to that.
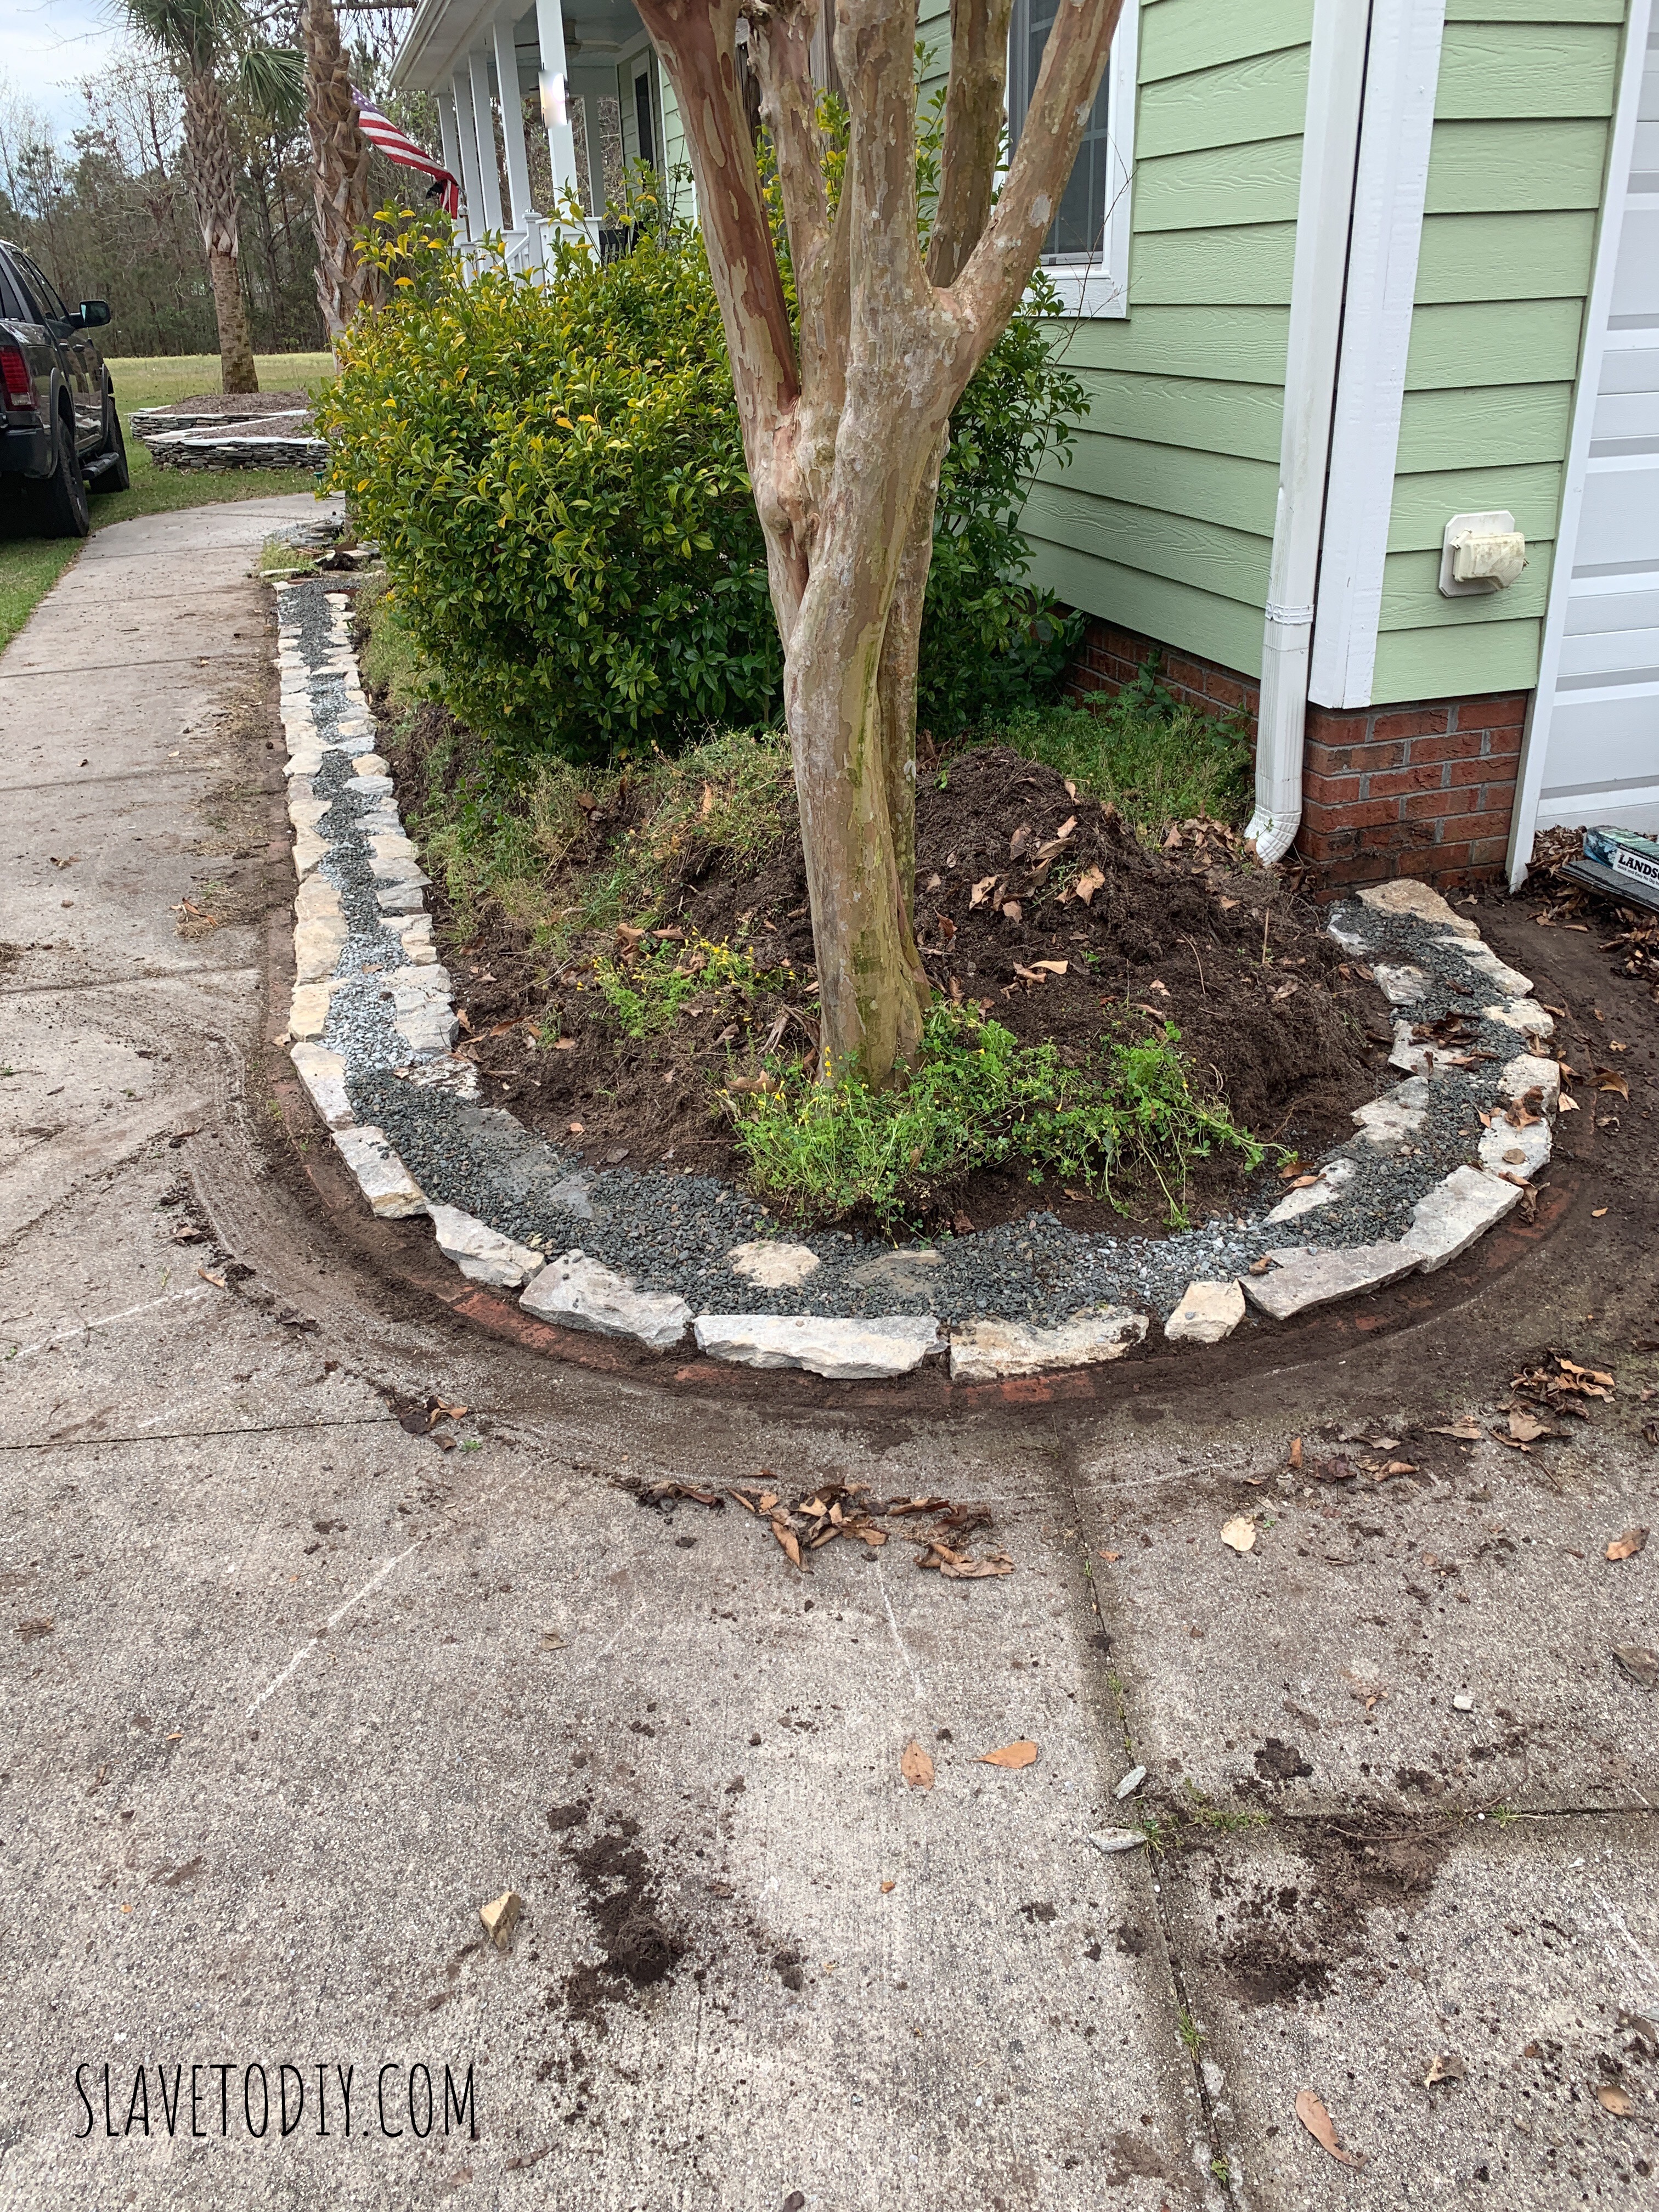
I really love this gentle curve around the end of the garden. It’s a great shape.
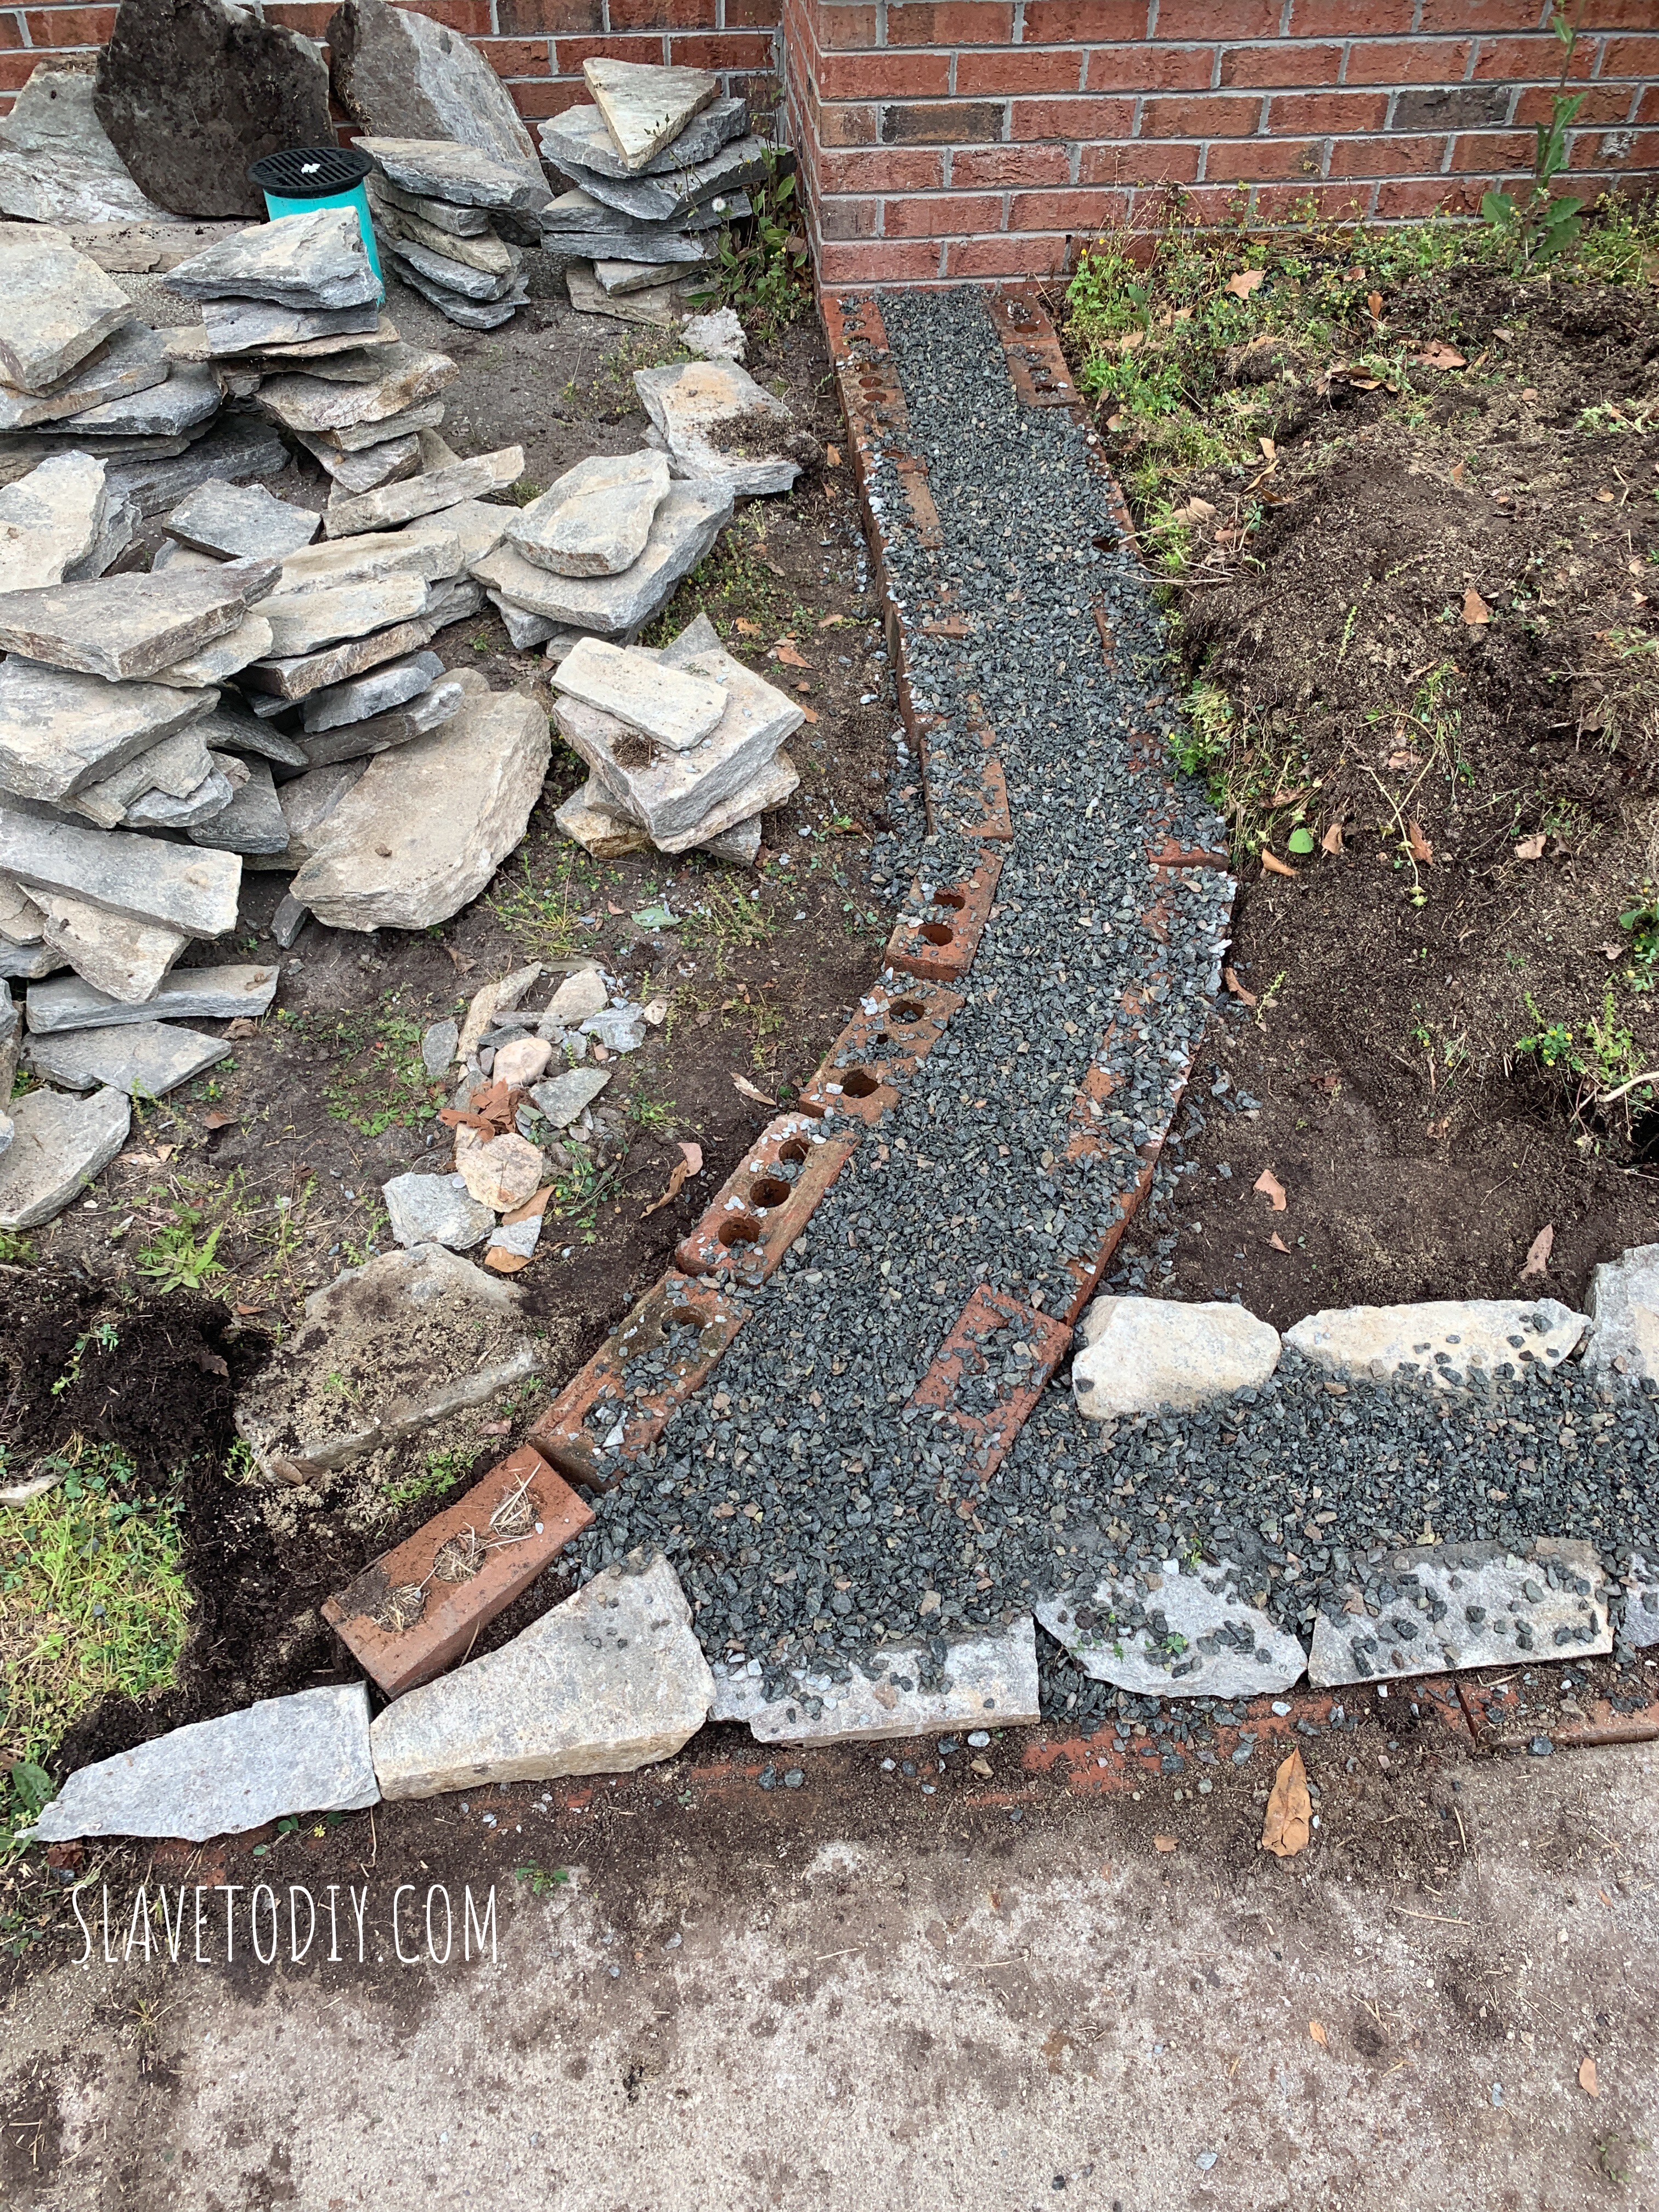
This shows how the base took shape.
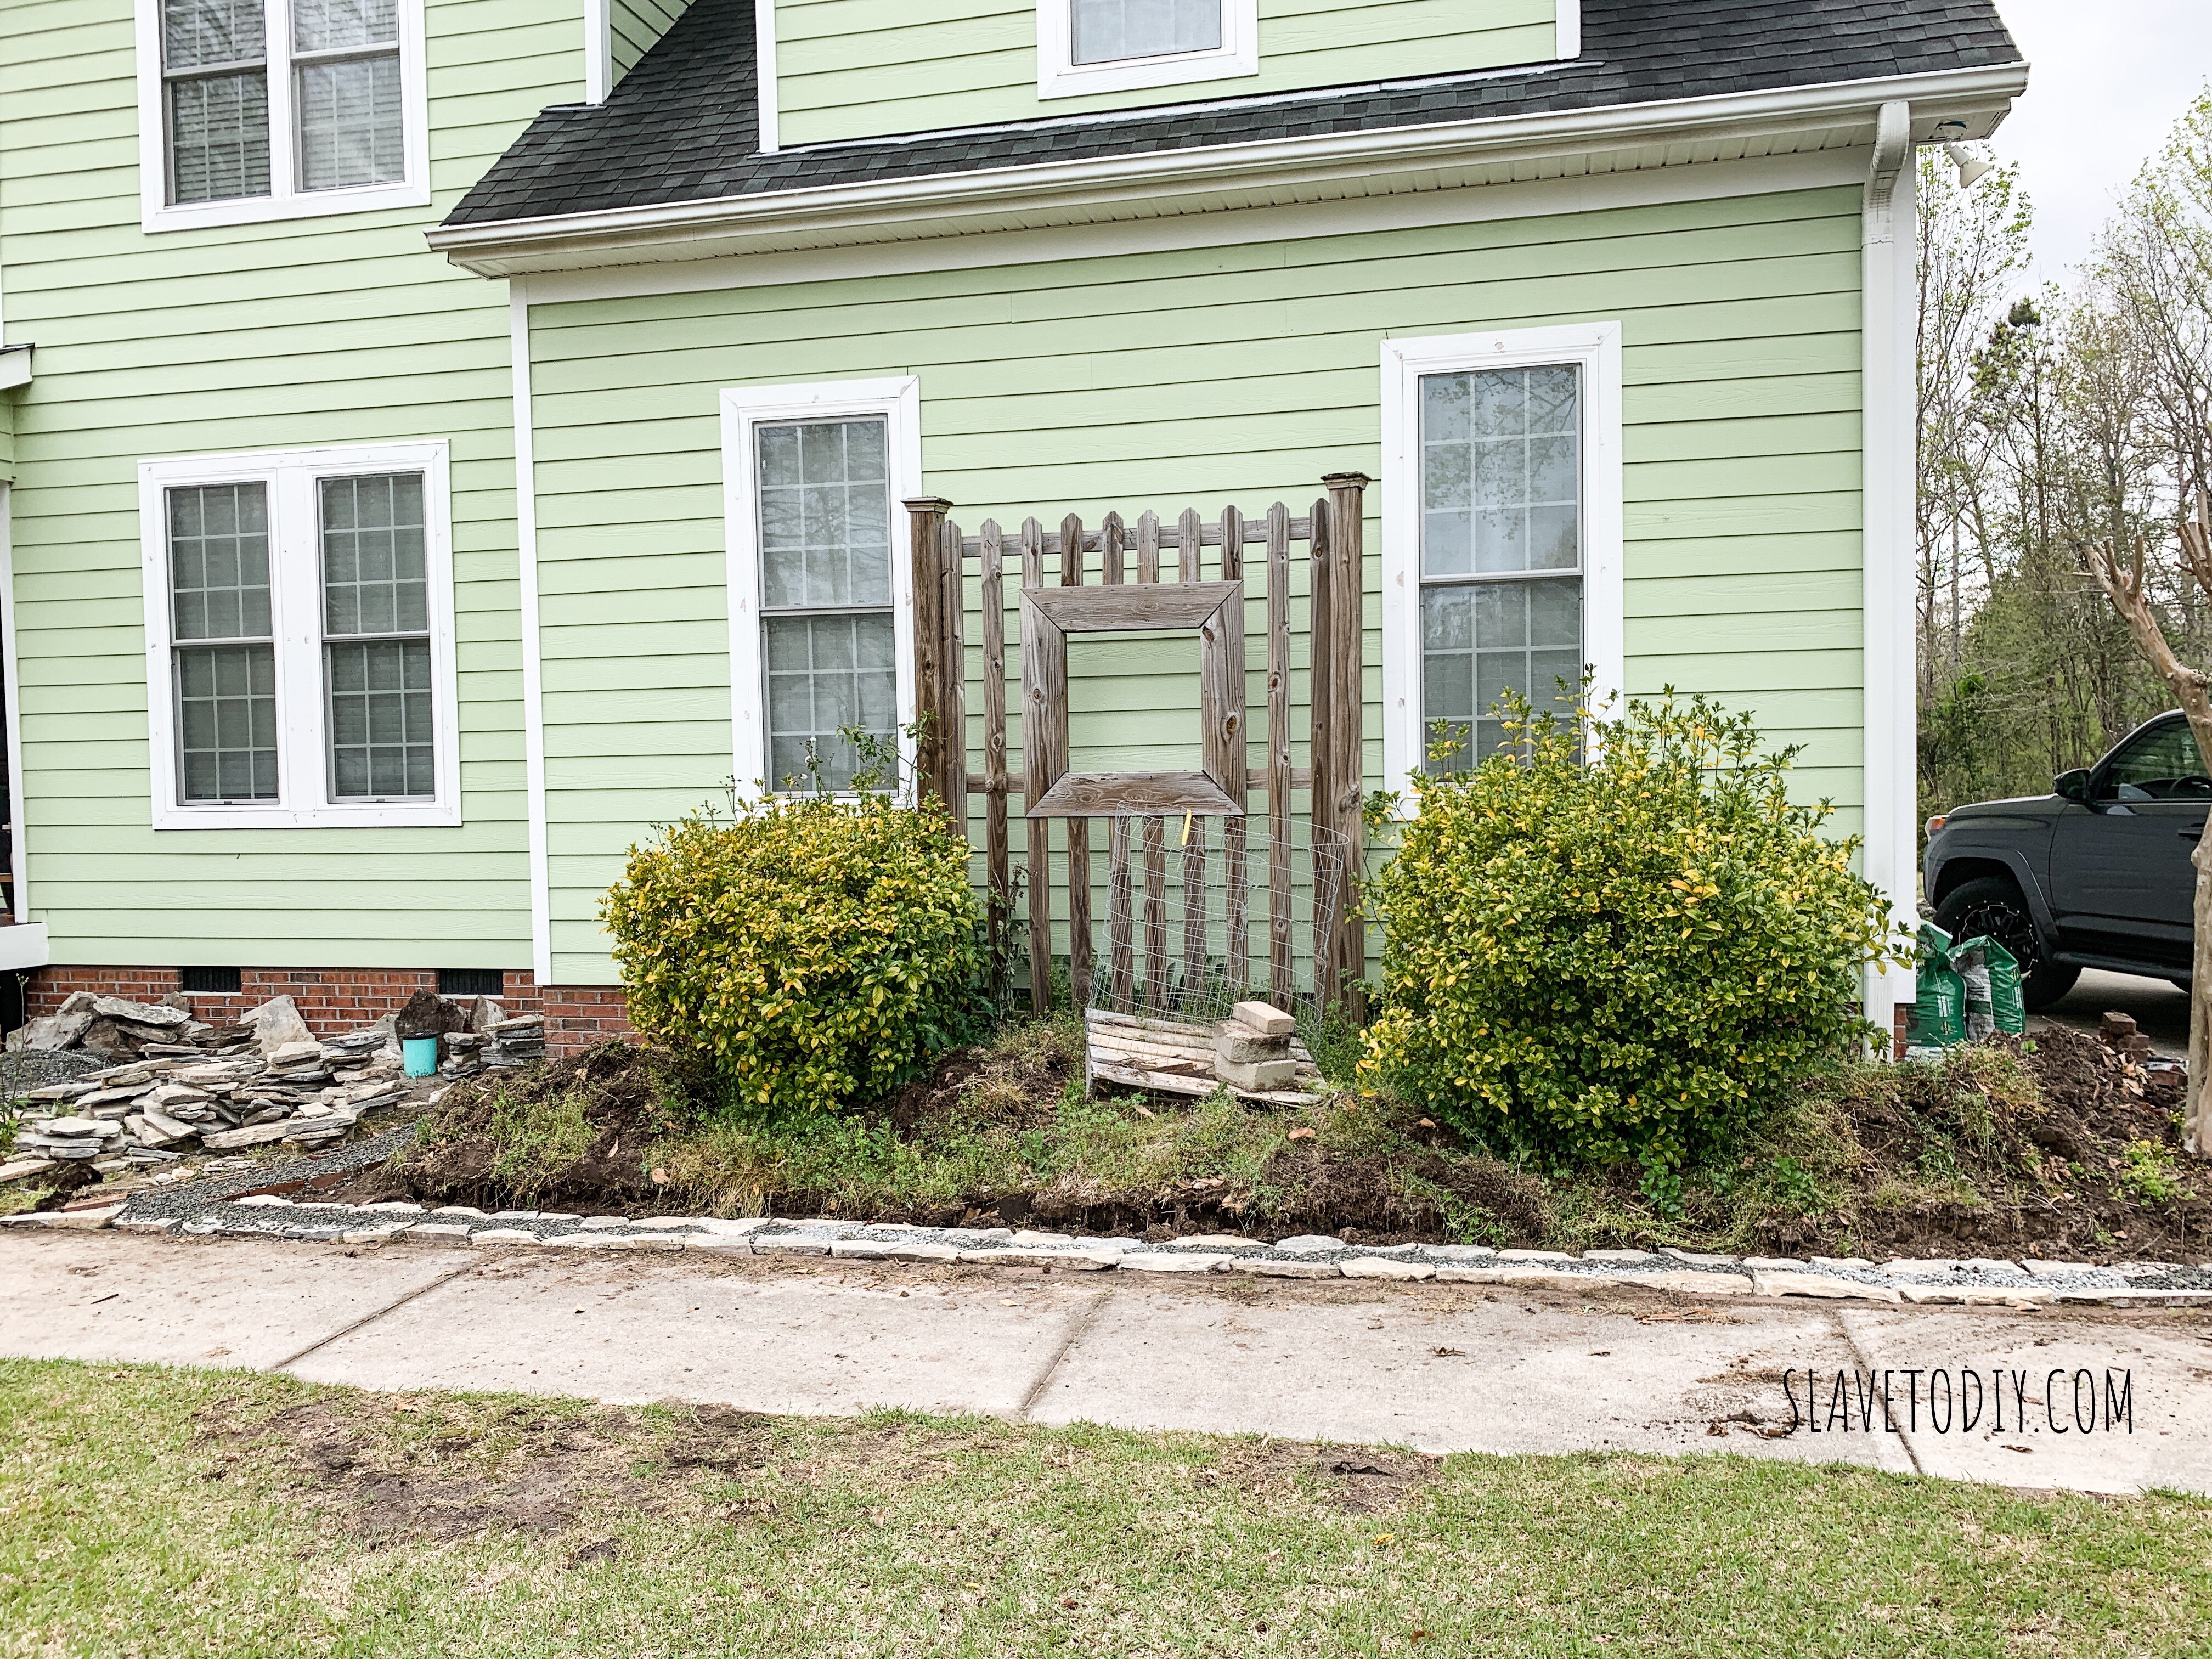
So, I was standing there looking at it: this future garden and Rainman asks me a simple question. “You don’t like those bushes do you?” And, of course, that was exactly what was bothering me. It would’ve been WAY more simple if I had asked him to remove them BEFORE I began the wall installation, but he didn’t even fuss at me.
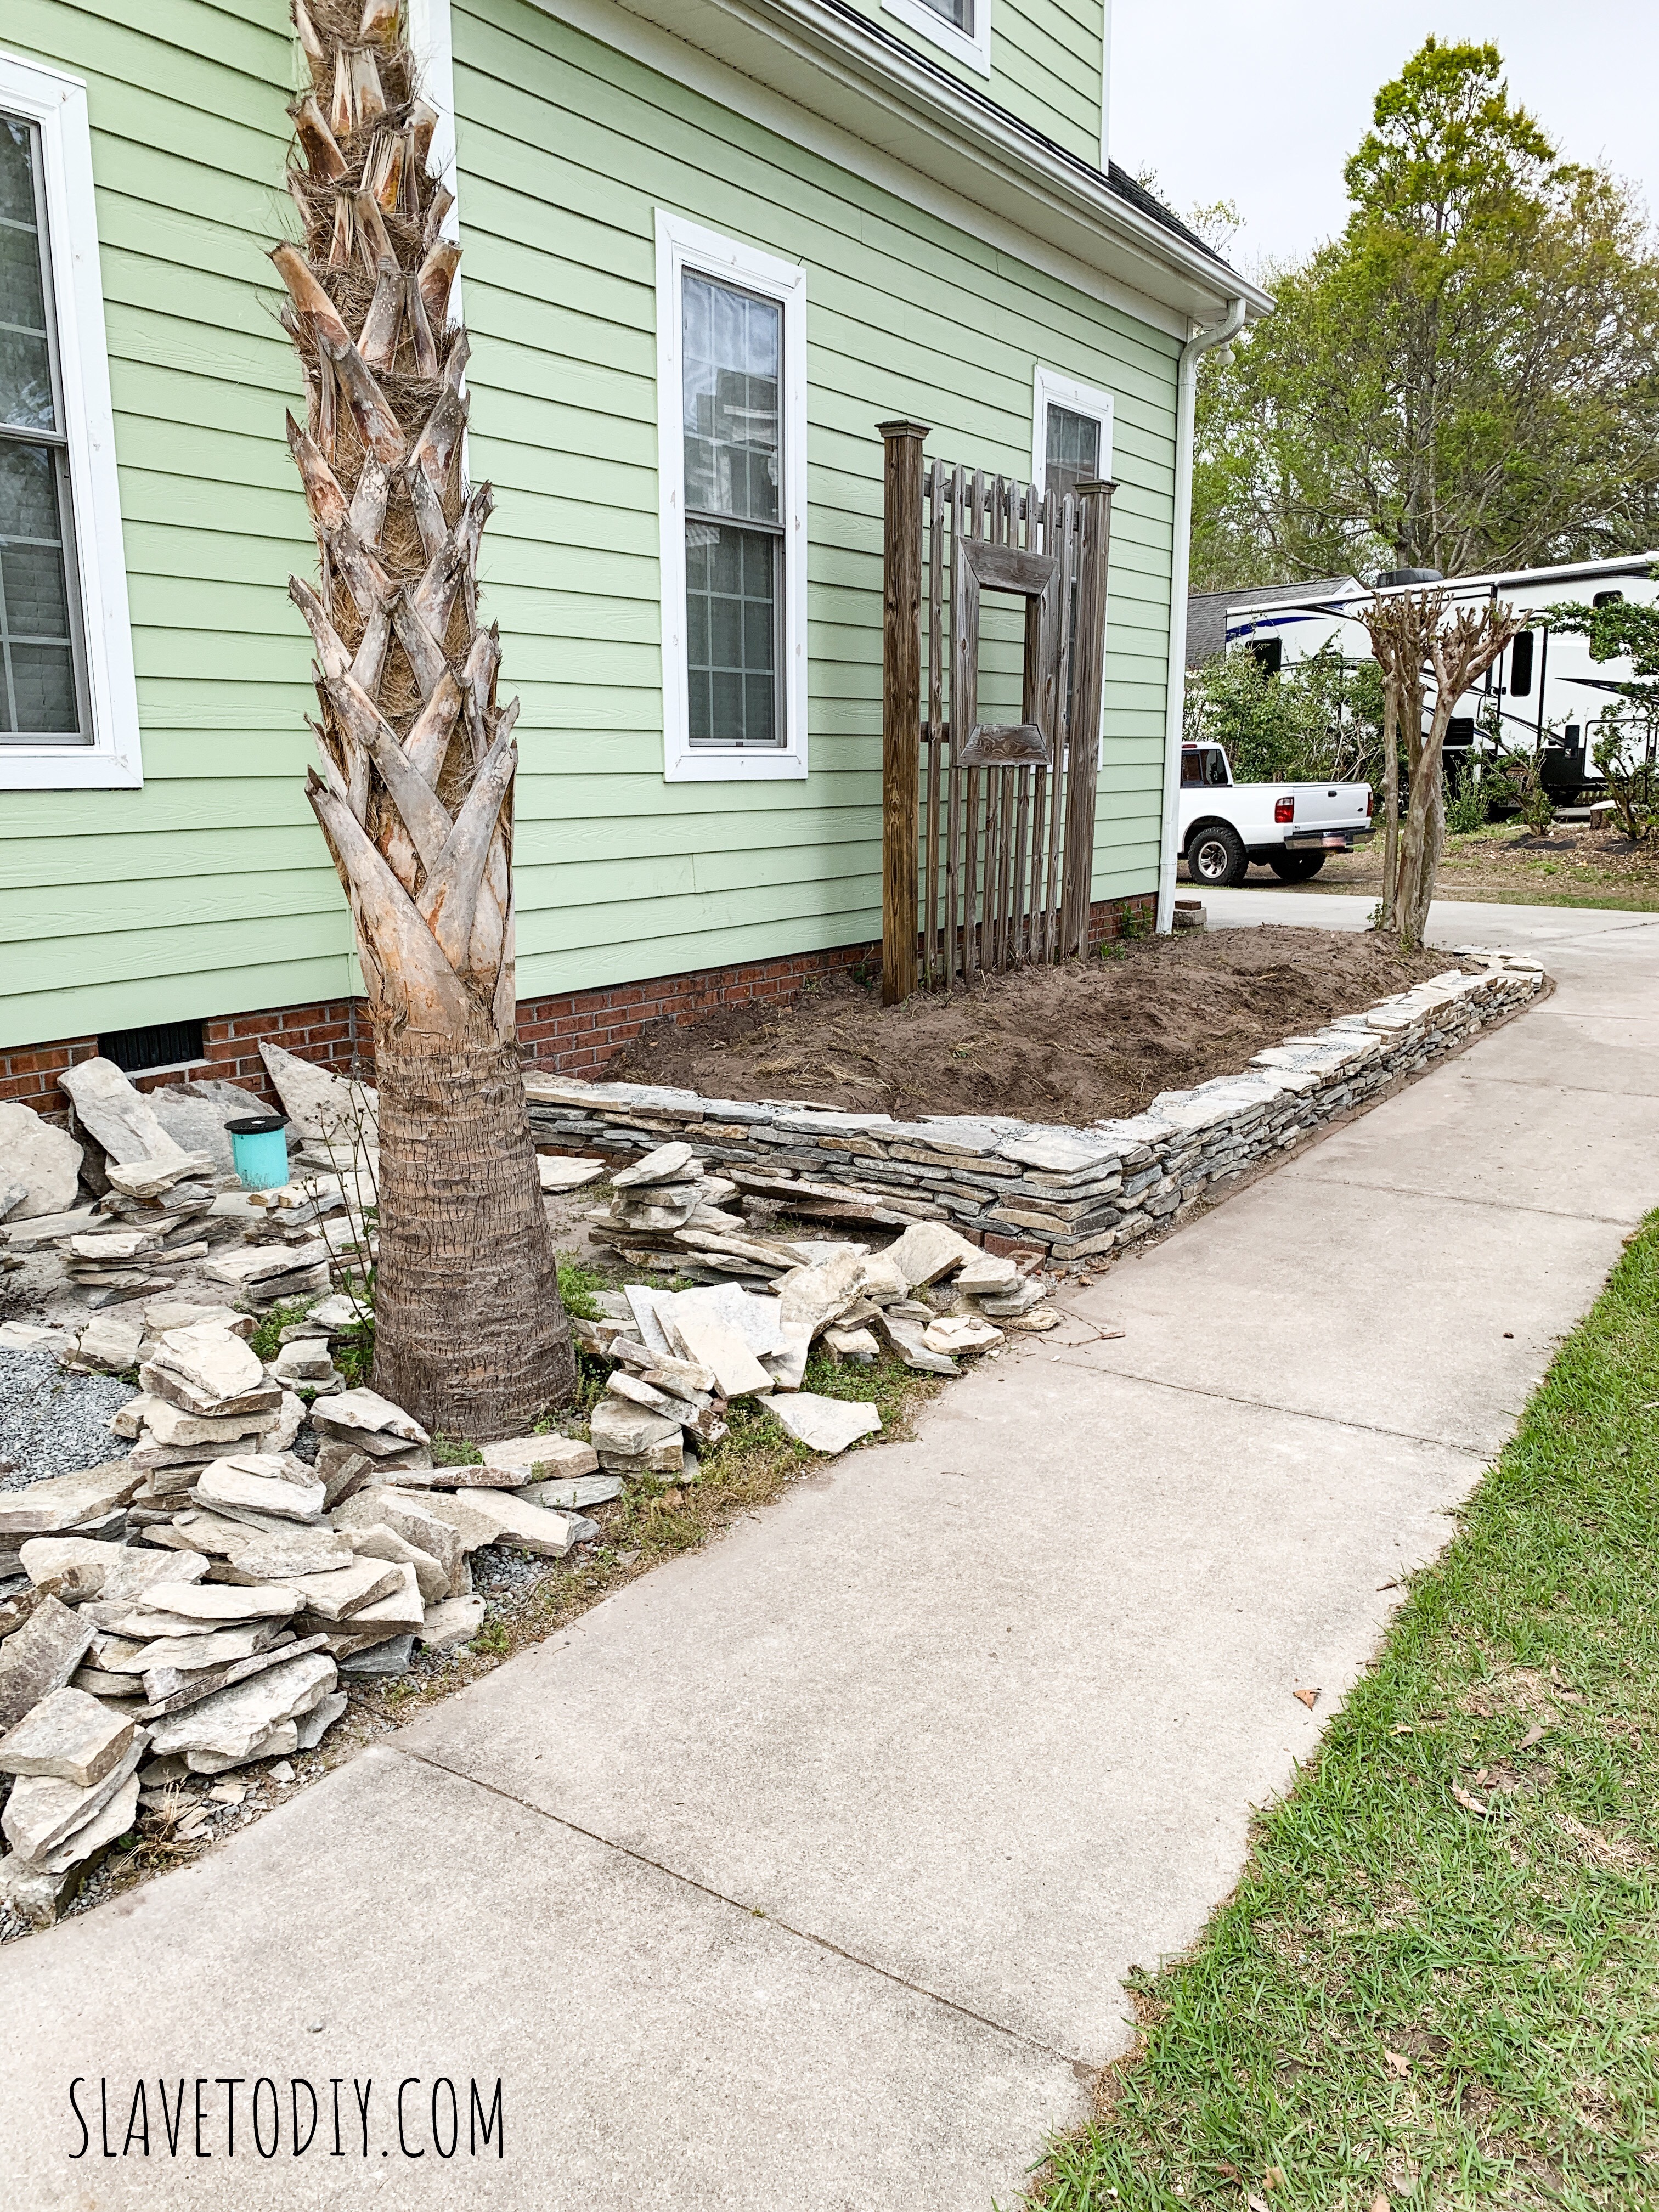
So, the deal with the garden wall installations is that Rainman can’t help. It’s sort of like playing tetris, except that the pieces aren’t the same and you have to be a little creative. It’s an art, really. So, he did what he could: he broke up the weeds and filled in gravel where I needed it. He also lugged rocks of various sizes over to where I was working so that I could build faster. He’s really very awesome, this Rainman of mine.
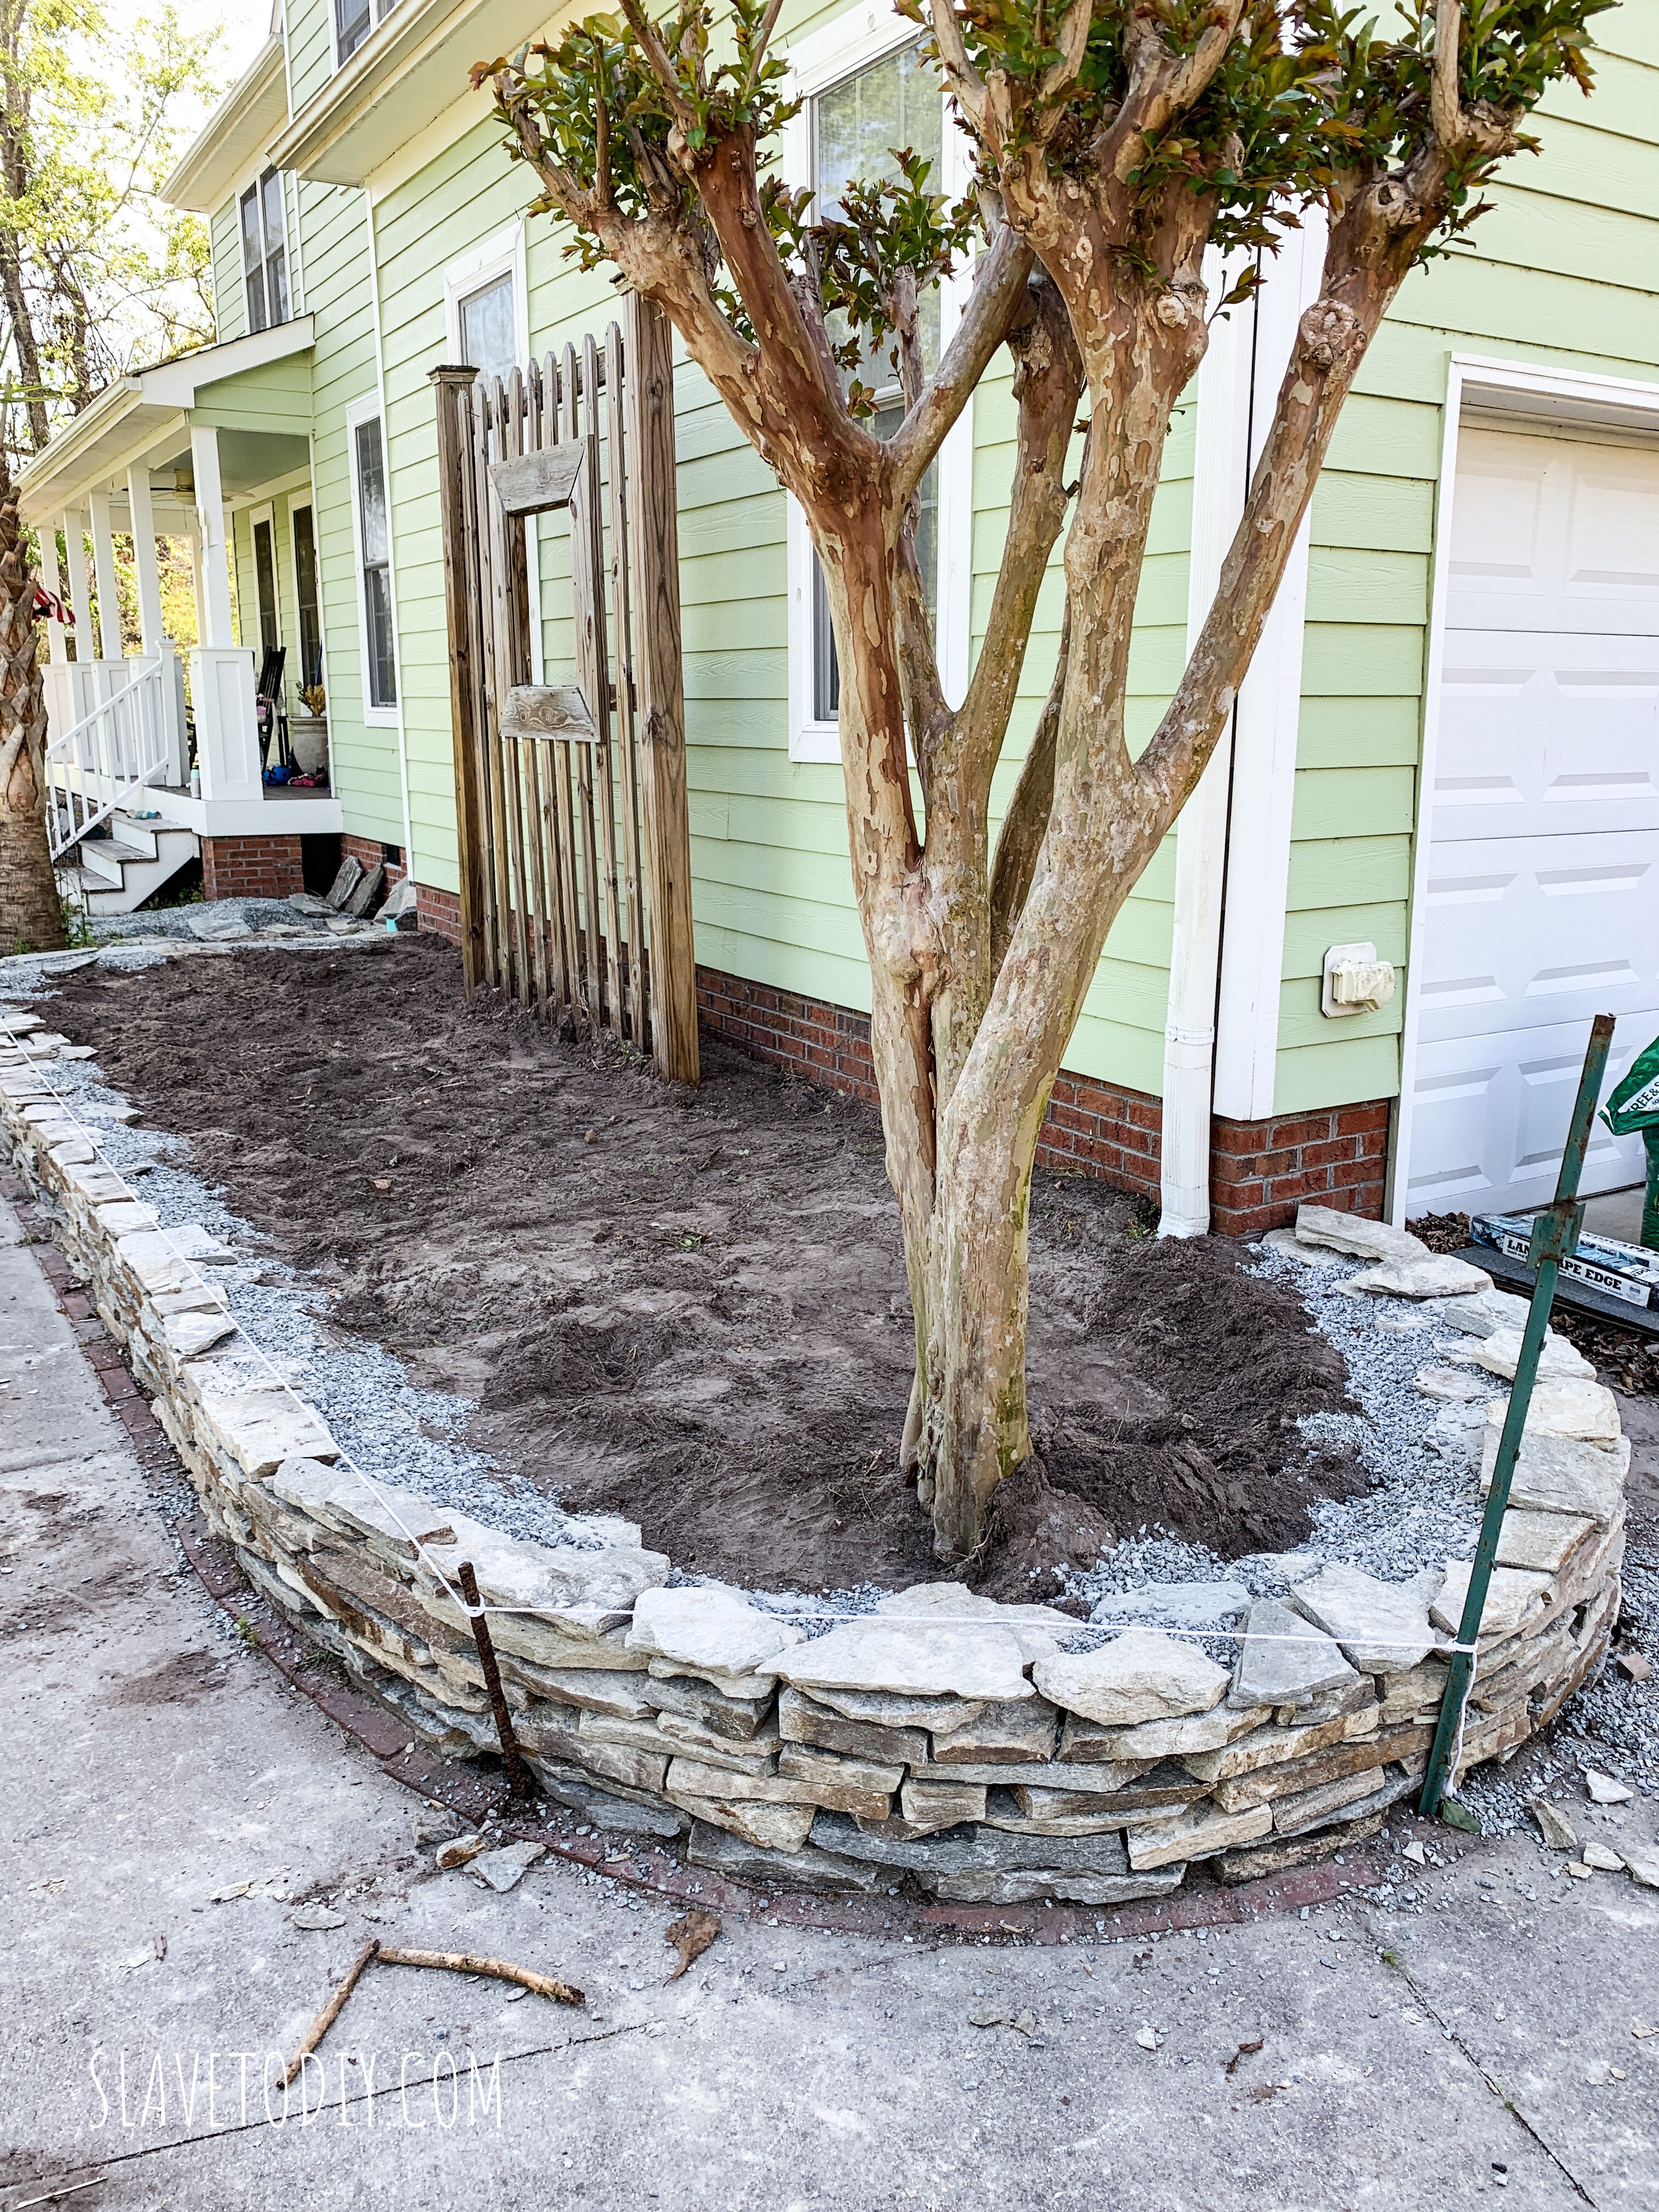
When we get to this stage of the game, where final leveling is happening, his help, and his eye are essential. I still don’t let him touch any rocks, but he gets me a line so we can get the wall ready for capstones.
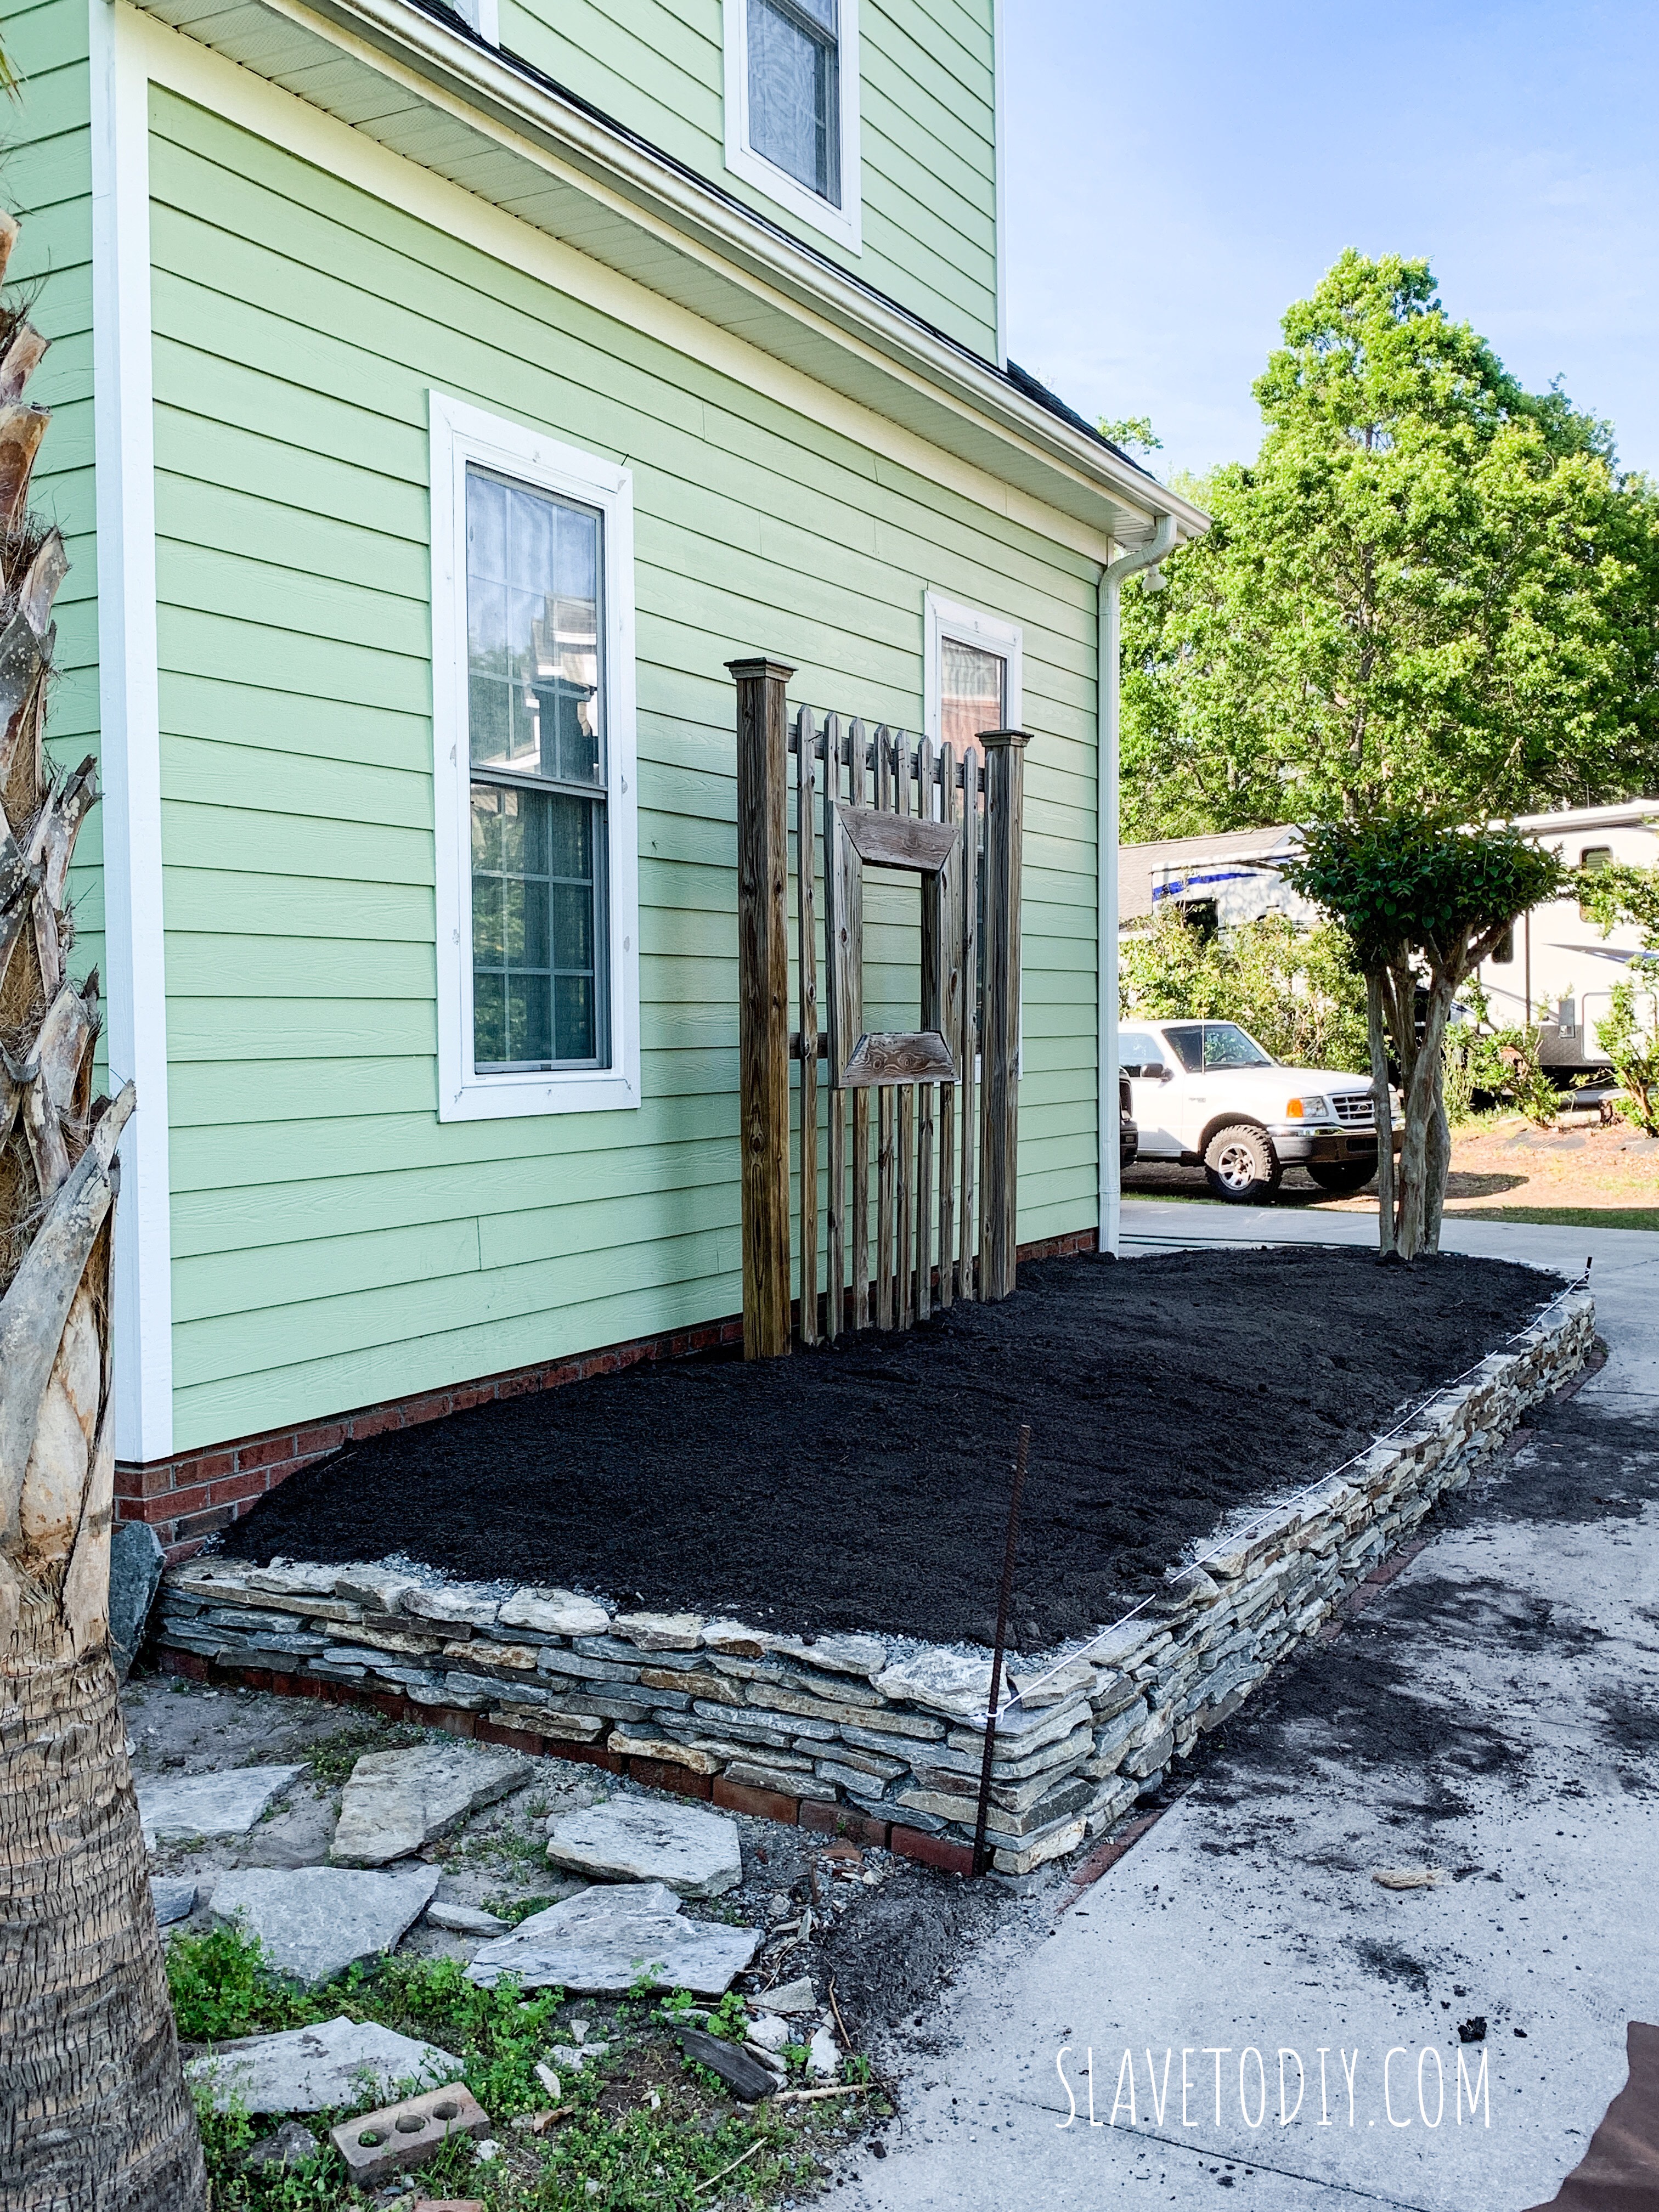
In order to get the garden ready for capstones and landscaping fabric I needed the rest of the topsoil in so I put the teenagers on duty, running back and forth to the topsoil and mulch place.
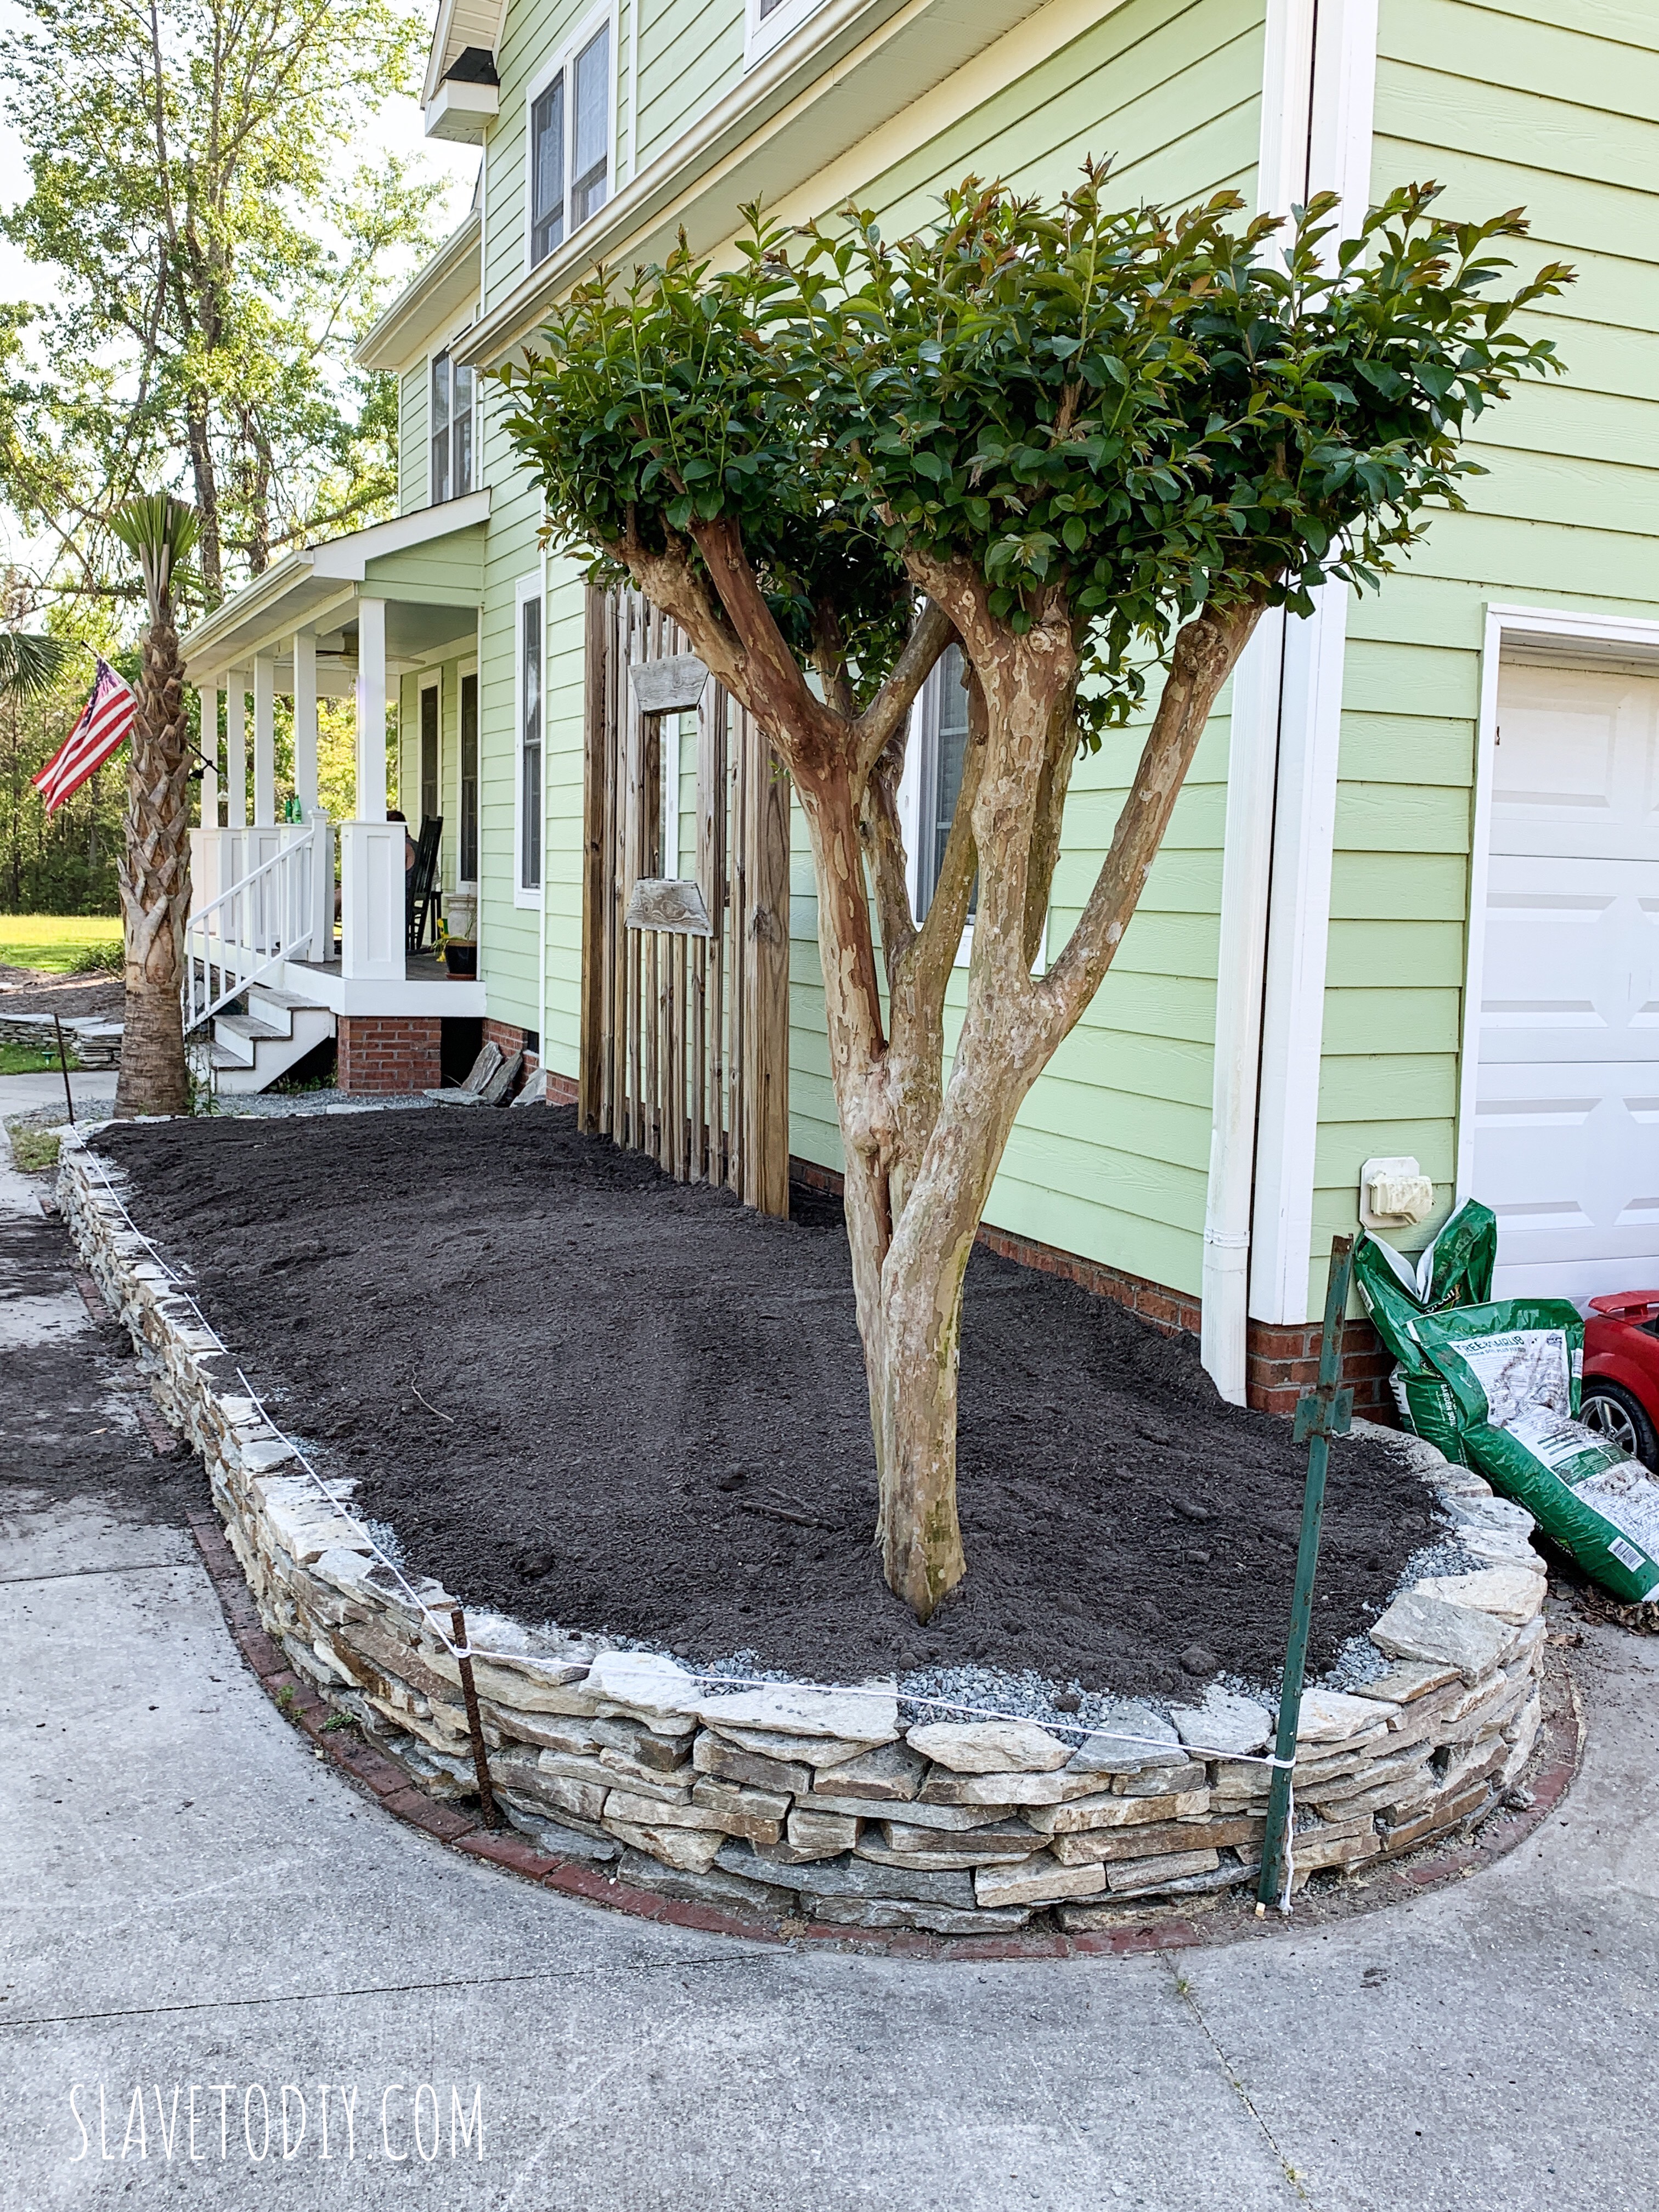
So, we finally got it mounded where I wanted it, and let it rest overnight with a good soaking rain so we were sure it was good and settled and the levels were where I wanted them.
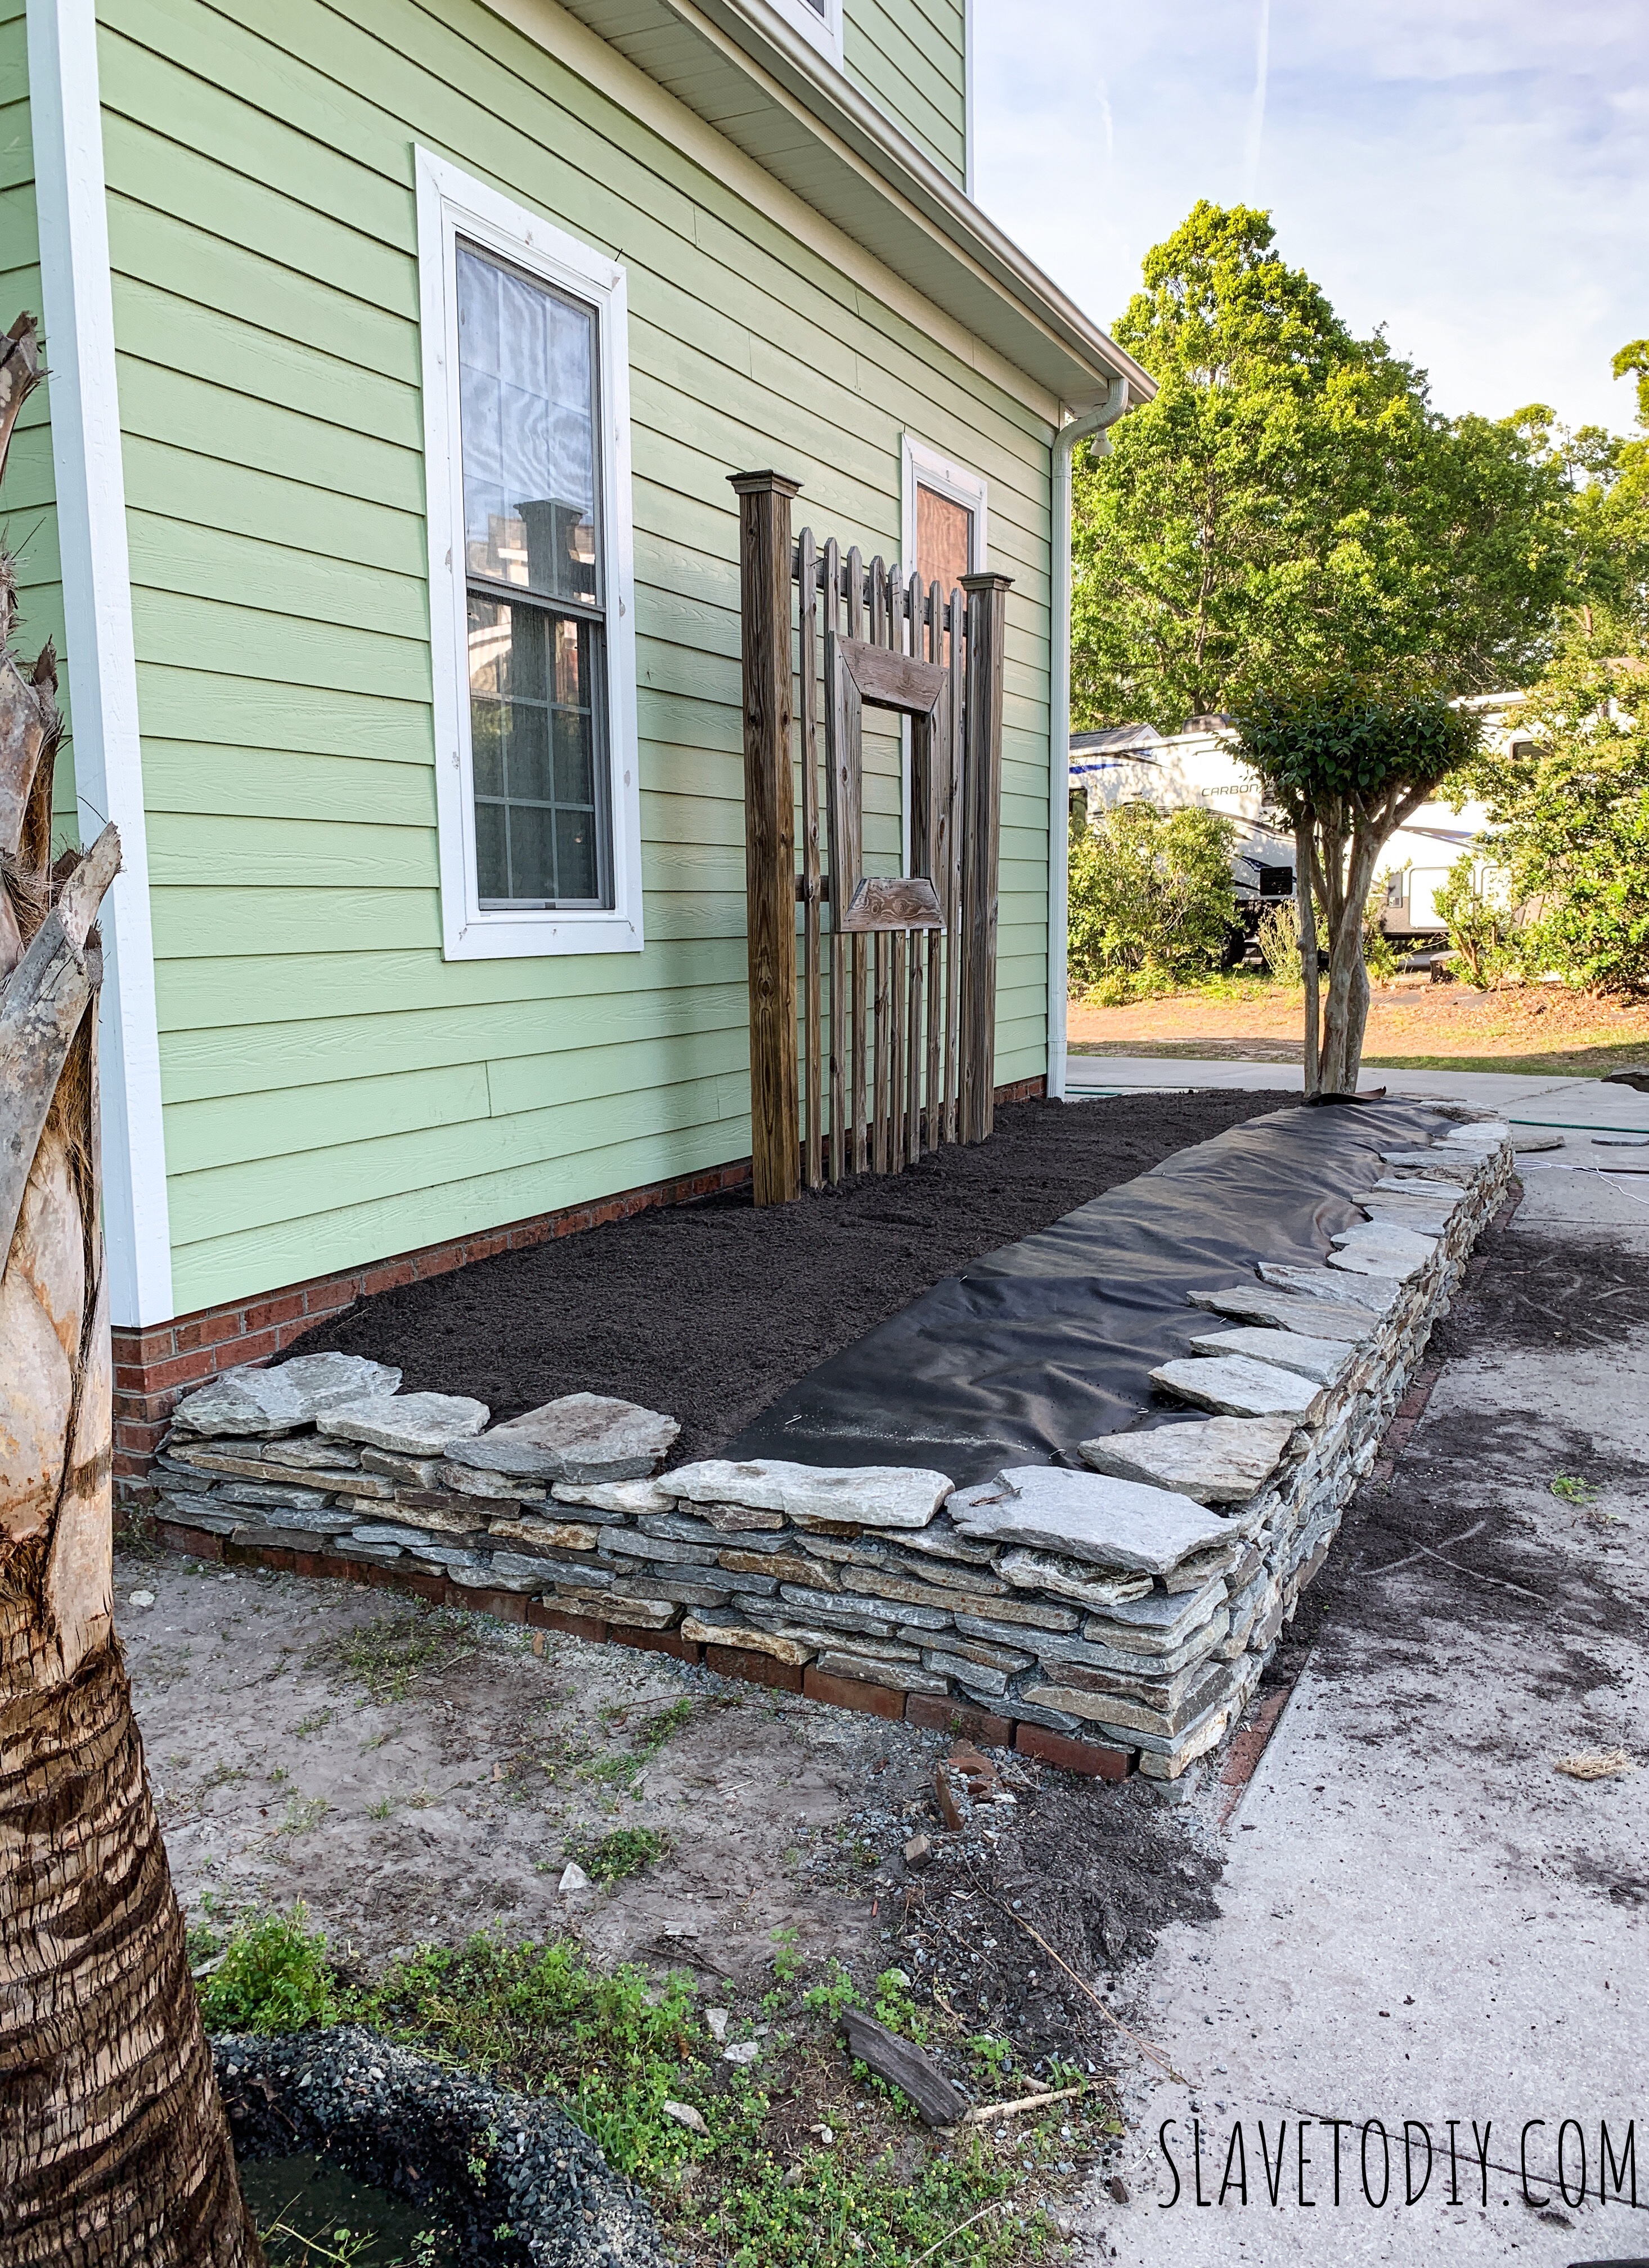
Once the soil was in and mounded the way I wanted, we added landscaping fabric and capstones. Don’t EVER skip the landscaping fabric. You’ll be sorry you did.
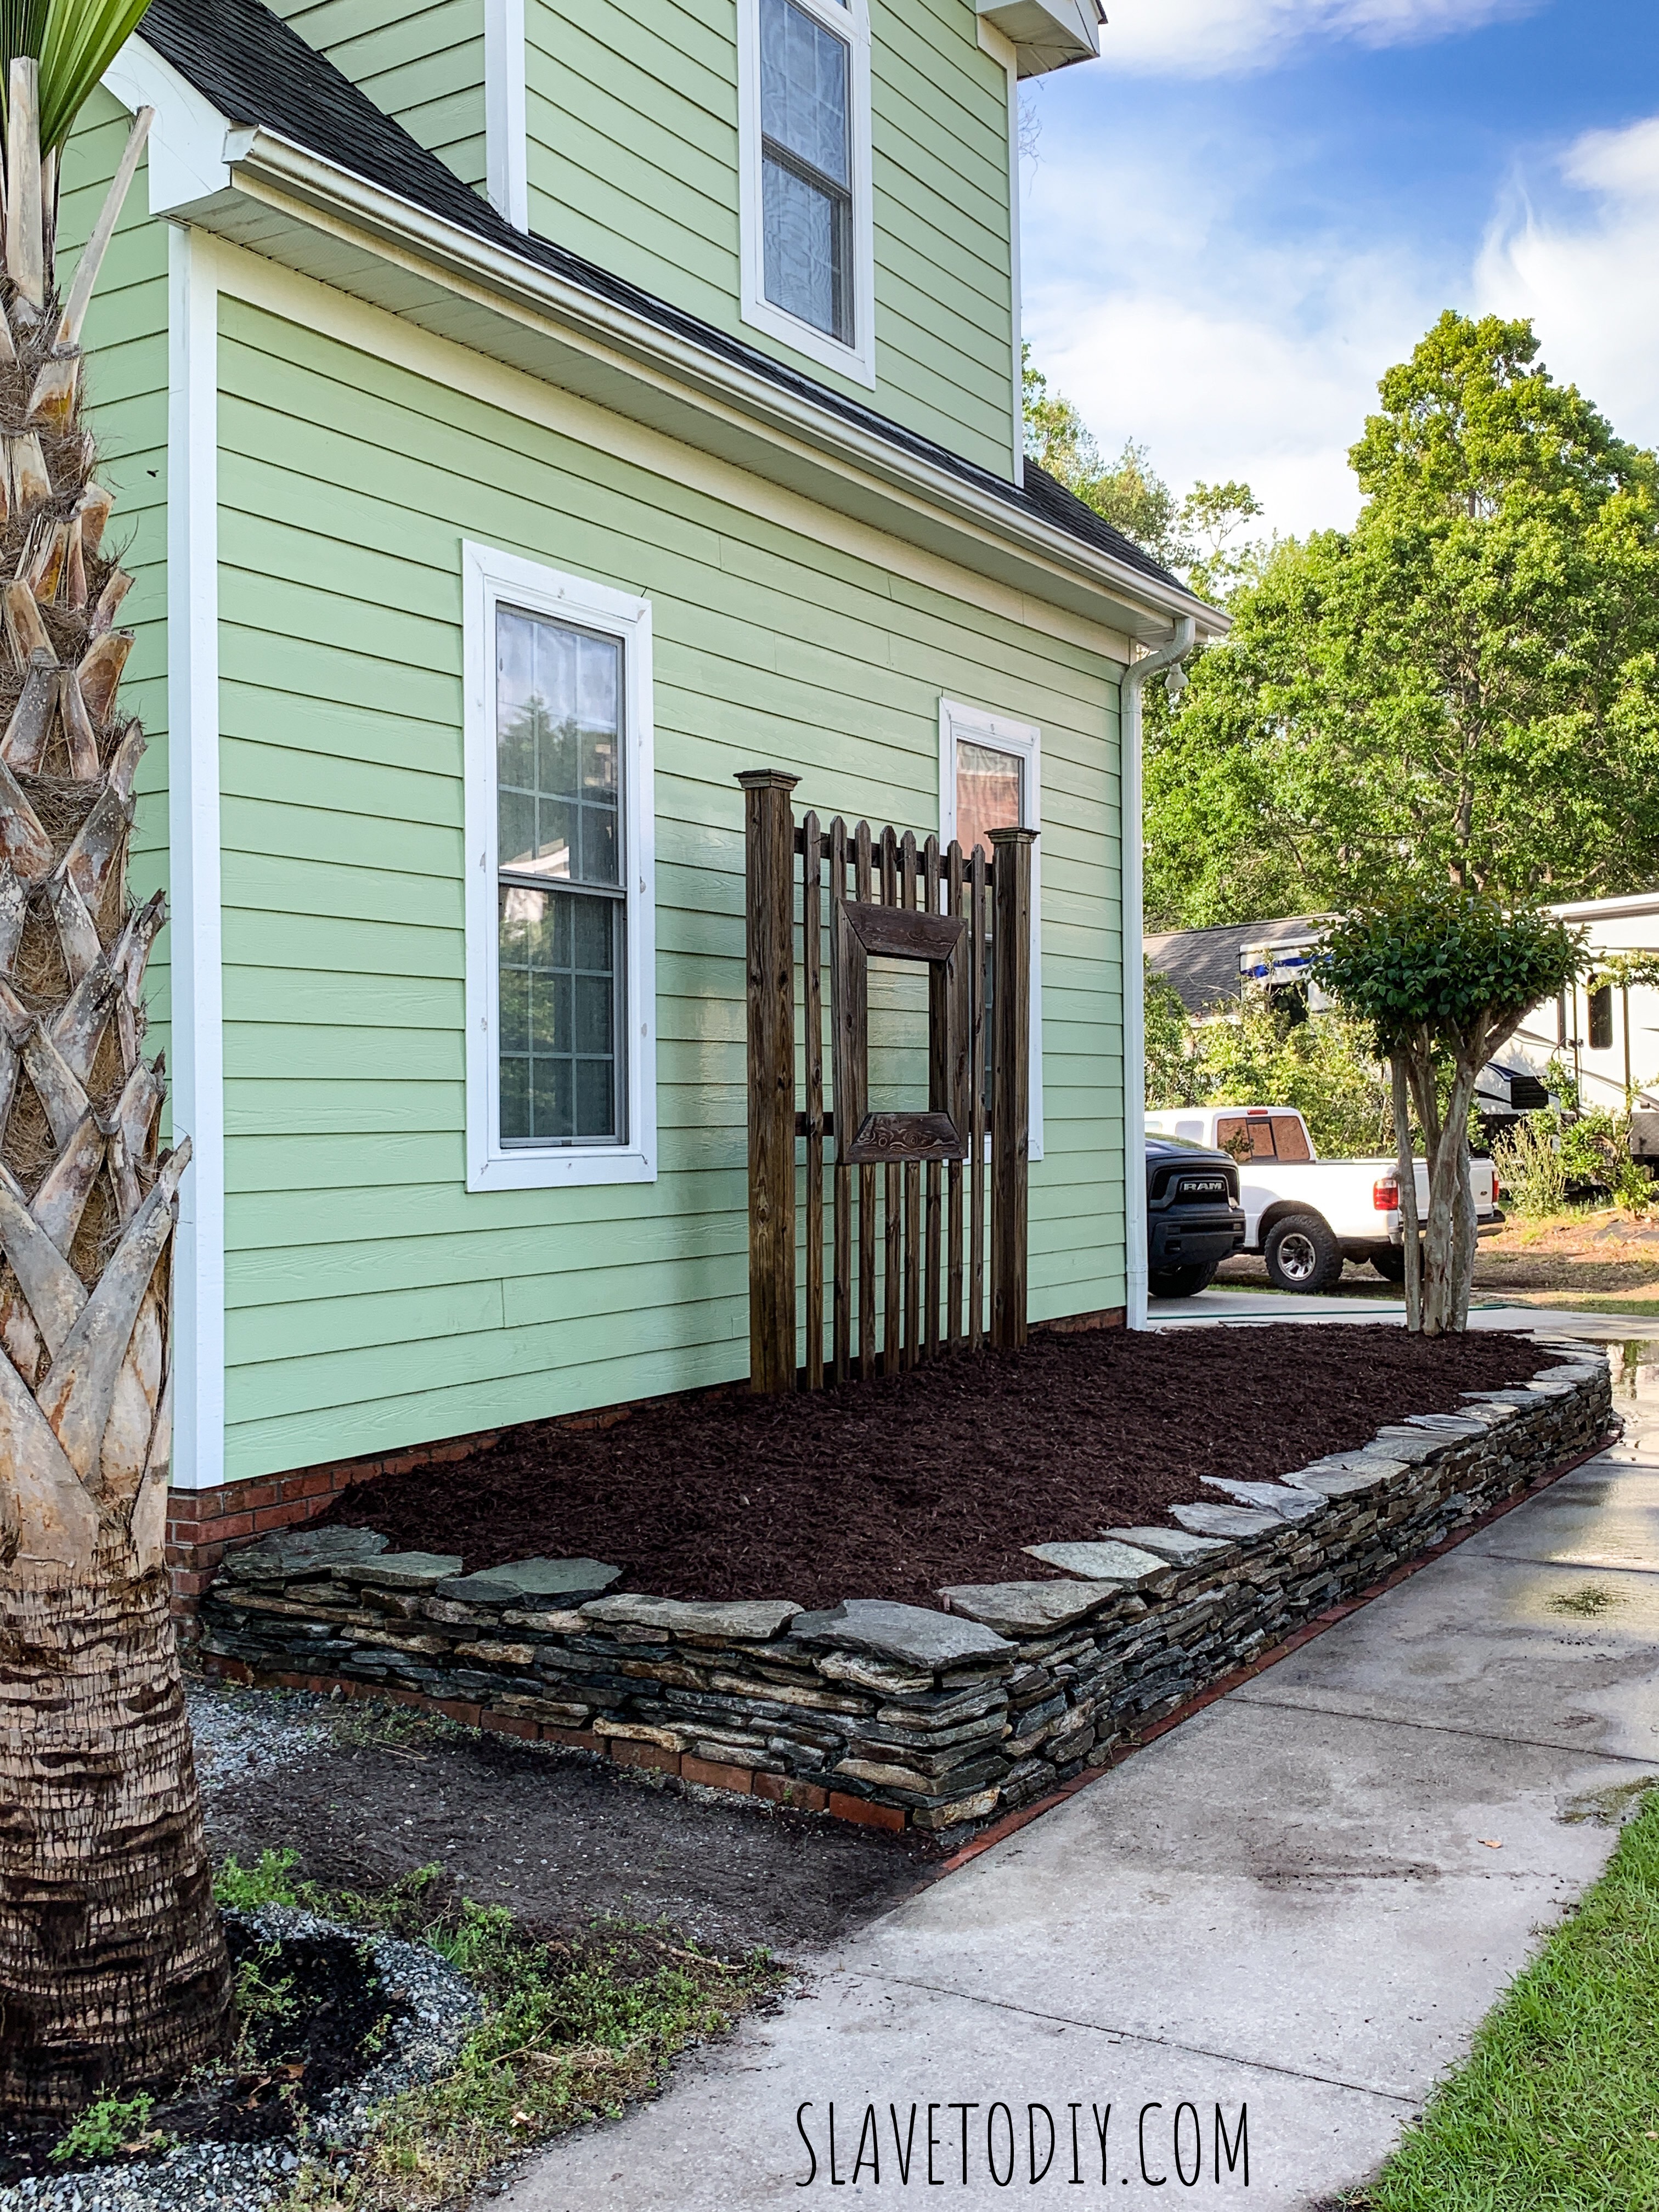
Once we had the landscaping fabric and capstones in, it only took two scoops of mulch to get a nice thick layer. Now I could really look at my blank palette and make plant decisions.
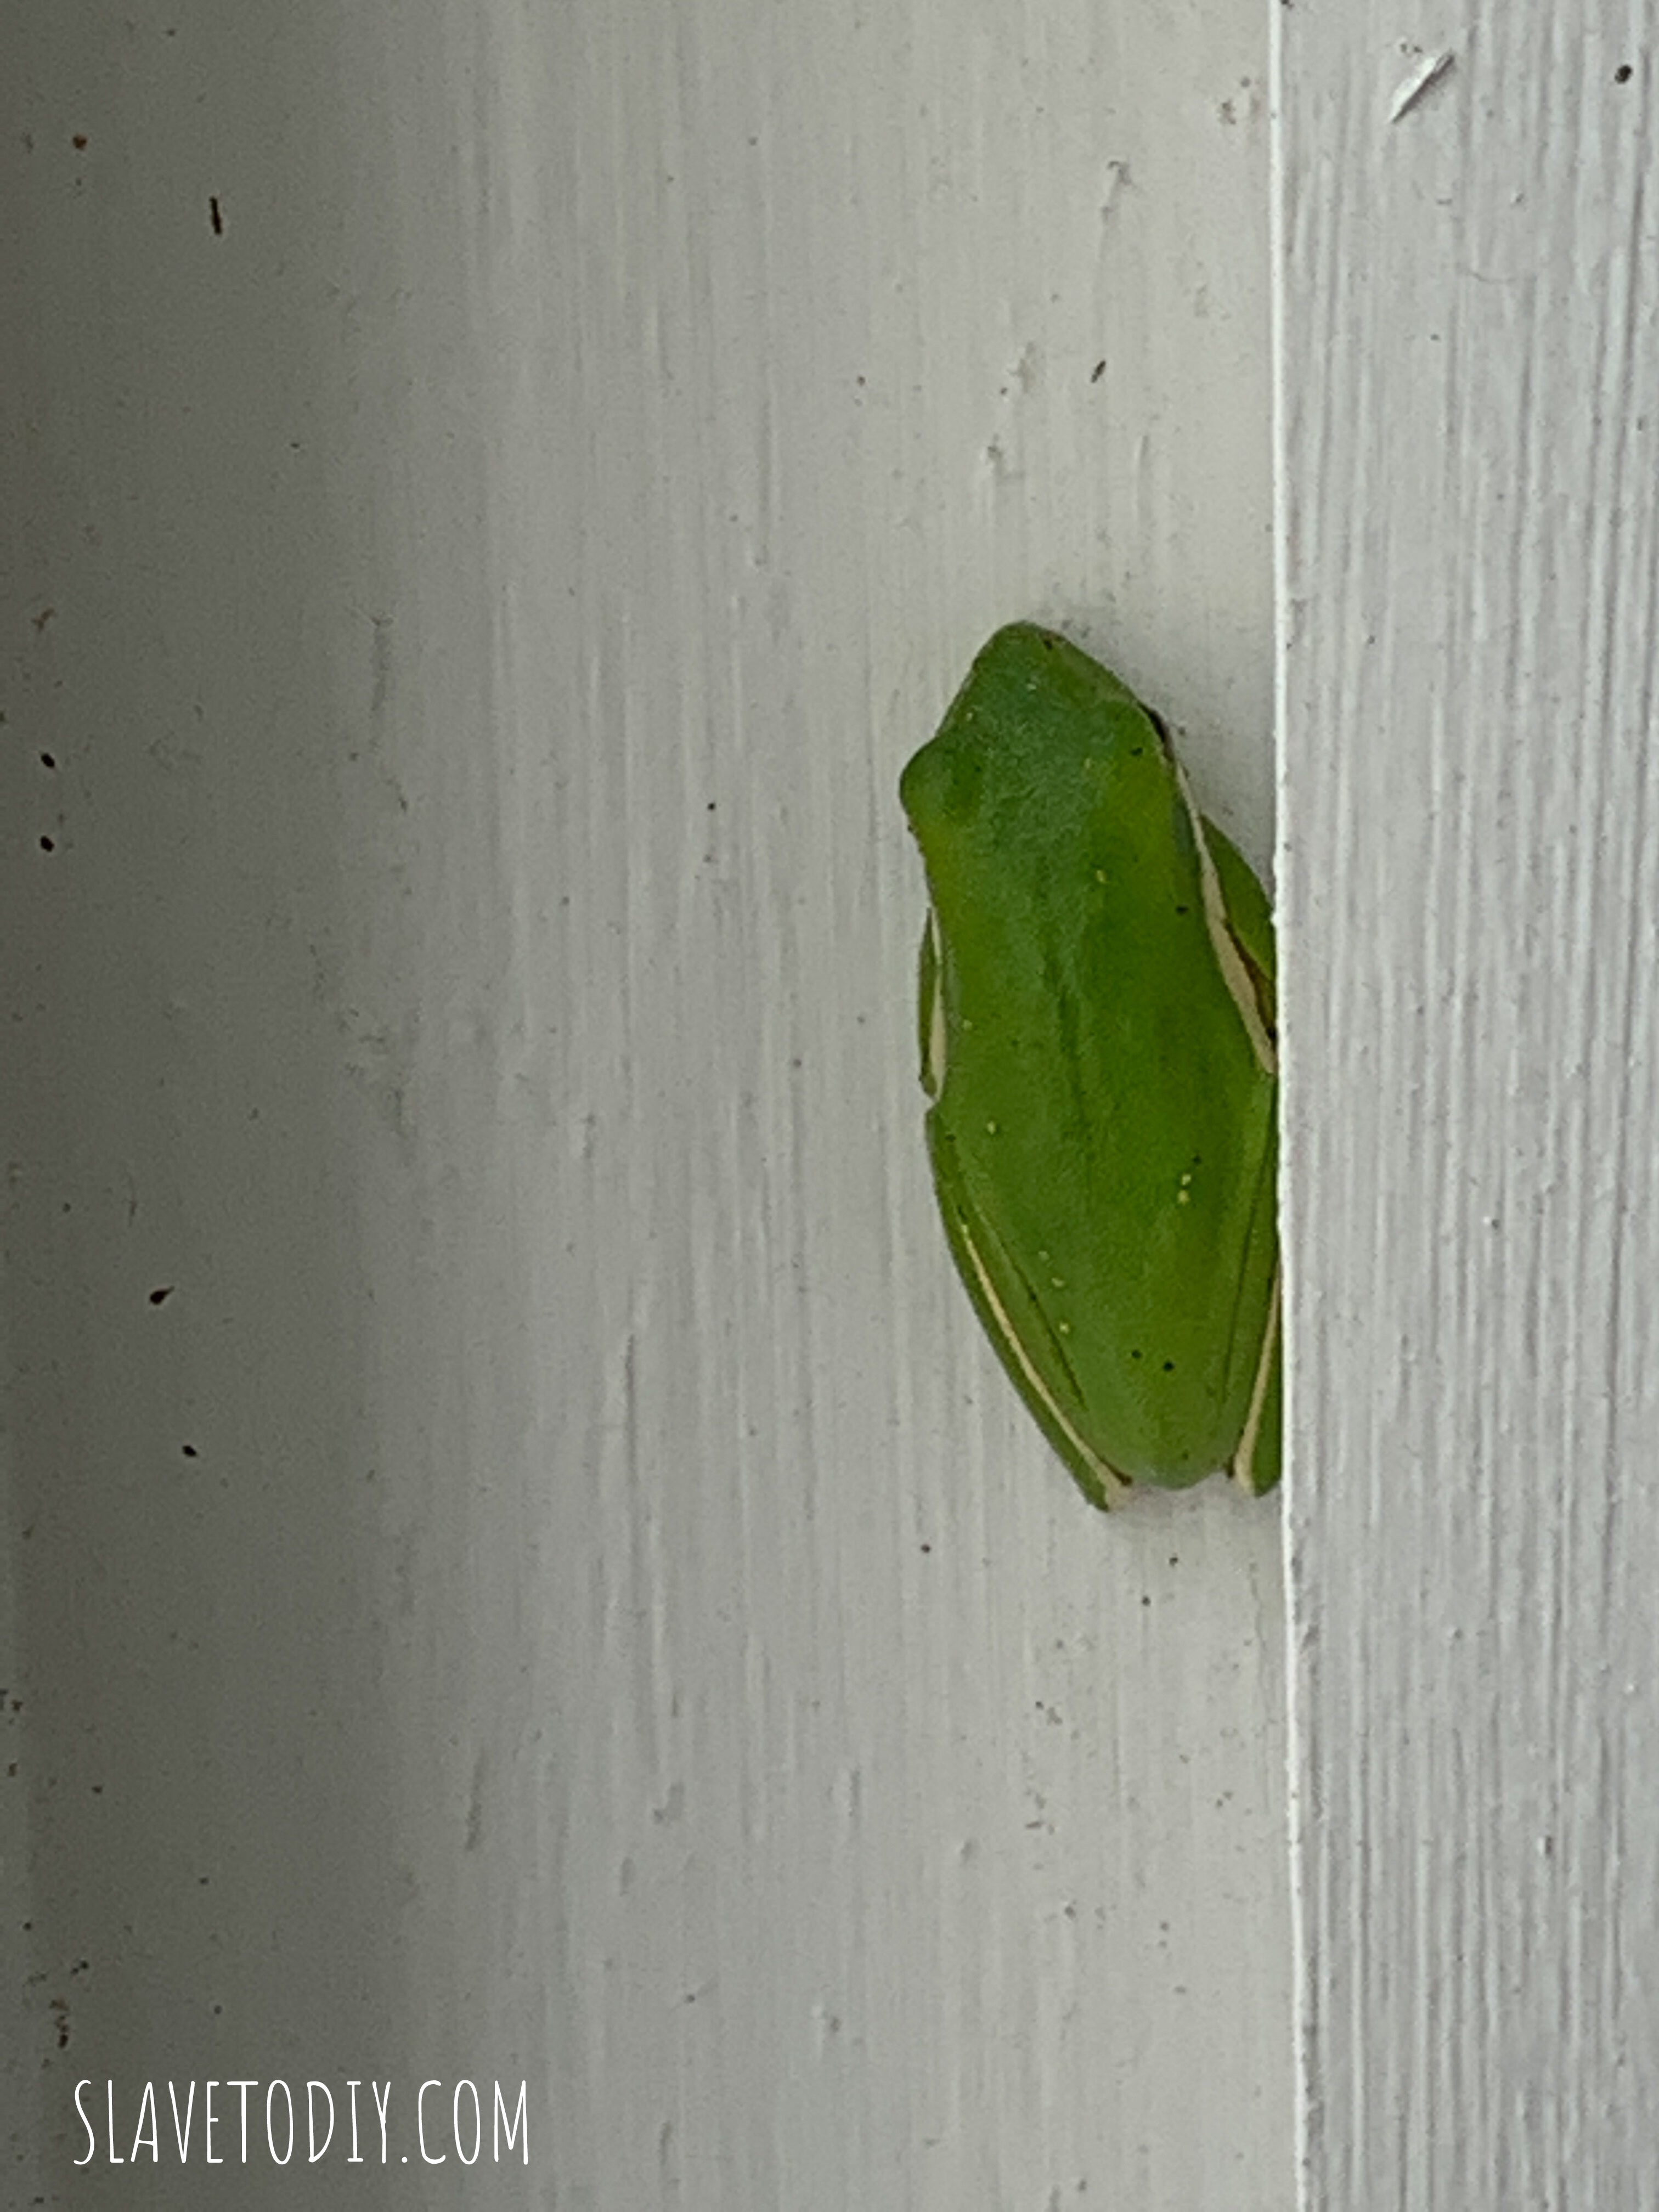
This little tree frog took up residence on one of the porch columns and kept us company almost the whole project.
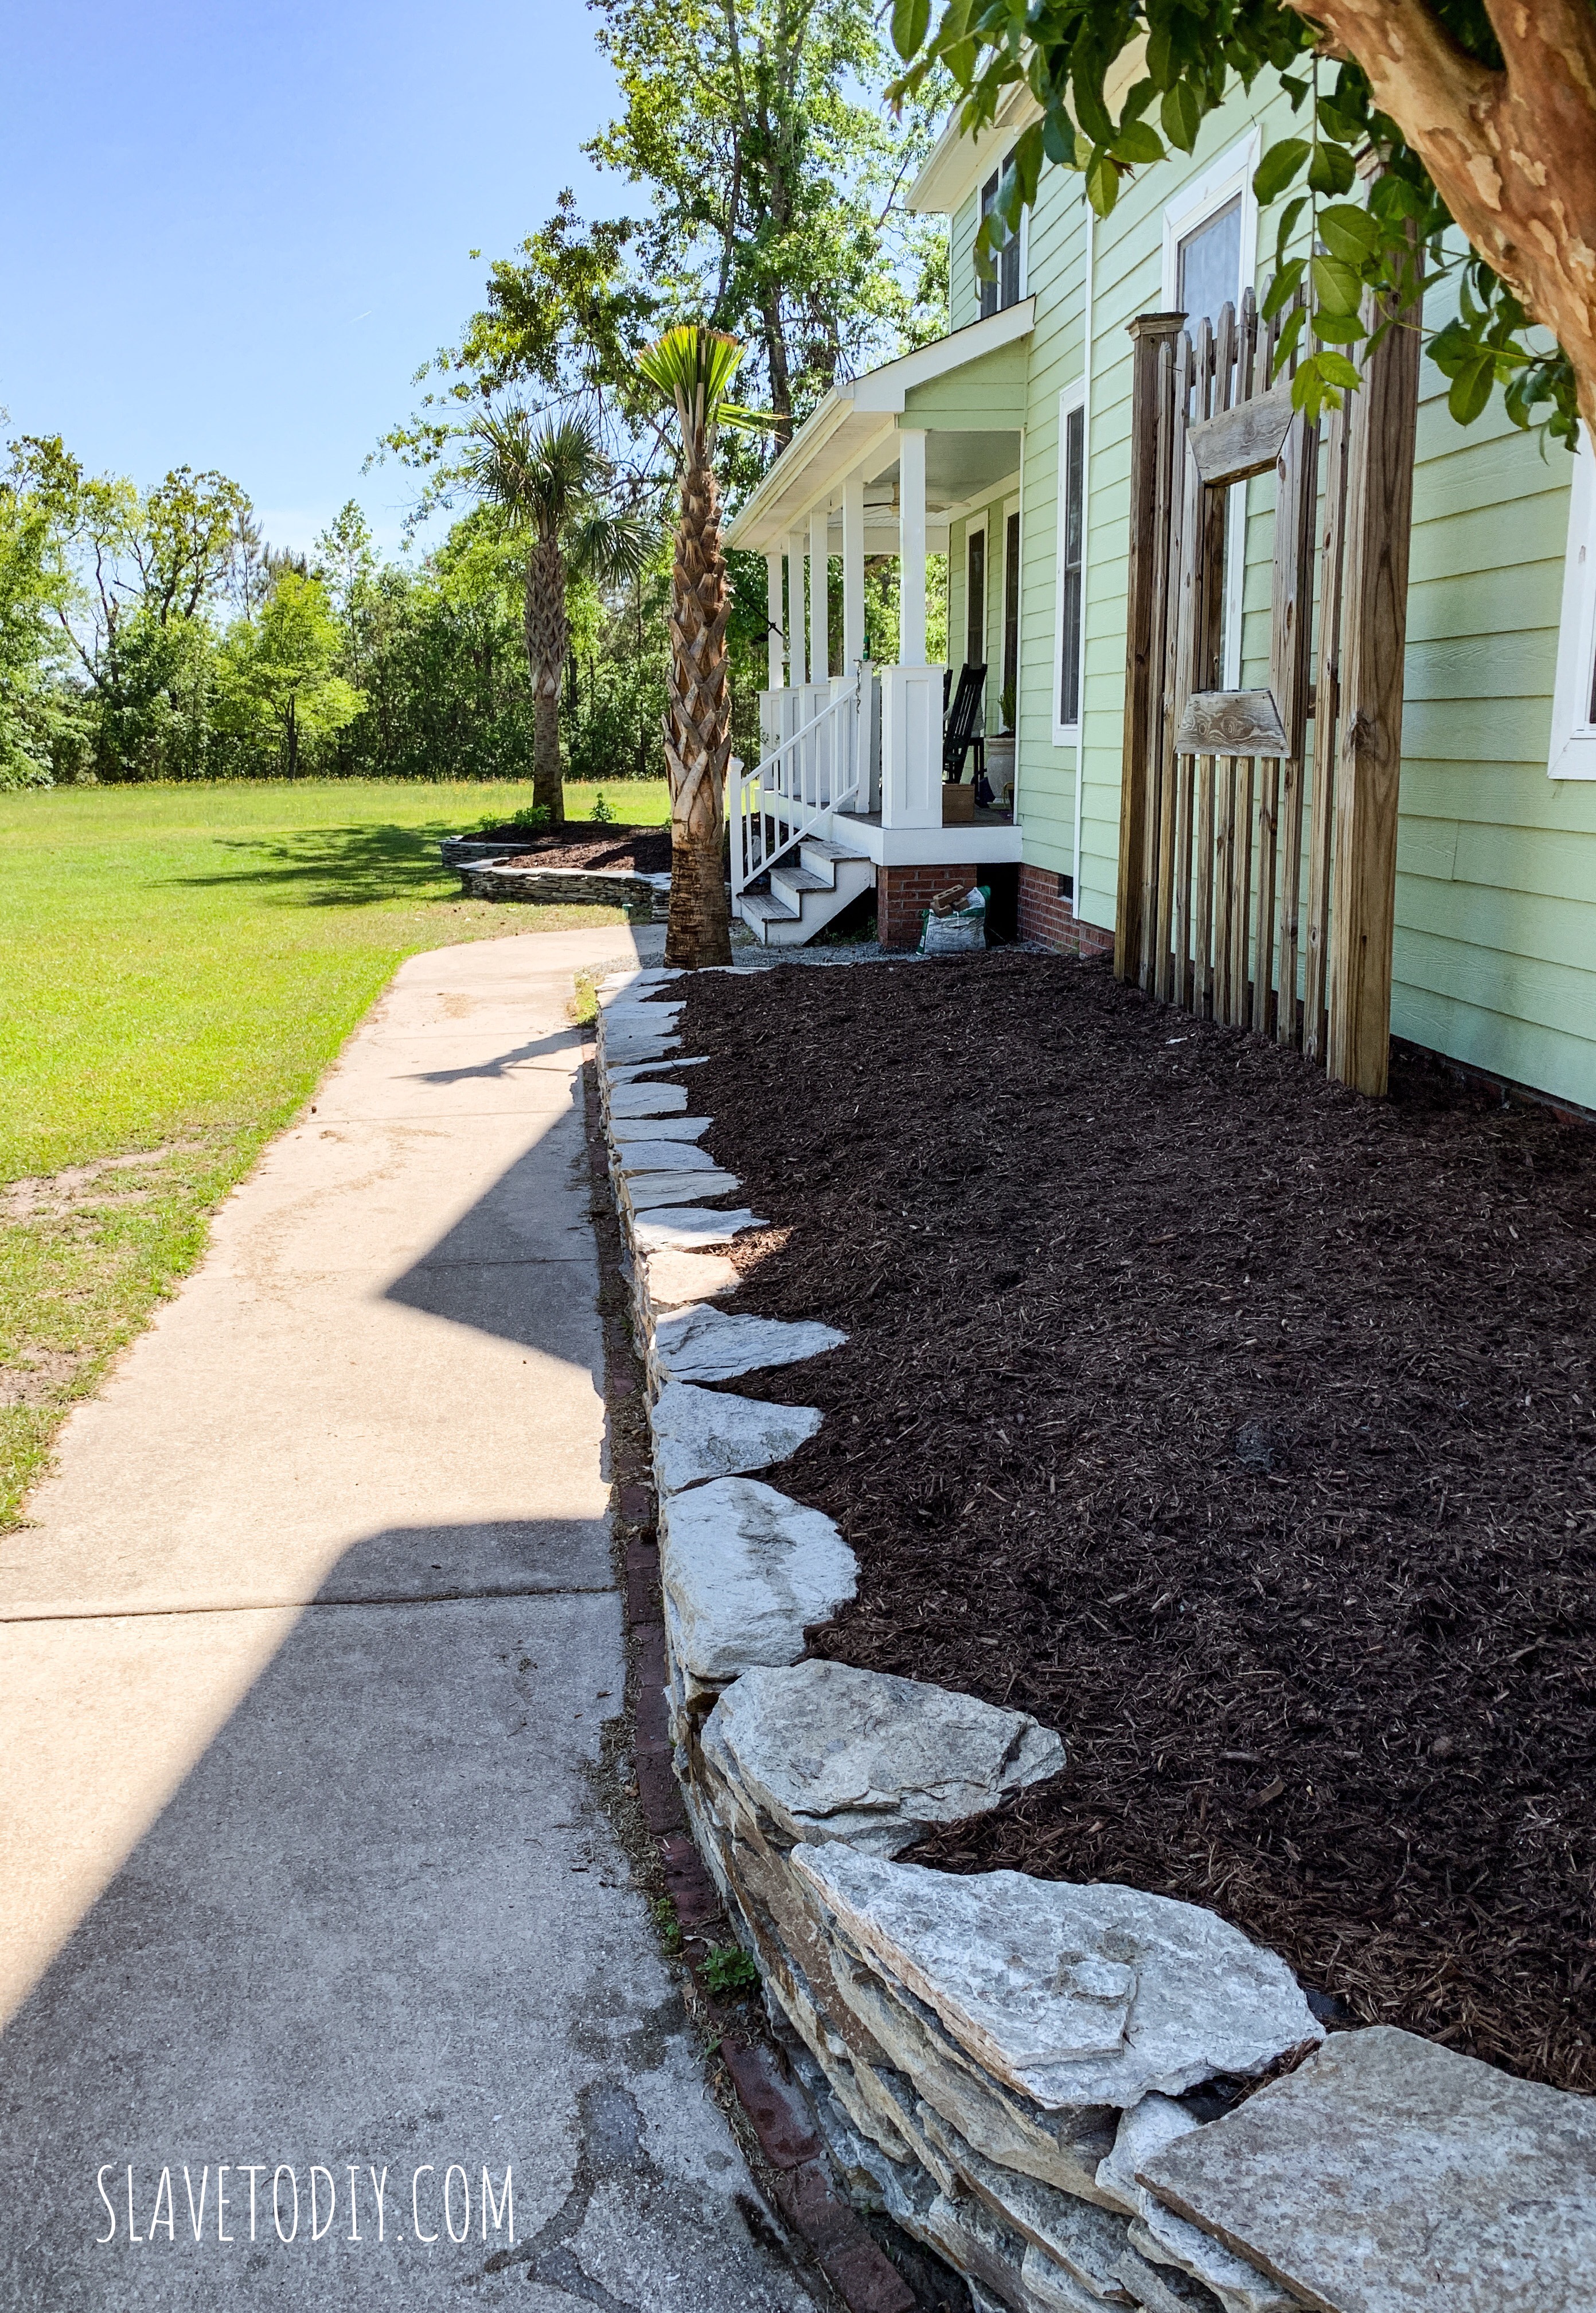
This is a shot of the garden from the driveway.
For the tutorial on step-by-step stacked stone garden wall installation see our blog post here.
The total cost on this section of the garden was:
- 2 pallets of stone: $610
- Gravel base scoop: $37.36
- 2 Sta Green Ultimate Weed Barrier: $70
- Landscaping Fabric Pins (leftover from another project)
- Two Scoops Mulch: $74.72
- Four Incrediball Hydrangea and a Rose Bush from Spring Hill Nurseries: $147.55
- Seven Scoops Topsoil: $134.54
- Total: $1074.17
Can you imagine how much it would’ve cost to hire someone to do this? I’m not saying it’s easy, but it IS a project you can do one afternoon at a time. And it’s VERY, VERY satisfying and rewarding to see what a beautiful thing you created.
Thanks for reading along and check out more of our projects on our blog. Cheers!
*Legal stuff:
I am honest about my experiences with different products and write because I enjoy it. I do however, have the opportunity to earn money for my writing, also.
Slavetodiy.com is a participant in the Amazon Services LLC Associates Program, an affiliate advertising program designed to provide a means for sites to earn advertising fees by advertising and linking to amazon.com. Amazon offers a small commission on products sold through their affiliate links. Each of your purchases via our Amazon affiliation links supports our cause at no additional cost to you.
If a blogger links to an Amazon product (with a special code for affiliates embedded in the link), and a reader places an item in their “shopping cart” through that link within 24 hours of clicking the link, the blogger gets a small percentage of the sale. Amazon links are not “pay per click.” If you click on the product link and stay around Amazon and purchase something else, however, I will get a commission on that sale.
Slavetodiy.com is also a VigLink affiliate advertiser which works similarly.