
Every idea starts somewhere. I like to pin ideas obsessively until I
1) have the money and time to actually do the project or
2) grow out of it and decide I don’t like it anymore.
But, inevitably, every project starts with an inspiration/planning board.
This post may contain affiliate links. Please see our disclosure at the end of the post.
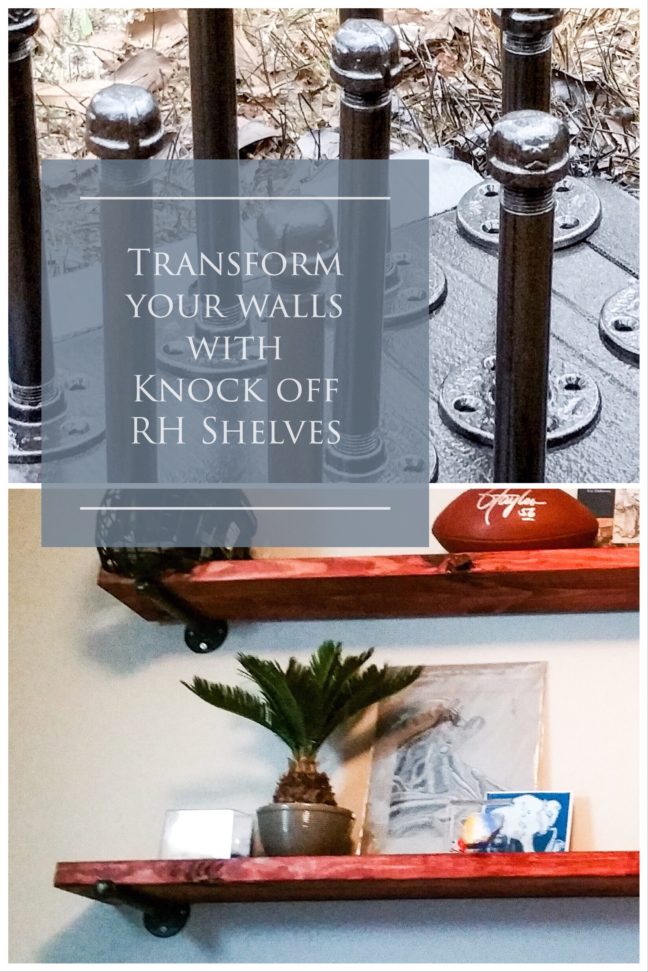
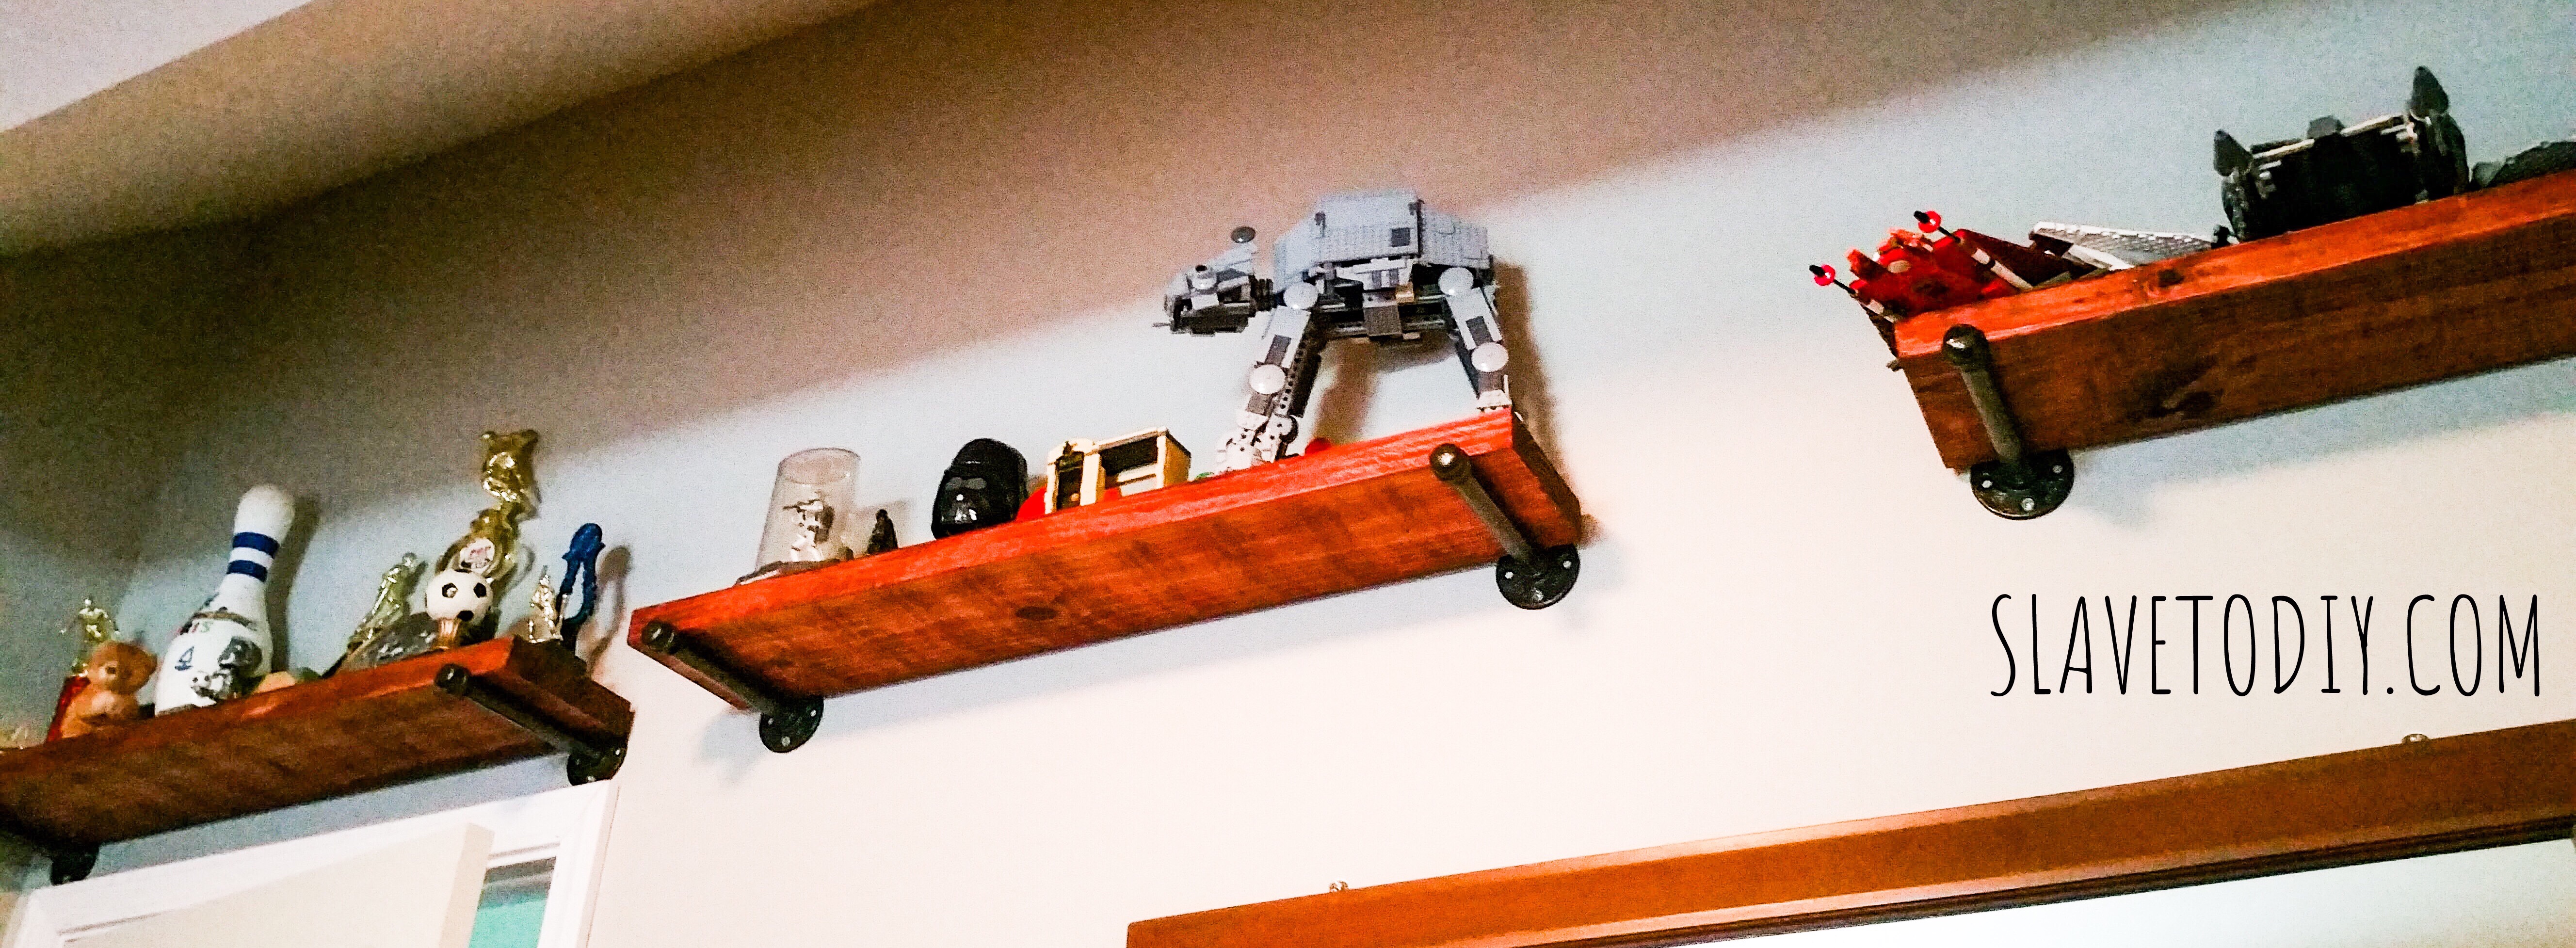
This project was part of a bigger project to customize and teenagerize a 16 year old boy’s room. One of the things I really wanted for his room were some cool shelves. This particular kid used to be my “LEGO man” (also possibly Rainman in training). Aside from the three bins of legos under his bed, there were a bunch of assembled, very detailed, prized LEGO creations that desperately needed homes. But, cool, big kid homes to match the six foot teenager to whom they belonged. I offered several options and he agreed that these shelves fit the bill. It sounded a lot like, “yeah, they’re fine.” Very exciting.
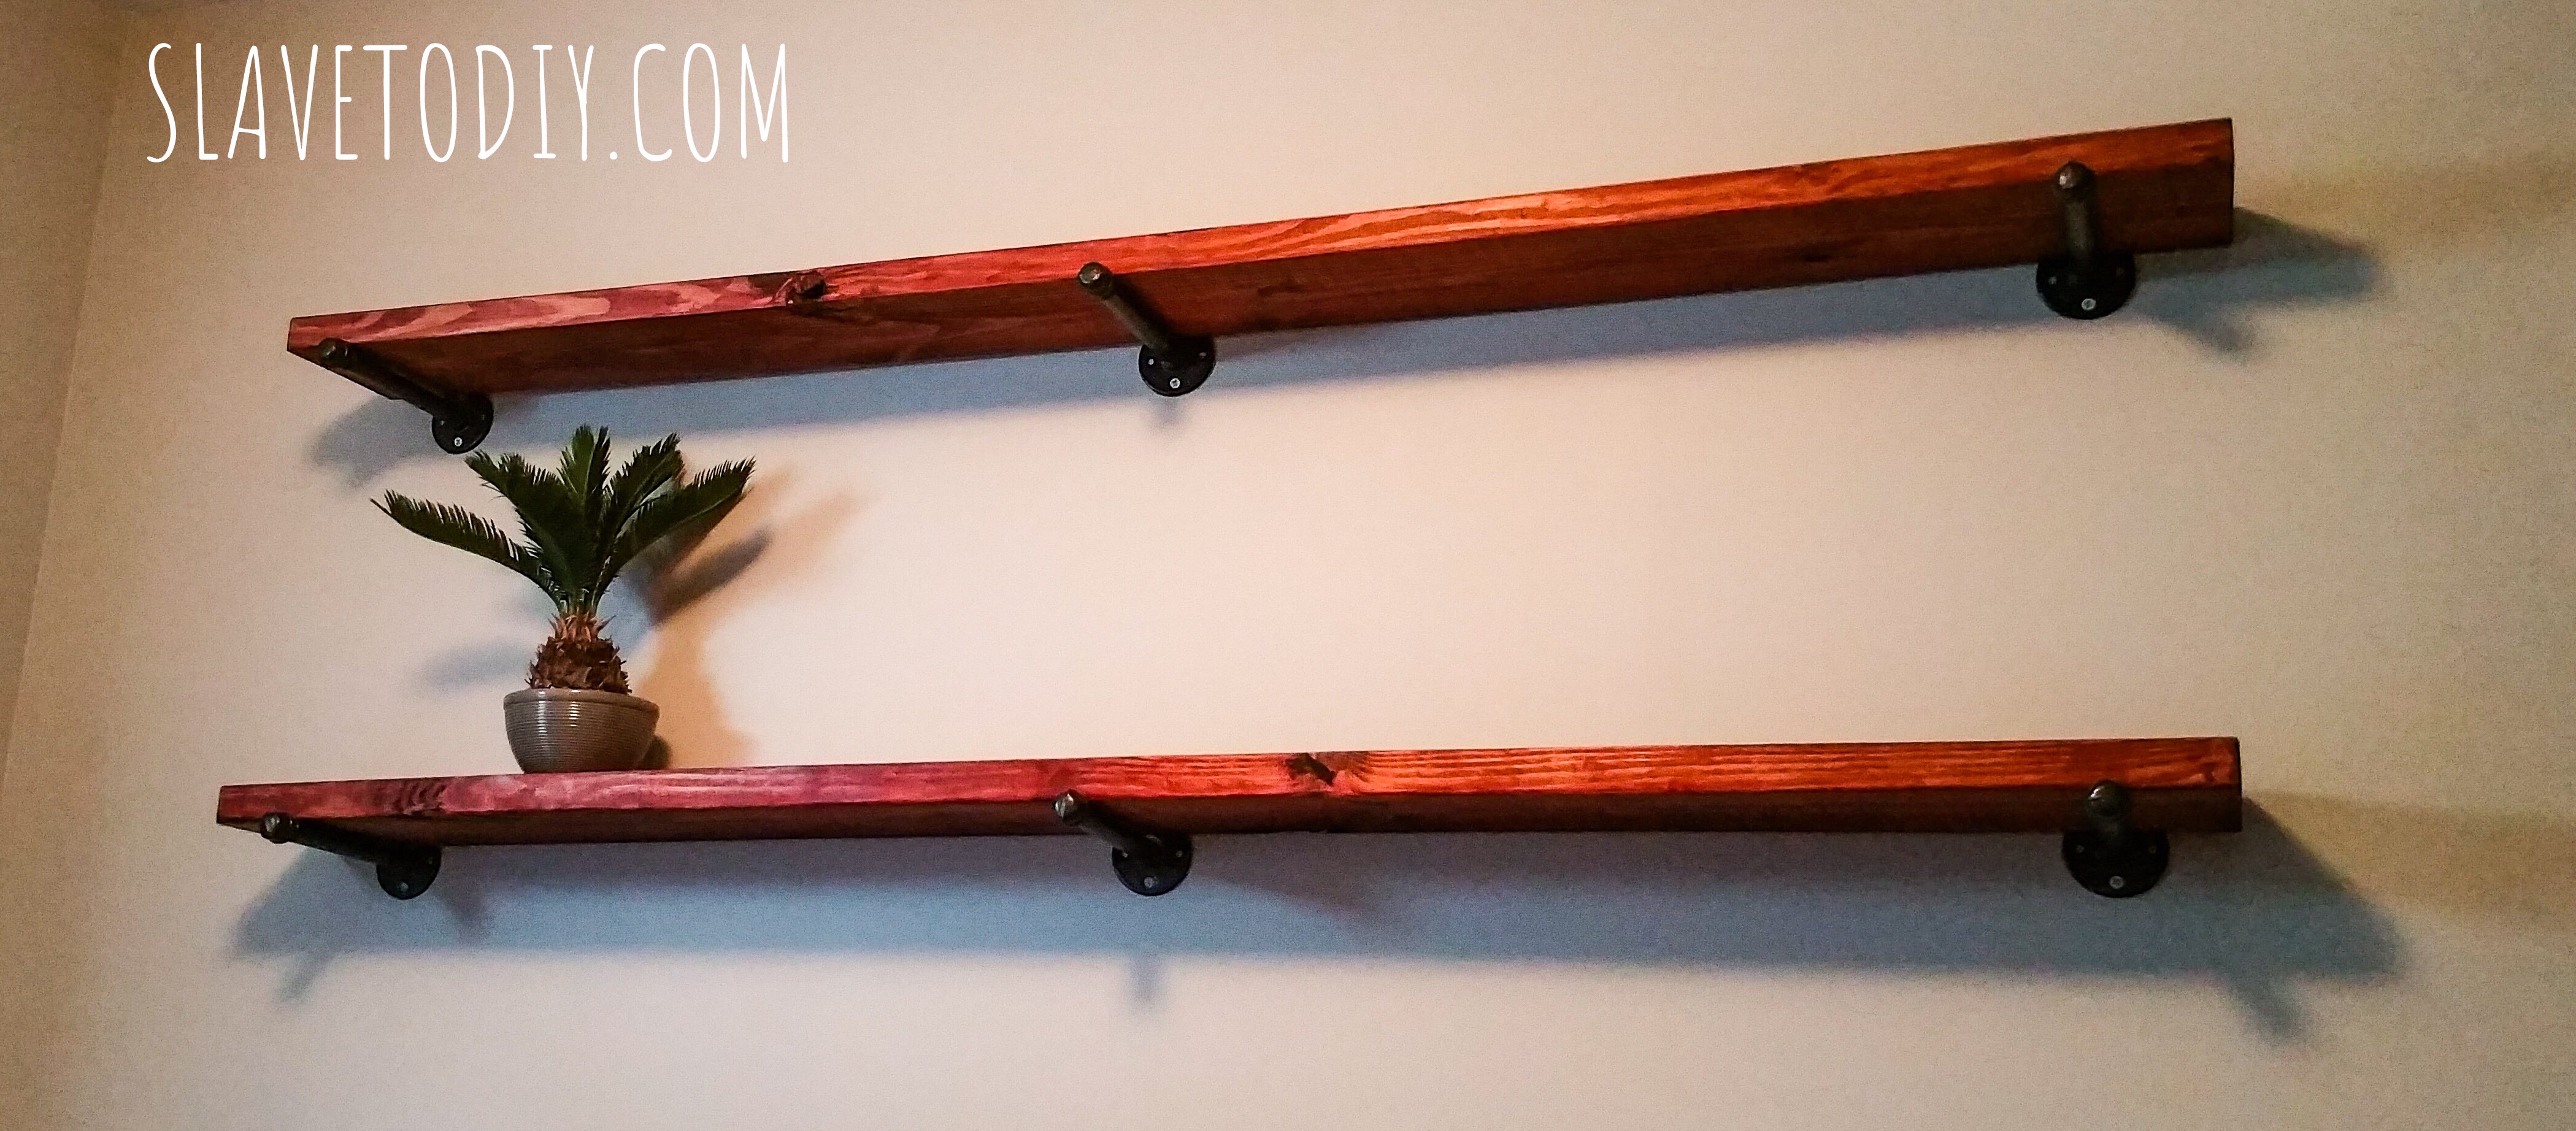
I’ve seen many versions of the shelf style I was going for, but my favorite came from Seventh House on the Left. Inspiration pin : Restoration Hardware inspired shelves. They were well done and well photographed. Here’s our slightly different version, for a different application:
What you’ll need:
-
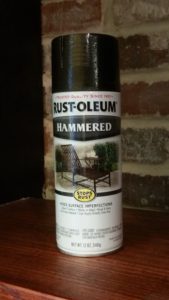
Spray paint. Rustoleum has some cool faux metal products, so go with the one you like. I used one I thought looked like wrought iron. For purchasing online Buy it here.
-
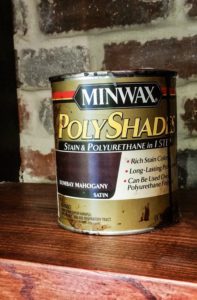
Stain and poly combo for the shelves. For purchasing online Buy it here.
-
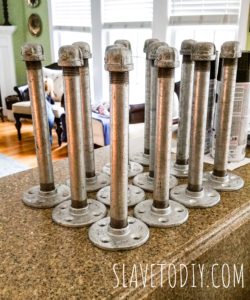
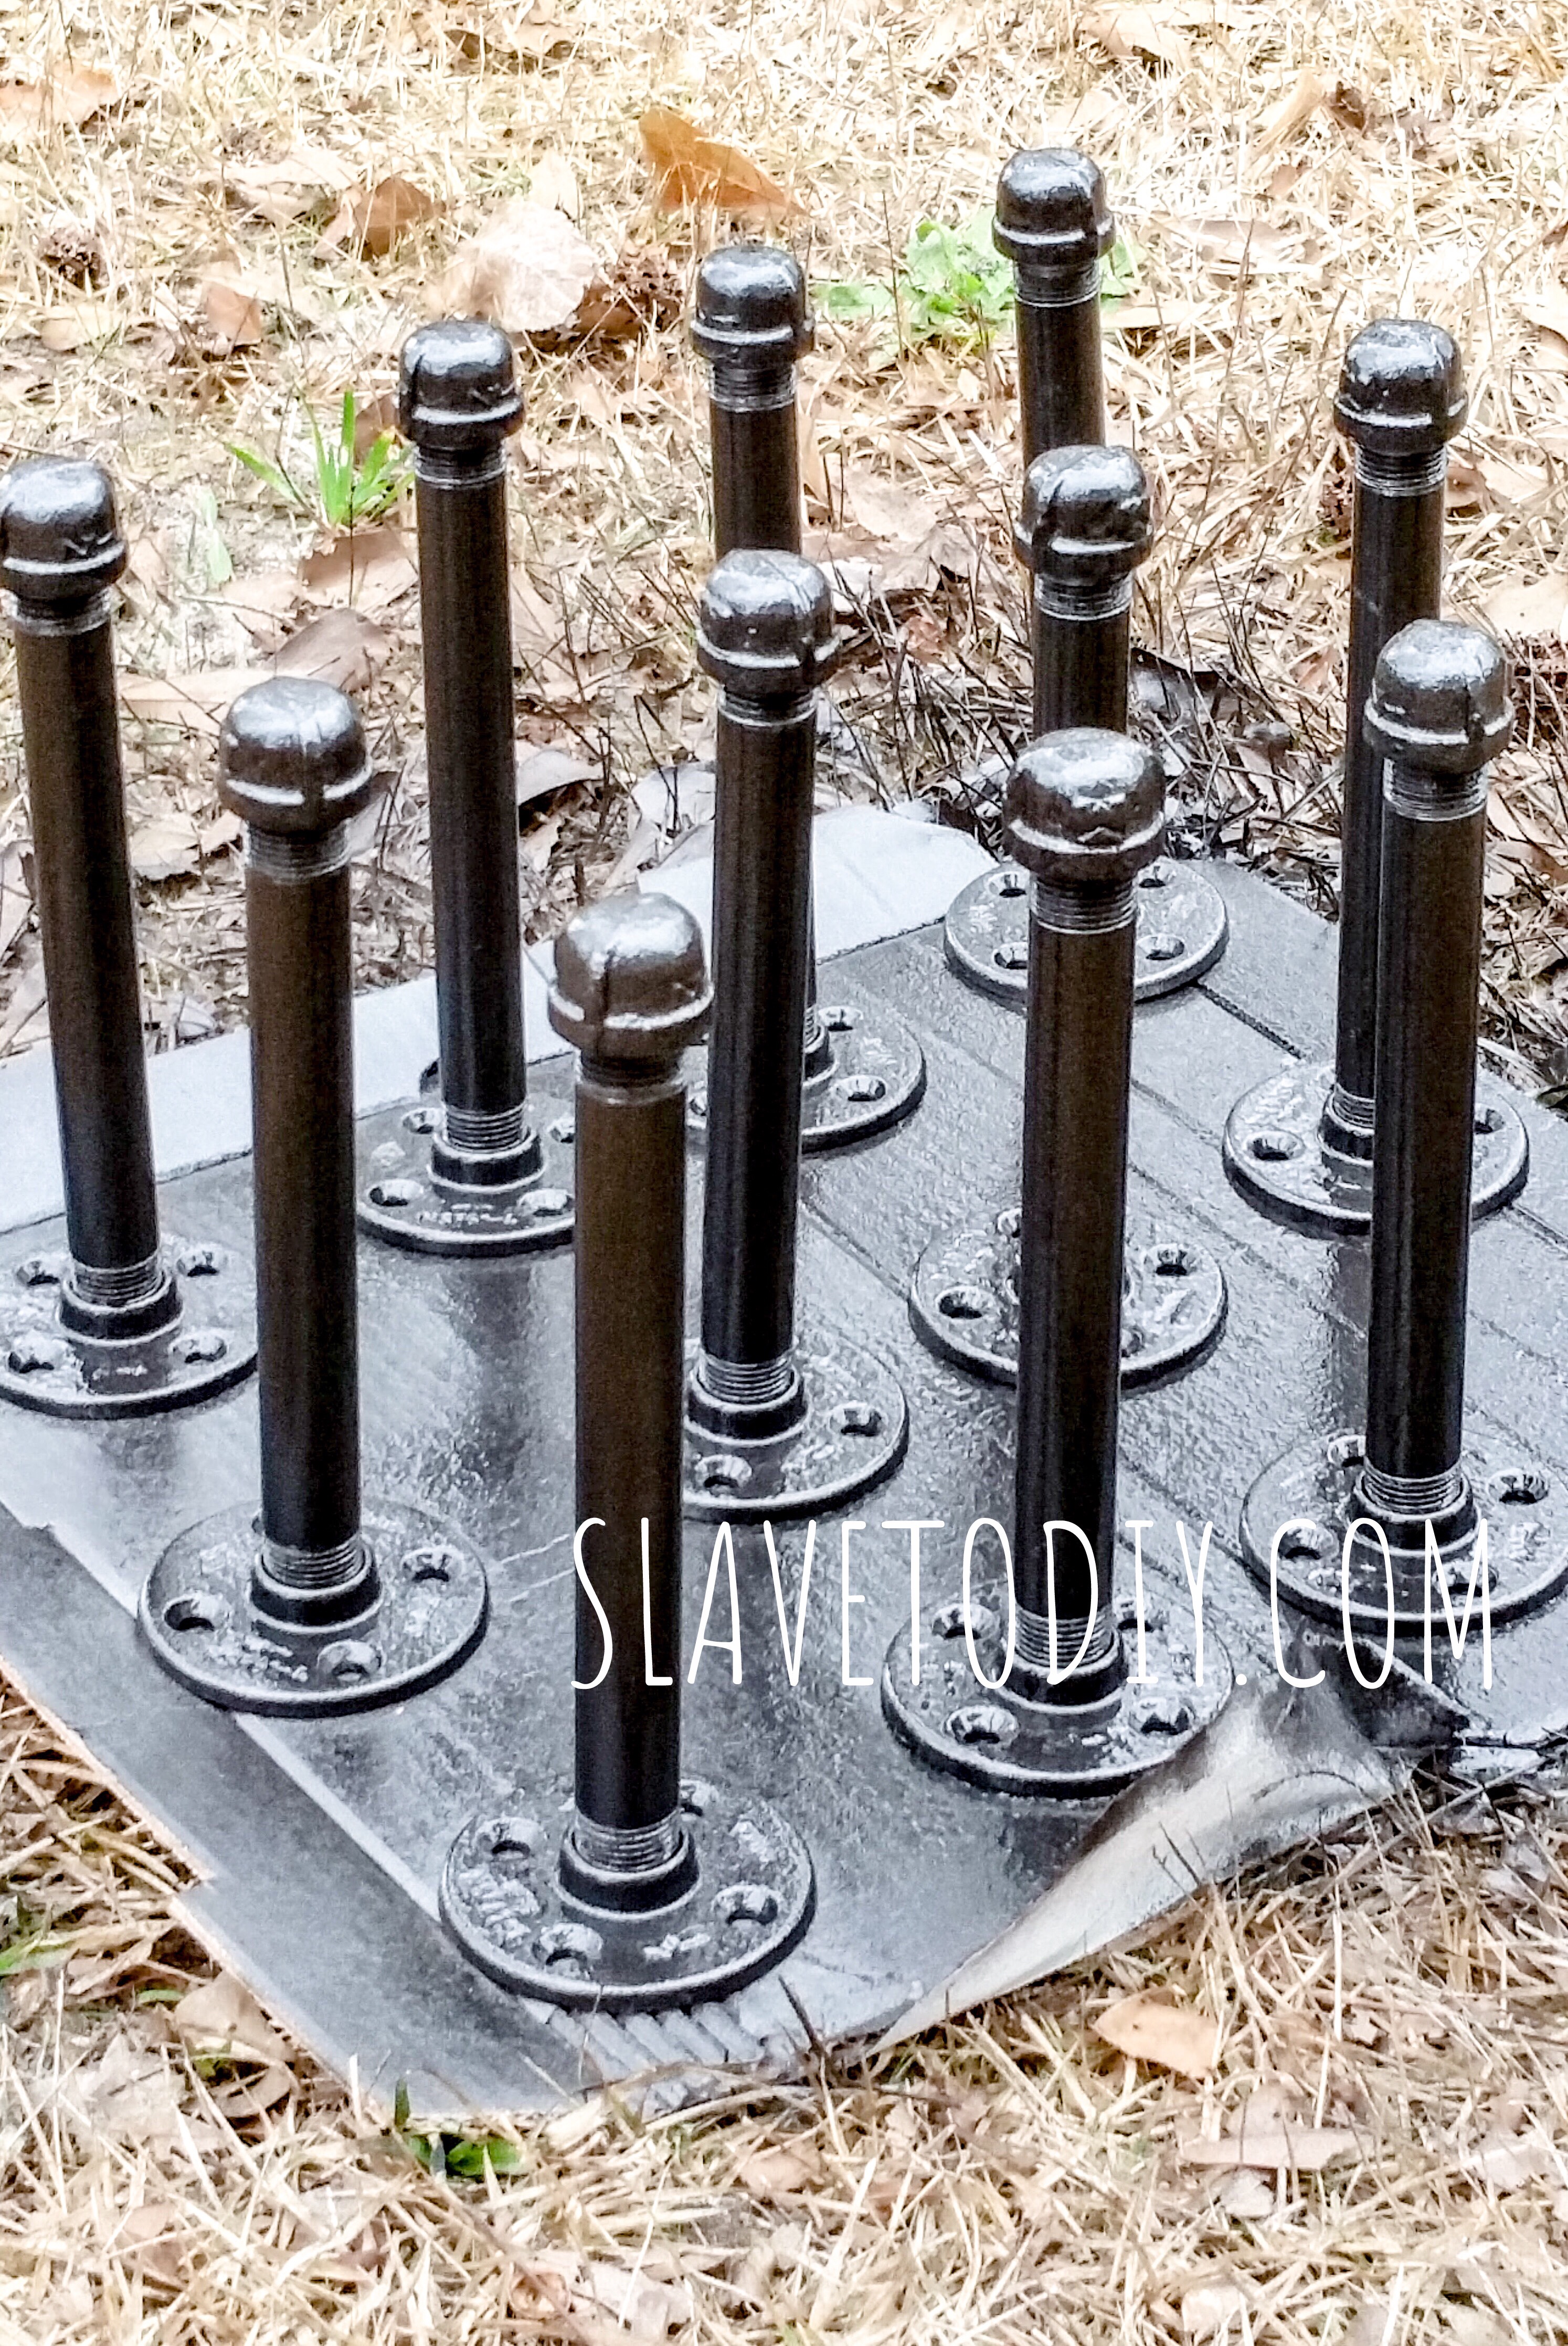
Assorted plumbing fittings (go into the hardware store, plumbing aisle, and look for a base, shaft, and cap. Make sure they are all the same width and fit together). If you prefer to buy online Buy the bases here. Amazon has them cheaper than the hardware store, and already matched and stacked:
-
Length of shelves you want in raw lumber. We used 2X8s.
So, yes, before we get started I feel it necessary to mention that I have the maturity level of a 12 year old boy. I giggled every time I passed these while they were in work due to their phallic form. EVERY TIME. My immaturity is part of my charm, I’m sure.
Also worth mentioning: depending on how many of these you do, they’re not actually cheap. I was thinking I was going to get a bargain on the shelves, but the metal penises ended up costing about $144. For those of you that are math-challenged, that’s $12 per bracket (the Amazon ones are $7.50 per bracket). Not exactly cheap for plumbing parts. You can certainly pick up pairs of brackets way cheaper, but not fun, awesome, phallic brackets as cool as these.
Step one: assemble the brackets. Display them proudly on the kitchen counter. Procrastinate a month. Giggle when you walk by them.
Have a dinner party. Berate your friends for pointing out the obvious. Tell them they’re all children.
Step two: spray paint them. They may need several coats. Allow them to dry completely. I’d do this outdoors in a well ventilated area, unless you like spray paint in your house. In which case, feel free.
Step three: mount the brackets to the wall. Aim for studs whenever possible. You really only need two screws per bracket, but I liked four so it looks cooler. We did use Sheetrock mounts in a few places, but I’m confident they’re solid. (If you’re planning to use these for bowling ball storage you’re on the wrong tutorial).
Step three: cut your shelf lumber to size.
Somewhere during this step, Rainman very helpfully and without supervision went in and cut beautiful shelves. He dry fitted them and TA DA, showed them to me in the room on the beautifully mounted metal penises. And here I was torn. Because he had used standard one inch boards instead of the two inch boards I had purchased for these particular shelves. He was so proud. His happy, smiling, “look how good I did, Ma” face just Rainmanning from here to Never Never Land. And these were so ready, and cut, and fit. Ready to stain. Never again will I assume that he noticed the big, beefy board used in the picture I showed him (or anything in any picture I showed him ever).
A few hours later, he finally got it out of me that my palpable and poorly disguised misery was due to the width of the board and that in my desperation to NOT be an ungrateful turd I was willing to sacrifice the perfection of my design plan.
He re-cut the correct boards and I went happily to staining them.
Step four: dry fit your boards. (The ones you bought for the project, not the ones you cut out of the wrong sized boards).
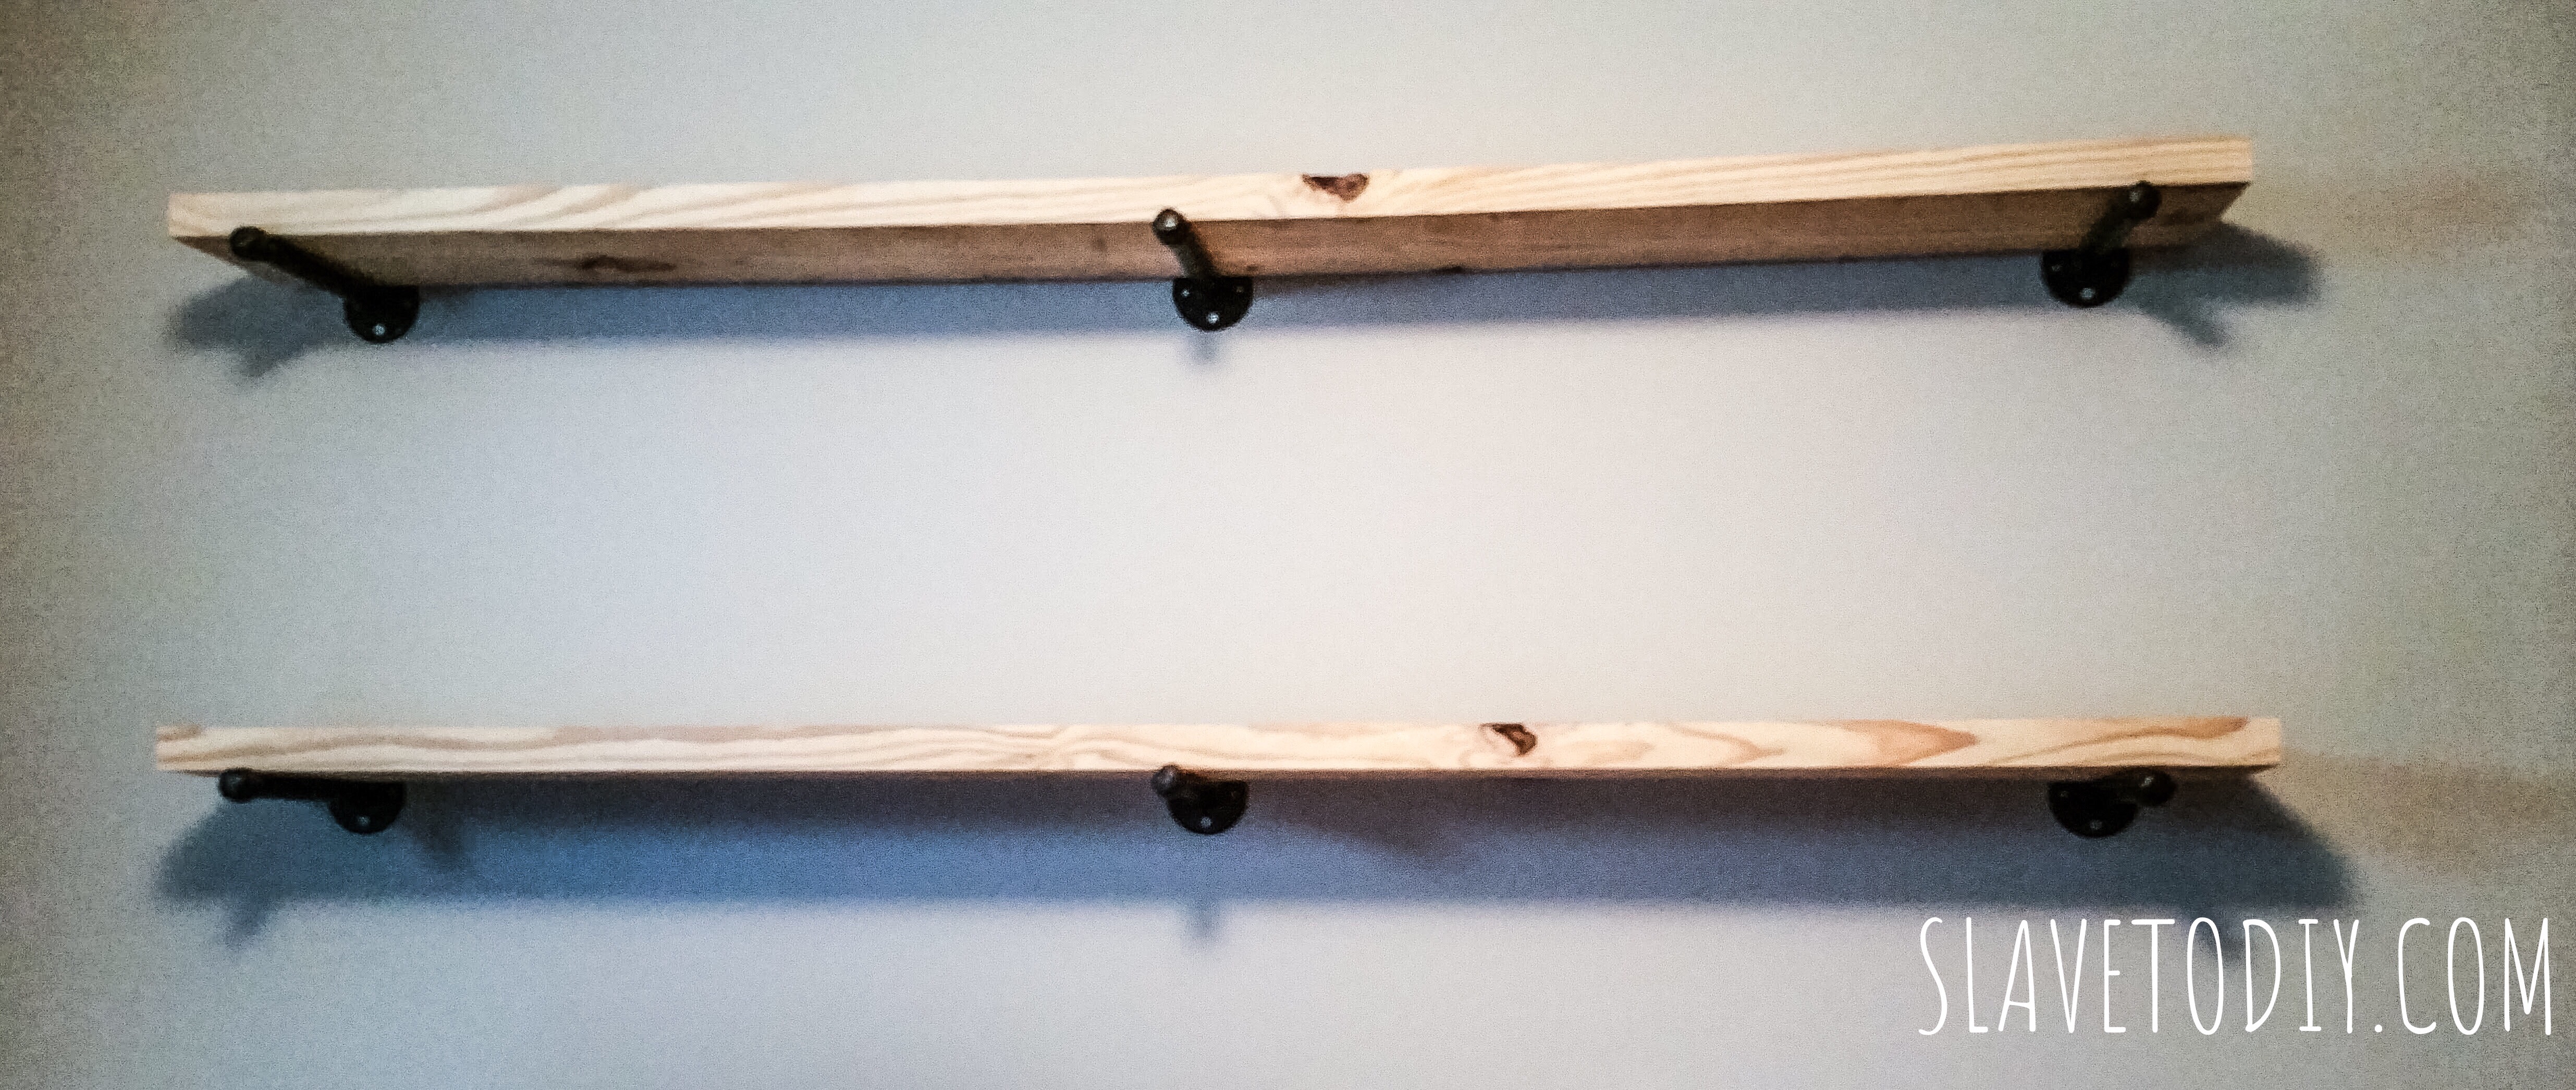

Step five: sand and stain your shelves.
Tip: For the love of all that is holy, please, please stain these in an outdoor covered area or the garage. The stain was beautiful, but we could smell it for WEEKS. Did I say smell? I meant TASTE. It really needs time to cure before it is ready to be moved into a living space.
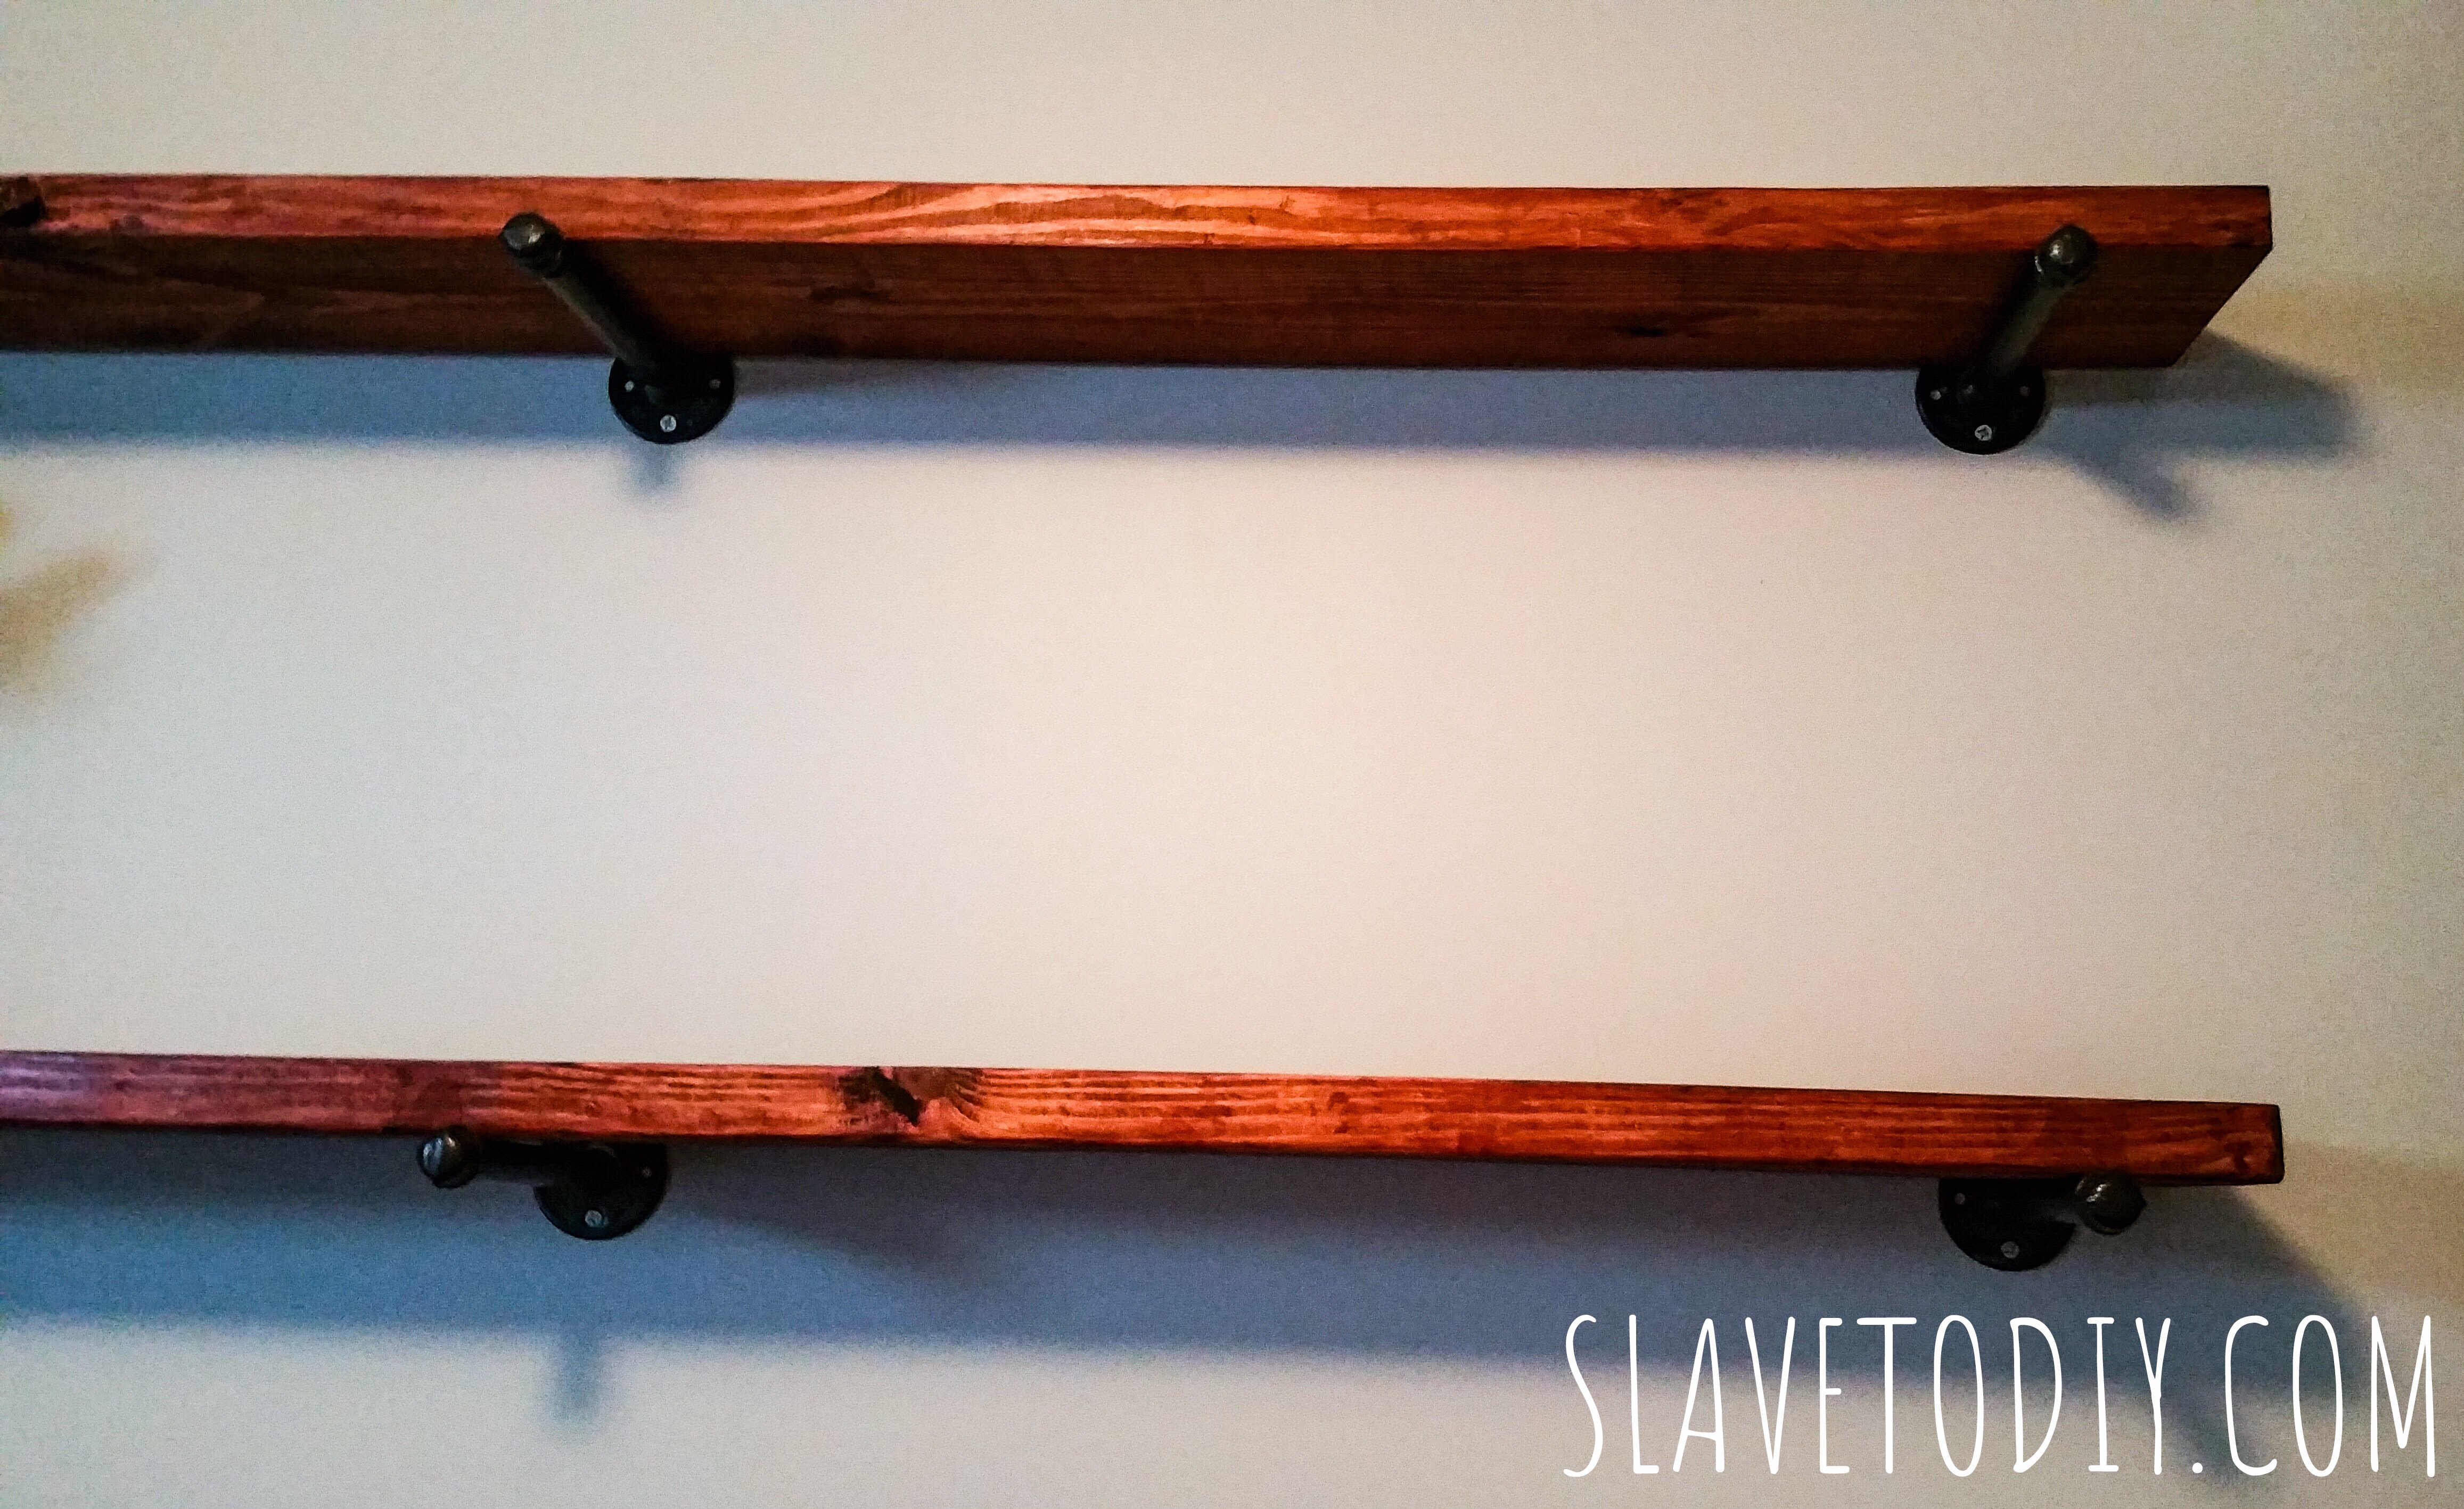
Step six: hang your shelves. Ours are not fastened to the brackets. Depending on your application you may want sleeves that screw onto the wood, but we love ours as is. They are just sitting on the brackets.
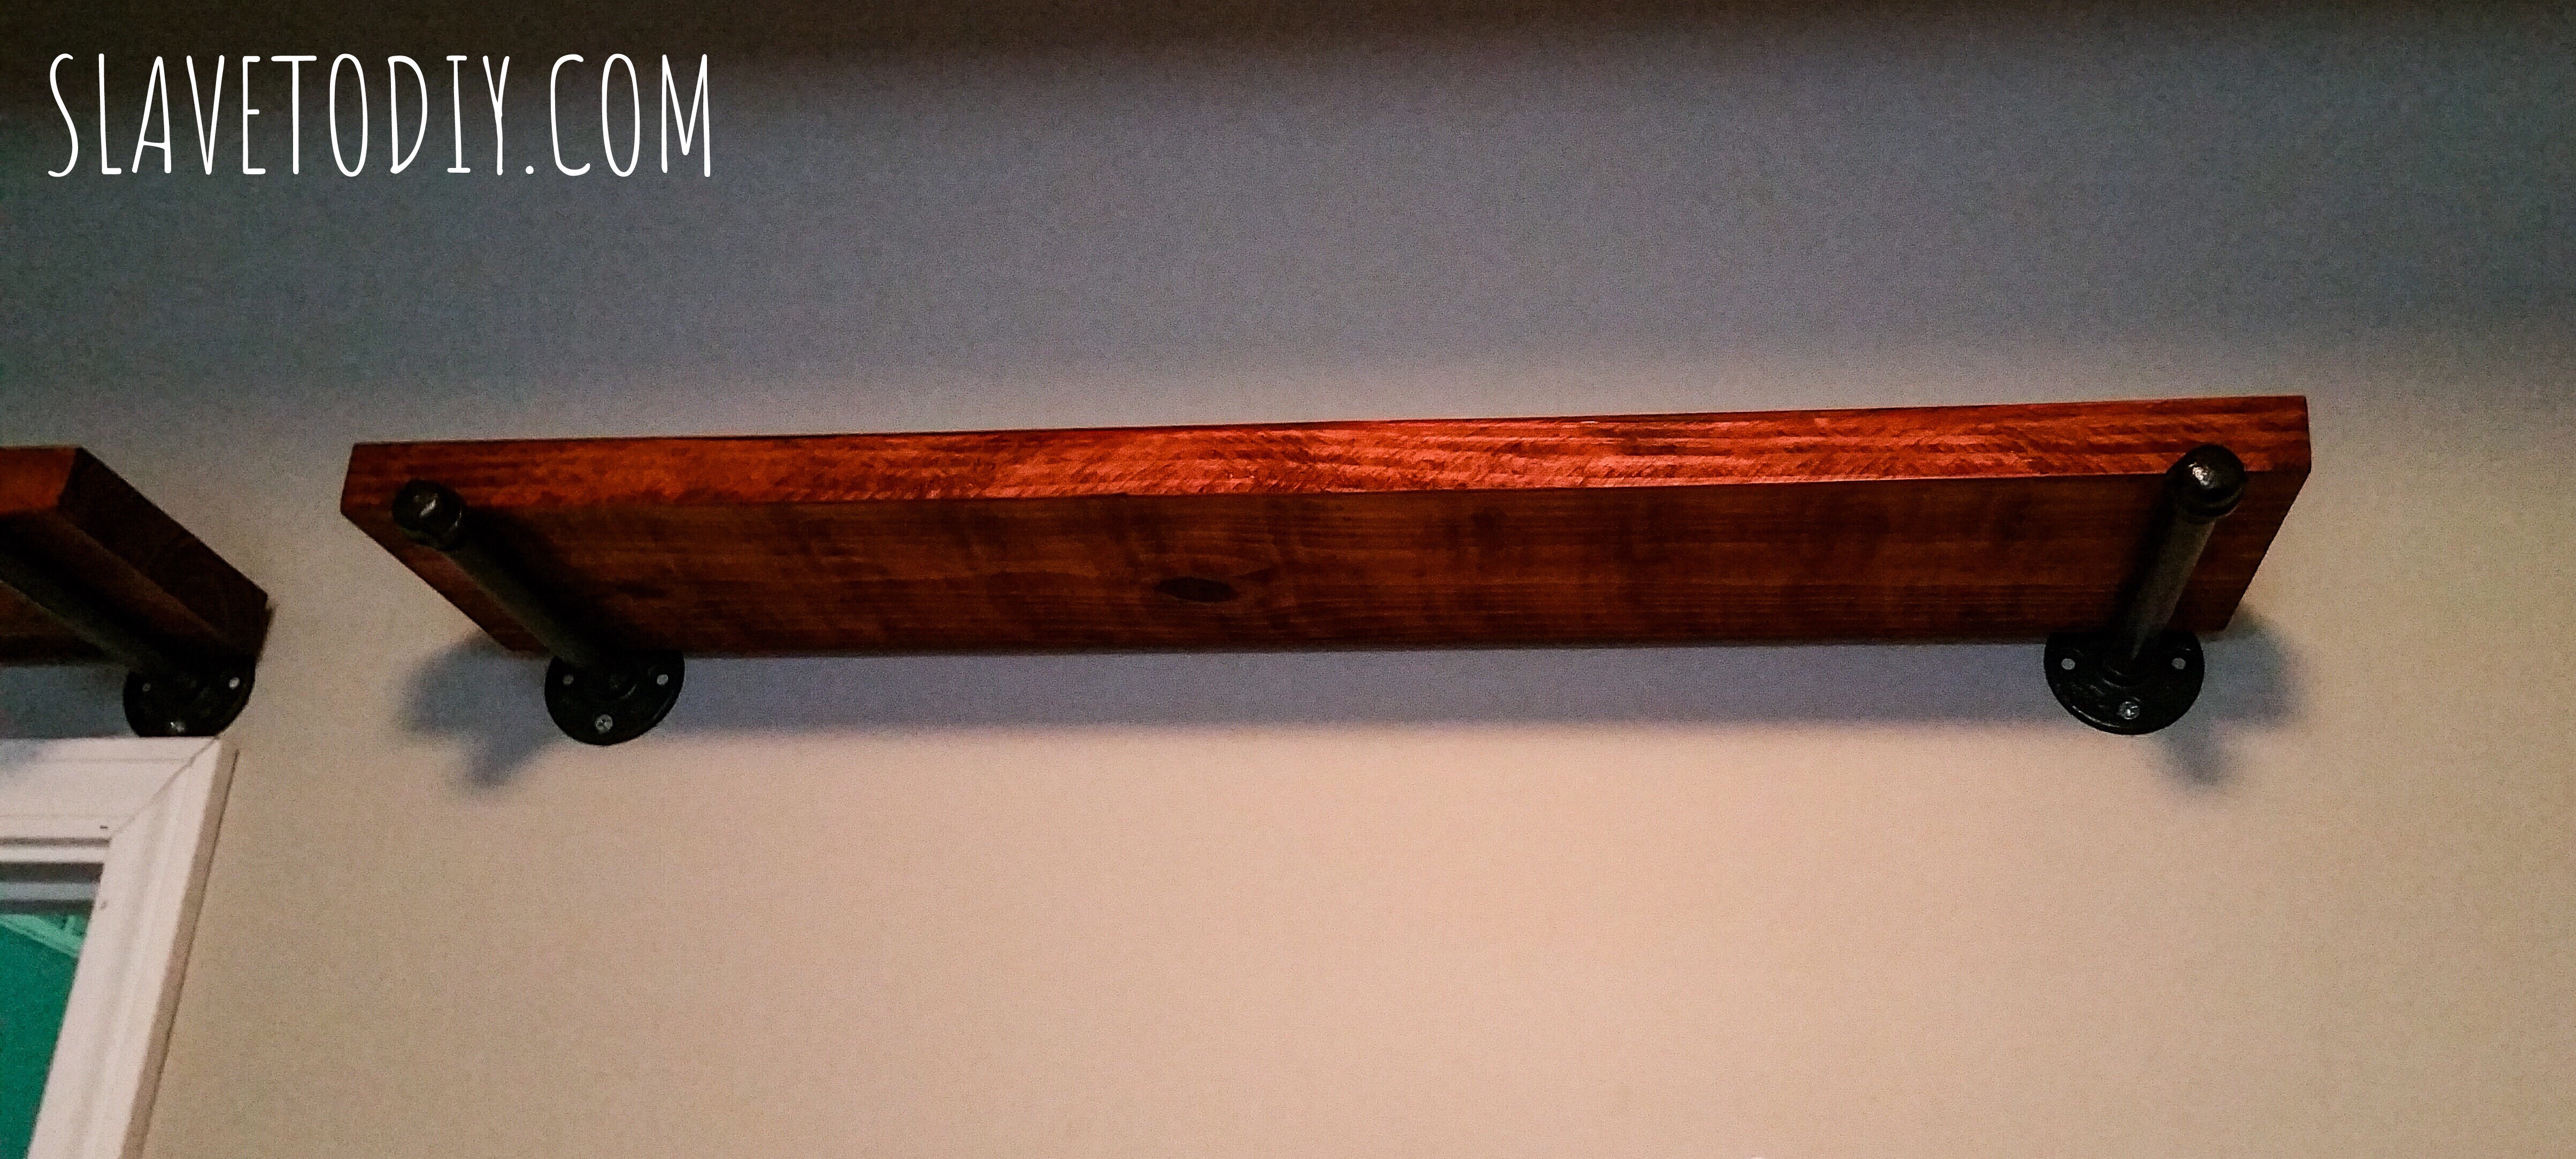
Step seven: dress your shelves and enjoy.
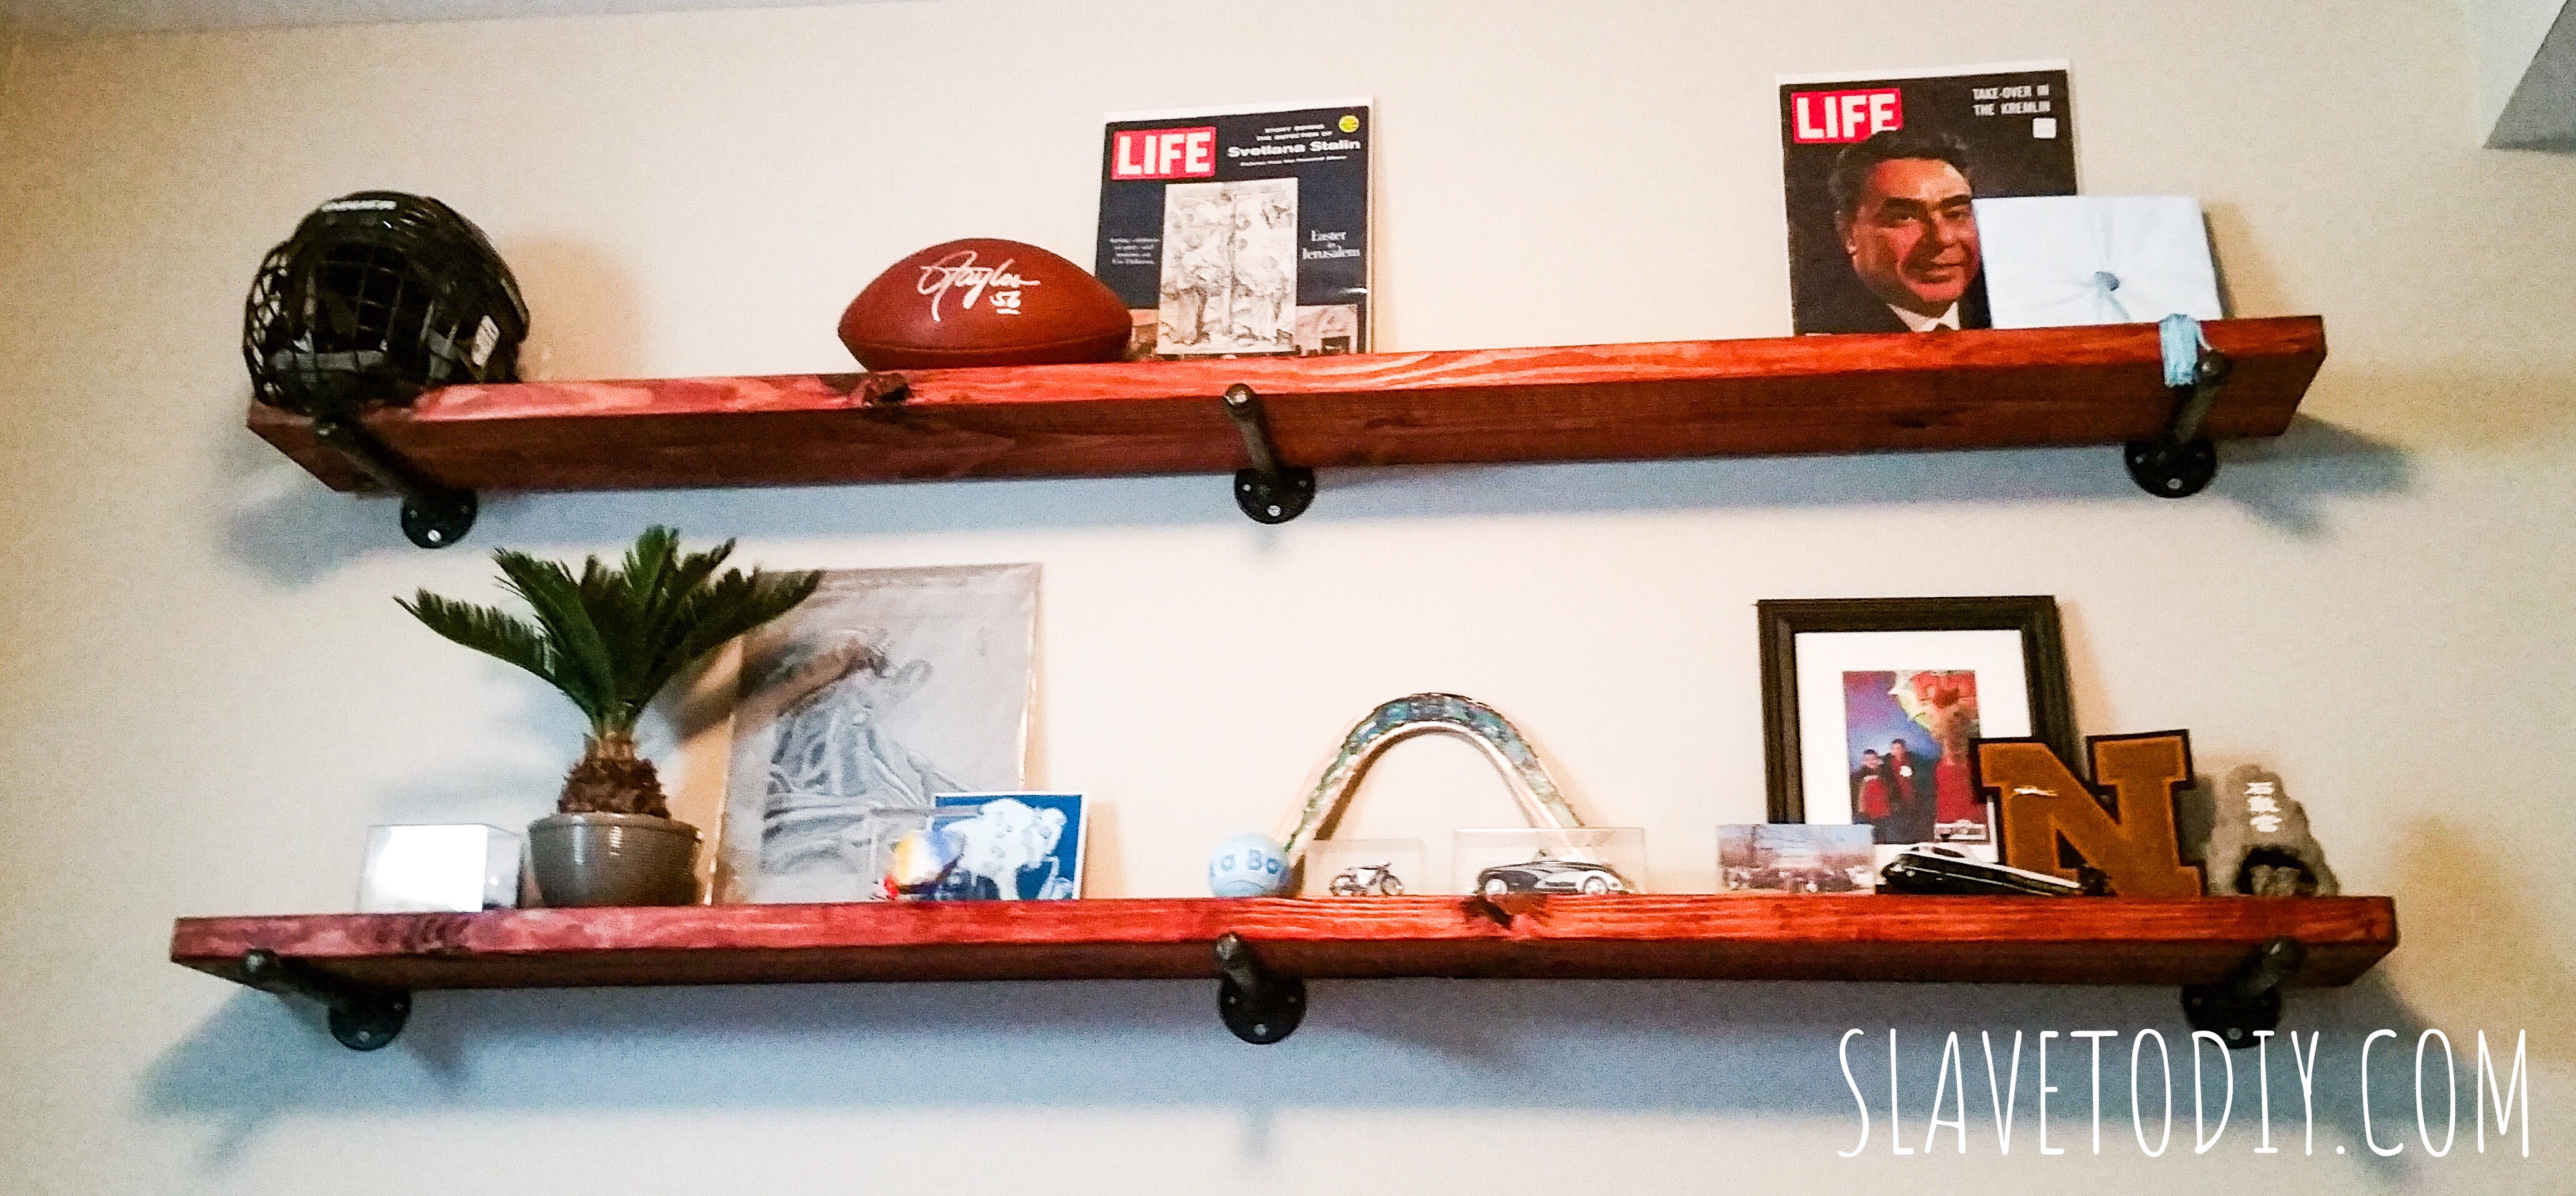
Total cost for the supplies was right around $200 for super awesome, one of a kind shelves.
Thanks for tuning in and feel free to ask questions in the comments section!
*Legal stuff:
I am honest about my experiences with different products and write because I enjoy it. I do however, have the opportunity to earn money for my writing, also.
Slavetodiy.com is a participant in the Amazon Services LLC Associates Program, an affiliate advertising program designed to provide a means for sites to earn advertising fees by advertising and linking to amazon.com. Amazon offers a small commission on products sold through their affiliate links. Each of your purchases via our Amazon affiliation links supports our cause at no additional cost to you.
If a blogger links to an Amazon product (with a special code for affiliates embedded in the link), and a reader places an item in their “shopping cart” through that link within 24 hours of clicking the link, the blogger gets a small percentage of the sale. Amazon links are not “pay per click.” If you click on the product link and stay around Amazon and purchase something else, however, I will get a commission on that sale.
Slavetodiy.com is also a VigLink affiliate advertiser which works similarly.