The Easy Way To DIY Breathtaking Landscape and Scenery Paintings

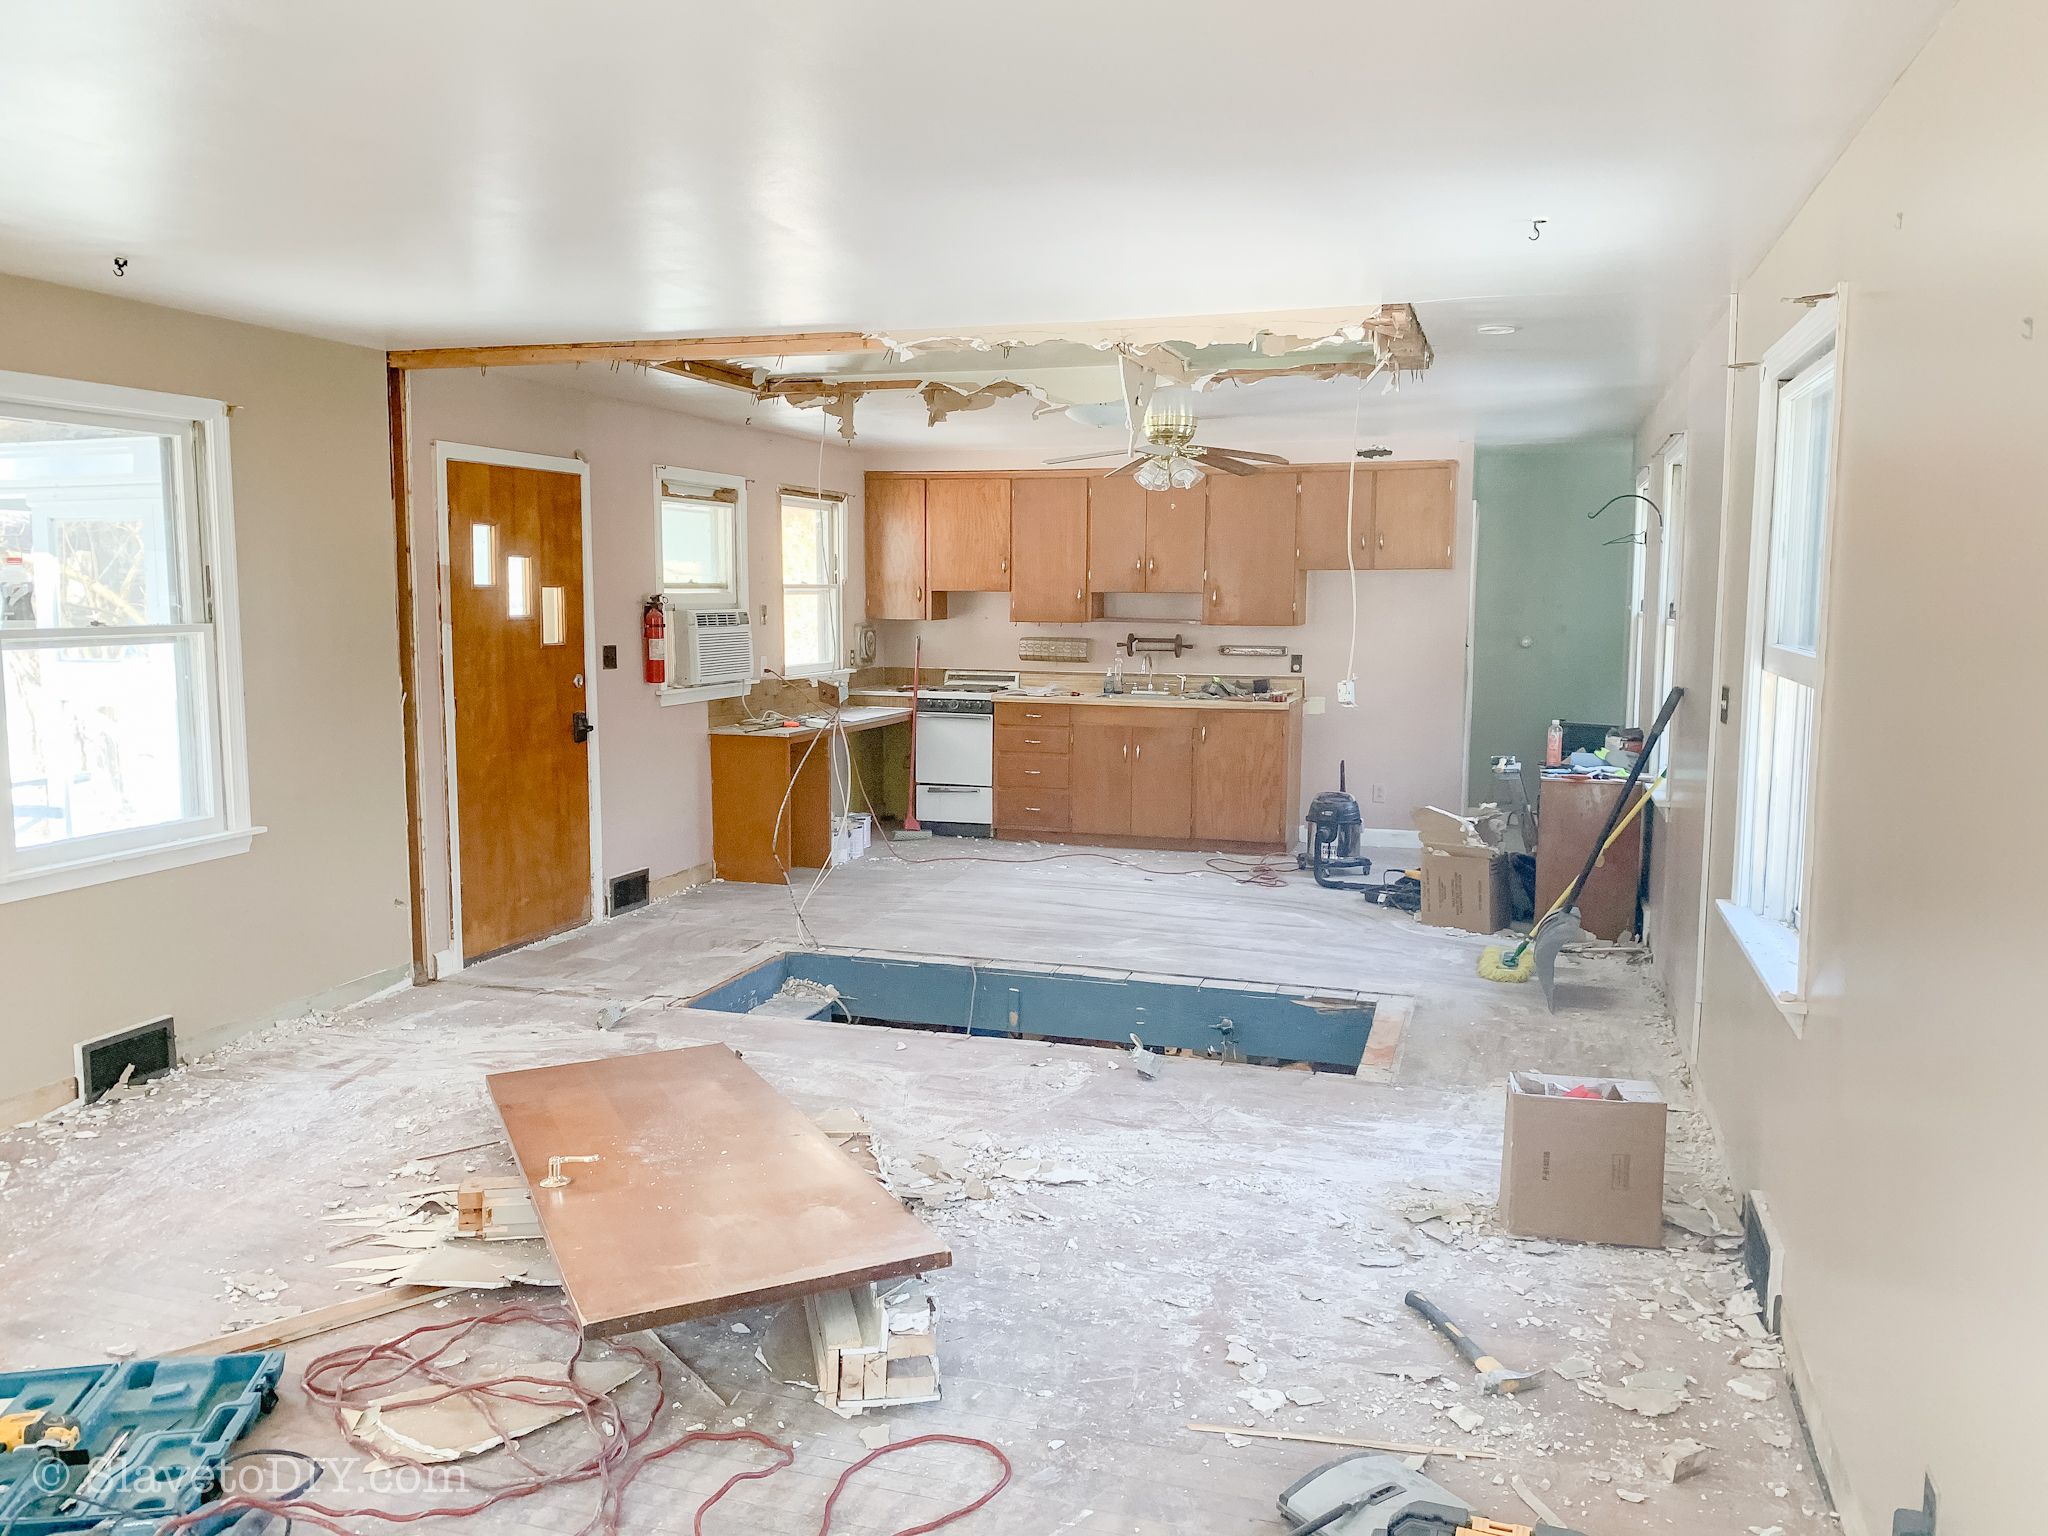
I have been hunting for antique oil and acrylic landscape paintings for about the last five years. These have always been notoriously hard to come by anyway, but since they’ve become wildly popular in the last year or two, my situation has not improved. The price for these antiques has gone way, way up and I certainly can’t afford the collection I really want. Modern landscape artists are seeing huge gains in the price of their artwork as oil and acrylic landscape paintings trends in the home decor stratosphere- good for them, but not so much for me!

But, did you know that you could easily create your own knock-off landscape paintings and art that look like antiques? Did you know that you can create the paintings for about $25? By using acrylics, which I find much easier to use than creating a watercolor landscape, the process becomes much more simple!

*This post may contain affiliate links. Please see full disclosure at the end of the post.

If you’re a little bit creative and willing to try your hand at it, there’s a simple, super easy way, to create your own masterpiece painting without paying the prices that landscape artists demand!

Step One: Find a landscape photo on your phone or something not copyrighted online that you like the look and feel of.

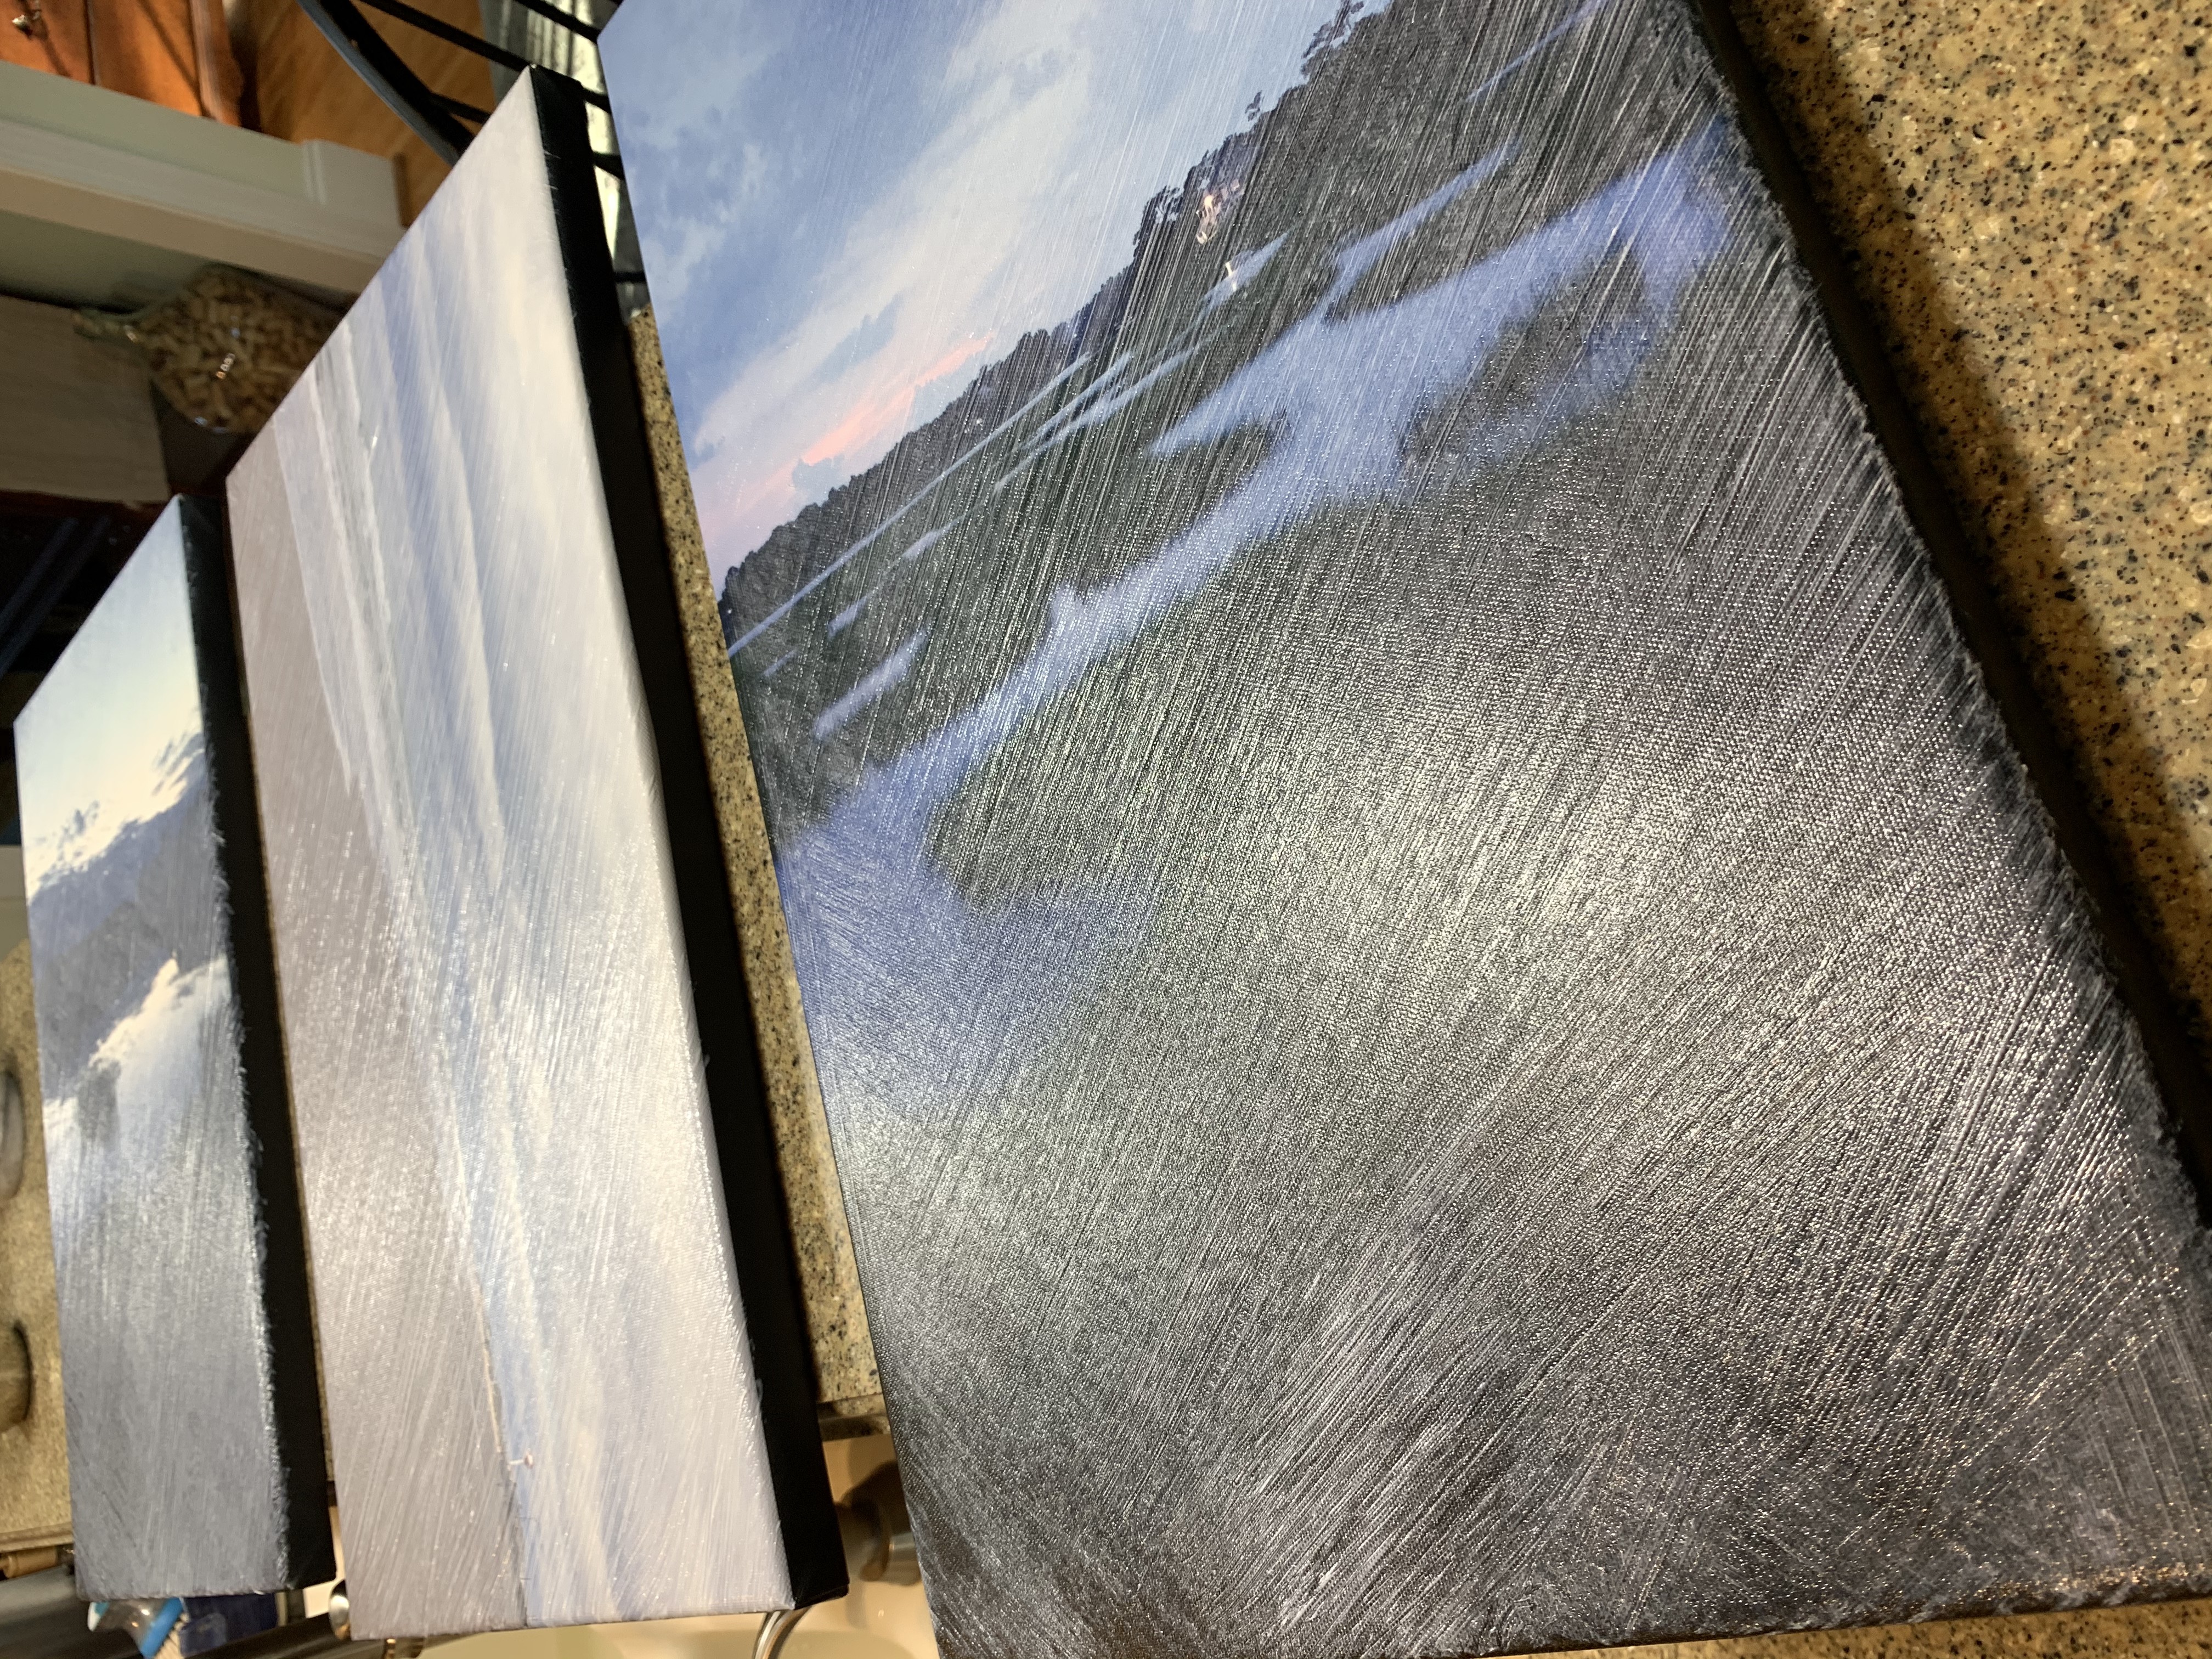
Step Two: Print the size you want from a Discount Canvas Company. They’re always having sales, and we bought these for less than $20 each. It doesn’t have to be a clear photo, and it’s absolutely okay for it to be grainy.

I purchased four that I had sitting on my phone of the ocean a few minutes away and the tidal creek near our house.

The Easy Way To DIY Breathtaking Landscape and Scenery Paintings


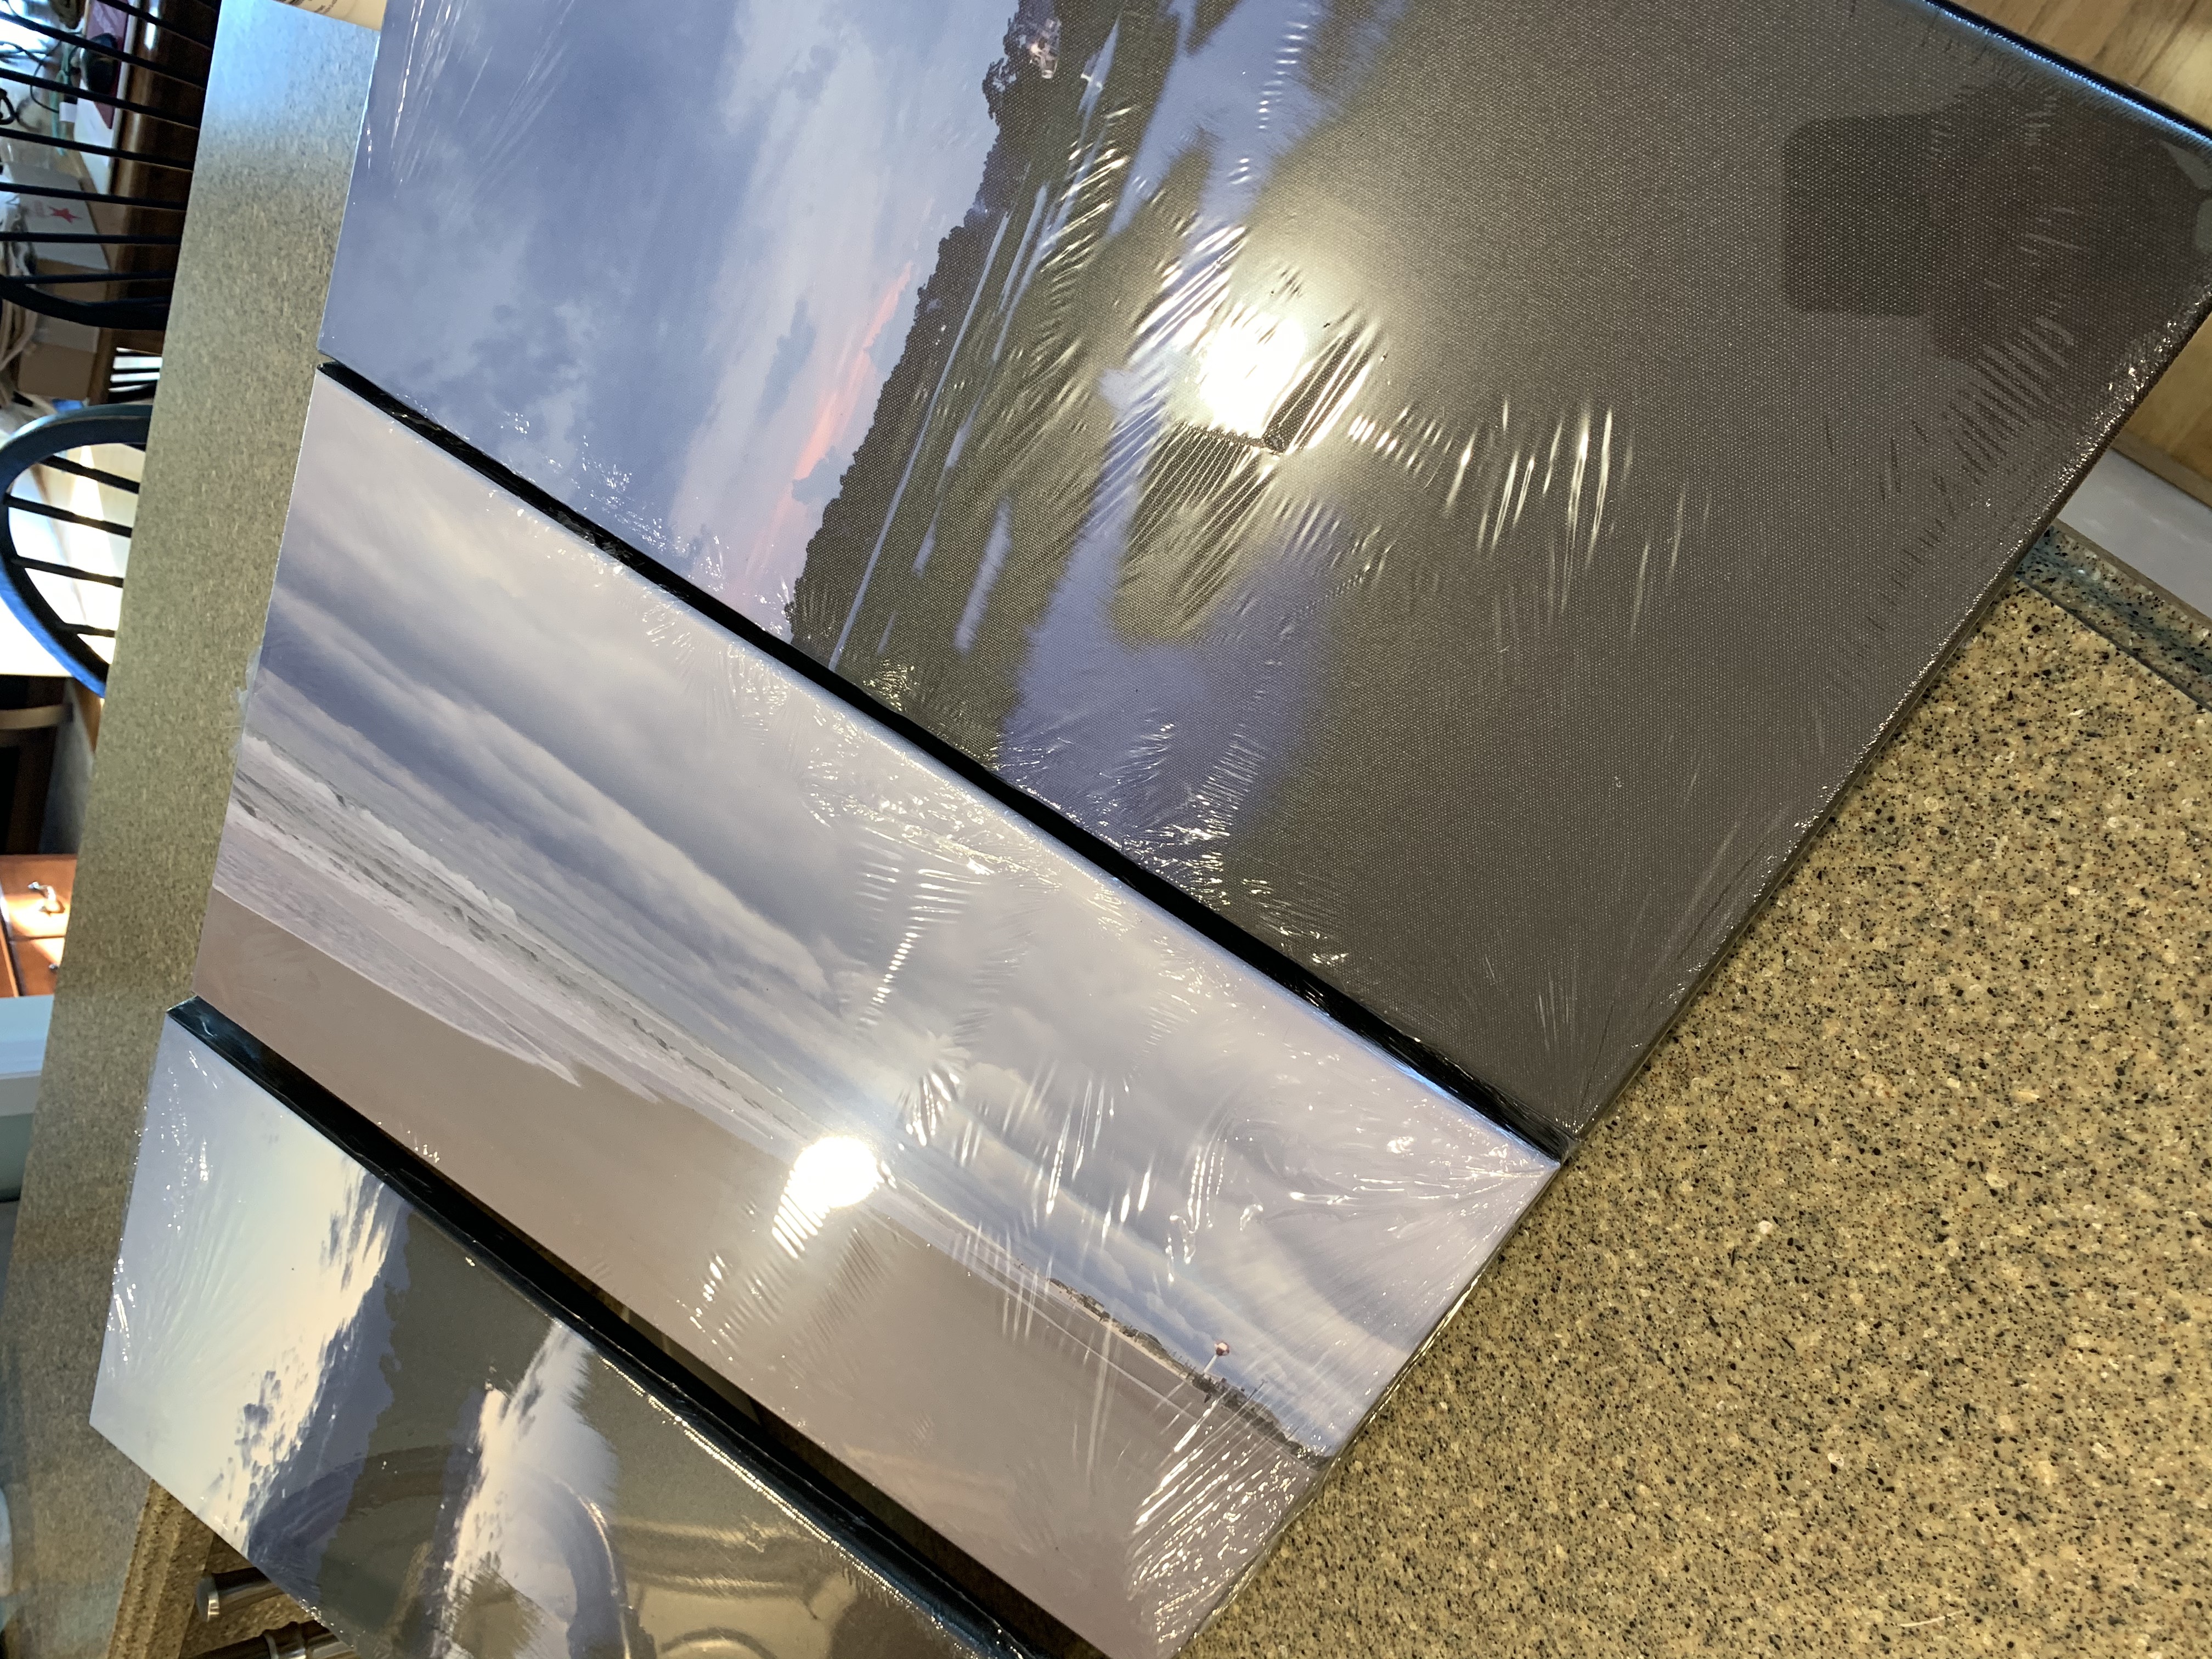
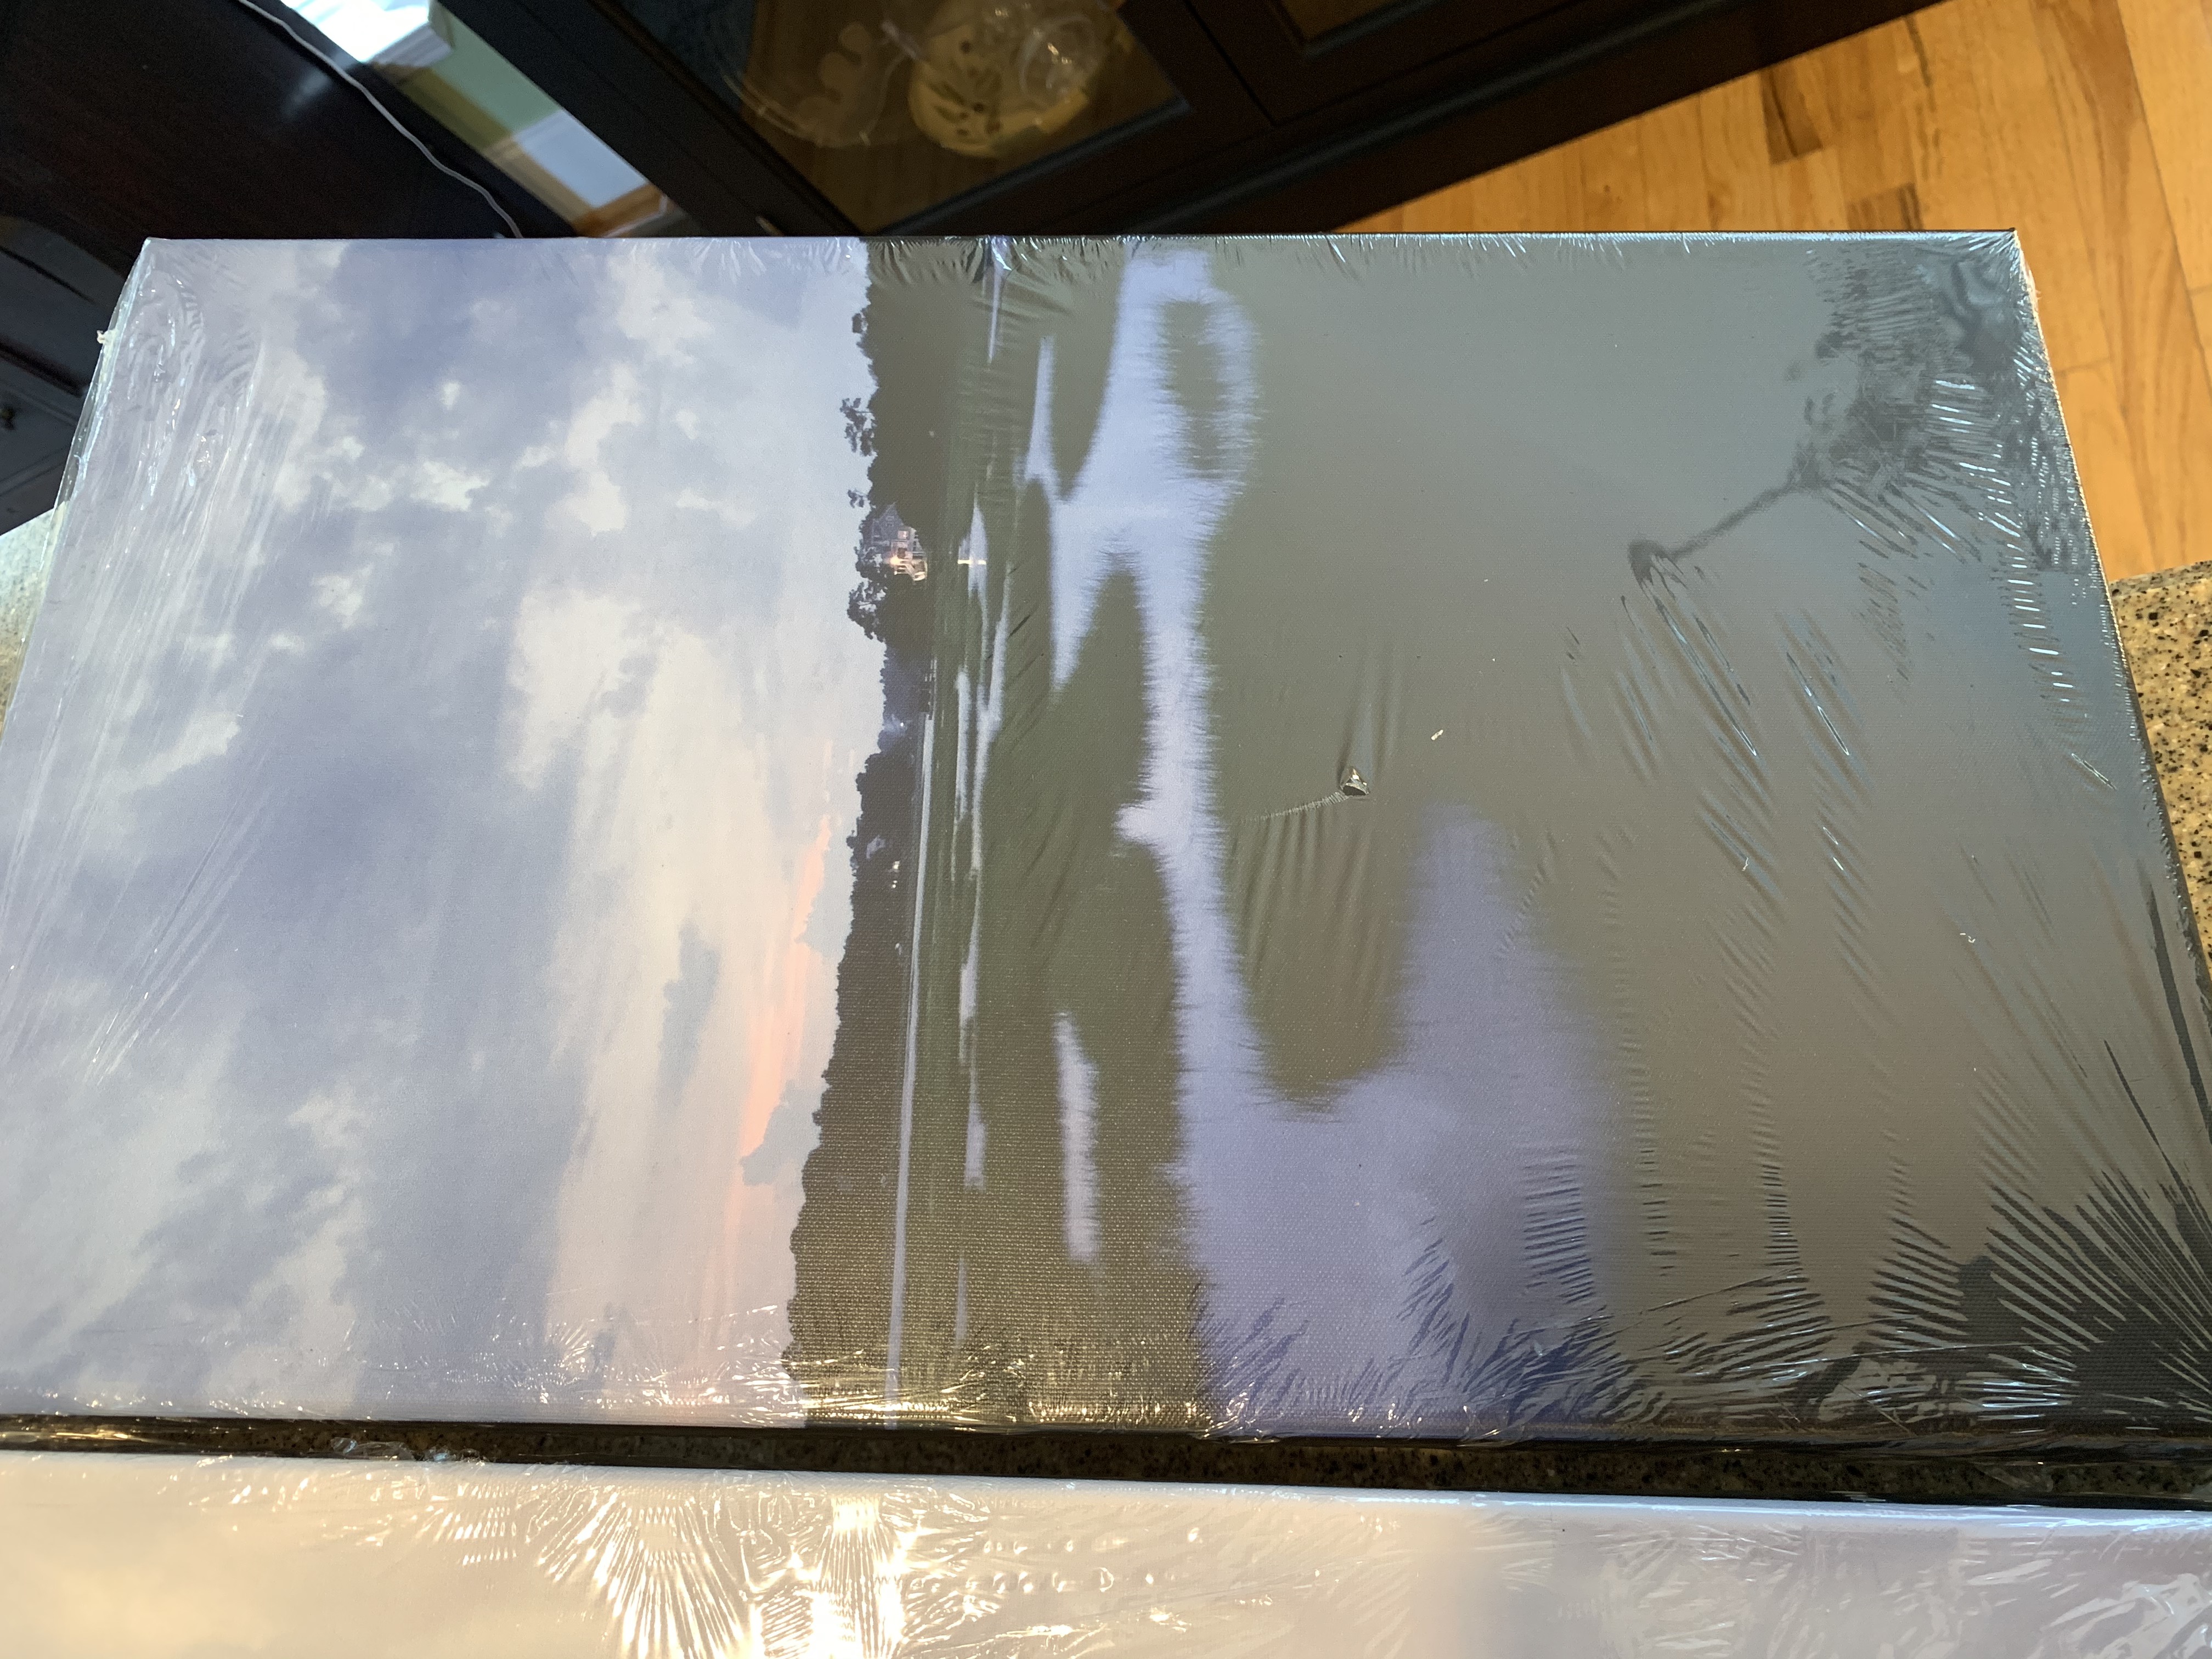
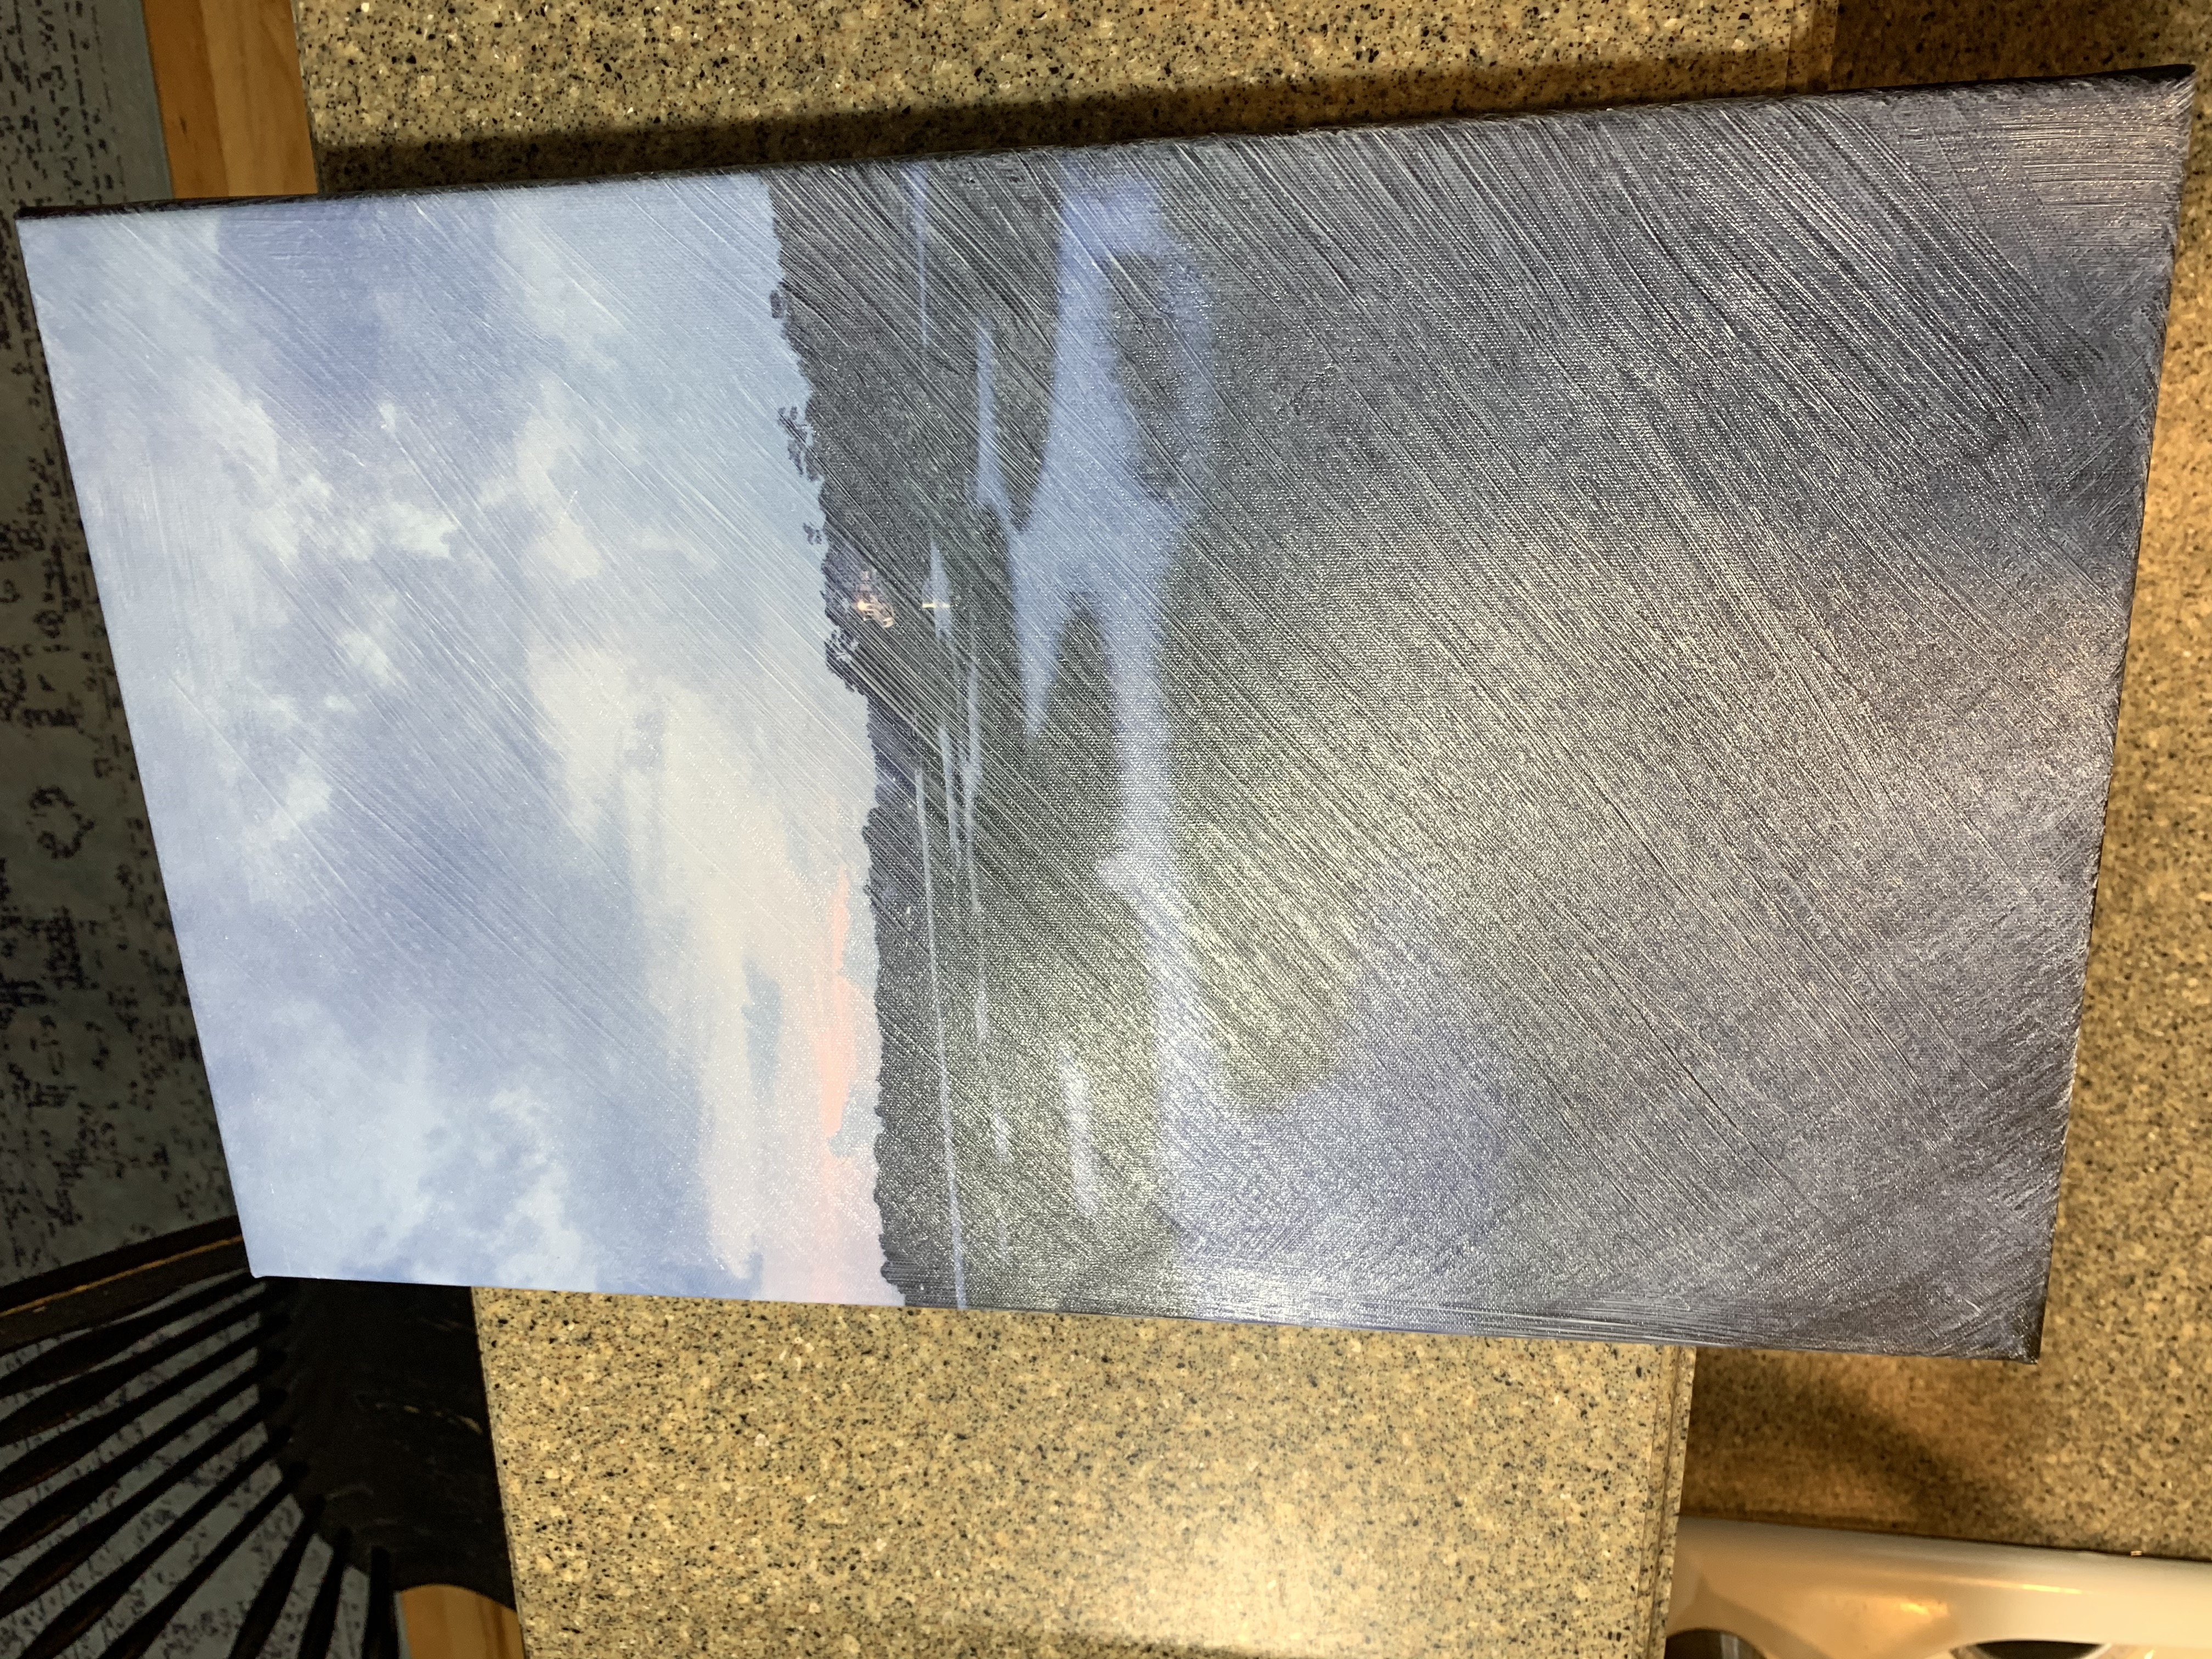
This is the photo canvas I’ll be using to demonstrate the painting:

The Easy Way To DIY Breathtaking Landscape and Scenery Paintings


Step Three: After you’ve unpackaged the canvasses, paint the front of each canvas in a cross-thatch pattern (X) with a large brush using Clear Gesso. It appears white, but trust me, it will dry clear. The idea is to make sure that you’re filling in all of the tiny crevices on the canvas so you won’t need to layer your paint as much.

The Easy Way To DIY Breathtaking Landscape and Scenery Paintings


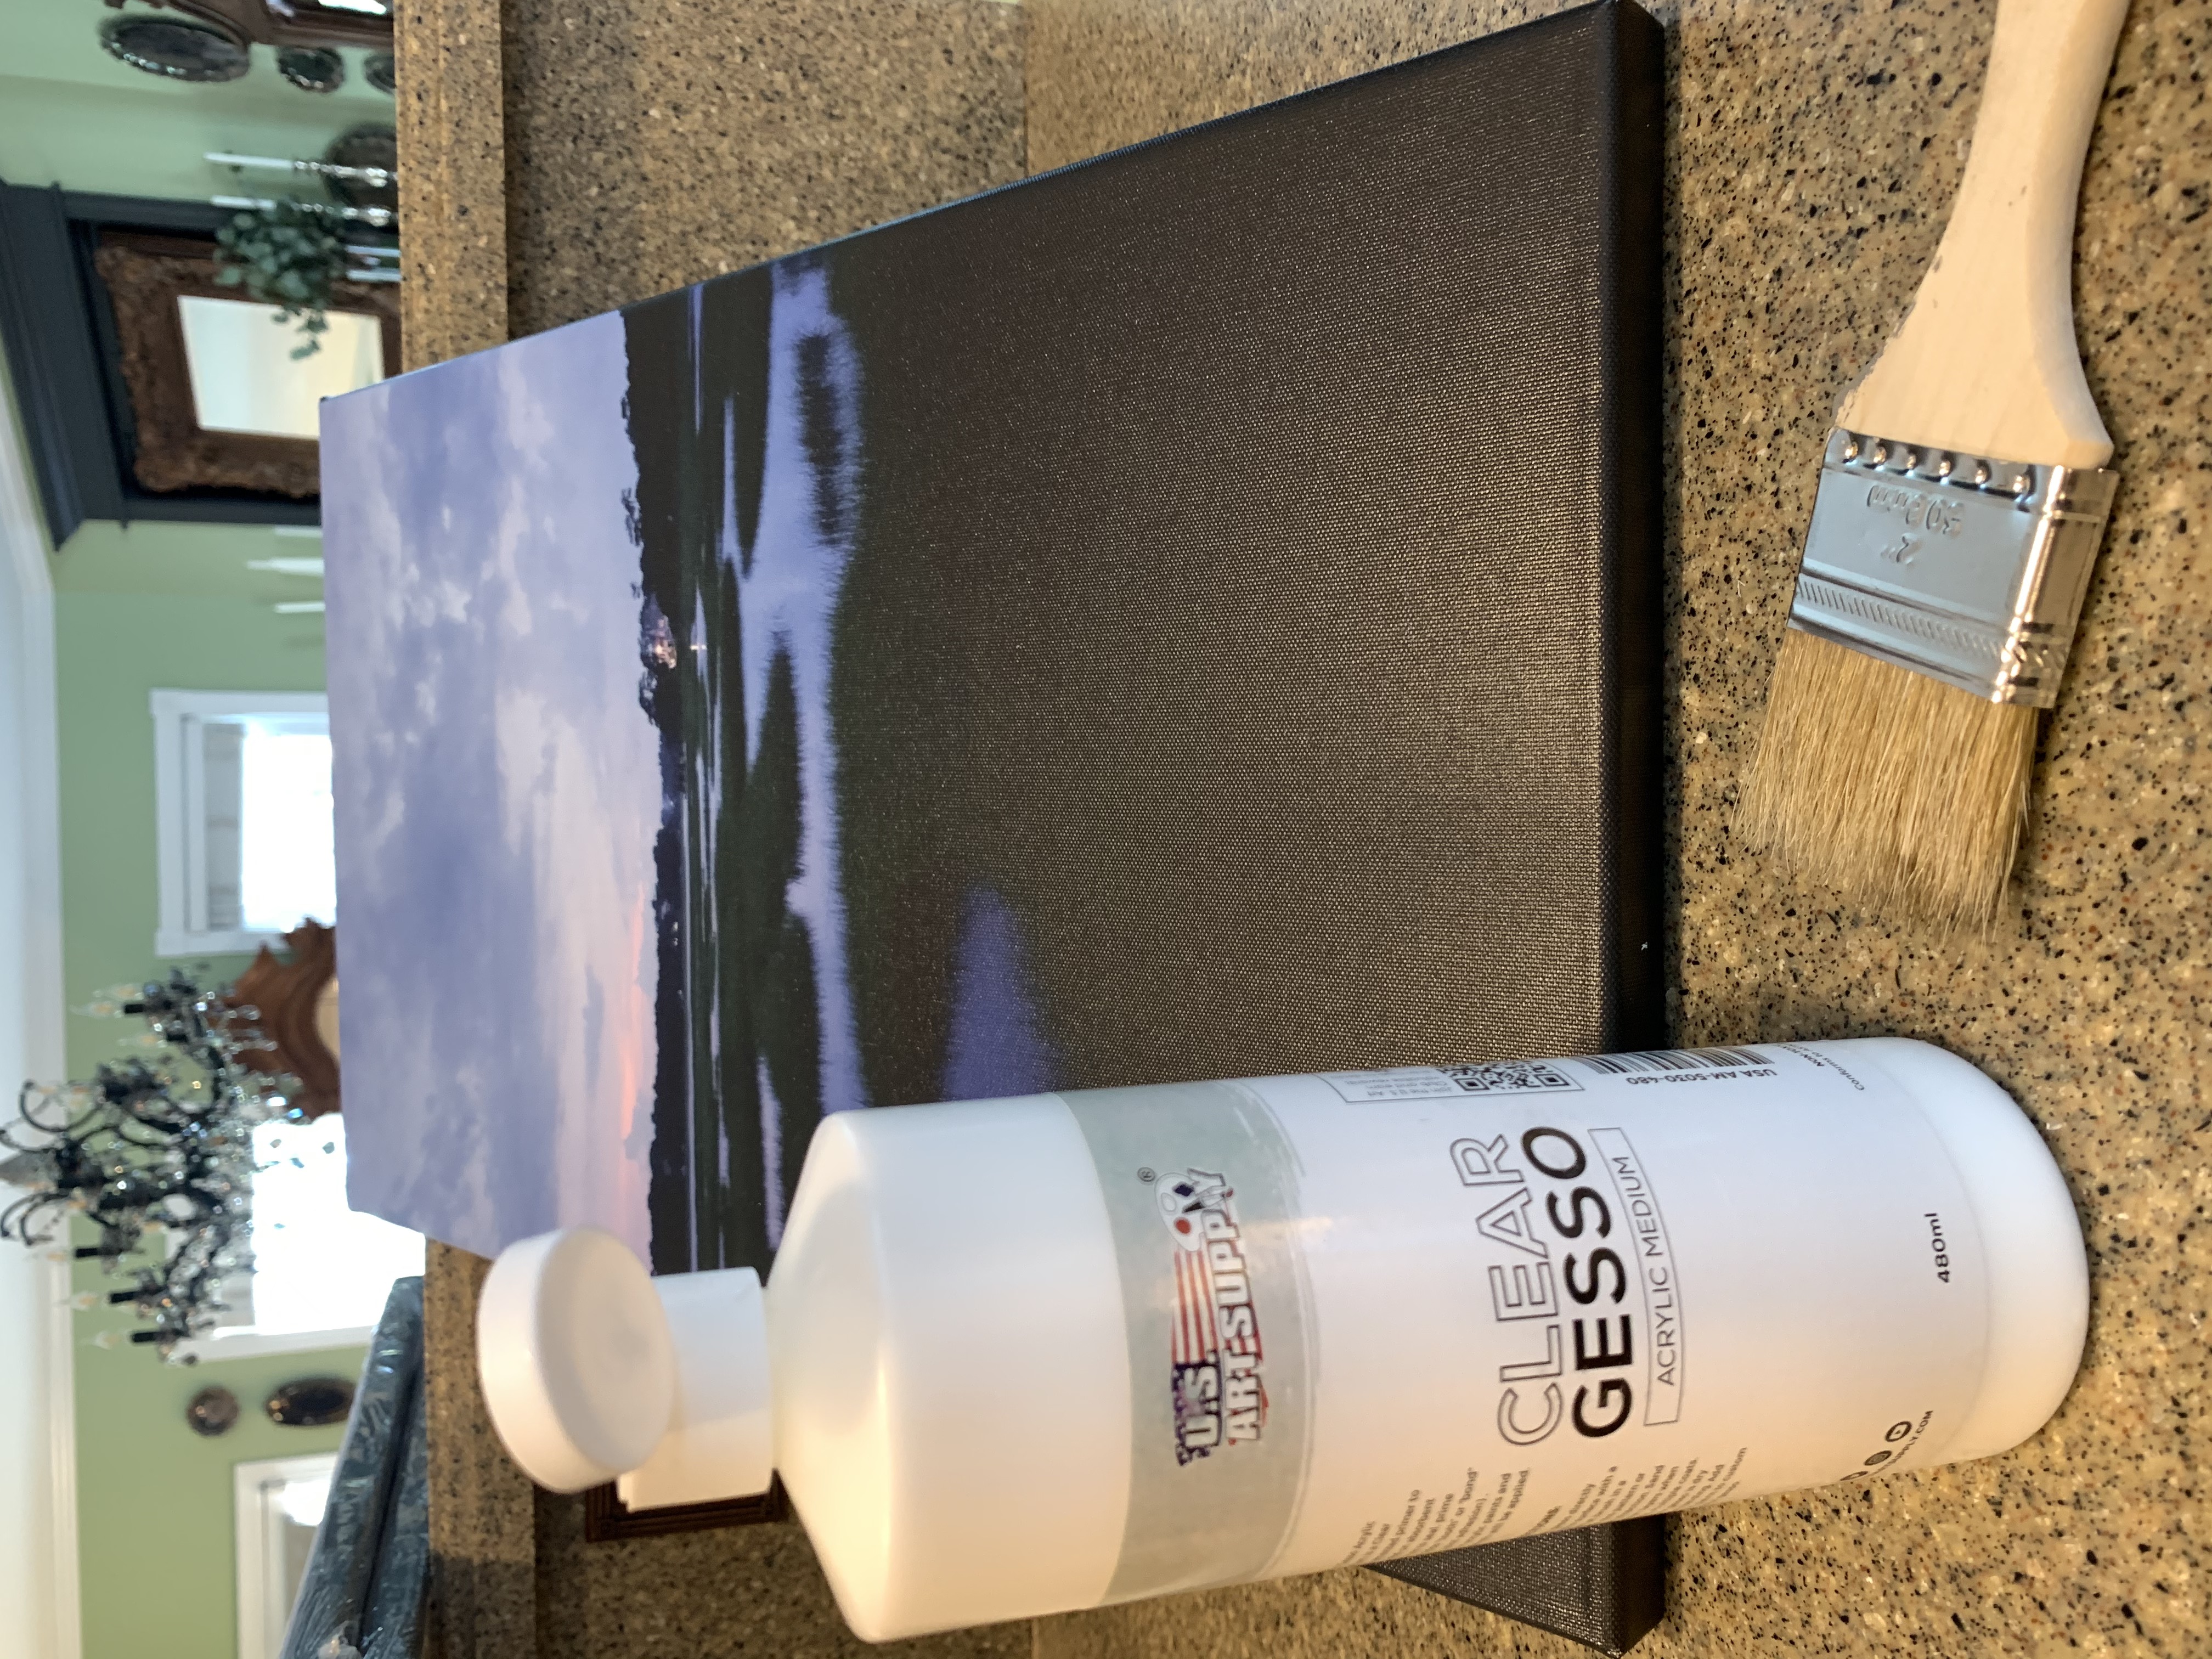
Tip: Make sure you’ve pulled off any loose hairs on the brush so they don’t stick inside the gesso. 

This is what your canvasses will look like after you apply the gesso, but before it dries:

The Easy Way To DIY Breathtaking Landscape and Scenery Paintings


Here is the one I will be painting with the gesso applied:

IMG_9404
The Easy Way To DIY Breathtaking Landscape and Scenery Paintings


This is what it looks like after it dries.  Totally clear, though you can see the faint cross-thatch pattern.

The Easy Way To DIY Breathtaking Landscape and Scenery Paintings


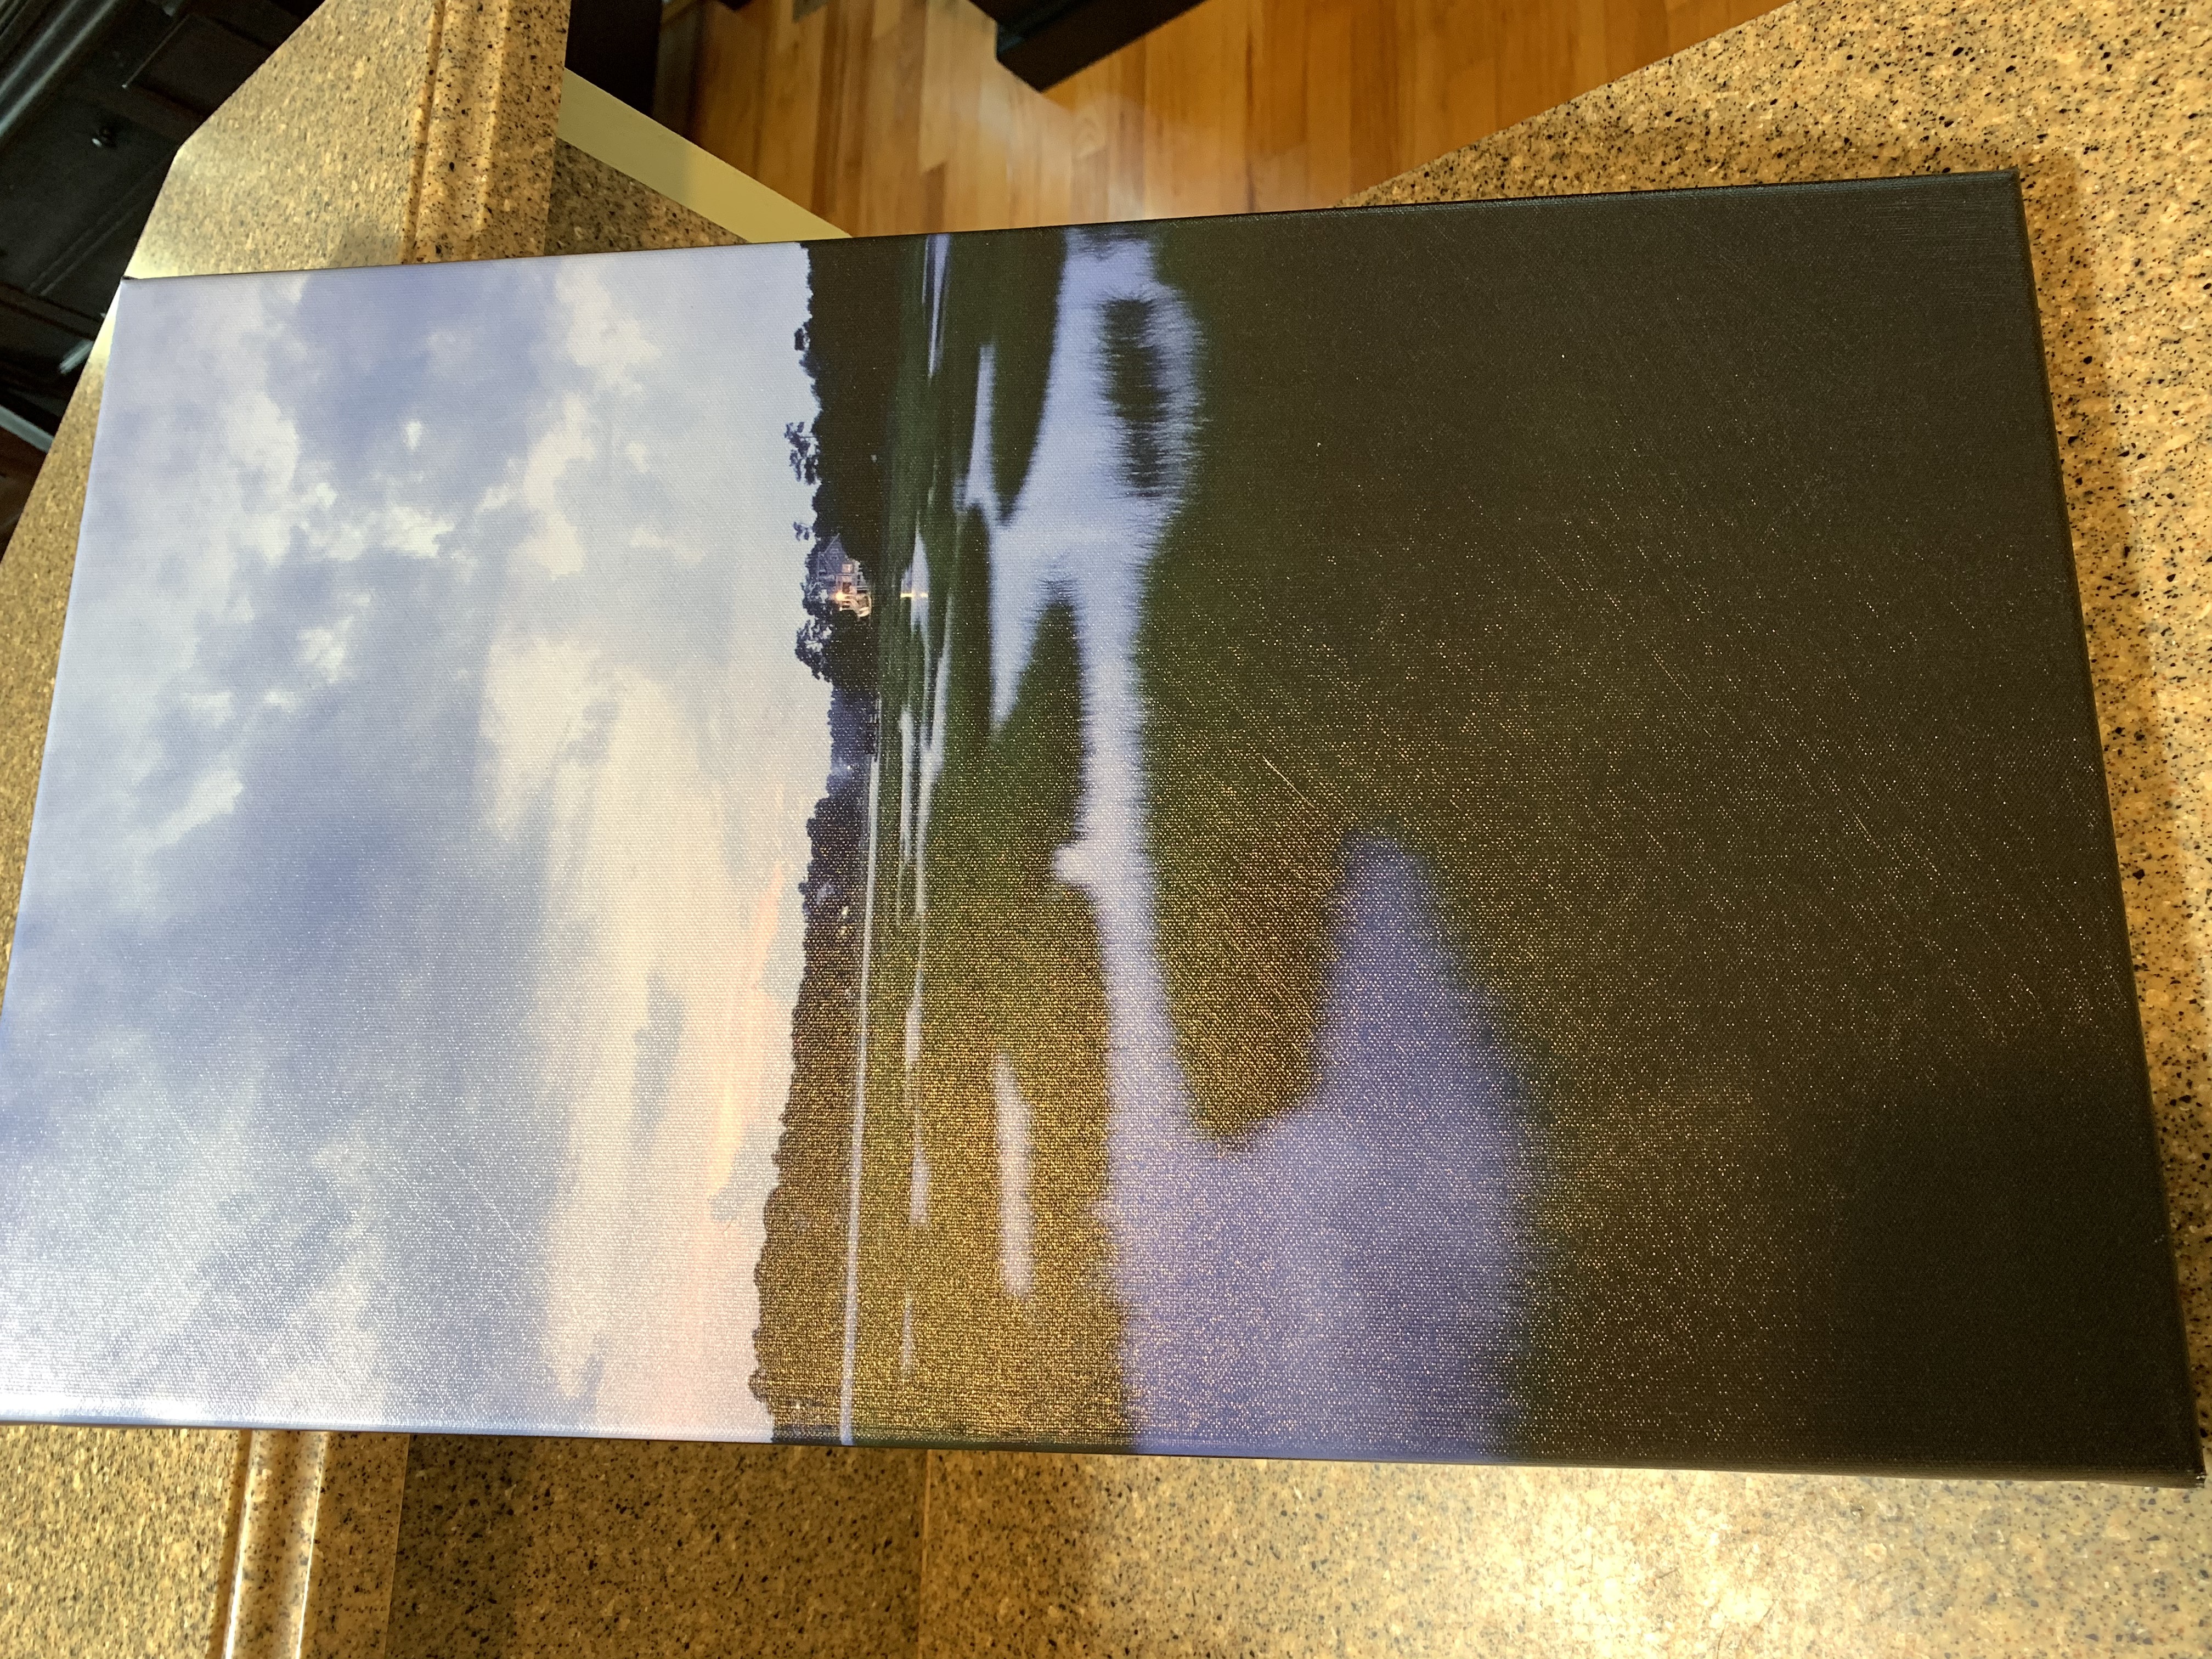
Now you are ready for paint!

Step Four: Get out your acrylic paint, brushes, water for rinsing brushes, palette, and (optional) adjustable easel. If you don’t have an acrylic paint set: I use Liquitex Acrylics and you can get a basic set of colors relatively cheaply. I like mixing my own colors so I have a small set of mostly primary colors. They also save forever if you keep the caps tightly closed: I’ve had the same set for more than a decade and the paint is still good.

Tip: I like to start with the lighter sections and move to the darker sections.  Then you can always come back and add highlights in lighter colors or details in darker colors. 

The beauty of this process is that it doesn’t need to exactly match your photo.  Try doing an impressionist painting, then try one with a more blended look. A great way to achieve a foggy landscape look is to blur your eyes over the photo and try to mix the edge colors.

Tip: Try mixing some of your colors with gesso if you need them to remain wet for longer (if you want to blend the edges). It also makes the colors slightly less opaque.

[youtube https://www.youtube.com/watch?v=iCAjv9T45Cw&w=560&h=315]


Step Five: Paint! Turn on some relaxing music, pour yourself some hot tea, and get to mixing colors on your palette and painting!

Tip: Don’t be afraid to try different brushes and strokes! The beautiful thing about acrylics is that you can layer over the top if you don’t like it!

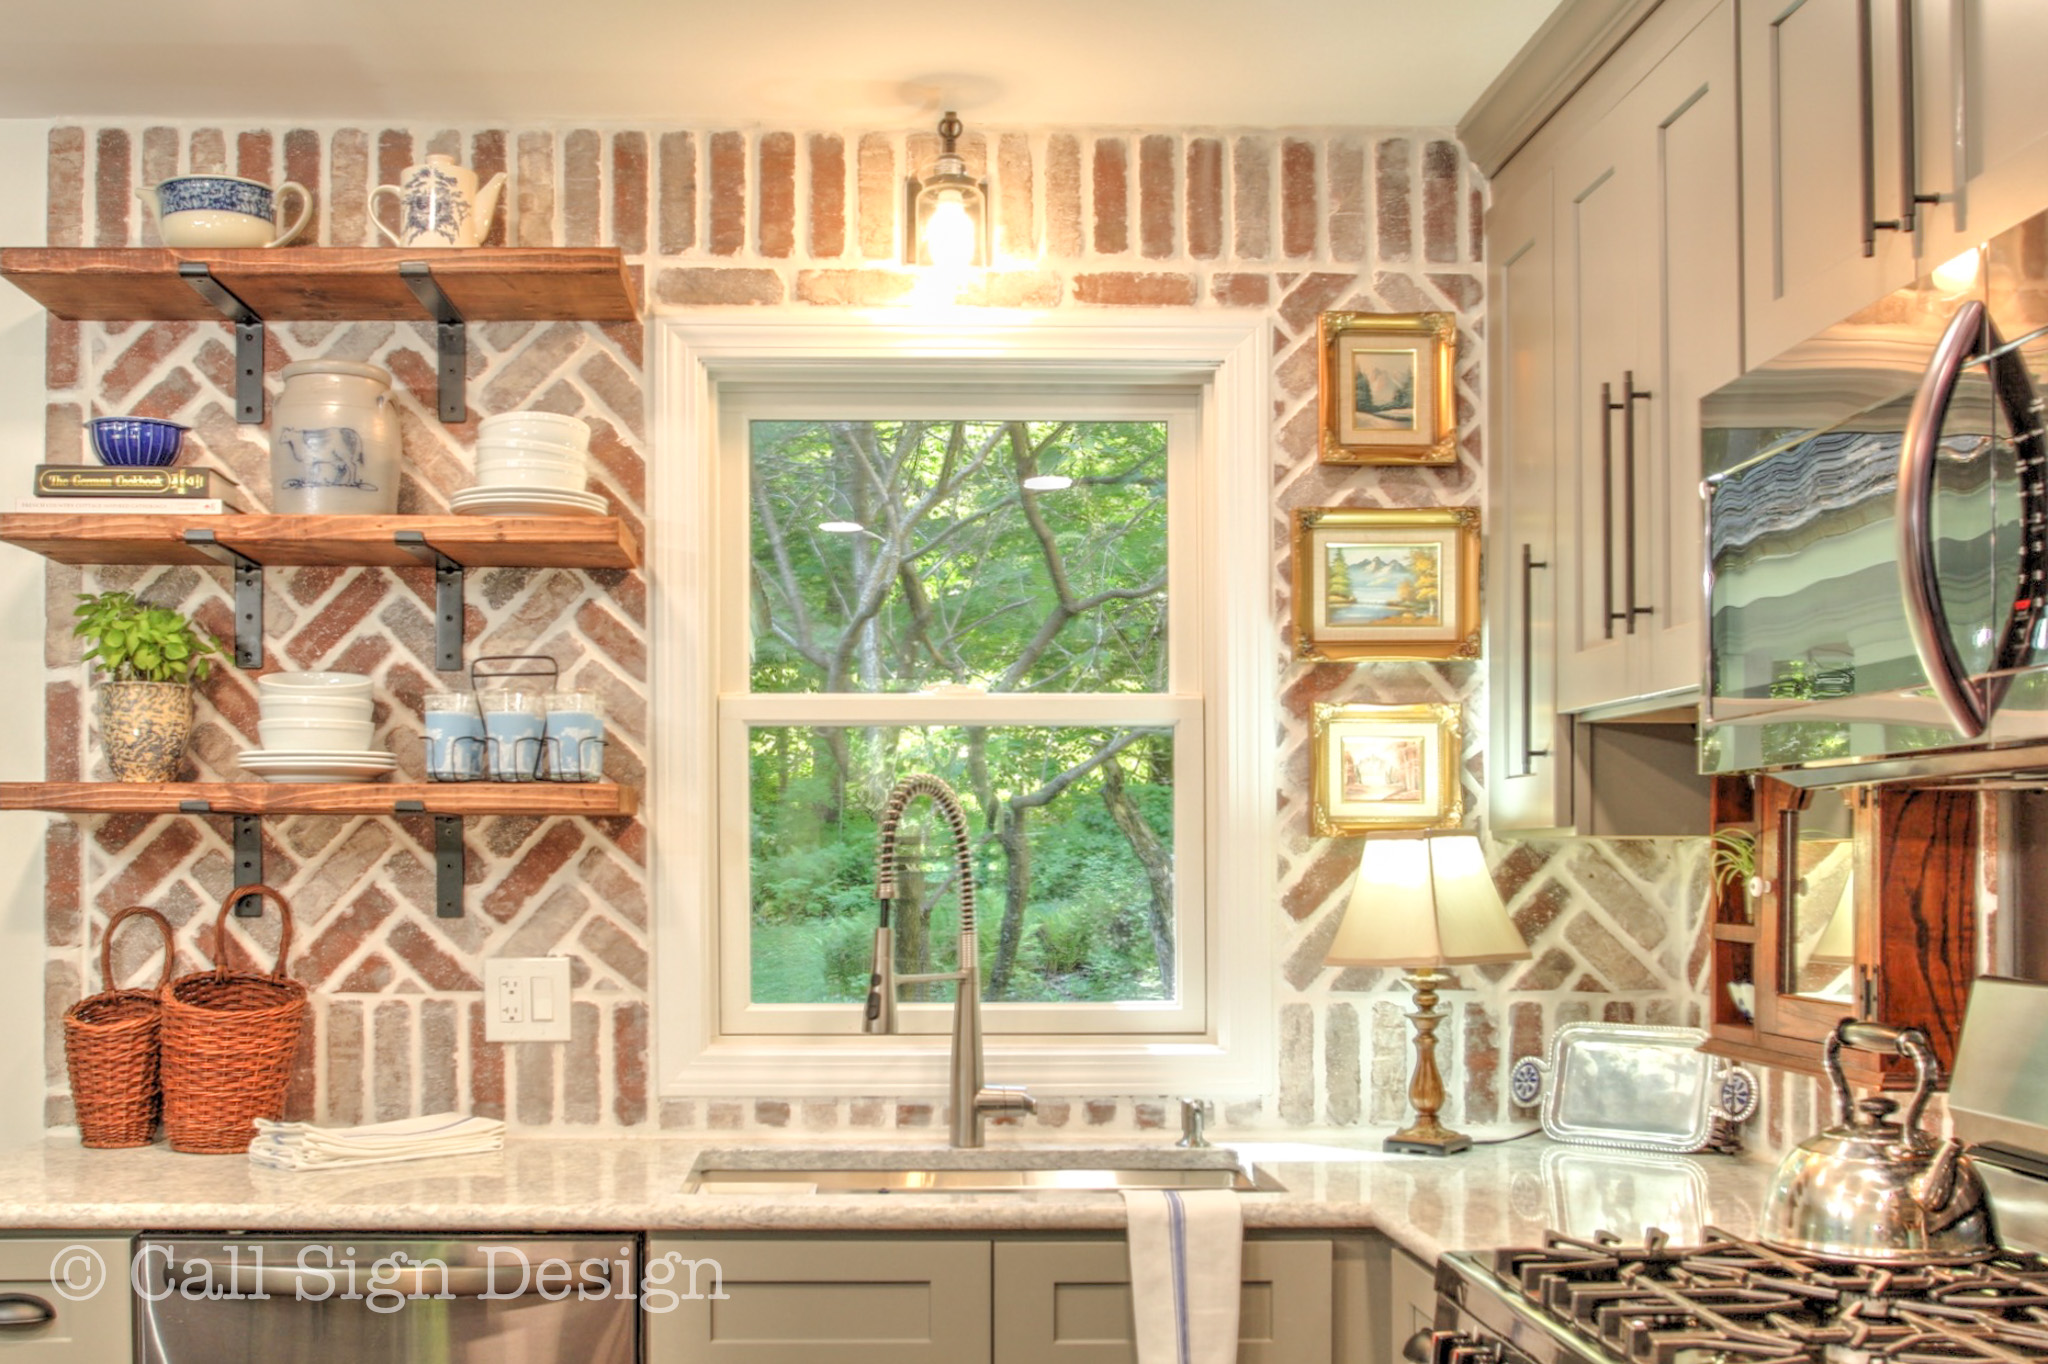
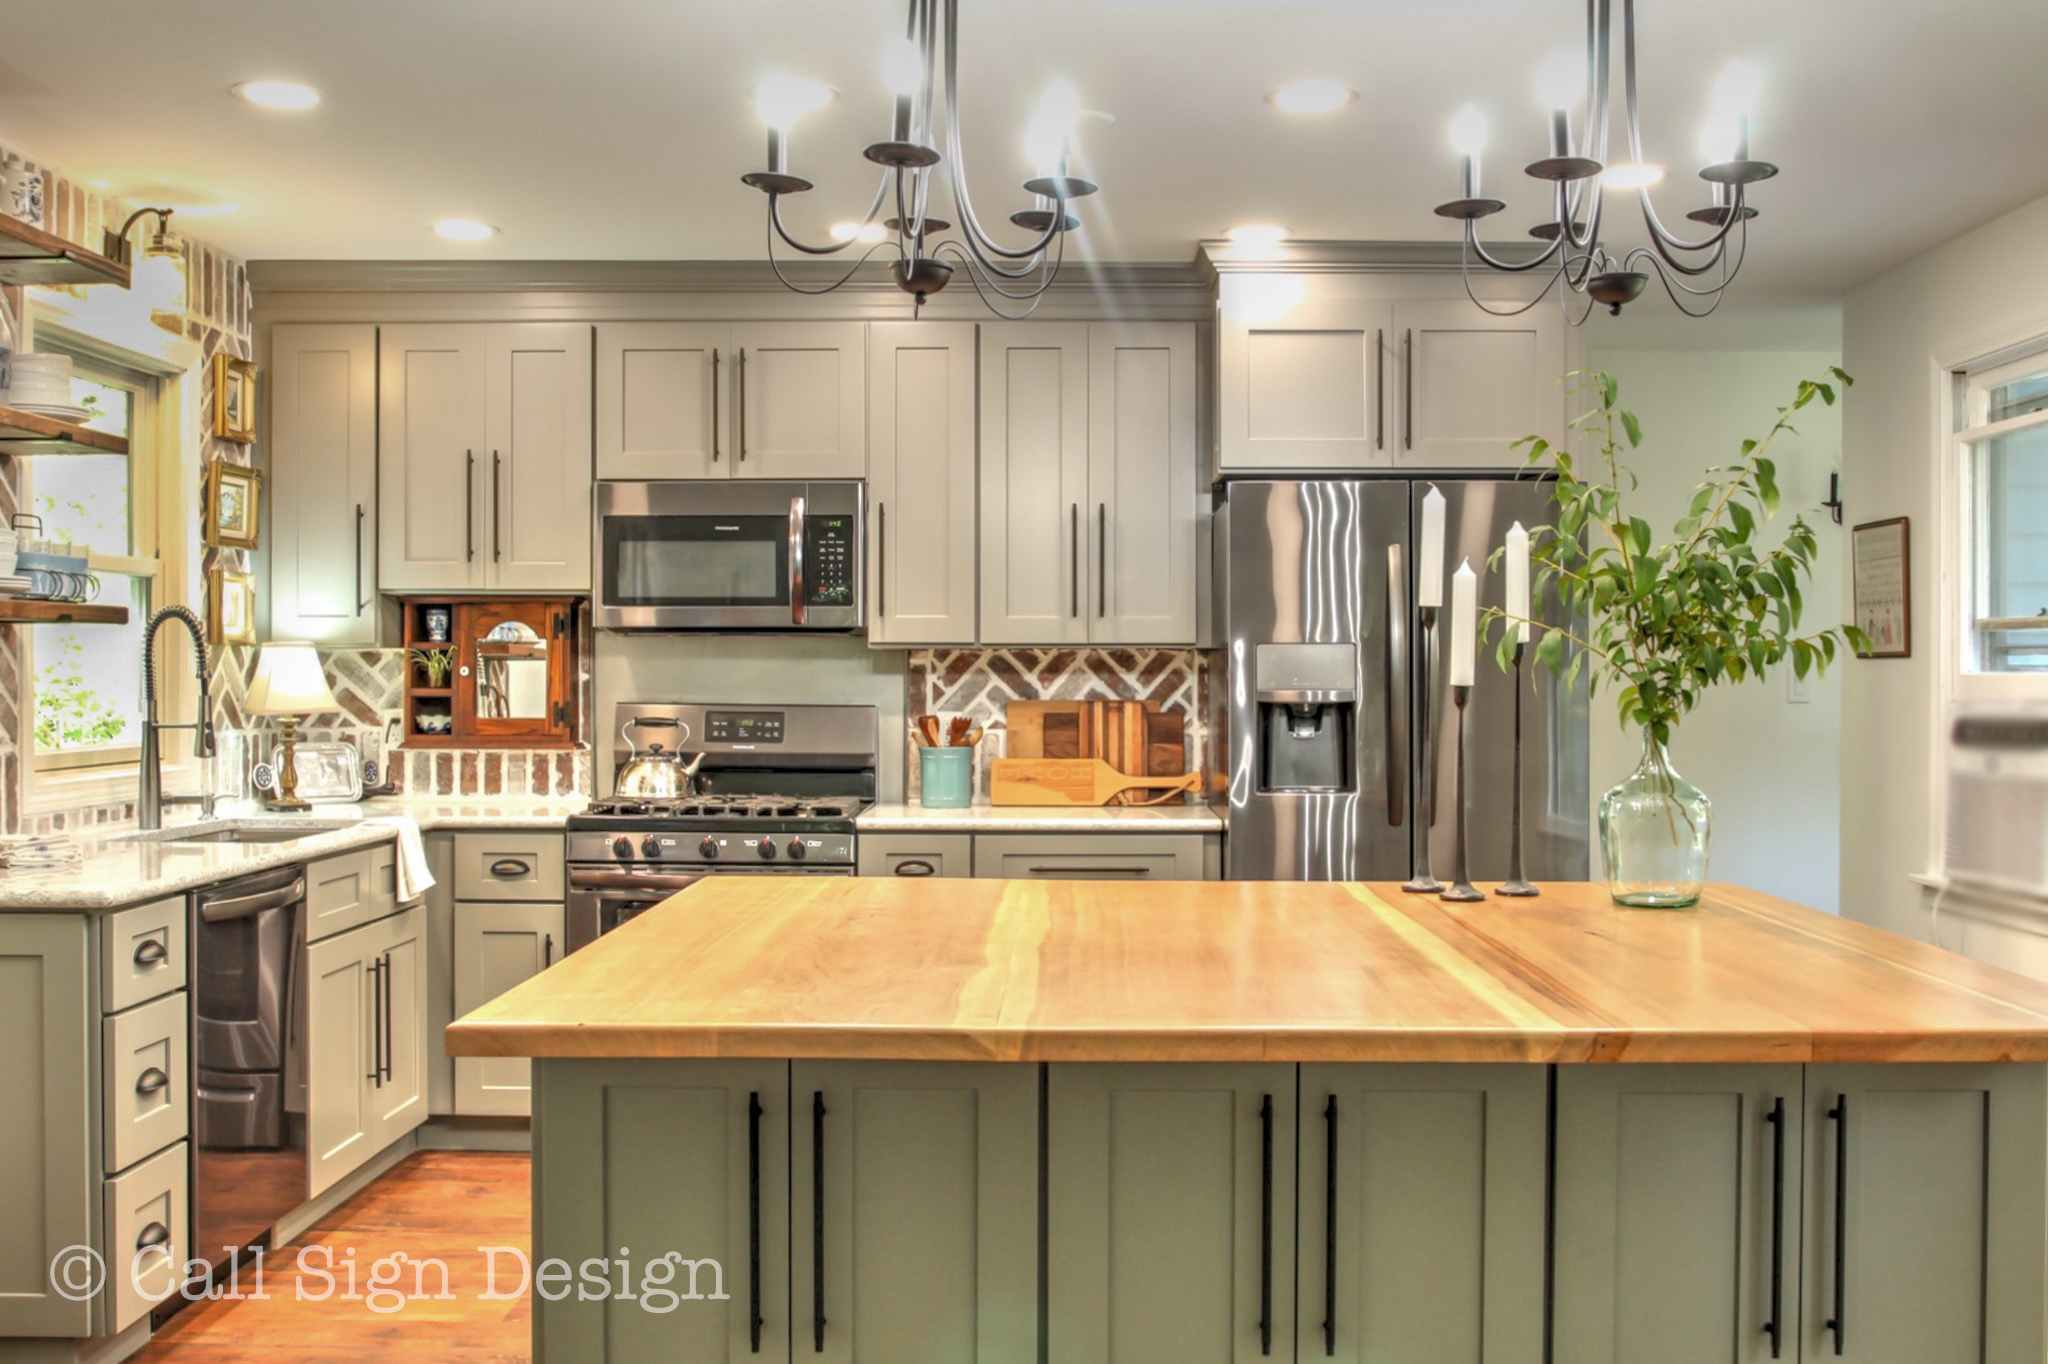
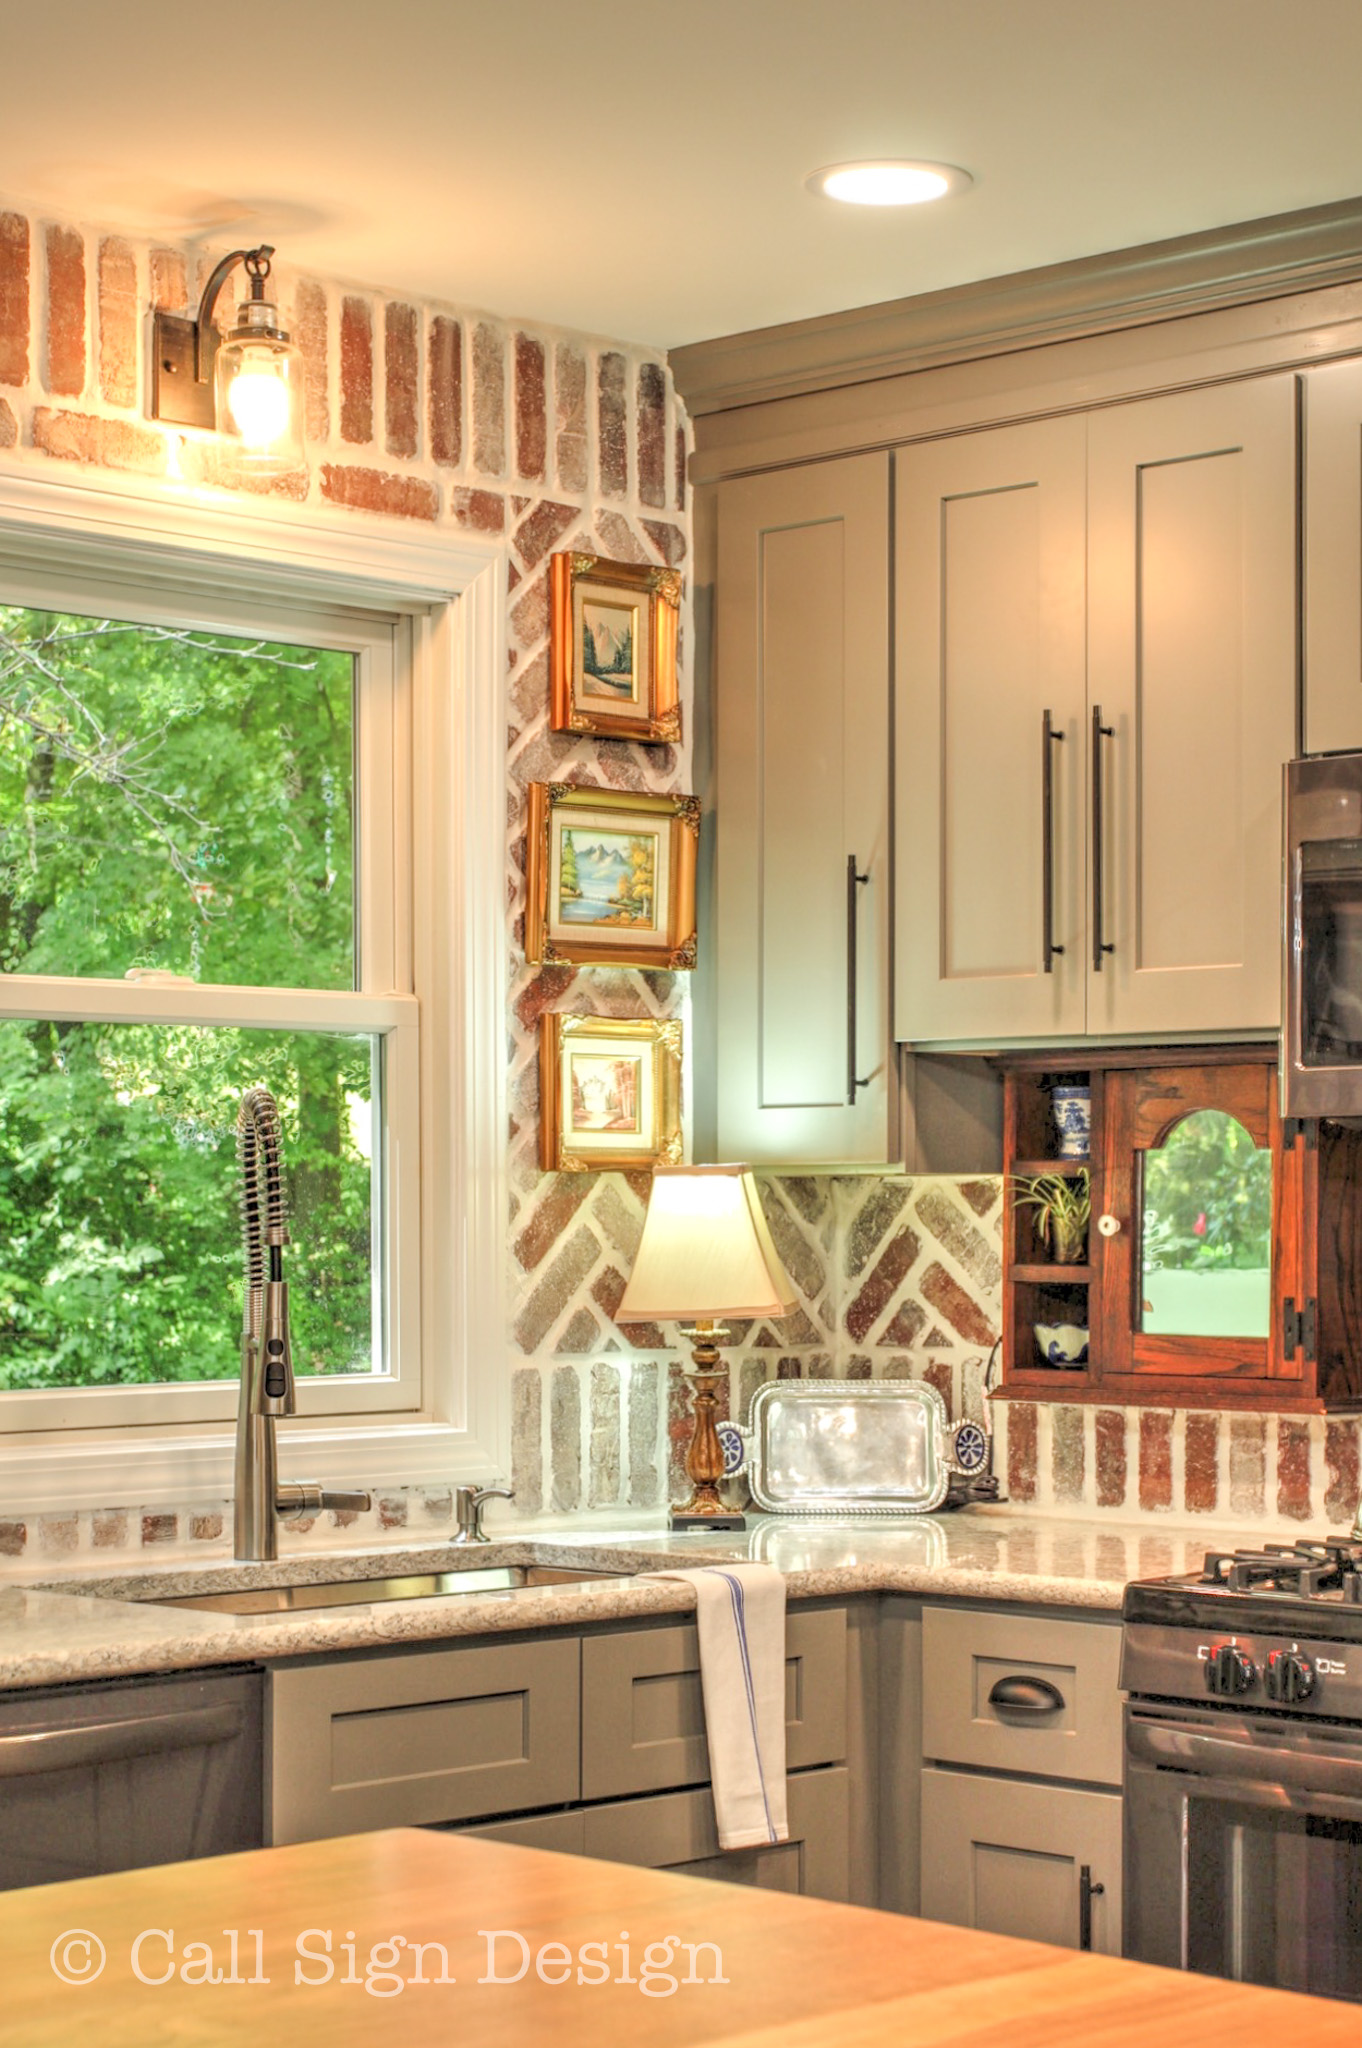
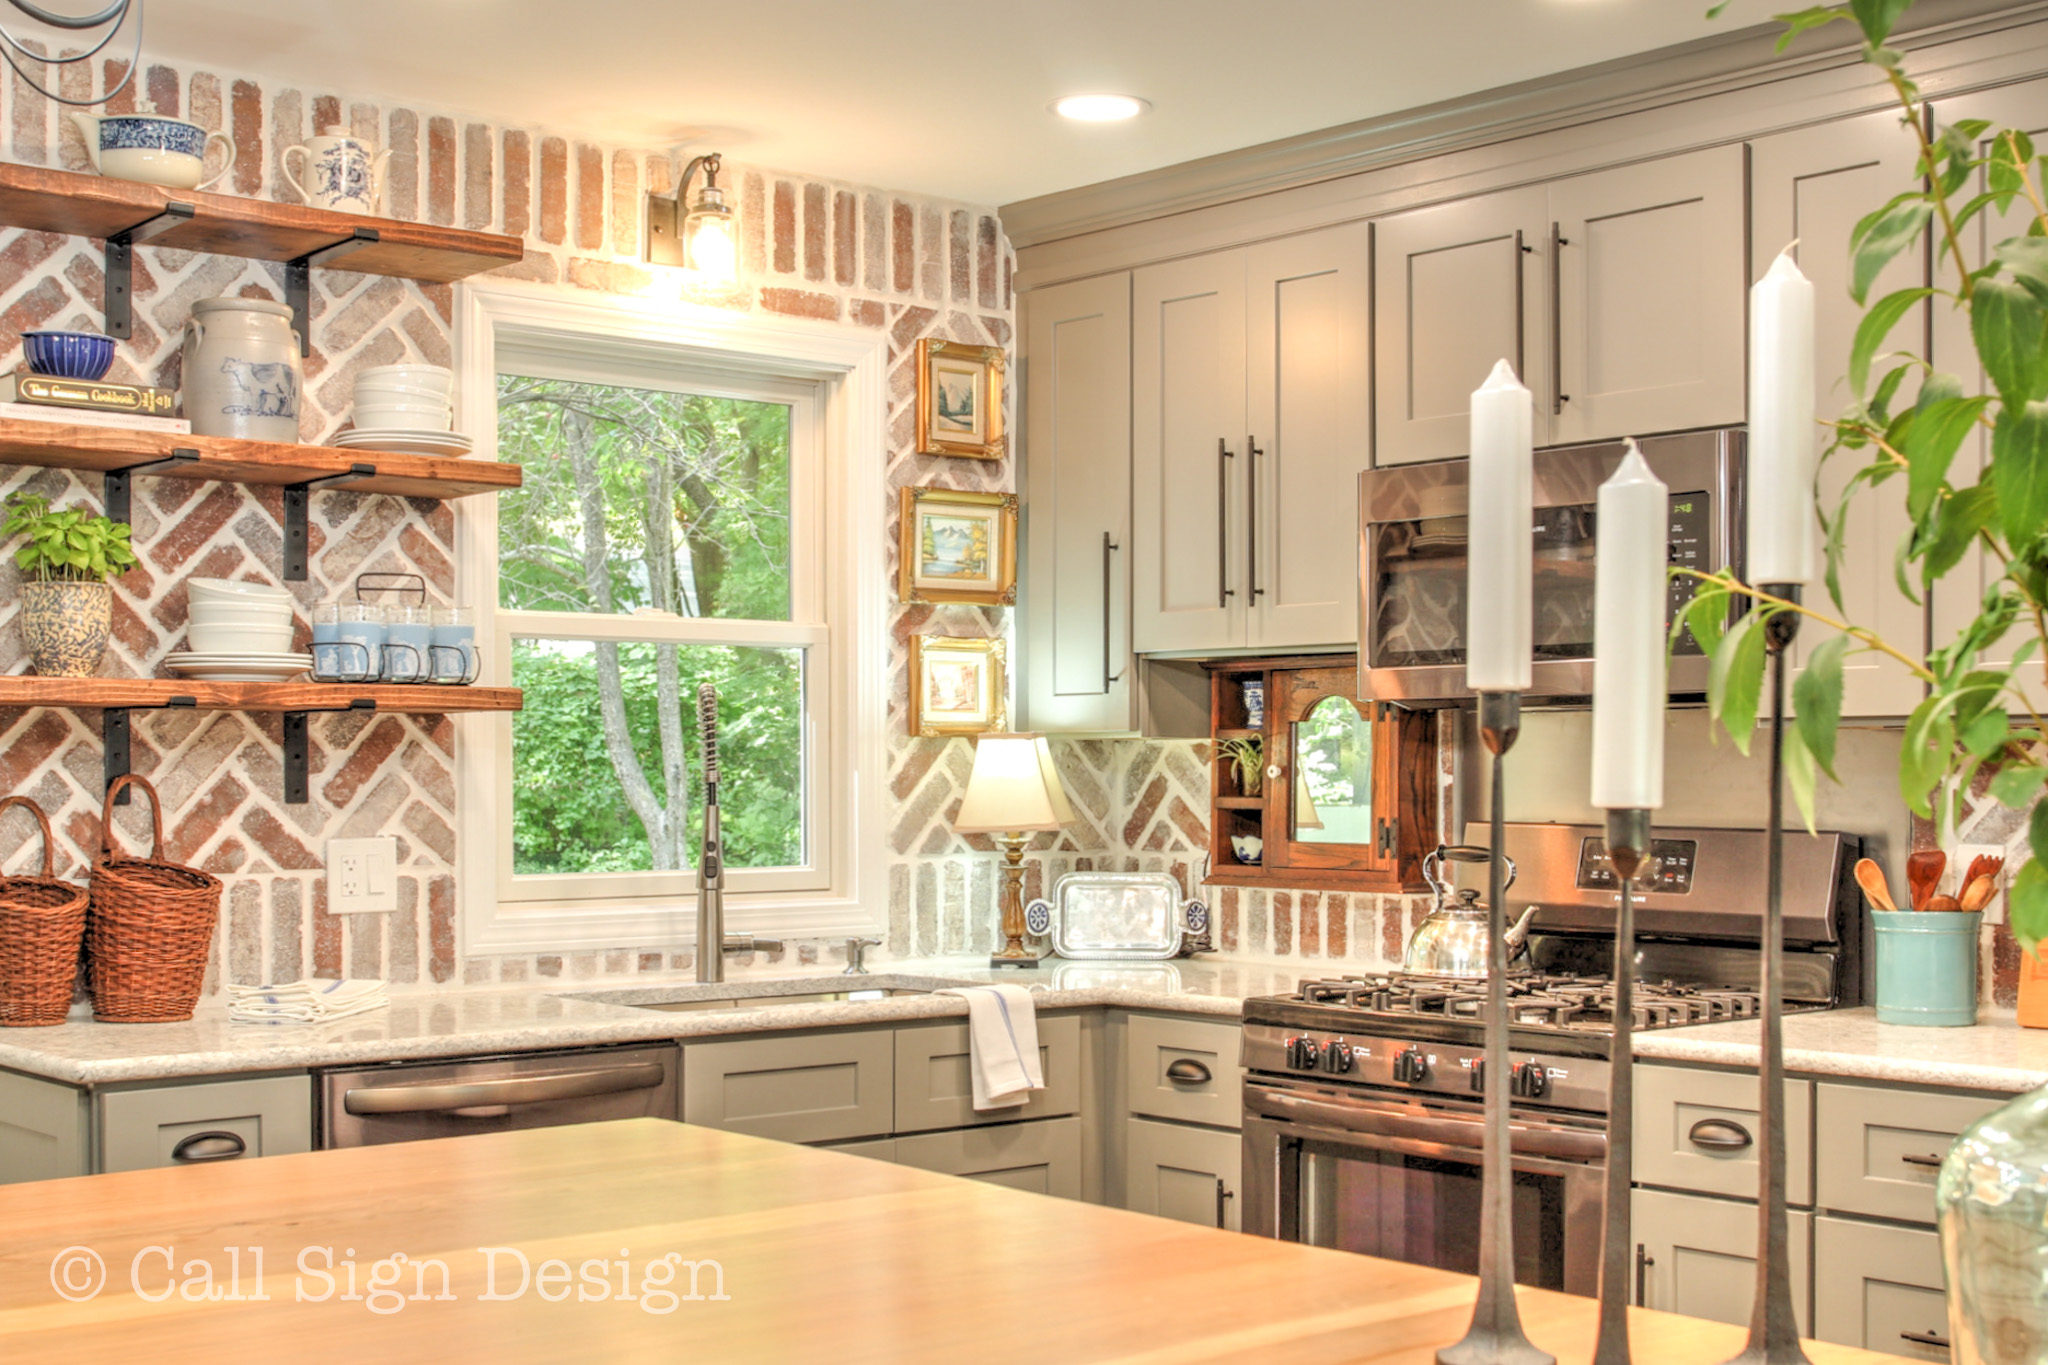
Step Six (Optional): Scour craigslist/letgo/Facebook for the perfect gold frame. I frequently find BAD old art with great frames, so this is a fantastic way to upcycle those frames into something wonderful for your wall!

Tip: If you want to really do this on the cheap: find your frame with matting FIRST, and order the correct sized canvas to fit. You can paint the matting to match and then you don’t get into expensive items like new matting.

What do you think of our “masterpiece”?

The Easy Way To DIY Breathtaking Landscape and Scenery Paintings


Congratulations! You have just created your first landscape painting and you can proudly hang it on your wall!

Cost Breakdown:

Canvas: $20

Craigslist frame: $60

New Matting and Assembly from Michael’s: $160

Art Light (Optional): $73.95

Total: $313.95 (Yes, I absolutely recommend buying your frame before the canvas to cut out the re-matting cost!)

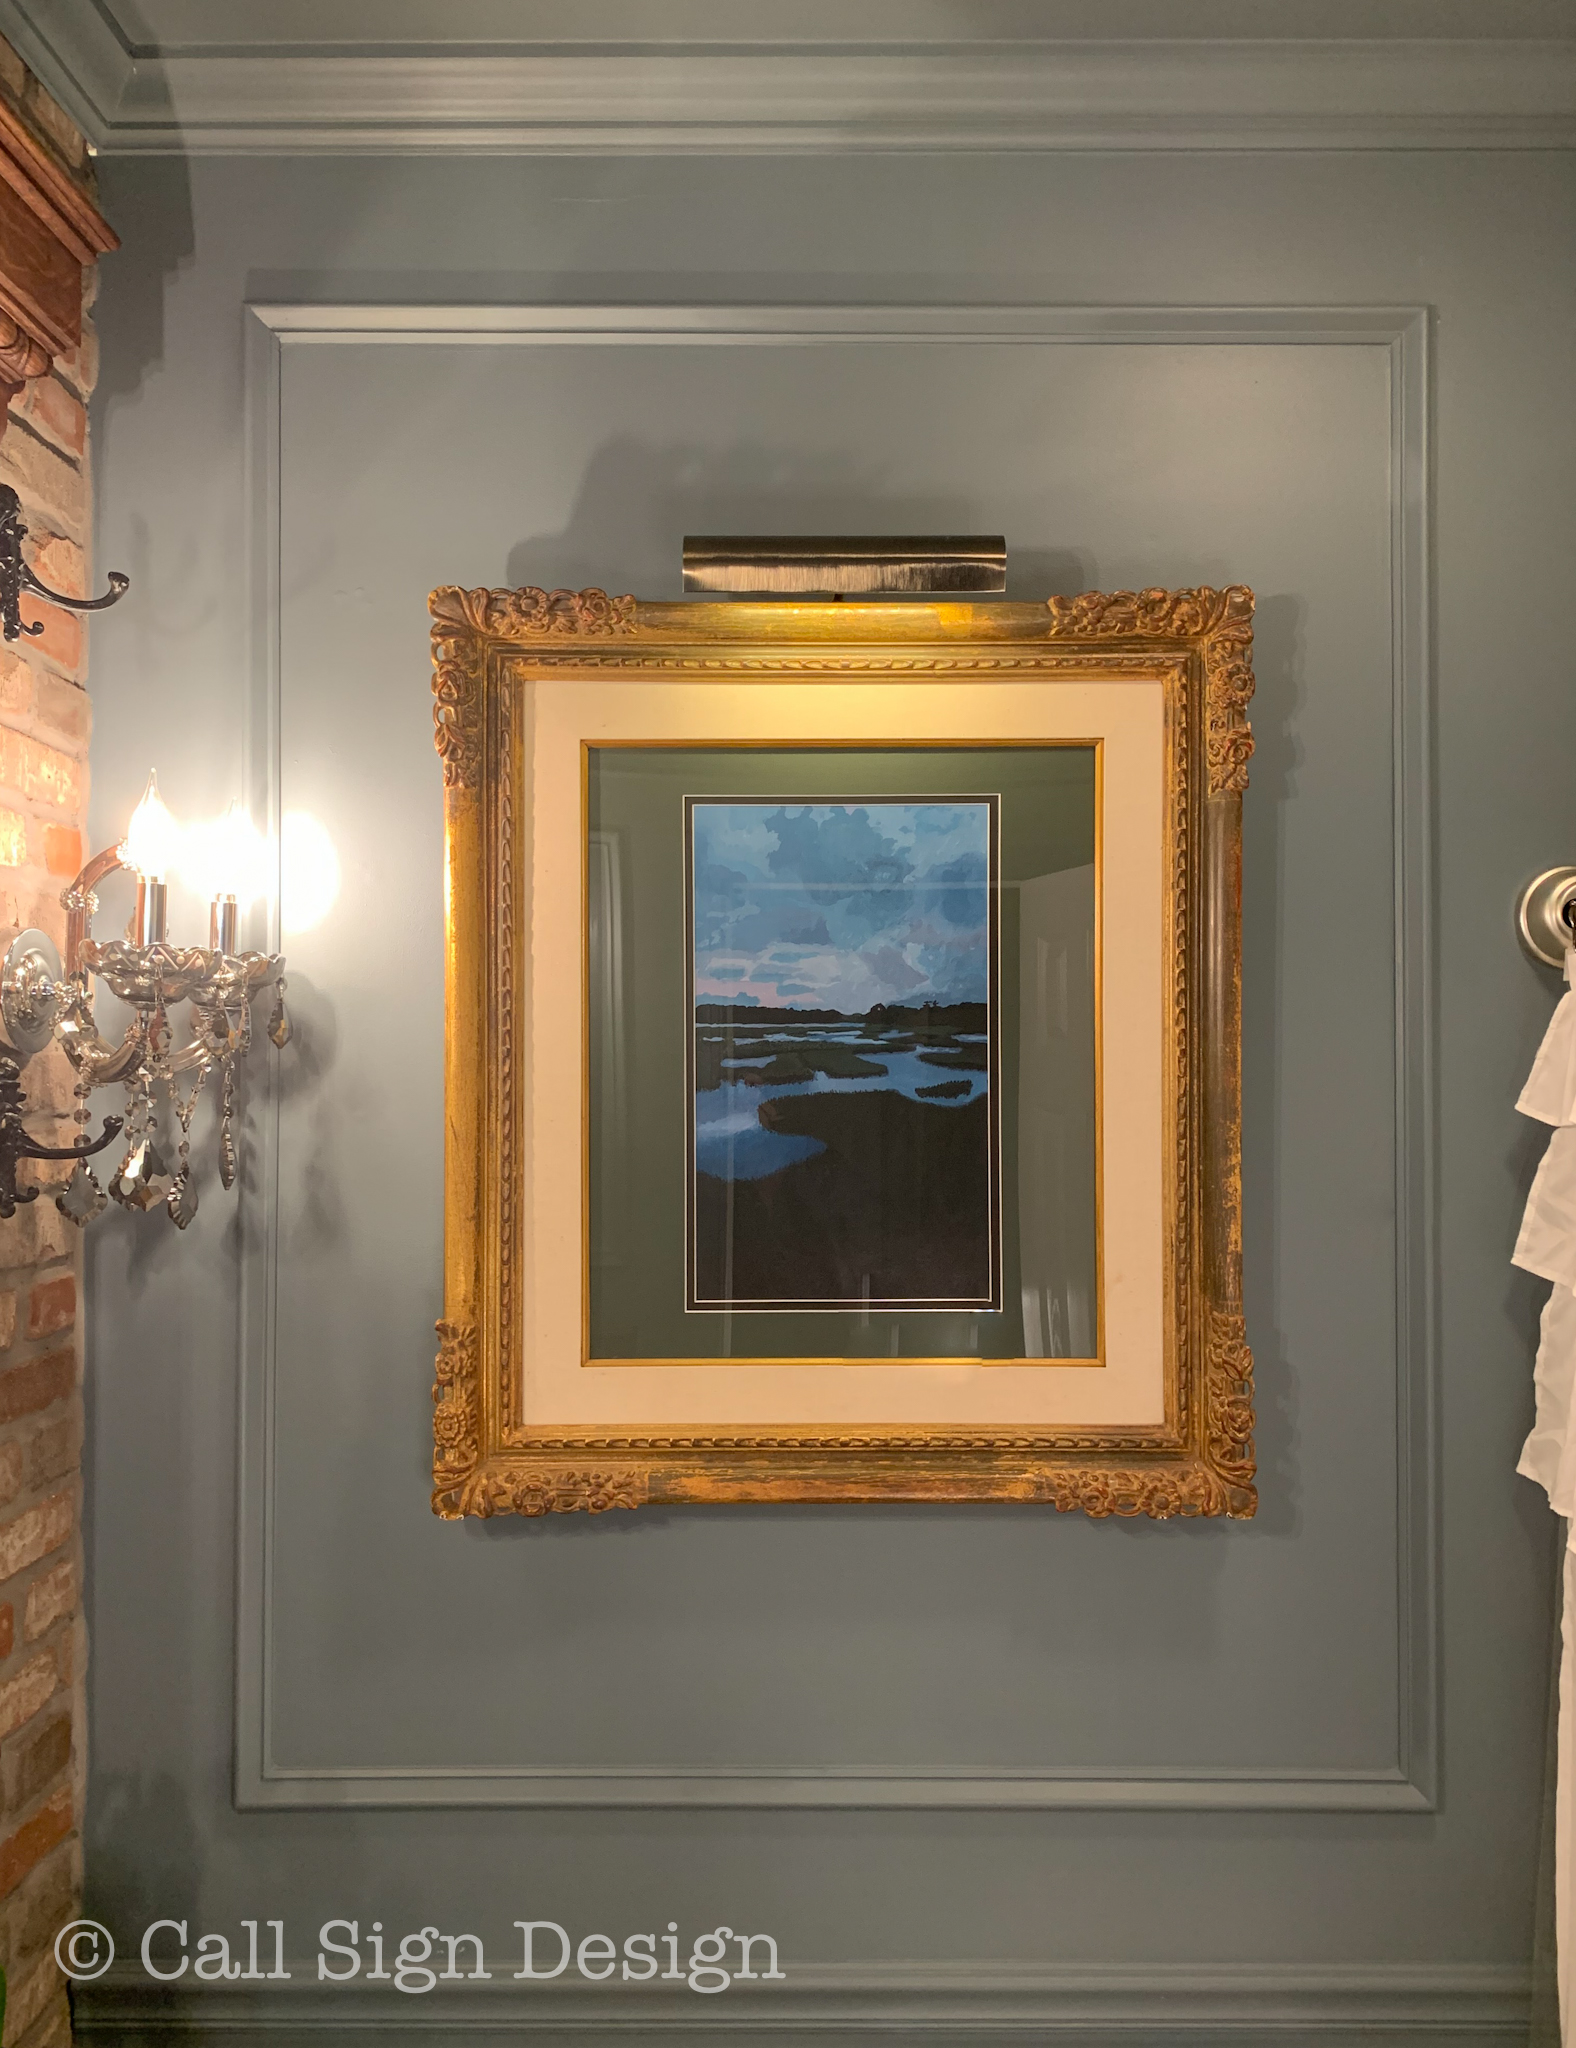
How about one more with that pretty light on?
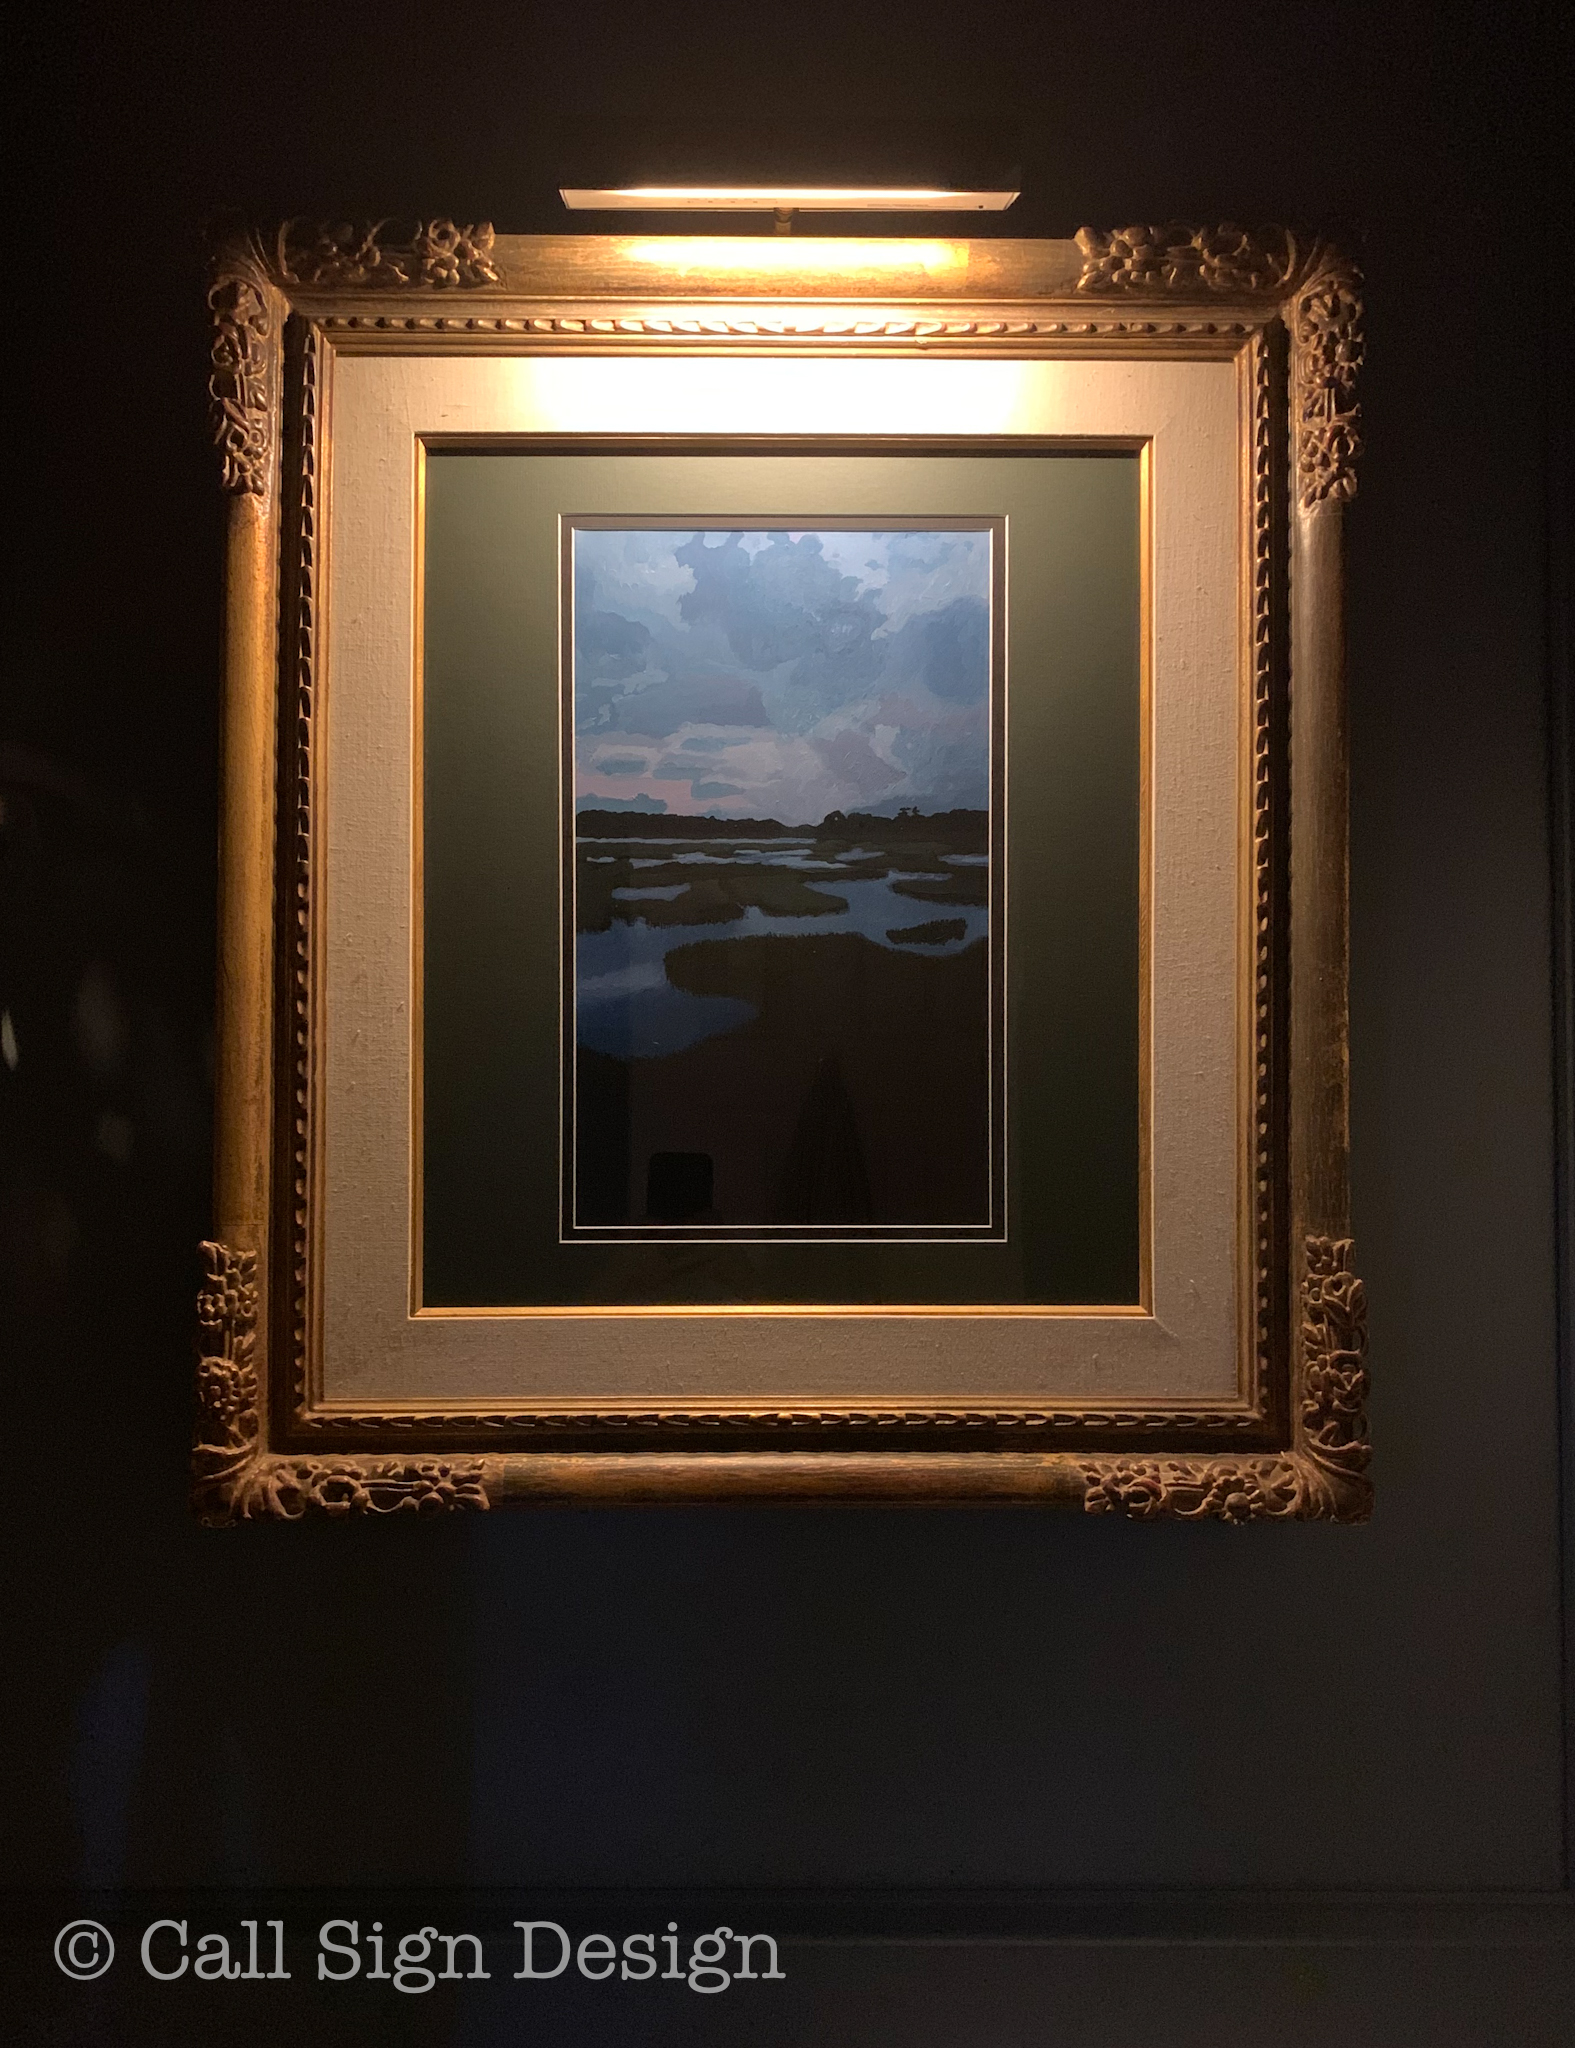
The Easy Way To DIY Breathtaking Landscape and Scenery Paintings


What do you think?

I would love to see how your paintings turned out!

Want to know how to Stage Your Bathroom for real estate or for entertaining? Check out our simple guide!

Follow along with us on the blog for more great DIY tutorials and design inspiration! Cheers!


*Legal stuff:

I am honest about my experiences with different products and write because I enjoy it.  I do however, have the opportunity to earn money for my writing, also.

Slavetodiy.com is a participant in the Amazon Services LLC Associates Program, an affiliate advertising program designed to provide a means for sites to earn advertising fees by advertising and linking to amazon.com.  Amazon offers a small commission on products sold through their affiliate links.  Each of your purchases via our Amazon affiliation links supports our cause at no additional cost to you.

If a blogger links to an Amazon product (with a special code for affiliates embedded in the link), and a reader places an item in their “shopping cart” through that link within 24 hours of clicking the link, the blogger gets a small percentage of the sale.  Amazon links are not “pay per click.”  If you click on the product link and stay around Amazon and purchase something else, however, I will get a commission on that sale.

This site also contains affiliate links through //Commerce/Sovrn. //Commerce or our Publishers may be compensated when you click through links on our site.

.

Before and After: Grandma’s New Vermont Cottage Kitchen

Who doesn’t love a good before and after reveal??? We teamed up with Lily Ann Cabinets to do this awesome project for my mother’s forever home and I’m super happy with how it turned out. We used their RTA Cabinets, Lily Ann’s Grey Shaker Elite (and you’re going to love them!).

*This post may contain affiliate links. Please see full disclosure at the end of the post.

The kitchen turned out beautifully and the carpenter was super impressed by the quality of the RTA cabinets. That helps a LOT when the carpenter happens to be your brother AND he’s a meticulous and dyed-in-the-wool wood snob.

Quick story:

My family has been playing musical houses for almost my whole life (I’m an army brat). So, when my mom finally decided to pick a house and stay in it, my sister reached out to me to help with the kitchen design (they were really busy renovating the whole rest of the house). The place had great bones, but was really ugly. One little problem: I am in North Carolina and they are in Vermont. To any lesser team this would’ve been a problem (working with family and from a different state… what could go wrong???).

I sent my initial design which was nixed by my incredible carpenter brother who wanted to knock down walls and move stairs (who am I to argue with that?). So, I worked up a moodboard and completely new design and sent it to my sister and brother.

Before and After Pictures of Grandma's New Vermont Cottage Kitchen: Sponsored by Lily Ann Cabinets and designed by @callsigndesign on Instagram and @slavetodiy on Pinterest.
Before and After Pictures of Grandma’s New Vermont Cottage Kitchen: Sponsored by Lily Ann Cabinets and designed by @callsigndesign on Instagram and @slavetodiy on Pinterest.


Then there was the issue of finding a cabinet company that wasn’t going to break the bank. I looked and looked, but everything I liked was super expensive! And since I had added a huge island, the cabinet total had about doubled. Then I stumbled across RTA (ready to assemble) cabinets. I found them on sale (even though they were already significantly cheaper than the other cabinets I had found before the sale), and I sent the company my design. My brother said, “that’s fine, but you guys are putting those cabinets together.”

Almost ALL of this was carried out without me physically at the property because suddenly there was a pandemic. Yup. Perfect timing. I corresponded with a Lily Ann kitchen designer in Michigan that was working from home and had the details and 3d renderings in just a few weeks. A skeleton warehouse crew got our order out and it was delivered about a month and a half after we first contacted them.

Back to the house: imagine my delight when my brother (who had said NO WAY was he assembling RTA cabinets) called me to say he had assembled and installed them and the quality was amazing. Oh, and they went together super fast. I was in shock.  I will save the rest of that story for another post. This is a simple before and after, remember?

If you love this look, you can find these cabinets from Lily Ann Cabinets.  My readers can get a 5% discount by using the offer code: SDIY2018 at checkout!

Grandma got to see her almost finished kitchen on her birthday in July and I think you’ll appreciate the video (it still makes me cry every time):

[youtube https://www.youtube.com/watch?v=tYK1UD7tQXY&w=560&h=315]


All that was left (after the first reveal) for install when we arrived in Vermont (two months later and on re-scheduled trip number three) was hardware, the backsplash, the shelves, and crown molding. Still, five full days of install while trying to persuade my six year old to do her virtual school independently was a bit challenging. And, to be perfectly honest, my brother had told me the quality was good, but the cabinets were even better in person. The finish was beautiful and I quickly realized there was nothing “discount” about these cabinets other than the price.

The after photos were all taken by @loganbspring on Instagram, so give him a follow! I think you’ll love his work as much as we do!

Drumroll please!!!!

This is looking through the front door at the door that went down to the basement:

Before and After Pictures of Grandma's New Vermont Cottage Kitchen
Before and After Pictures of Grandma’s New Vermont Cottage Kitchen: Sponsored by Lily Ann Cabinets and designed by @callsigndesign on Instagram and @slavetodiy on Pinterest.


Here is the front door now:

Before and After Pictures of Grandma's New Vermont Cottage Kitchen
Before and After Pictures of Grandma’s New Vermont Cottage Kitchen: Sponsored by Lily Ann Cabinets and designed by @callsigndesign on Instagram and @slavetodiy on Pinterest.


This is looking from the corner of the kitchen back at the front door:

Before and After Pictures of Grandma's New Vermont Cottage Kitchen
Before and After Pictures of Grandma’s New Vermont Cottage Kitchen: Sponsored by Lily Ann Cabinets and designed by @callsigndesign on Instagram and @slavetodiy on Pinterest.


We couldn’t REALLY get this “before” shot because of the wall, but you can see where the new front door is now (the wall started roughly where the island begins):

Before and After Pictures of Grandma's New Vermont Cottage Kitchen
Before and After Pictures of Grandma’s New Vermont Cottage Kitchen: Sponsored by Lily Ann Cabinets and designed by @callsigndesign on Instagram and @slavetodiy on Pinterest.


This is standing by the front door, looking at the kitchen.

Before and After Pictures of Grandma's New Vermont Cottage Kitchen
Before and After Pictures of Grandma’s New Vermont Cottage Kitchen: Sponsored by Lily Ann Cabinets and designed by @callsigndesign on Instagram and @slavetodiy on Pinterest.


And here is the after:

Before and After Pictures of Grandma's New Vermont Cottage Kitchen
Before and After Pictures of Grandma’s New Vermont Cottage Kitchen: Sponsored by Lily Ann Cabinets and designed by @callsigndesign on Instagram and @slavetodiy on Pinterest.


This is a shot of the space after the walls came down, but before the staircase was moved:

Before and After Pictures of Grandma's New Vermont Cottage Kitchen
Before and After Pictures of Grandma’s New Vermont Cottage Kitchen: Sponsored by Lily Ann Cabinets and designed by @callsigndesign on Instagram and @slavetodiy on Pinterest.

And after:

Before and After Pictures of Grandma's New Vermont Cottage Kitchen: Sponsored by Lily Ann Cabinets and designed by @callsigndesign on Instagram and @slavetodiy on Pinterest.
Before and After Pictures of Grandma’s New Vermont Cottage Kitchen: Sponsored by Lily Ann Cabinets and designed by @callsigndesign on Instagram and @slavetodiy on Pinterest.


And just for fun, here are some more detailed shots of the kitchen we took during staging:

Before and After Pictures of Grandma's New Vermont Cottage Kitchen: Sponsored by Lily Ann Cabinets and designed by @callsigndesign on Instagram and @slavetodiy on Pinterest.
Reclaimed shelves with iron brackets, fully staged. Before and After Pictures of Grandma’s New Vermont Cottage Kitchen: Sponsored by Lily Ann Cabinets and designed by @callsigndesign on Instagram and @slavetodiy on Pinterest.


Before and After Pictures of Grandma's New Vermont Cottage Kitchen: Sponsored by Lily Ann Cabinets and designed by @callsigndesign on Instagram and @slavetodiy on Pinterest.
Before and After Pictures of Grandma’s New Vermont Cottage Kitchen: Sponsored by Lily Ann Cabinets and designed by @callsigndesign on Instagram and @slavetodiy on Pinterest.


Before and After Pictures of Grandma's New Vermont Cottage Kitchen: Sponsored by Lily Ann Cabinets and designed by @callsigndesign on Instagram and @slavetodiy on Pinterest.
Grandma’s cutting board/charcuterie board collection next to her wooden spoon collection. Before and After Pictures of Grandma’s New Vermont Cottage Kitchen: Sponsored by Lily Ann Cabinets and designed by @callsigndesign on Instagram and @slavetodiy on Pinterest.


Before and After Pictures of Grandma's New Vermont Cottage Kitchen: Sponsored by Lily Ann Cabinets and designed by @callsigndesign on Instagram and @slavetodiy on Pinterest.
Before and After Pictures of Grandma’s New Vermont Cottage Kitchen: Sponsored by Lily Ann Cabinets and designed by @callsigndesign on Instagram and @slavetodiy on Pinterest.


Before and After Pictures of Grandma's New Vermont Cottage Kitchen: Sponsored by Lily Ann Cabinets and designed by @callsigndesign on Instagram and @slavetodiy on Pinterest.
Kitchen staged with gold pictures and a french country style lamp. Before and After Pictures of Grandma’s New Vermont Cottage Kitchen: Sponsored by Lily Ann Cabinets and designed by @callsigndesign on Instagram and @slavetodiy on Pinterest.


Before and After Pictures of Grandma's New Vermont Cottage Kitchen: Sponsored by Lily Ann Cabinets and designed by @callsigndesign on Instagram and @slavetodiy on Pinterest.
Before and After Pictures of Grandma’s New Vermont Cottage Kitchen: Sponsored by Lily Ann Cabinets and designed by @callsigndesign on Instagram and @slavetodiy on Pinterest.


Before and After Pictures of Grandma's New Vermont Cottage Kitchen: Sponsored by Lily Ann Cabinets and designed by @callsigndesign on Instagram and @slavetodiy on Pinterest.
Reclaimed shelves against a herringbone backsplash. Before and After Pictures of Grandma’s New Vermont Cottage Kitchen: Sponsored by Lily Ann Cabinets and designed by @callsigndesign on Instagram and @slavetodiy on Pinterest.


This was quite the journey, but it was all worth it to see how happy my mom was at the end. What do you think of our design and renovation? What is your favorite part? Please let us know in the comments below!

Once again: If you love this look, and want to pay less for awesome cabinets, you can find these cabinets from Lily Ann Cabinets.  My readers can get a 5% discount by using the offer code: SDIY2018 at checkout!

Special thanks to my brother and sister for all of the hard work and making it so easy for us to look good!

Thanks for joining us on our adventures! Cheers!


*Legal stuff:

I am honest about my experiences with different products and write because I enjoy it.  I do however, have the opportunity to earn money for my writing, also.

Slavetodiy.com is a paid affiliate for Lily Ann Cabinets and received discounted products to provide this review. As always, our opinions are honest and we promote only quality products that we use ourselves. 

Slavetodiy.com is a participant in the Amazon Services LLC Associates Program, an affiliate advertising program designed to provide a means for sites to earn advertising fees by advertising and linking to amazon.com.  Amazon offers a small commission on products sold through their affiliate links.  Each of your purchases via our Amazon affiliation links supports our cause at no additional cost to you.

If a blogger links to an Amazon product (with a special code for affiliates embedded in the link), and a reader places an item in their “shopping cart” through that link within 24 hours of clicking the link, the blogger gets a small percentage of the sale.  Amazon links are not “pay per click.”  If you click on the product link and stay around Amazon and purchase something else, however, I will get a commission on that sale.

Slavetodiy.com is also a VigLink affiliate advertiser which works similarly.