The Oil and Spice Shelf Nook Inside Your Range Hood Surround You Didn’t Know You Needed But You Absolutely Must Have

I’ve been getting some questions from concerned readers: “Where have we been???” They’re assuming we’ve been eaten by the half-finished kitchen. Well…. I’ve been sketching kitchen projects and my adorable Rainman has been fishing. It’s my fault that I approved the purchase of a small boat fixer upper (in addition to the larger boat we already have) and that all equates to FISHING and NOT WORKING INSIDE ON MY KITCHEN. But the Dewalt miter saw on the front porch makes it LOOK like we’re working, so that’s cool. “Sips wine.”  (Supply links at the end of the post!)

*This post may contain affiliate links. Please see full disclosure at the end of the post.

Anyway, that’s not preventing me from forging ahead and obsessively planning every detail, and occasionally threatening to hire a carpenter if he doesn’t get his rumpus back in the house and start throwing some kitchen together. It’s getting to the point where I may ACTUALLY consider a carpenter… or start wielding tools at opportune moments so he will catch me and feel compelled to intervene. So… the current project (that I have ordered materials for and am just WAITING FOR SOMEONE TO INSTALL): A shelf nook for the range surround.

A shelf nook? Yes, it’s absolutely a thing. Think: incredible use of wall space for storing daily use items like olive oils and favorite spices within EASY REACH of your cooking space. We are in the middle beginning of a kitchen renovation and the focal point of the room is a large hood with a surround that encapsulates the entire space (range, hood, and cabinetry). Having looked at ALL of the kitchens on Pinterest and Instagram, I feel well informed and confident that I have planned all of the details well.

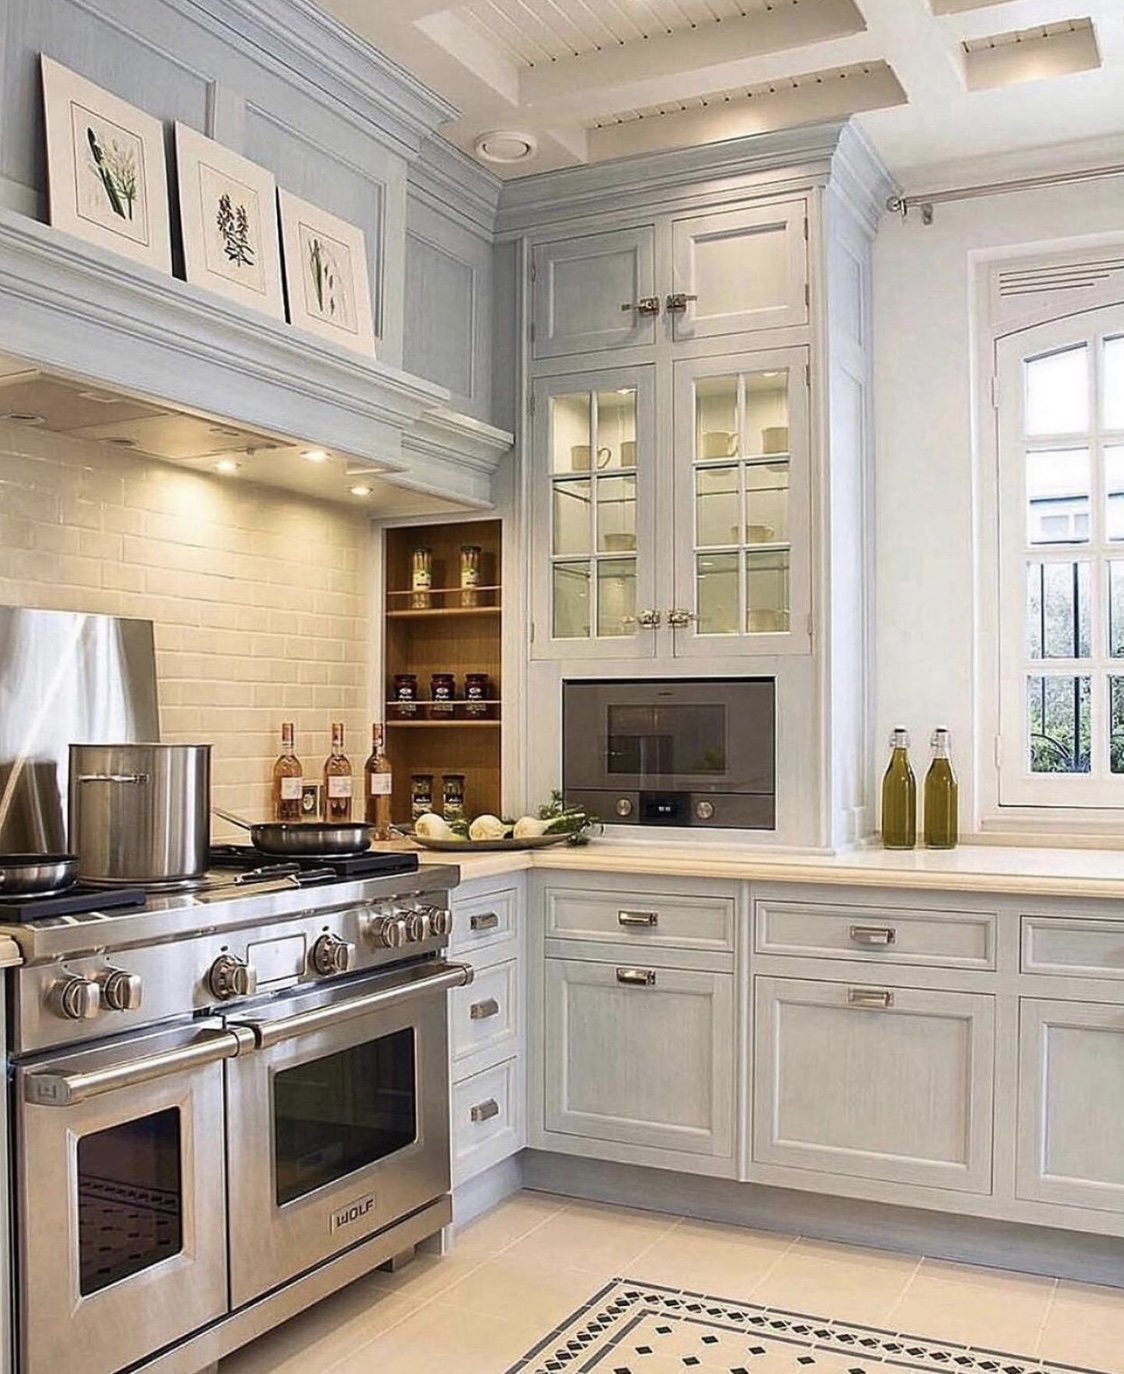
Not sure what I’m talking about?  Here are two EXCELLENT representations of my idea by professional designers (and let me give a SHOUT OUT to these ladies/gents, because the amount of nit-noid planning that goes into designing these spaces is really next-level):
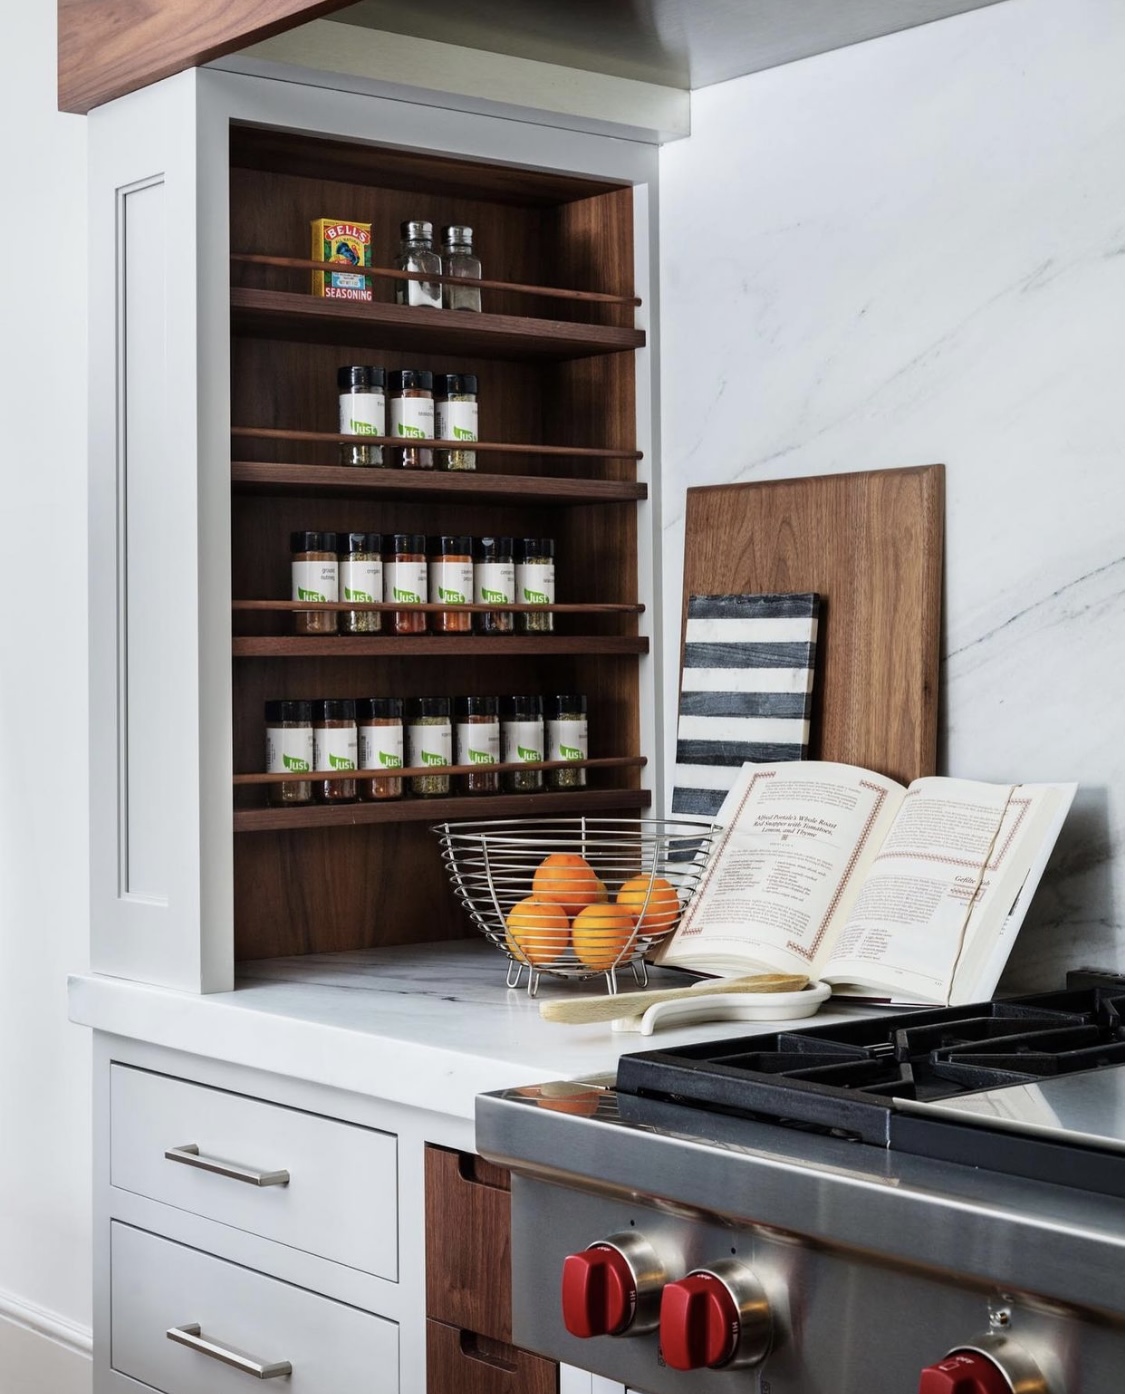
Gorgeous walnut shelving inside the hood surround by @studiodearborn on Instagram.


Gorgeous wooden shelving inside the hood surround by @christopherpeacock on Instagram.


Are you IN??? Yeah, me too!  Imagine wasting all of that space when you could have usable, adorable shelves (and trust me, you need the storage)!

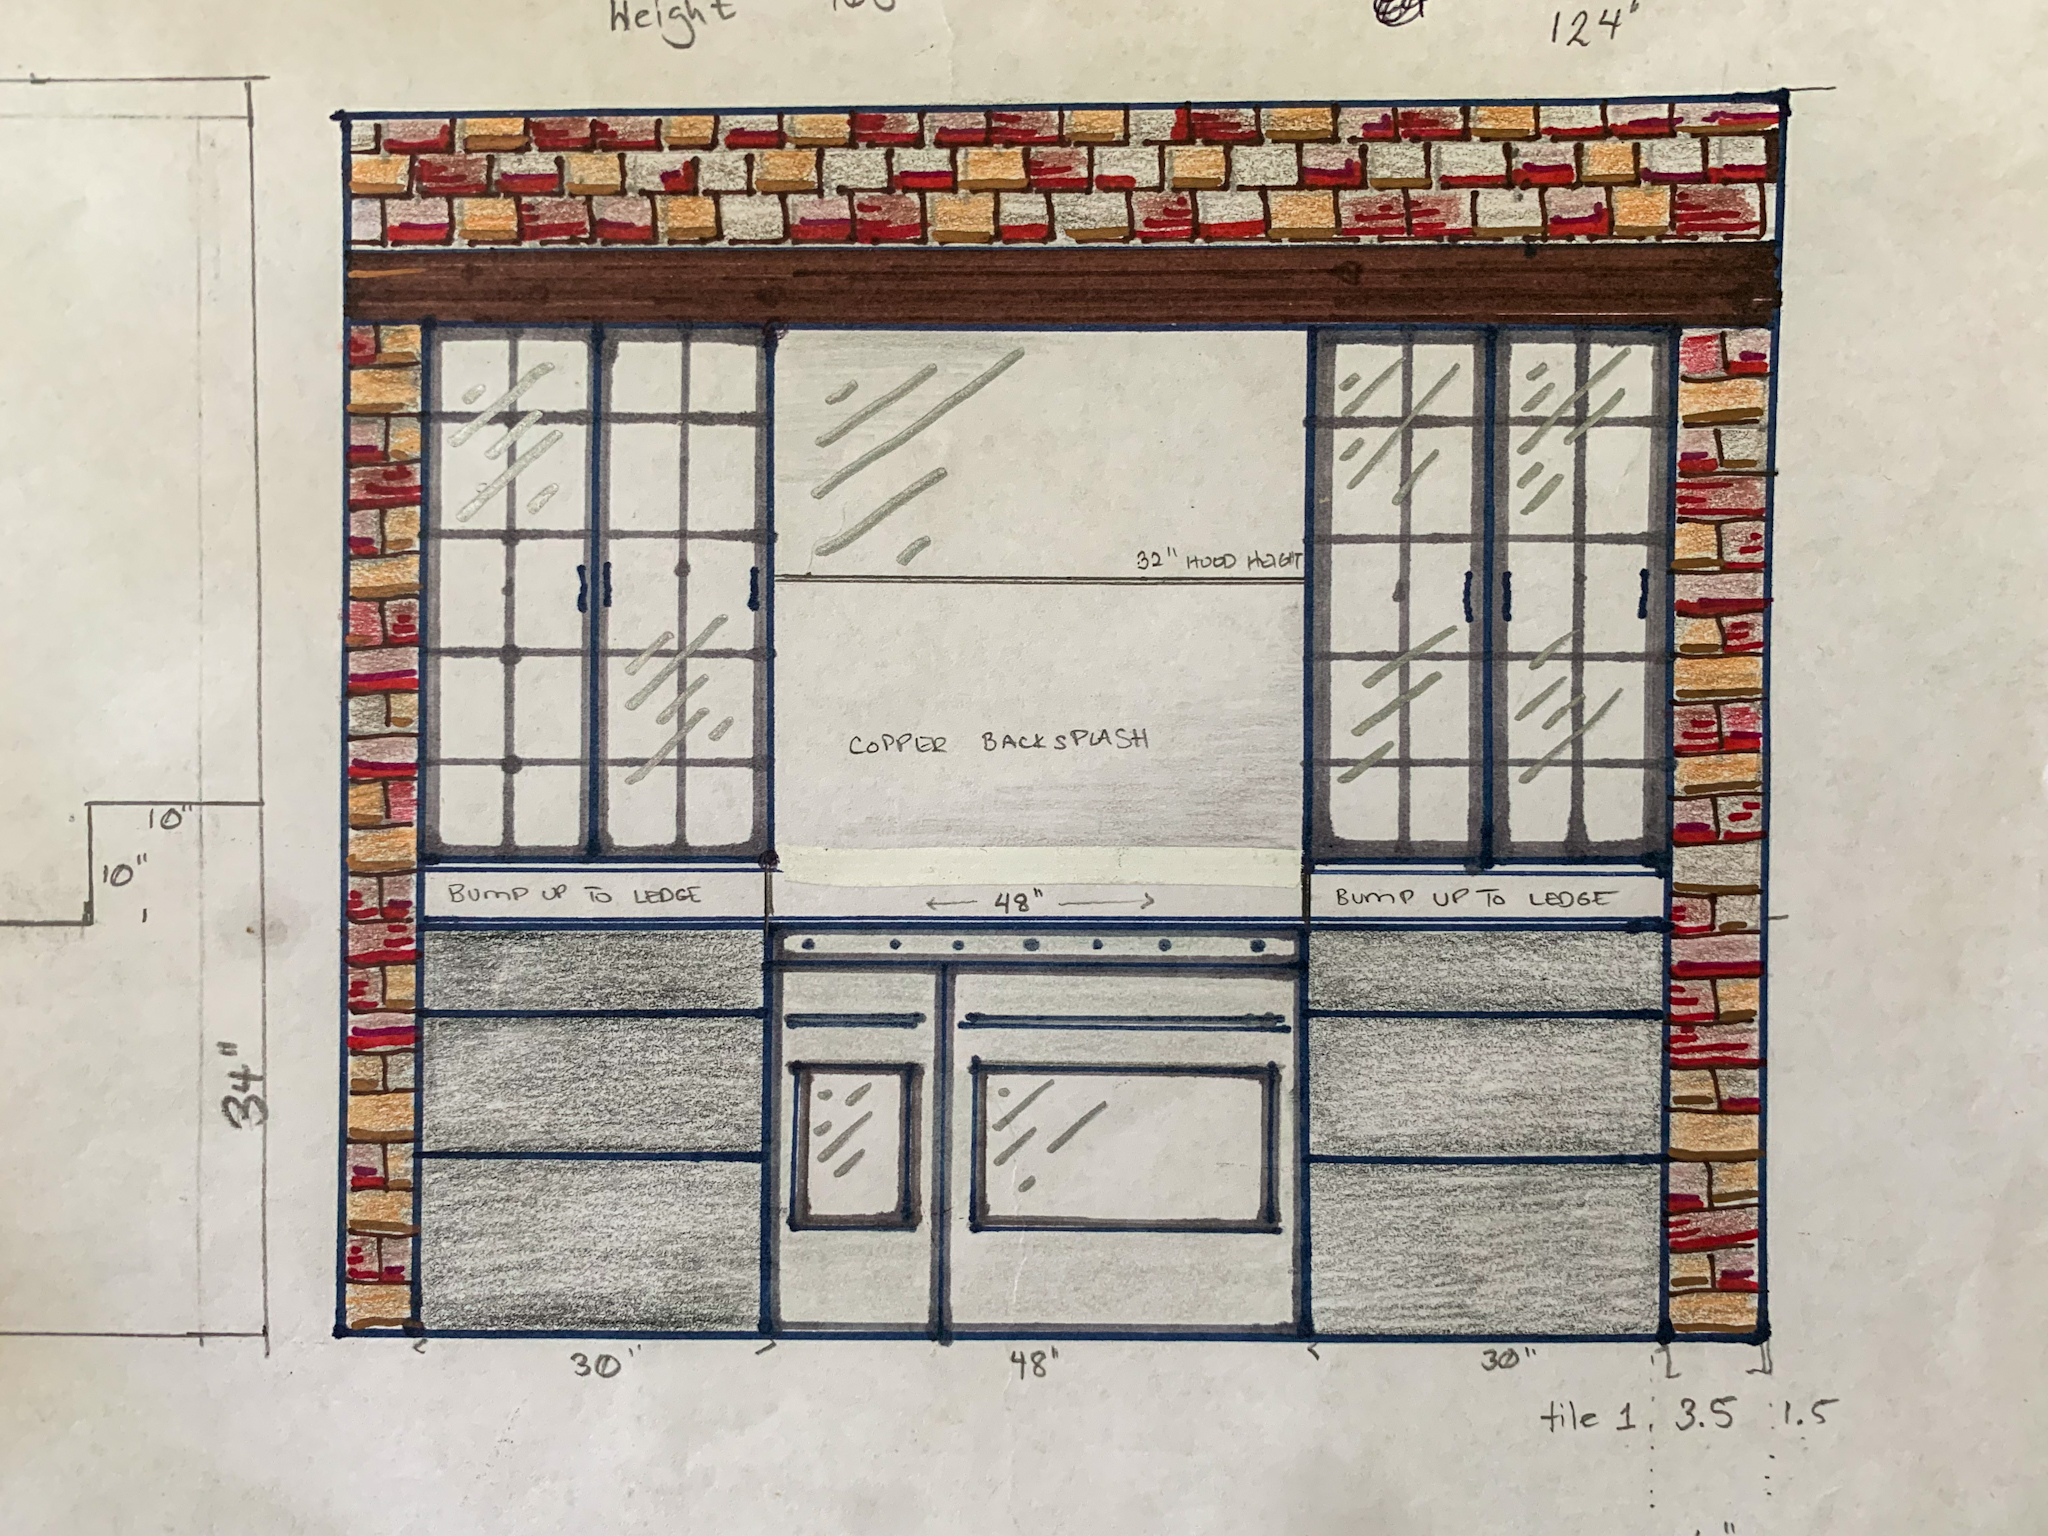
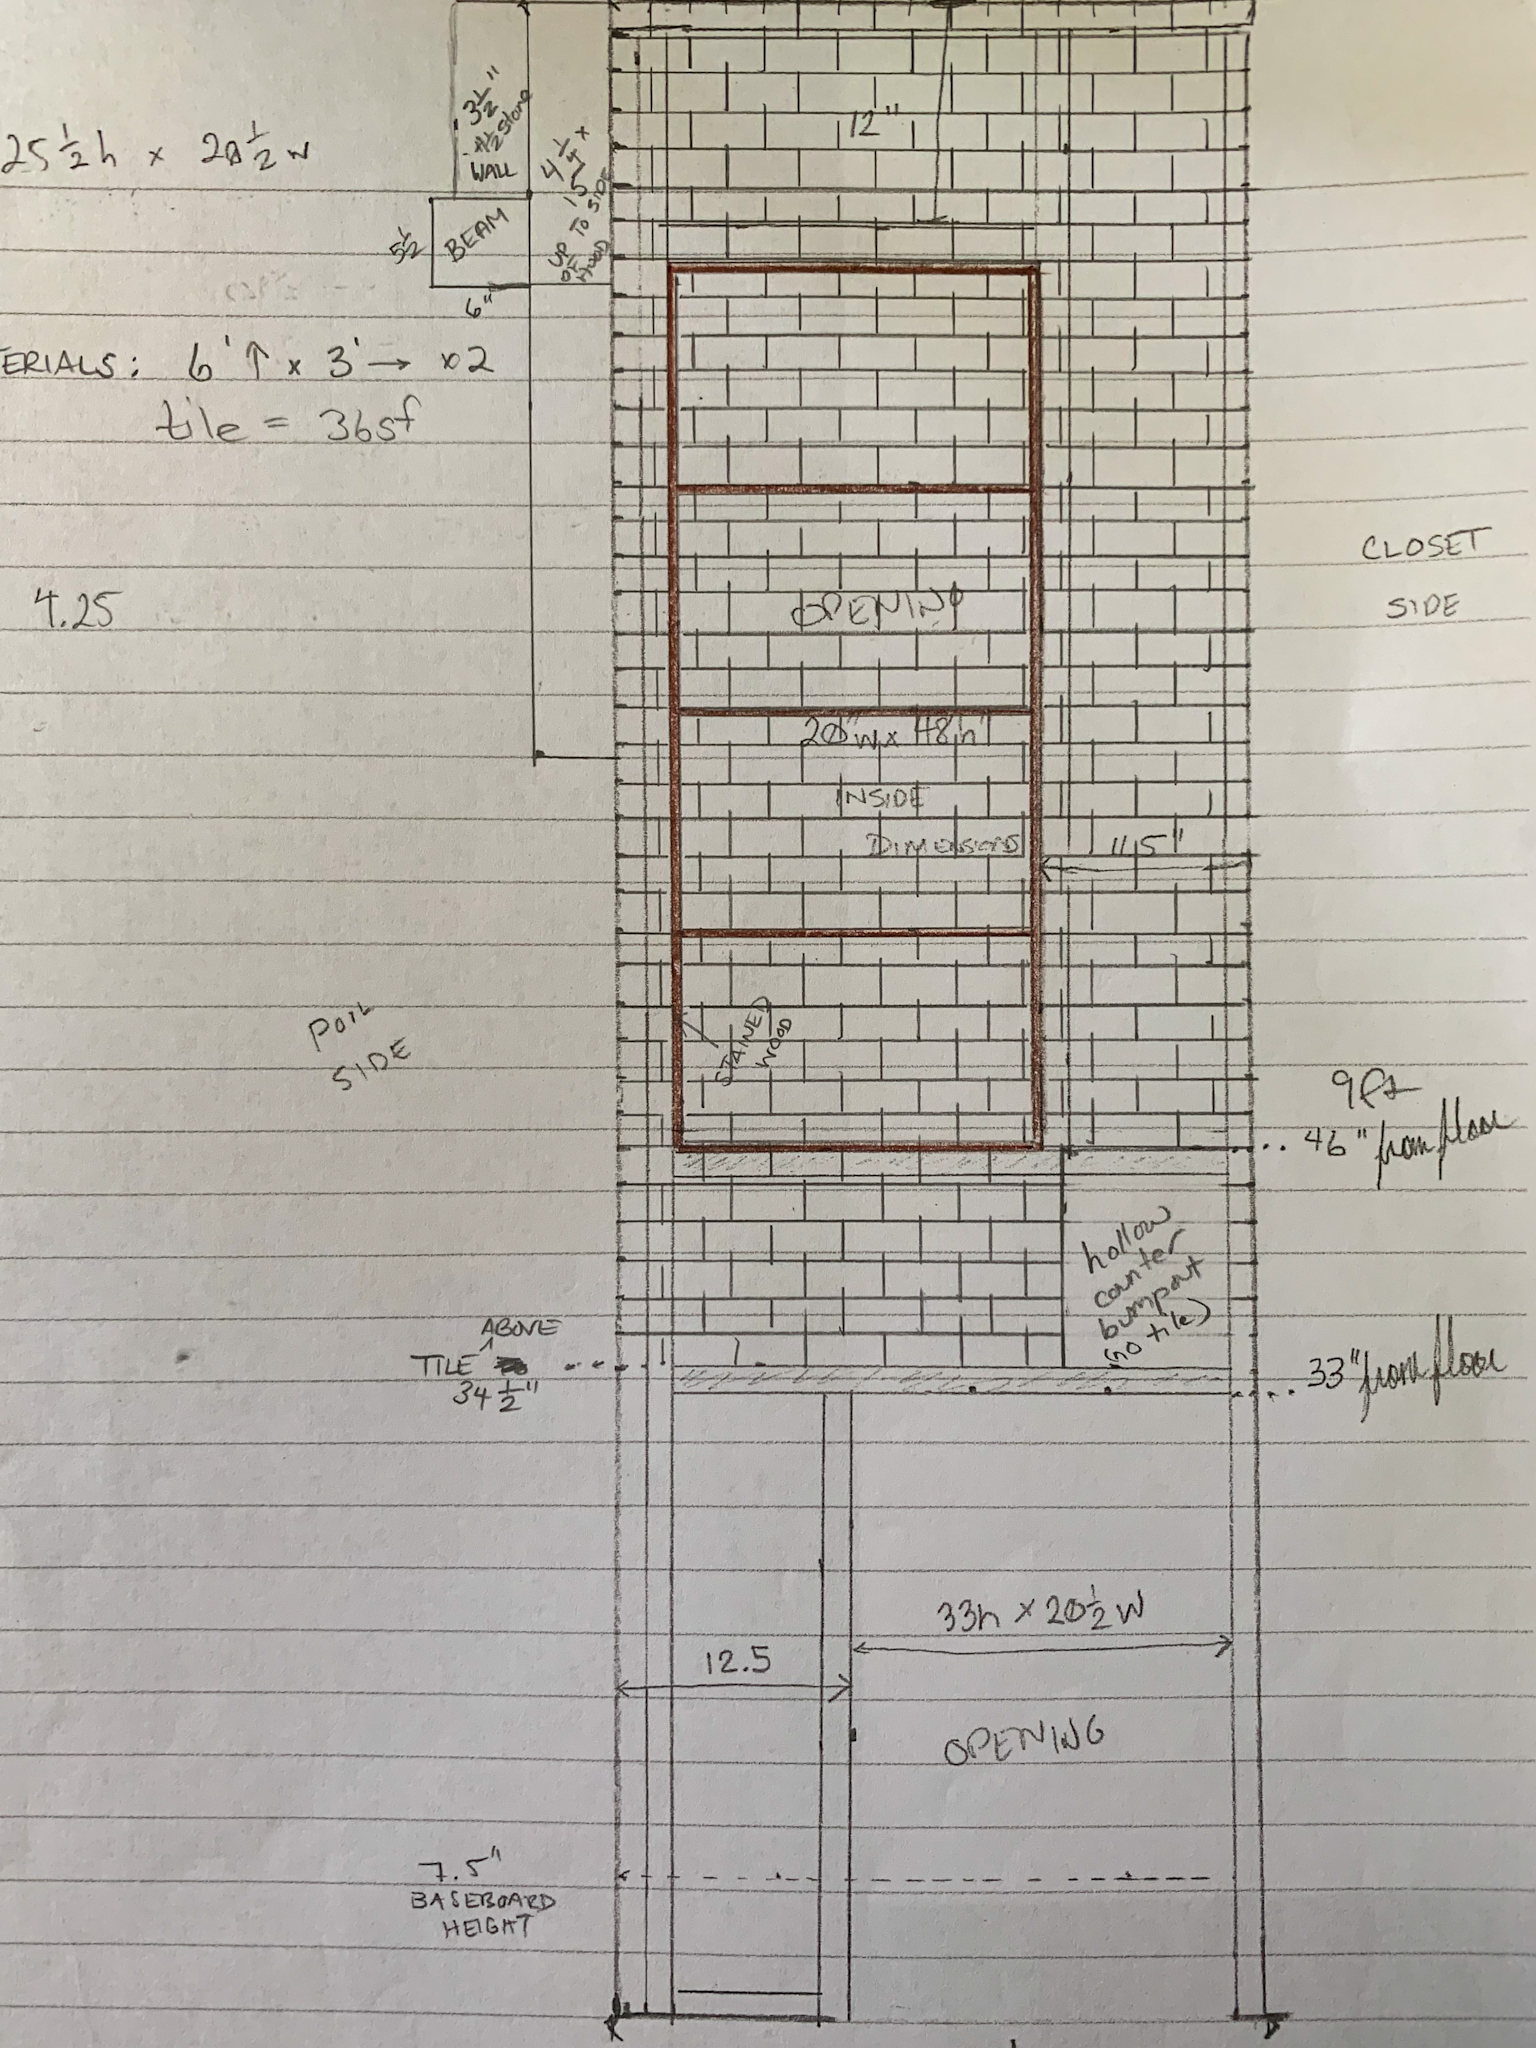
So, here’s my sketch of the front of our range wall:
The Oil and Spice Shelf Nook Inside Your Range Hood Surround You Didn't Know You Needed But You Absolutely Have To Have
The Oil and Spice Shelf Nook Inside Your Range Hood Surround You Didn’t Know You Needed But You Absolutely Have To Have


And here is the sketch of the inside of the right-hand wall:
The Oil and Spice Shelf Nook Inside Your Range Hood Surround You Didn't Know You Needed But You Absolutely Have To Have
The Oil and Spice Shelf Nook Inside Your Range Hood Surround You Didn’t Know You Needed But You Absolutely Have To Have


No fancy design software here! It’s so much easier for me to visualize when I sketch.

One of the most important design elements of this space was functionality: an excellent space to cook where all of the cook’s tools are within easy reach. It’s also important that the space be very easy to clean and hardy. Everything near the stove is a solid surface and non-scorch-able (including the metal upper cabinets). I allowed myself a little leniency with the shelf materials because they are 33 inches from the side of the range and the back of the shelves are still tiled. I briefly considered a shelf OVER the stove (it looks so pretty with the copper pots hanging there) but remembered that I don’t want to clean grease spatter off utensils, pots, and spices every time I cook.

Anyhoo, after I actually threatened my husband with bodily harm for the lack of progress on the kitchen (i.e. fishing/casting on the boat instead of doing interior construction), this is the next project we came to in the build. One of the challenges was that walnut is really hard to find (read: expensive) right now, but since it wasn’t a lot square footage wise, I thought it would be fairly affordable. It was not. Not, to say that little detail changed my mind: I still got my walnut shelves. Just know that the species of wood you choose very much impacts the final cost.

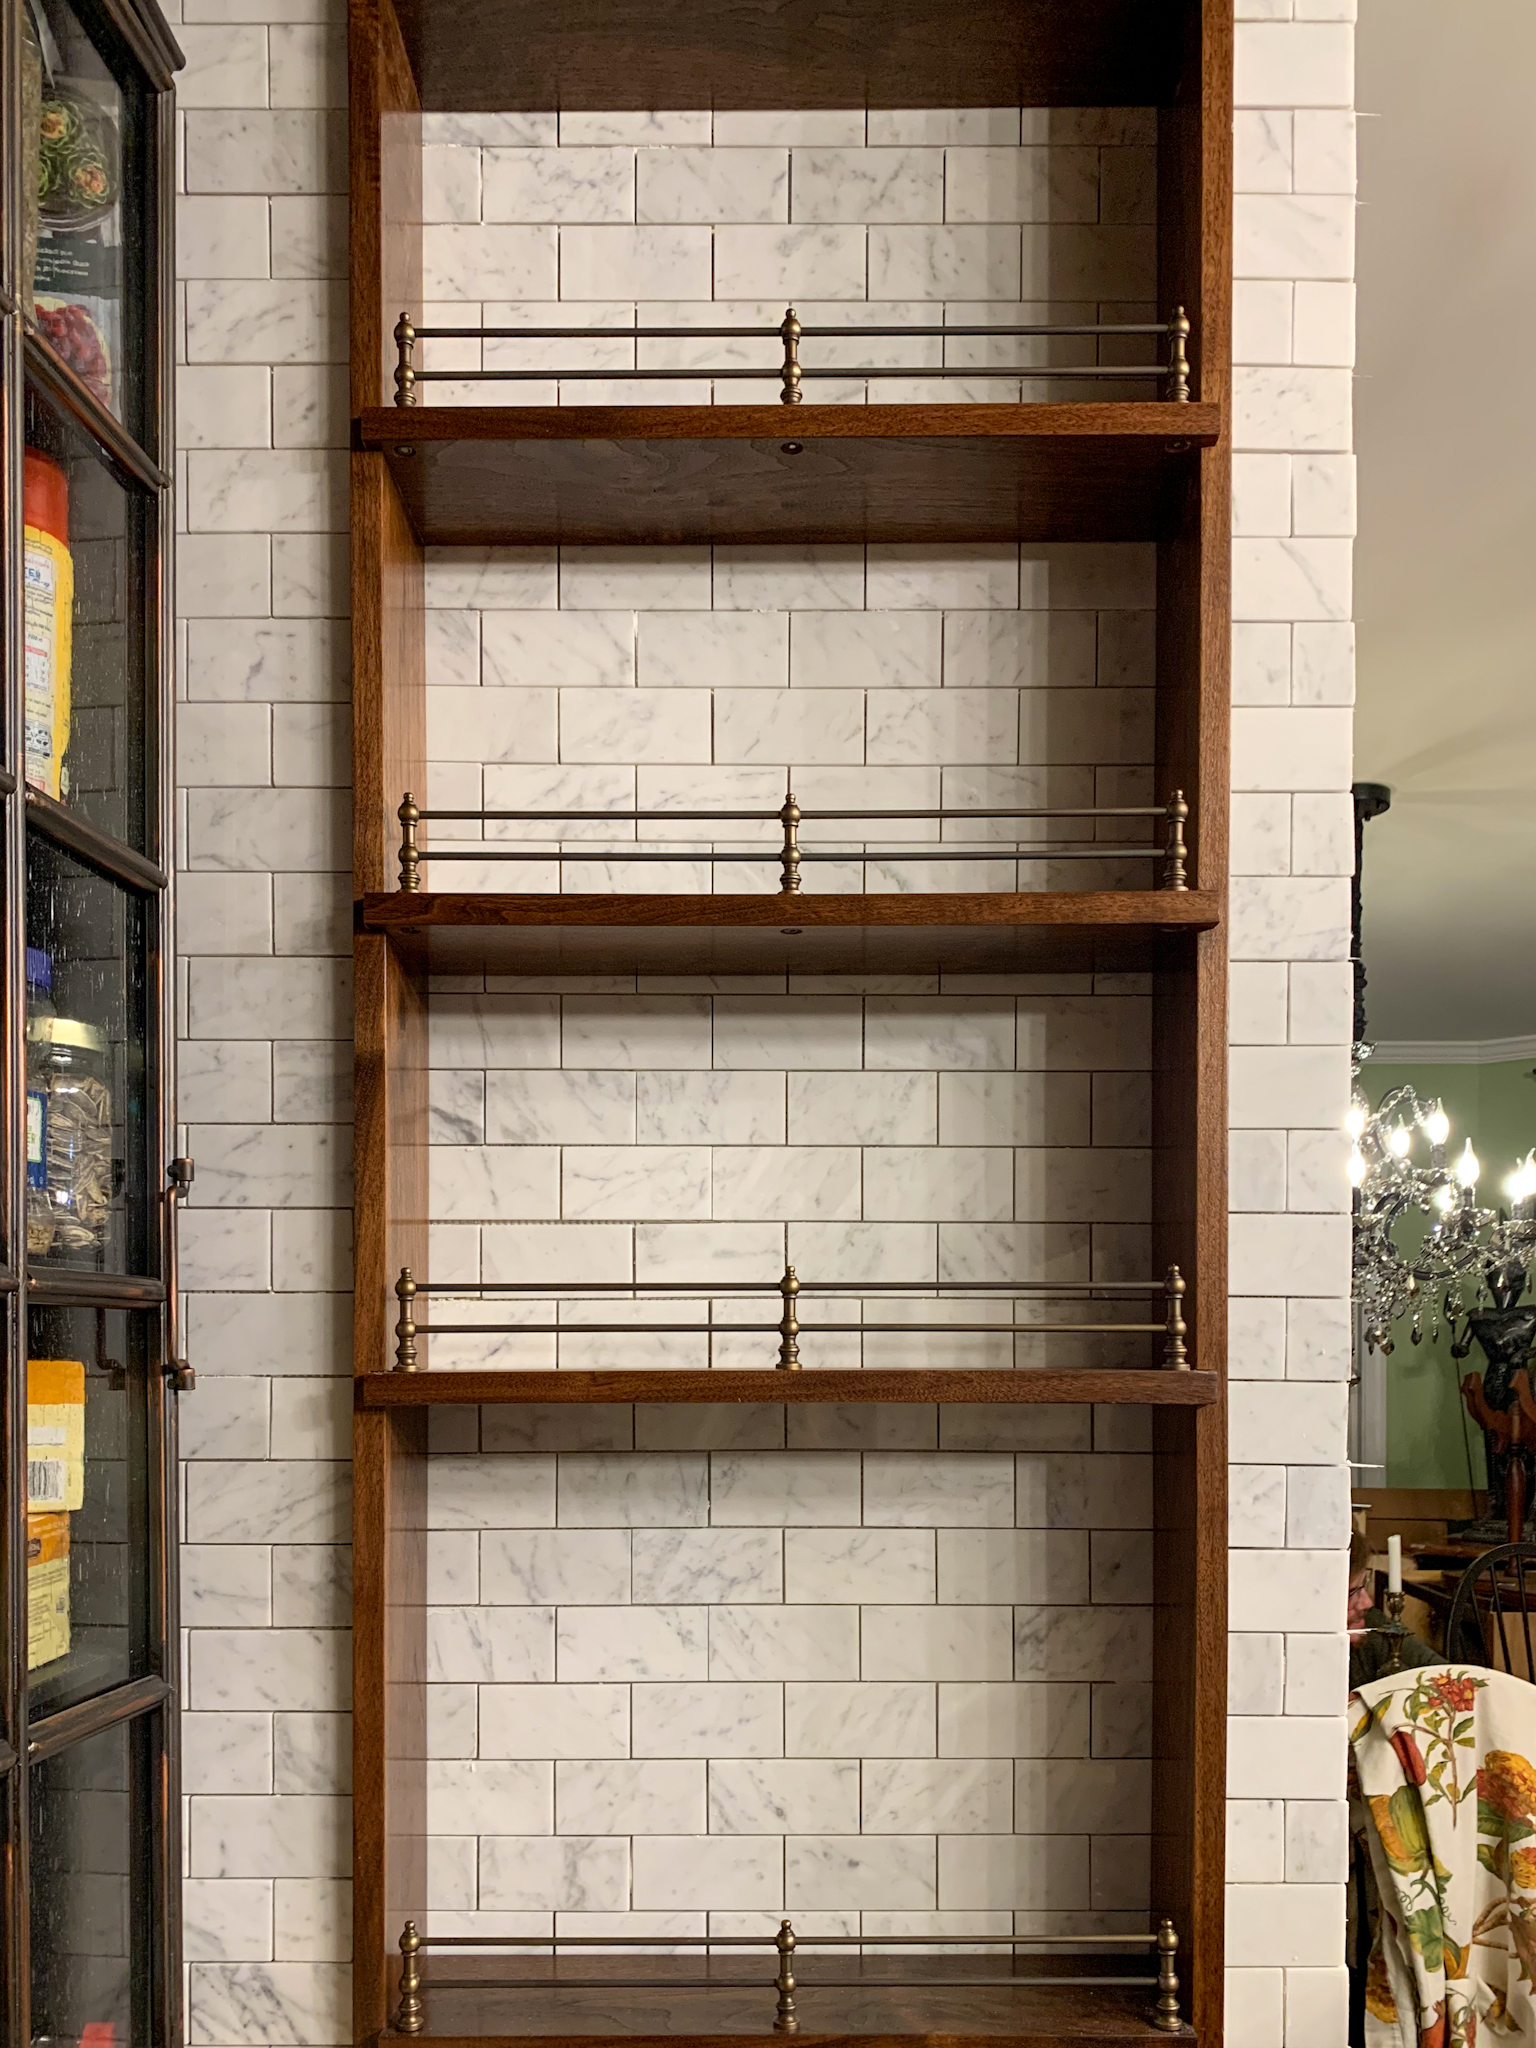
I also wanted some pretty gallery rails to prevent oil bottles from being knocked off and smashing into tiny pieces. Those were also not cheap, but they were necessary both from an aesthetic and functional standpoint. I had already purchased the Carrara marble subway tile for the interior range walls, and I have broken out the relative cost below.

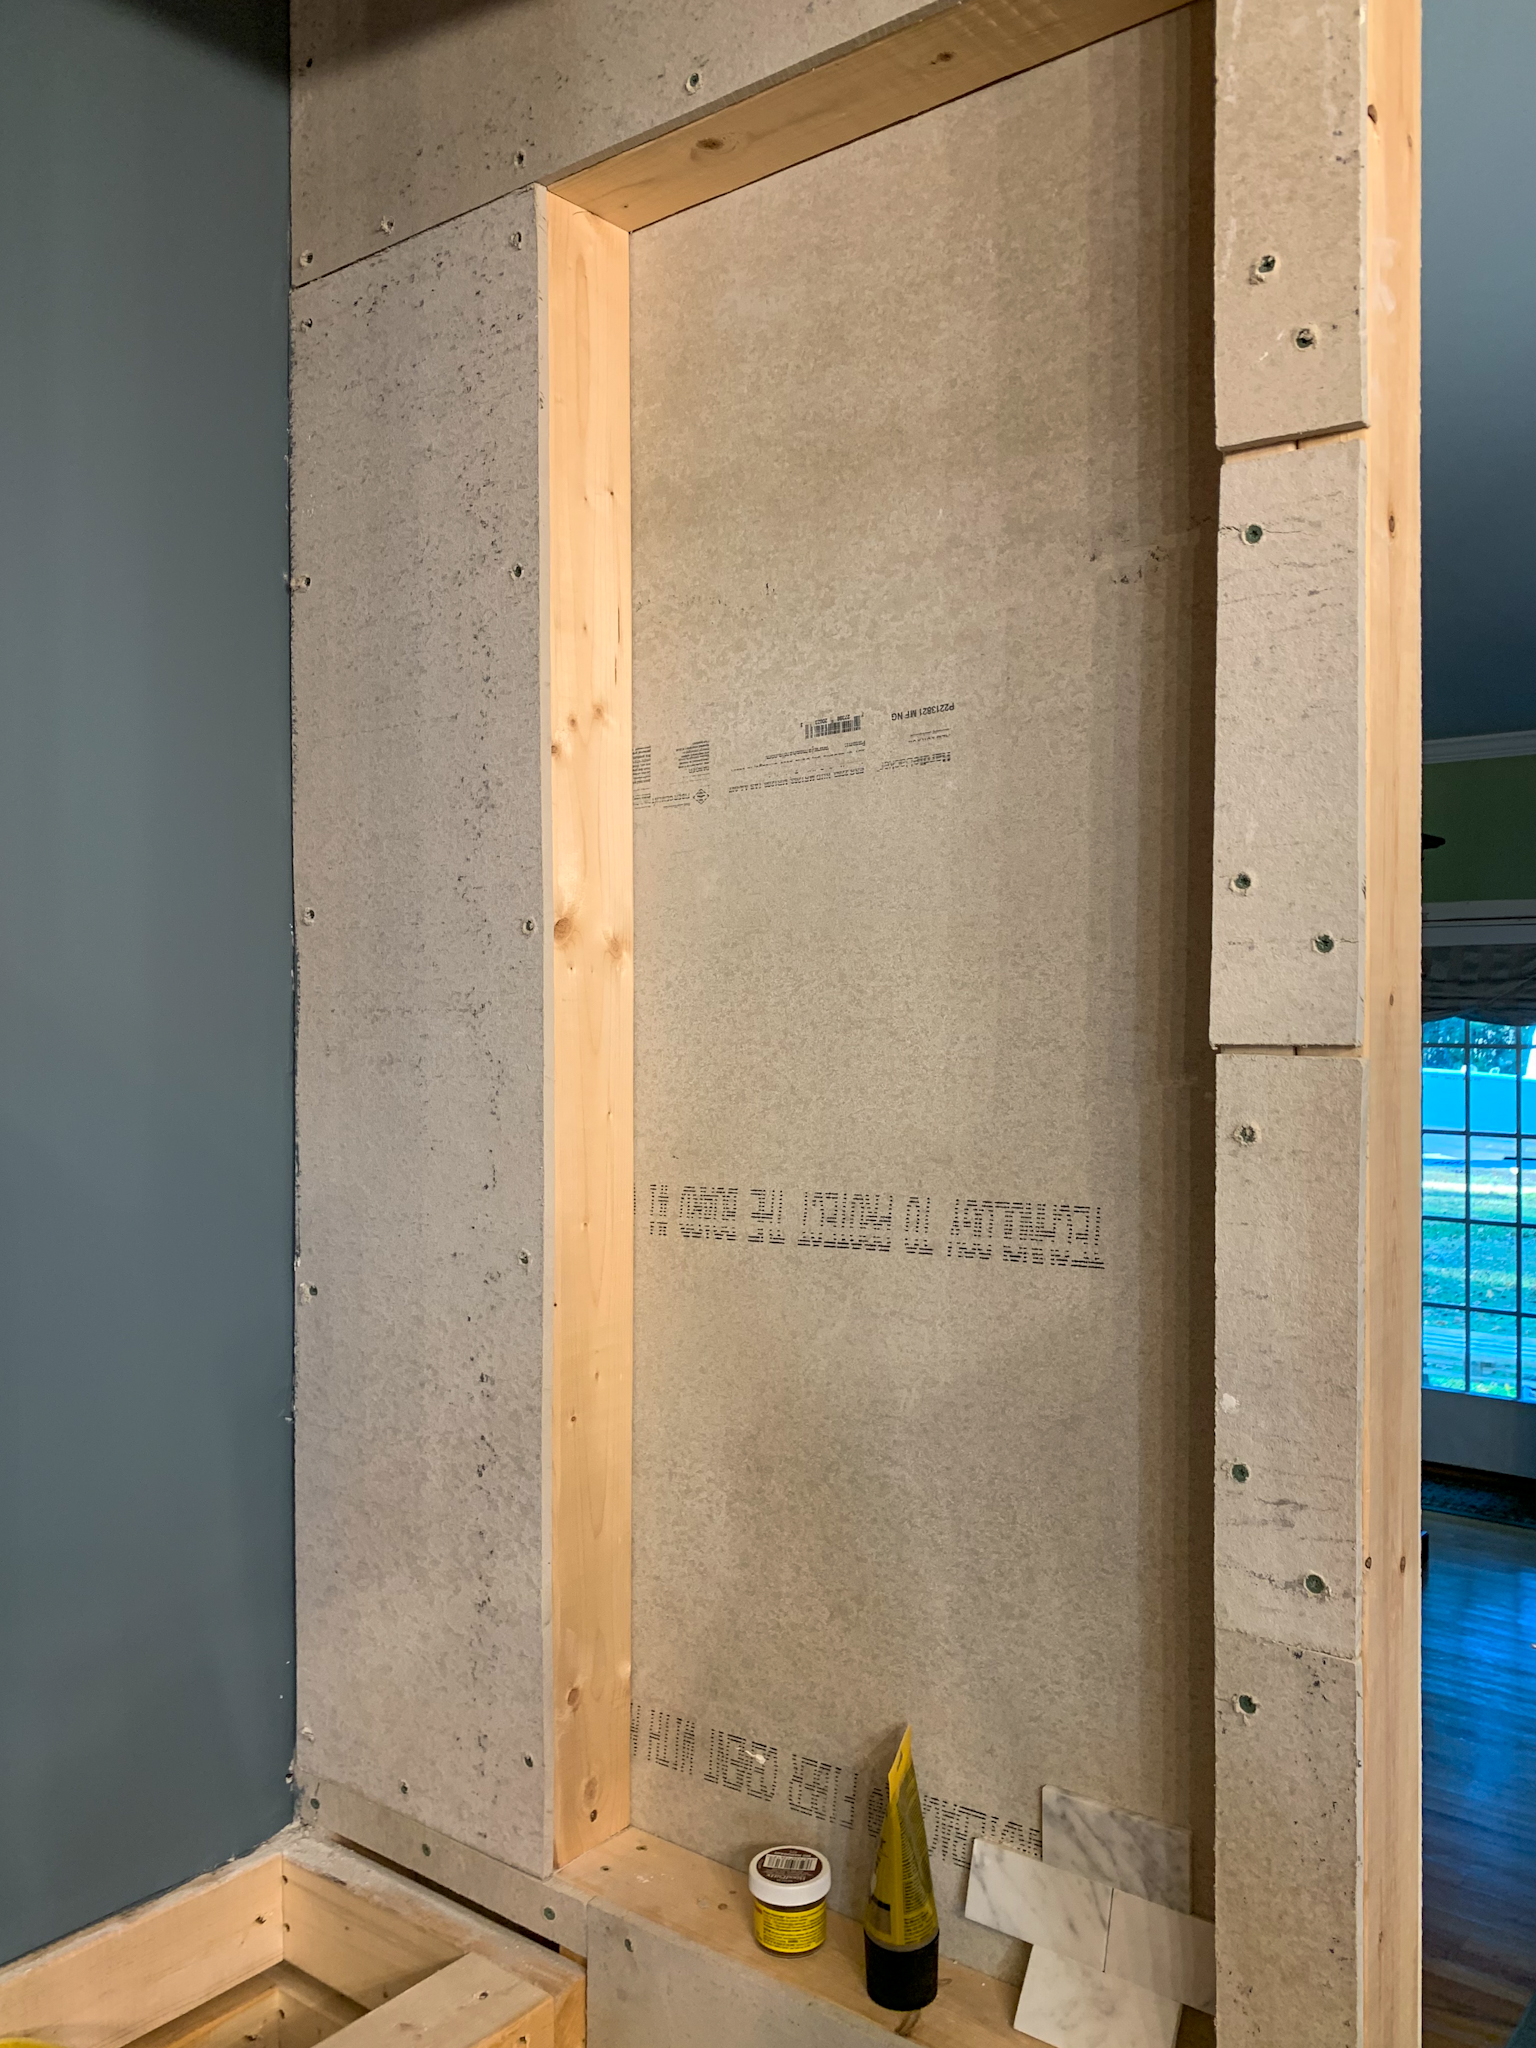
Step one was framing the wall with the size I wanted and thinking about all the 3D things that could affect the functionality of the design.

Since we are doing one wall at a time… it is more difficult. I want to have a functional kitchen for as long as possible through the renovation, so there was an old peninsula with electrical and plumbing in the way on one side.


The Oil and Spice Shelf Nook Inside Your Range Hood Surround You Didn't Know You Needed But You Absolutely Have To Have
The Oil and Spice Shelf Nook Inside Your Range Hood Surround You Didn’t Know You Needed But You Absolutely Have To Have


And then, of course, this little design treasure that I was feeling borderline homicidal about. Don’t worry, I fixed the look, but I’m still pretty torqued the HVAC crew couldn’t reroute the intake anywhere else. The worst part is it robbed me of half of my cabinet space on one side of the stove. NOT COOL. (It currently has a really pretty cover on it, and I ordered a false front for the cabinet so it will be invisible to anyone who doesn’t know).


The Oil and Spice Shelf Nook Inside Your Range Hood Surround You Didn't Know You Needed But You Absolutely Have To Have
The Oil and Spice Shelf Nook Inside Your Range Hood Surround You Didn’t Know You Needed But You Absolutely Have To Have


Step one: Install cement board for all tiled areas.
The Oil and Spice Shelf Nook Inside Your Range Hood Surround You Didn't Know You Needed But You Absolutely Have To Have
The Oil and Spice Shelf Nook Inside Your Range Hood Surround You Didn’t Know You Needed But You Absolutely Have To Have


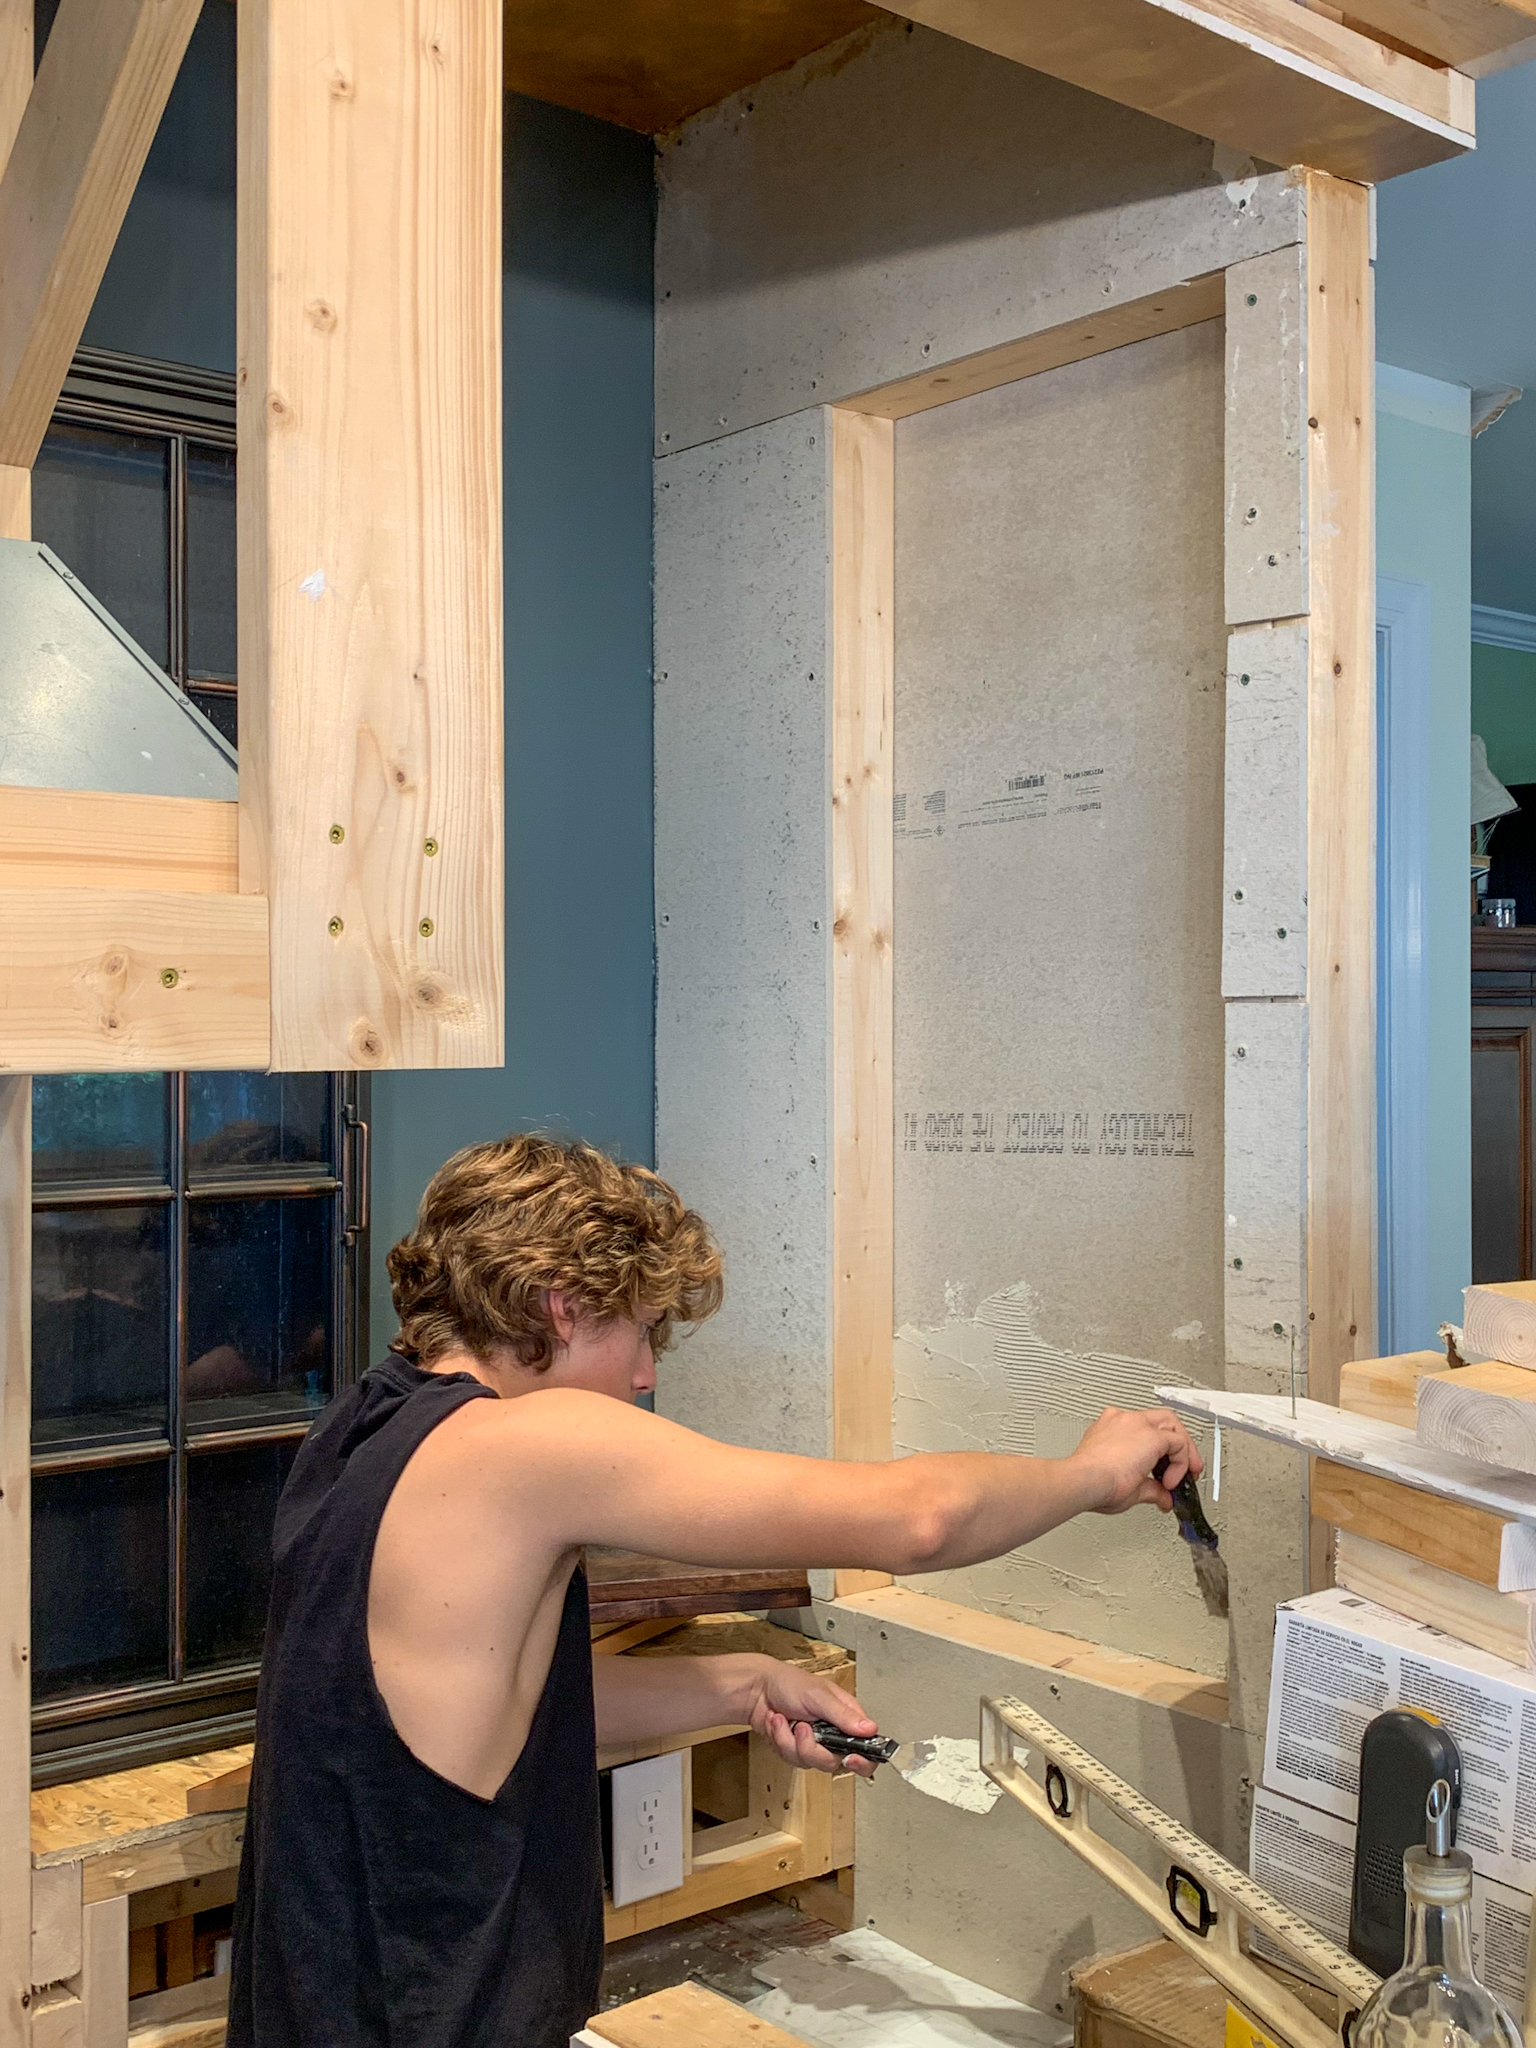
Step 2: Mortar.

The Oil and Spice Shelf Nook Inside Your Range Hood Surround You Didn't Know You Needed But You Absolutely Have To Have
The Oil and Spice Shelf Nook Inside Your Range Hood Surround You Didn’t Know You Needed But You Absolutely Have To Have


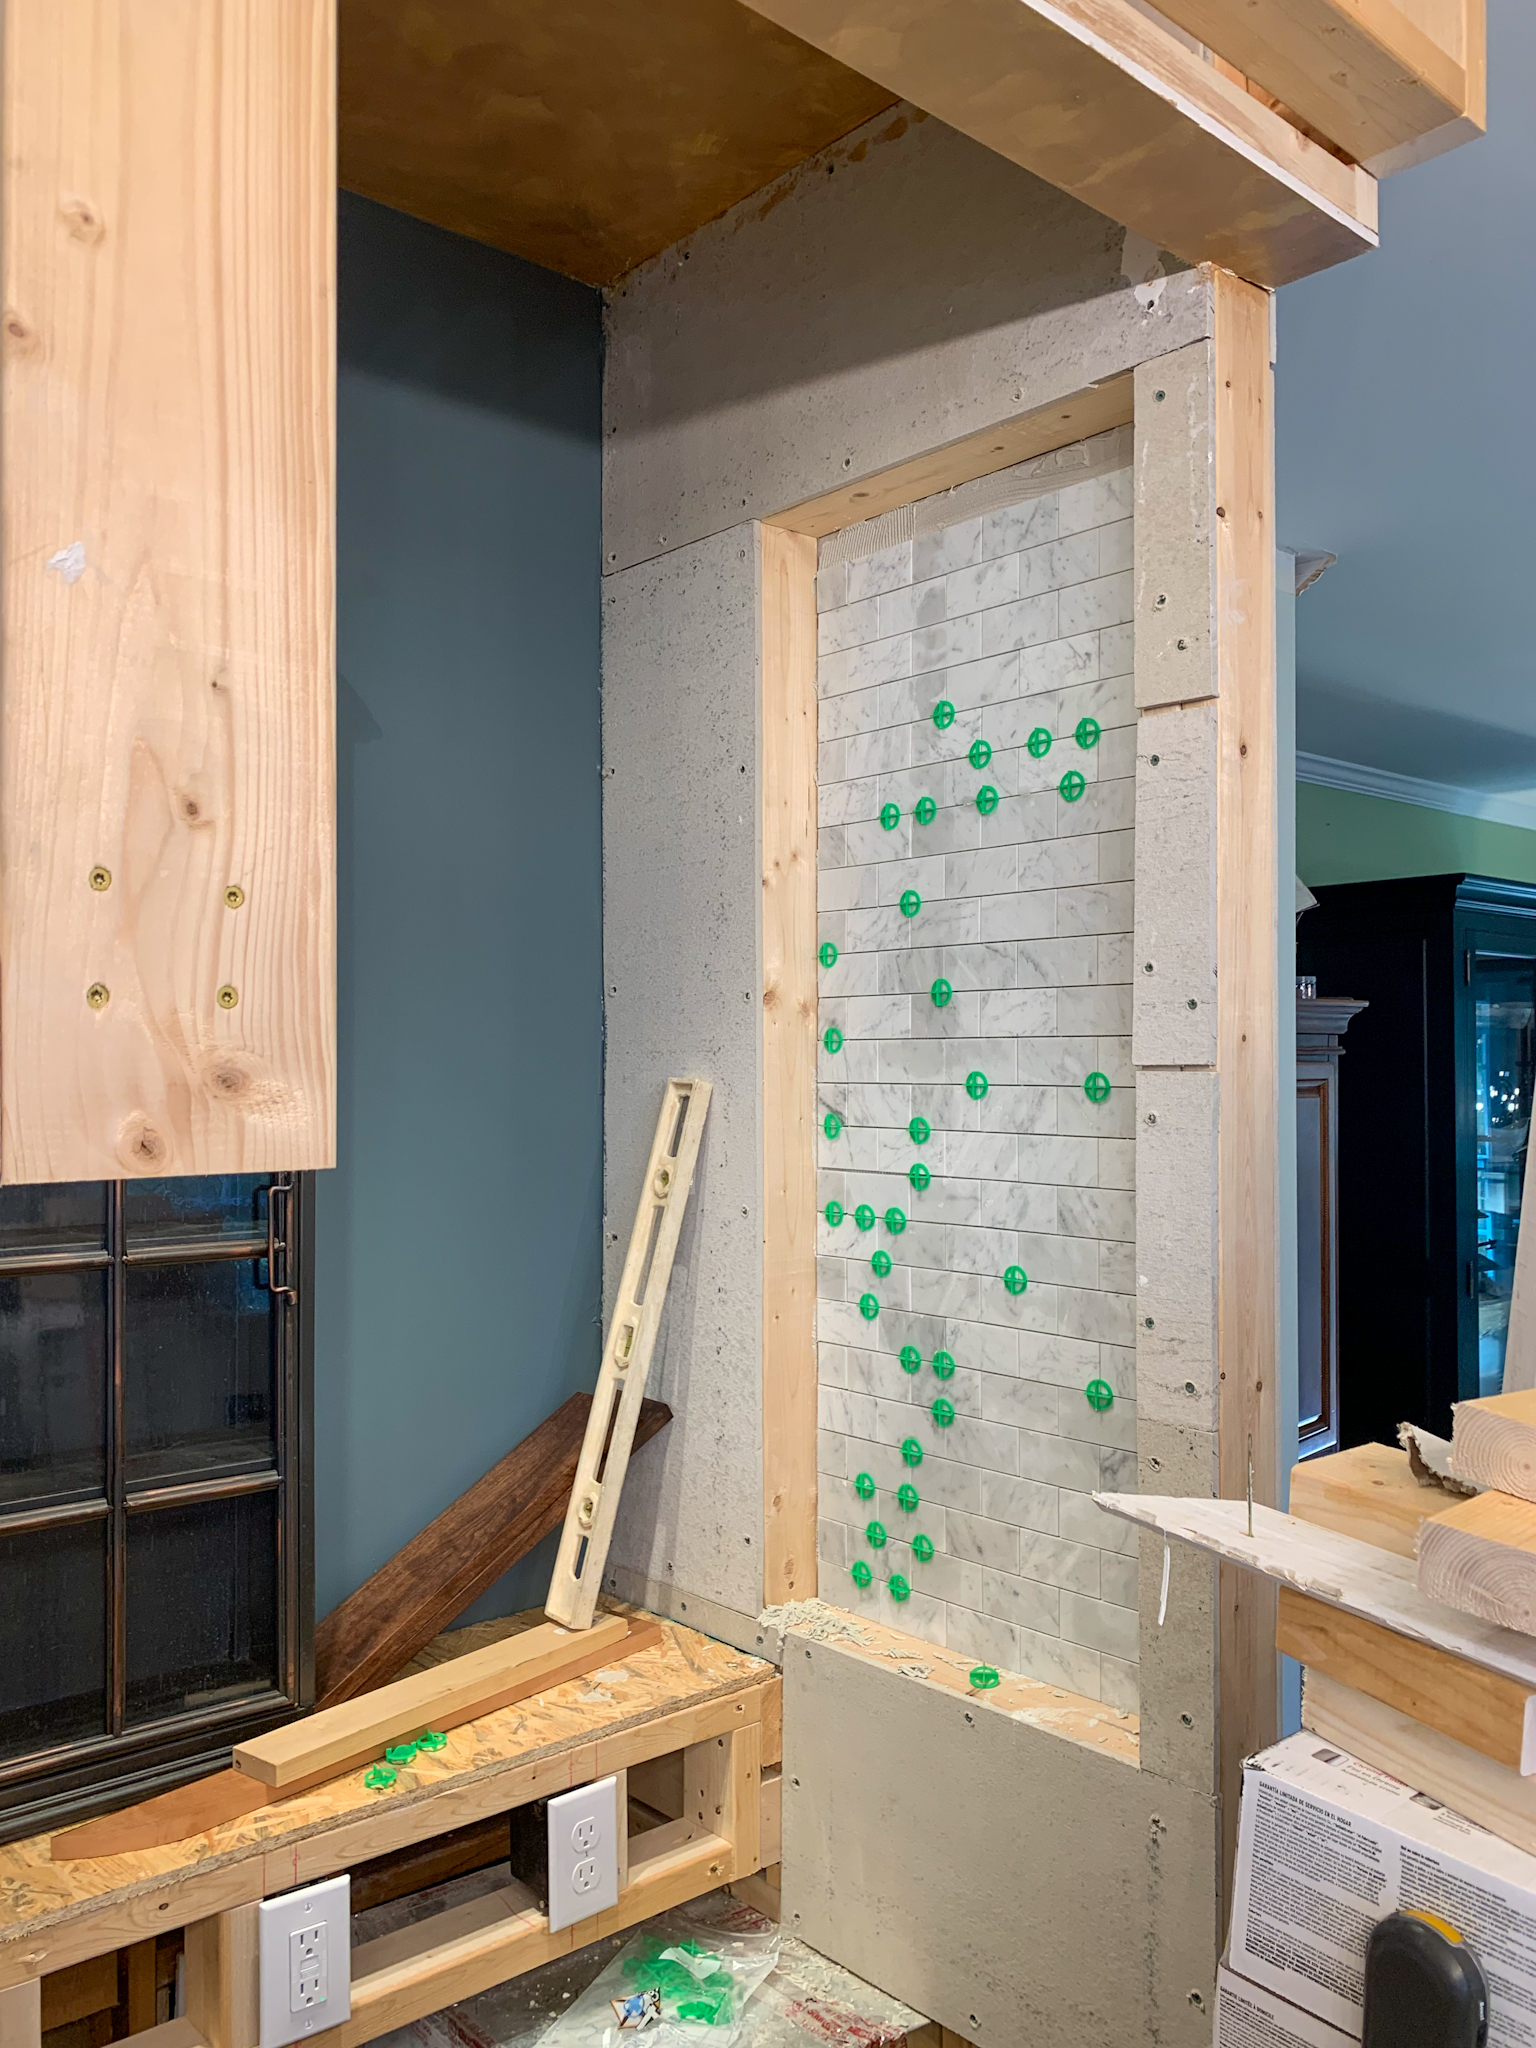
Step 3: Tile.

The Oil and Spice Shelf Nook Inside Your Range Hood Surround You Didn't Know You Needed But You Absolutely Have To Have
The Oil and Spice Shelf Nook Inside Your Range Hood Surround You Didn’t Know You Needed But You Absolutely Have To Have


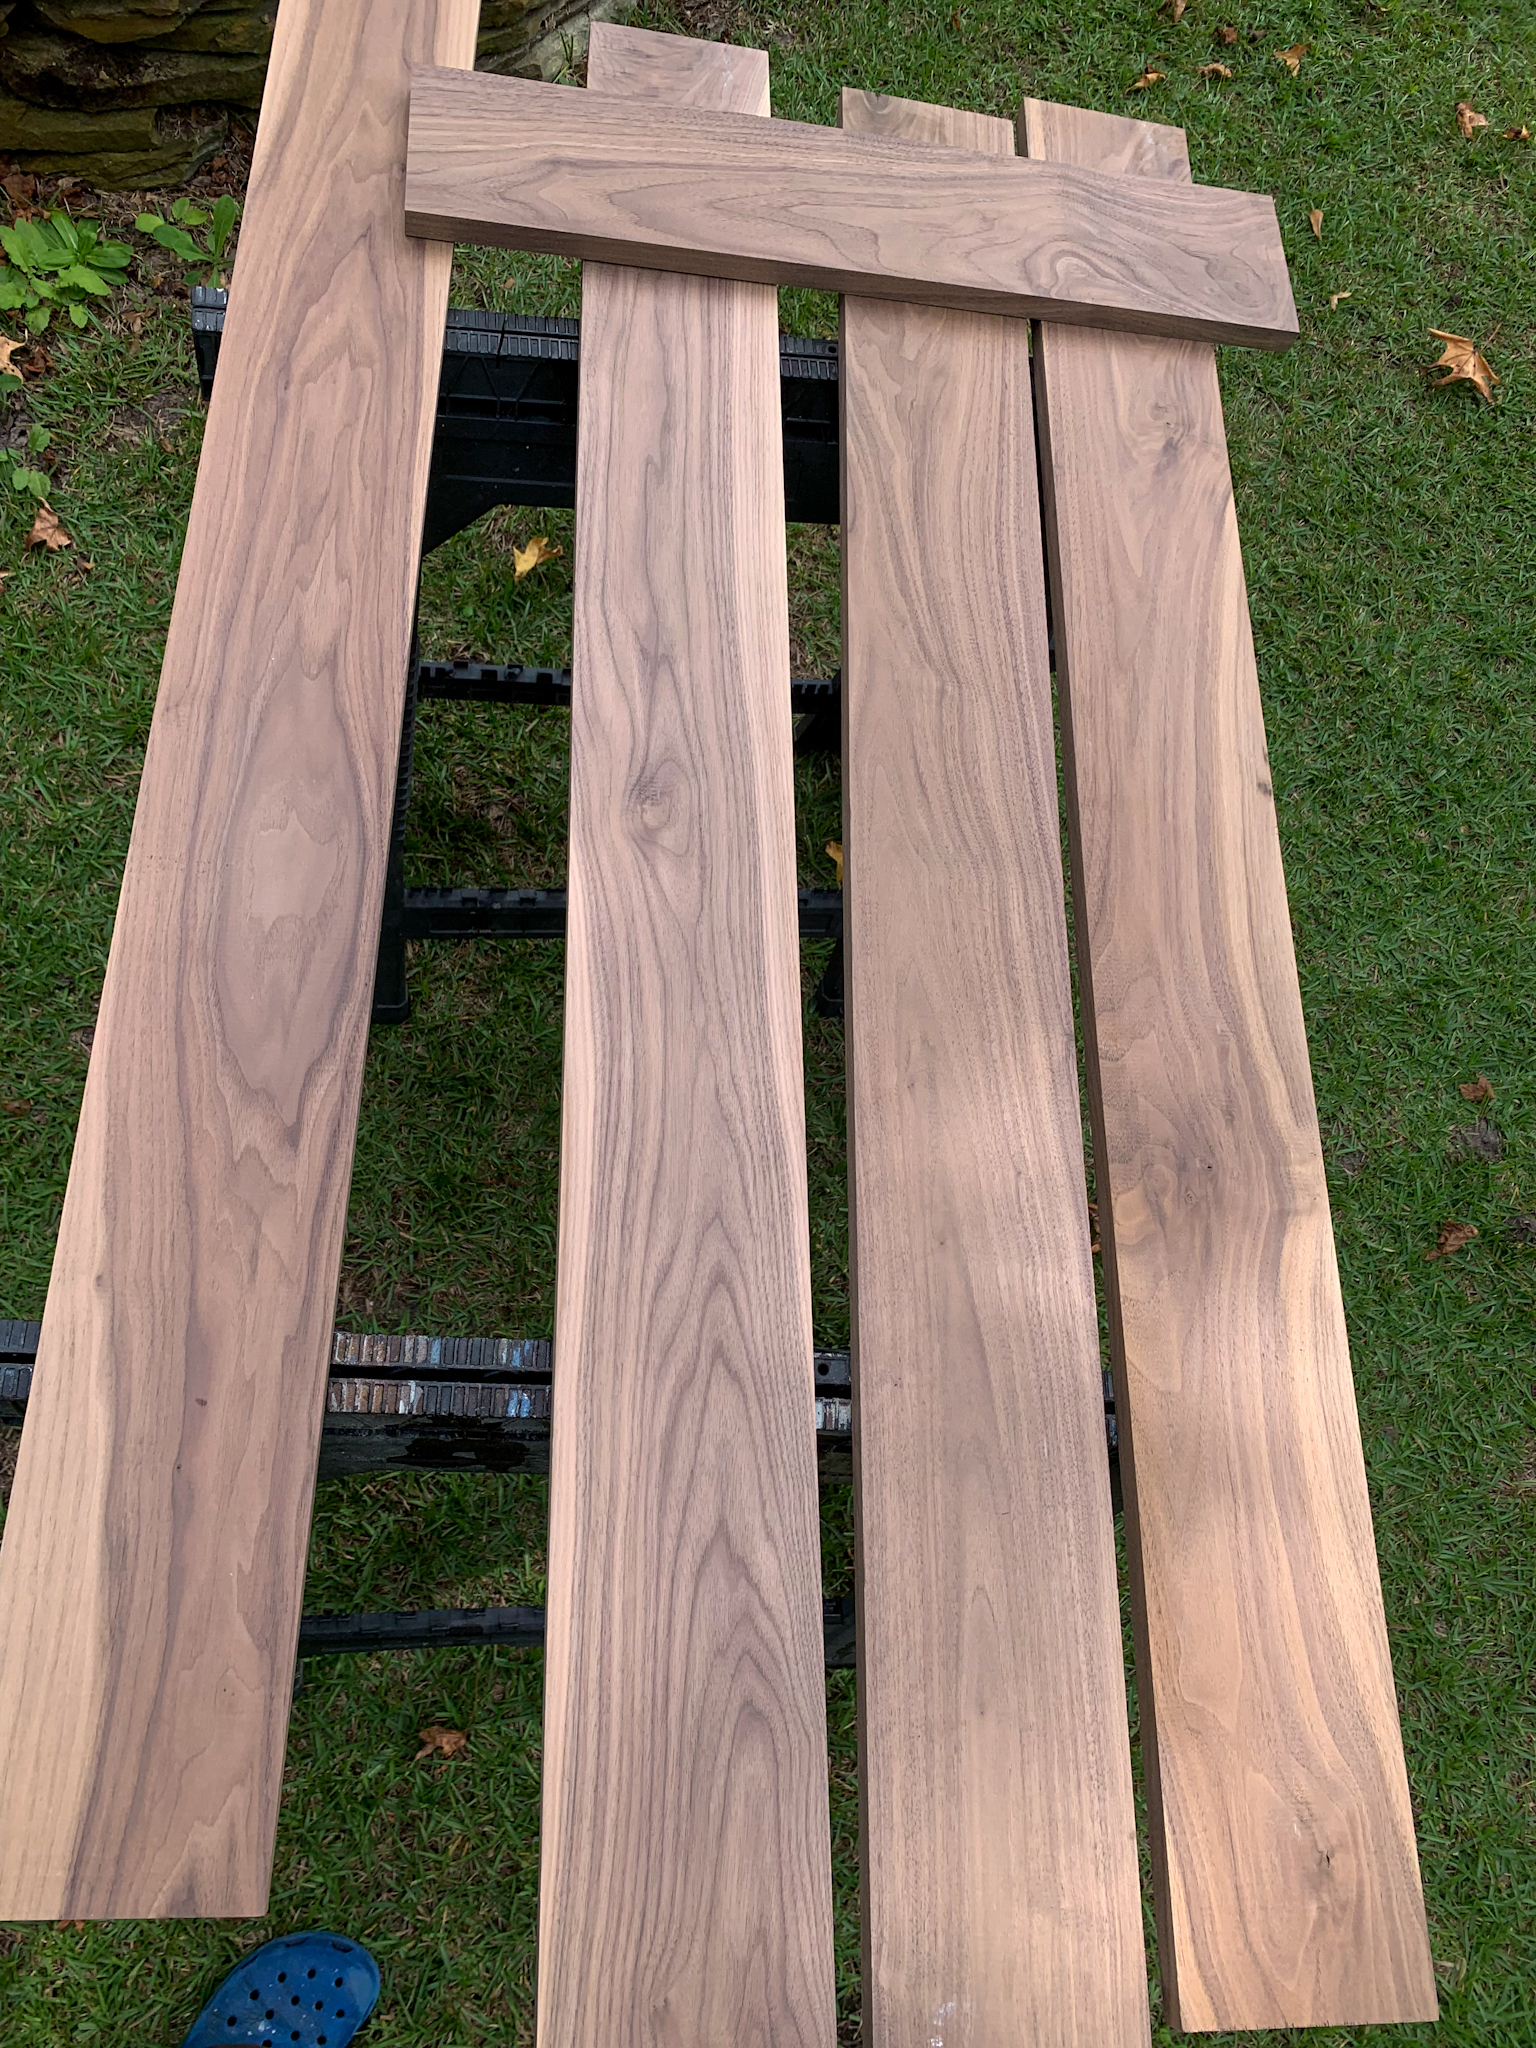
Step 4: Prefinish the walnut shelves prior to installation. I highly recommend lots of lacquer to prevent warping/staining from spills or drips.
The Oil and Spice Shelf Nook Inside Your Range Hood Surround You Didn't Know You Needed But You Absolutely Have To Have
The Oil and Spice Shelf Nook Inside Your Range Hood Surround You Didn’t Know You Needed But You Absolutely Have To Have


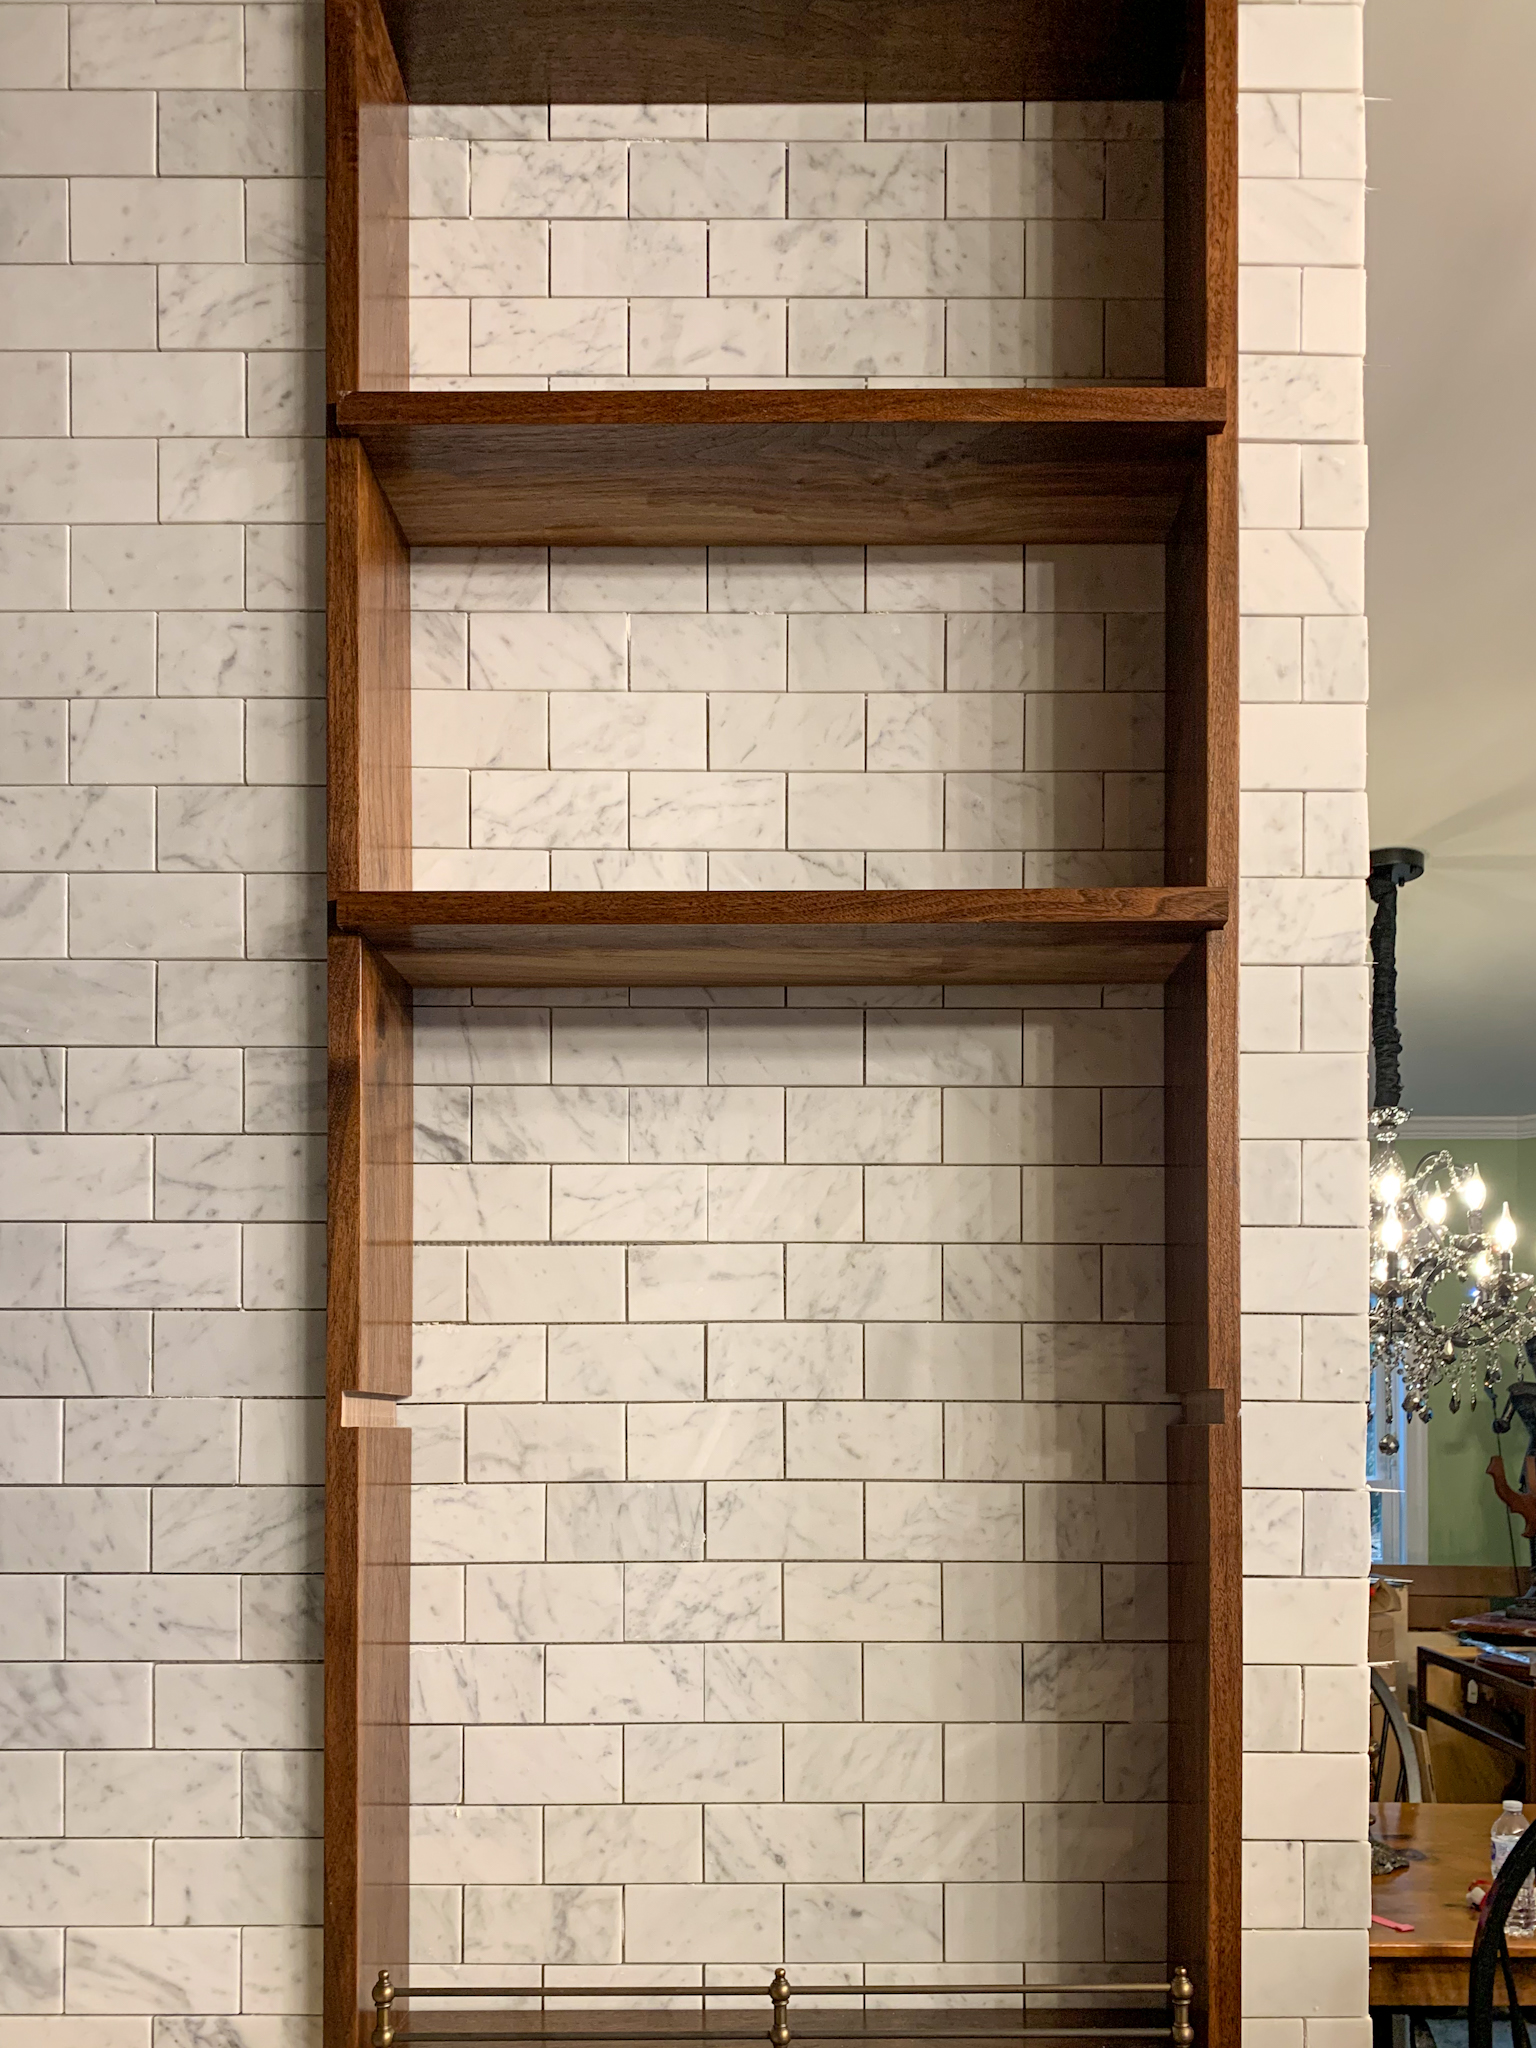
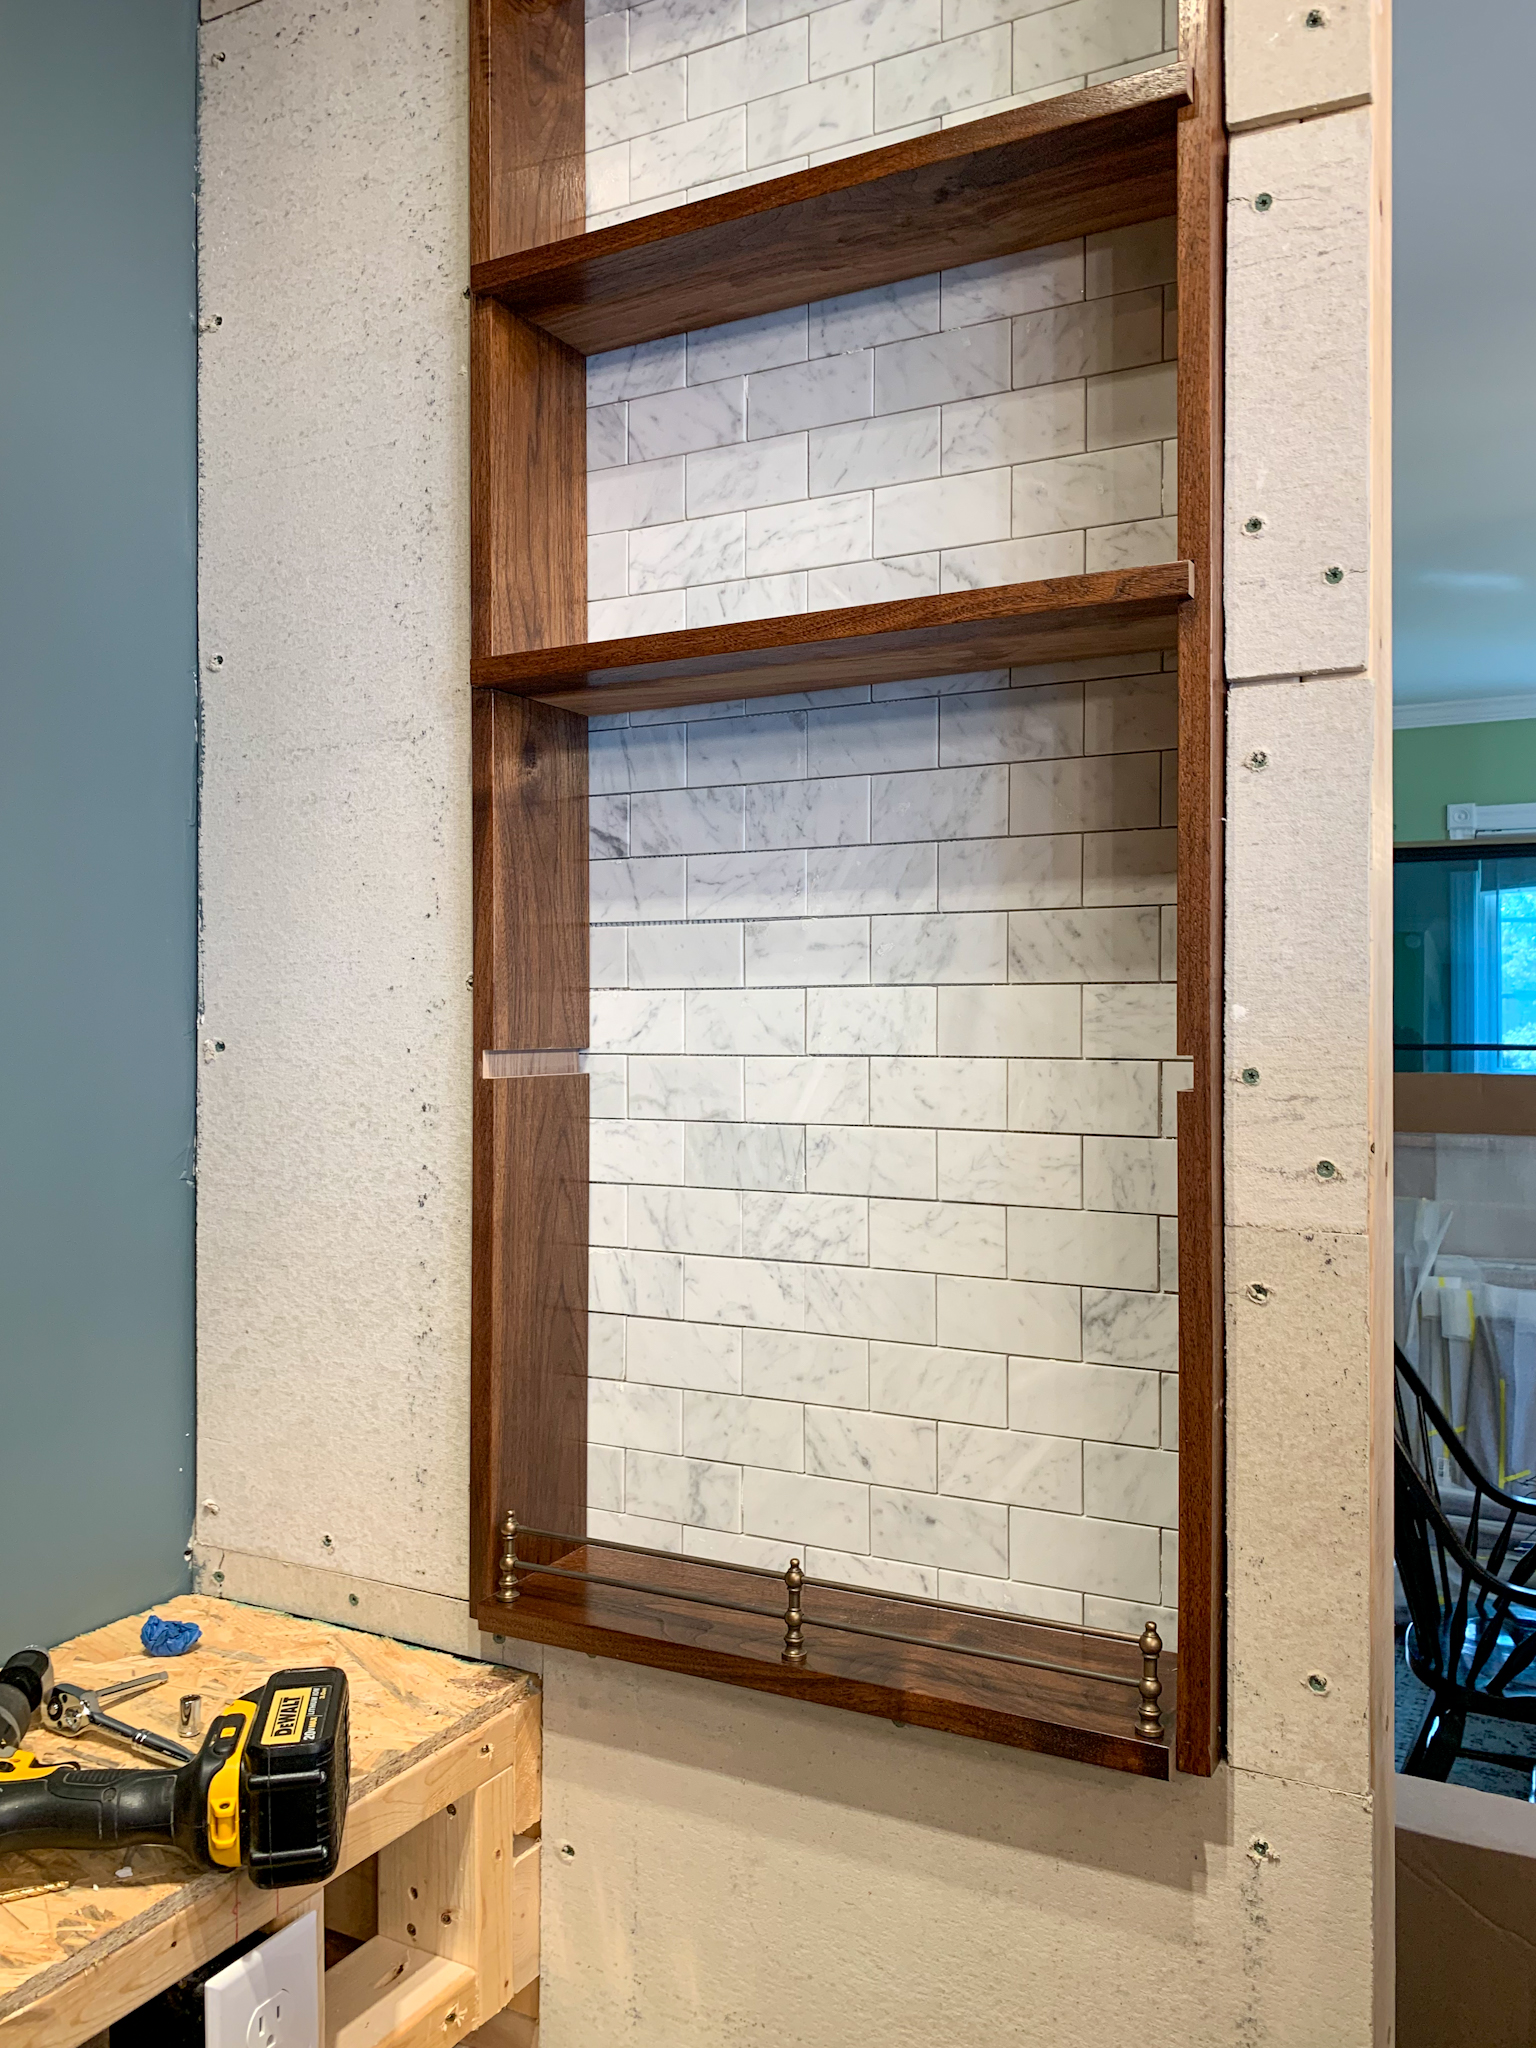
Step 5: Install wooden shelf surround (if you’re using gallery rails, I highly recommend attaching them to the shelves prior to installation). I recommend leaving the shelves unattached until you have completed the grouting process (it’s much easier to grout without the shelves in).
The Oil and Spice Shelf Nook Inside Your Range Hood Surround You Didn't Know You Needed But You Absolutely Have To Have
The Oil and Spice Shelf Nook Inside Your Range Hood Surround You Didn’t Know You Needed But You Absolutely Have To Have


Step 6: Install remaining tile surrounding shelves.
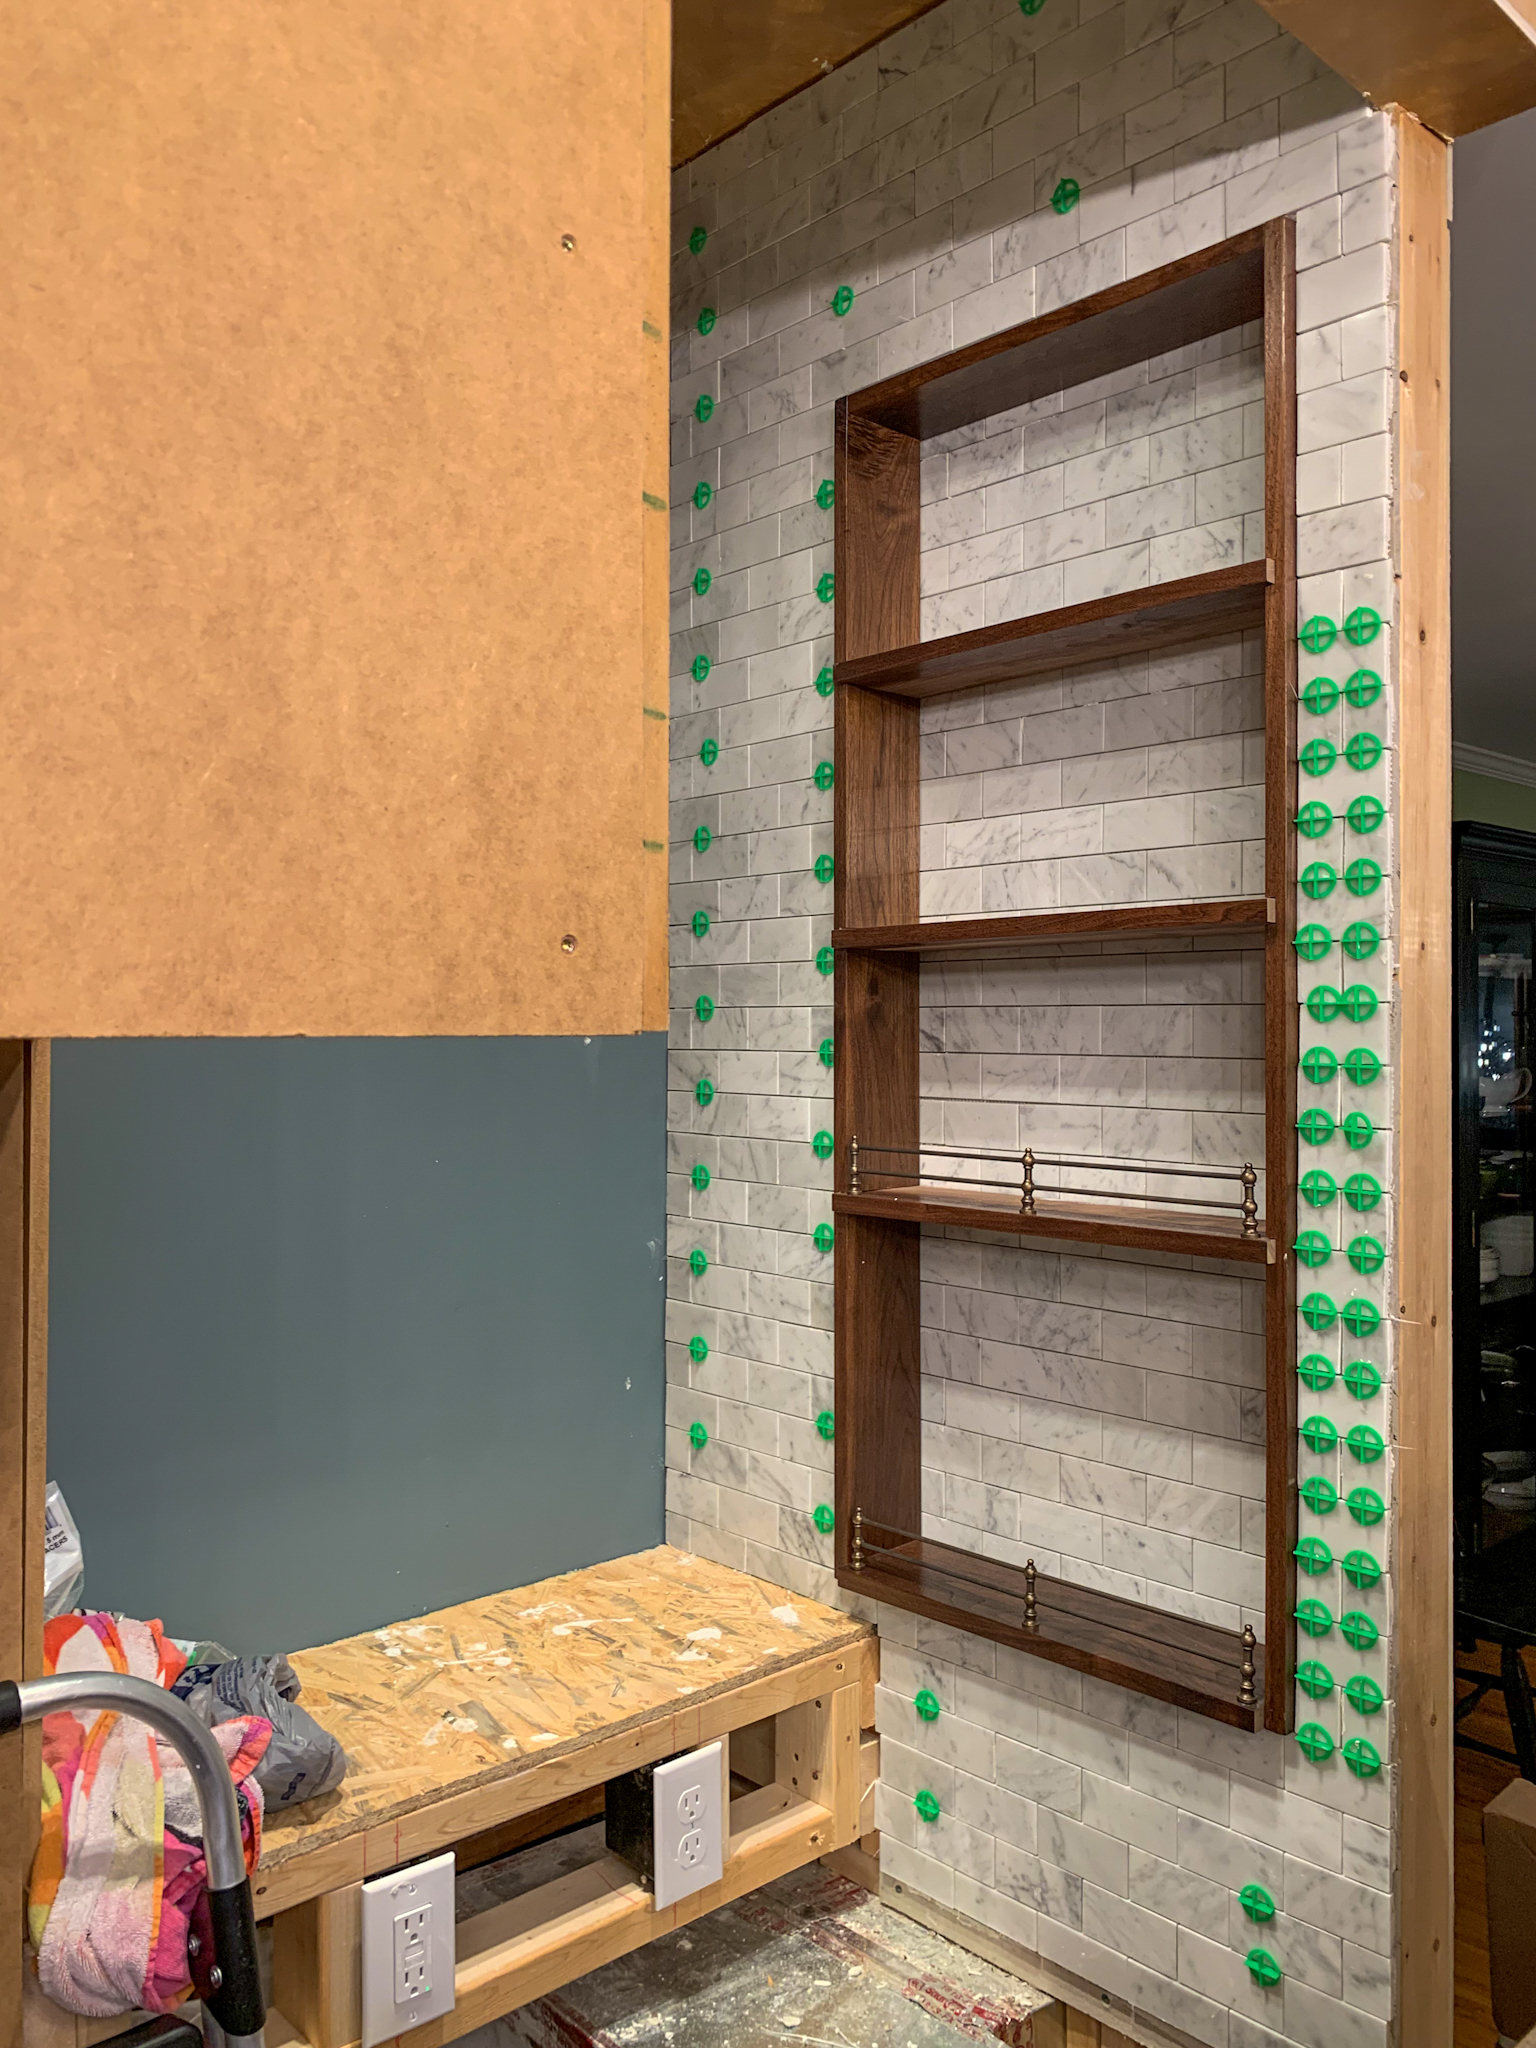
 

The Oil and Spice Shelf Nook Inside Your Range Hood Surround You Didn't Know You Needed But You Absolutely Have To Have
The Oil and Spice Shelf Nook Inside Your Range Hood Surround You Didn’t Know You Needed But You Absolutely Have To Have


The Oil and Spice Shelf Nook Inside Your Range Hood Surround You Didn't Know You Needed But You Absolutely Have To Have
The Oil and Spice Shelf Nook Inside Your Range Hood Surround You Didn’t Know You Needed But You Absolutely Need To Have


The Oil and Spice Shelf Nook Inside Your Range Hood Surround You Didn't Know You Needed But You Absolutely Need To Have
The Oil and Spice Shelf Nook Inside Your Range Hood Surround You Didn’t Know You Needed But You Absolutely Need To Have


Step 7: Grout and caulk (don’t skip the caulk, it prevents fluids from getting behind the shelves and warping them).
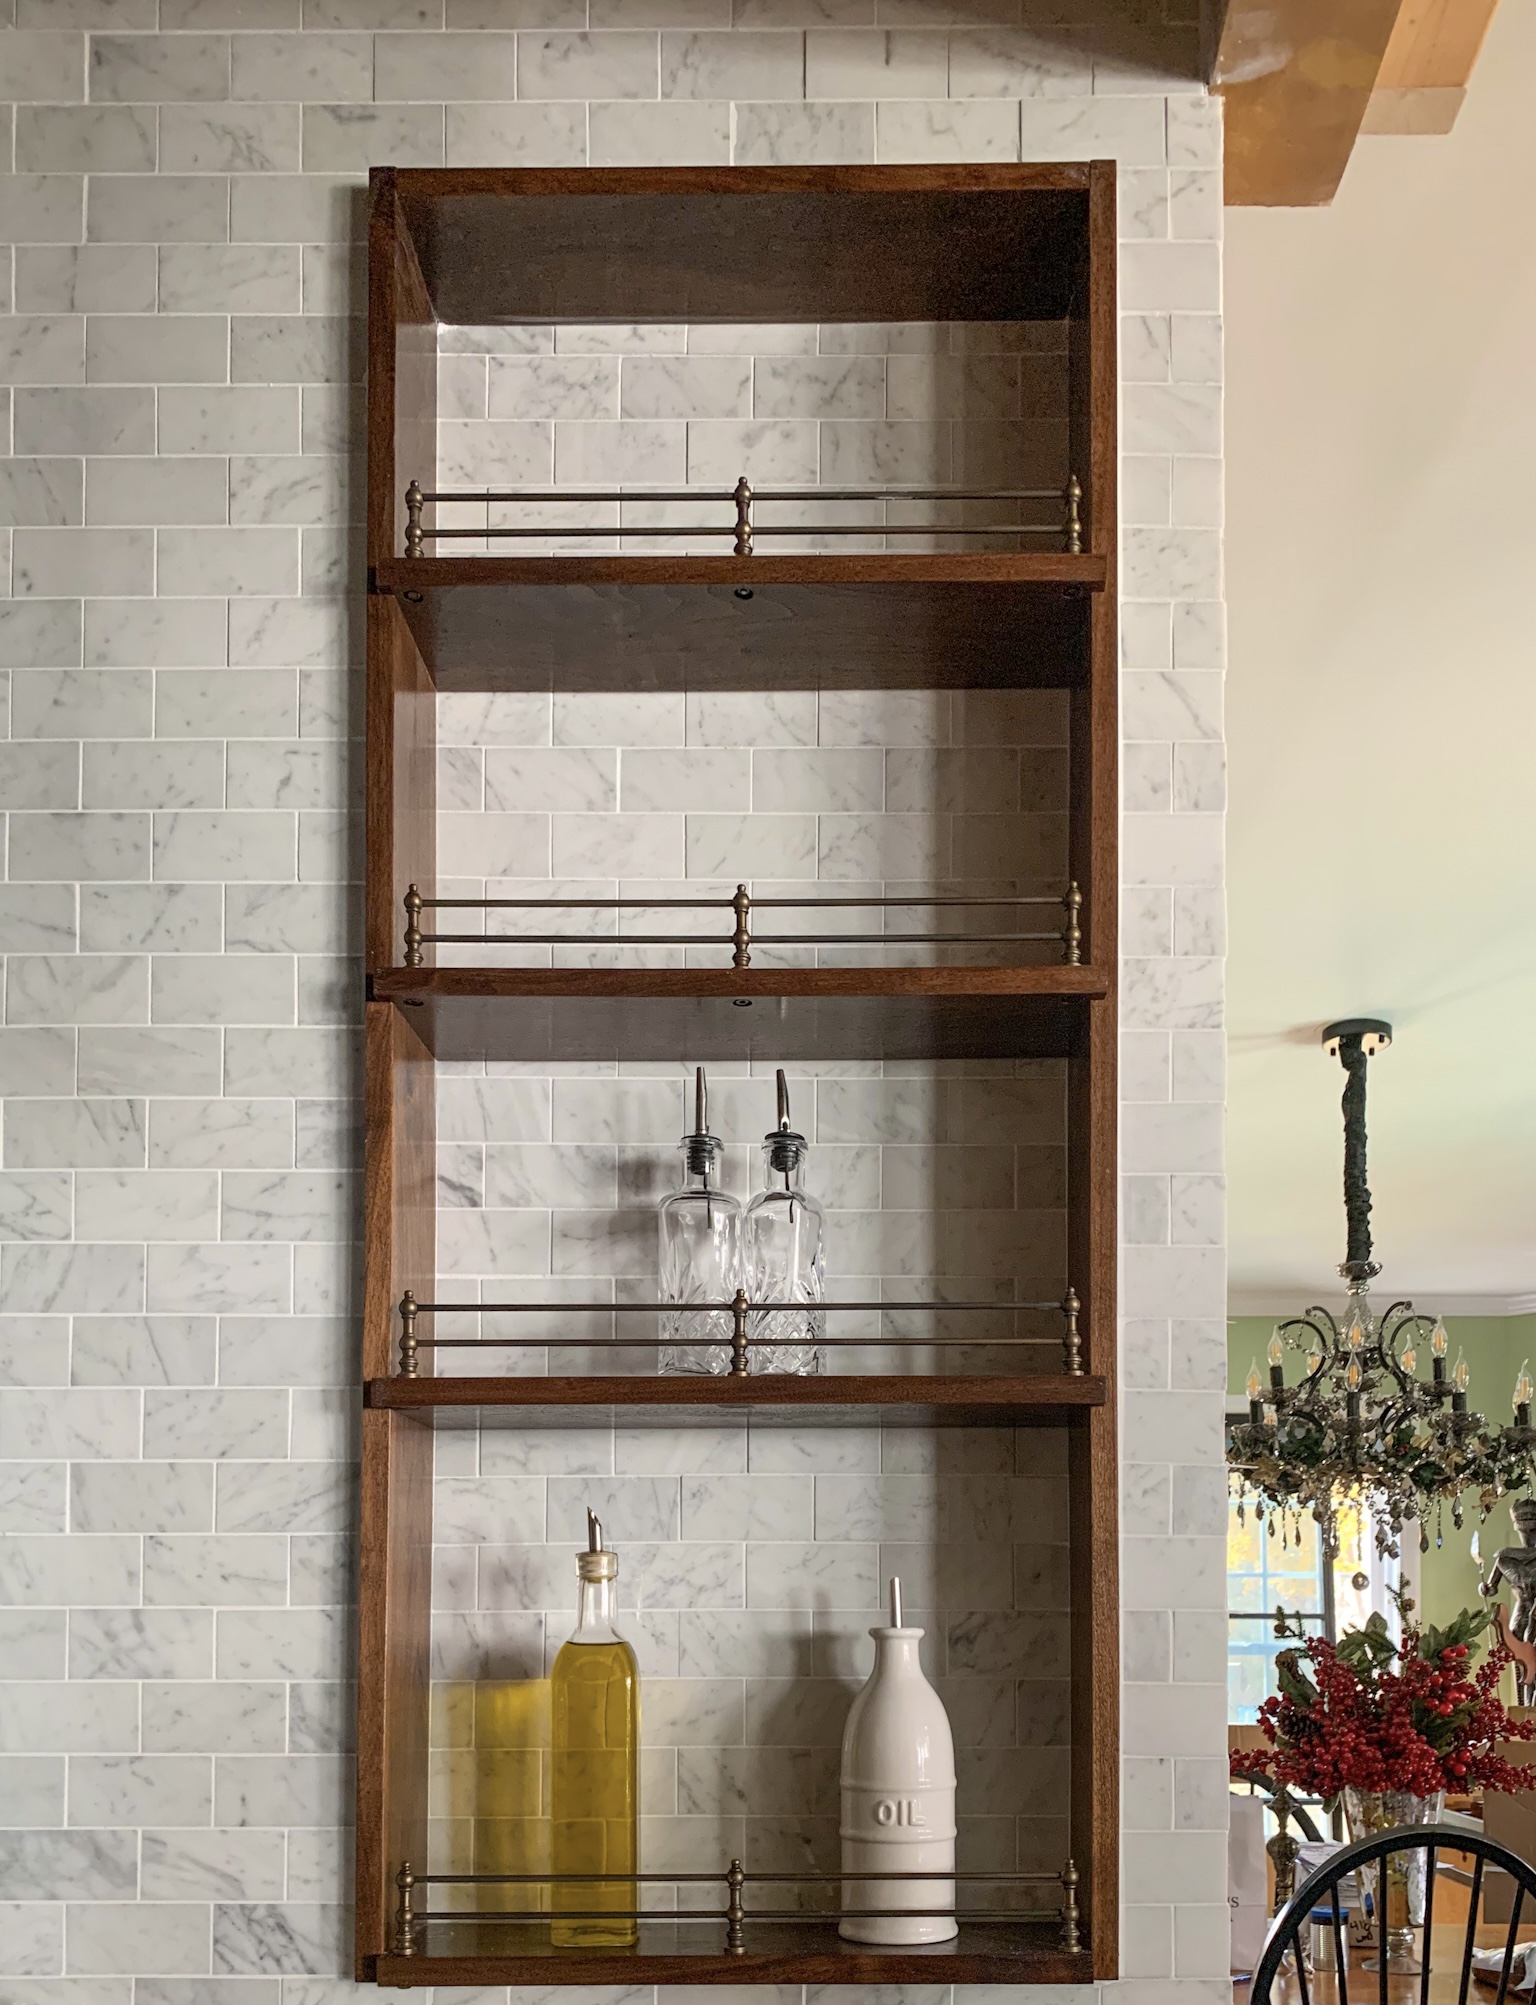
The Oil and Spice Shelf Nook Inside Your Range Hood Surround You Didn't Know You Needed But You Absolutely Must Have
The Oil and Spice Shelf Nook Inside Your Range Hood Surround You Didn’t Know You Needed But You Absolutely Must Have: Carrara Marble backed walnut shelves with antique brass gallery rails in the kitchen


Step 8: Style: Like everything else in the kitchen, this shelf should be both beautiful and functional. Keep your favorite oils, vinegars, Worcestershire sauce, etc. within reach.
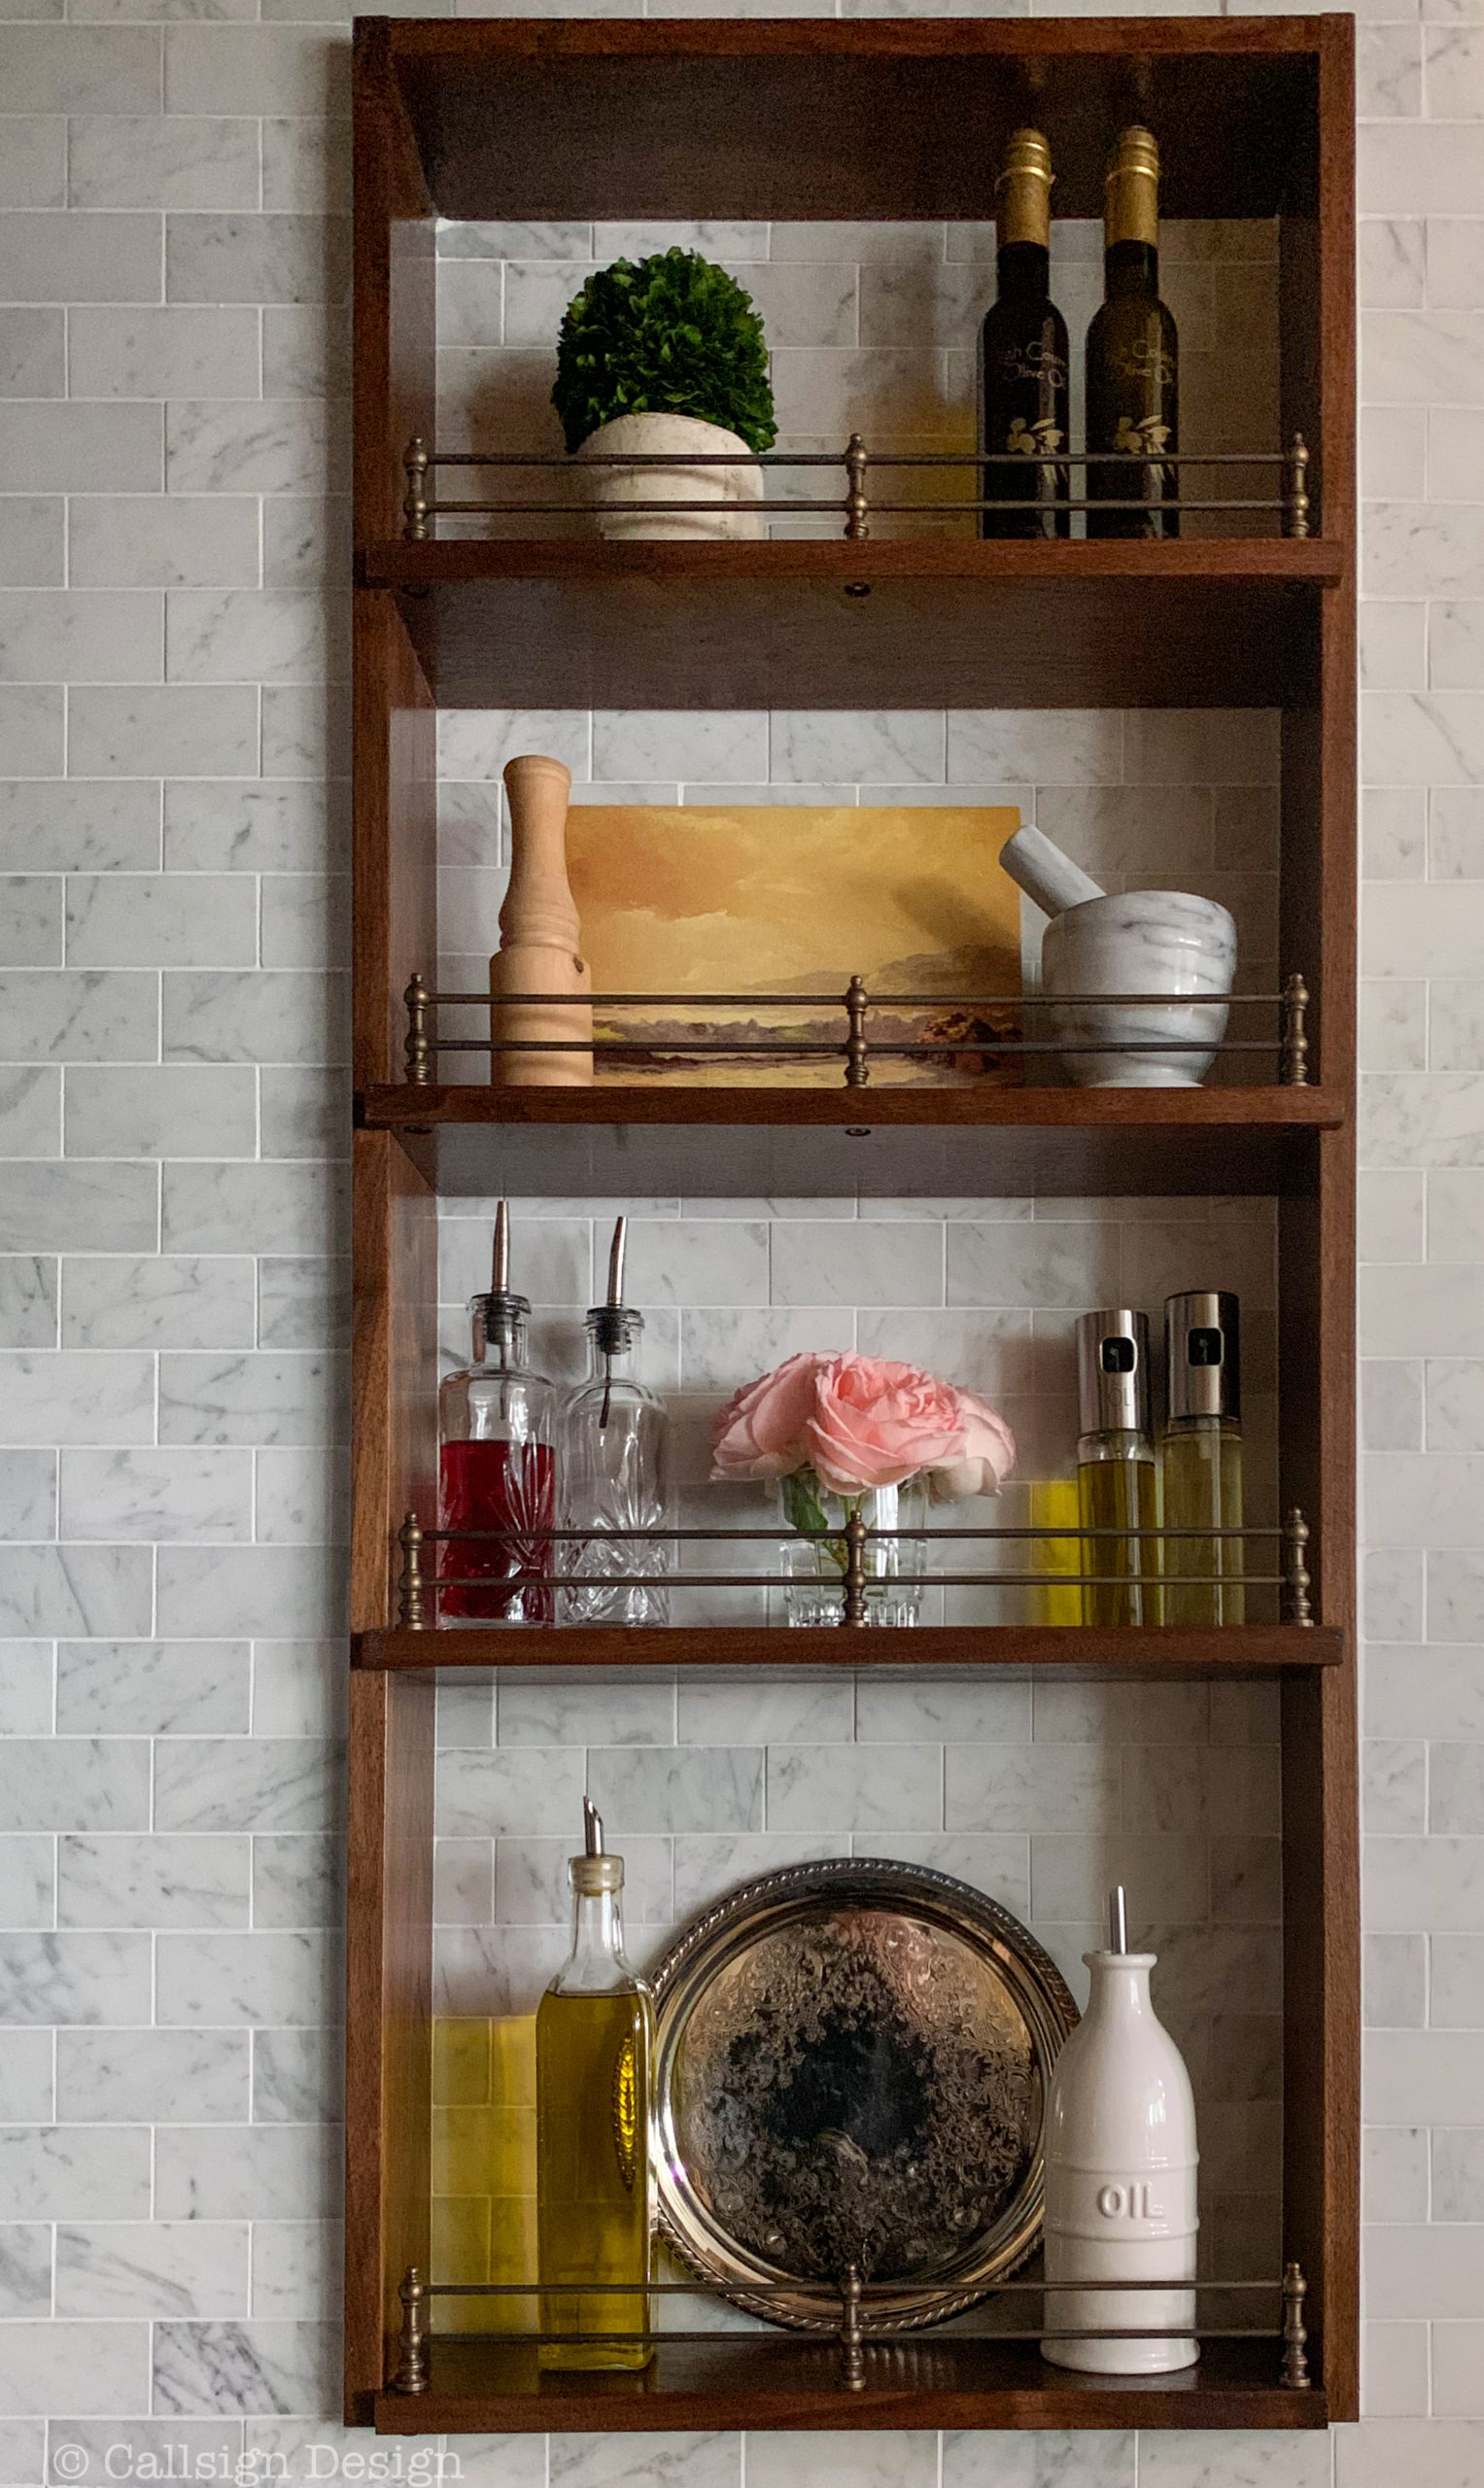
 

The Oil and Spice Shelf Nook Inside Your Range Hood Surround You Didn't Know You Needed But You Absolutely Must Have: Styled shelfie all ready to go with a small preserved boxwood, oils from High Country Olive Oil, a carrara marble mortar and pestle, a vintage landscape oil painting, oil carafes/dispensers, and a tiny votif of roses from our last bloom of the season
The Oil and Spice Shelf Nook Inside Your Range Hood Surround You Didn’t Know You Needed But You Absolutely Must Have: Styled shelfie all ready to go with a small preserved boxwood, oils from High Country Olive Oil, a Carrara marble mortar and pestle, a vintage landscape oil painting, oil carafes/dispensers, and a tiny votive of roses from our last bloom of the season


I don’t know if I mentioned this… but I LOVE my shelves!


Price breakdown: Shop This Project On Our LTK Store

Walnut shelves and lining $199.43

Double brass gallery rails: Vintage Hardware: $250.70

Carrara marble subway tiles behind shelves: Stone Center Online: About $100

Supplies for installing tile and shelves (mortar, grout, nails, stain, and lacquer): About $100

Total: $650.13 


If you’re planning your dream kitchen, I highly recommend these!


*Legal stuff:

I am honest about my experiences with different products and write because I enjoy it.  I do however, have the opportunity to earn money for my writing, also.

Slavetodiy.com is a participant in the Amazon Services LLC Associates Program, LTK, and other affiliate programs: affiliate advertising programs designed to provide a means for sites to earn advertising fees by advertising and linking to amazon.com and other sites.  These programs offer a small commission on products sold through their affiliate links.  Each of your purchases via our affiliation links supports our cause at no additional cost to you.

If a blogger links to a product (with a special code for affiliates embedded in the link), and a reader places an item in their “shopping cart” through that link within 24 hours of clicking the link, the blogger gets a small percentage of the sale.  These links are not “pay per click.”  If you click on the product link and stay around and purchase something else, however, I will get a commission on that sale.


How To Create A Historic Looking Bathroom In A New Home

One of the biggest challenges living in a new, or newer, home is making the house feel like it’s been there forever: lived in, loved, cozy, warm. I know. I’ve been there. I am also CURRENTLY there… We’ve been trying to accomplish this task room by room here. It’s slow going (because Rainman has to go to work… which is super frustrating and also QUITE INCONVENIENT WHEN WE NEED TO BE RENOVATING OUR HOUSE) but we did finally get to our downstairs bathroom remodel.

The neighbor had the audacity to remark to my husband that he thought our downstairs bathroom was fine and that time would be better spent fishing. I haven’t egged his house yet, but I’m considering it. Do people still TP houses or is that frowned upon? Asking for a friend.

And the bathroom?

It. Is. Awesome.

*This post may contain affiliate links. Please see full disclosure at the end of the post.

As usual, the budget did not allow for me to hire a bathroom contractor (bathroom remodeling near me is SUPER EXPENSIVE- but, isn’t everything?). Apparently, every tradesman in my area has a ton of work and they can charge whatever they want to show up and work on your house (and that’s a BIG IF you can get them to show up).

Of course, it’s not like Rainman would hire out something he is “perfectly capable of doing himself” even if they can do it in under a decade, unlike us.

But… I feel like we got this amazing project done well under the average cost to remodel a bathroom because we did it ourselves (other than the plumber, who I begged Rainman to hire and ended up saving us probably about a week in work time) and I LOVE that we saved the money.

As most of you know: kitchen and bathroom renovations are the most expensive rooms in the house to remodel, but we managed to do this pretty reasonably, because I’ve been working on this for A WHILE. I’ve been sourcing pieces, researching,… cough cough… and buying stuff for this bathroom for about two years (and the guest room that was temporarily storing all of the construction stuff has finally breathed a sigh of relief and been emptied out again).

Long story short: how did we do?

This. Is. My. Favorite. Room. We’ve. Ever. Done.

Seriously. I am absolutely, 100% in LOVE… and have captured EXACTLY my design style. It doesn’t have a name.

It’s just me.

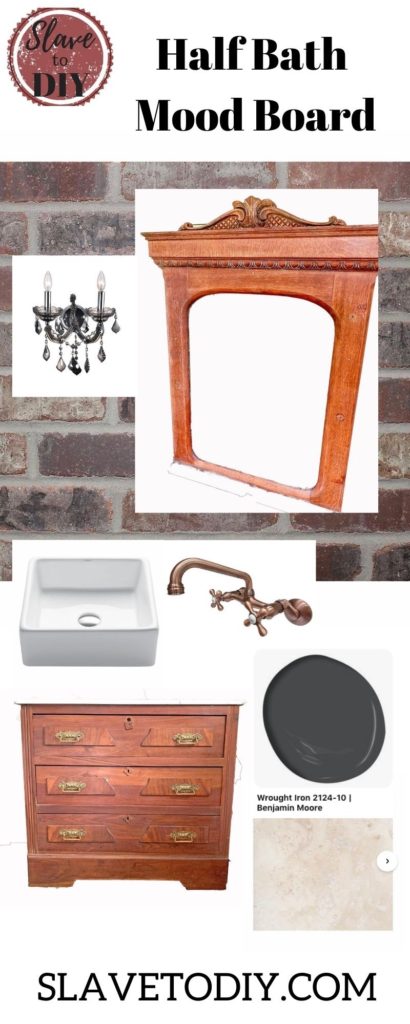
Without further ADIEU, here is the mood board we started with:


How To Create A Historic Bathroom In A New Home


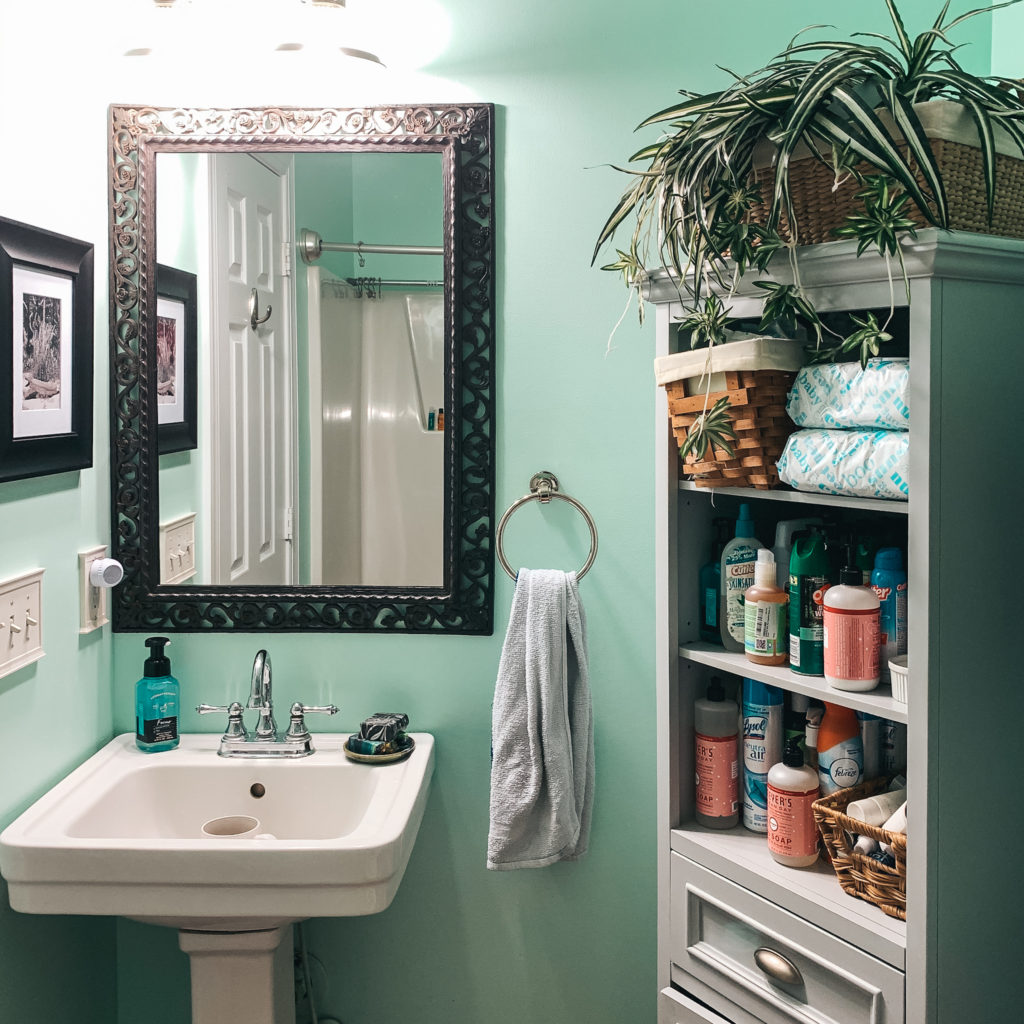
And the bathroom I was trying to take from boring and forgettable, to awesome…

I’m actually really lucky, because at no point did my darling Rainman suggest any silly things like, “this room is perfectly okay as is.” Or any other such nonsense. I believe he has truly embraced his fate in being married to someone who can’t just- for the LOVE OF GOD- leave well enough alone. I honestly don’t know why he puts up with me.

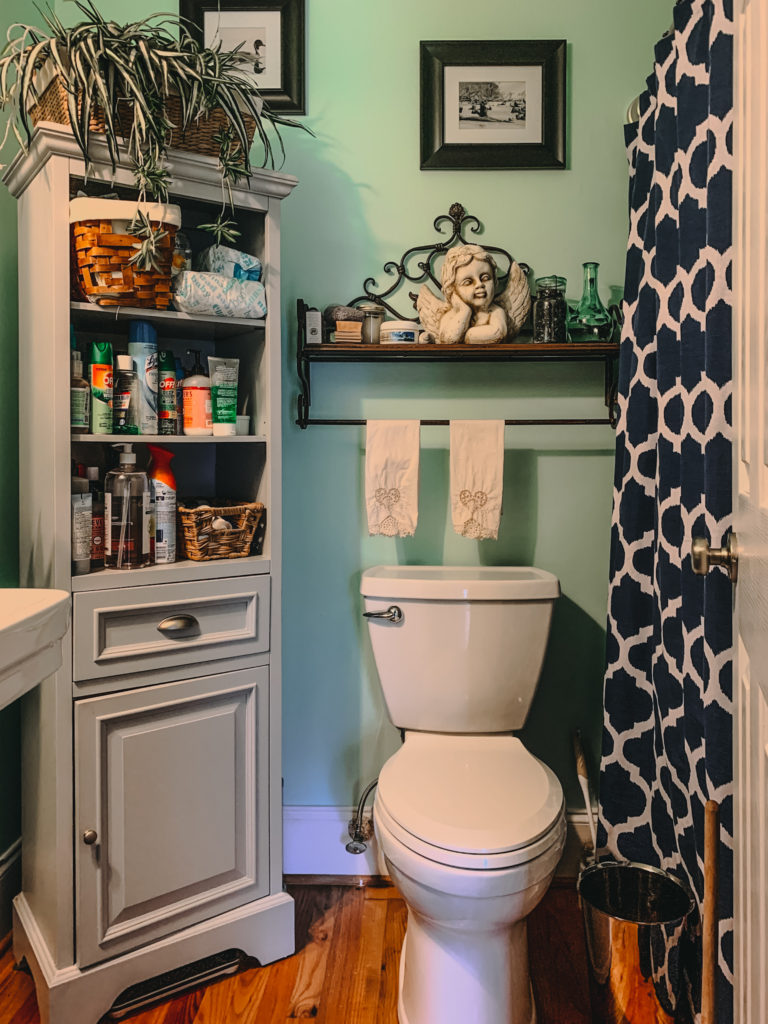
BEFORE (also see “Zzzzzzzzz” in the dictionary):

How To Create A Historic Bathroom In A New Home


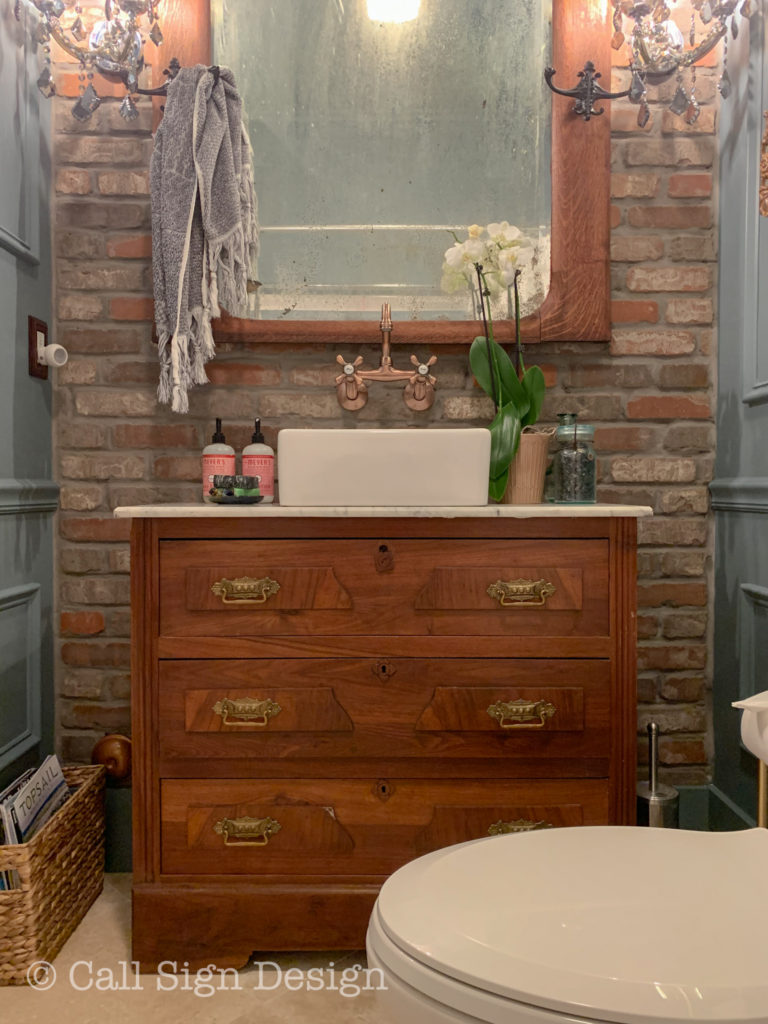
AFTER (and the clouds parted…):

How To Create A Historic Bathroom In A New Home


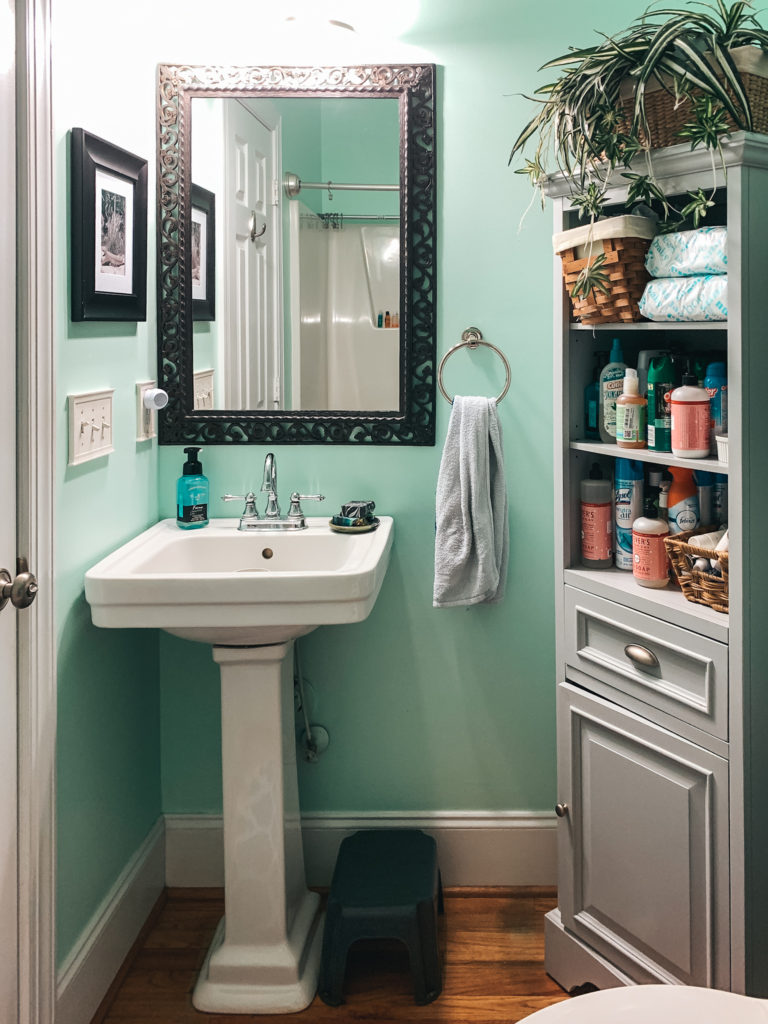
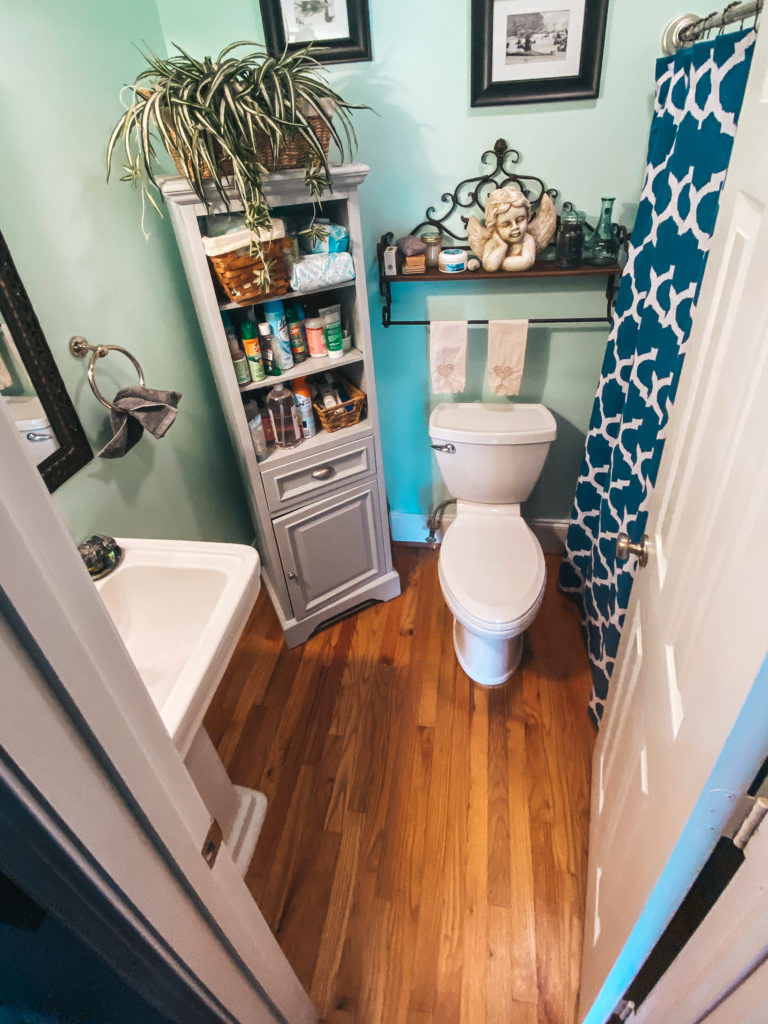
BEFORE:

How To Create A Historic Bathroom In A New Home


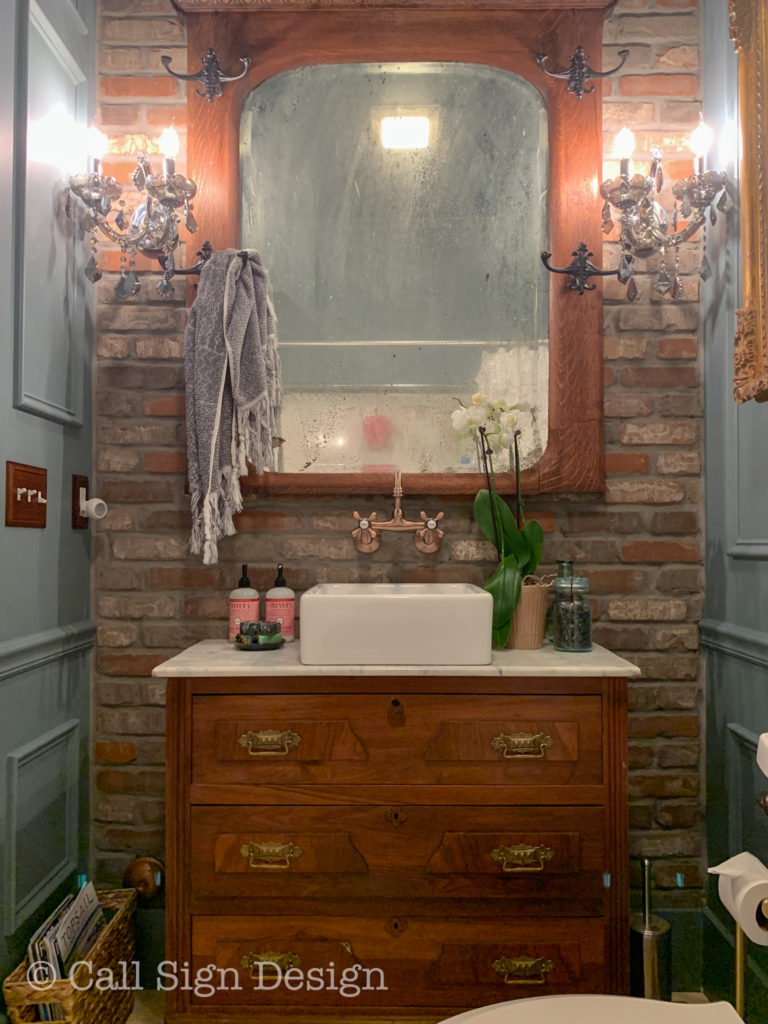
AFTER:

How To Create A Historic Bathroom In A New Home


BEFORE:

How To Create A Historic Bathroom In A New Home


AFTER:

How To Create A Historic Bathroom In A New Home


BEFORE:

How To Create A Historic Bathroom In A New Home


AFTER:

How To Create A Historic Bathroom In A New Home


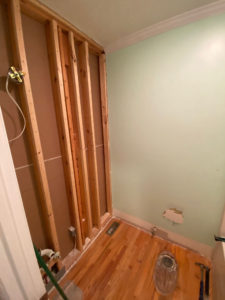
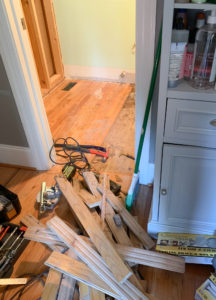
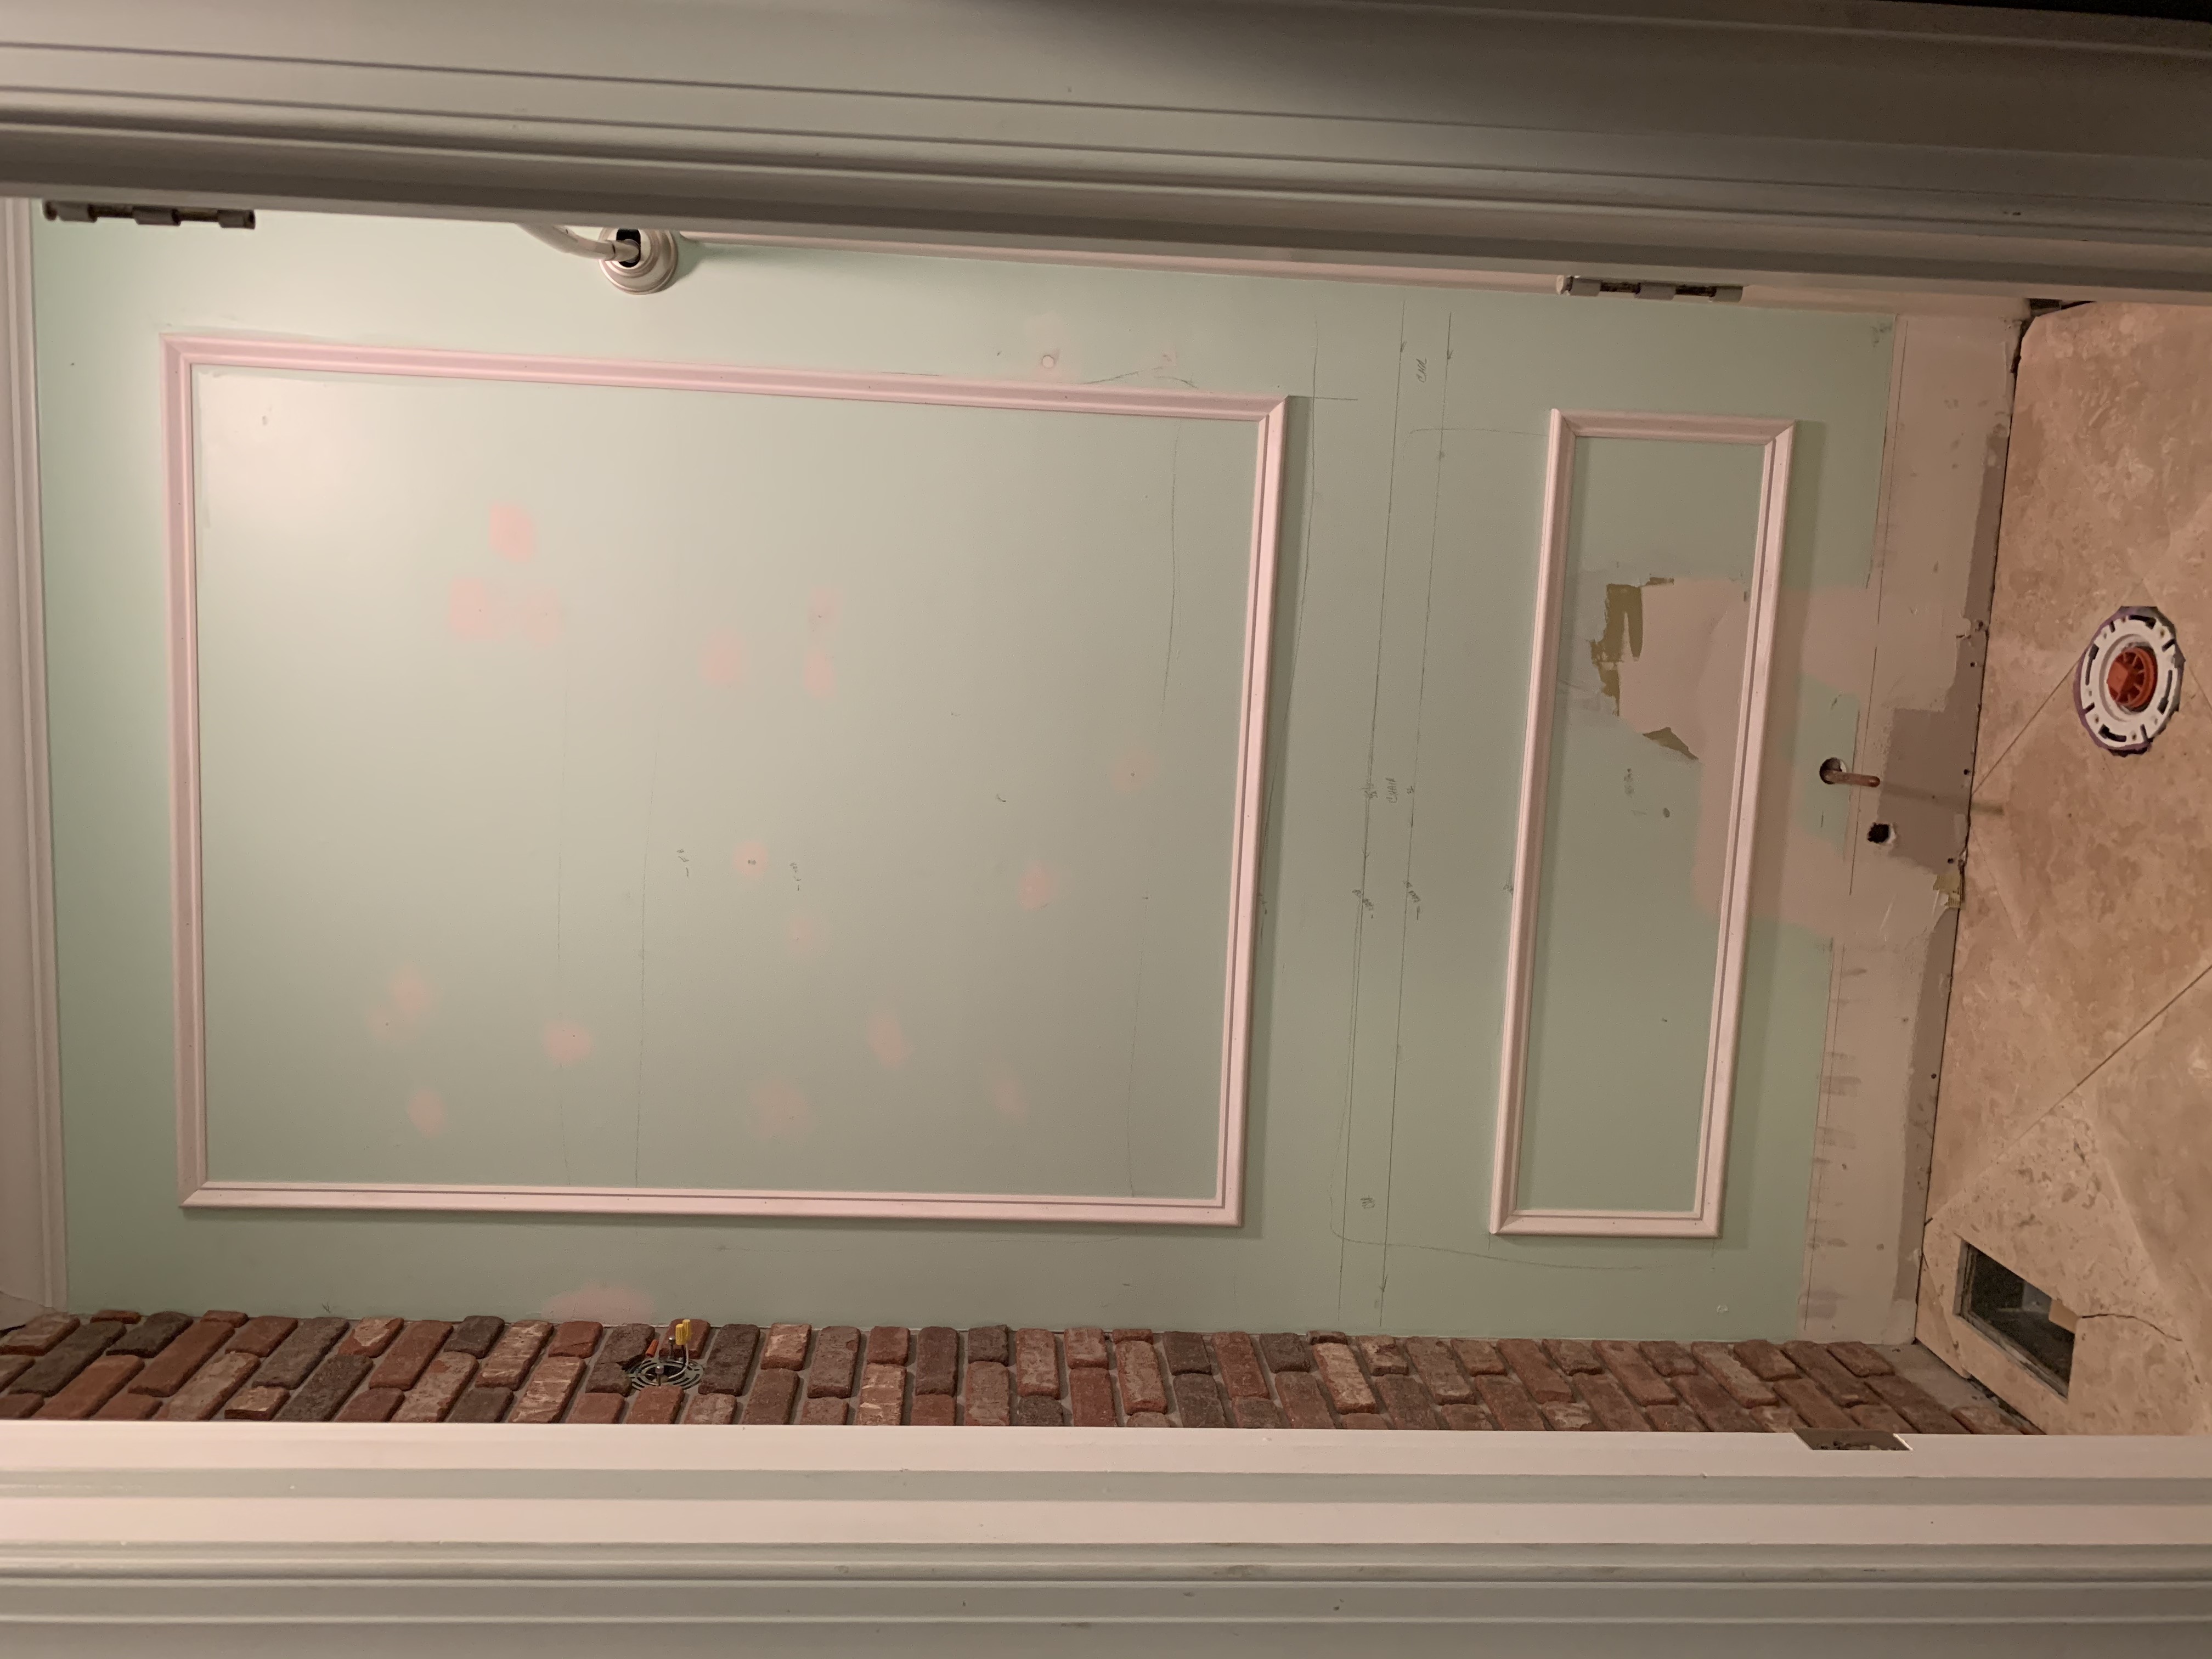
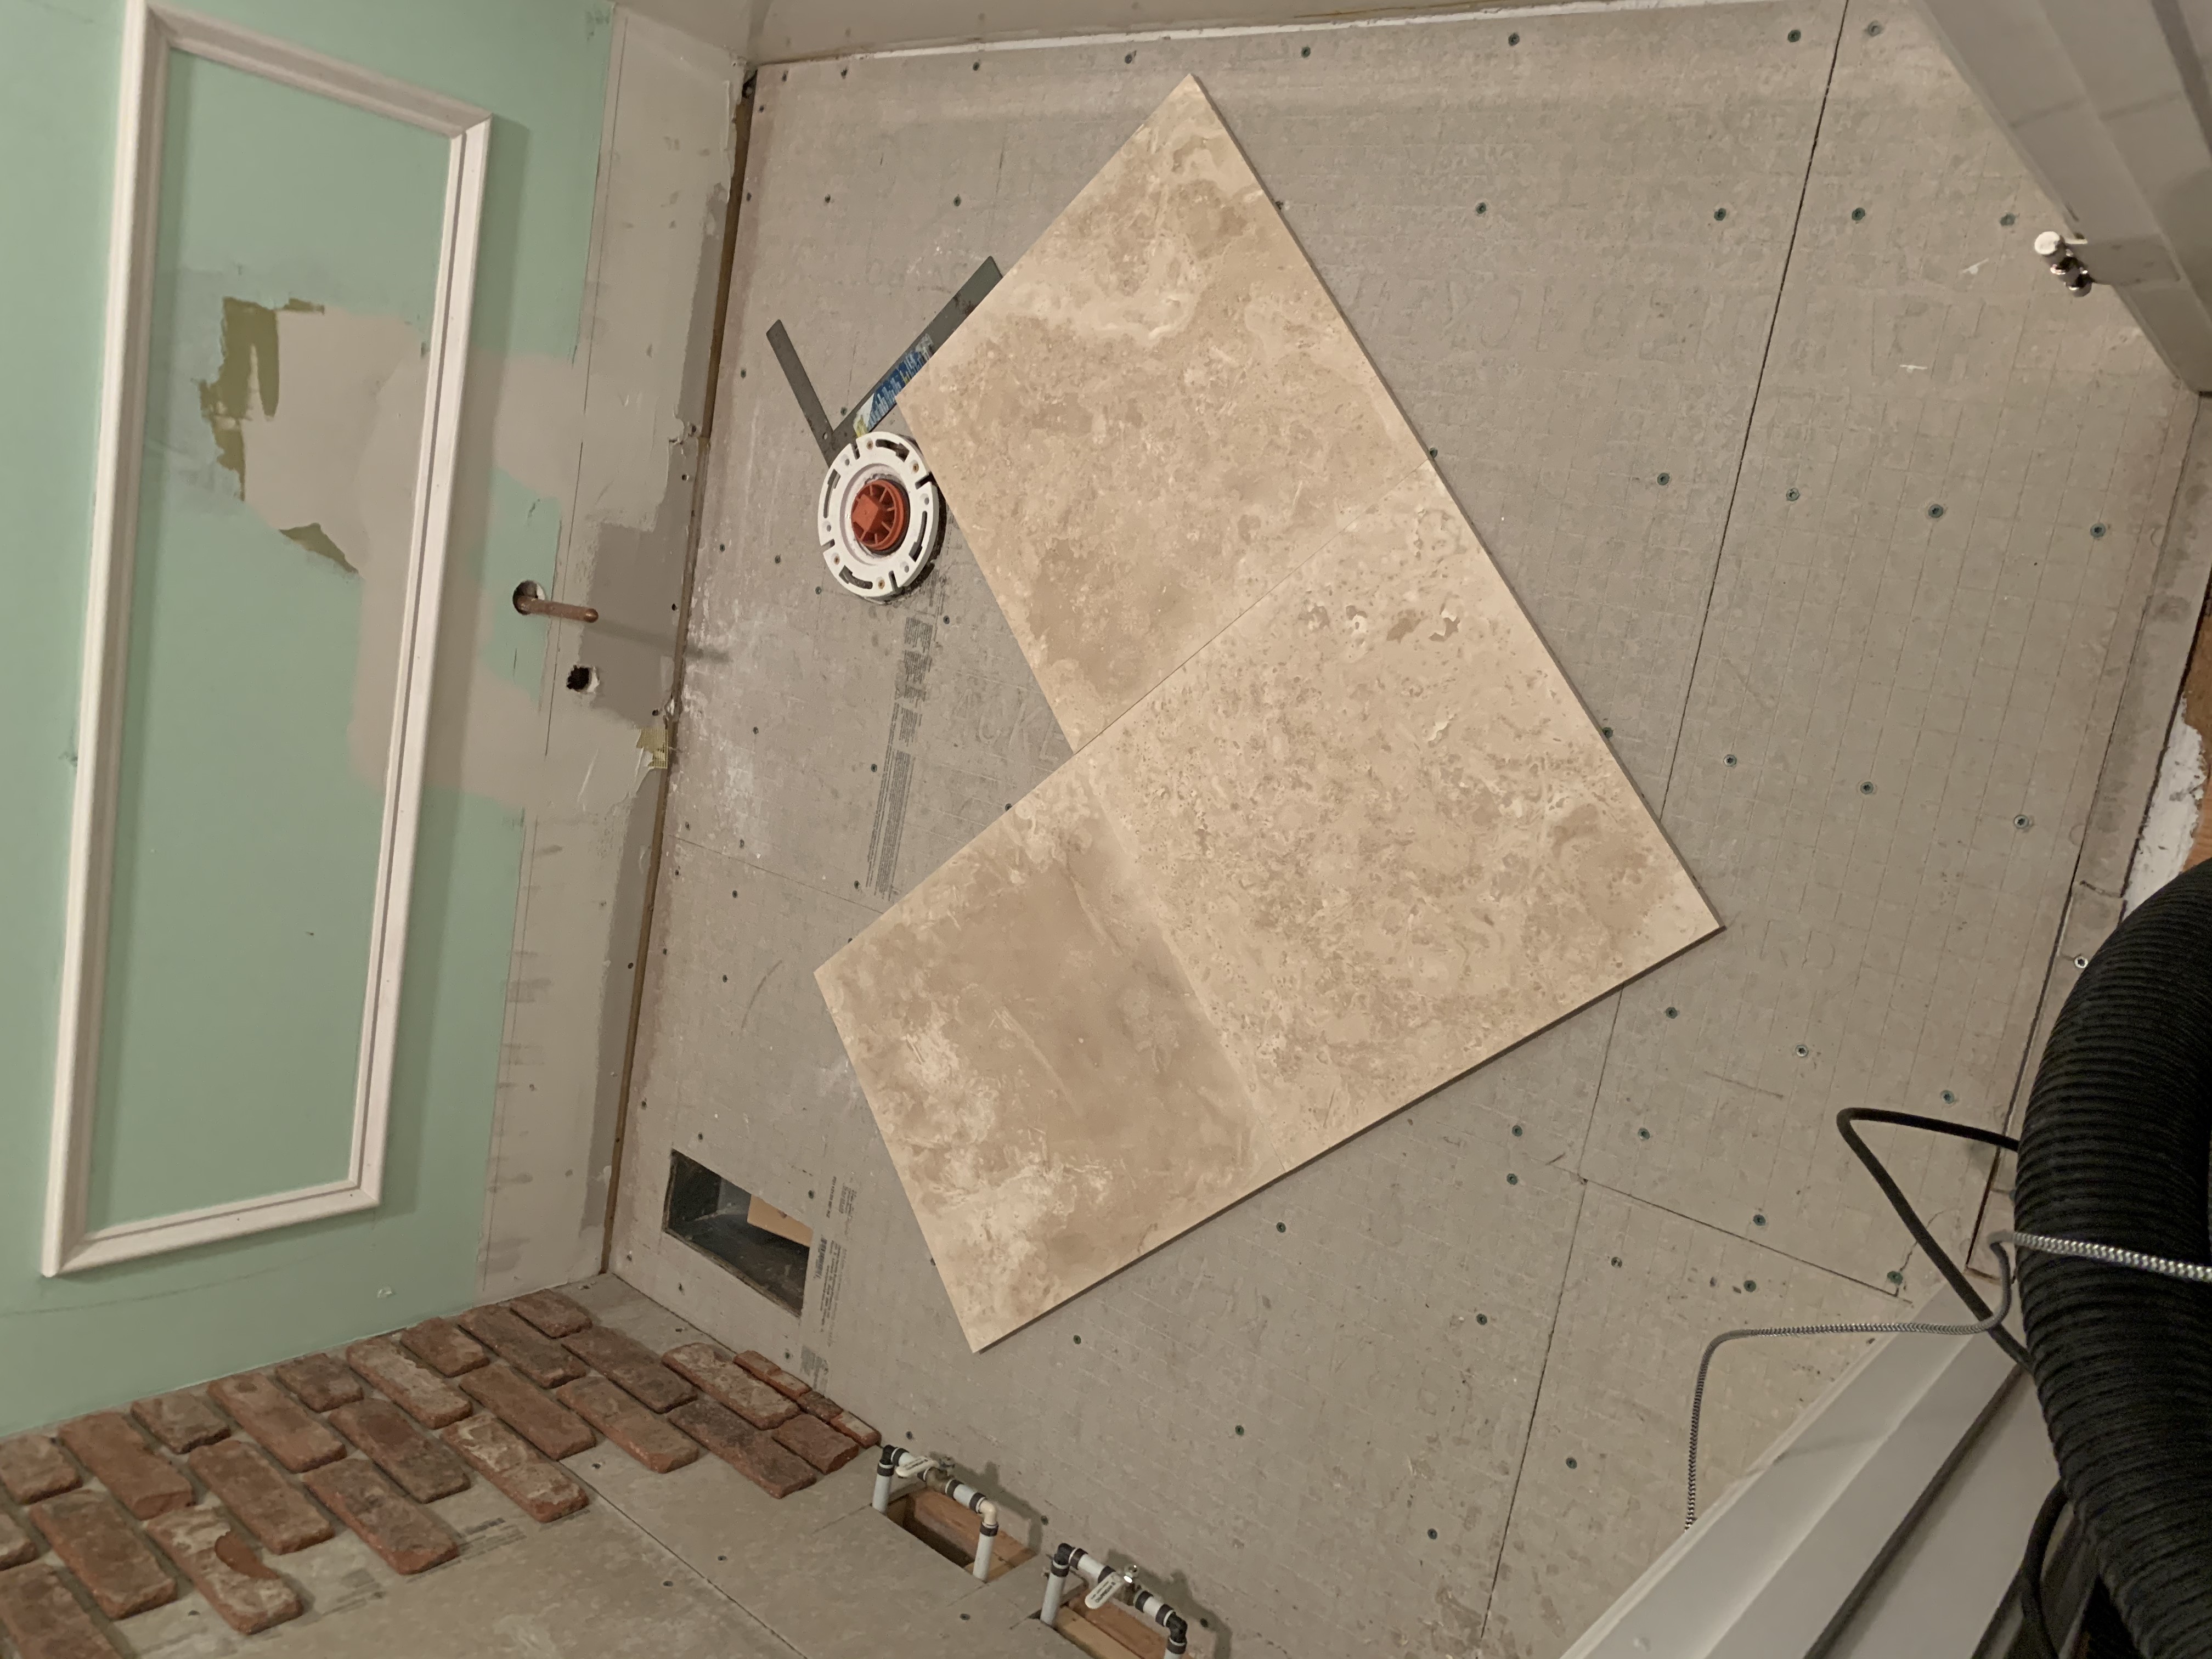
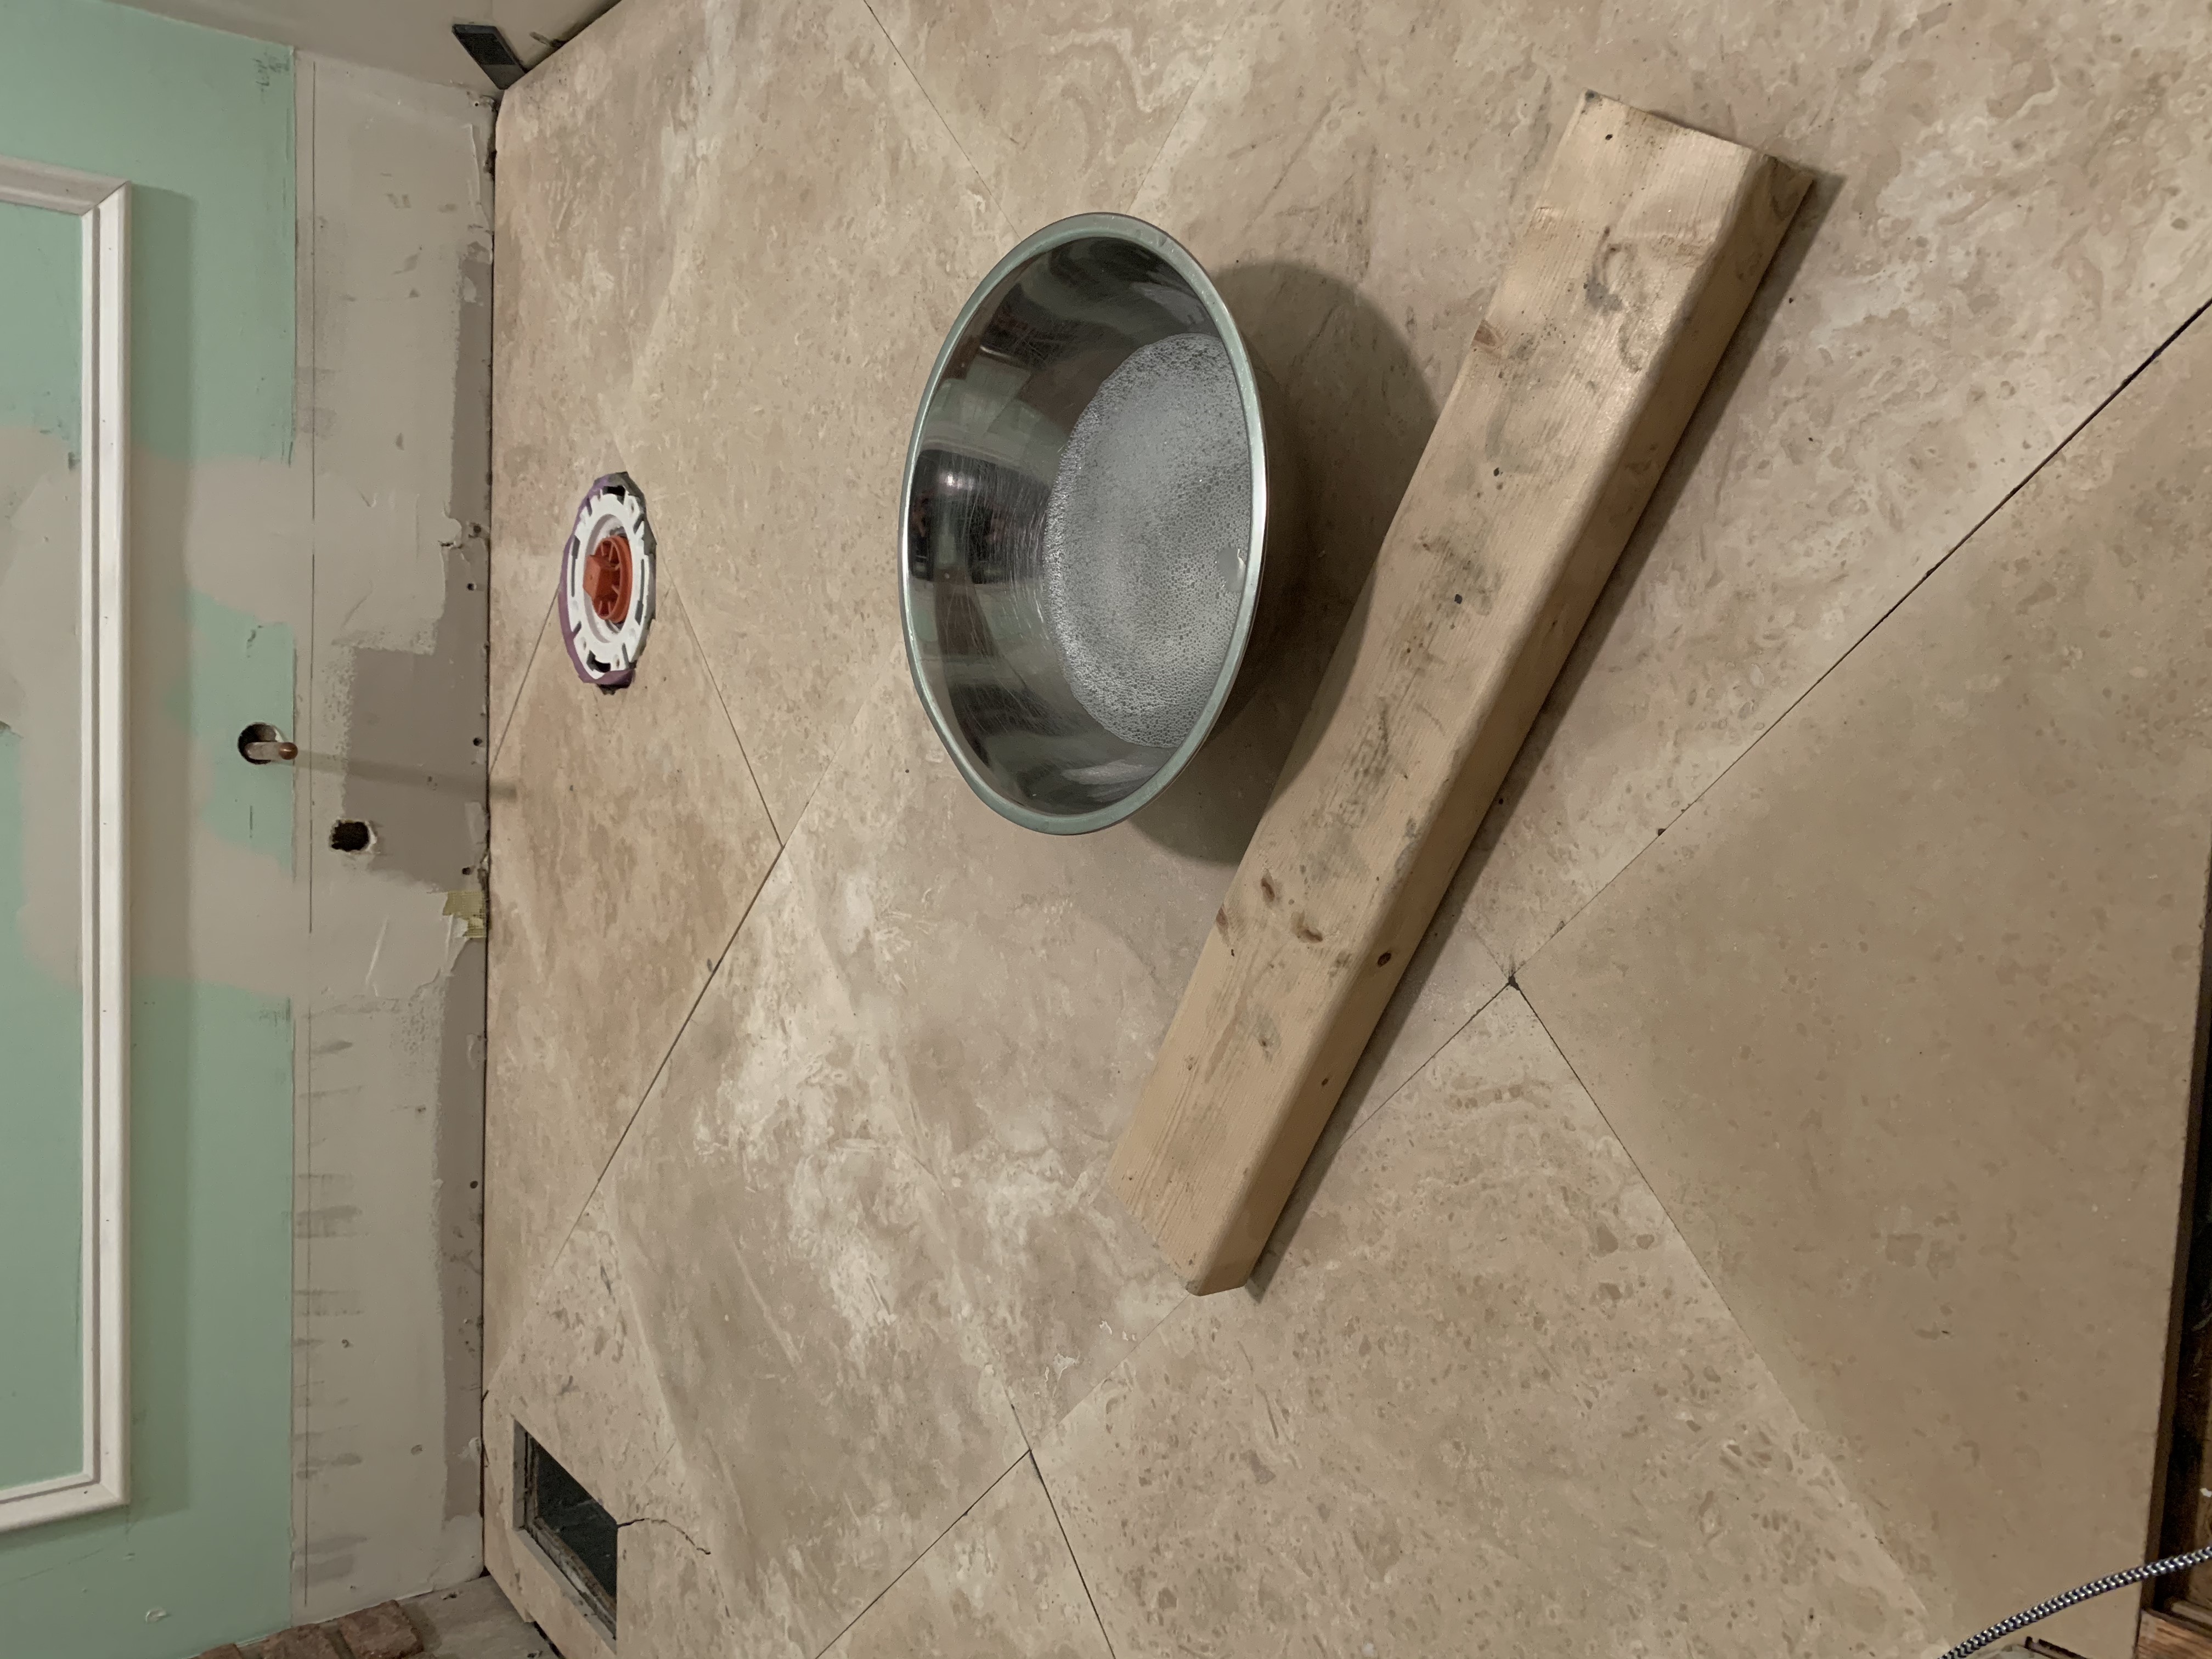
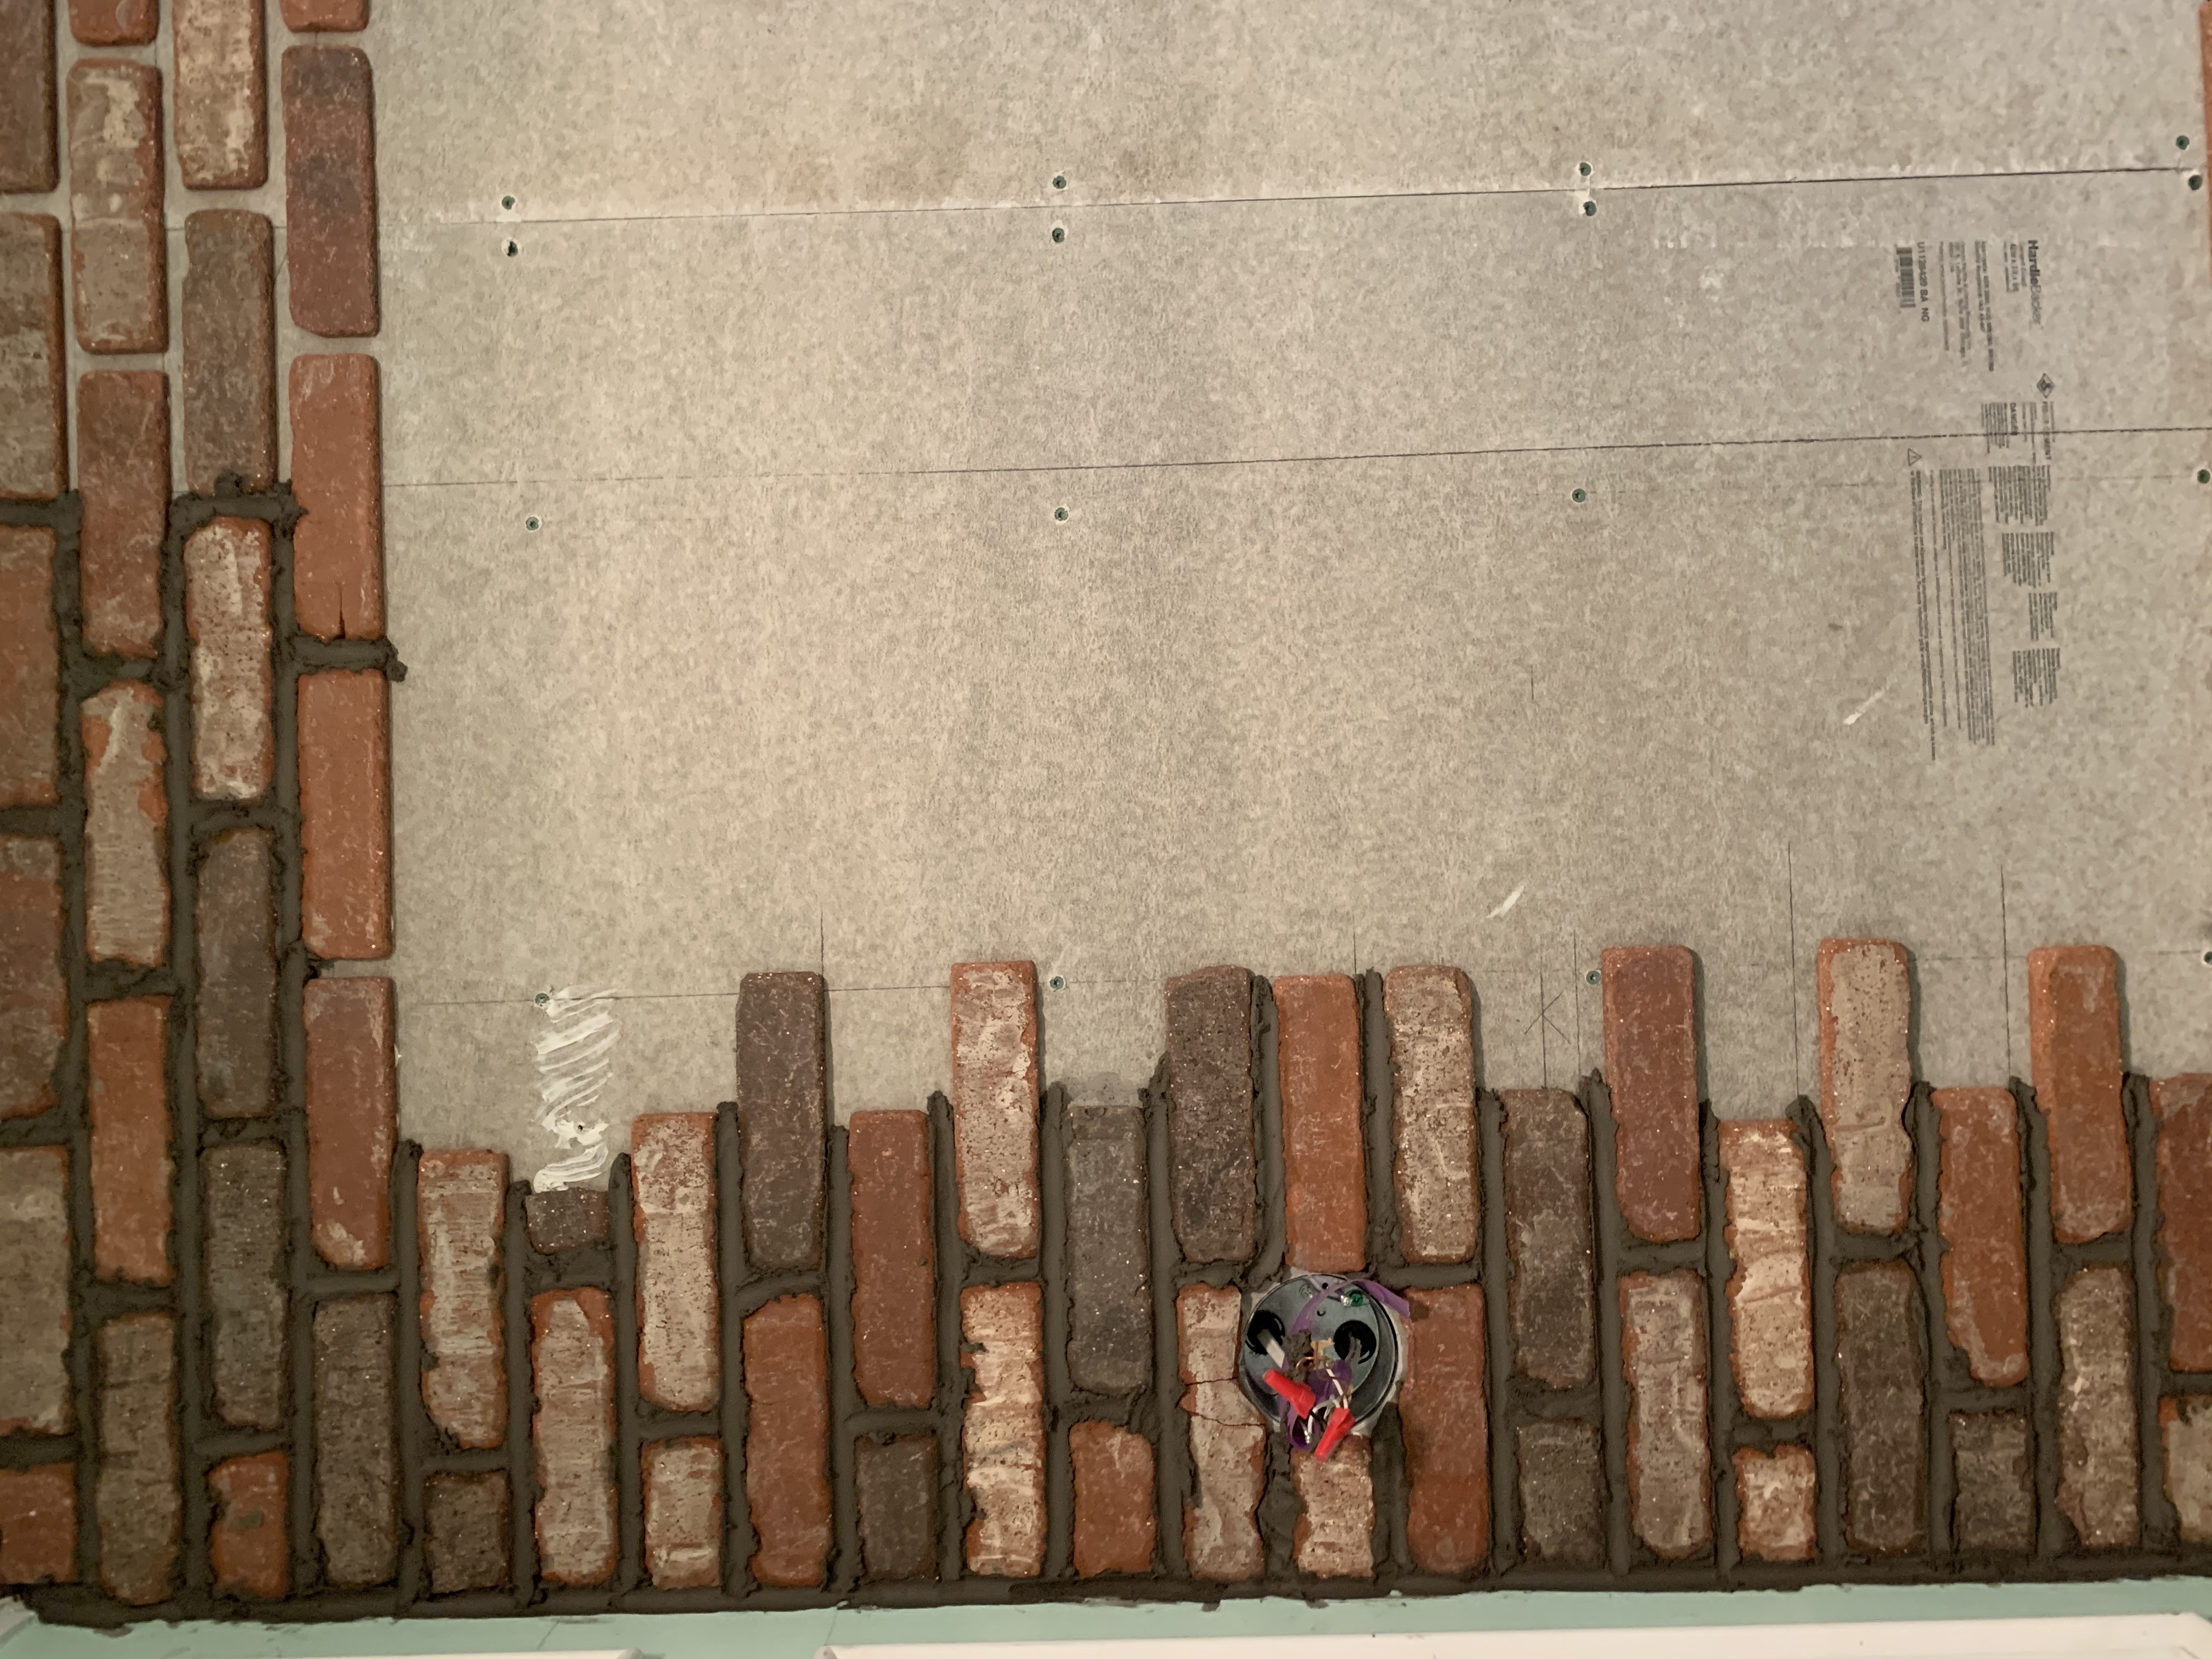
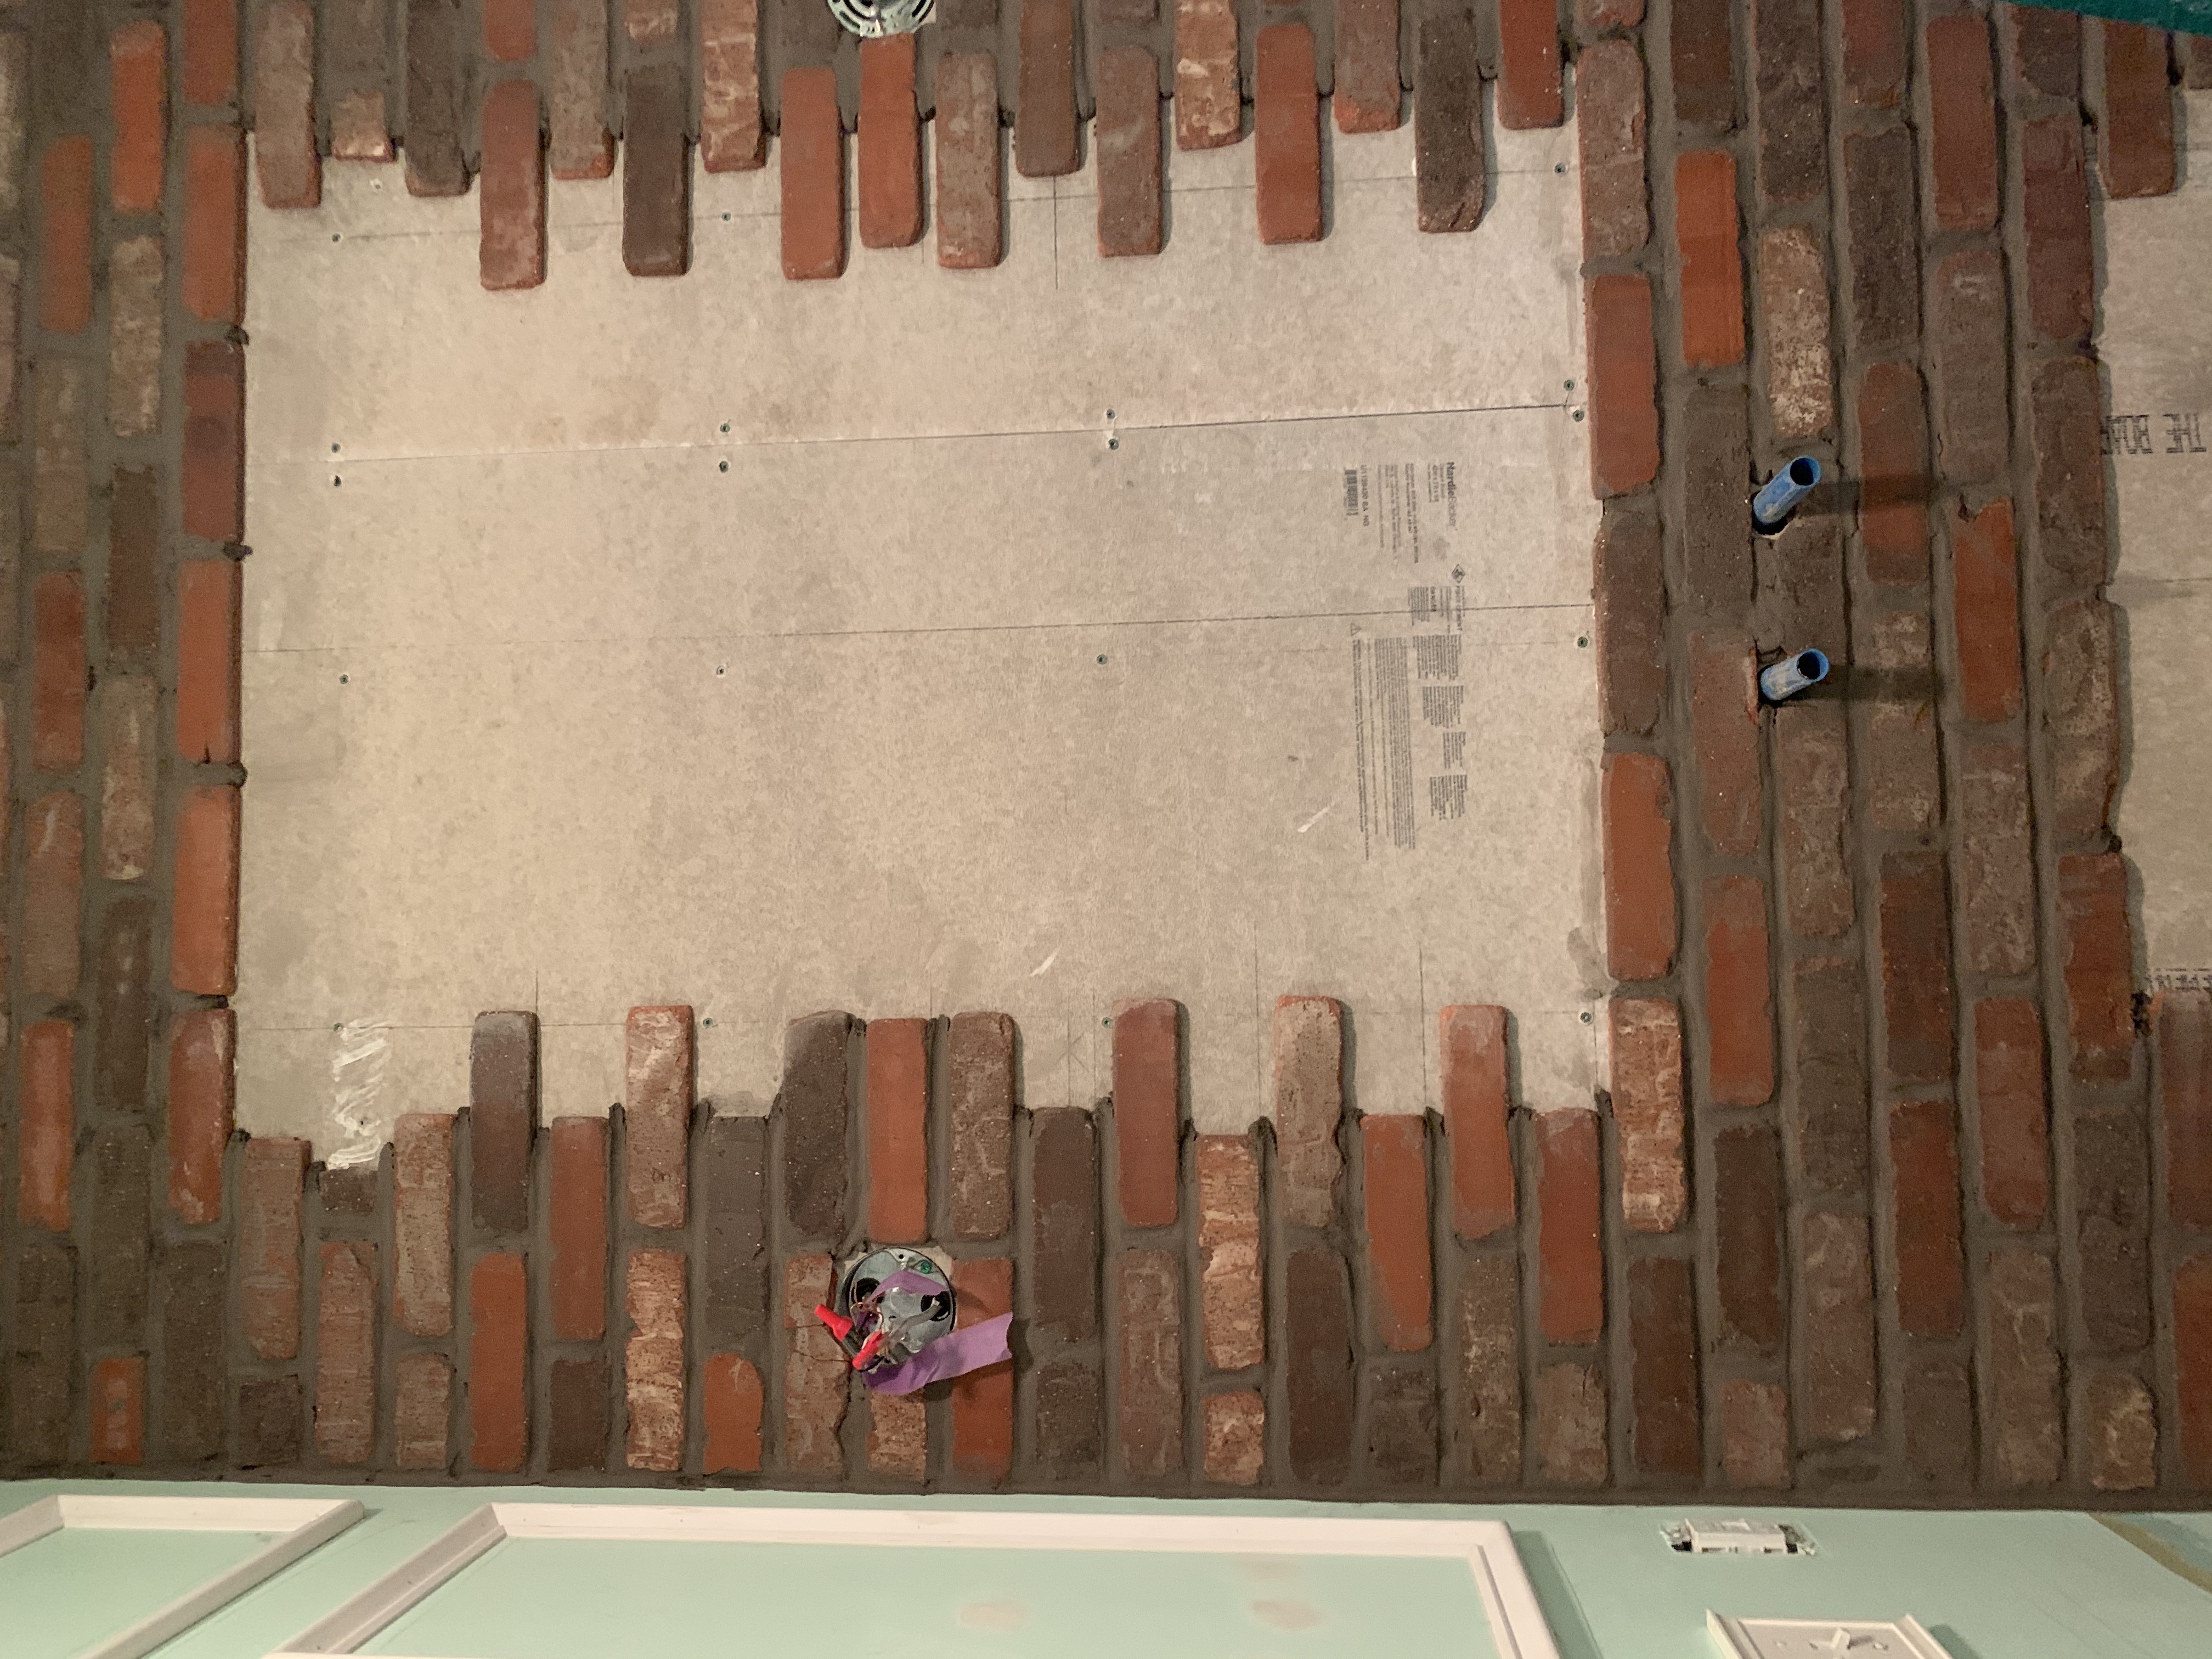
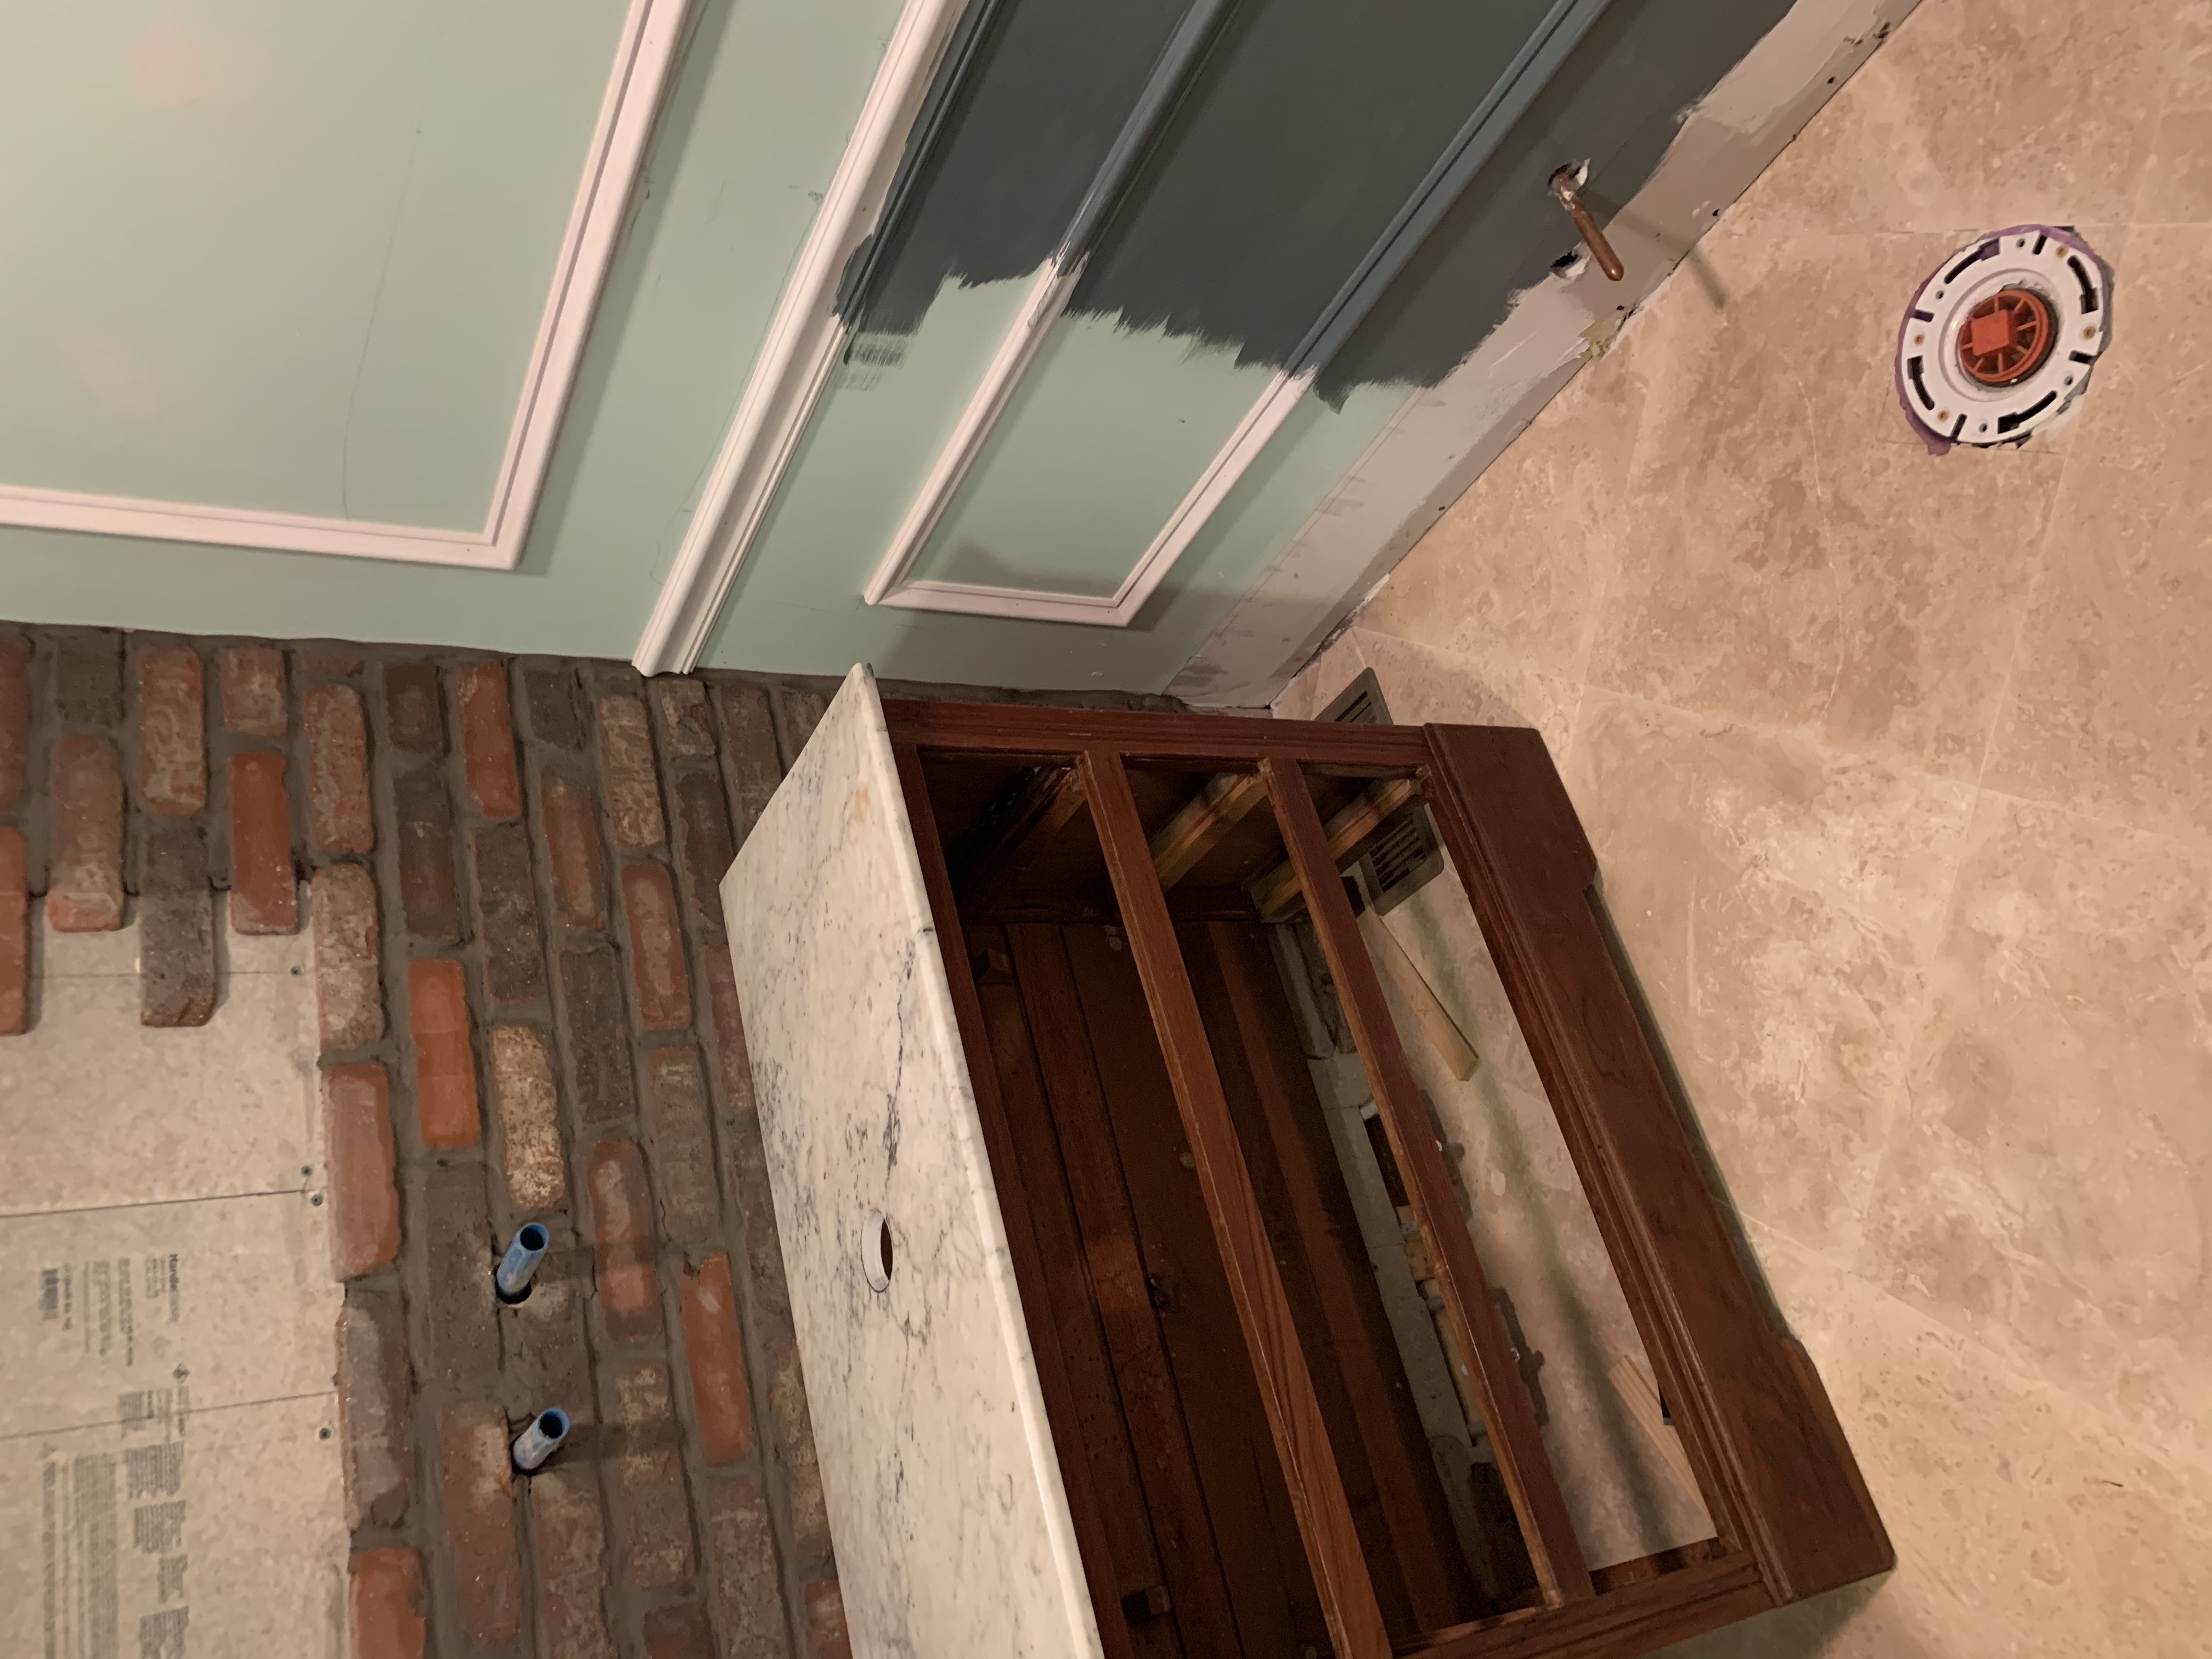
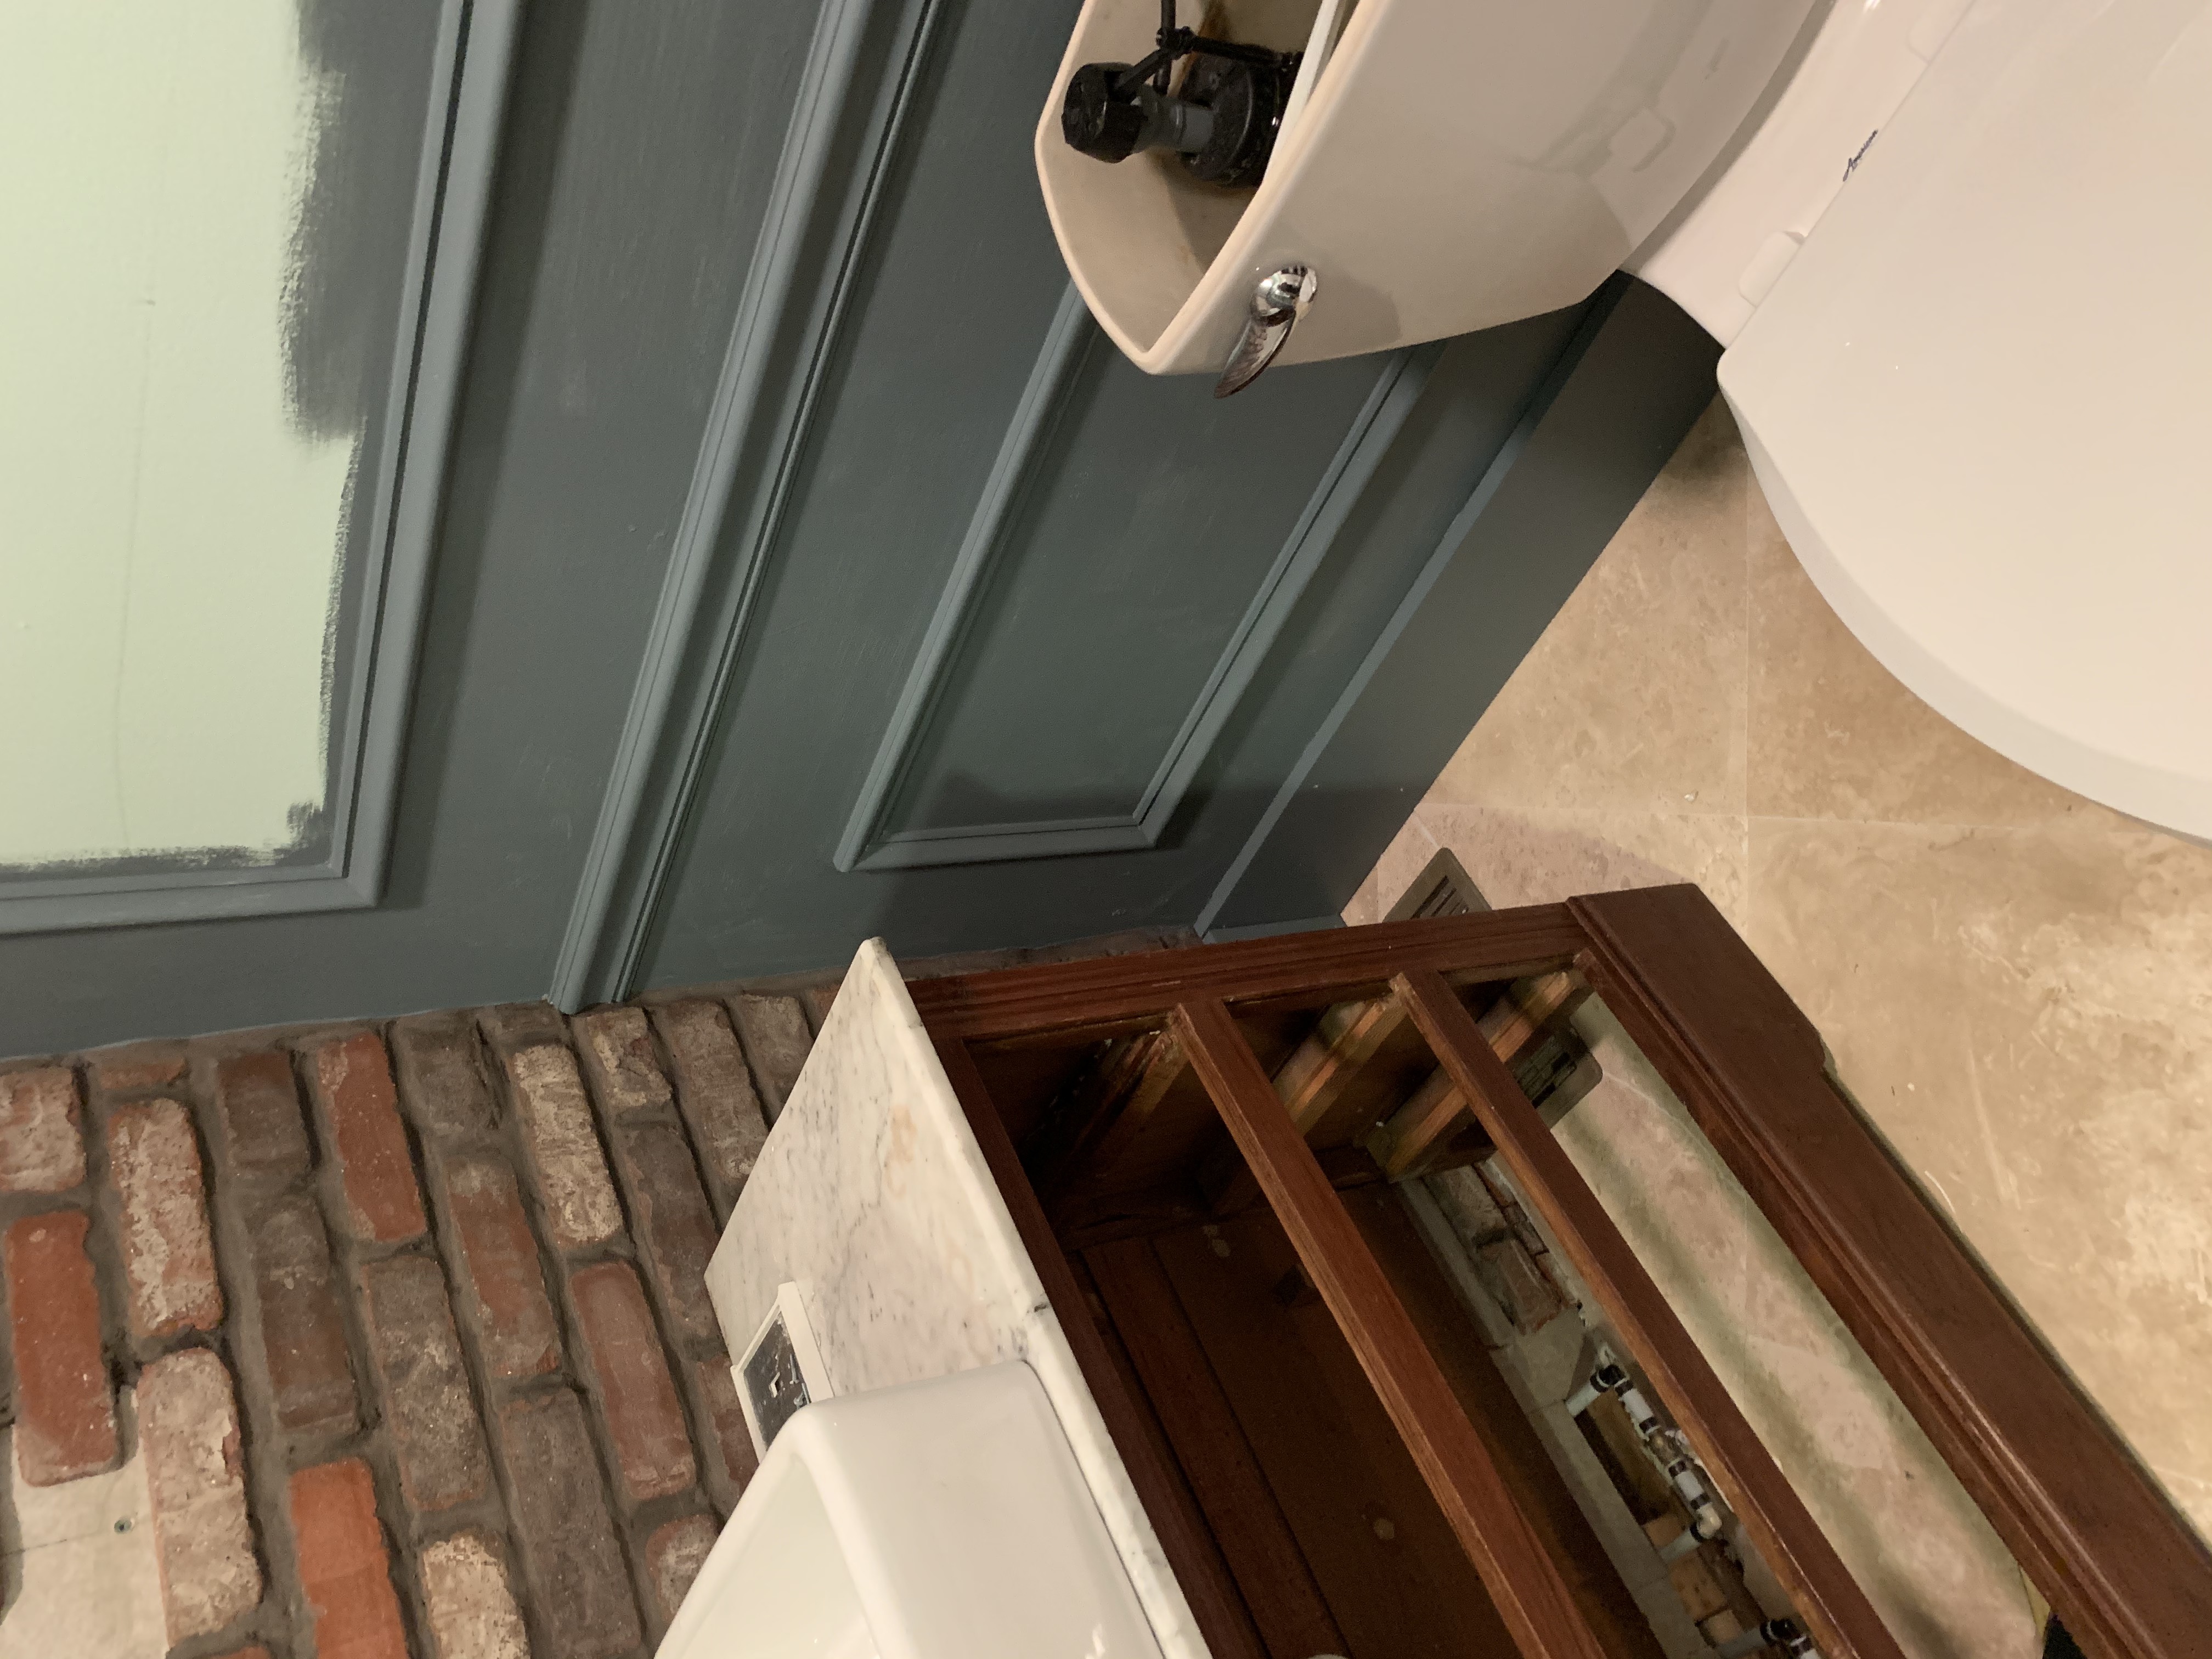
Here are some fun construction photos:

Don’t be discouraged by our two-week timeframe… we had to self-isolate for two weeks because we had a possible COVID exposure… so I very smoothly suggested that a lockdown would be an EXCELLENT opportunity to renovate the bathroom (for which we just happened to have all of the supplies)… This cut our normal construction time from about ten years per project to finished in about two weeks.


I think renovations are a lot like having babies: you only do it again because you forget how painful and messy it is. But, you keep doing it because the end result is AMAZING (even if the process involves pain, bleeding, and occasional screaming). I’m trying to remind myself of that because the ENTIRE downstairs is in a state of construction mess.

Also, the six year old has done 5000 drawings watching Youtube videos. She loves it when we’re distracted. Insert mom guilt.

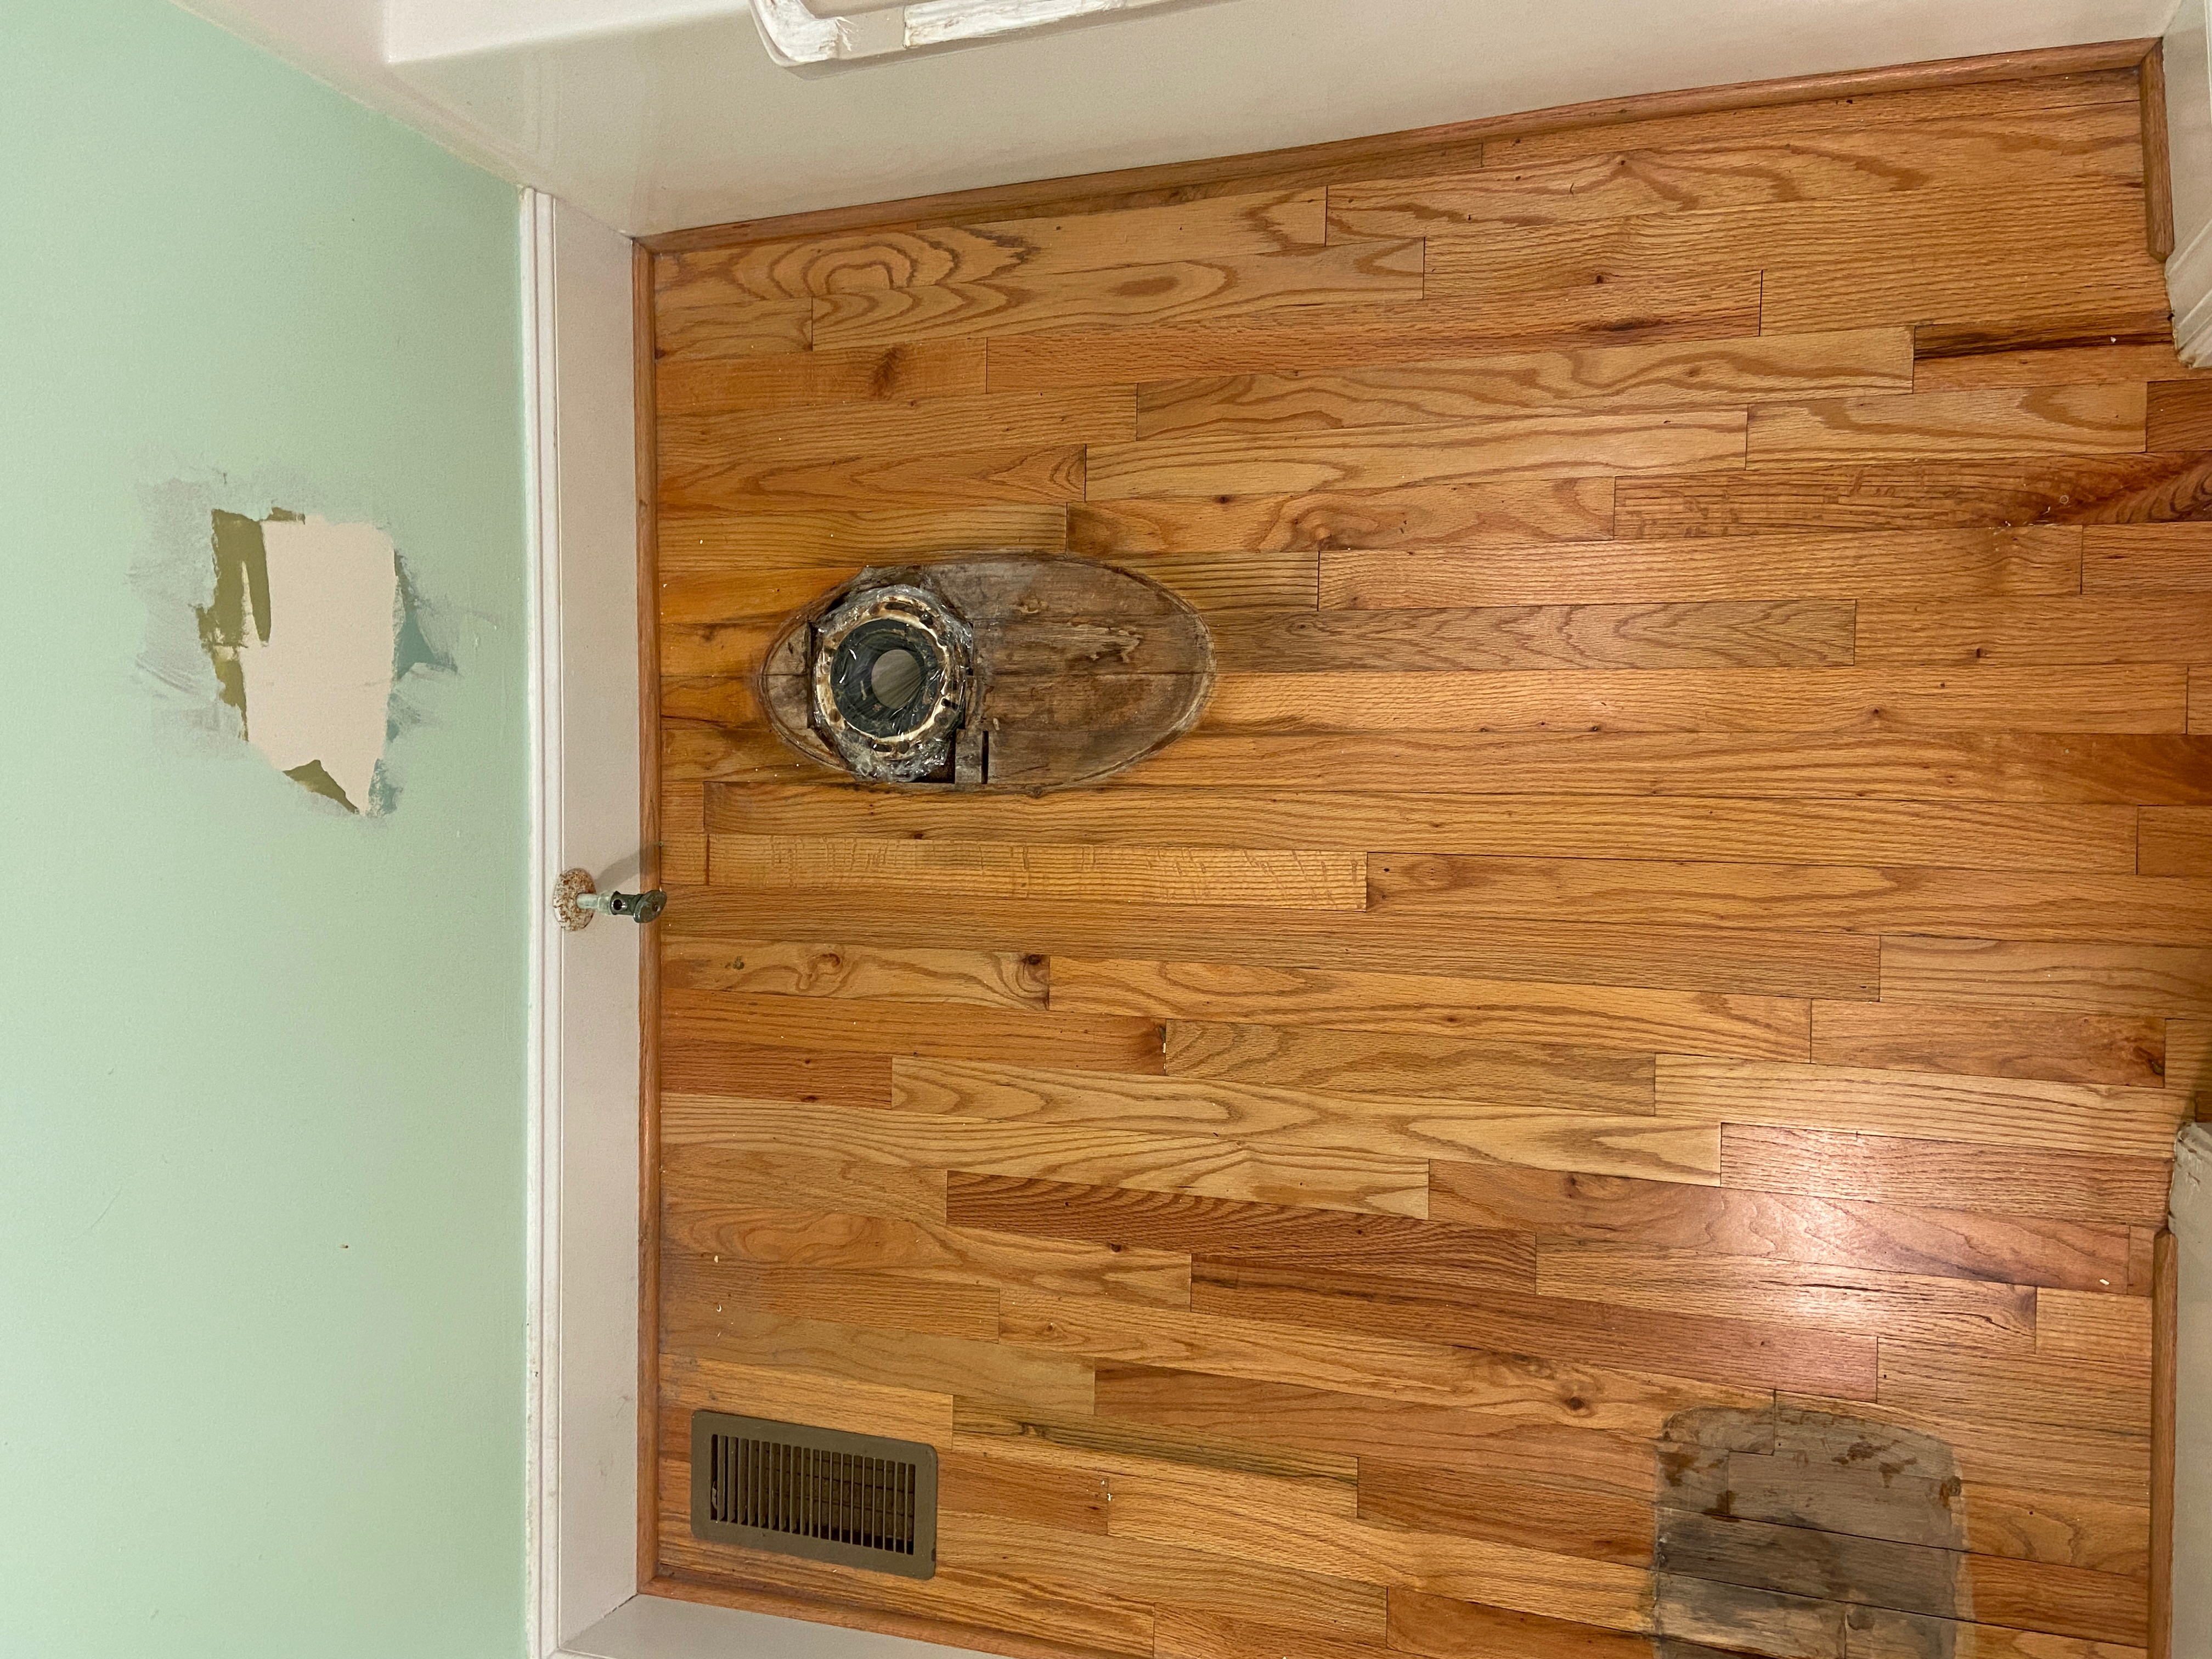
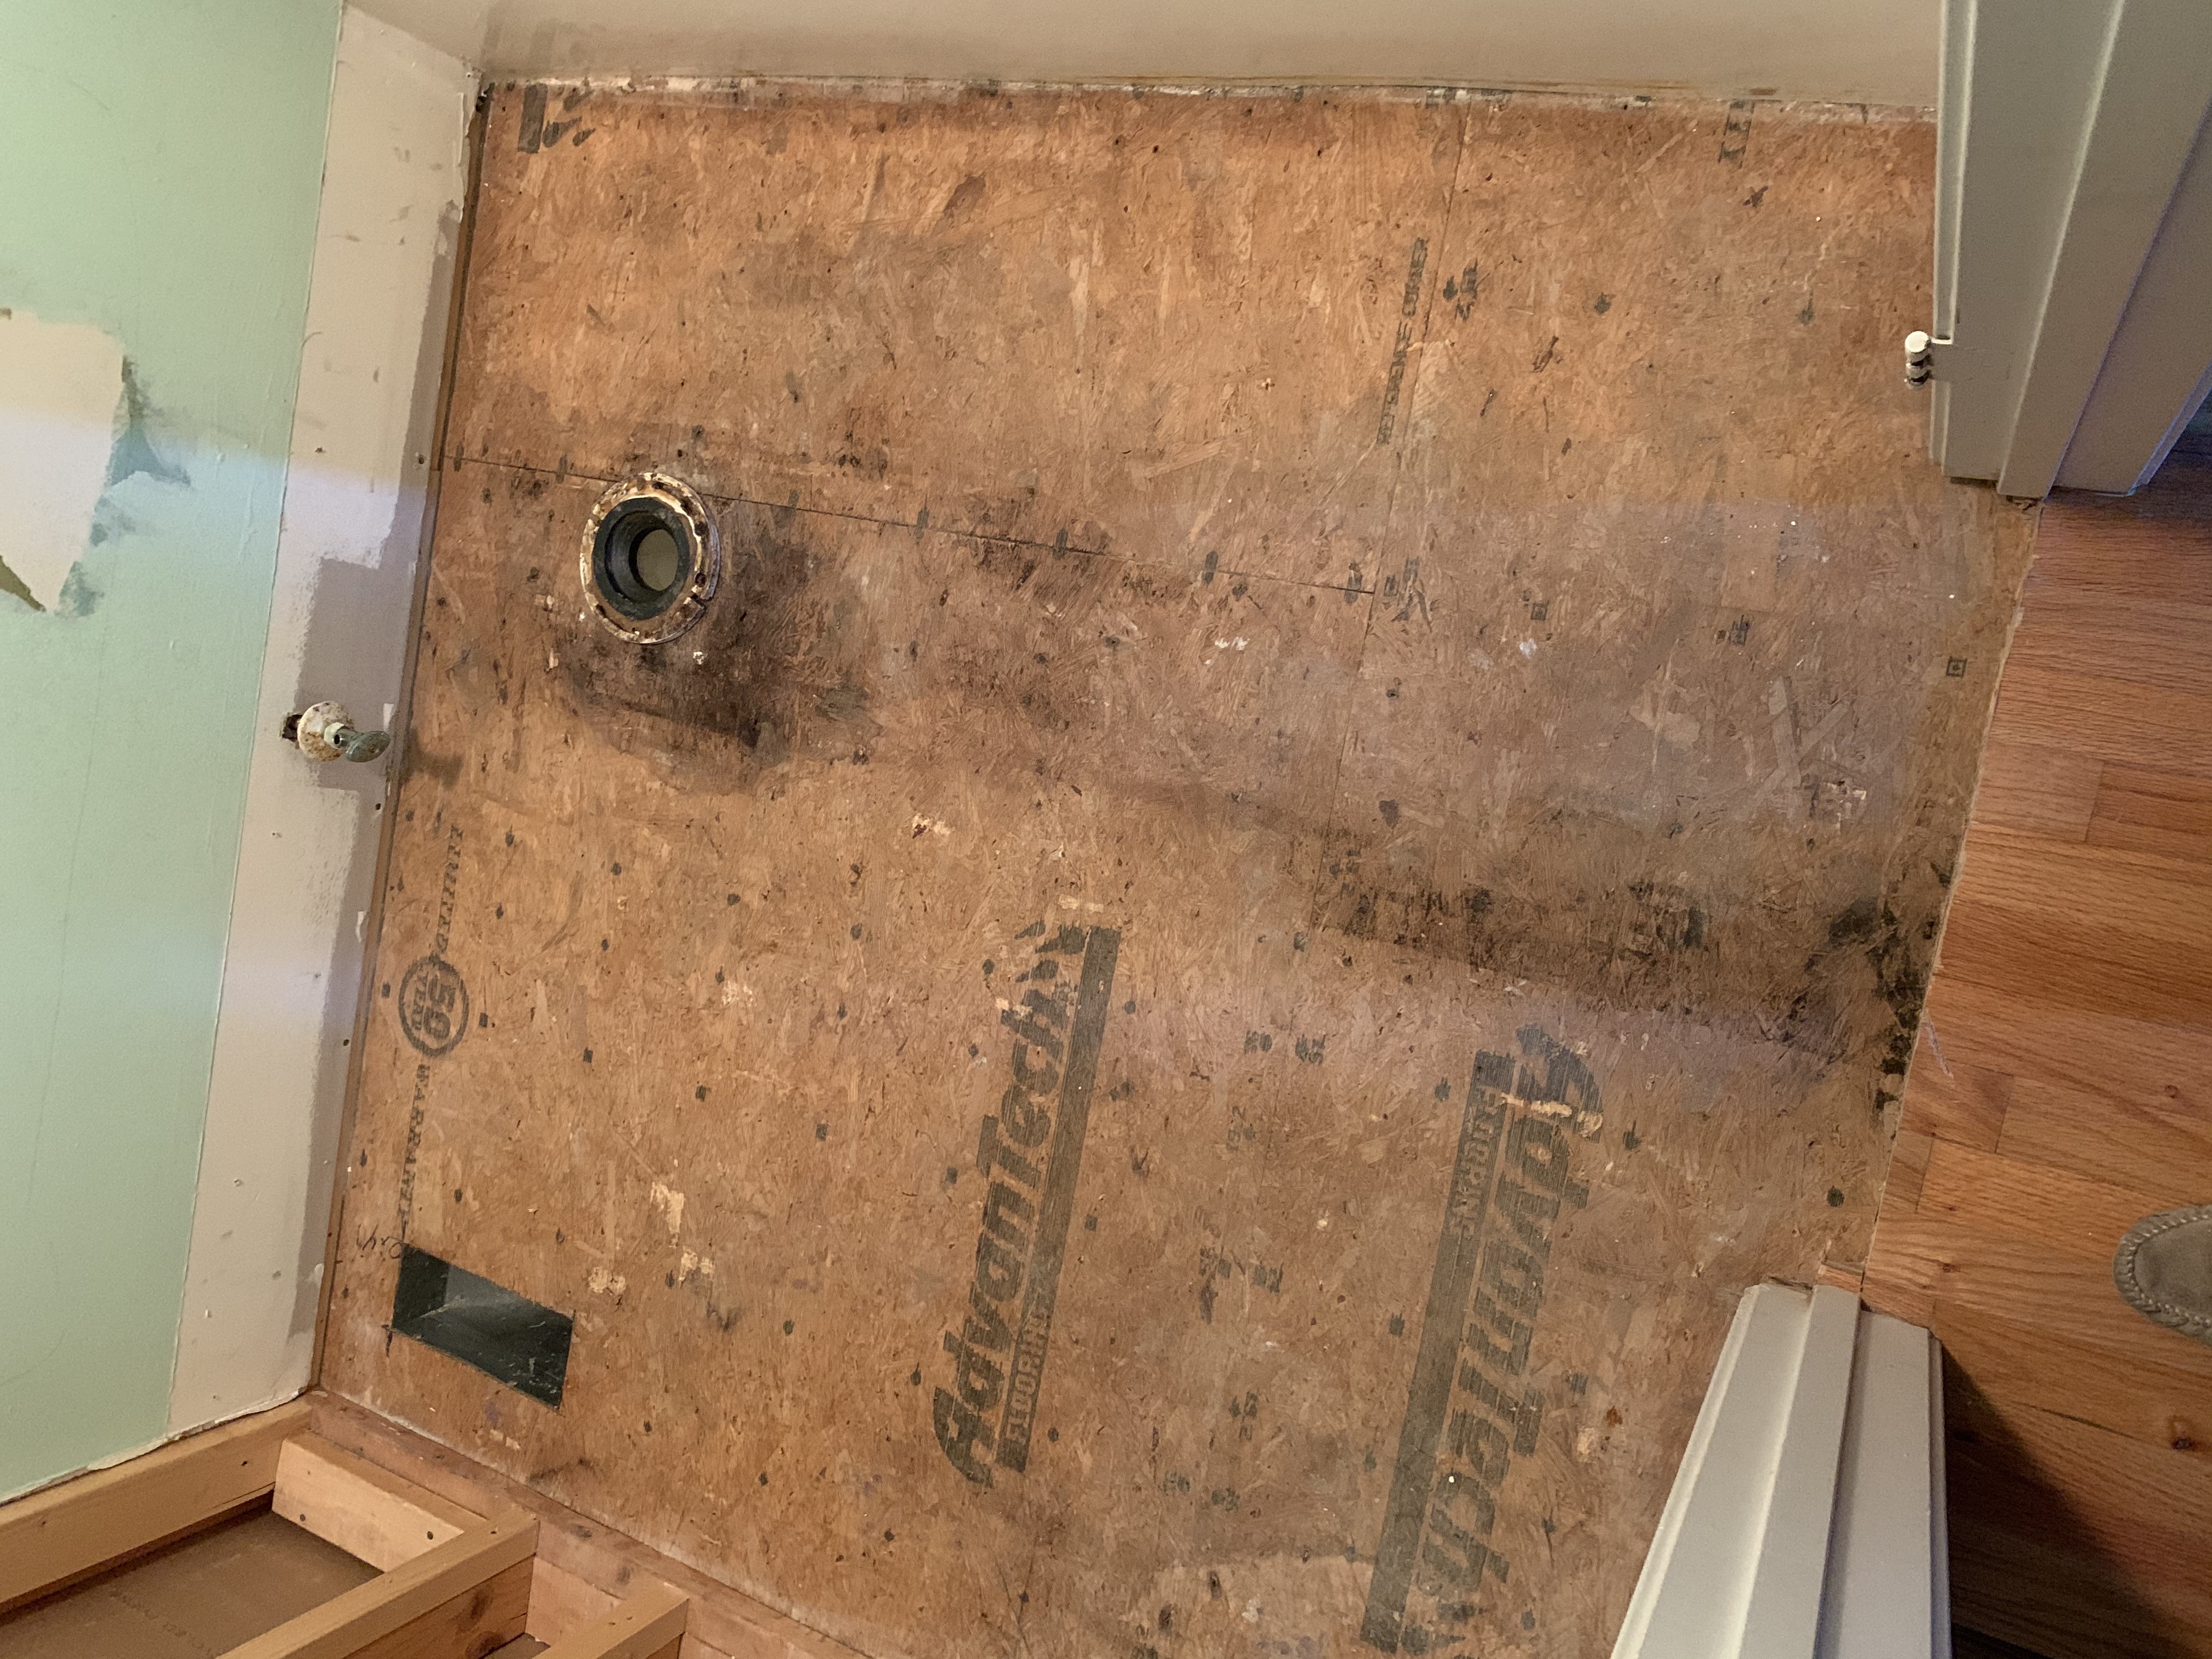
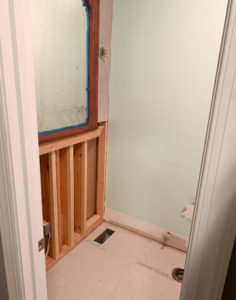
For those of you who have ever renovated a bathroom, you already noticed the water damage (NEVER, EVER PUT A WOOD FLOOR IN A BATHROOM). And you were already thinking, “I wonder if they have any extra plywood on hand for that subfloor because I bet it has rot.” And you’d be right.

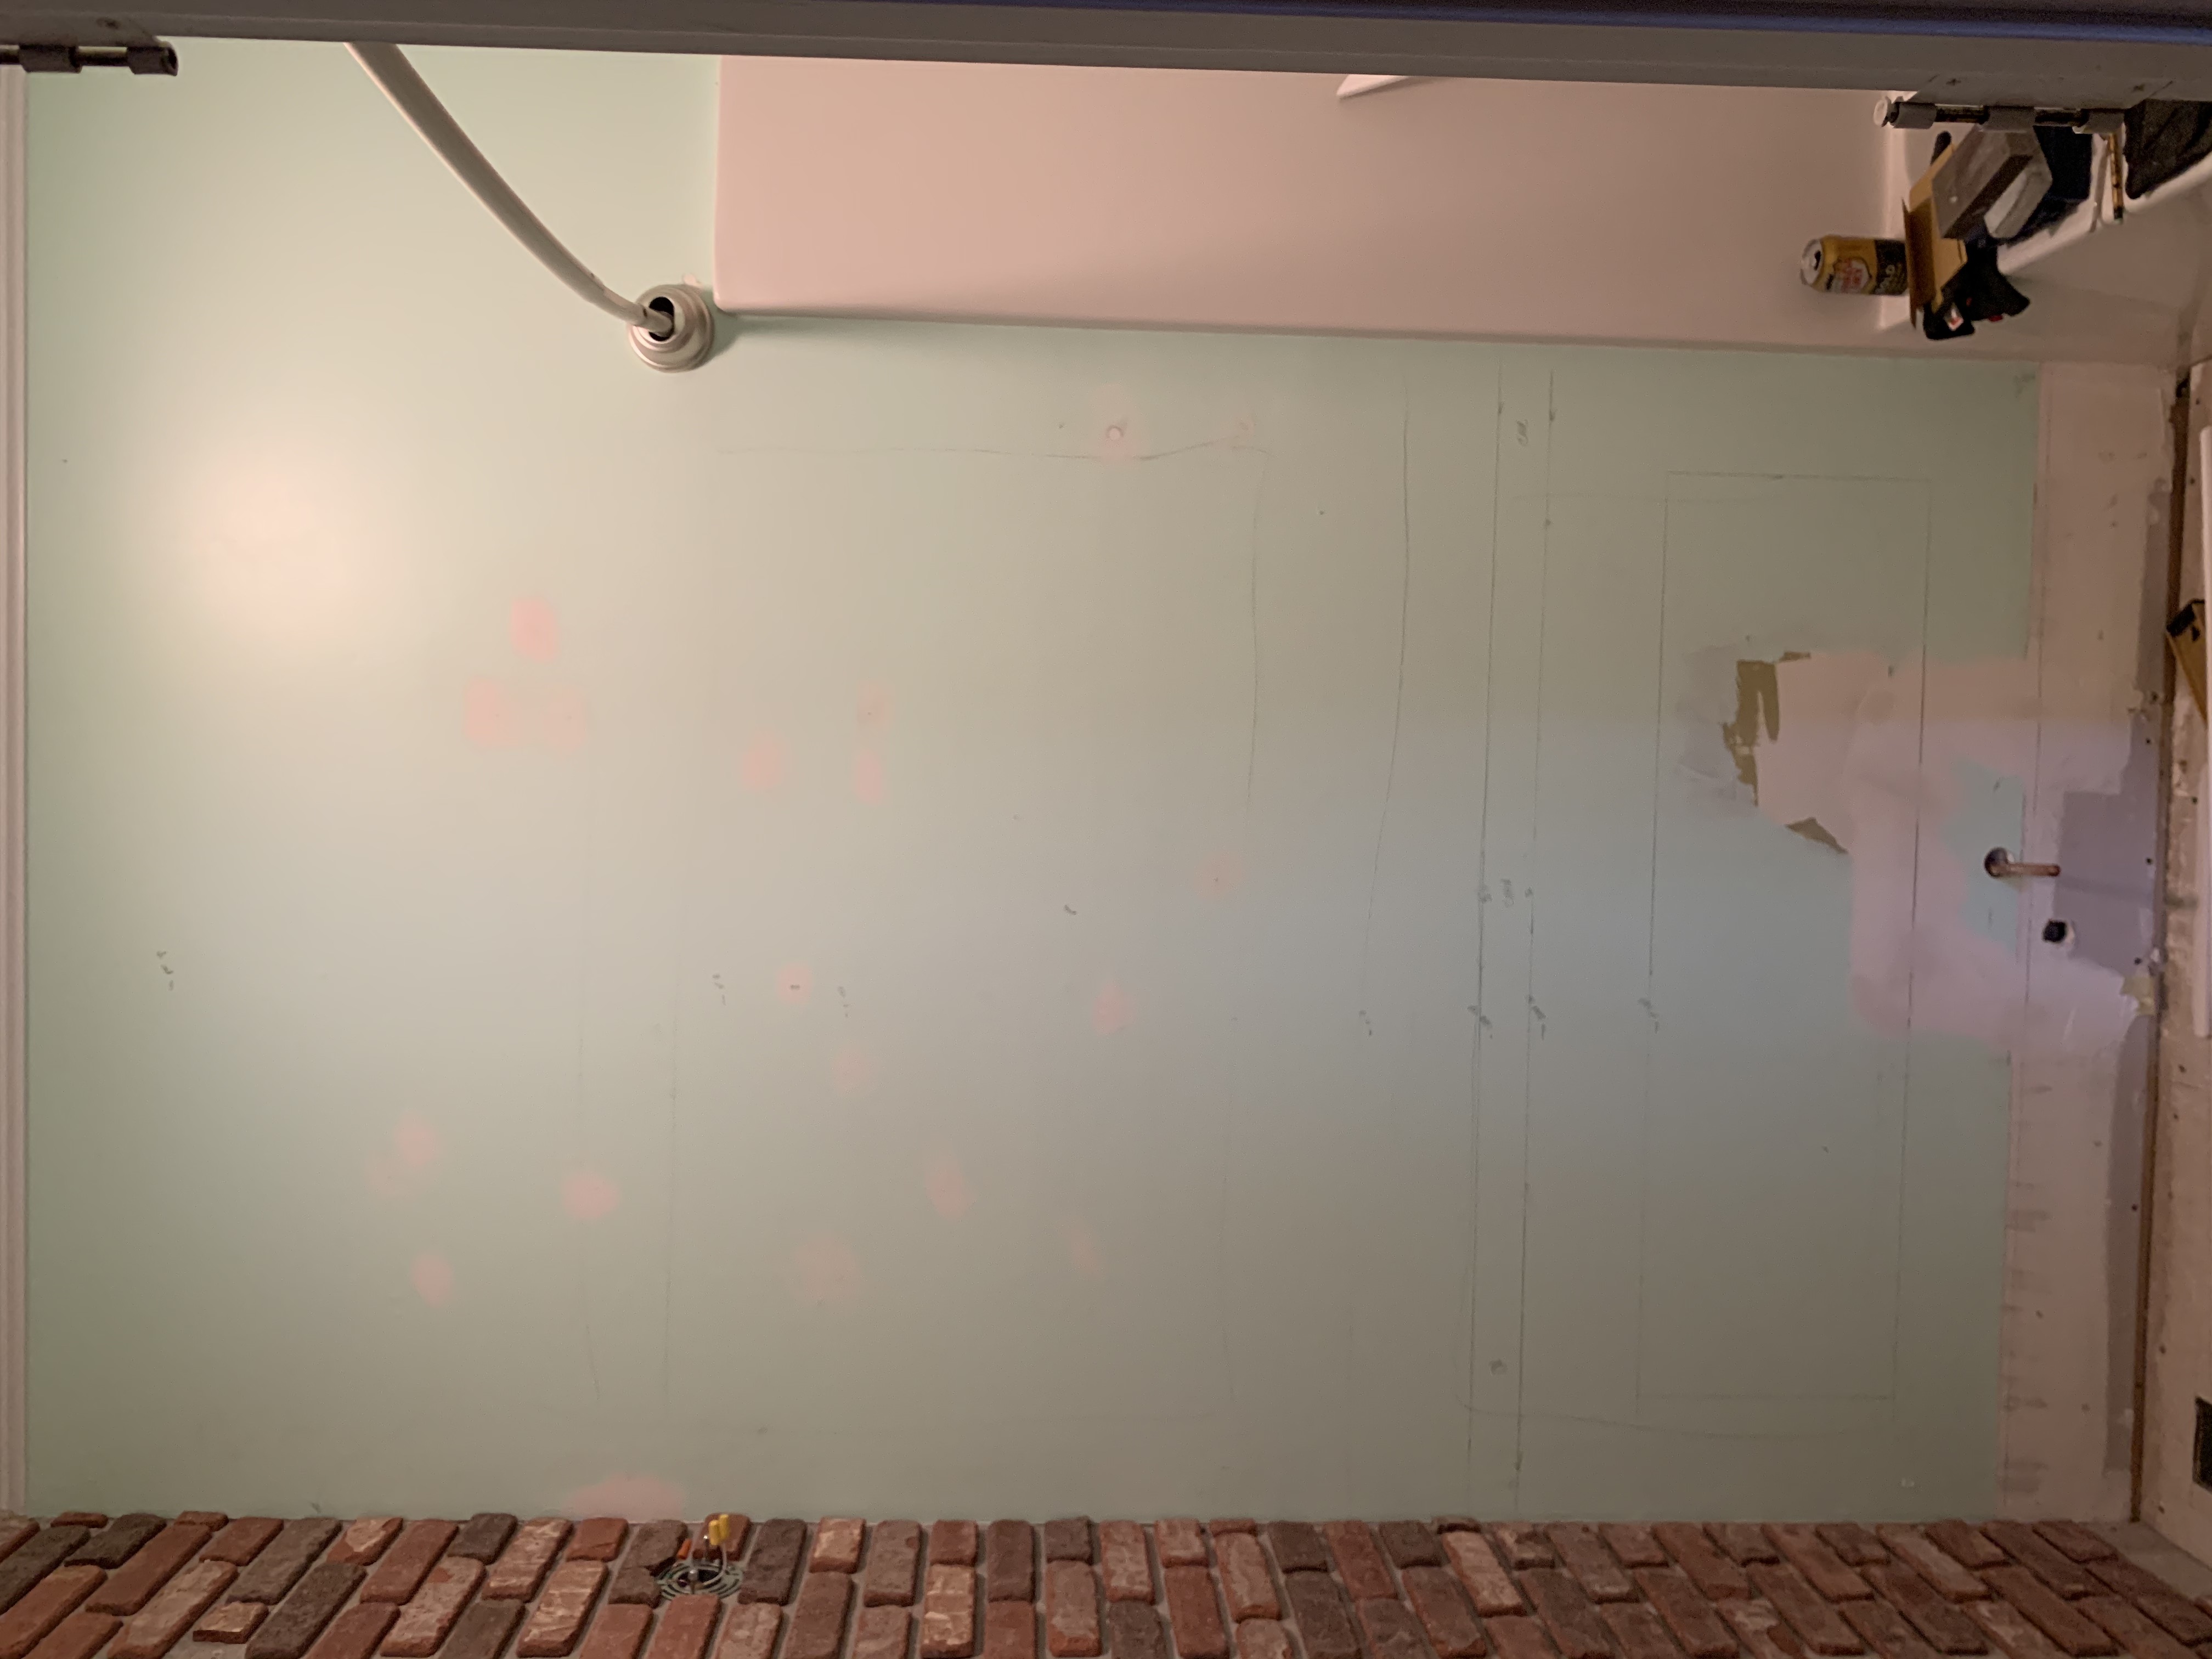
You noticed the color is different than the mood board? Yes, I changed my paint plan at the last minute (like THAT’S never happened before). I decided to go with Benjamin Moore’s Smoke Stack Gray.  I think it’s going to have the cozy feel I want anyway, because the room is very small and I’m painting EVERYTHING the same color (ceiling, walls, and trim).

But, here’s for the really fun part: FINISHED!!!

How To Create A Historic Bathroom In A New Home


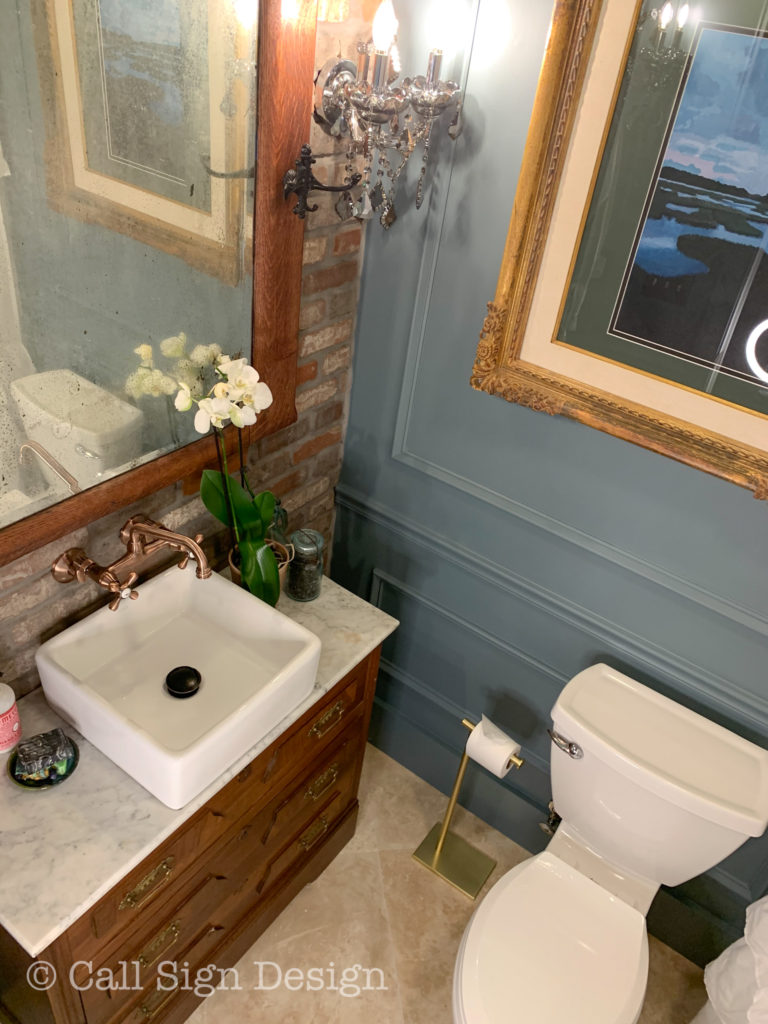
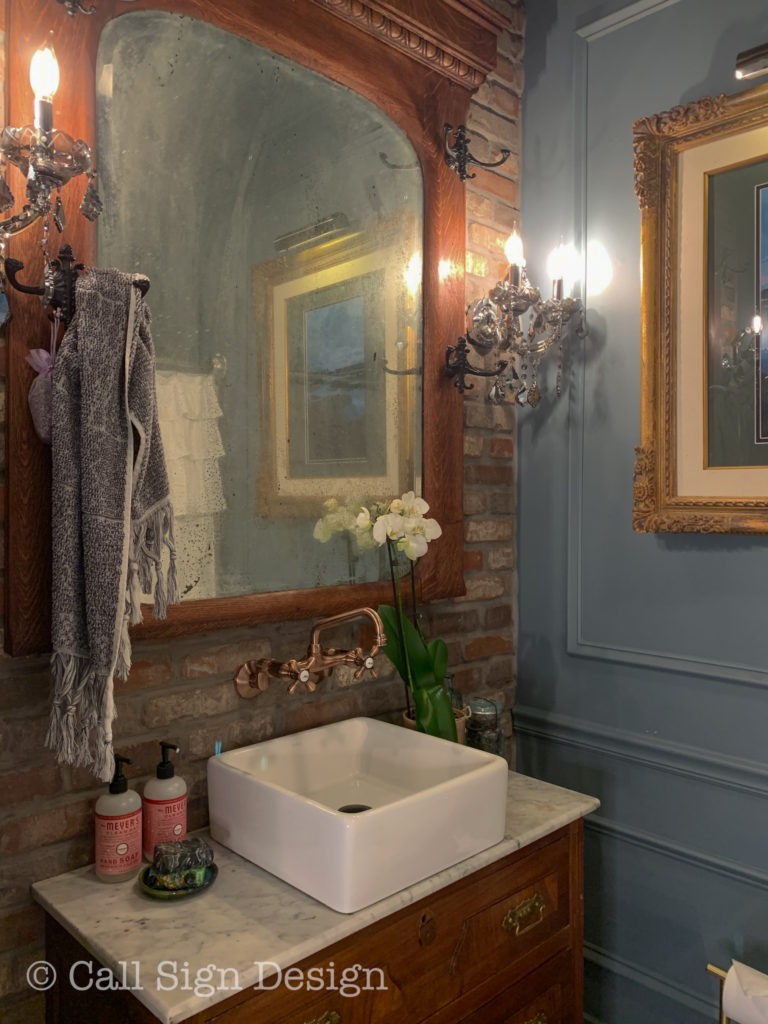
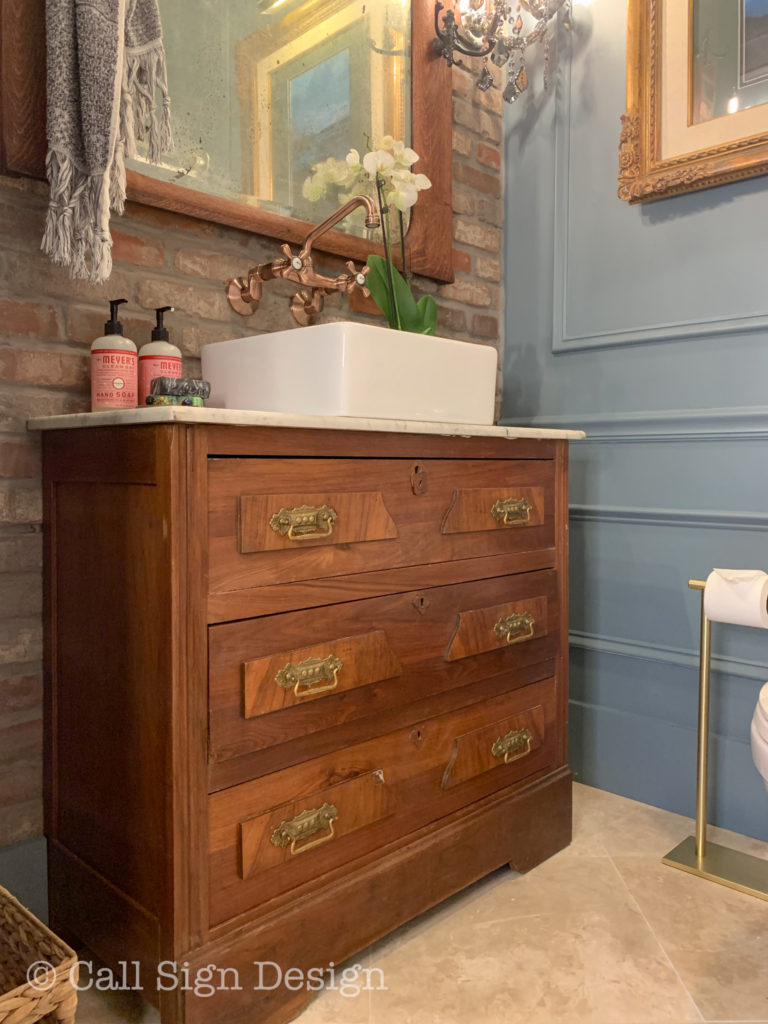
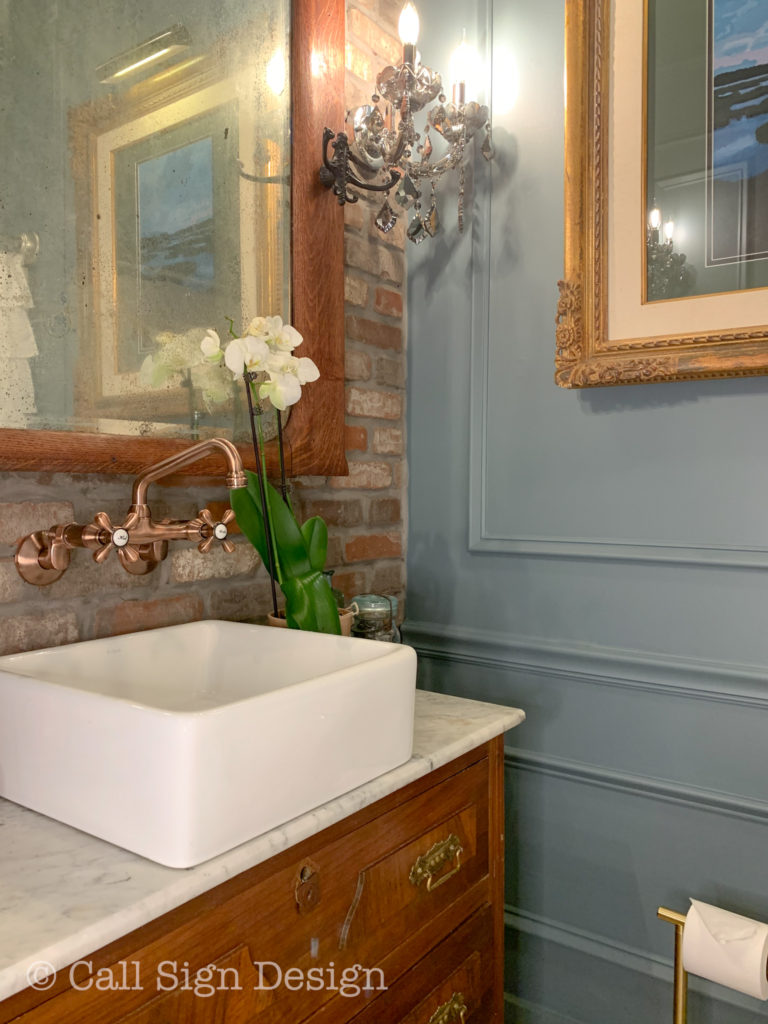
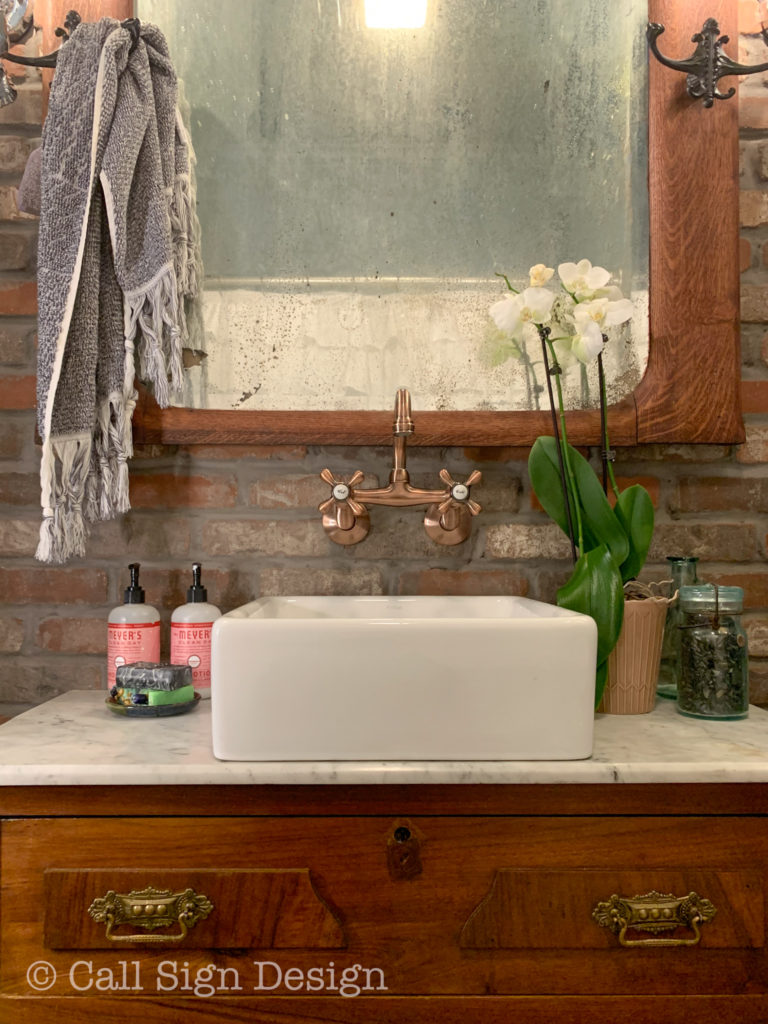
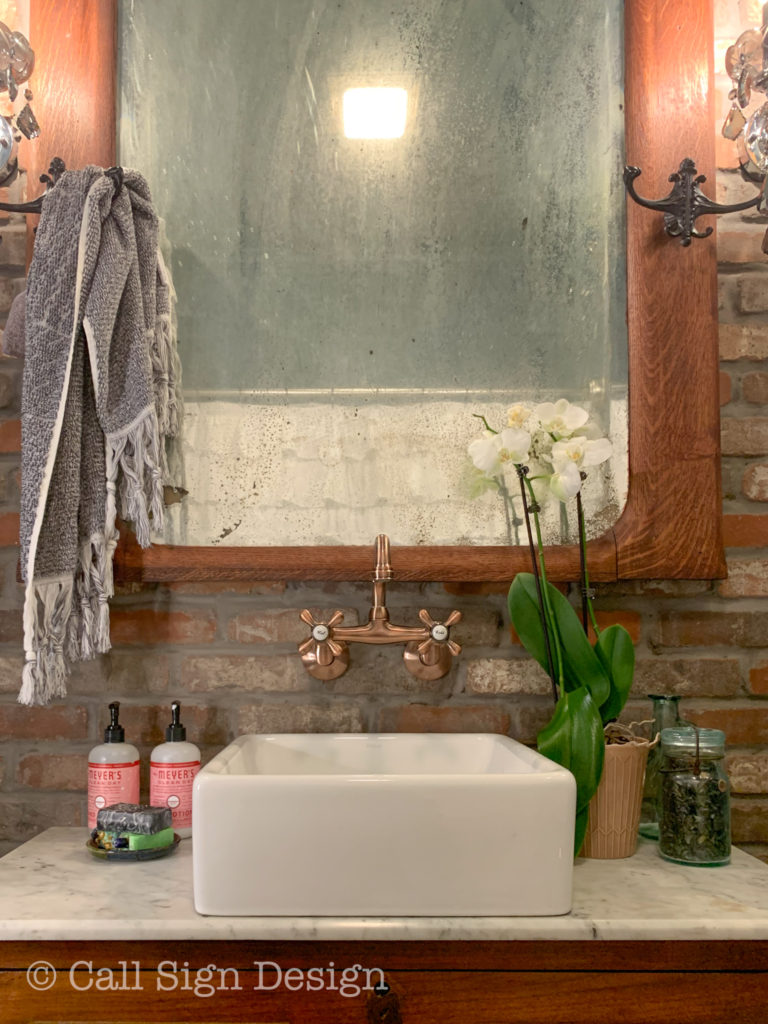
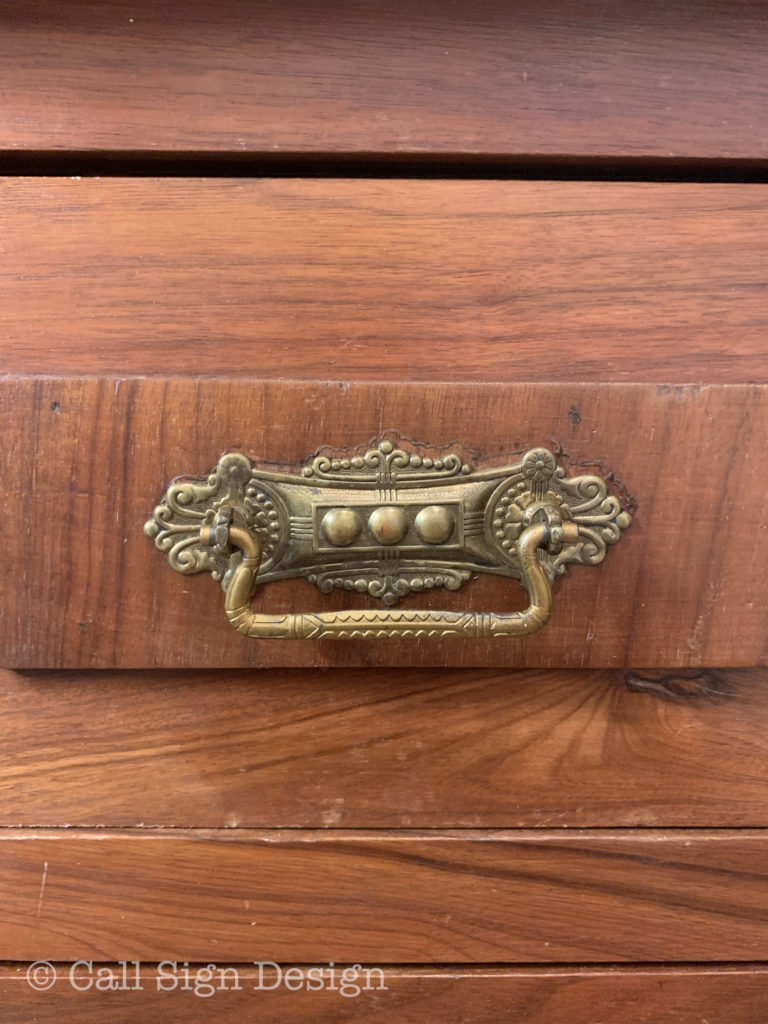
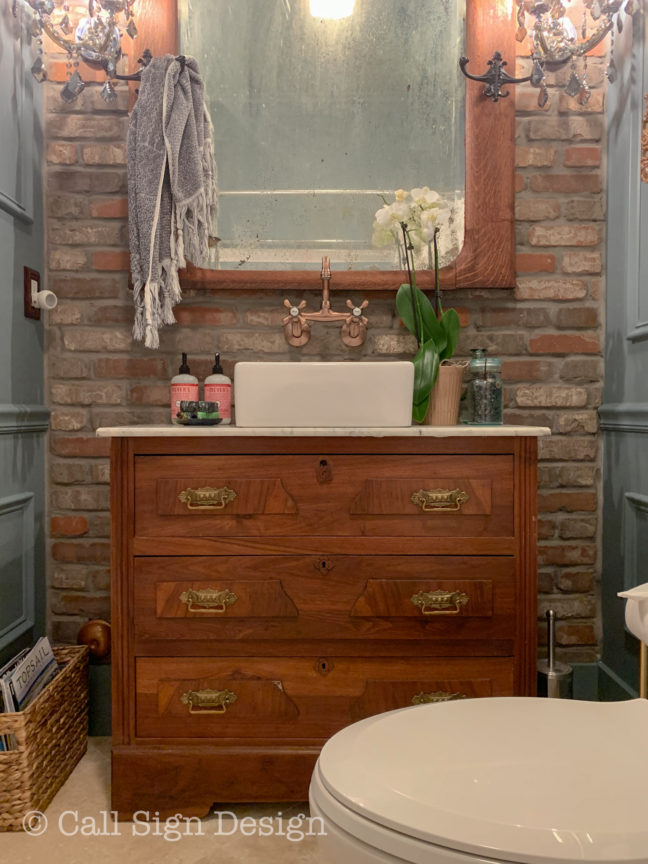
One of the best ways to save money on your sink vanity is to do an antique dresser vanity conversion. Vanities are super pricey, even the junky ones. So, why not build a beautiful custom one that’s not only WAY cheaper, but also way more awesome in every way?

You can look for an antique dresser made into a bathroom vanity for sale (lots of people sell these on Craigslist), or you can just find the dresser and customize it with a smashingly fancy white porcelain vessel sink basin and any fixture you want.

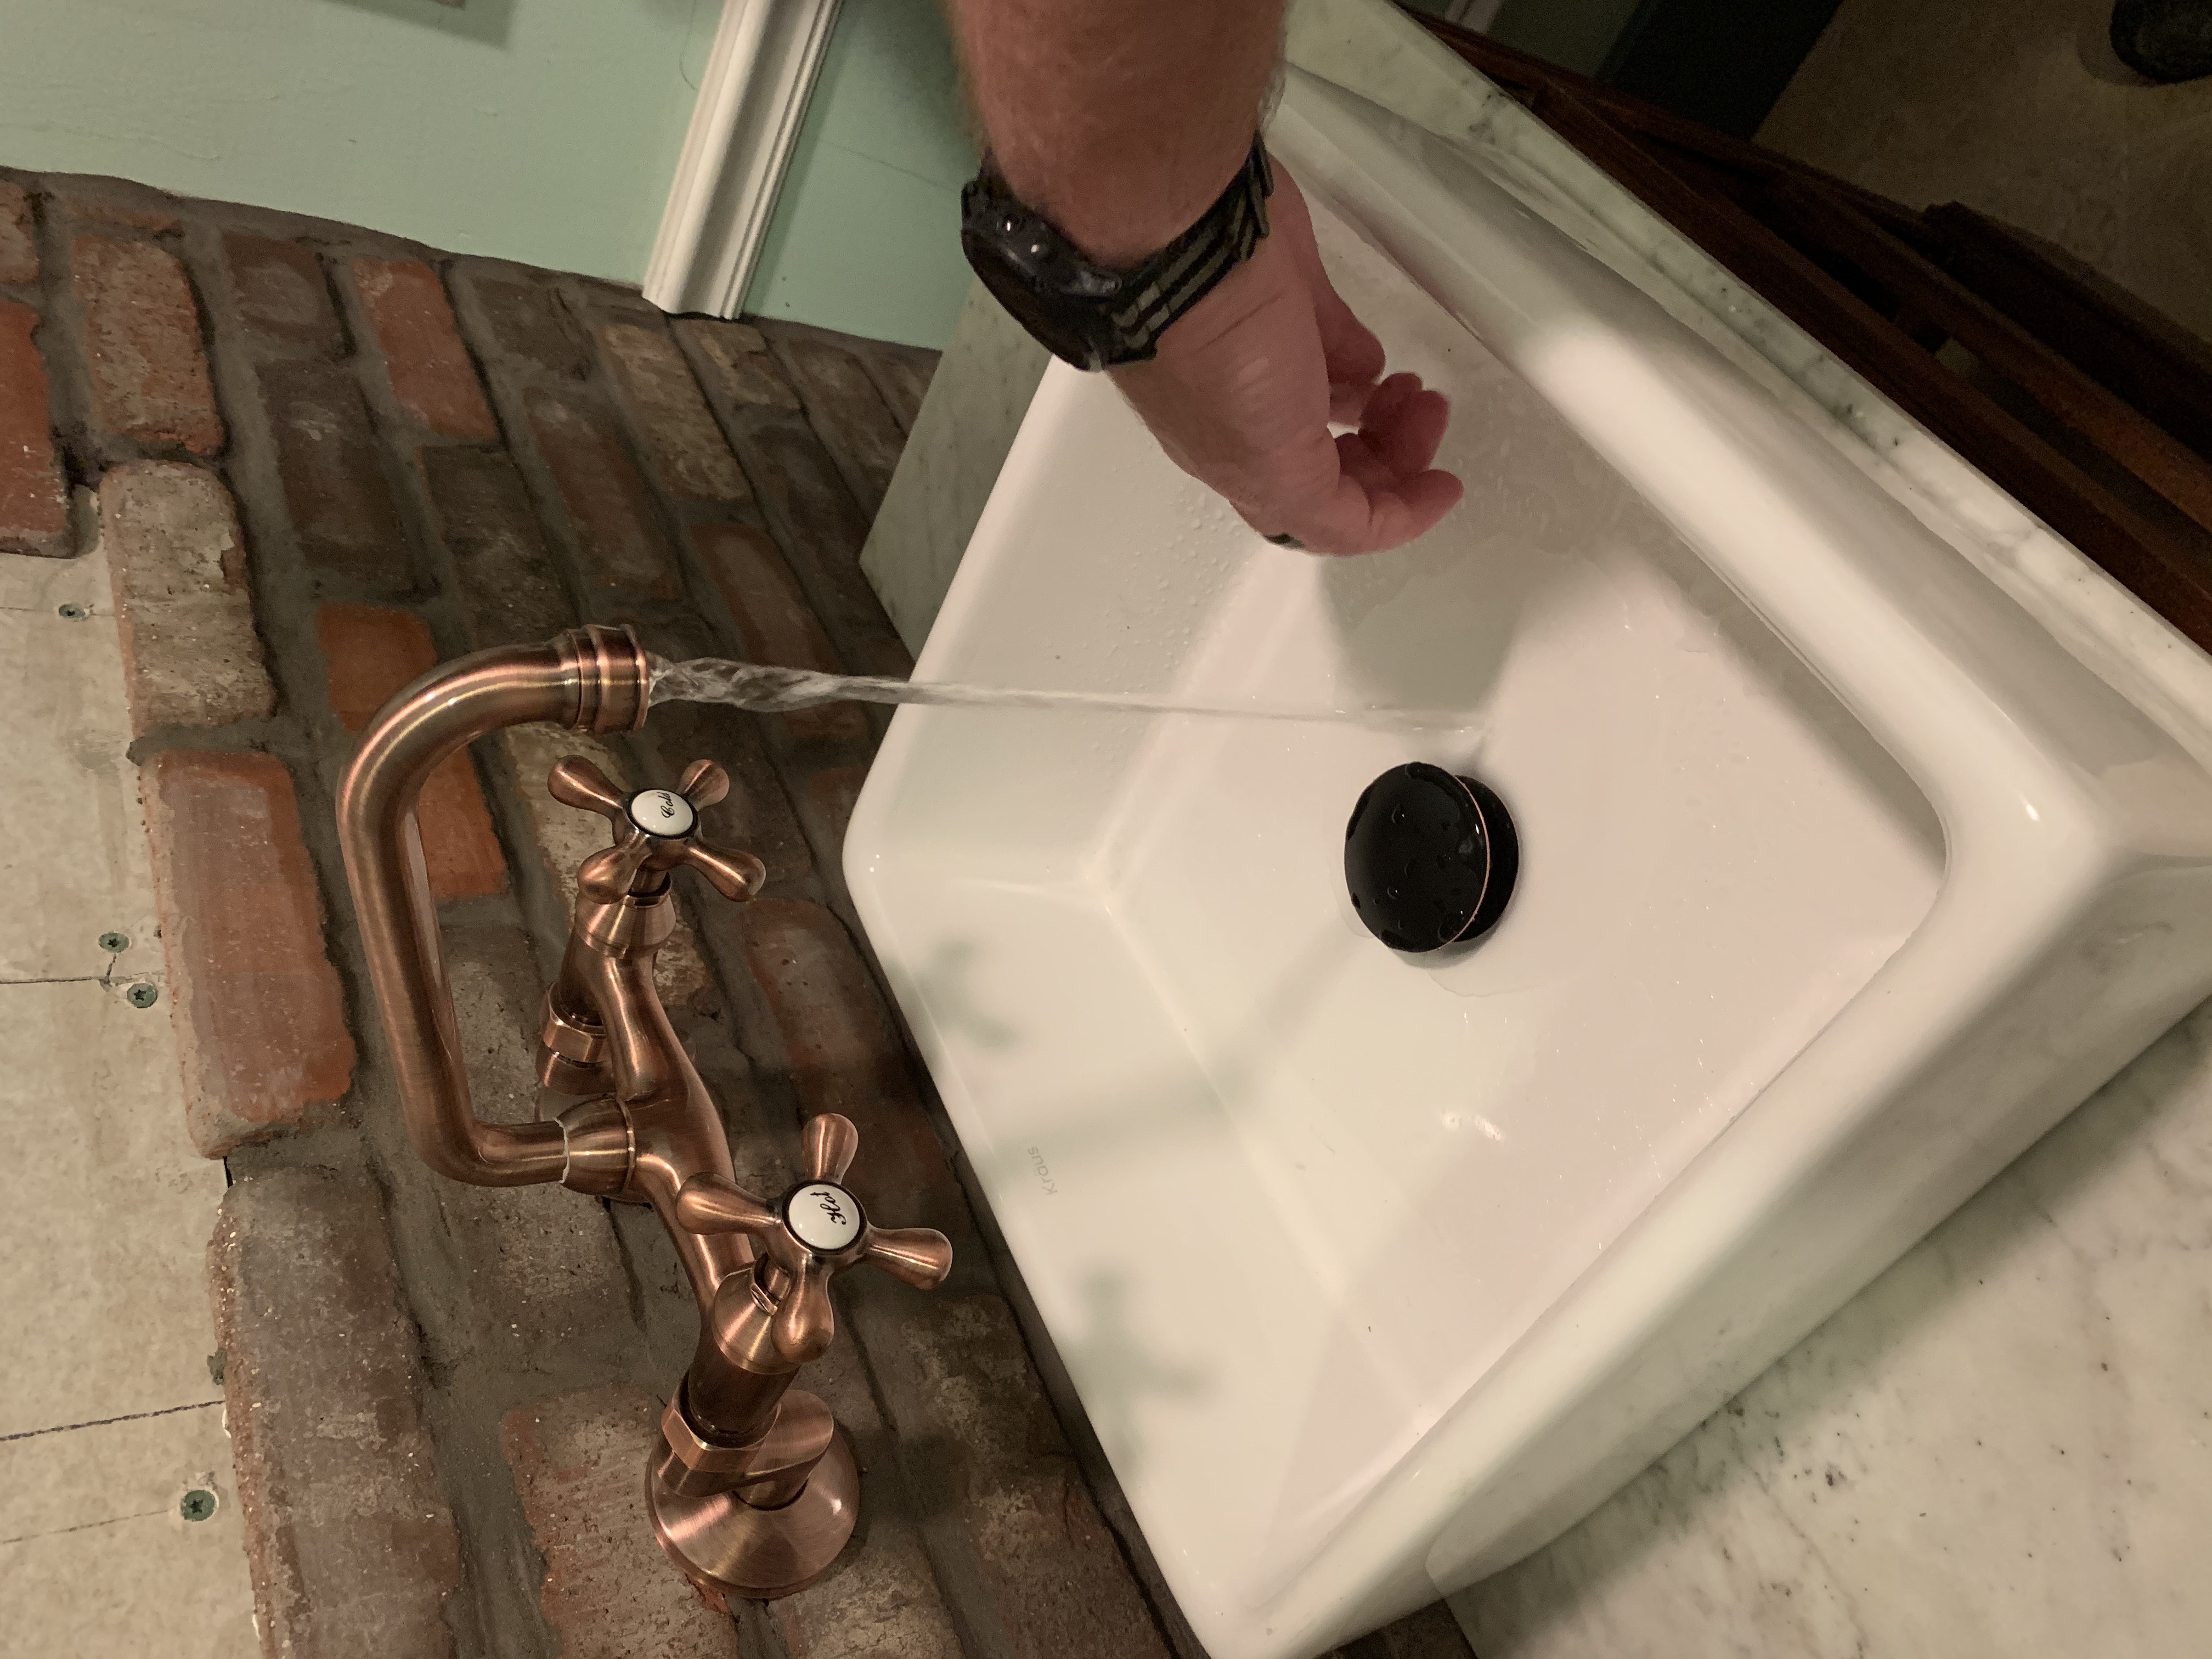
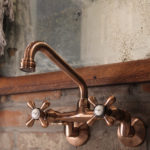
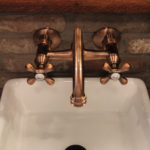
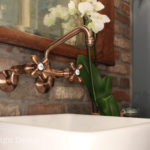
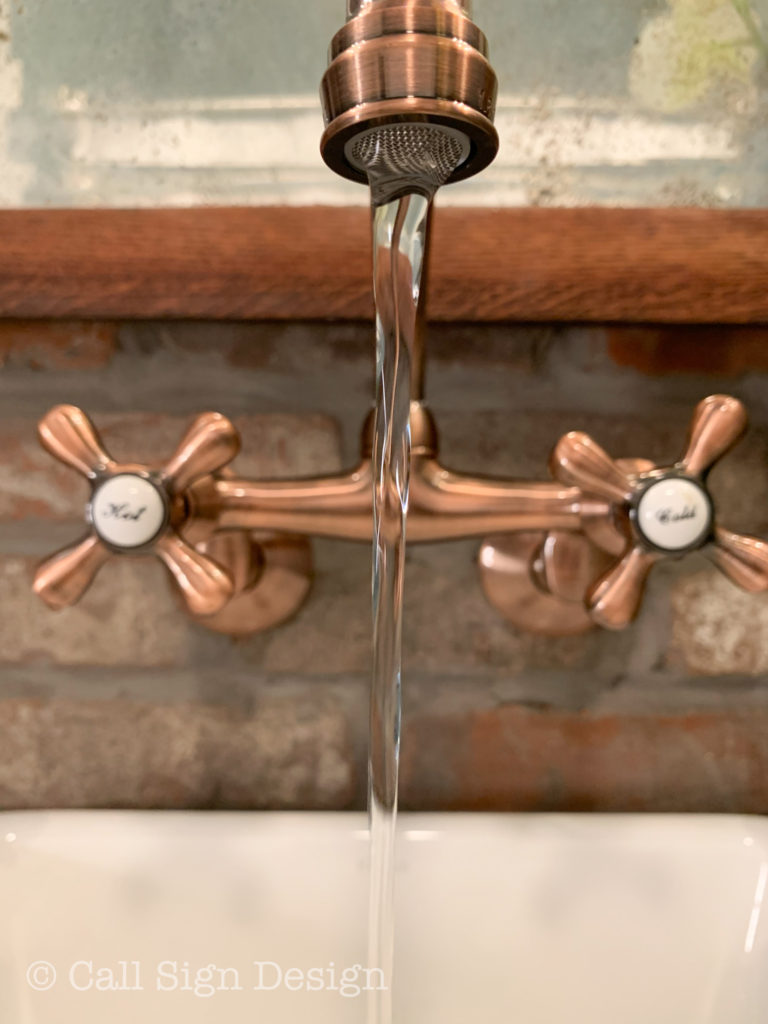
This dresser was only $40, including the carrara marble vanity top. The Kraus Vessel Sink was $141.49 and the Kingston 6-inch Adjustable Center Wall Mount Kitchen Faucet was $117.49 (pretty AMAZING for a solid brass wall faucet). You simply CANNOT find a vanity that’s not MDF garbage for that price.

How To Create A Historic Bathroom In A New Home


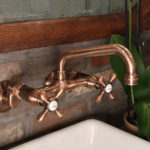
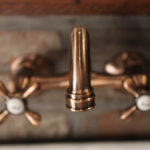
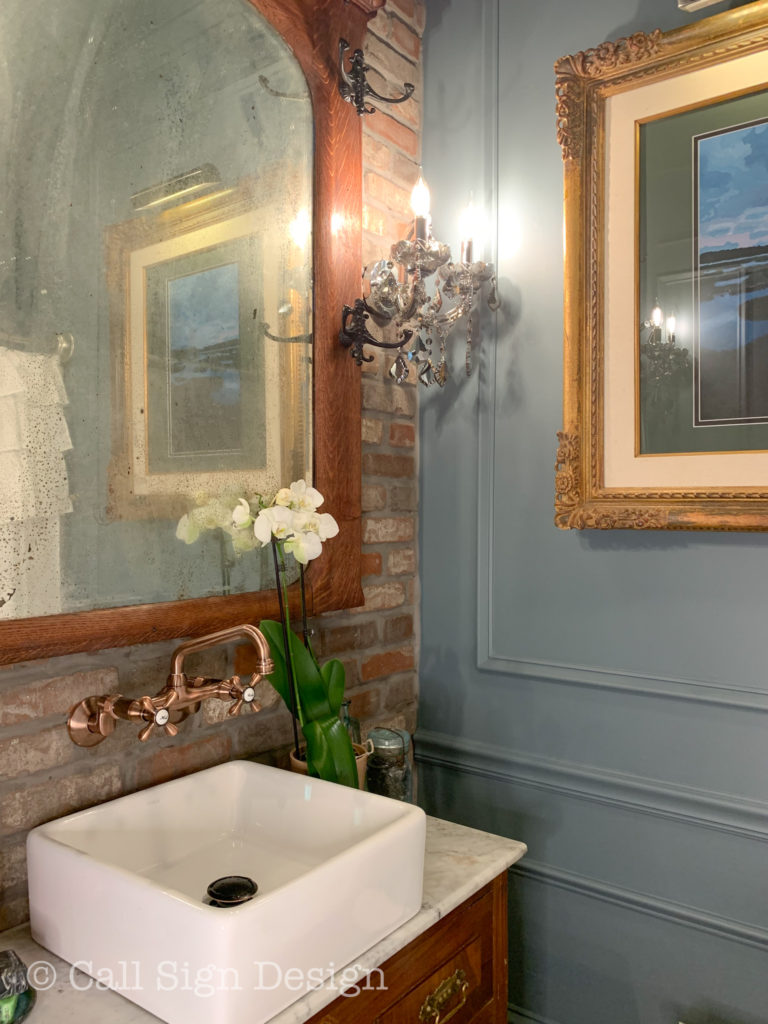
I was the most surprised by this incredible faucet: I had no idea it could be that cost effective and be so beautiful. Check out some close ups.


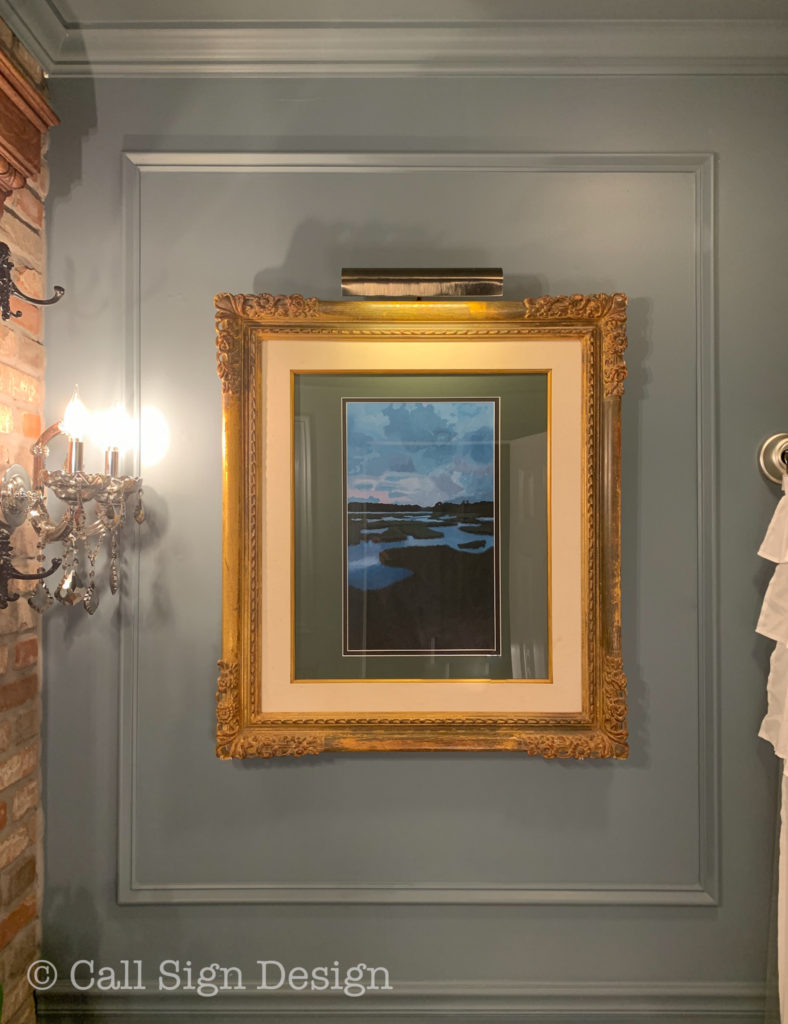
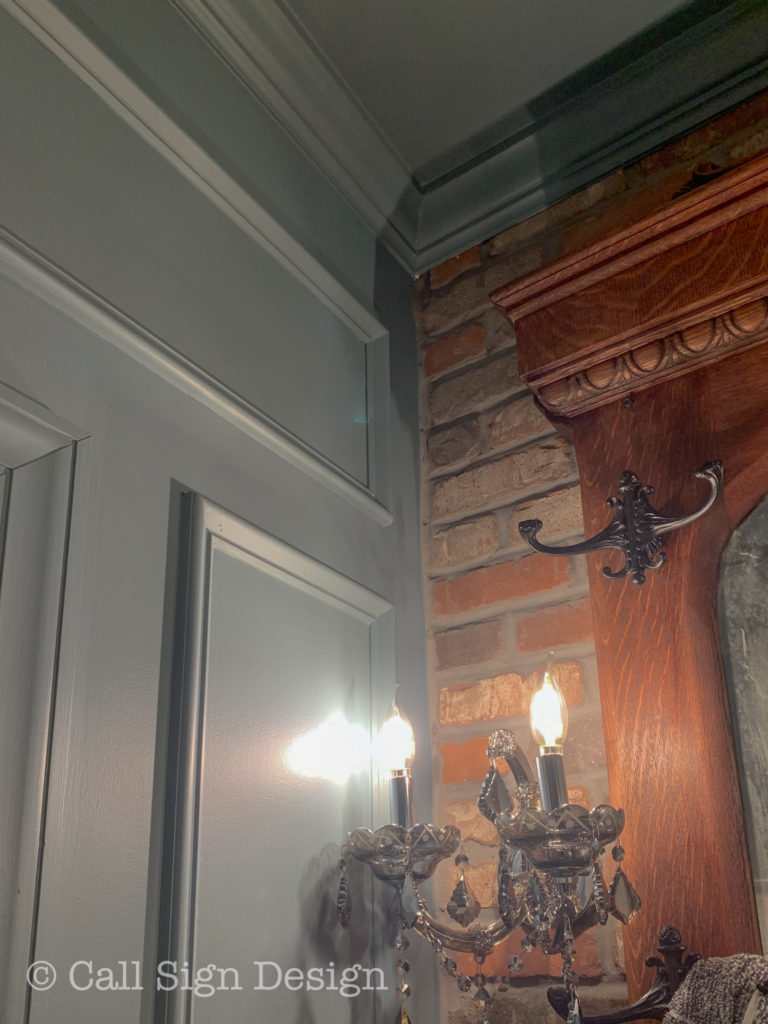
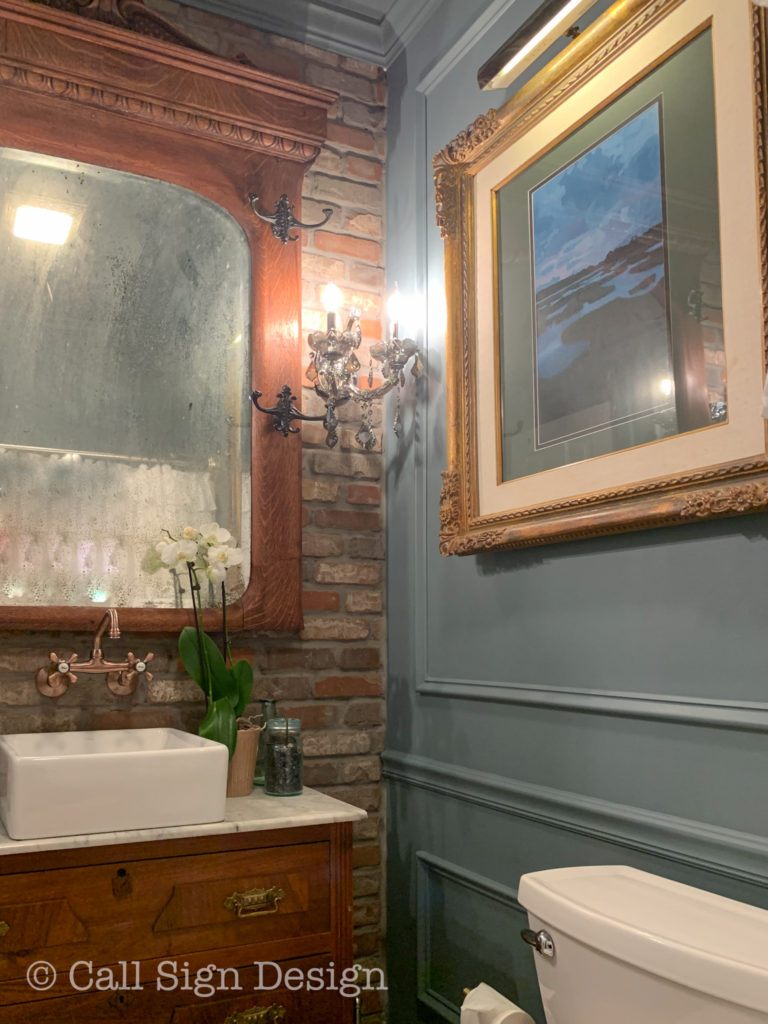
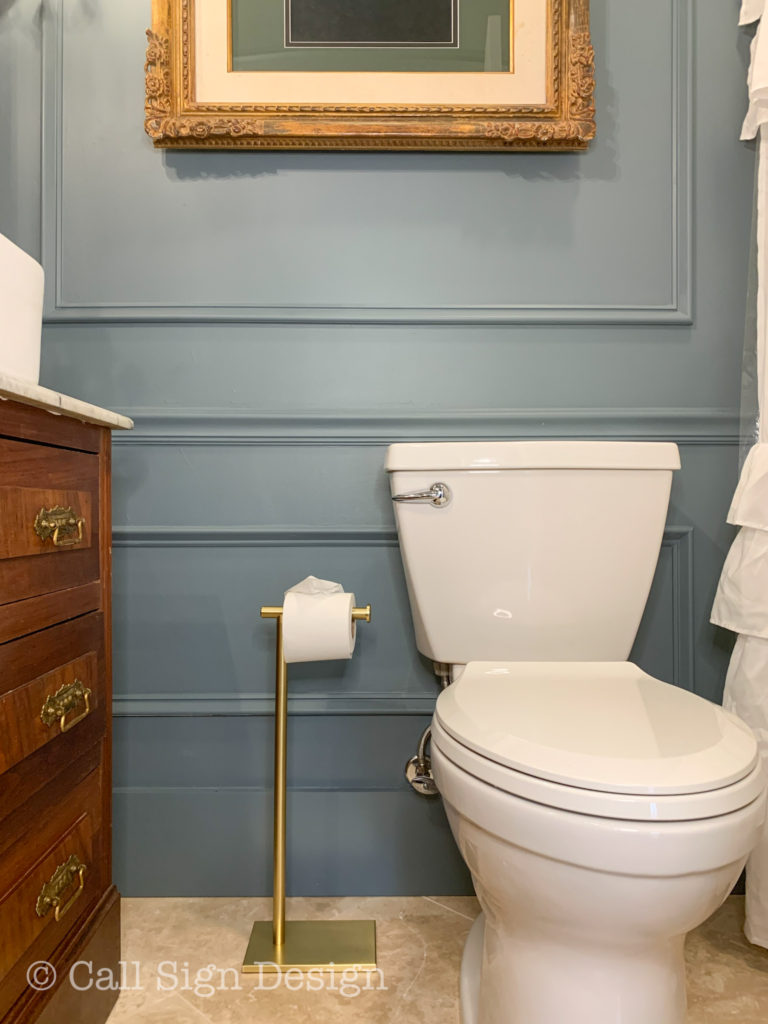
One of the easiest ways to add depth to walls (and get rid of that horrid new house feel) is to add moldings. I wanted this already small room to feel cozy, but not claustrophobic. By painting everything one color, it feels bigger and taller. We added picture frame moldings, chair rail, and put in new baseboards. We were able to reuse the crown molding.

And that fantastic art? It’s DIY. Check out the Full Tutorial On The Easy Way To DIY Breathtaking Landscape and Scenery Paintings.

The Easy Way To DIY Breathtaking Landscape and Scenery Paintings


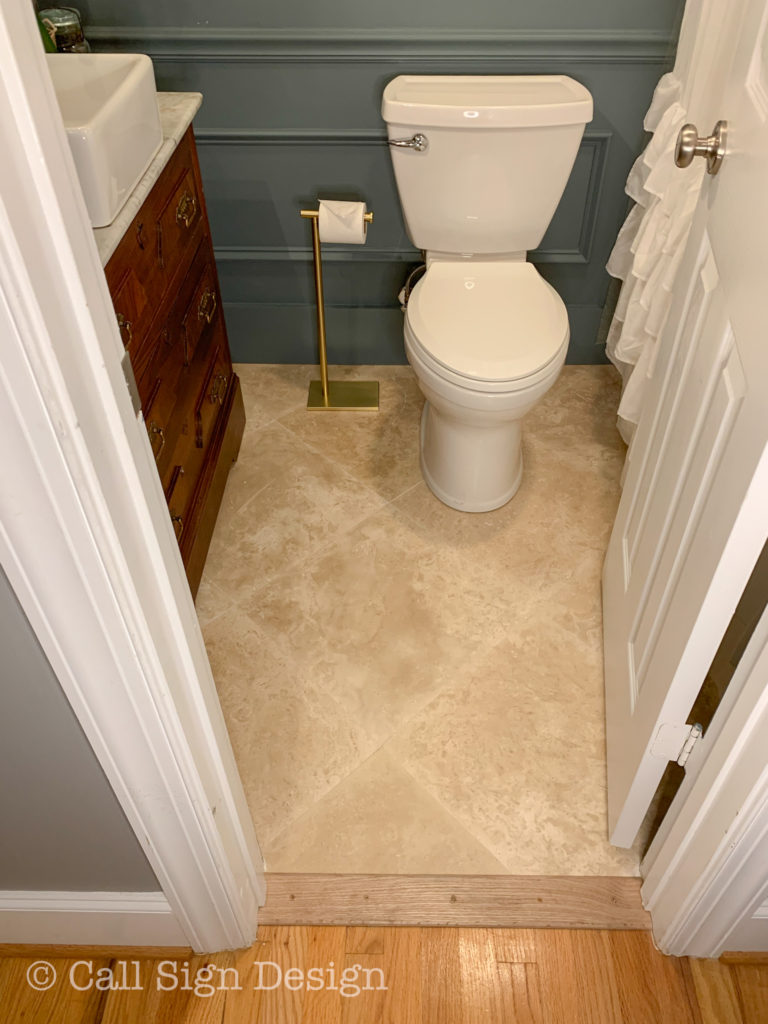
We pulled out the hardwood (why why why would you ever put wood in a bathroom???) and traded it for this gorgeous Travertine Field Tile in Ivory Honed (18″X18″). It is breathtaking but EXTREMELY finicky to install. We cracked two tiles during installation. The end result: SO WORTH IT. Travertine tile (limestone floor tile) is timeless and I made sure to pick one without the peachy/pink hues that I hate.

The commode we already had (we have upgraded every toilet in our last two houses to the American Standard Champion 4, because it is the UNCLOGGABLE toilet).  It’s also very attractive, so win win. This just required a removal to put down the floors and a reinstall afterward.

How To Create A Historic Bathroom In A New Home

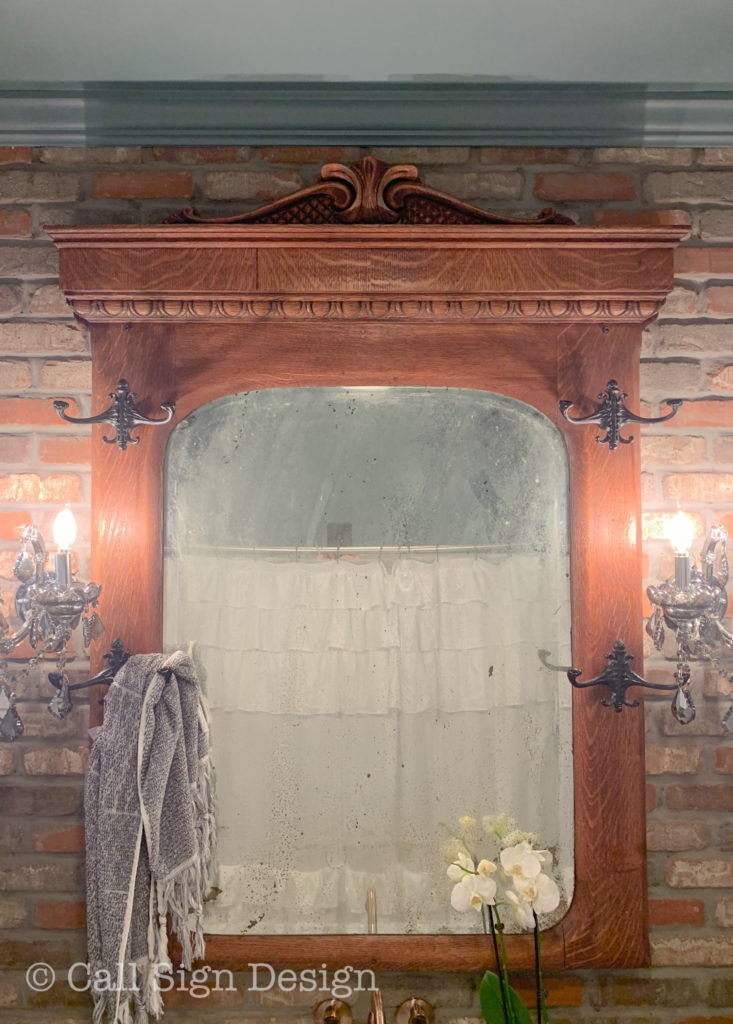
In this shot you can see the antique Hall Tree I found on Craigslist for (I think) around $100. It was painted in a robin’s egg blue, and it was no small task getting all the paint off, but I used this paint and varnish remover, and that helped tremendously. I absolutely ADORE how it turned out (and that I can use the hooks for towels).

One little problem, though. It is ENORMOUS.

Remember Mr. “That Bathroom Doesn’t Need to Renovated” from next door? Well, as penance I asked him and his son to come over to help hang it. This involved he, his son, and my husband squeezed into this tiny bathroom, holding it up, and trying to line the bolts up with the holes we had dry fitted.

I was balancing on the toilet lid behind them, waiting with the drill to drive home the bolts as soon as someone signaled they had a bolt lined up.

So, Rainman says, “I think it’s in.” And, without hesitation, I leapt into action… RAKAKAKAK… and drove that bolt home…

Smashing Rainman’s finger between the mirror and the brick.

We might have to work on our communication.

But, I’m betting the neighbor probably won’t mess with me after that. I feel like the head of an organized crime family. Be afraid, be very afraid.

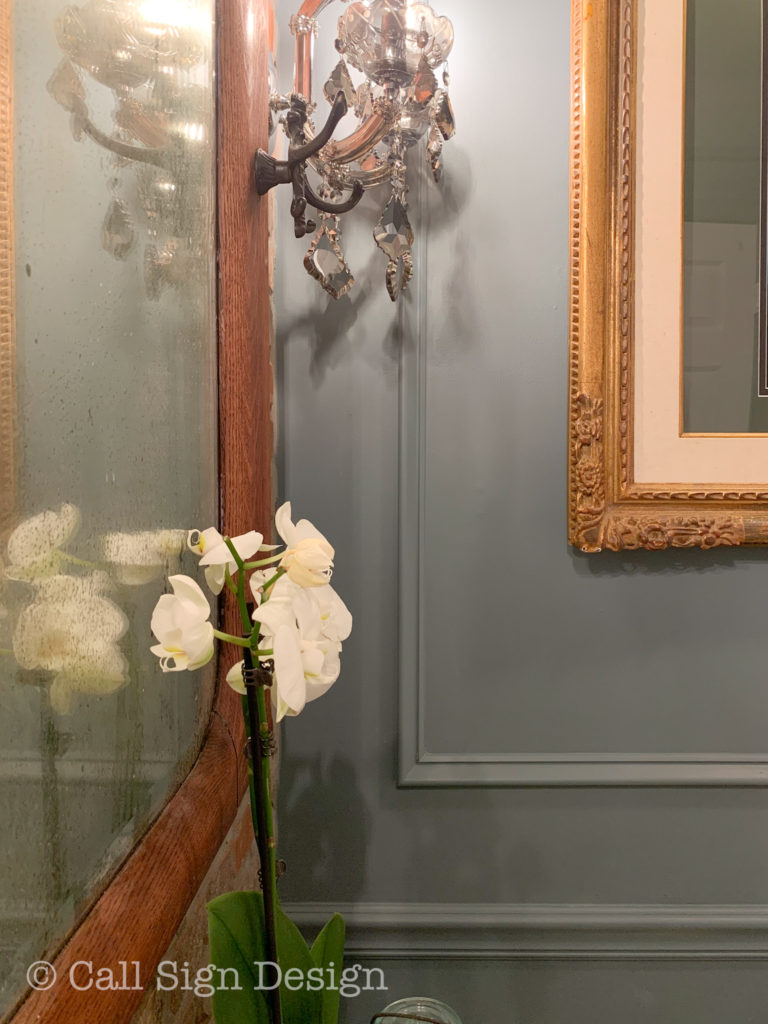
Then there’s my son, who is apparently NOT afraid of me. He thought I needed to replace the mirror part for one less “antiqued” (which he brought up no less than thirty-seven times prior to installation). Pffffft. What he doesn’t know yet, because he’s an amateur is that this is the perfect party mirror: everyone looks lovely in it. He’s just not old enough to appreciate the beauty of an imperfect mirror.

How To Create A Historic Bathroom In A New Home


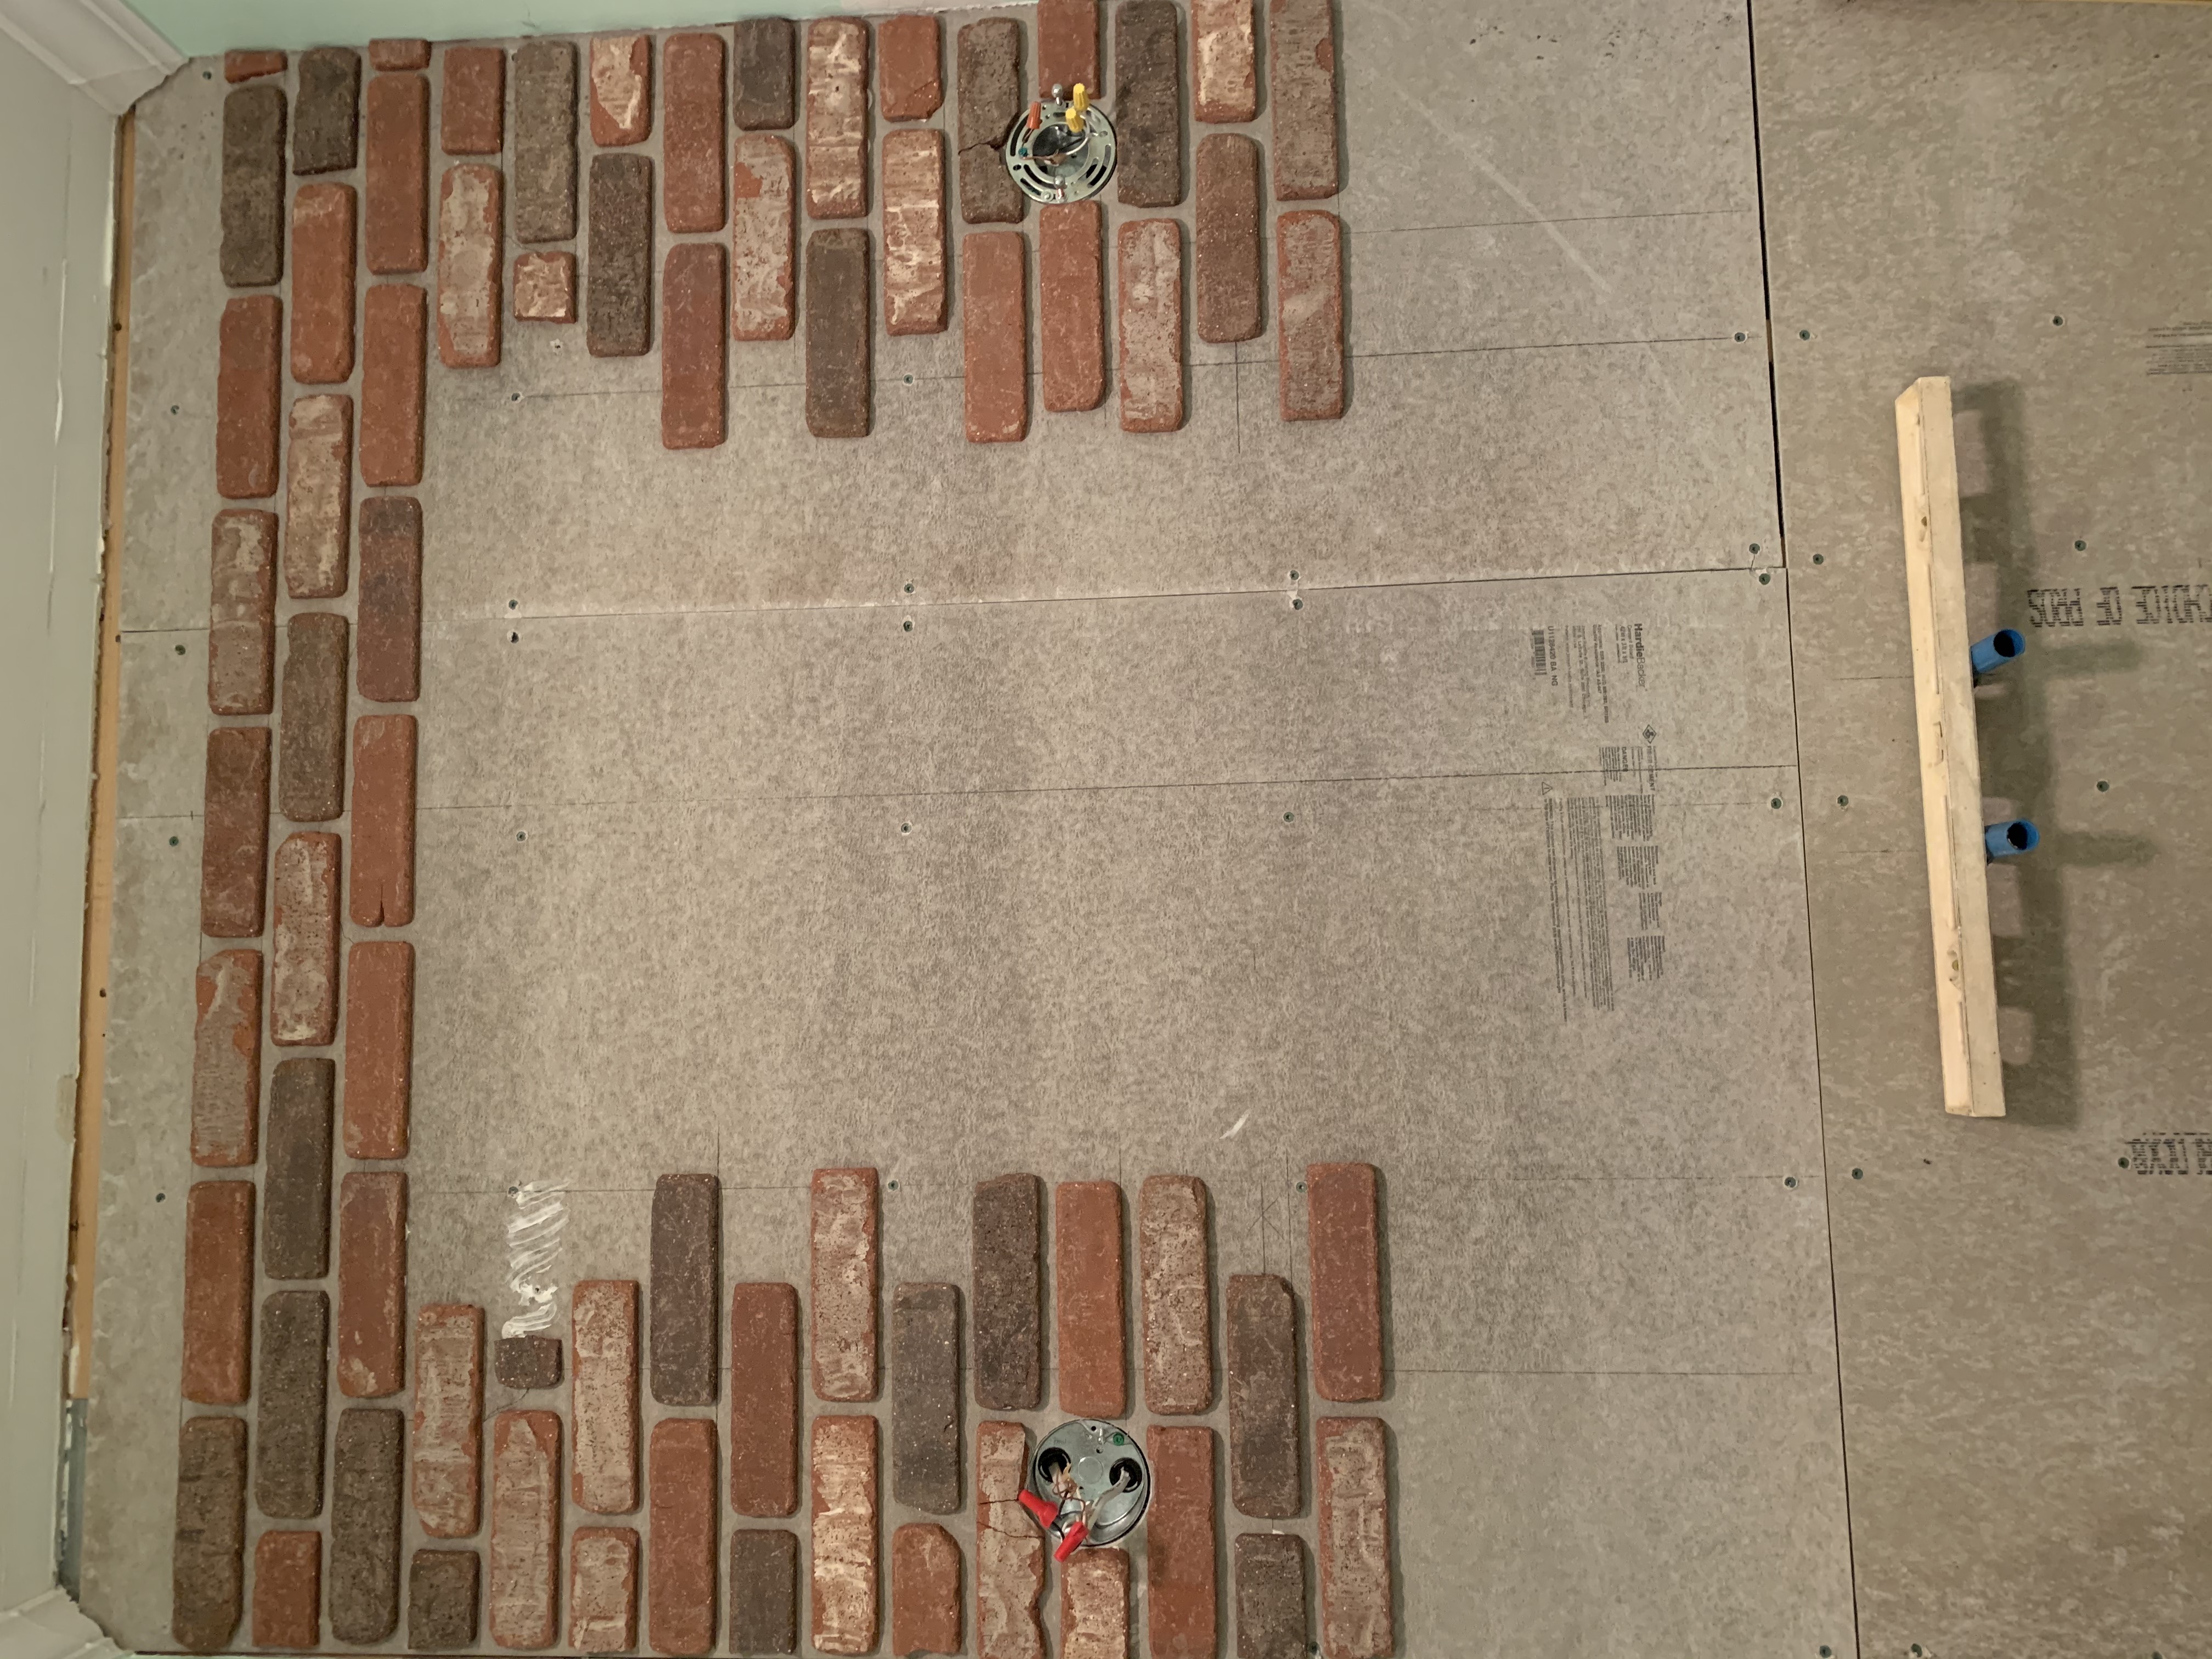
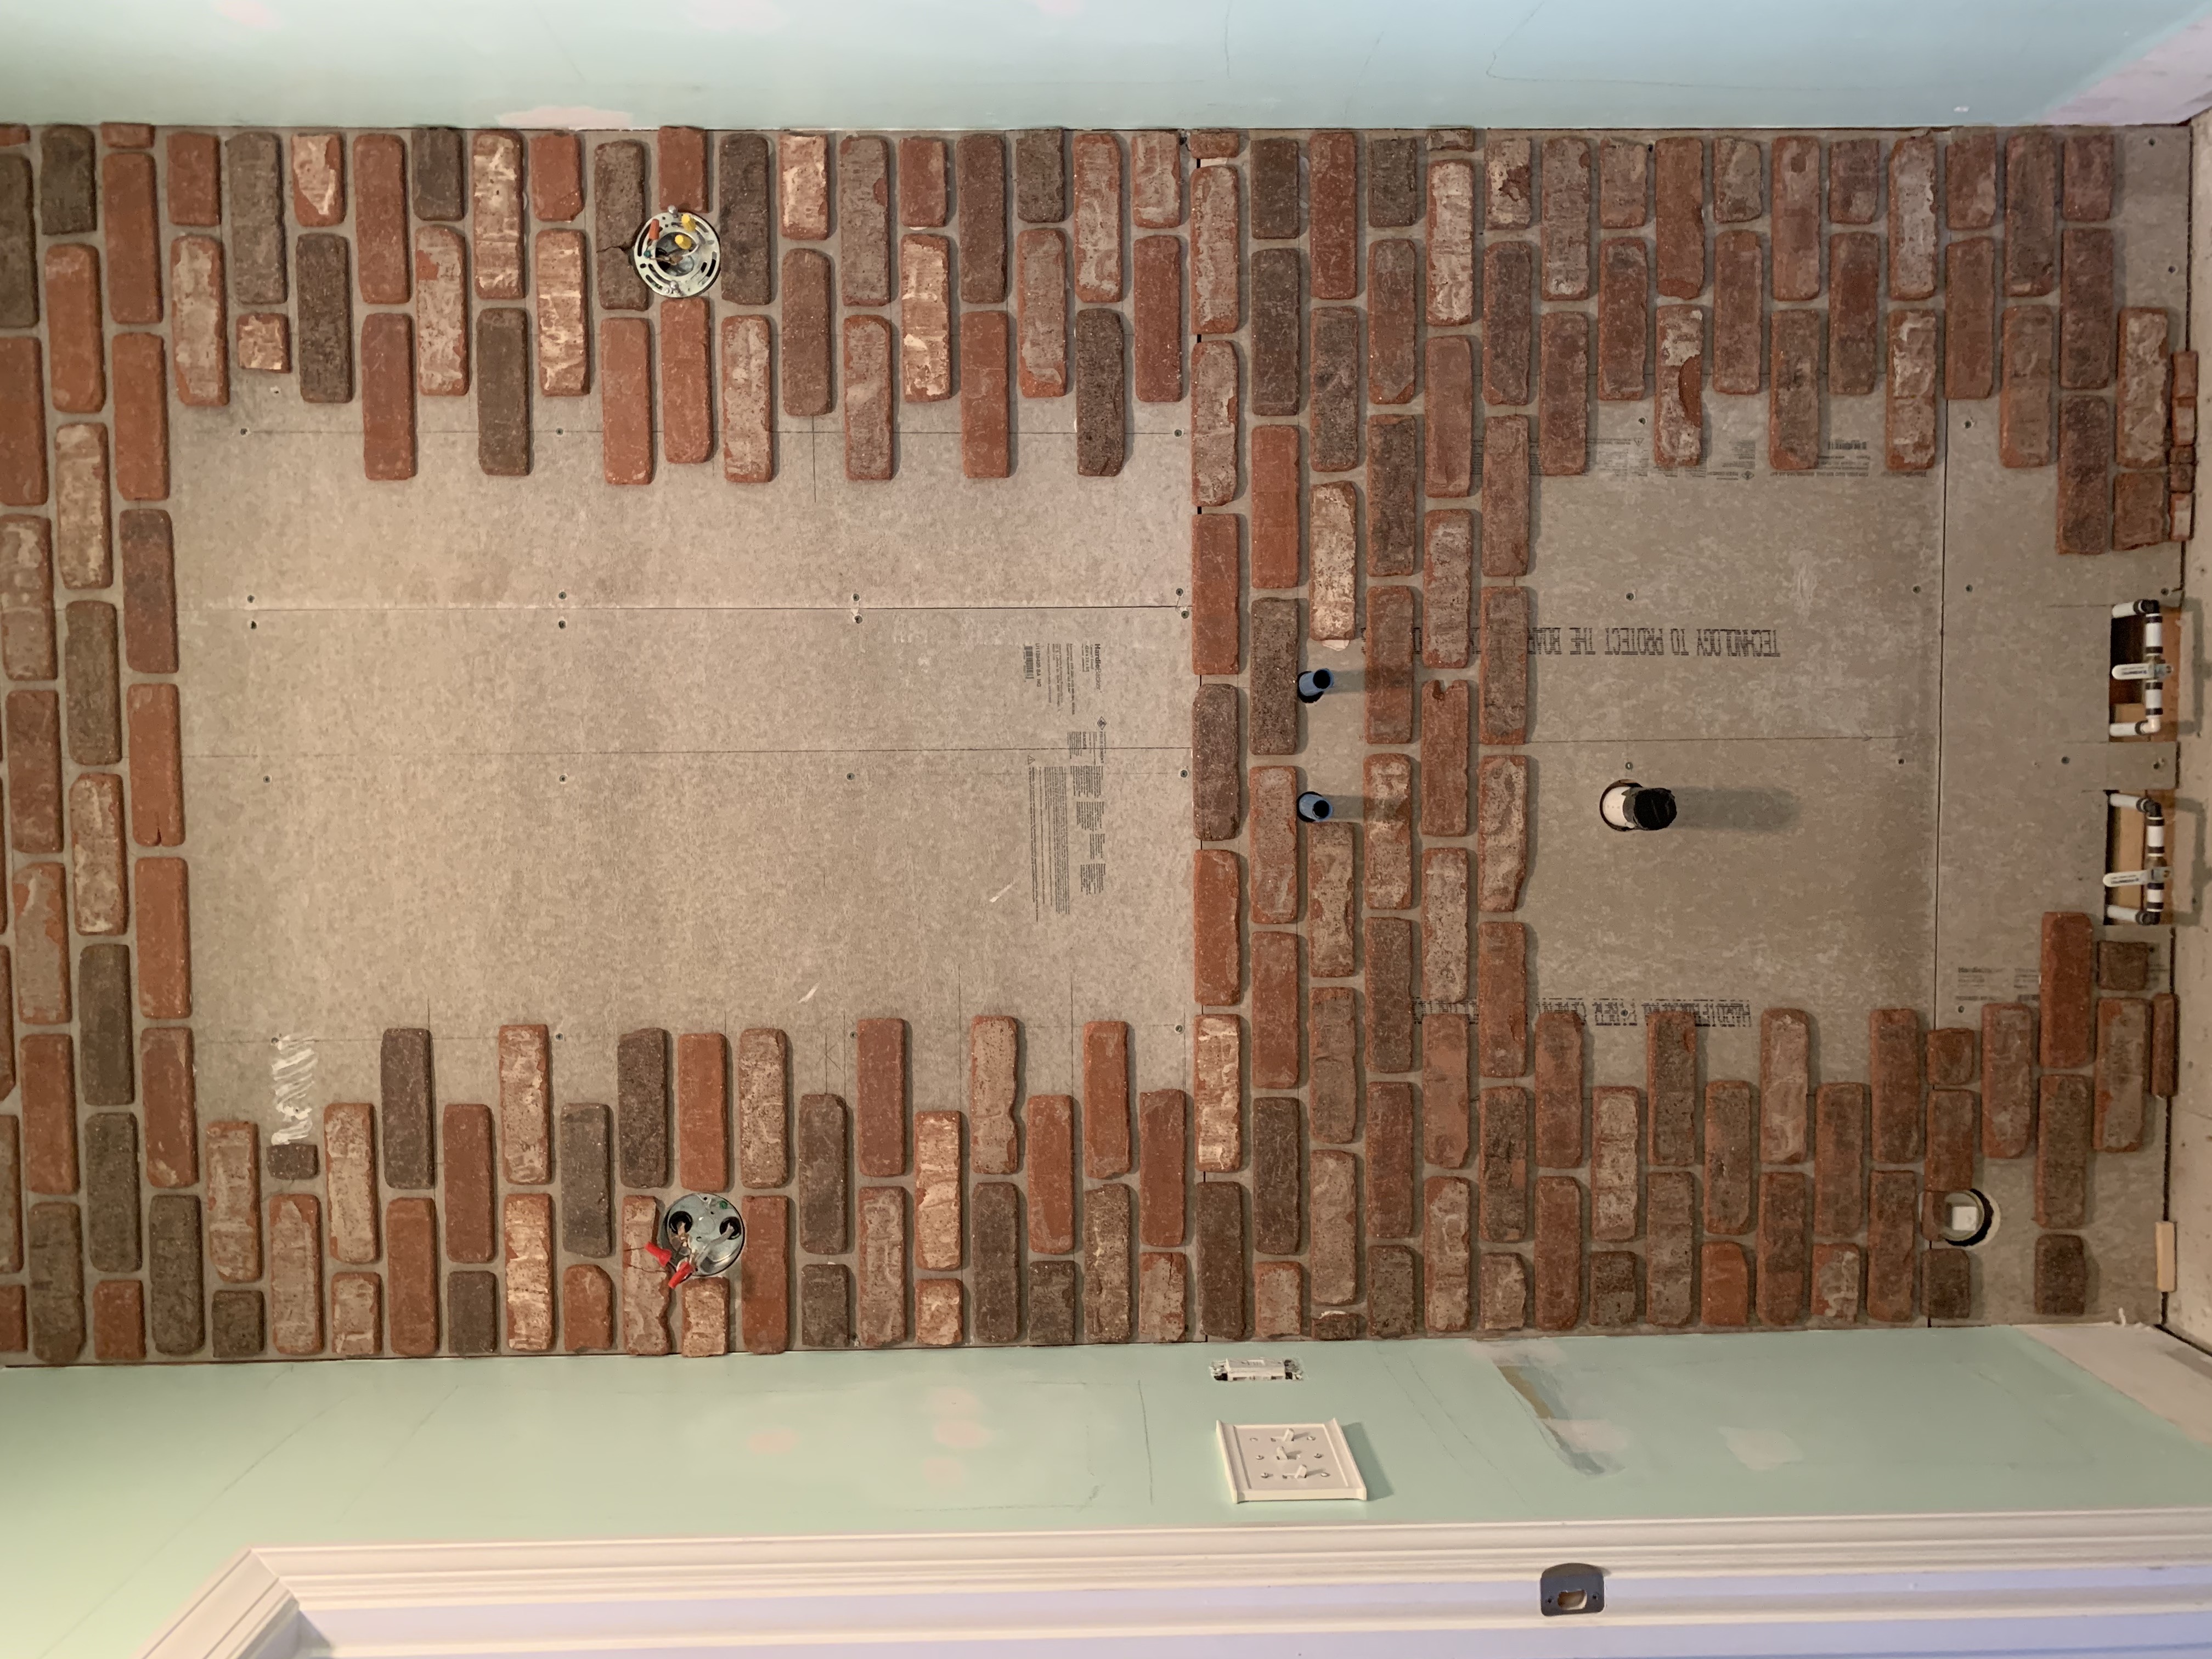
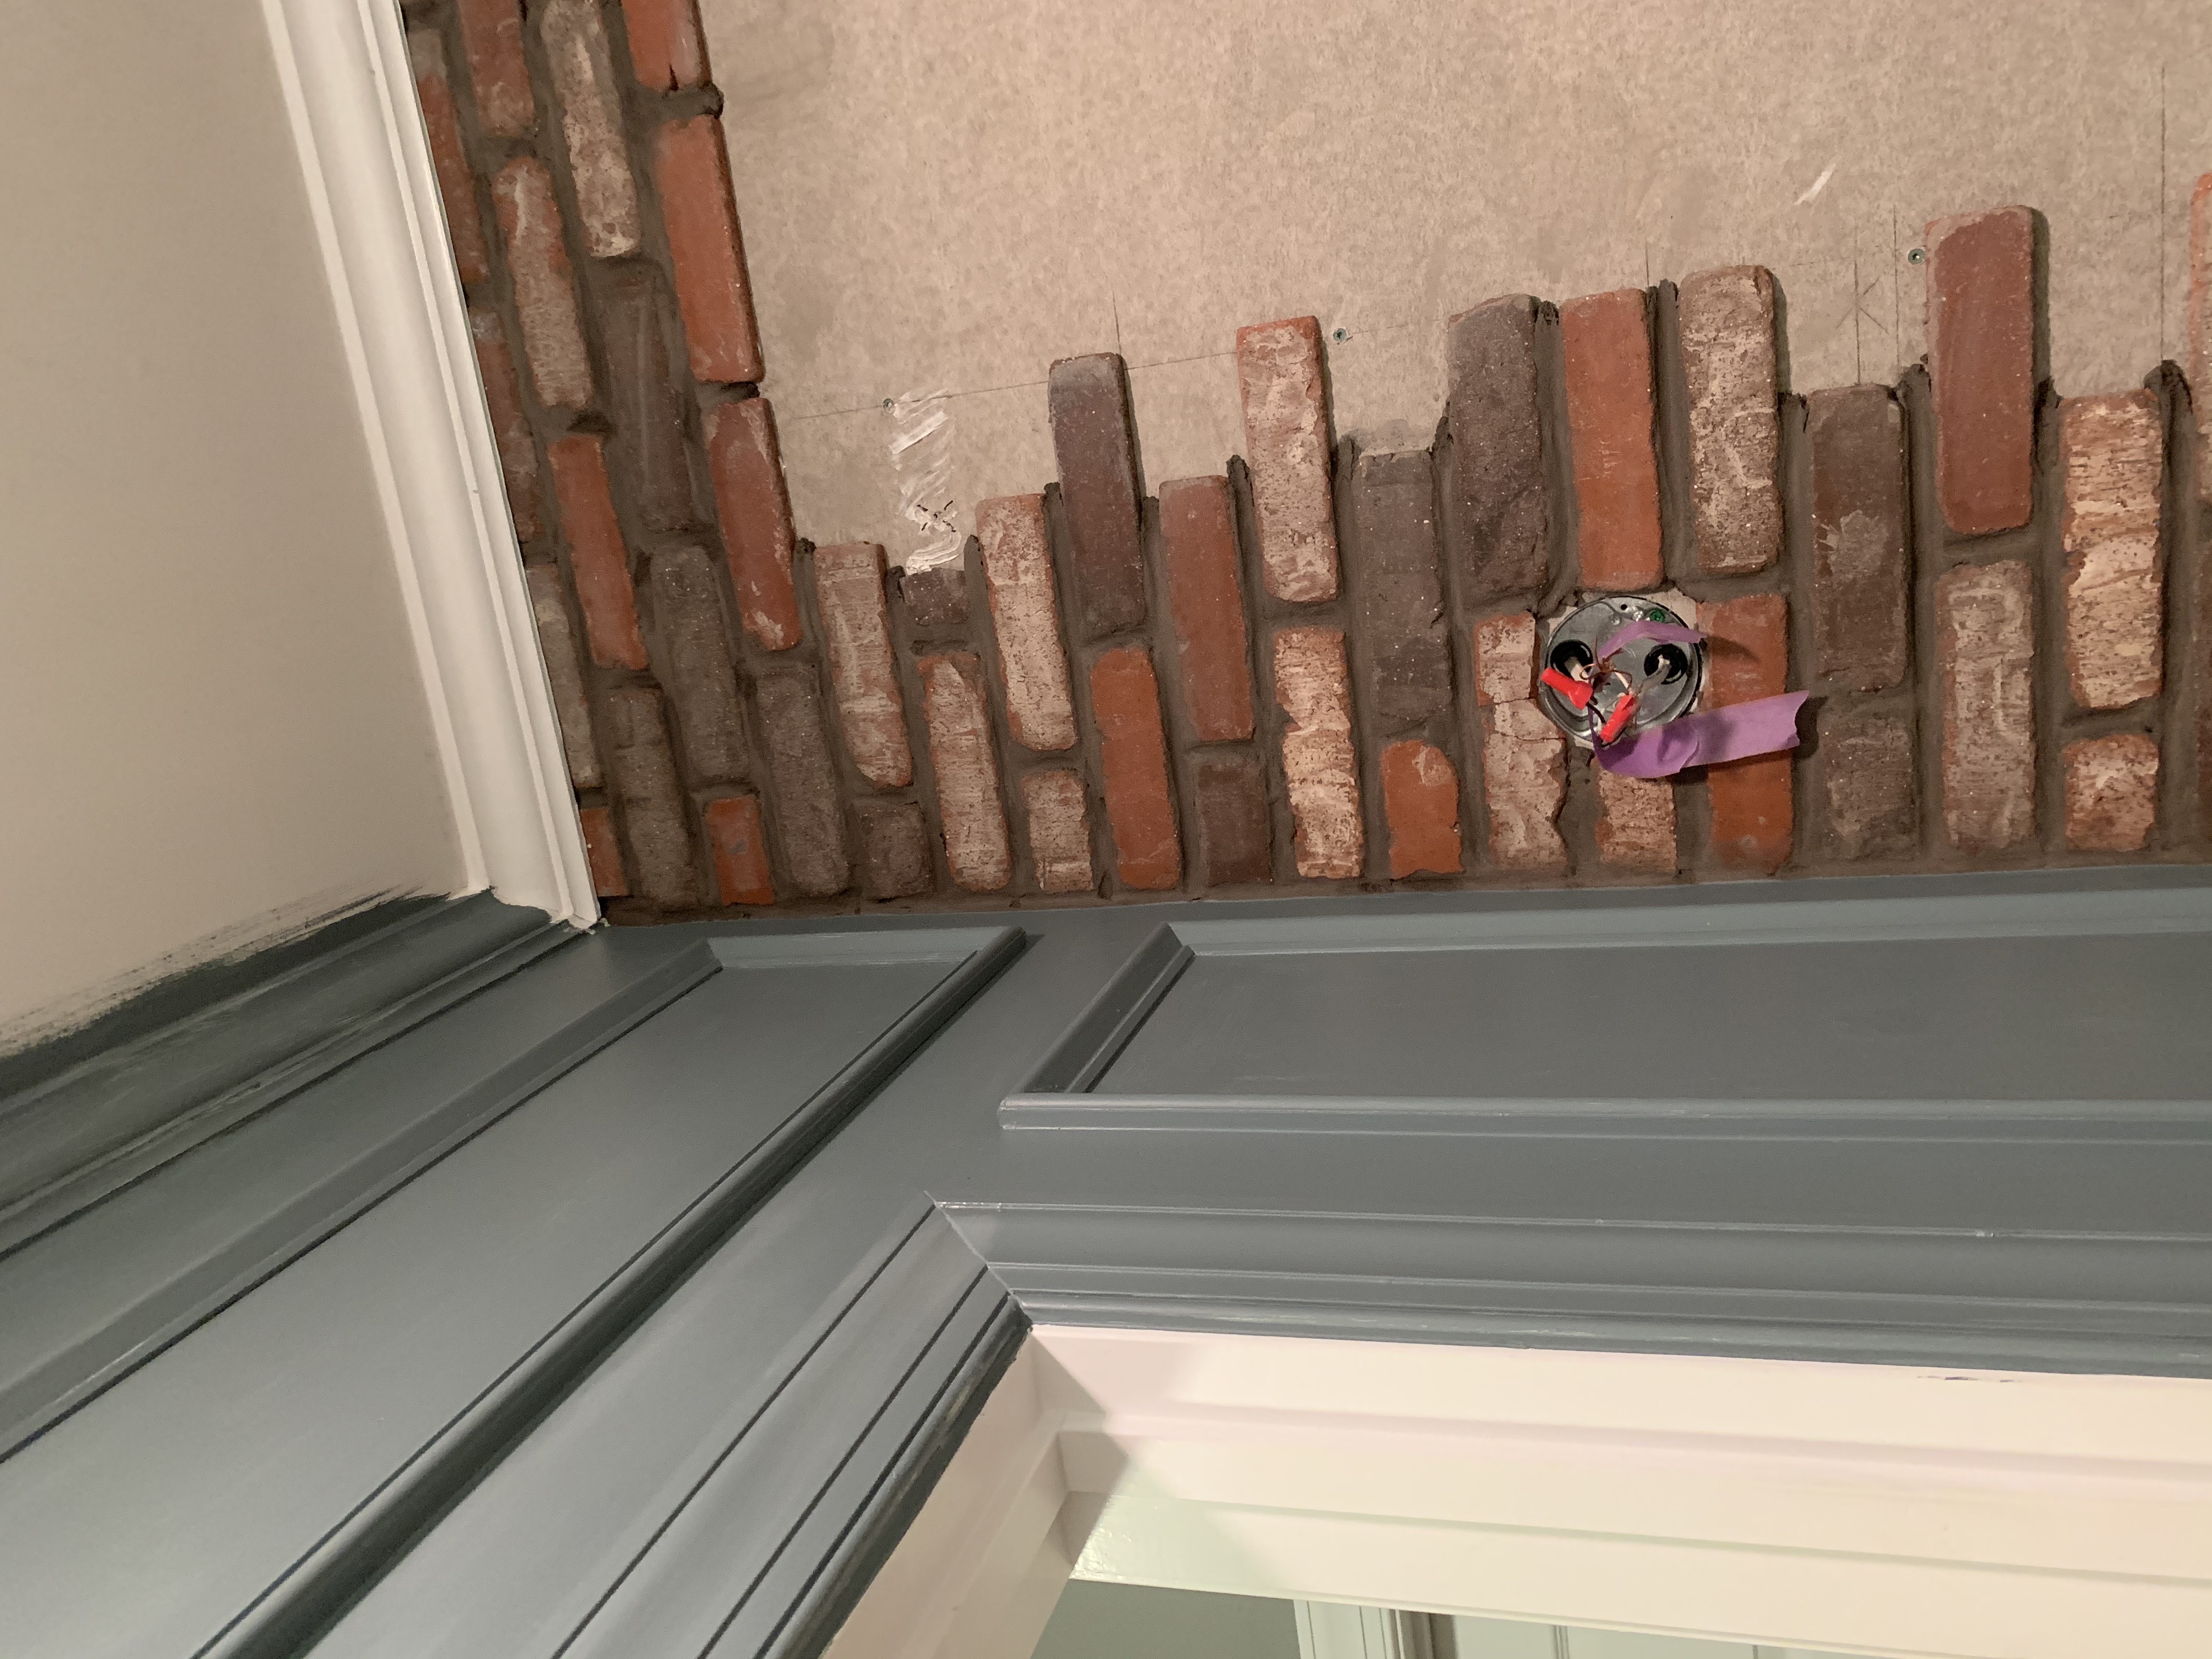
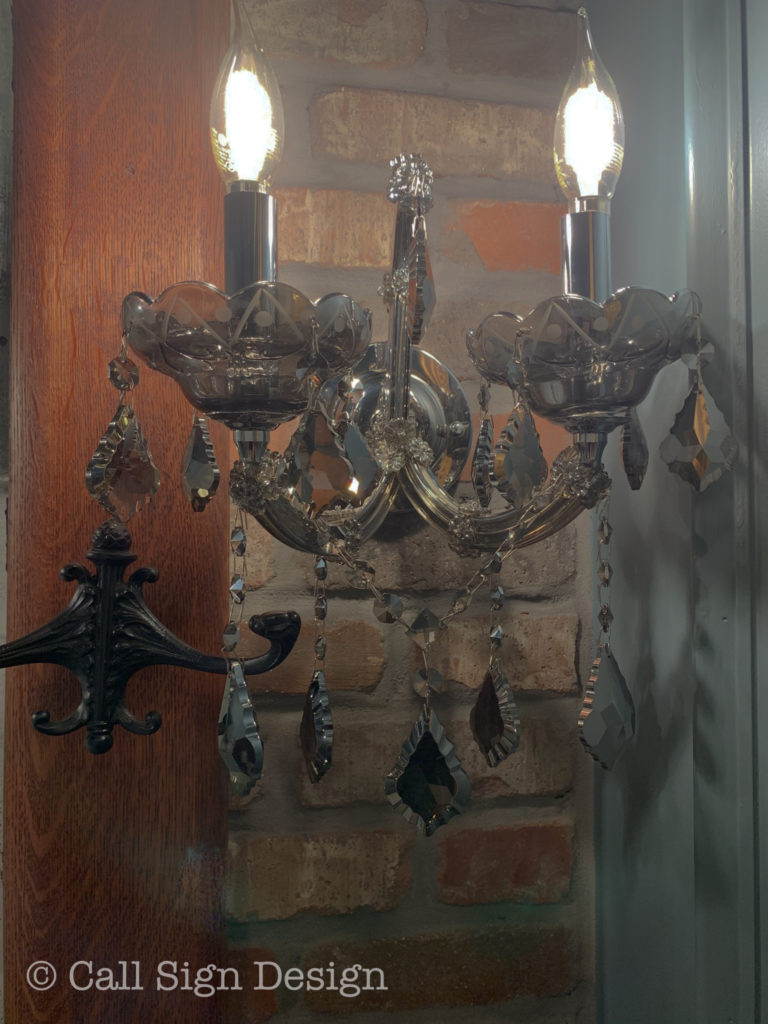
How about those awesome Veneer Bricks from Old Mill? This is the third time we’ve used these (the Castle Gate color) and they are absolutely FANTASTIC. They are 100% authentic brick, just thinner and easier to install. We went with a medium gray grout this time to achieve the antique look we were going for and I’m absolutely over the moon with how it turned out!

Watch for our installation tutorial coming soon!

How To Create A Historic Bathroom In A New Home


So, by now you’ve noticed those Dreamy 2 Light Sconces With Smoke Crystals. Yes, I’ll be buying more when they are in stock again. They match our RH Rococo Chandeliers (in smoke) perfectly, but with a much smaller price tag.

How To Create A Historic Bathroom In A New Home


And more pictures of my “Smithsonian bath,” (as my sweet sister dubbed it).

How To Create A Historic Bathroom In A New Home


How To Create A Historic Bathroom In A New Home


How To Create A Historic Bathroom In A New Home


How To Create A Historic Bathroom In A New Home


How To Create A Historic Bathroom In A New Home


How To Create A Historic Bathroom In A New Home


How To Create A Historic Bathroom In A New Home


How To Create A Historic Bathroom In A New Home


How To Create A Historic Bathroom In A New Home


How To Create A Historic Bathroom In A New Home


How To Create A Historic Bathroom In A New Home


Here is the complete source list for our bathroom reno (and staging items):

Old Mill Brick Veneer (use our discount code CALLSIGN at checkout!)

The rest of the sources you can also shop all in one place on our LTK Store: Shop this post

Smoke Crystal Two Light Sconce

Vintage Hall Tree Mirror: Craigslist

Kraus White Porcelain Vessel Sink

Kingston Brass Wall-Mounted Faucet

Dresser With Carrara Marble Top: Craigslist

Travertine 18″ Field Tile In Honed Ivory

Paint: Smokestack Gray, Benjamin Moore

Brushed Brass Freestanding Toilet Paper Holder

Cordless Remote Control LED 11.5″ Picture Light

Ruffled Shower Curtain

Hitit Jacquard Yarn Dyed Turkish Hand Towels With Tassels

Mrs. Meyers Peppermint Handsoap

Water Hyacinth Magazine Basket

Molding: Lowe’s

Canvas With Vintage Frame: Easy Canvas Prints and Craigslist


So what do you think?

Can you see doing something like this in your bathroom?

Check out more fantastic projects and design inspiration on the blog!


Cheers!


*Legal stuff:

I am honest about my experiences with different products and write because I enjoy it.  I do however, have the opportunity to earn money for my writing, also.

Slavetodiy.com is a participant in the Amazon Services LLC Associates Program, LTK, and other affiliate programs: affiliate advertising programs designed to provide a means for sites to earn advertising fees by advertising and linking to amazon.com and other sites.  These programs offer a small commission on products sold through their affiliate links.  Each of your purchases via our affiliation links supports our cause at no additional cost to you.

If a blogger links to a product (with a special code for affiliates embedded in the link), and a reader places an item in their “shopping cart” through that link within 24 hours of clicking the link, the blogger gets a small percentage of the sale.  These links are not “pay per click.”  If you click on the product link and stay around and purchase something else, however, I will get a commission on that sale.