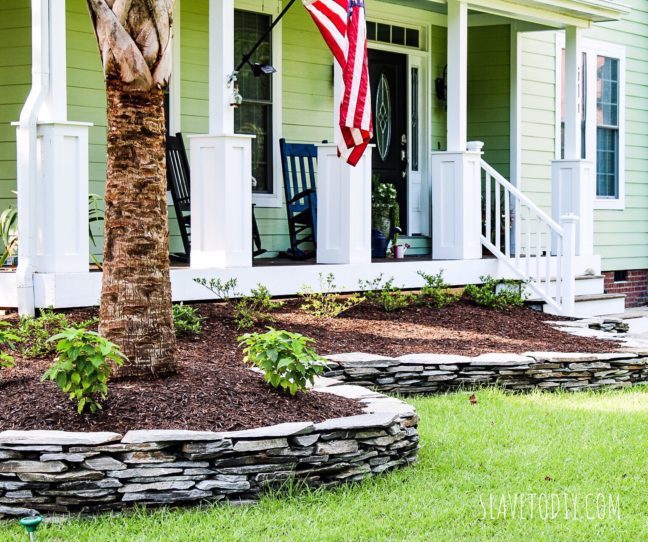
So, here’s the deal. Sometimes it’s super expensive to create a breathtaking transformation to your house, and sometimes it’s FREE. Sometimes all you need is a little elbow grease (and maybe some basic supplies you already had on hand) to make a huge impact.
*This post may contain affiliate links. Please see the full disclosure at the bottom of the post.
This is the second time I have taken down the railings at a home that we own. The first time the porch was basically at ground level and it was a no-brainer. The impact was immediate- INSTANT curb appeal. I loved it. See the complete “after” transformation on the old house we sold in 2016 here.
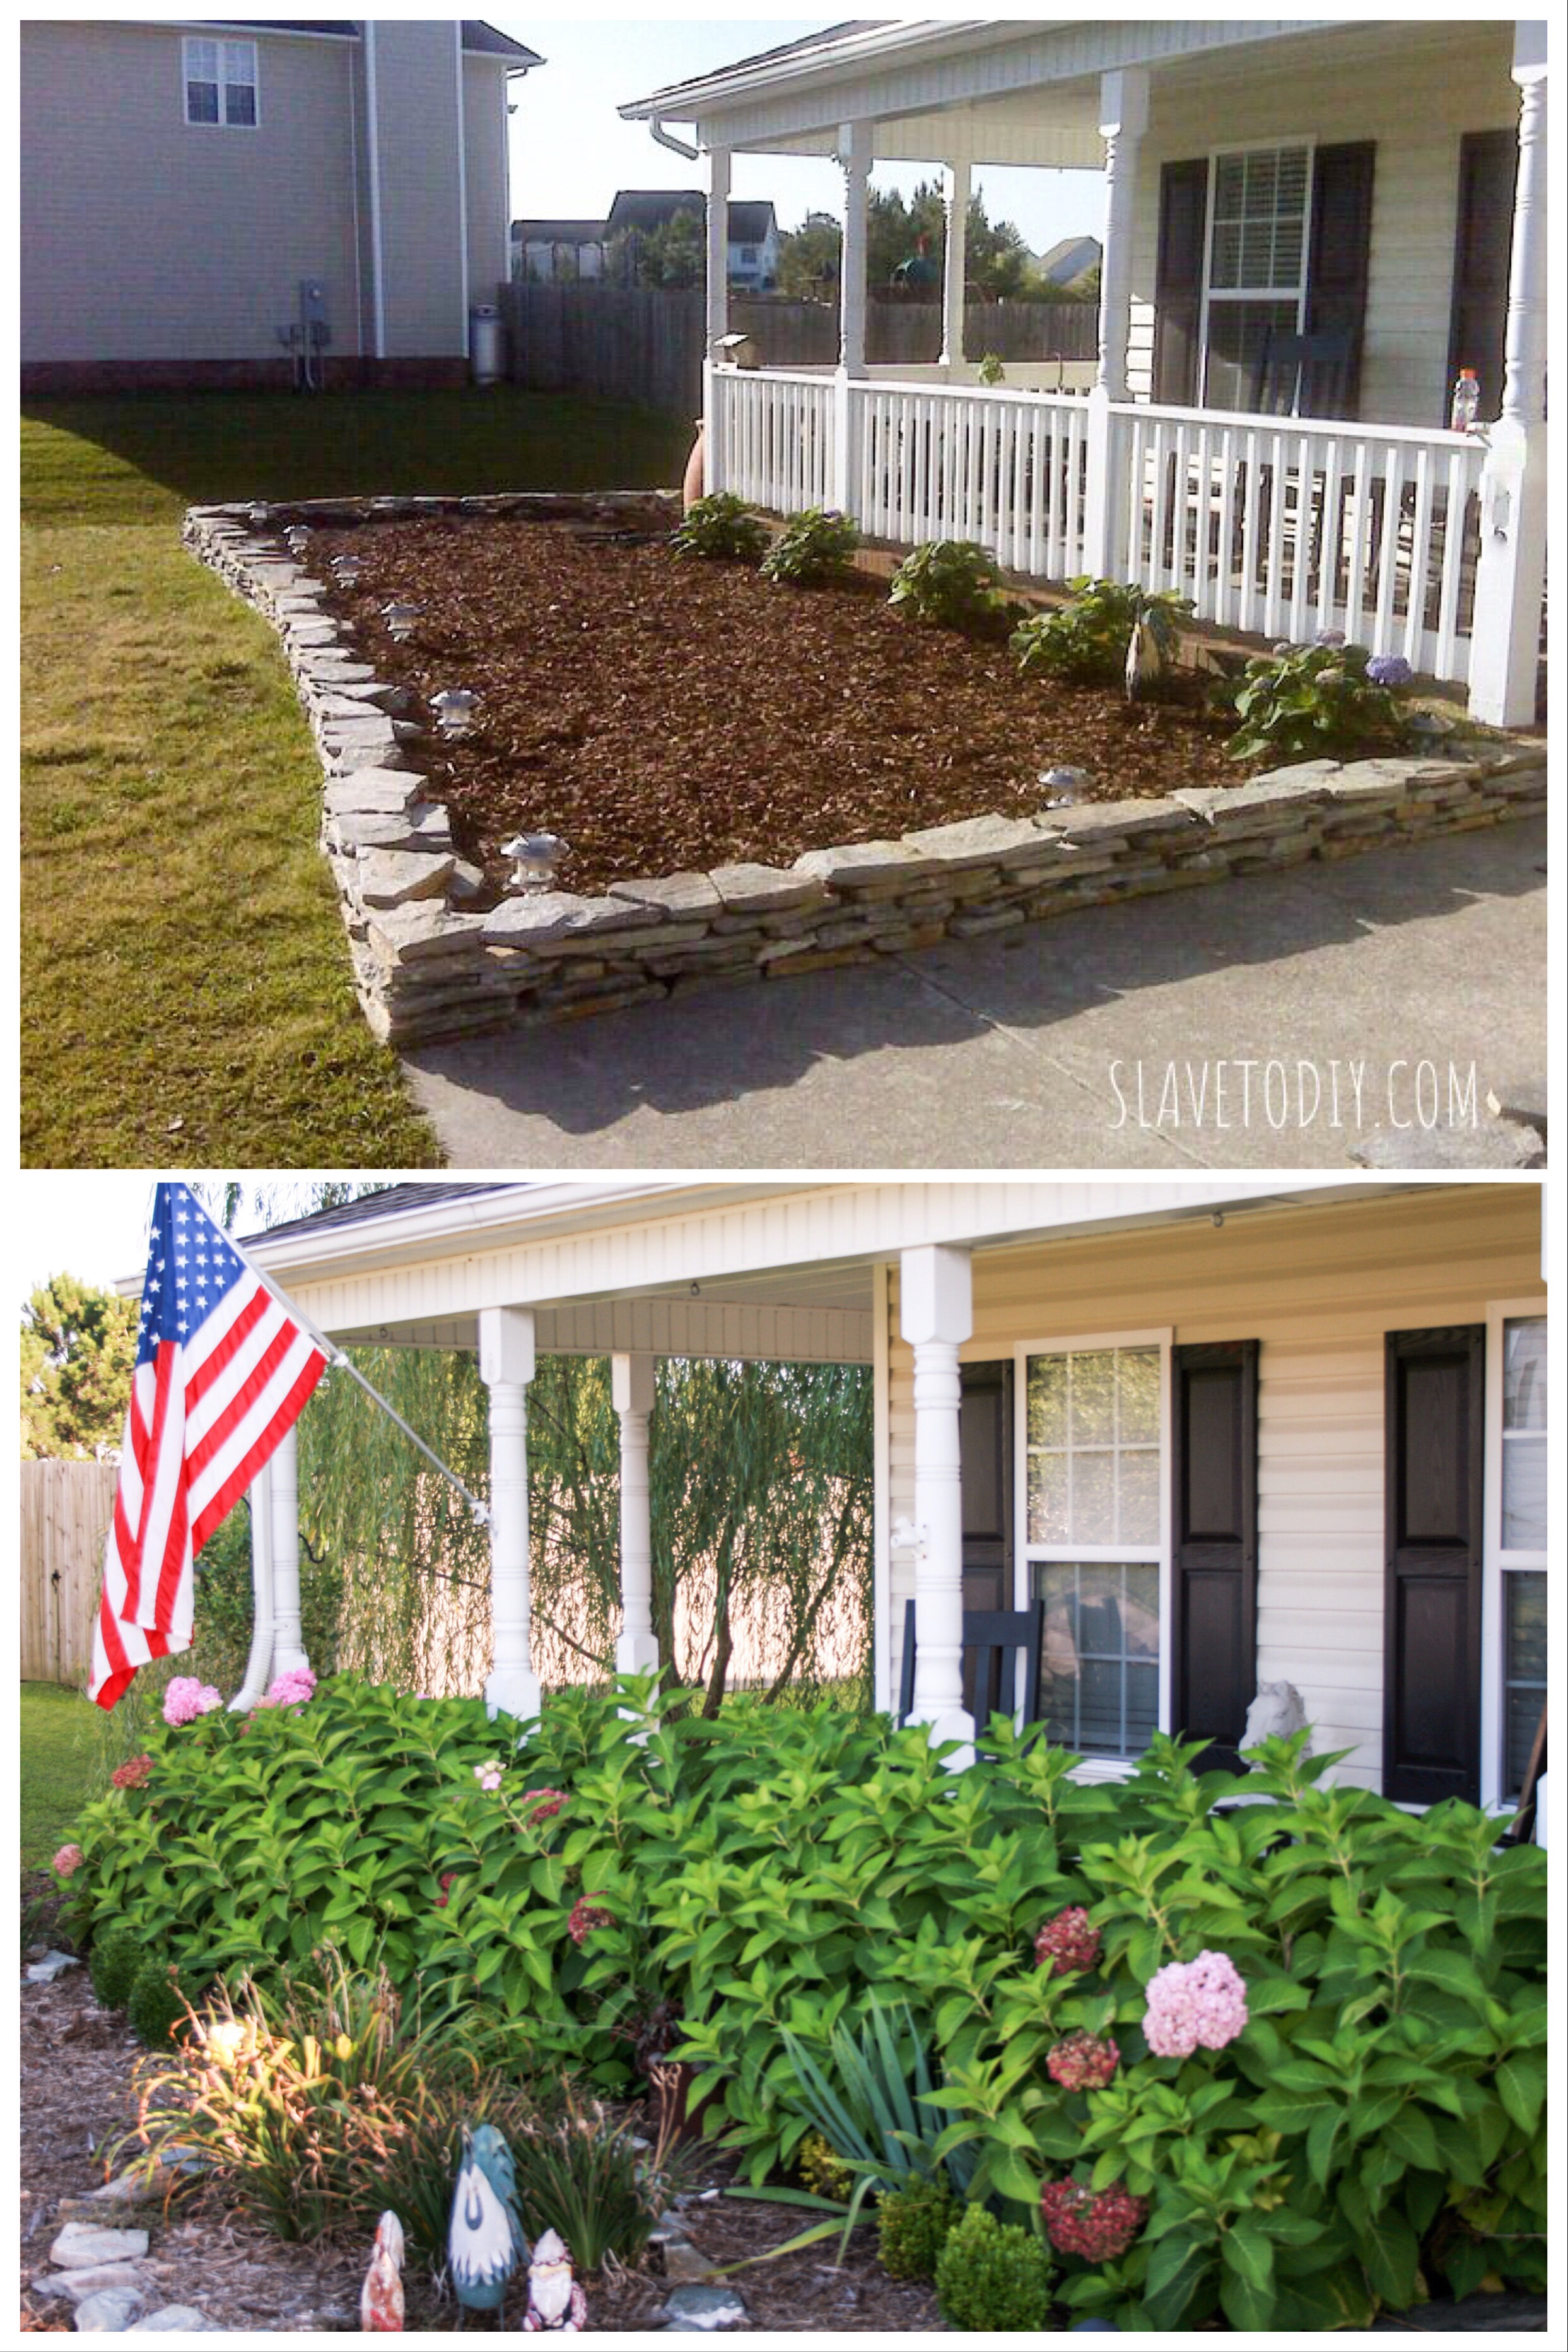
Okay, it’s a little hard to see the LACK of railing there because of the out of control hydrangea. Trust me. The railings were removed. Details on that crazy garden you can see here.
When we moved in to our current home it had those same railings, but they were serving an entirely different purpose- safety. The porch is a few feet off the ground. In the middle of our epic and back-breaking front garden project (which you can check out here) I decided to rip them out. I knew that the dirt would end about a foot below the front porch/deck so it would be safe to take them down. I feel the need to say, “I’m not telling you to take your front railings down. I haven’t seen your house. It could pose a safety hazard.” Please consider safety: toddlers, old people, clumsy people, etc. as you make the decision to keep your railings or not. We may eventually put in black, wrought iron railings, but for now I like it just like it is.
Here’s a picture before my project A.D.D. took hold:
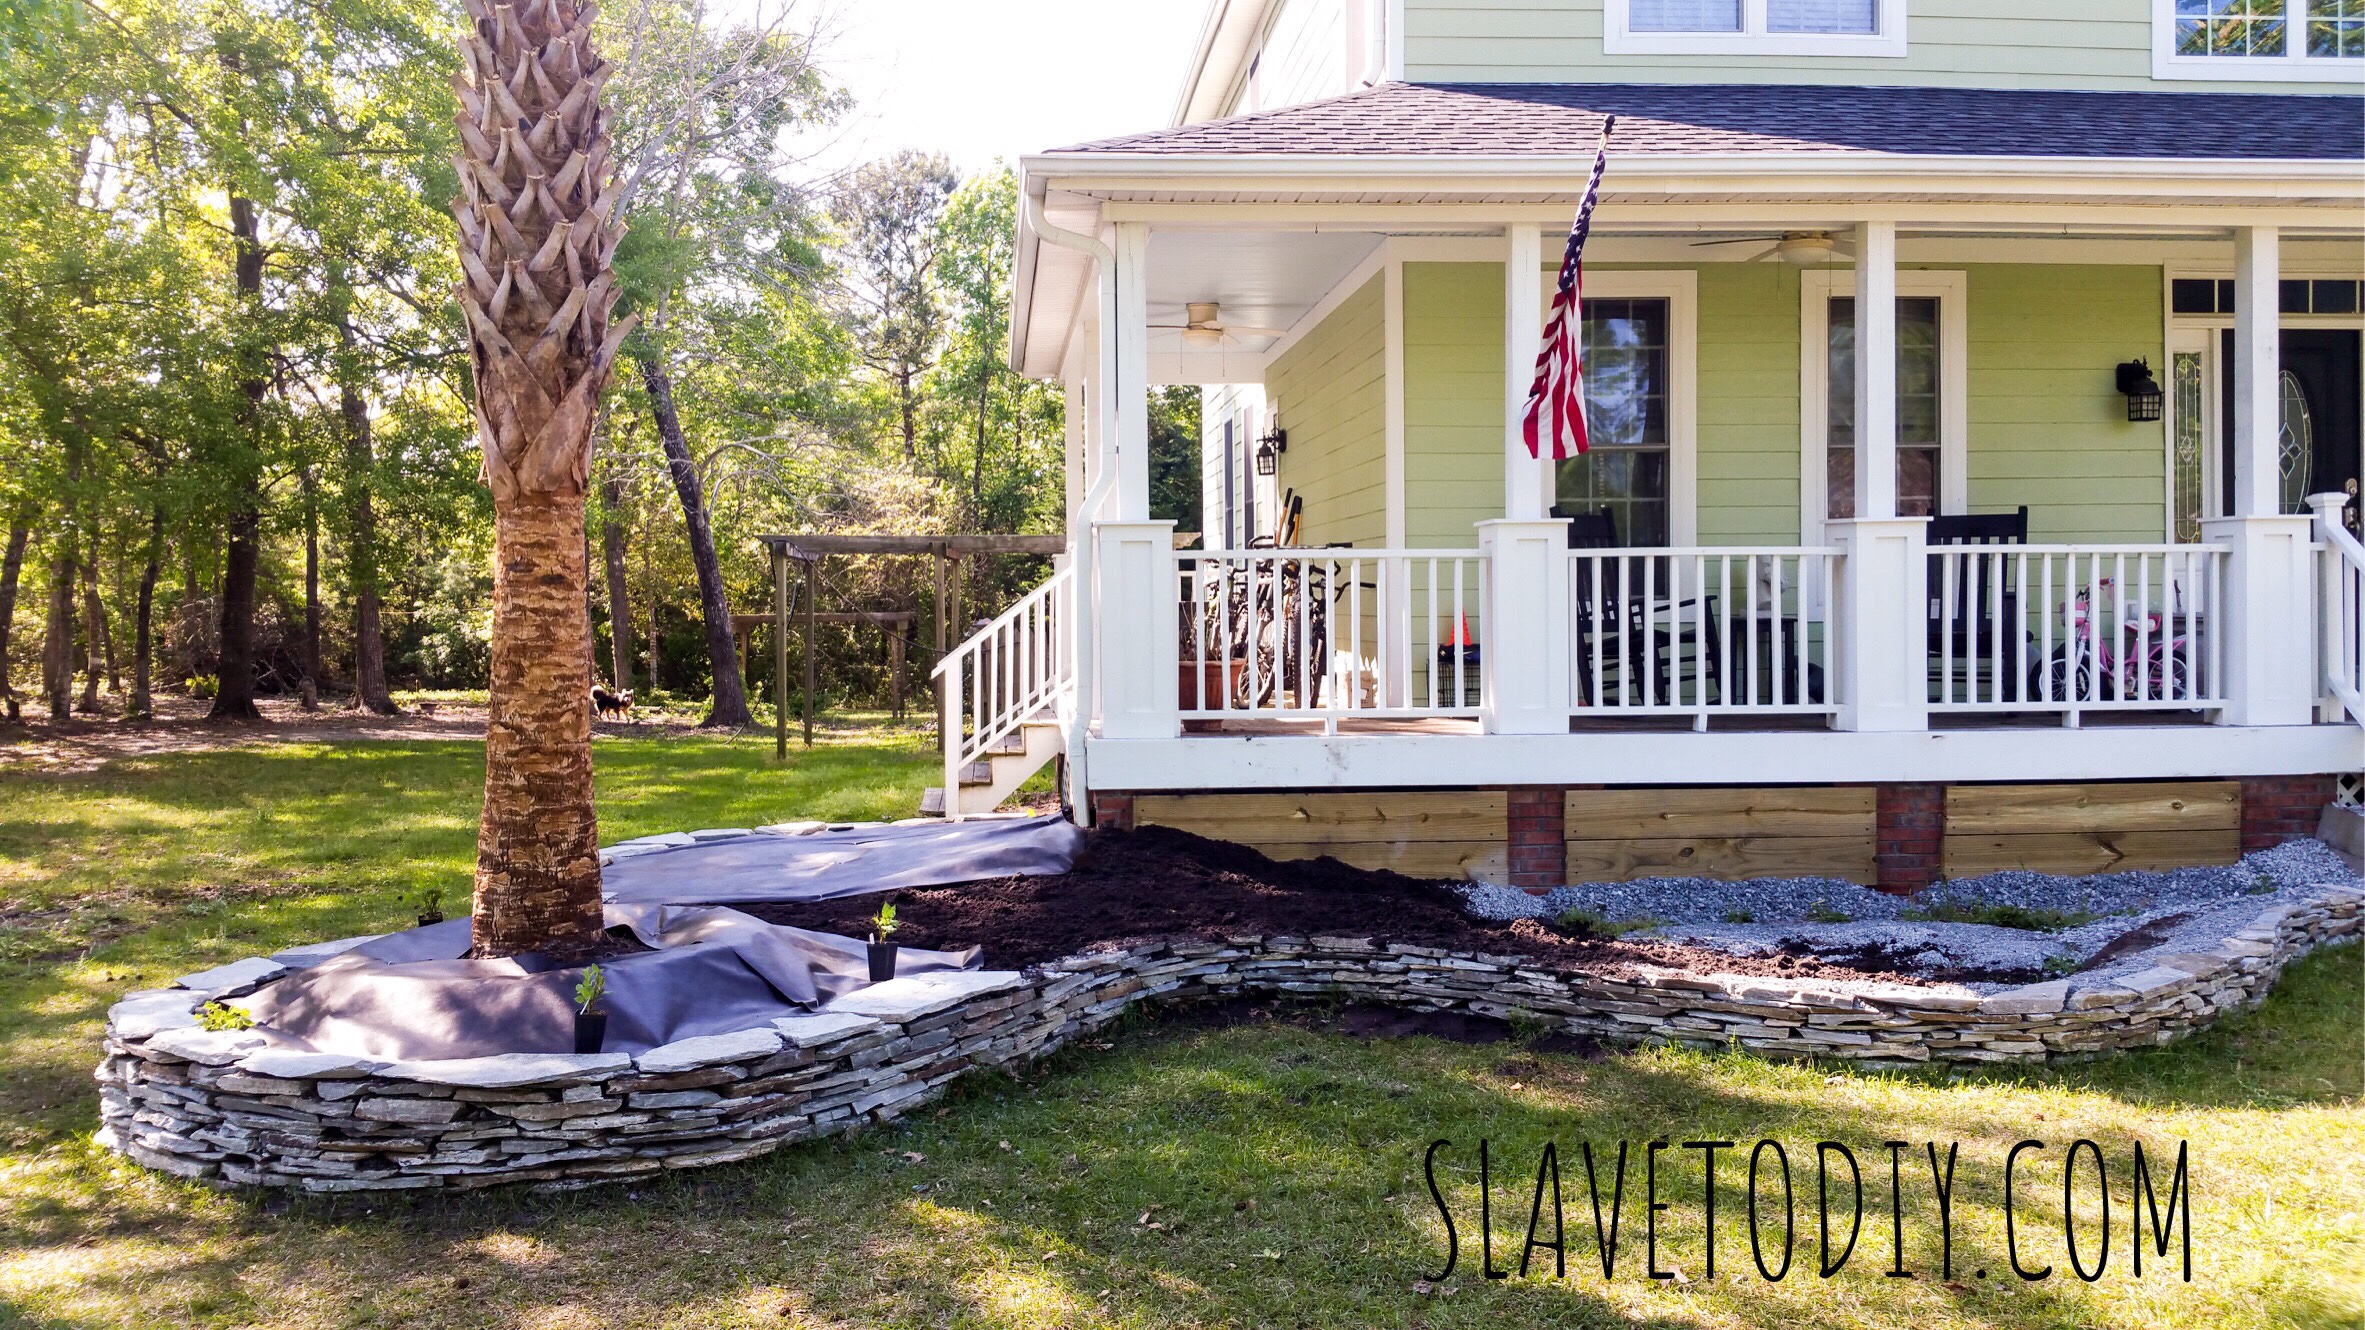
So, I seriously stopped mid project, stole one of Rainman’s hammers, and started swinging away. As I suspected, the sellers had covered up rot with white paint (pretty typical) and the railings came down in about 30 minutes. Of course, this made me realize the bicycles and miscellaneous crap all over the front porch would need to find a new home (not exactly HGTV ready).
Tip: Painting and caulking front porch columns and railings is an ANNUAL MAINTENANCE ITEM. It should be on your list. Otherwise they rot. Case in point.
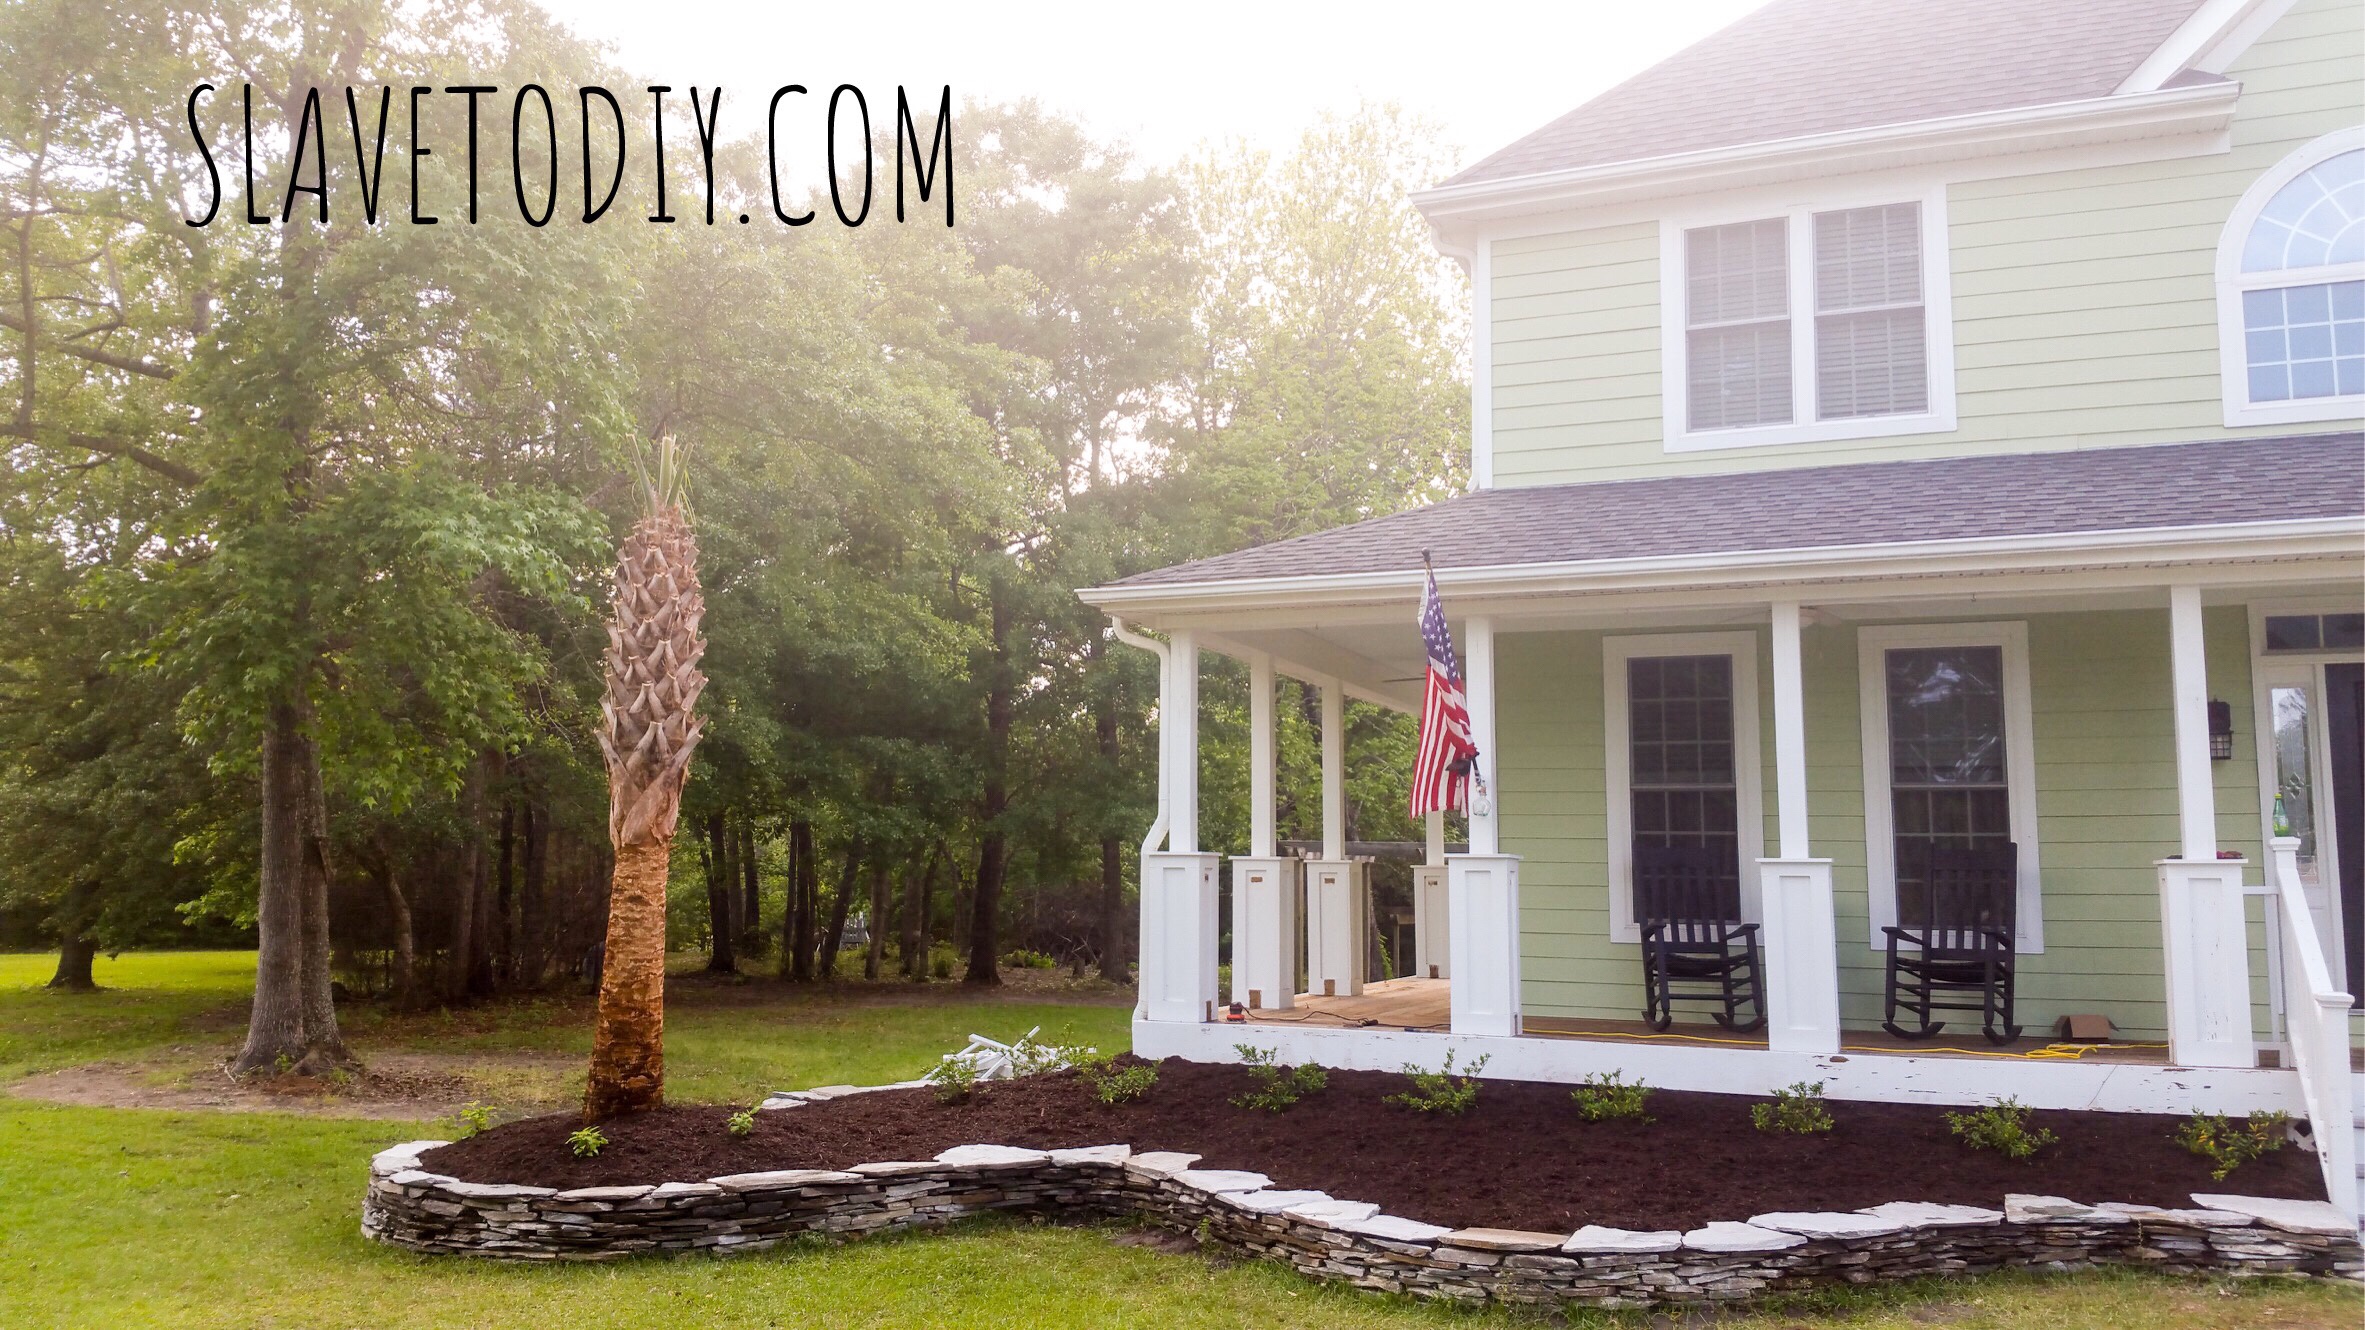
And here’s the front porch immediately after taking the railings down: Sigh. I’m in love.
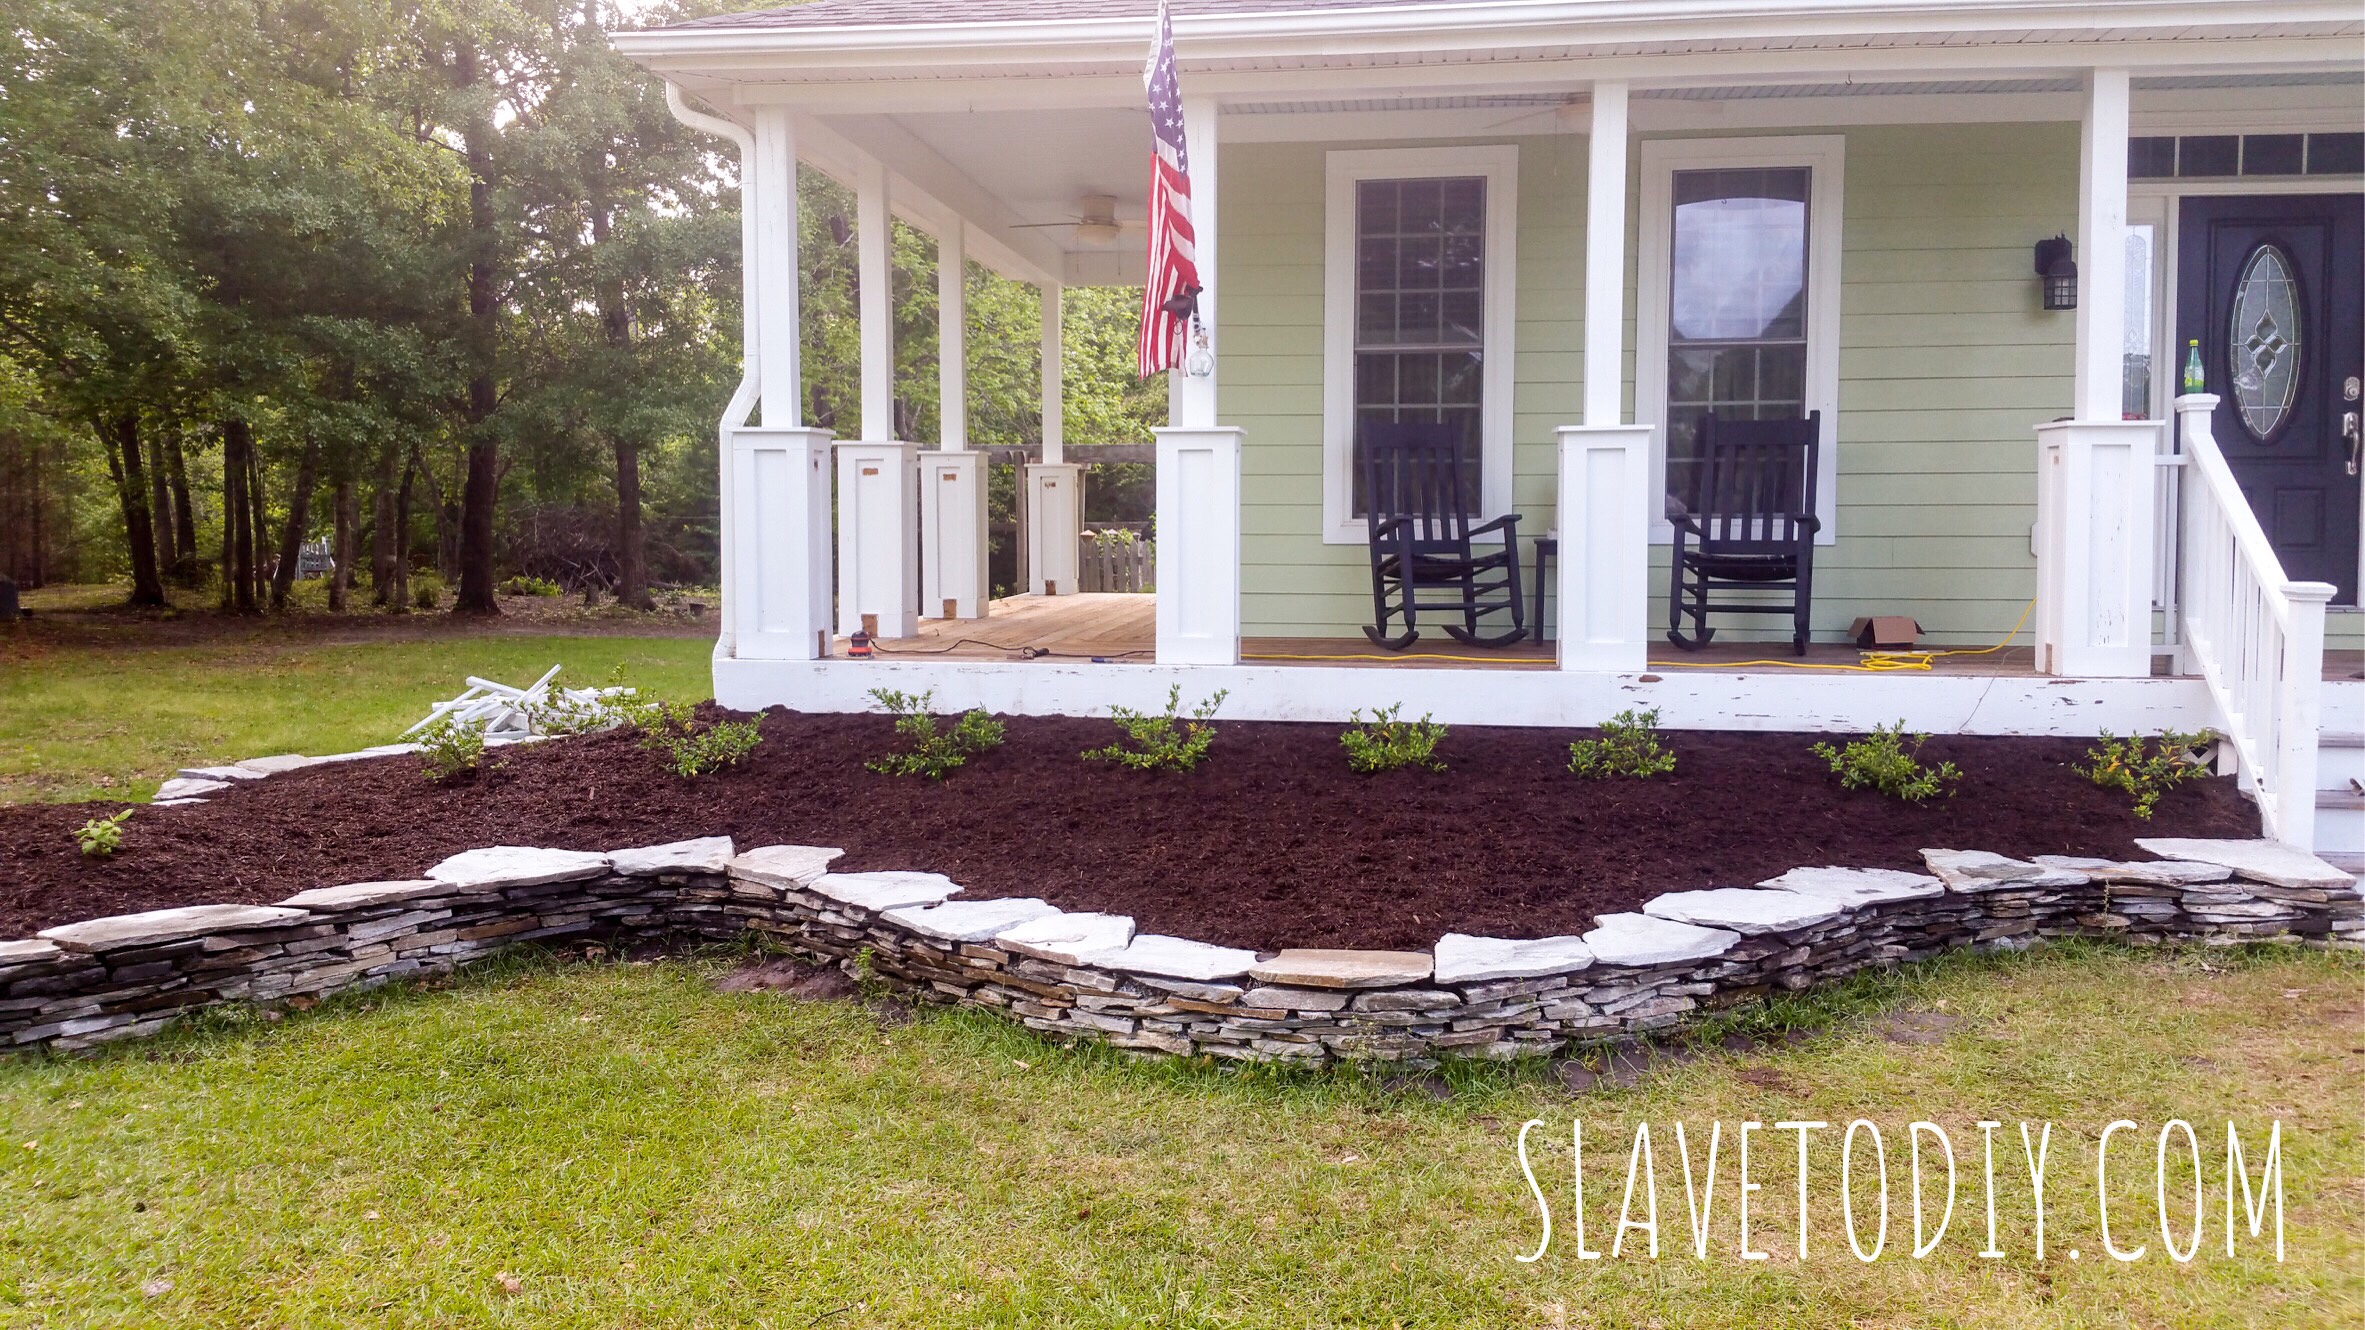
Above you can see the pile of railings (dry/rotted wood is excellent for starting bonfires) to the left there and the bare wood on the columns where the railings used to be.
While I was having A.D.D. and happened to have a nephew visiting (can I get an AMEN for cheap, available labor???) I decided to get some painting and staining done.
I had him sand the front deck and get any loose deck screws back in. If you don’t have a good sander, I have several of these. I have one I keep for just drywall finishing, then others for miscellaneous sanding projects. They’re cheap enough it doesn’t break my heart to burn them up or buy a new one, but they’re surprisingly hardy.
I also had him sand around where the railings had been on the posts so we could get a fresh FLAT coat of white and the seam would be invisible.
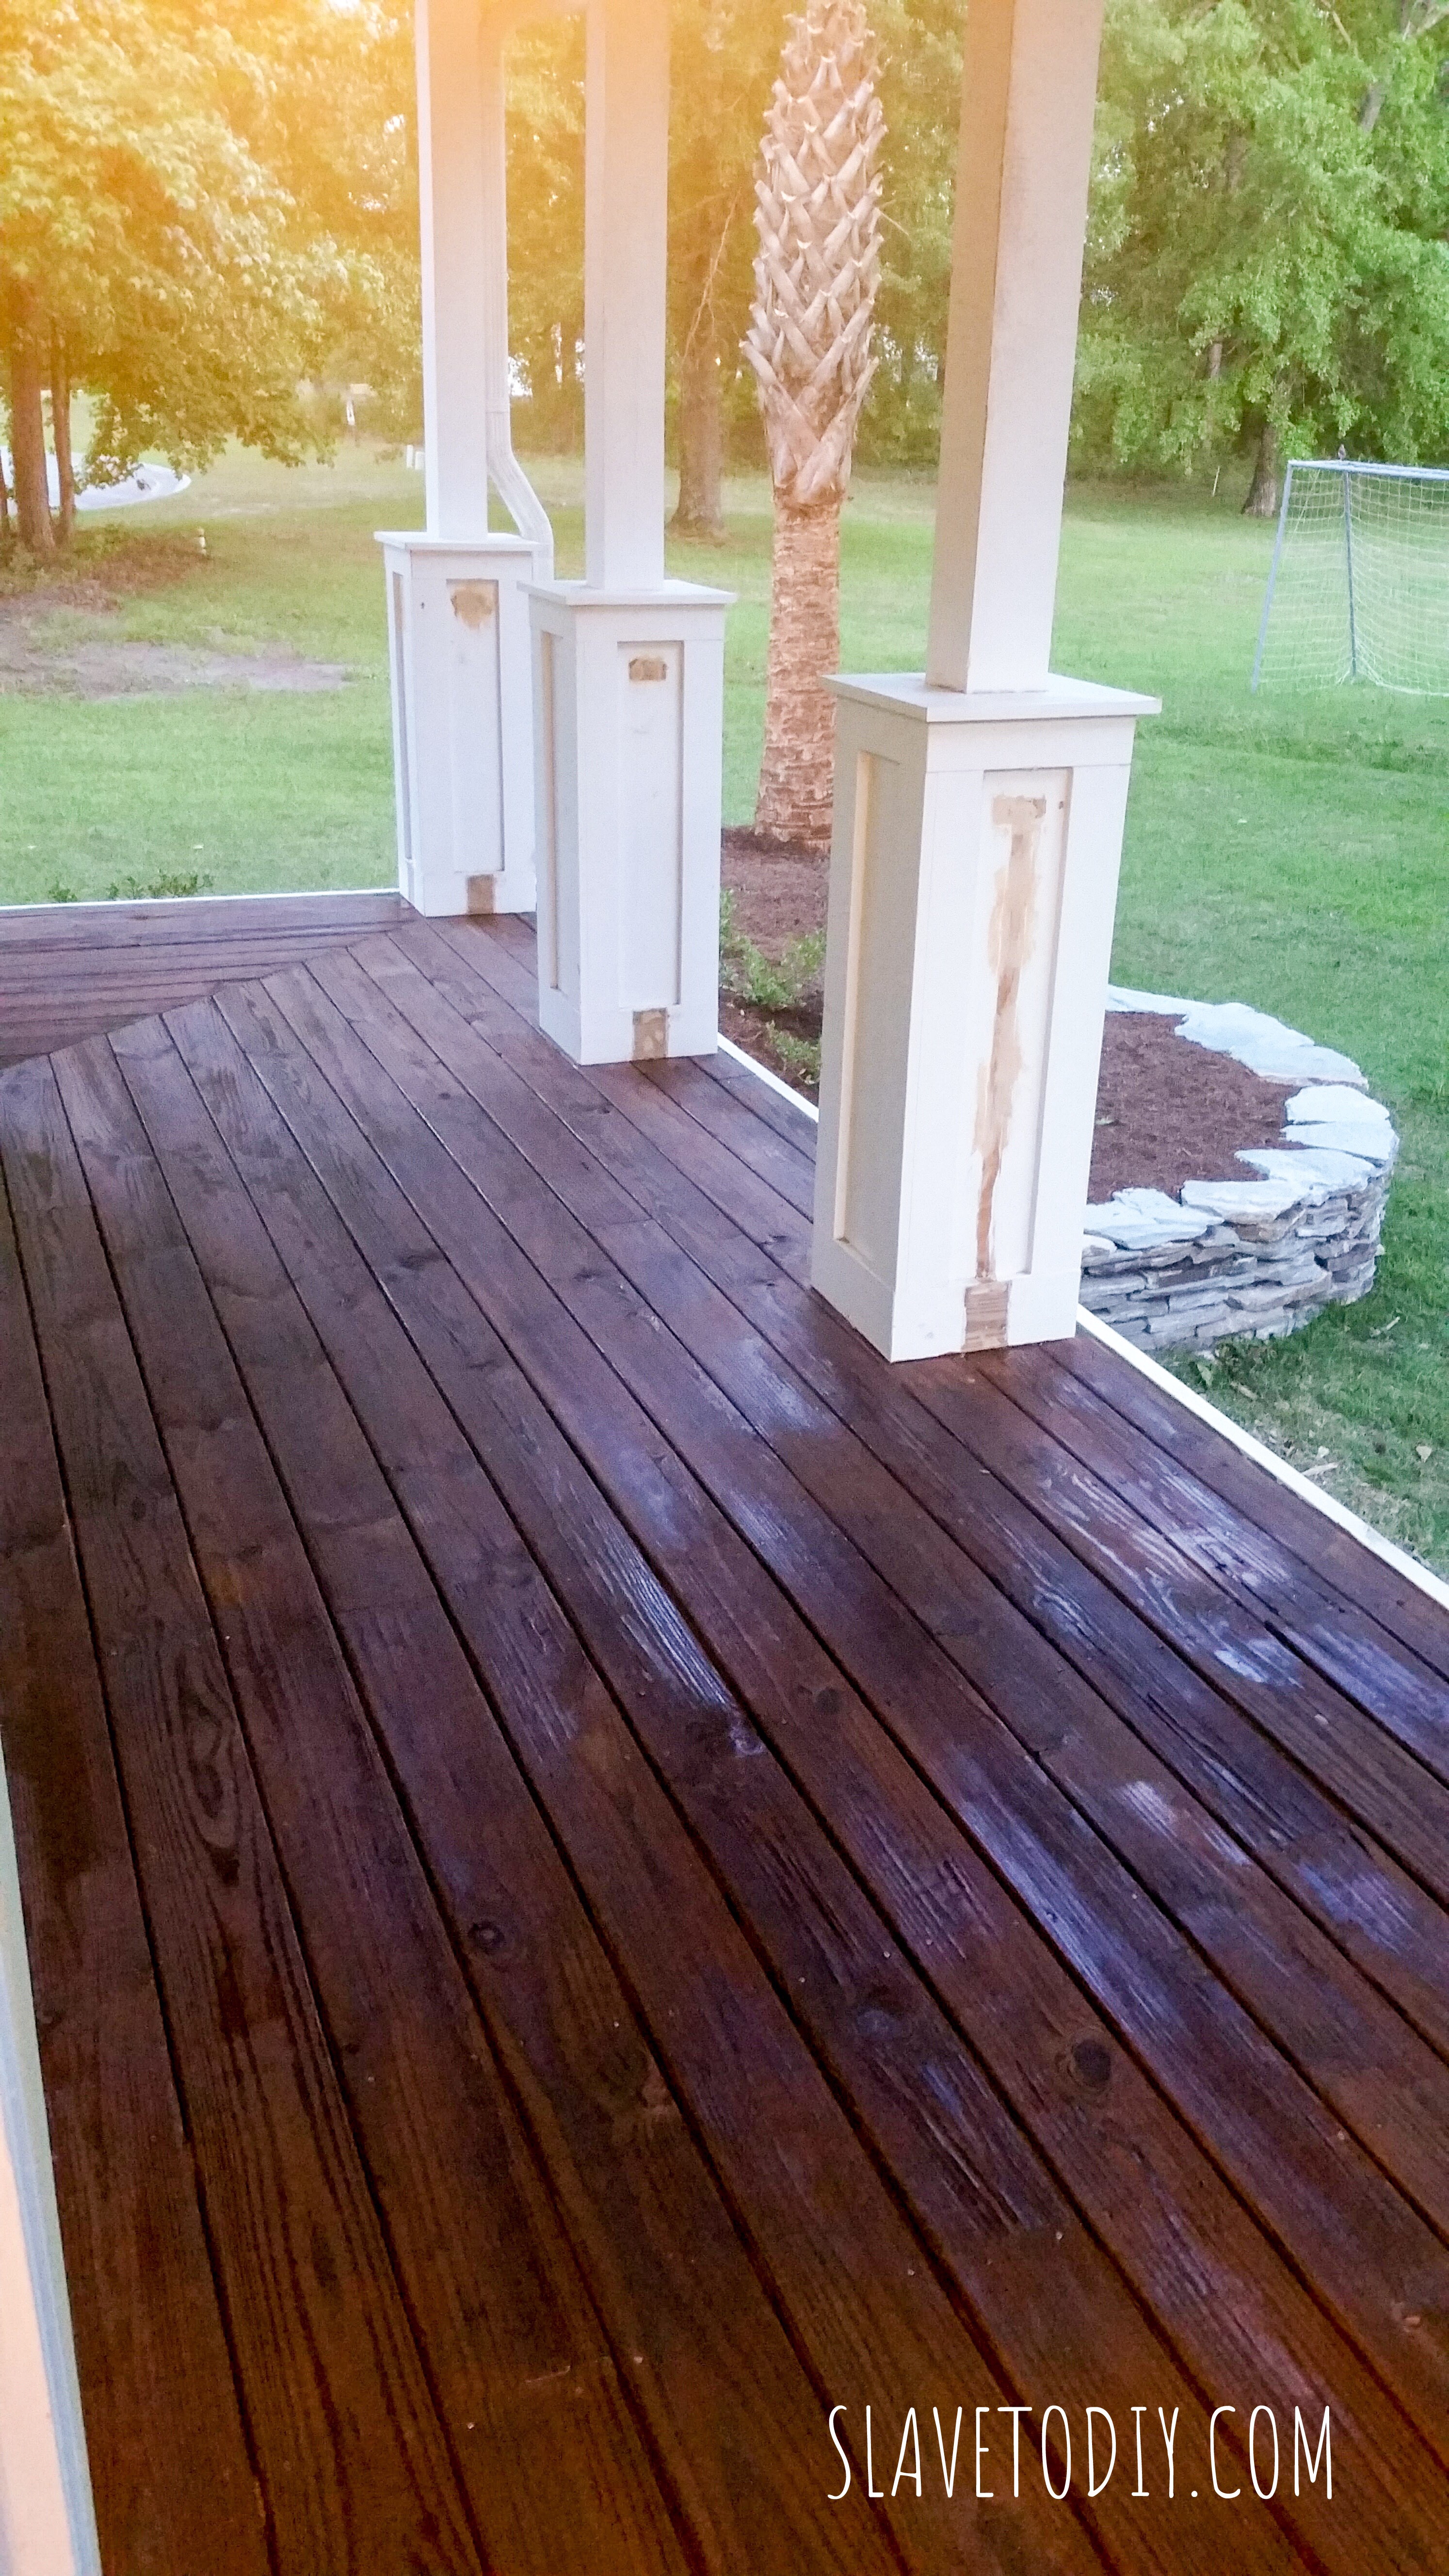
I splurged on some good deck stain and sealant and we did two coats. For stain, I recommend throw away brushes, which you can get pretty cheap at Lowe’s. True story: in seventh grade my son did a science project on which of three deck stains offered the best moisture protection (based upon water absorption and weight). I used that brand. I love the color and it’s amazing the difference it makes. It ended up being a smaller splurge than I expected because that huge front deck took less than a gallon for two coats.
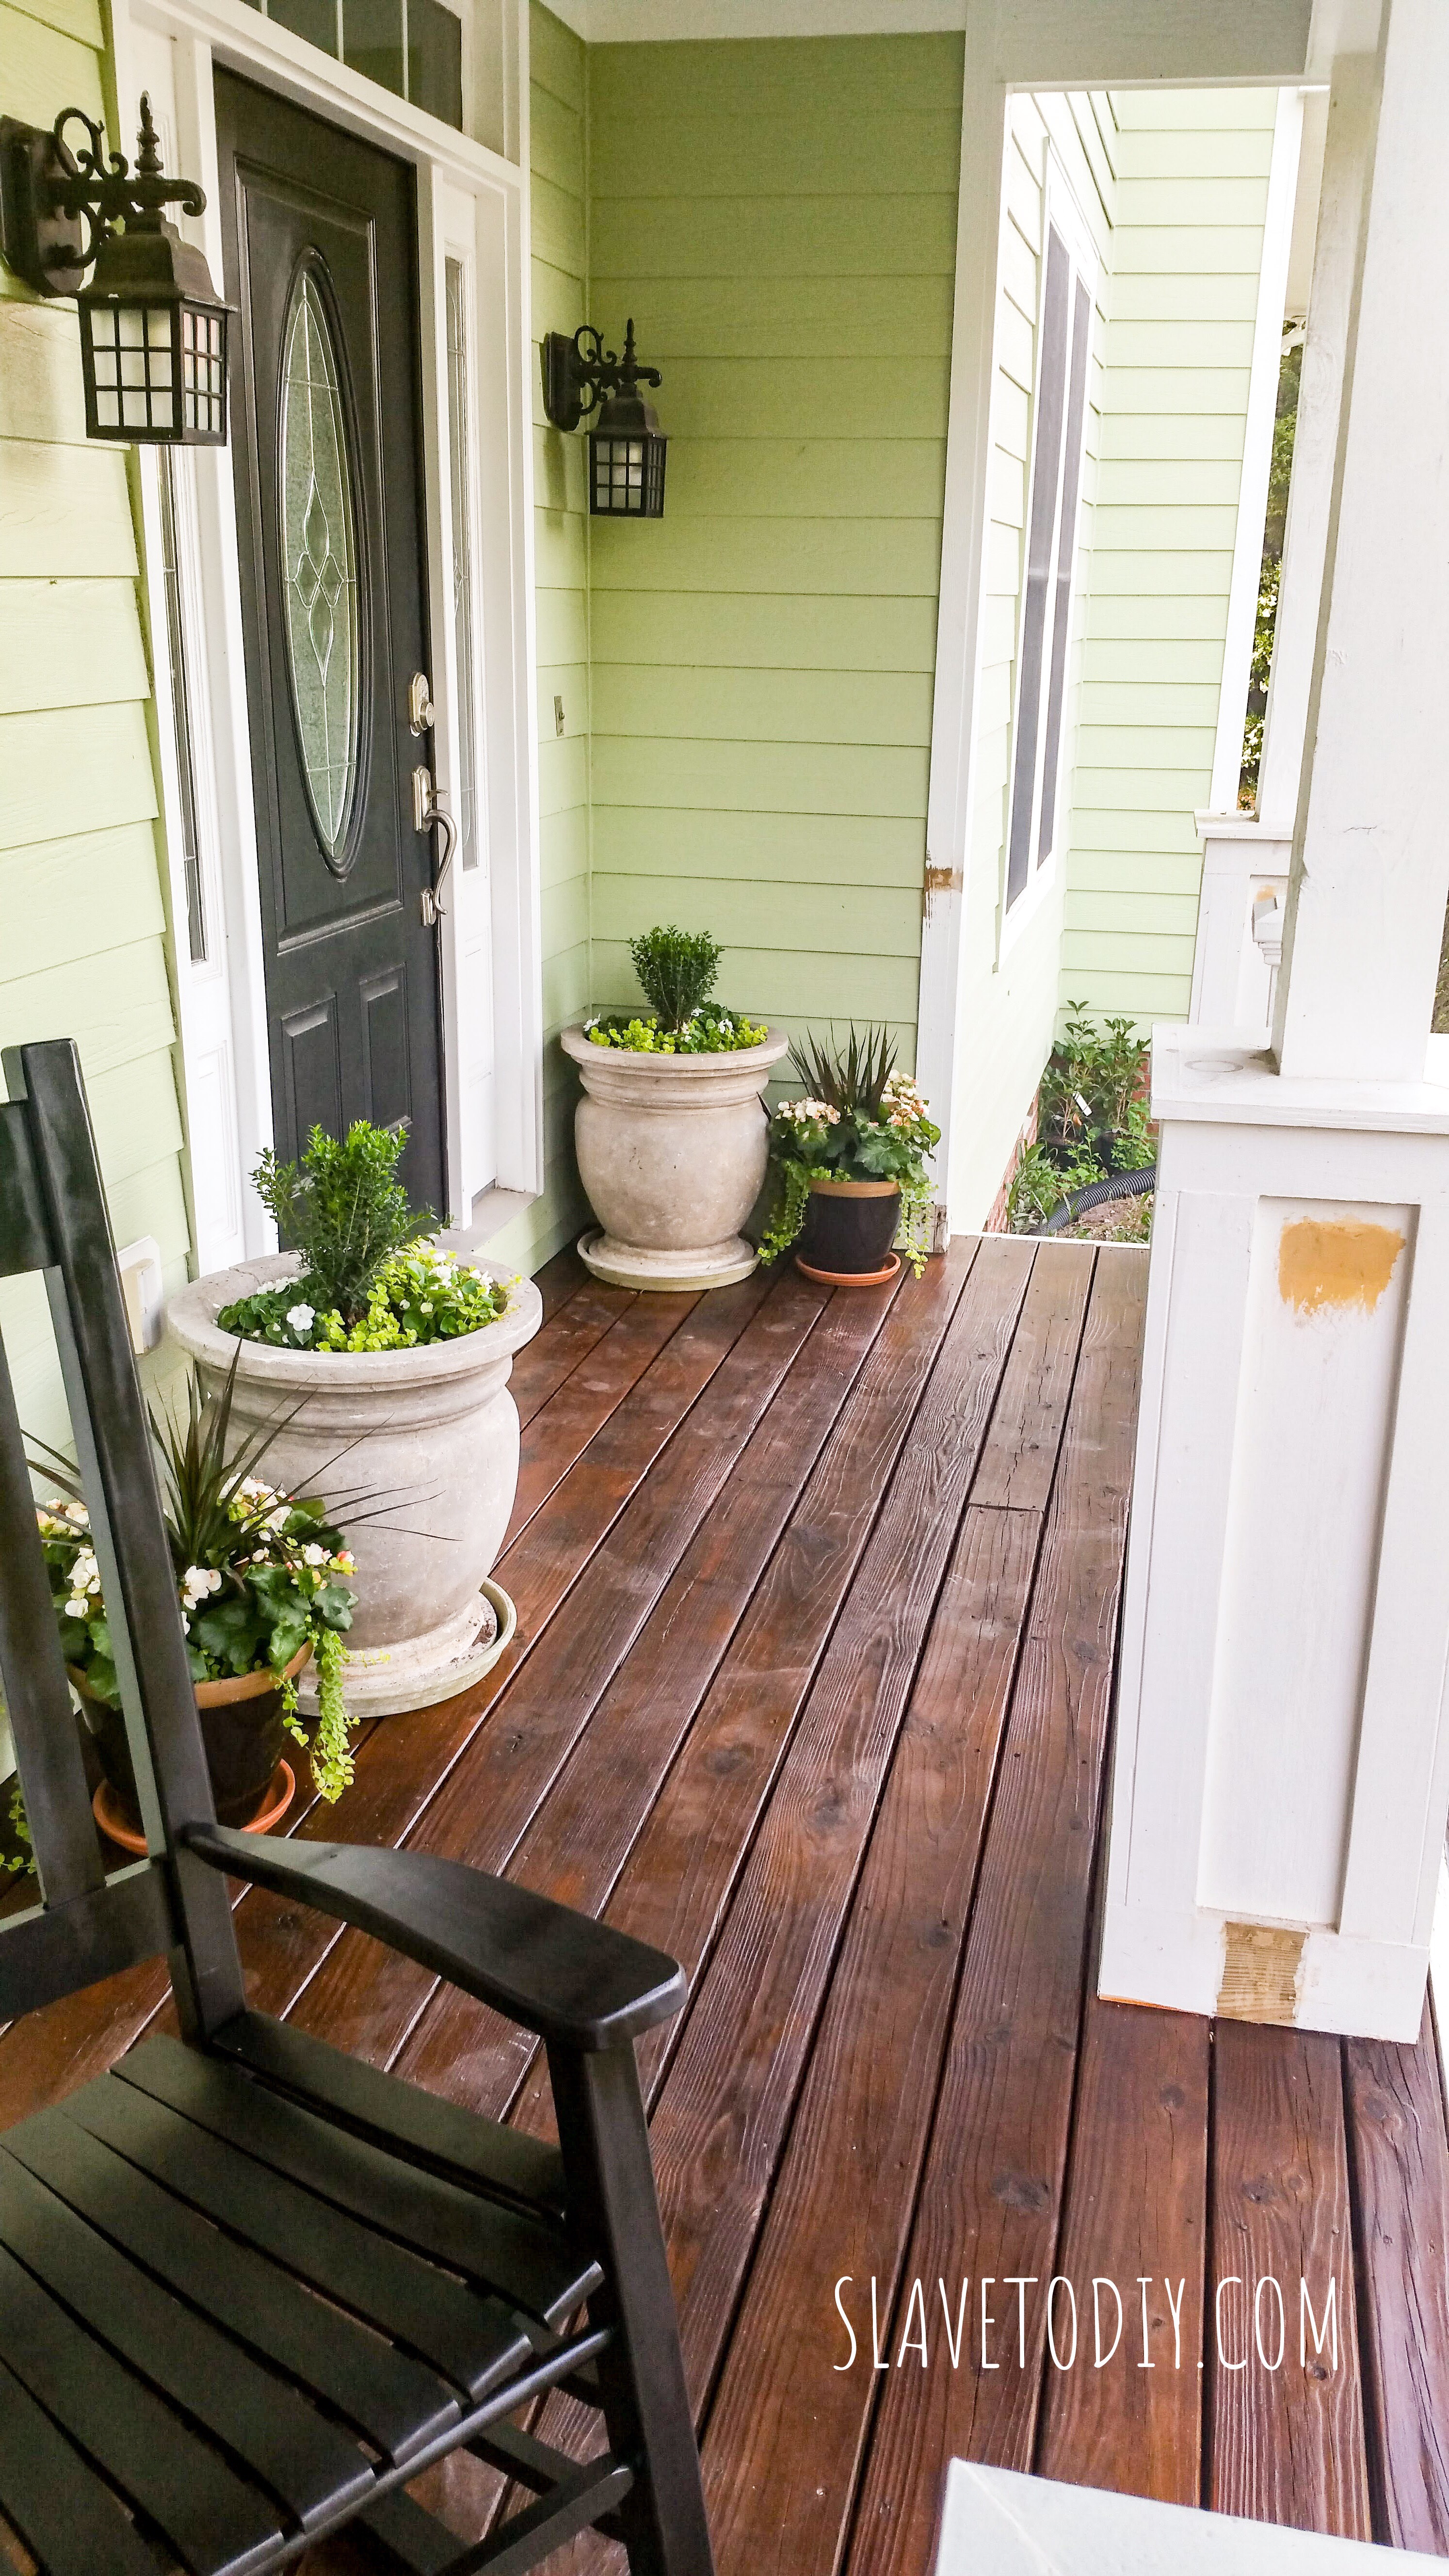
So here we were, working along and I noticed those damn builder grade lights. Project A.D.D. strikes again. Yeah, those definitely had to go. I hadn’t even noticed them delaminating until I fixed all the other stuff.
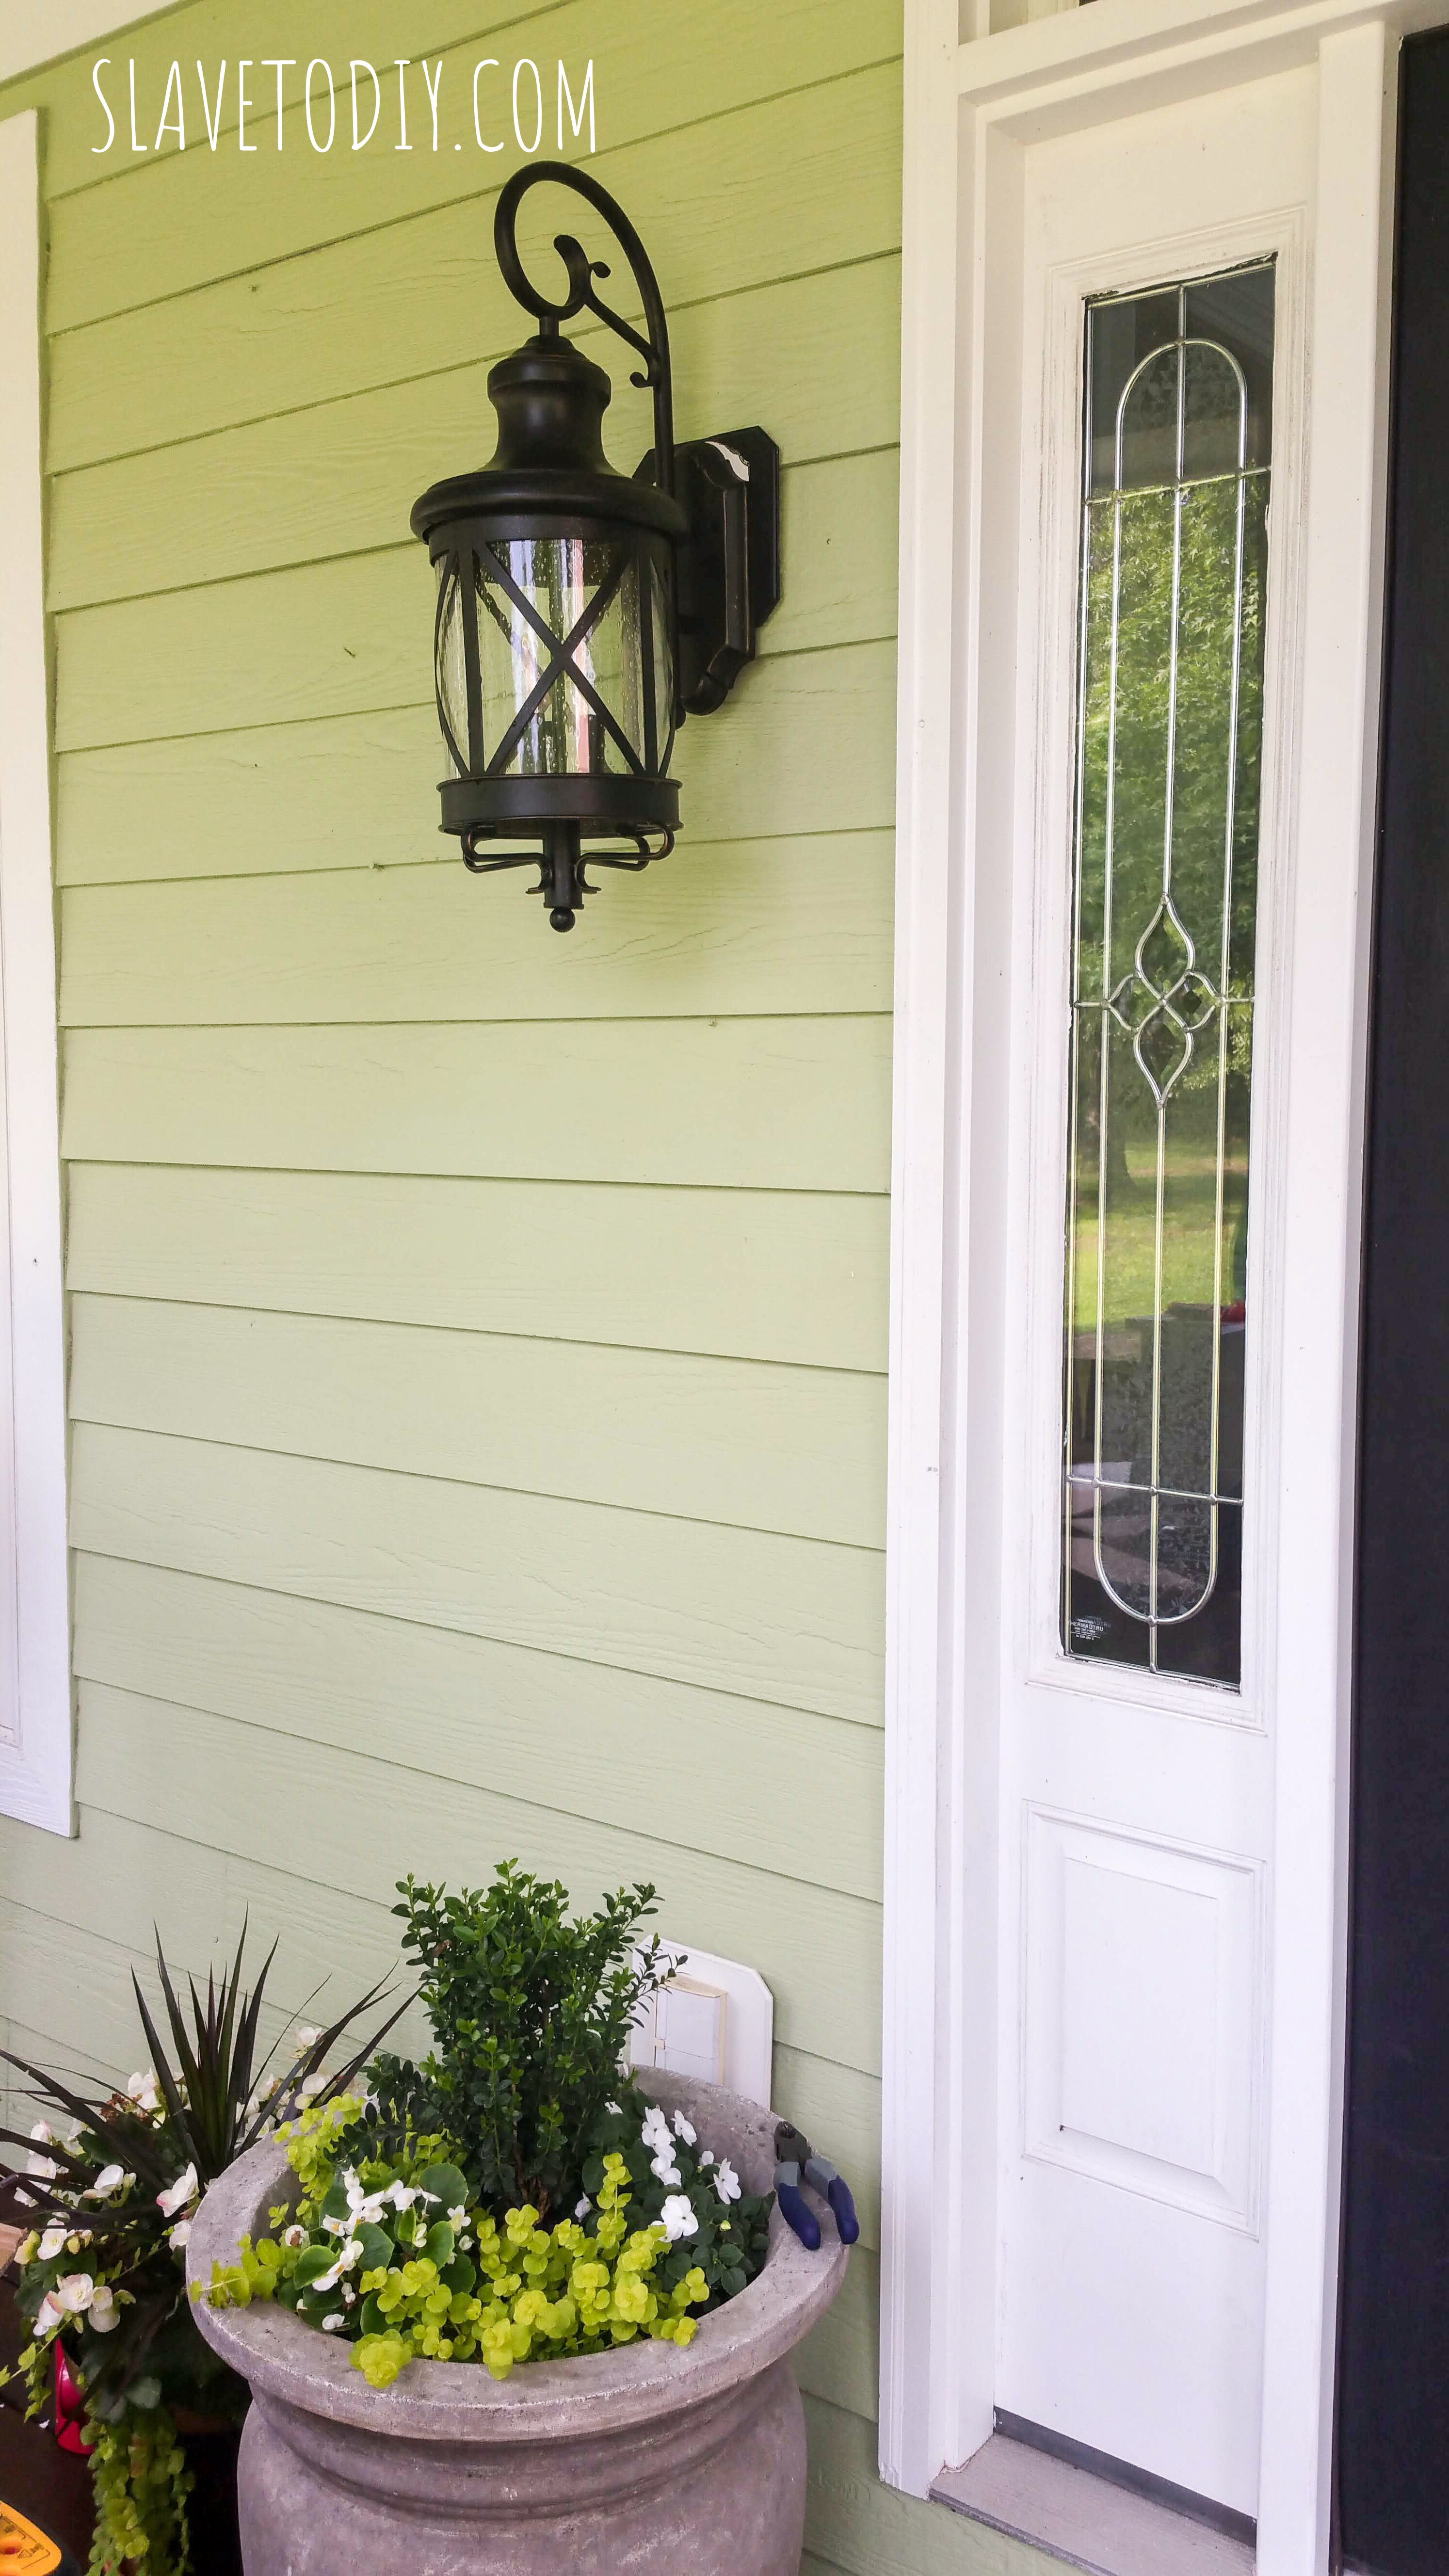
So, we took the opportunity to change out the porch lights and found a great deal on really nice looking lights.
While we were out there I handed Rainman black spray paint to put a fresh coat on our 10 year old rocking chairs and little black table. He hit the rough spots with sand paper, cleaned and dried them, tightened the hardware, then spray painted. TADA! Good as new.
We will be doing another update soon (cough* cough*) on working shutters for the windows. We are currently doing price comparisons on shutters and hardware. After the hurricane we realized we can’t spend two days putting up plywood every time we evacuate. Also coming soon, the tutorial on how to put up plywood over your windows before you evacuate for a hurricane.
Anyway, drum roll please…
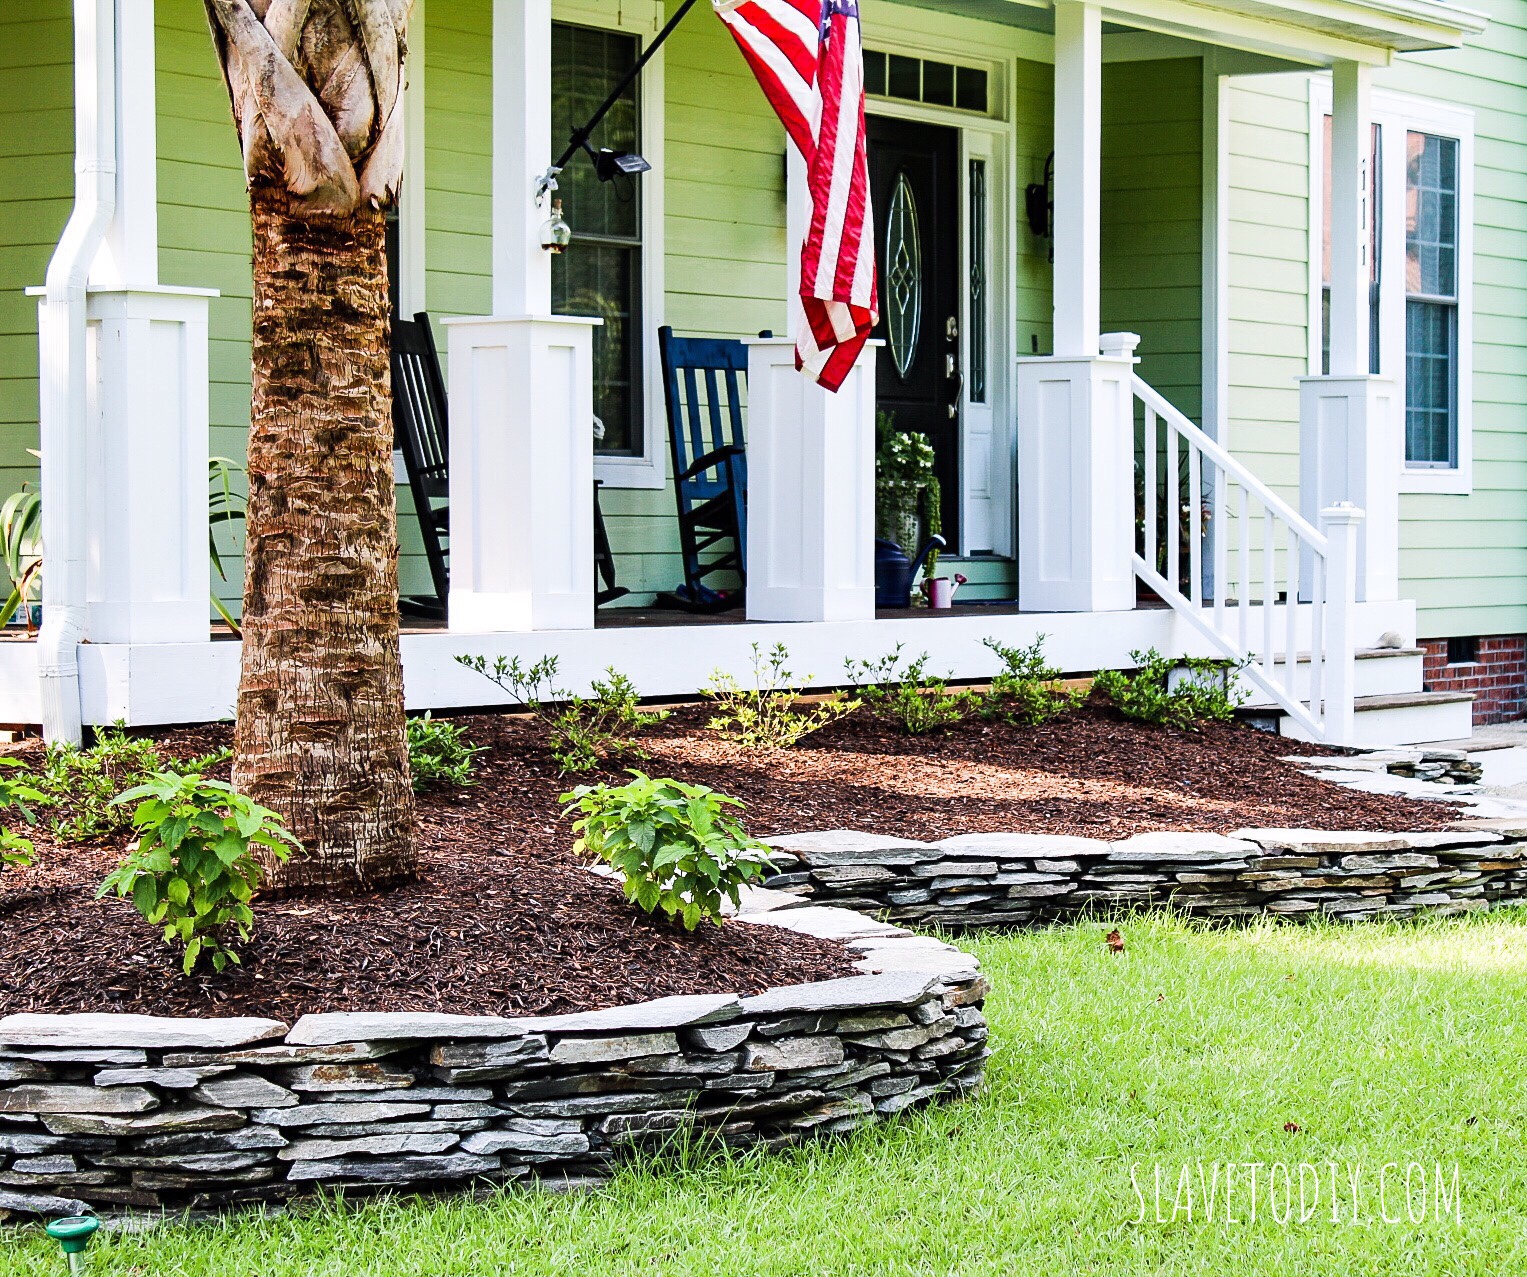
Doesn’t it look AWESOME??? Bear with me. The right side over by the staircase is still in need of rework. Here’s another view from the rocker:
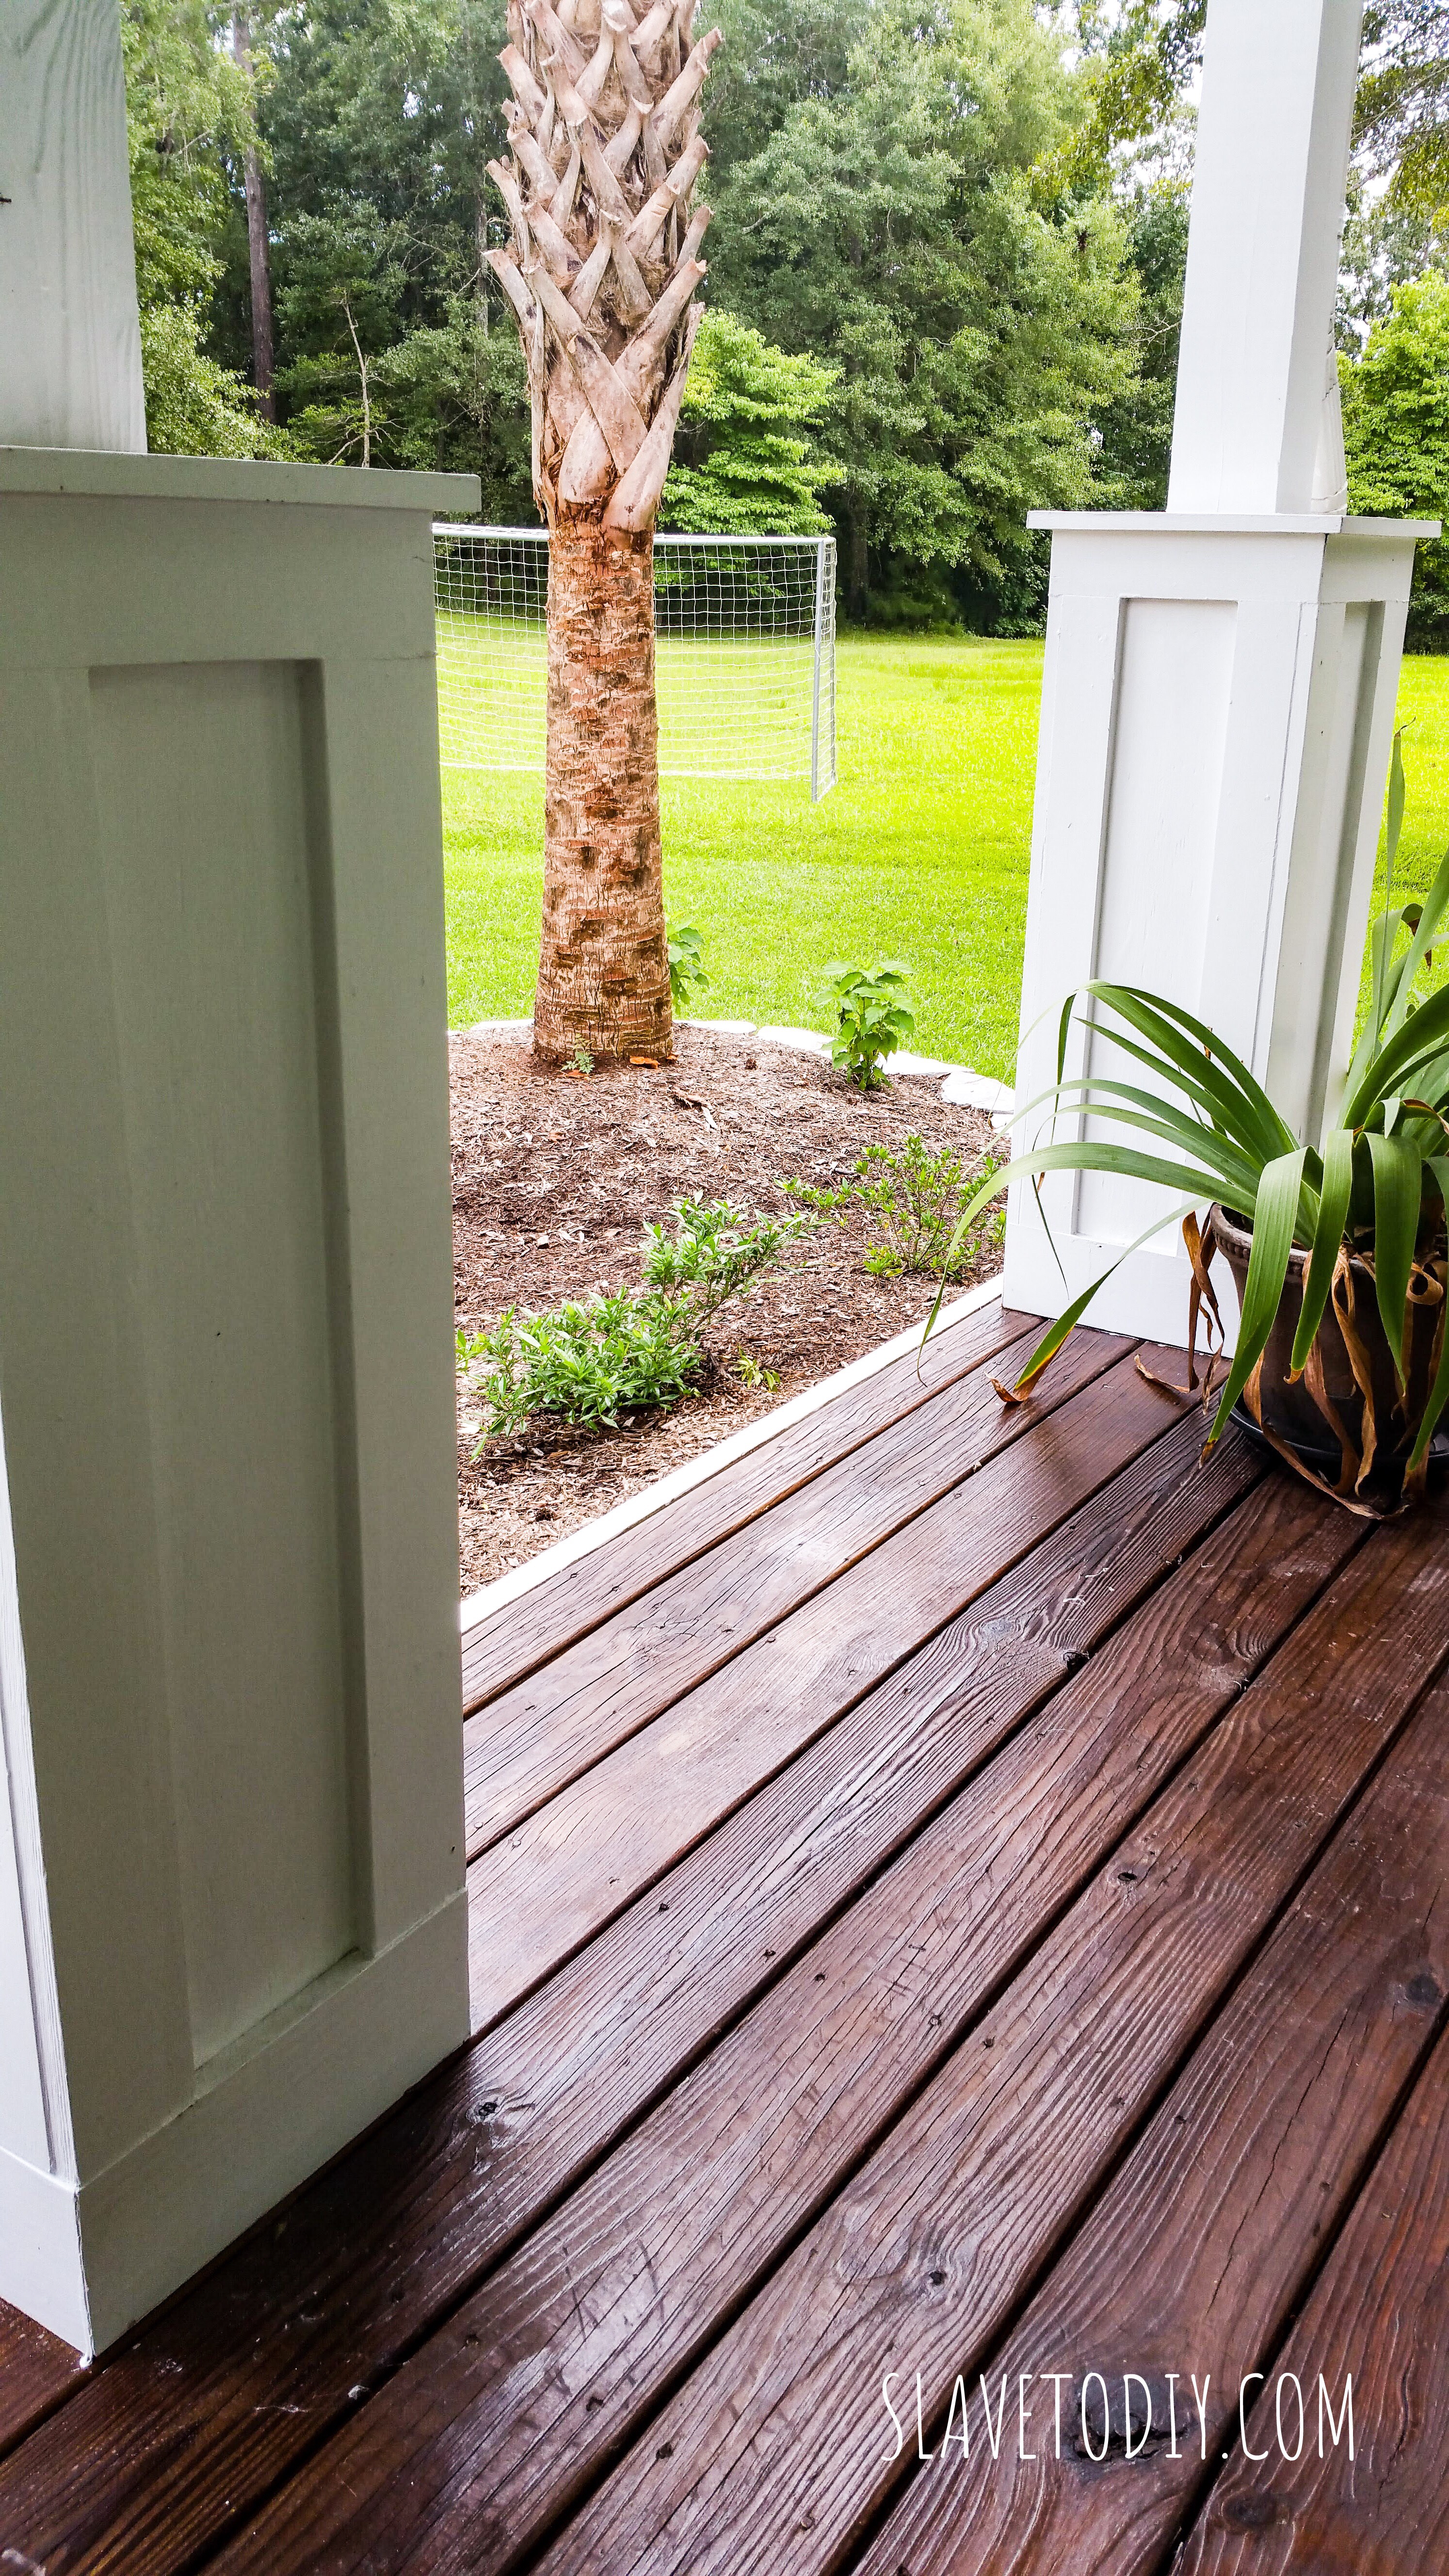
Everything’s all nice and painted, stained, and ready to move on to the next thing! I just love how our mini-flip on the front porch turned out. Big impact for minimal cost!
Check out our other projects and wins and fails here. Thanks for stopping by!
*Legal stuff:
I am honest about my experiences with different products and write because I enjoy it. I do however, have the opportunity to earn money for my writing, also.
Slavetodiy.com is a participant in the Amazon Services LLC Associates Program, an affiliate advertising program designed to provide a means for sites to earn advertising fees by advertising and linking to amazon.com. Amazon offers a small commission on products sold through their affiliate links. Each of your purchases via our Amazon affiliation links supports our cause at no additional cost to you.
If a blogger links to an Amazon product (with a special code for affiliates embedded in the link), and a reader places an item in their “shopping cart” through that link within 24 hours of clicking the link, the blogger gets a small percentage of the sale. Amazon links are not “pay per click.” If you click on the product link and stay around Amazon and purchase something else, however, I will get a commission on that sale.
Slavetodiy.com is also a VigLink affiliate advertiser which works similarly.
